email Youtube

Home
Galleries
Blog
Workshops & Calendar
Store
Resources
About
Contact

Archive for the ‘Studio pics’ Category

Last free viewing day on The Quilt Show and puzzles of my quilts

Sunday, October 20th, 2019

Today is the LAST DAY you can see my episode on The Quilt Show for free…and you can also do what may be the most challenging of the puzzles, Pink Oyster Mushrooms. I’d really like to thank Alex Anderson, Ricky Tims, Shelly Heesacker​, Lilo Bowman, Adele Merrell​, Mary Kay Davis​ and all the gang at TQS for a phenomenal experience. I hope to do it again some day! If you’d like to see my interview with Alex scroll to the bottom of this post and click play! Here is the link for the last day of free viewing of my episode: http://thequiltshow.com/watch/show-list/video/latest/show-2508-sarah-ann-smith?artist_coupon=25081013

Here’s the link….you can select how may pieces, rotating or not, or automatic!
Descended From the Stars as a puzzle is Here.
Lilies of the Valley puzzle is here.
And the puzzle for Bijagos Warrior is here.

Again, HUGE thanks to everyone at The Quilt Show for the opportunity to be on the show. One last little bit of fun…a Skype interview with Alex! https://www.youtube.com/watch?v=d_4zjksQZ5w

Call me a Shannon Cuddle fan!

Sunday, October 14th, 2018

A heavenly combination: my studio, my Janome 9400 and Shannon Fabrics cuddle fabric–I’m ready for winter!  This fabric is so soft you just want to pet it, snuggle under it, and not give it away as a gift!

Last May, Janome America had its first ever Janome Education Summit, and one of the presenters was Shannon Fabrics.  From the kit they provided, I made the lovely summery top in this blogpost.  But they also shared samples of their fabrics, including these two.  True confession:  I have this Elmer Fudd-esque love affair with red and black buffalo check.  When I got home from the Janome event, I searched for the cuddle buffalo check on the internet wanting to buy multiple yards of it it but couldn’t find it anywhere, so contacted the presenter from Shannon Fabrics, who told me it wasn’t available until summer for the new fall season.  I ordered some other Shannon Cuddle and Luxe Fur from Fabric.com (still waiting to make that up, stay tuned in December).  Mid summer I still couldn’t find it, so I wrote to her again, and she SENT ME a big box to make not one but TWO projects.   This throw is SO fast and easy and it would make an awesome holiday gift. Literally, I made it in a short afternoon!

Me by the fireplace, wrapped in my jumbo throw. This is big enough for two people on a sofa. Or one person a cat and a pug in a chair. Ahem (photo below).

 Here’s what and how:

The two fabrics pictured are available at Fabric.com here/minky buffalo check and here/Studio minky forest park, both in the scarlet color way.  It is also available in a blue version, and there is a lovely silvery gray and white buffalo check too.  I used two yards of each, but had a little of the print leftover–gonna make a hat out of that!  You’ll also need some thread–color doesn’t really matter as it disappears into the pile, but I did use red. If I had found the Shannon free pattern and video (keep reading) I would have ordered 2 1/3 yards of the check since you need a little extra to wrap.  Instead, I trimmed down my white print to work.

A blogpost with lots of pictures is better. Here is the throw on the love seat / reading zone in my basement studio. You can see how large it is!

TIPS and HINTS for working with Cuddle, Minky and Luxe Fur:

  1.  The BEST tip for minimizing lint came from Ellen of Shannon Fabrics in May:  you know you when you cut Minky and similar fabrics you end up with little bits of fluff EVERYwhere forever?  Not any more!   First, especially with the long fur-like fabrics (in my upcoming December project), cut your fleece from the back cutting only through the knit backing.  This minimizes the snipped bits of fluff.  You can also do as I did with the regular pile cuddle (what I used here) and use a rotary cutter.  Then scoop up ALL the pieces (including leftovers if you keep them for small projects later), perhaps into a basket or large plastic bag, and take them to your DRYER.  Yes, the clothes dryer.  Tumble on no-heat for about ten minutes, then CLEAN THE LINT FILTER. About 80+ percent of that fluff will end up in the lint filter and not all over your sewing space and house.  OMG it really worked!
  2. There is no stretch on the lengthwise grain.  At all.  If you make a garment (my next project) make sure you keep grainline in mind when fitting the garment.
  3. The fabric DOES NOT RAVEL.  At ALL.  That means you don’t have to turn under edges!!!!!!  That means these projects are FAST!
  4. Stitch length:  The fleece will hide your stitches.  That means it will be challenging if you decide you need to remove any of the stitches, so pin carefully to avoid ripping out!   Also, it is good to use a slightly longer stitch length.  I used a 3.0.
  5. Best stitch for seams on knits: For garments, using a zigzag or “lightning” zigzag will at a 1.0 width will look like a straight stitch seam from the outside, but adds a little bit of flexibility and therefore helps avoid popping stitches in the seam.

Shannon Fabrics has many free patterns available.  I used this one for my throw, a youTube video called Cuddle Self-Binding Blanket from Shannon and FleeceFun.com.  I hadn’t found this video when I requested my fabric.  If I had, I would have ordered 2 1/3 yard of the buffalo check and 2 yards of the forest park print and had a slightly larger (better!) throw.  WATCH the video before you order fabric…it is only 7 minutes long and will help you.

I used a serpentine stitch on my Janome 9400, an “S” shaped stitch to sew down the edges. You could also use a blanket stitch or a 3-step zigzag (the one that takes three stitches in one direction, then three stitches the other way).  I mean, you can’t even SEE the stitches.

Here’s what the serpentine stitch looks like from the back. I used red thread and you can’t even SEE the red on the black square!

I have been a Janome Fan-Girl for 15+years now.  I am now a Shannon Fan-Girl too! I’m finishing up a winter jacket with more of the buffalo check and a cream cuddle fleece lining, and will share something else that will be a gift for Christmas–perhaps in late November which is plenty of time for you to whip up a few of them in time for holiday giving.  Or keeping.  Ahem!

This is what I expect to look like most evenings in winter: in my chair in the living room, me and pug under the throw, cat checking things out, ready to make a dent in my pile of reading!

And because it is boring, this photo is last, but it shows the throw out flat.

THANK YOU SHANNON FABRICS for this fabric which I was totally prepared to order!   I have purchased more of their fabrics own my own and know I will be using it again.  If they ever make their “Spa” line in some bold colors (not pastel, not purple) I am so gonna make a bathrobe…..in the meantime, I have more snuggle quilts and gifts to make to keep me plenty busy.  And as always, Thank You Janome America for making the best machines EVER!

laid out flat on my studio floor (cement painted green!)…big, warm, SOFT. And did I mention, SOFT!


Lupines: the quilting begins!

Sunday, July 22nd, 2018

Ever so slightly ahead of schedule, I have begun quilting on the Lupines. Luckily (and one reason I chose this imagery) this will be easy quilting.  And yes, once again, I LOVE MY BERNINA Q20.  Crazy expensive and worth Every. Single. Penny.   Lots and LOTS of pennies.

This morning I finished basting the Lupines quilt.  I decided to try something I haven’t done before:  a double batt.   I definitely wanted to use wool, but I haven’t been able to find a source for my favorite Matilda’s Own Wool-poly blend batt in the US recently, and I’m hoarding my last batt.   So I used  Quilters’ Dream Wool which is much fluffier; I fused my top to that.

BUT I was concerned about distortion because of the fluffiness–it just didn’t feel like it would hang well and be stable.  Dreamy (pun intended) in a bed, lap or snuggle quilt, but by itself on a densely quilted wall quilt?  Not so much.  So I took the only cotton batting I had, Quilters Dream Select, and layered that underneath the wool.  If I had had Request, the thinnest, I would have used that instead.  Finally, spray basted the backing and safety pinned intermittently.  I am using up long lengths of print fabric in my stash when they suit the quilt–time to move them along.  Will have to dye something to match for facings and hanging sleeve.

I also selected thread yesterday afternoon and this morning.

When I choose thread for a quilt, I “test drive” it by drizzling on the surface. If it works, it goes in the shallow box. I probably won’t use all of these, but will use most of them–about half the solid greens and almost all of the rest. And I added a medium purple this morning and will likely not use the dark purple in the box at all.

Things I have learned so far:

  • Painting a nonwoven is a good thing.  But if that nonwoven is Pellon 65 heavyweight interfacing, it is somewhat like using construction paper.  Will do the non woven thing again, but will look for something softer yet still dense (so no shadow through).
  • Mistyfuse is by far my fusible of choice.  But it behaves differently on the interfacing than it does on cloth.  If I fuse this particular interfacing again, I will use TWO layers of Mistyfuse–it is plenty fine and easy to stitch, and it will help this painted interfacing stick better–see photo.

Because of the difference (in porosity maybe?) between fabric and interfacing, my fusible isn’t sticking quite as well as usual. So I have re-fused various spots, and in a couple of cases tucked snippets of Mistyfuse under the stubborn lifting petals. I found, luckily, that if I am careful I can still quilt those lifting petals because the interfacing doesn’t wobble around like fabric.

And to my astonishment, I quilted almost five of the six purple lupines today.  I have a couple of the tops where I will use pale lilac or cream unstitched as of this evening, but I am definitely farther along than I thought I would be.

Quilting in progress…done on the right, not done on the left. Using just one purple thread to stitch down the petals/quilt down the petals is working out OK despite the value changes from petal to petal.

That means the “after Eli goes back to college” period may be less frantic than I had feared. YIPPEE!  Barring catastrophe, I will be one and able to take photos and submit then ON TIME.  Stay tuned!


SaveSave

SaveSaveSaveSave

Getting ready for the next quilt….the herald of summer in Maine

Sunday, July 1st, 2018

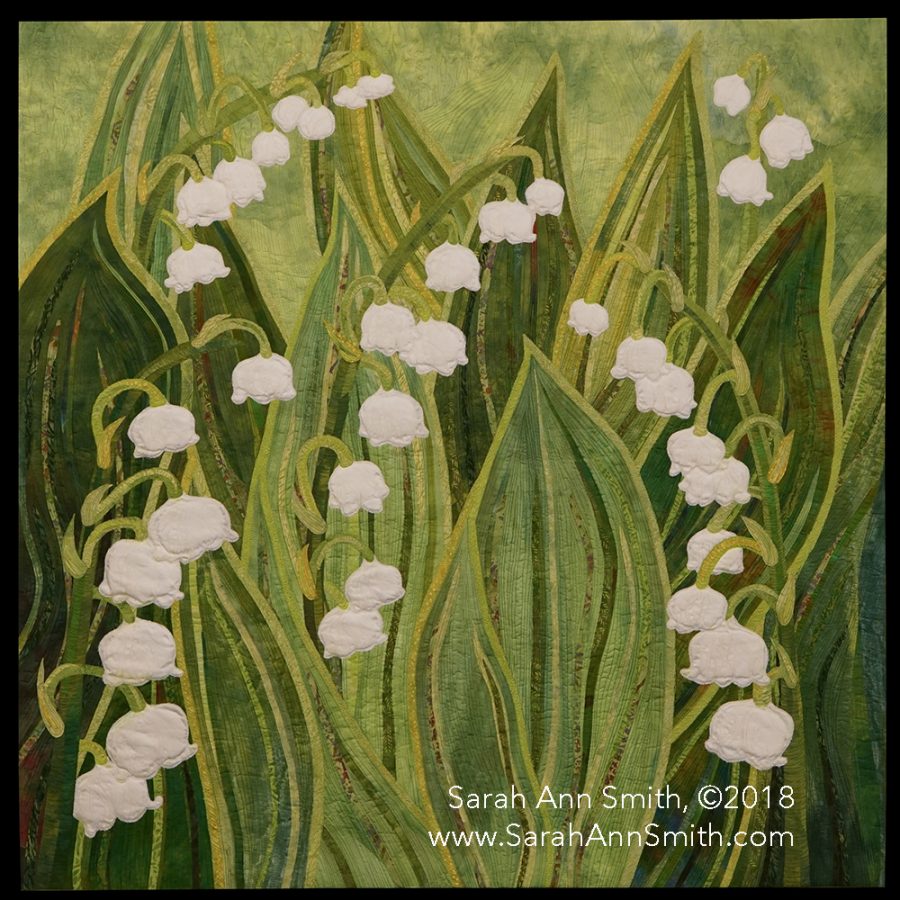
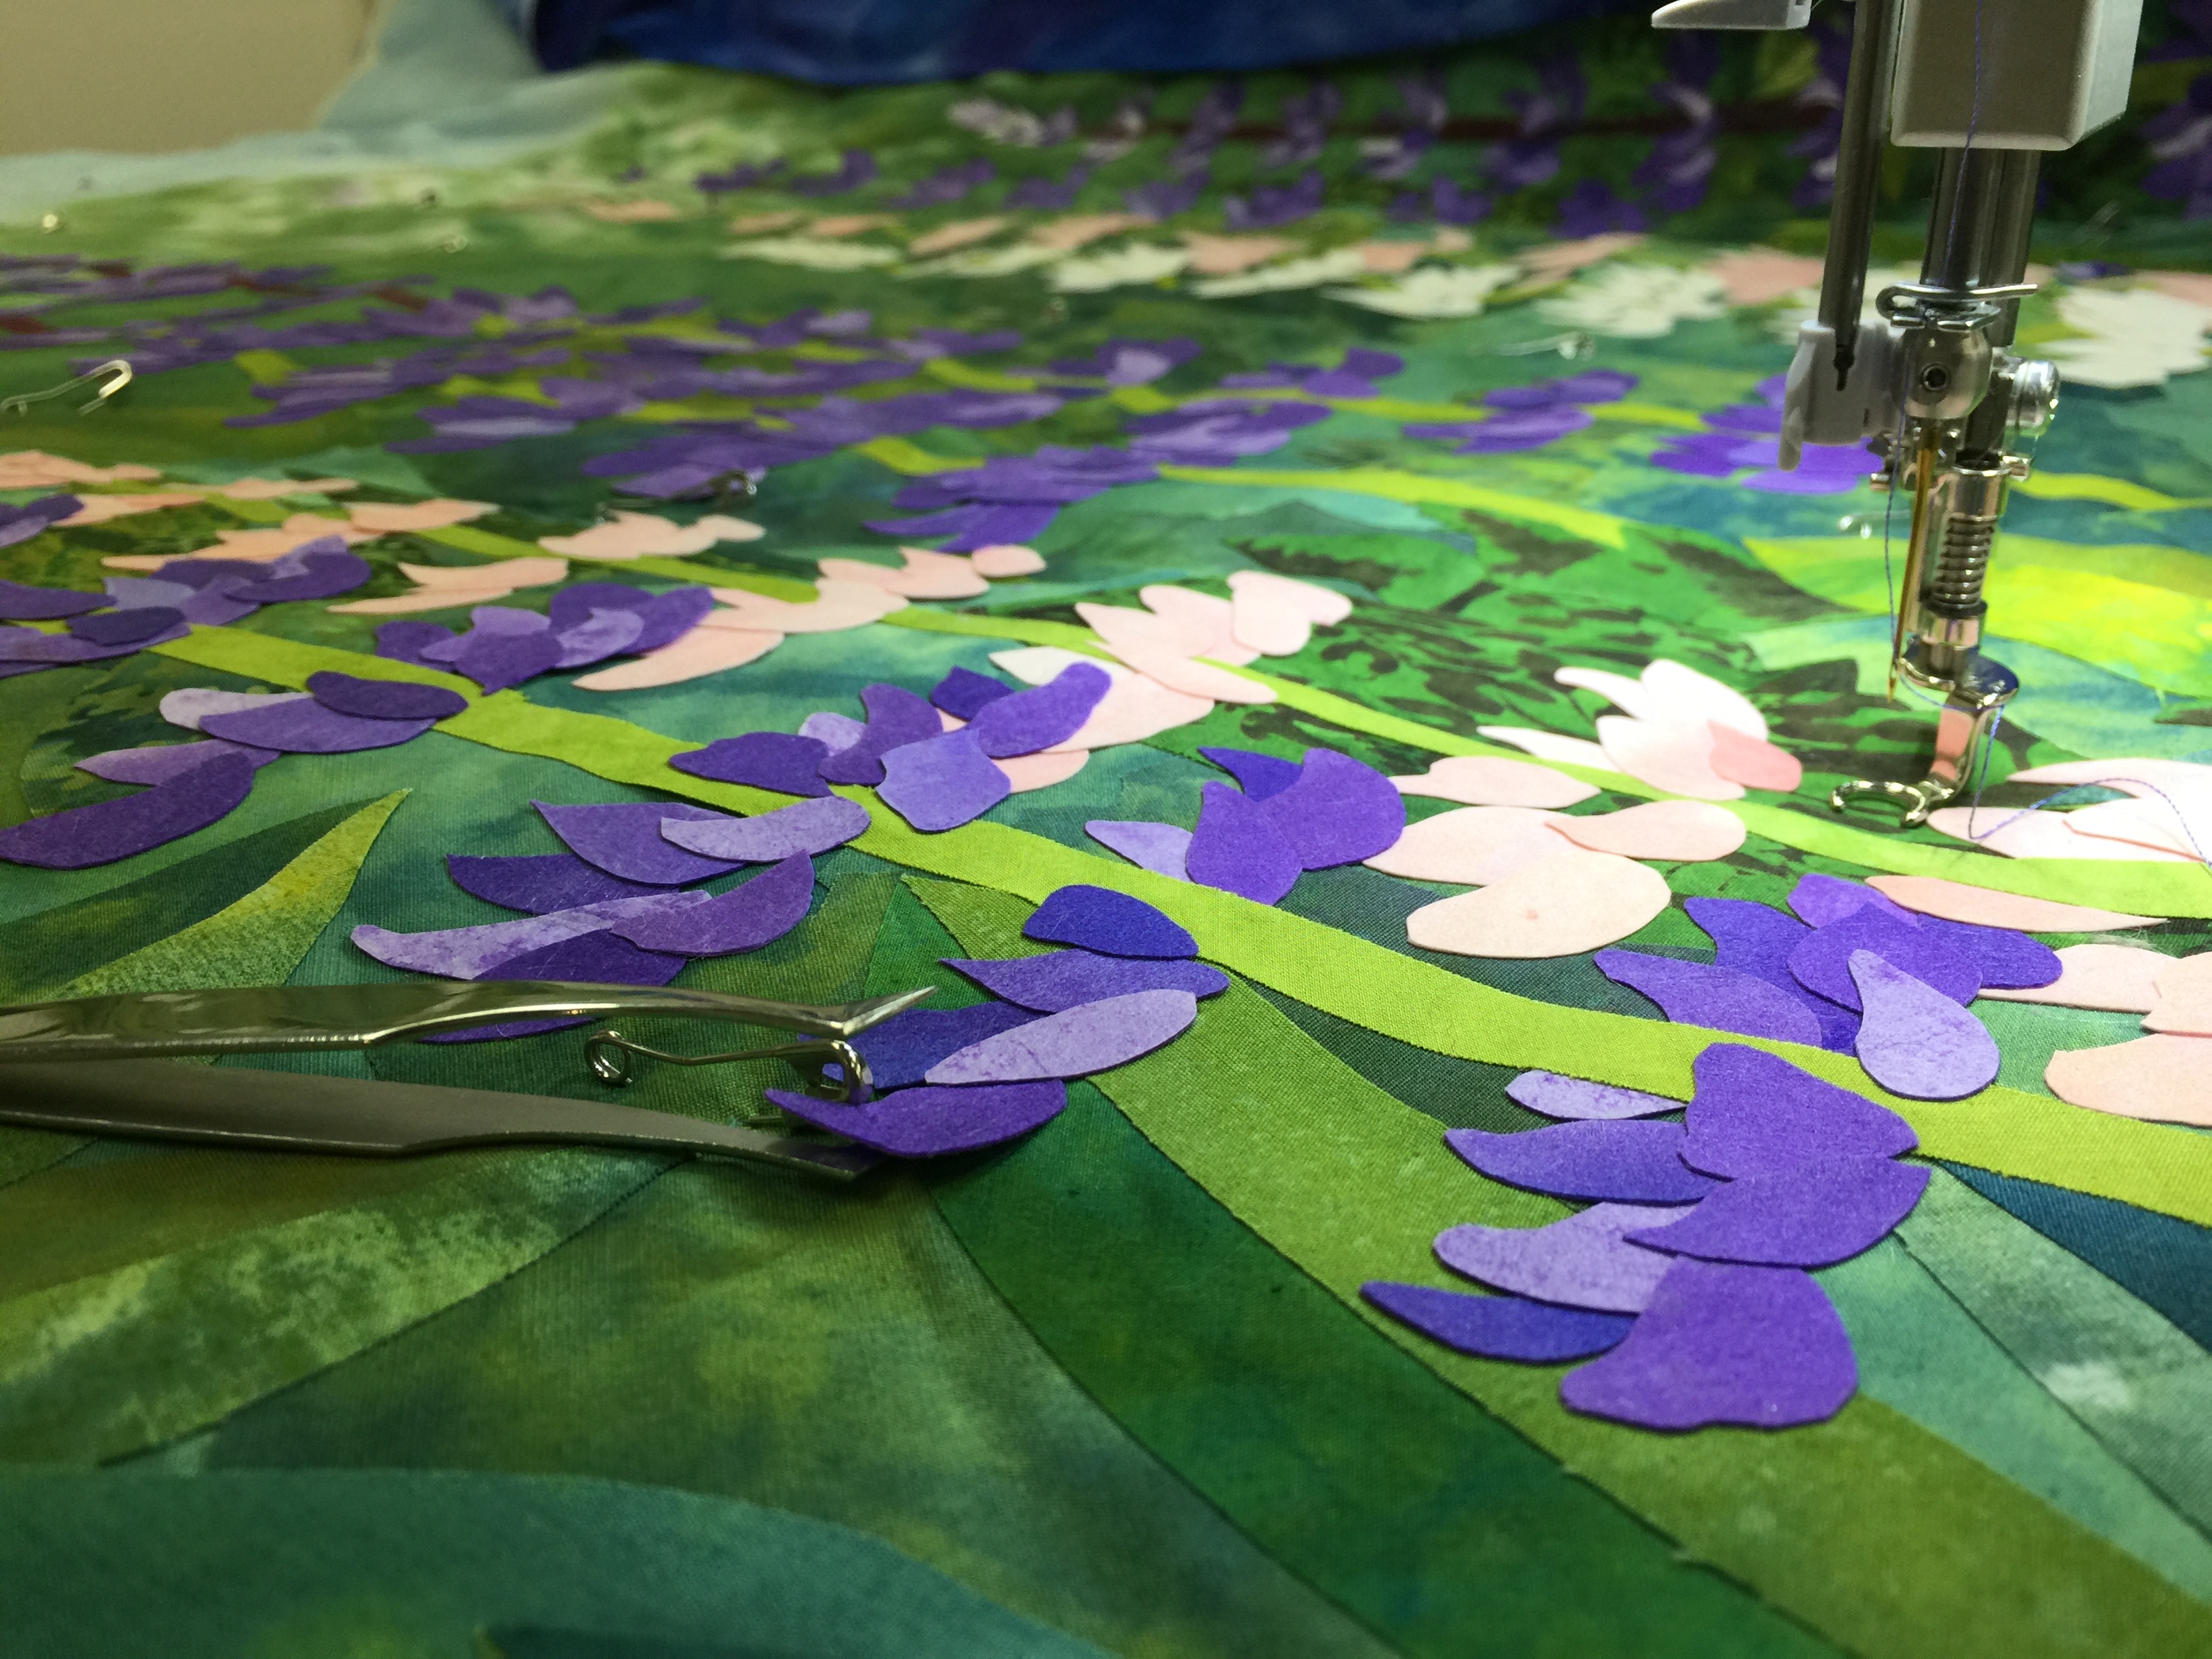
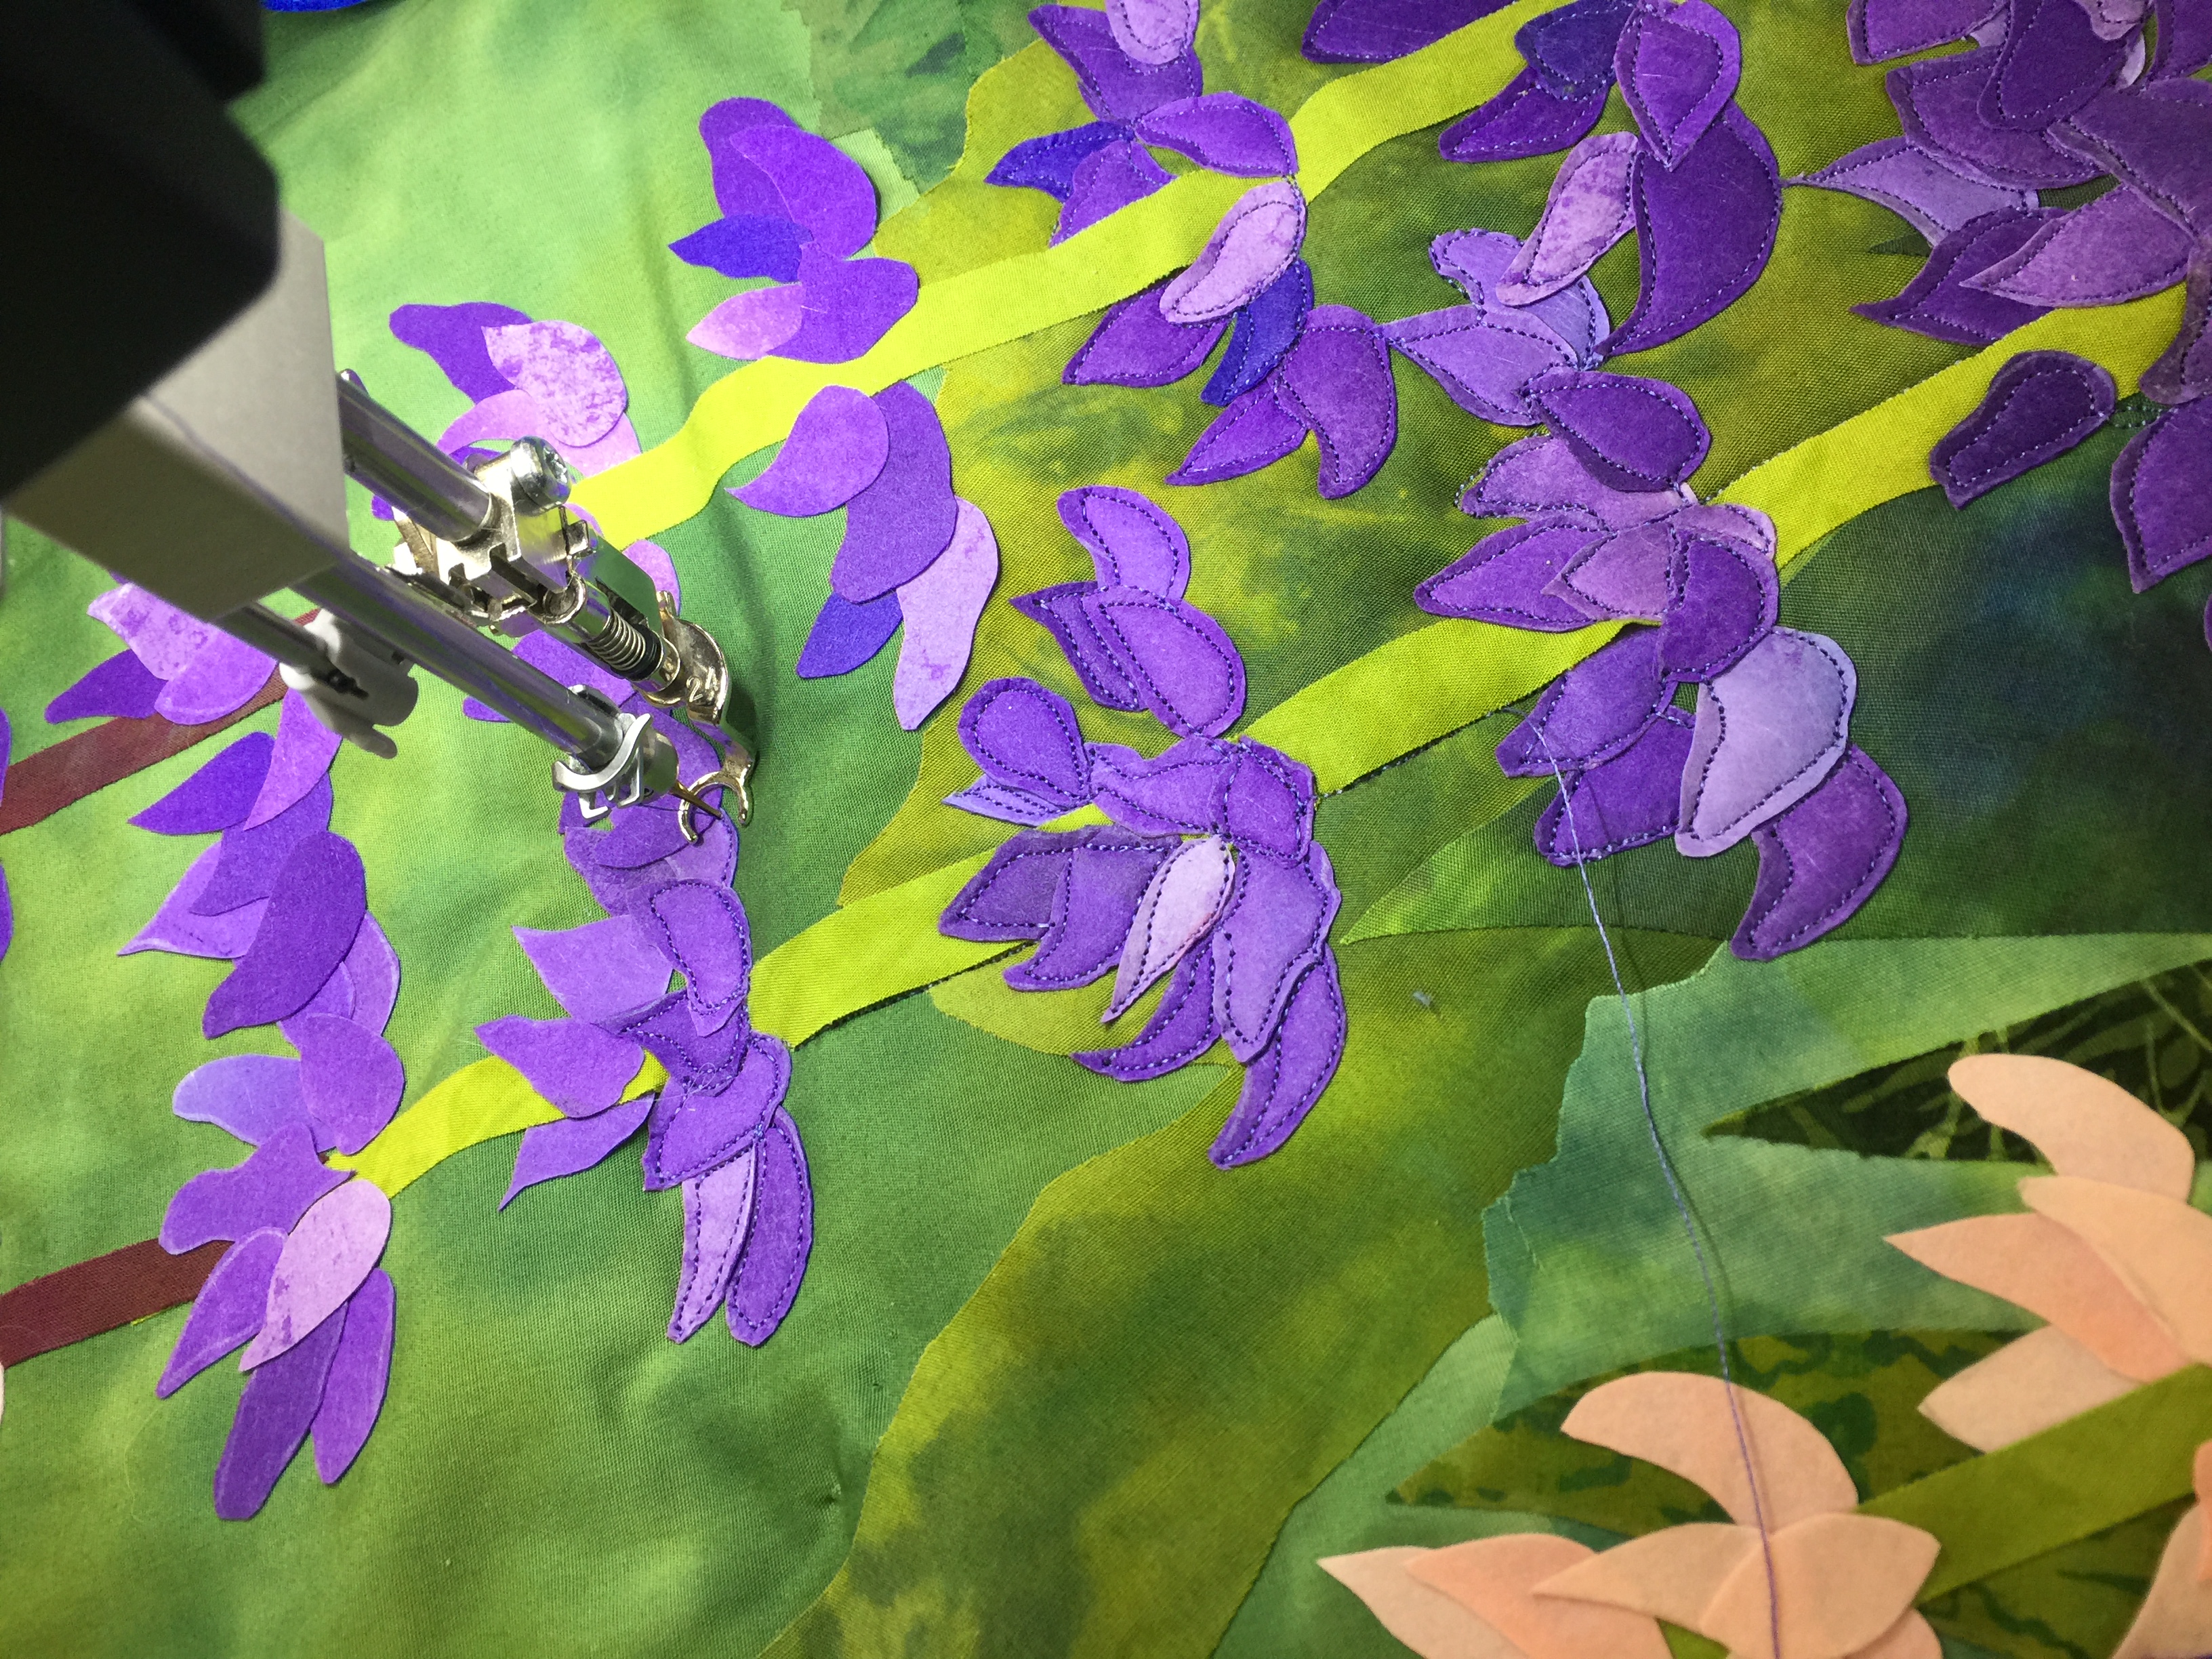
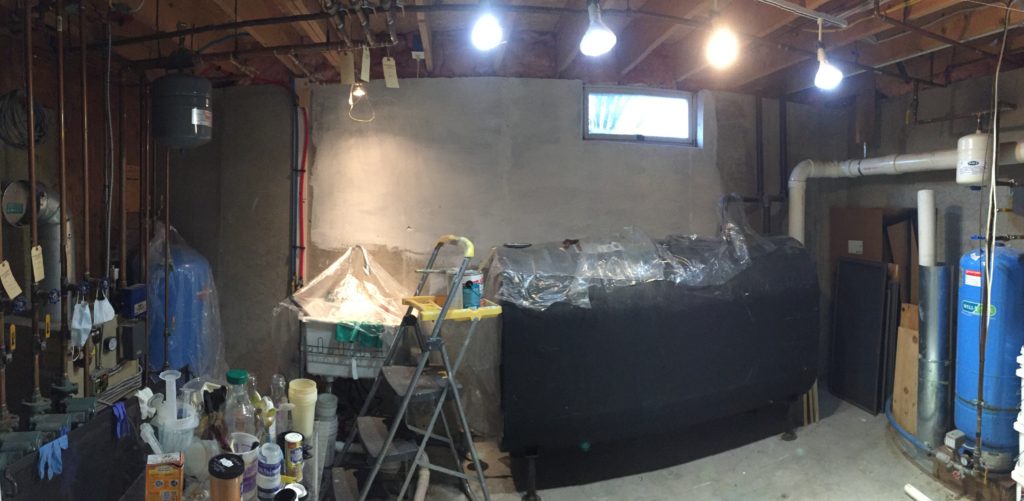
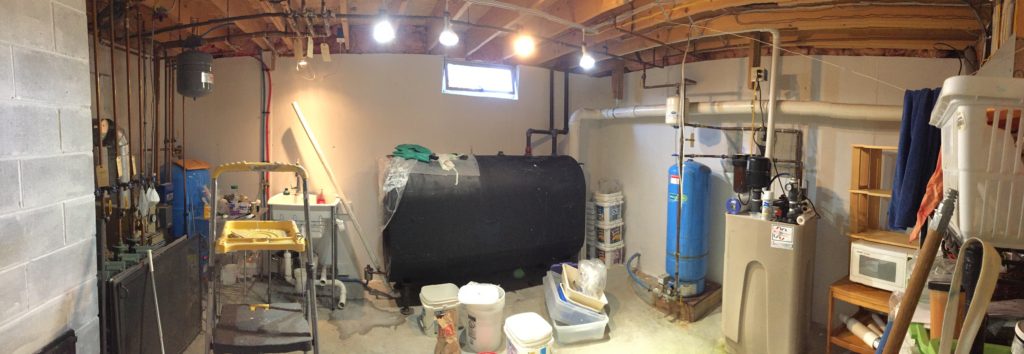
Before I can start in on the fusing and collaging process, I find that I now need to dye fabric specifically for a project.   While working on my Lilies of the Valley Quilt, I used up most of my good “summer” greens.   My next piece is for Explorations at the New England Quilt Museum (in Lowell, Mass.), a regional SAQA (Studio Art Quilt Associates) show.  I’ve had several ideas I wanted to try for this piece, and really wanted to push myself to do something different and unexpected.  Unfortunately, those ideas are just not wanting to fit into the required vertical orientation and size required!   So I’m going to do a large piece on something I’ve been wanting to do for a while:  Maine’s lupines that bloom in late May and early June and herald the summer.

SAQA members from Massachusetts, Rhode Island, Maine, New Hampshire and Vermont were invited to submit a body of work.  If selected, artists would then make a 30×50″ art quilt featuring a specific technique.  We were advised to submit several techniques, so I suggested dyeing, fused collage and machine quilting/threadwork.   I am delighted that I am one of 24 artists selected!  There will be two exhibits of 12 artists each.  We won’t know whether we will be in the Oct-Dec 2018 exhibit or the Jan-April 2019 exhibit until the works are completed and submitted August 1.  That means I need to work FAST!

I was chosen to showcase fused collage.  The exhibit is about techniques, with in depth information and supplementary materials.  From the acceptance letter:

In the exhibit, your piece will be accompanied by a number of items, including your artist statement, a brief bio, a photo of you in your studio, and materials which explain your technique. Each artist has a 20″ x 50″ area that they can use to explain their process. You can use process photos, sample pieces, written materials, even video presentations if you can figure out how to make it work.

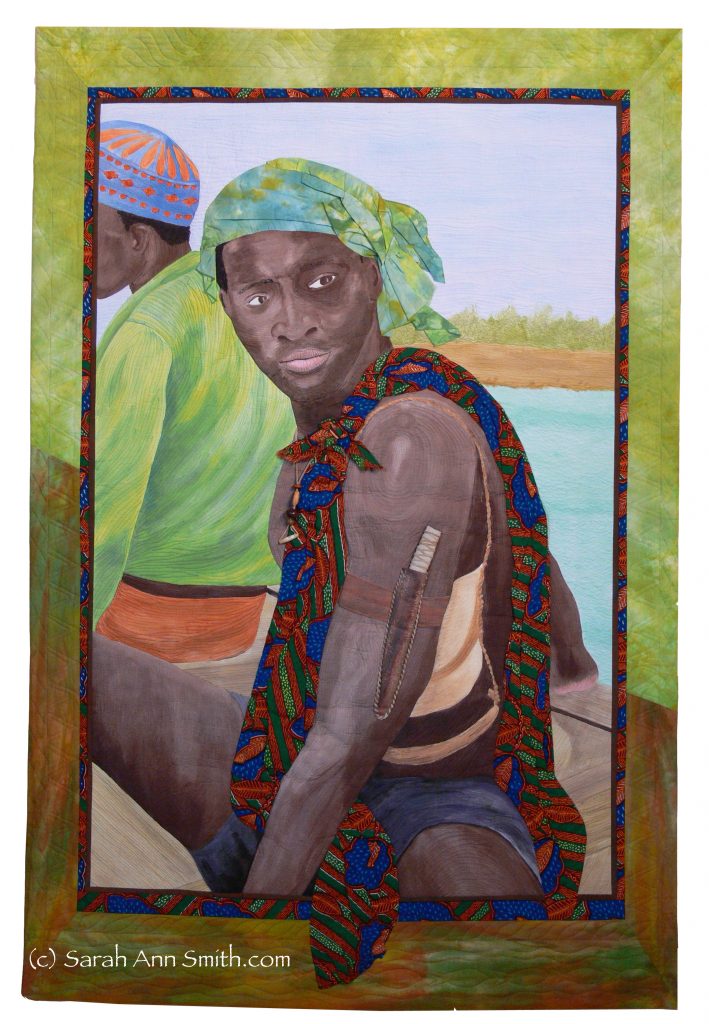
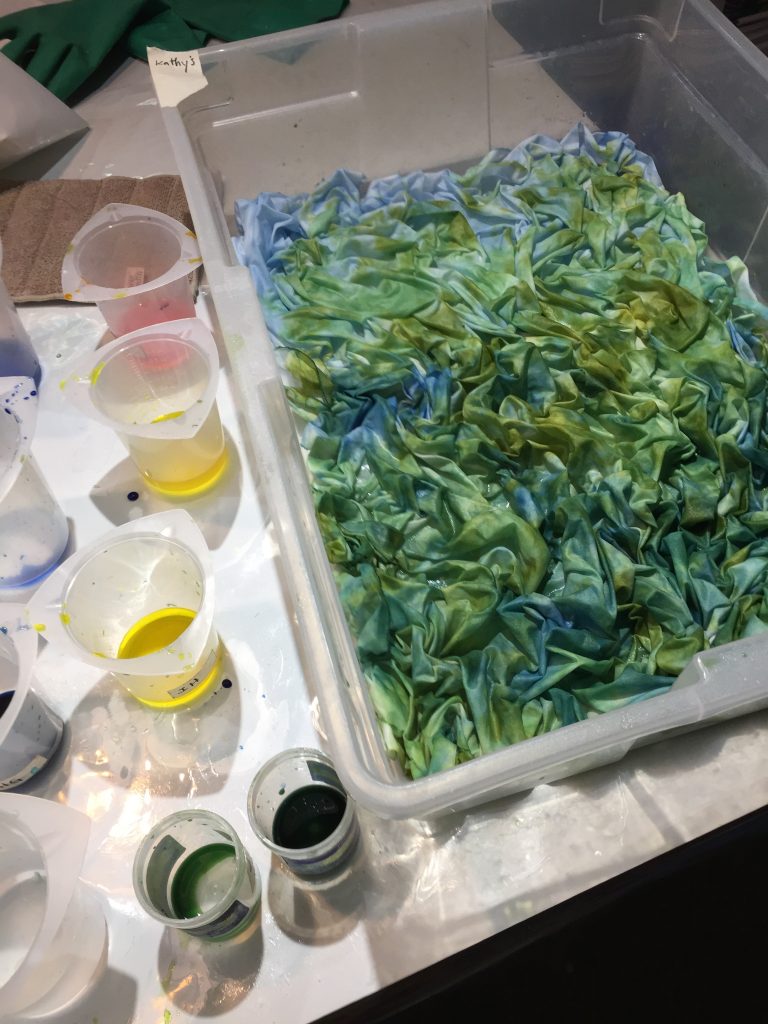
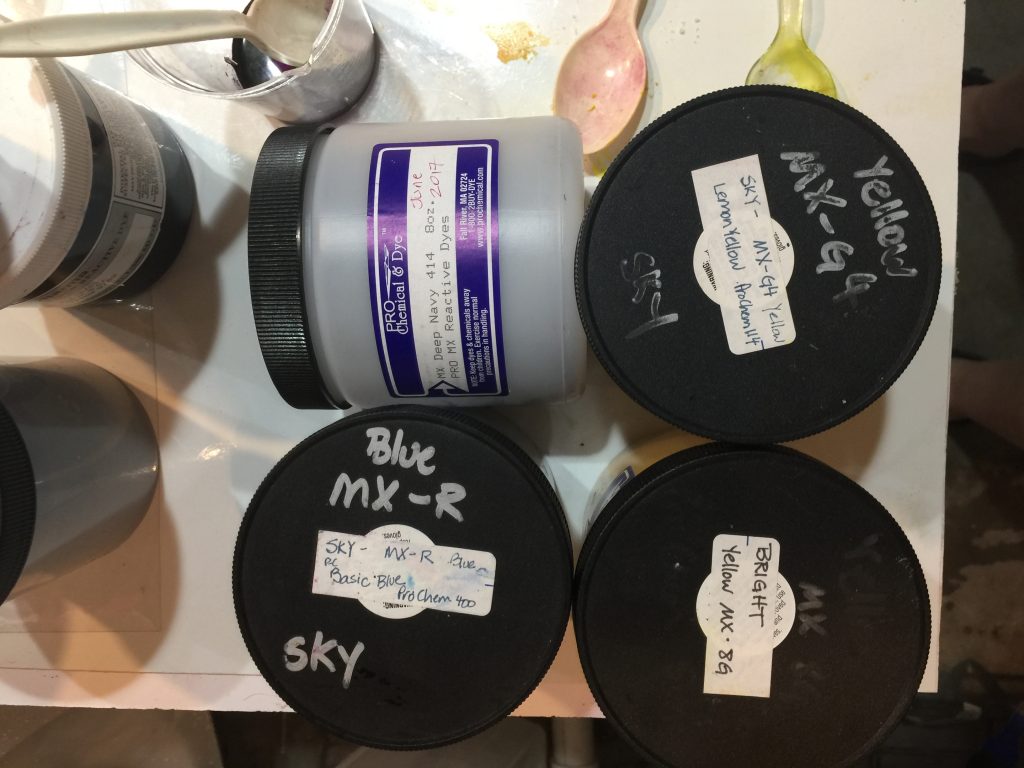
But before I can fuse, I need the right COLORS to fuse.   Some years ago I made some cloth that I gave to my friend Kathy, who used it is a fabulous portrait of her granddaughter.   I thankfully kept notes of which dyes I used, and I call this combination “Kathy’s fabric.”  This time, I decided to make it not as dark—summer meadow greens instead of piney woods greens.

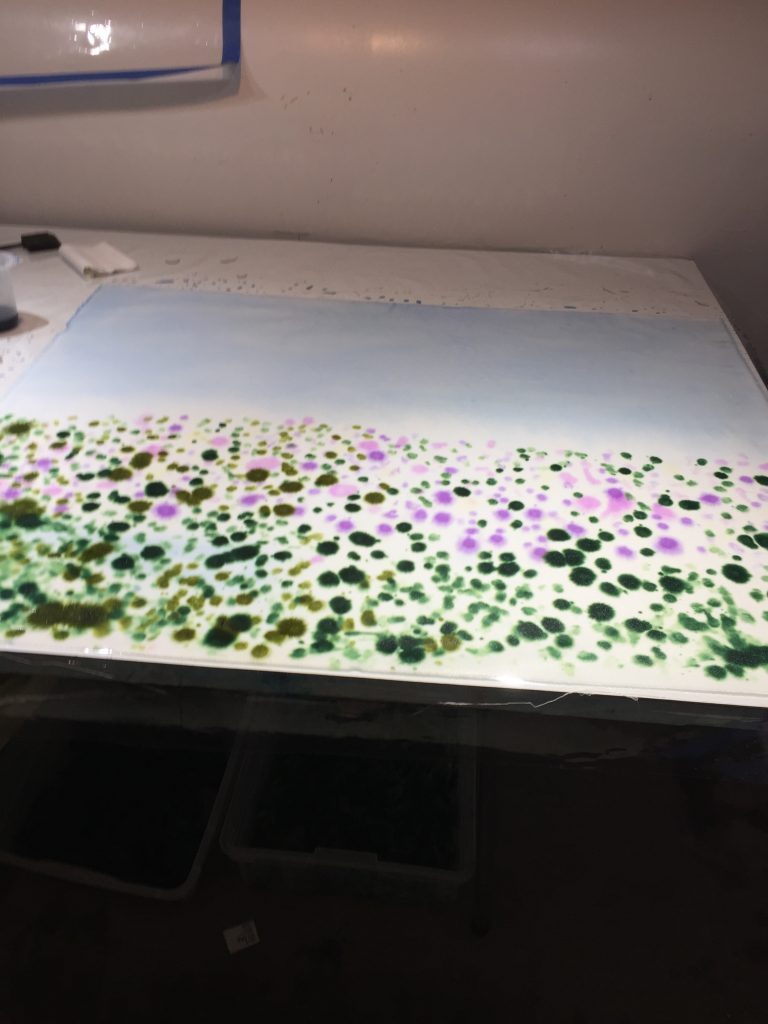
I start by dotting dye on, both navy and basic blue. I literally stick my latex-gloved fingers into the dye and daub it on. MANY classes with Carol Soderlund and many MANY yards of fabric and miles later, I can begin to predict what I will get because I tend to refer to my notes and books from the workshops, then go improv.

Then I add two or three yellows, because not just one will quite do what I want. Sometimes, I do a second cloth, as here, where I have actually mixed some greens instead of just doing yellow on blue.

For dye geeks, most of the time I prefer to paint dye onto cloth, then paint soda-ash/fixer solution on top, but this time I soda-soaked first, then daubed on the color.  When I want significant patterning, it’s soda-soak first.

The photo at the top of this post is the one which began with blue dots, then yellow, then greens.

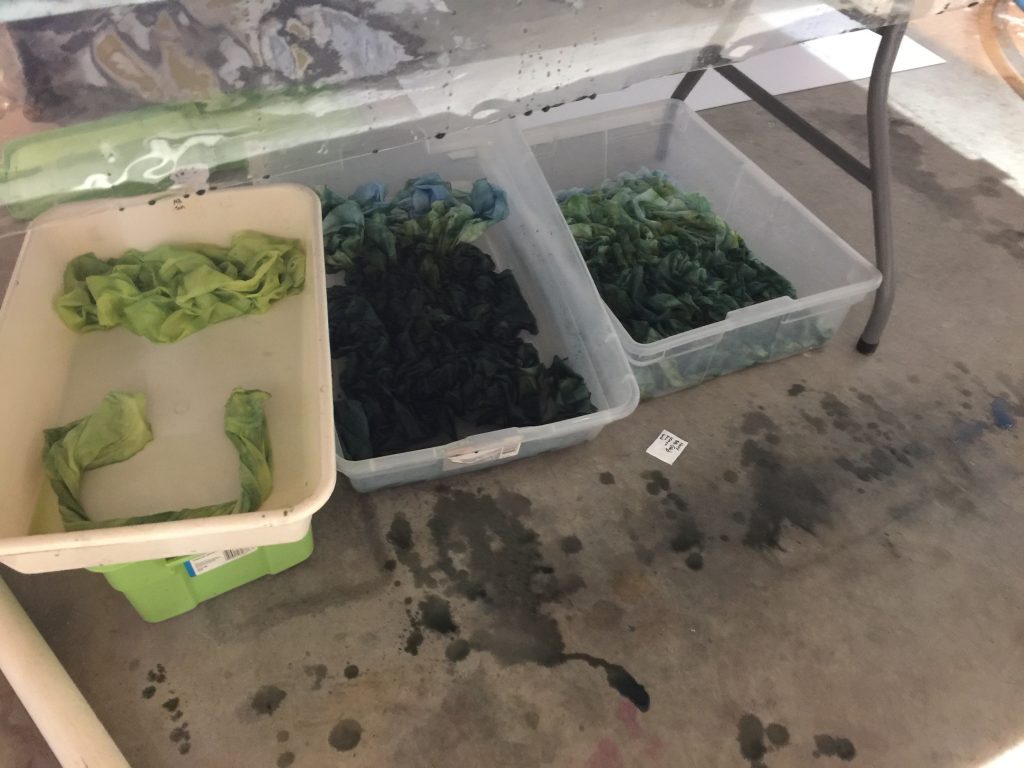
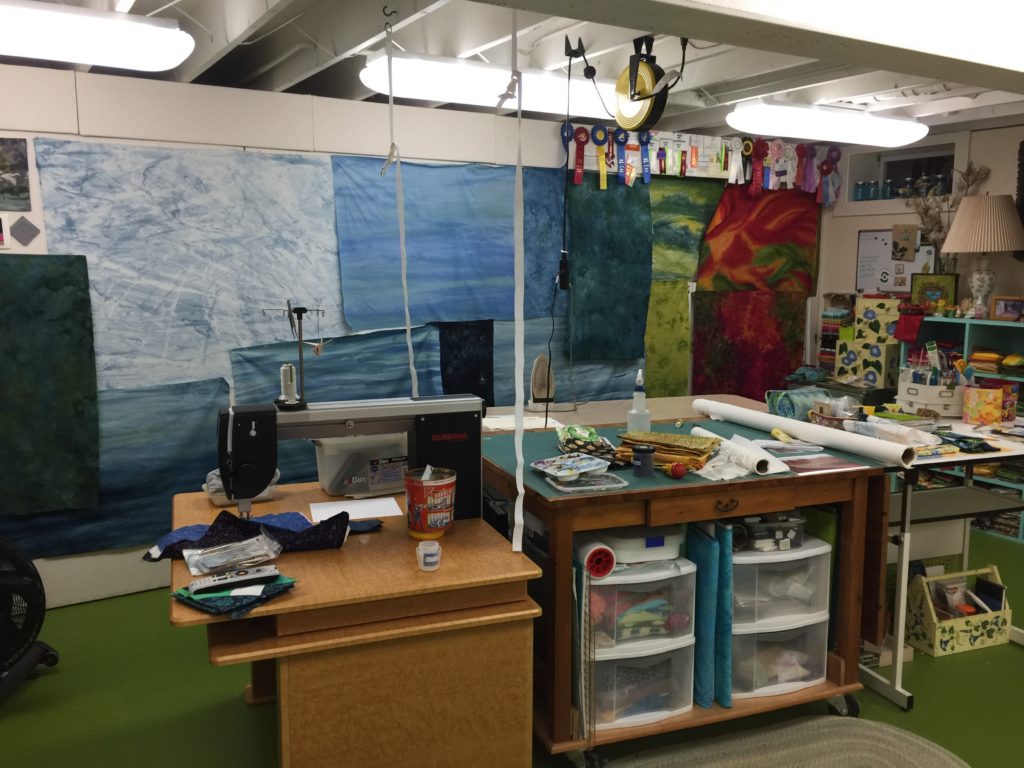
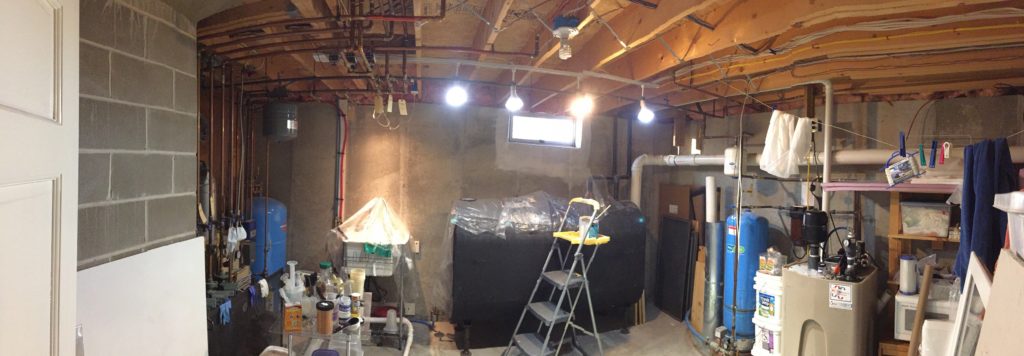
Once I’ve gotten the color on, the fabric needs to batch so it moves under the table for several hours before washout, sometimes (as this time) overnight. Had to make some of my bright spring greens, too.

Then I decided to try to make a field with lupines in it, but blurry, to use as background at the top of the quilt.  I may have messed this one up…..

Sky at the top–good until I put some plastic over the top to batch it overnight. Apparently SOB there were stray dots of dye that didn’t get washed off properly last dyeing session. SOB.

This is what it looked like about six hours later. I like the way the dye is seeping up into the sky. This is when I covered it. SOB.  And most of those dots got covered up. 

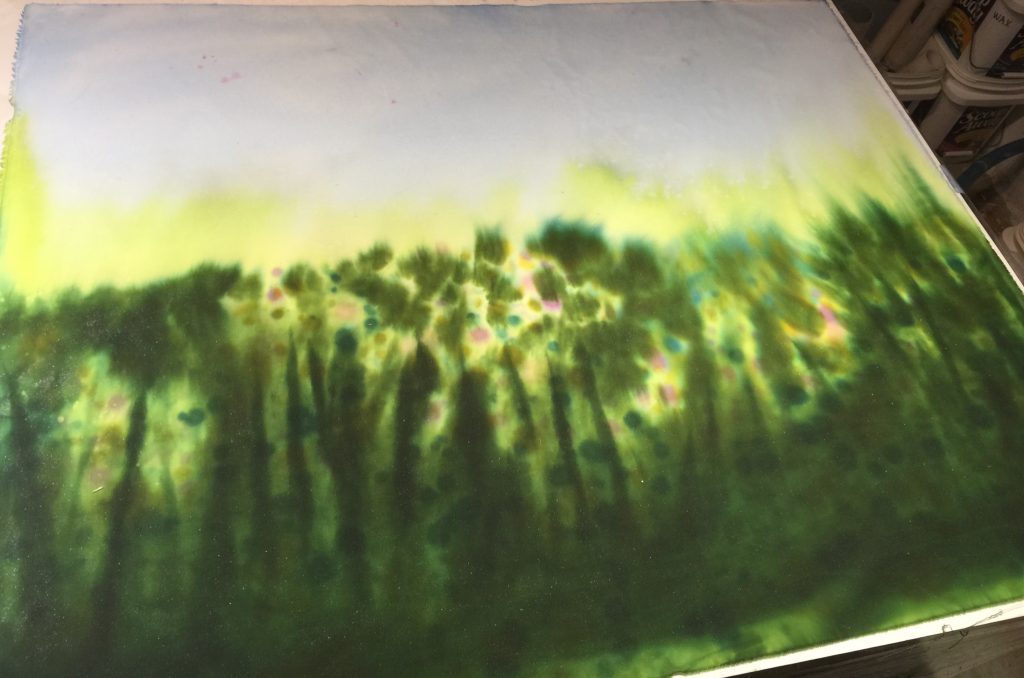
This morning when uncovered. SOB. Random specks of pink in the sky. SOB. Will have to see after washout what remains.  Cover it up with tall lupines perhaps.  SOB.

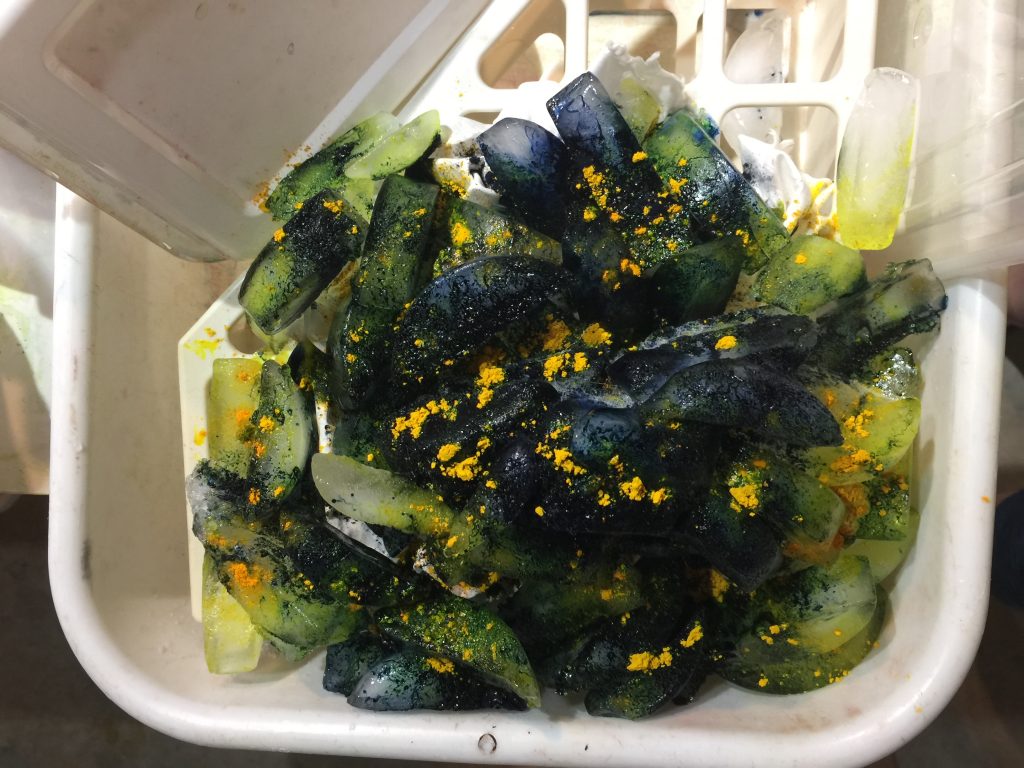
I also decided to try ice dyeing for the first time, inspired by my friend Jim Vander Noot. I used a magazine holder because it was available to keep the fabric up out of the pooling, dripping dye (instead of a screen). Put another piece of cloth in the bottom of the tub to soak up the drips. I use pure dyes, not mixes which is more typical for ice dyeing, so I kinda winged it on this one. I sprinkled the dyes in the picture below on, then dribbled some yellow dye solution I had already mixed up as well.

Dyes sprinkled on.

Today I washed out….stuff in the washer now.  OH MY I am SOOOOOOO gonna do more ice dyeing…totally hooked!   Hope they look as spectacular washed and dried as they did rinsed out!

Stay tuned for an update.

And…gratuitous cat pic of the new kitten, Zabu (named after the Leapin’ lemur on Zoboomafu which the boys watched when they were little)

Sweetness, to be followed when awake by zooming and cavorting and wreaking kitty havoc.

#saqa, #fabriccollage, #artquilt,#artistsoninstagram, #fusedfabric

#saqaexplorations, #neqmexplorations, #saqa, #neqm, #saqamari

SaveSave

Productive procrastination

Sunday, January 15th, 2017

So, I am supposed to be working on something that has a FIRM due-date of mid-to-early-ish March.  I have dyed the fabric and know what I’m going to do, but got sidetracked for a few days doing something I’ve wanted to do for eons:  paint the basement room that has the furnace, water heater, fuel oil tank, and water pump in it.  WHY?  Well, it’s where I do my fabric dyeing.   Since fabric is a lot more attractive than cement, here’s my last two batches of fabric.  Remember them, you’ll see them transformed at some point this year.

My time at the dye pots was FUN! And more interesting than a basement utility room which is what this post is really about.

What provoked this flurry of activity?  The Elfa sale at the Container Store, where good quality closet storage stuff goes on an annual 30 percent off sale.  Decided after much research it would be the best option for getting some shallow shelves above my “not a legal sink but a a basin” in my dye room because it would require the fewest screws going into the cement foundation walls and those few could be above grade (important for when the ground and snow melt in spring).    Here’s the before:


Panorama shot of the basement in the before stage…which I remembered to take only after I had started putting the DryLock paint around the window.  Click to make larger.  

I decided that I couldn’t stand putting the Elfa stuff in without finally painting the walls white (which will help with light and visibility in the room), so I started painting.  Four days ago!

First coat of DryLock paint partly on.  Better already!

Just about done except for the cleaning and moving stuff back in place and waiting for the shelf stuff to arrive.  A vast improvement (did another coat of primer on the wall at the far left).  Now, if I could just convince Paul to let me paint our dark living room……

I finished the last of the painting/priming today.  I used DryLock which helps keep water out on the cement walls.  It is like trying to paint with sludge/mud/thick paste.   ICK.   Primer on the base of the chimney/stone fireplace, and semi-gloss on the wall behind the sink as well.    I’ll post pics of the shelf stuff once it arrives and is installed.   It will require a masonry drill bit and Advil for the arthritis in my hands that will be aggravated from drilling the holes!