Spiderweb TableRunner Free Pattern for Halloween!
Sunday, October 18th, 2015This tablerunner was featured at the Janome Institute late this past summer and it is now featured on their blog, here (scroll to October 15, 2015) and here on their projects page. And I’m sharing the pattern with you here as a Halloween Treat!
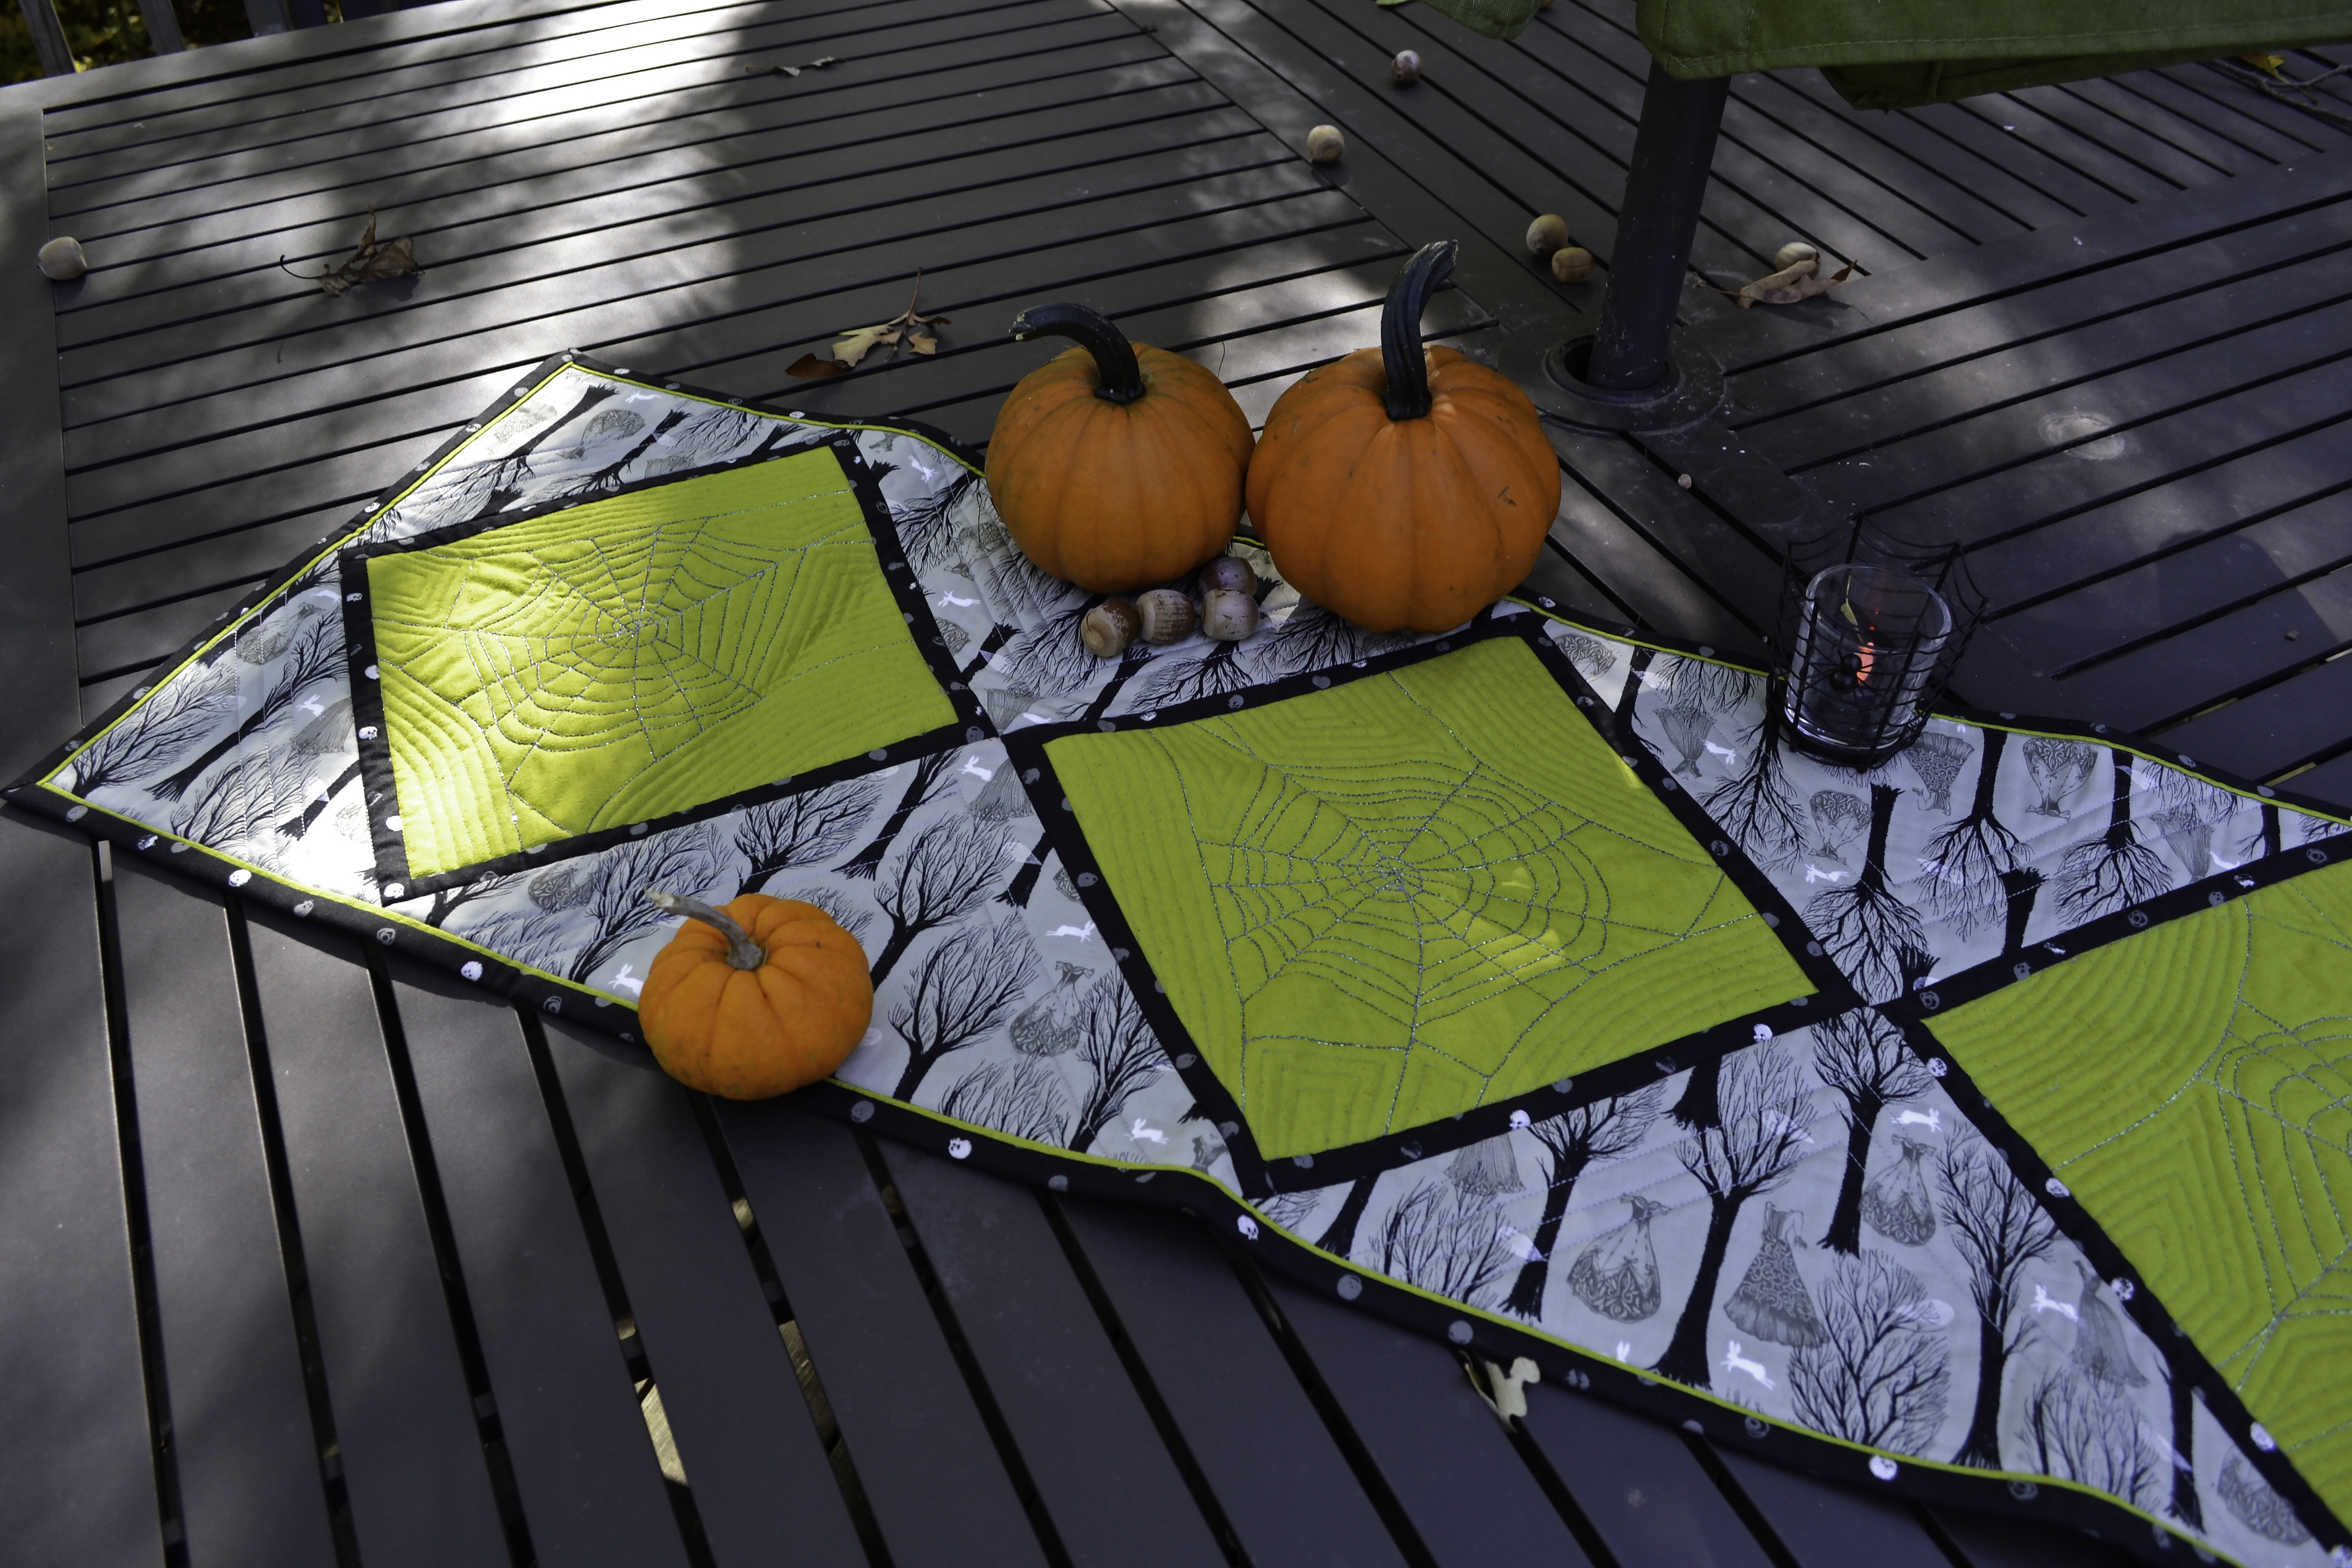
Spiderwebs table runner (c) Sarah Ann Smith 2015. Featured on the Janome America website/blog on October 15, and on Sarah’s blog. Photo (c) Janome-America; used with permission and thanks!
For many years now I’ve been fortunate to be associated with Janome America. I have been sewing on their machines since late 2004, moving up the product line so I’ve had a chance to test machines at all levels. And in about a week I will review here my test-drive of the reasonably priced Skyline S7, a brand-spanking-new machine (and to spill the beans–I can’t believe how much you get for the price!). Anyway, I occasionally do projects for Janome. Although this tablerunner was made on a top of the line Janome 15000, all you need is a machine that does a straight stitch. If you have the triple-straight-stitch also, that’s good because it gives you a “bold” line on the spiderweb, but it isn’t necessary. Even the most basic sewing machines (as long as they are not straight-stitch only) have this stitch (look for three vertical lines next to each other).
Most of my work is very involved and advanced, and the projects Janome features tend to be easier, so I drove down to one of my favorite local shops, Alewives Fabrics (here). I found the fabulous Halloween fabric, and I’m not usually a major fan of decorating for this holiday. But I love the ghostly dresses and the “polka dots” on the black that are really little skulls! I also adore spiders (anything that eats mosquitoes is a friend of mine) and spiderwebs. The green cotton-linen blend was perfect!
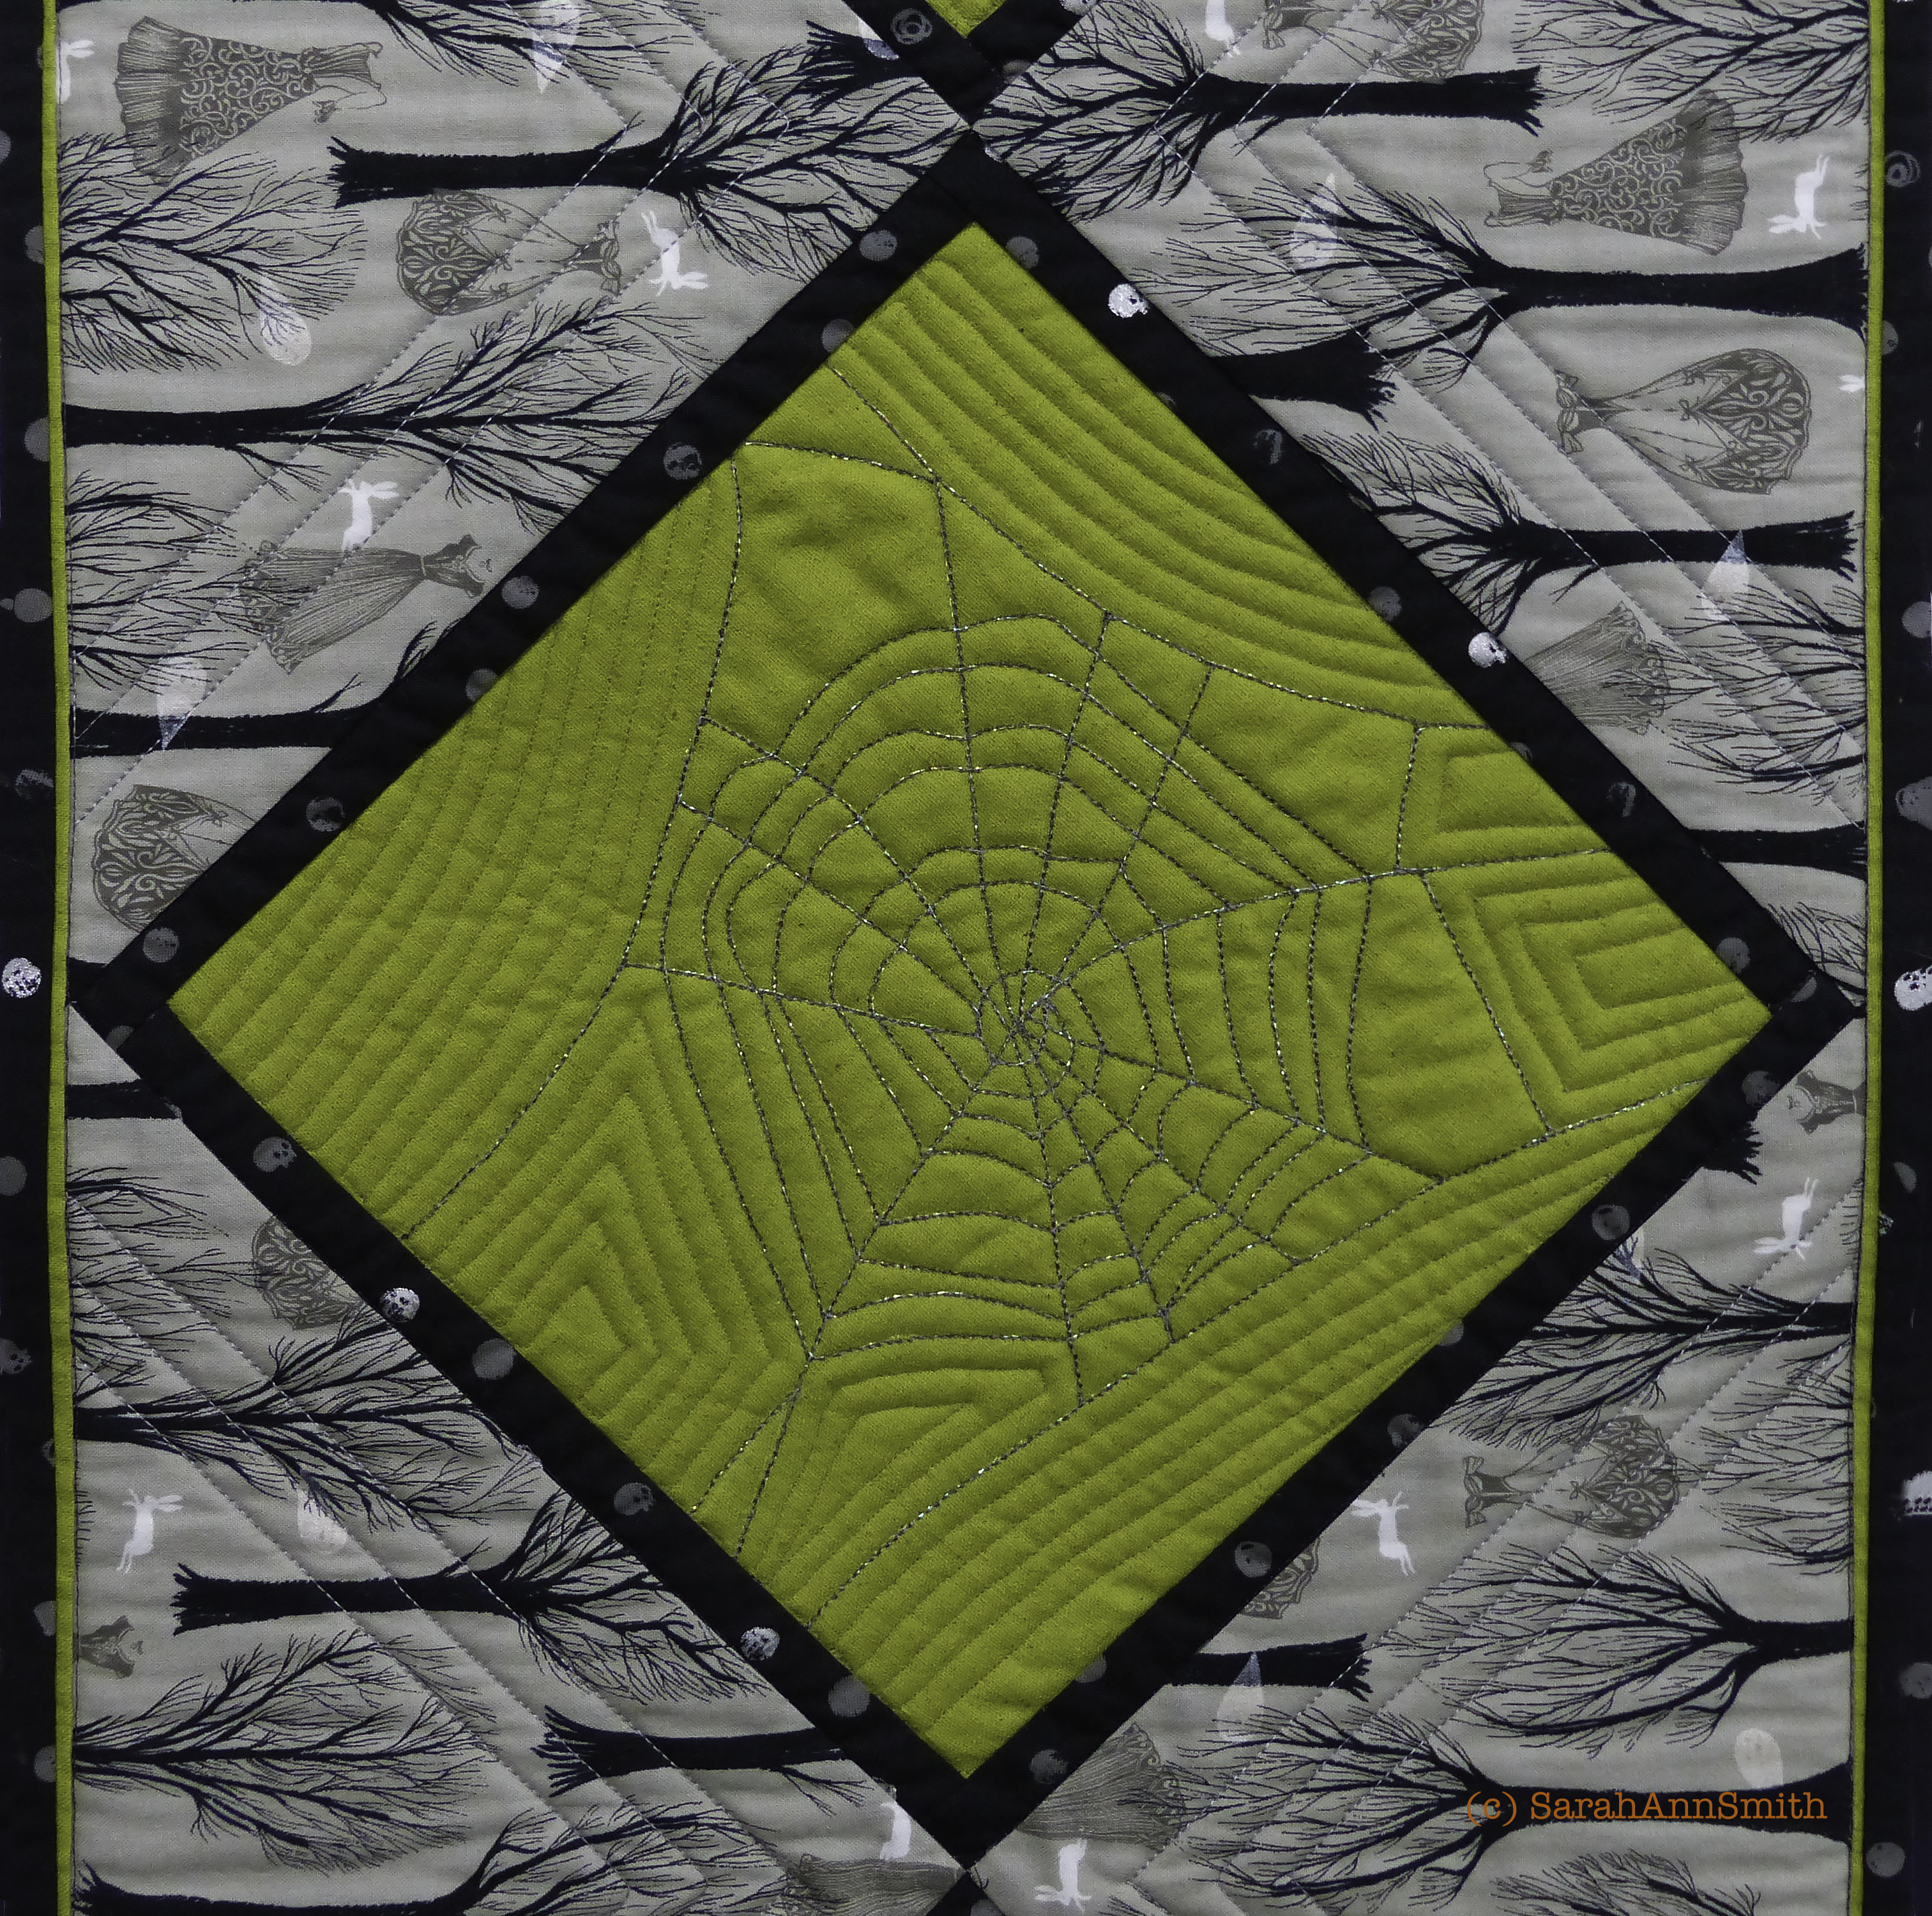
Detail of the spiderweb block.
Spiderwebs for Halloween Table Runner is the PDF for the pattern (also available on the Janome projects page, see link above). Yep–this is a total freebie, including a full-size page of the spiderweb design which, of course, doesn’t need to be just like mine! A friend had a great idea which I wish *I* had thought of: to include a line of glow-in-the-dark thread with the stitching on the web! If I were to make this again, I would feed the two threads together as if one (Thanks Lutra!) through a large needle (size 16 or maybe even 18) to do the spiderweb stitching.
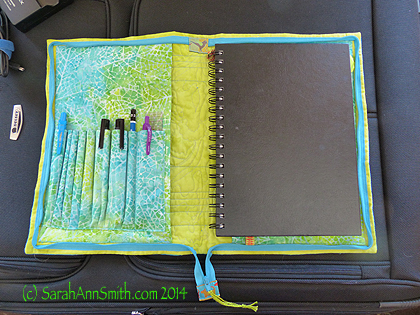
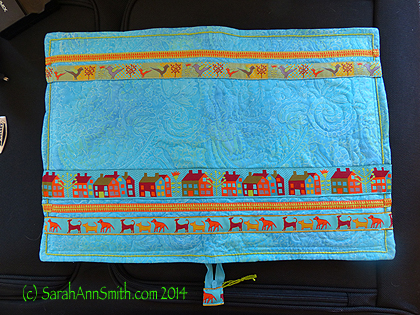
I always love the backs of things:
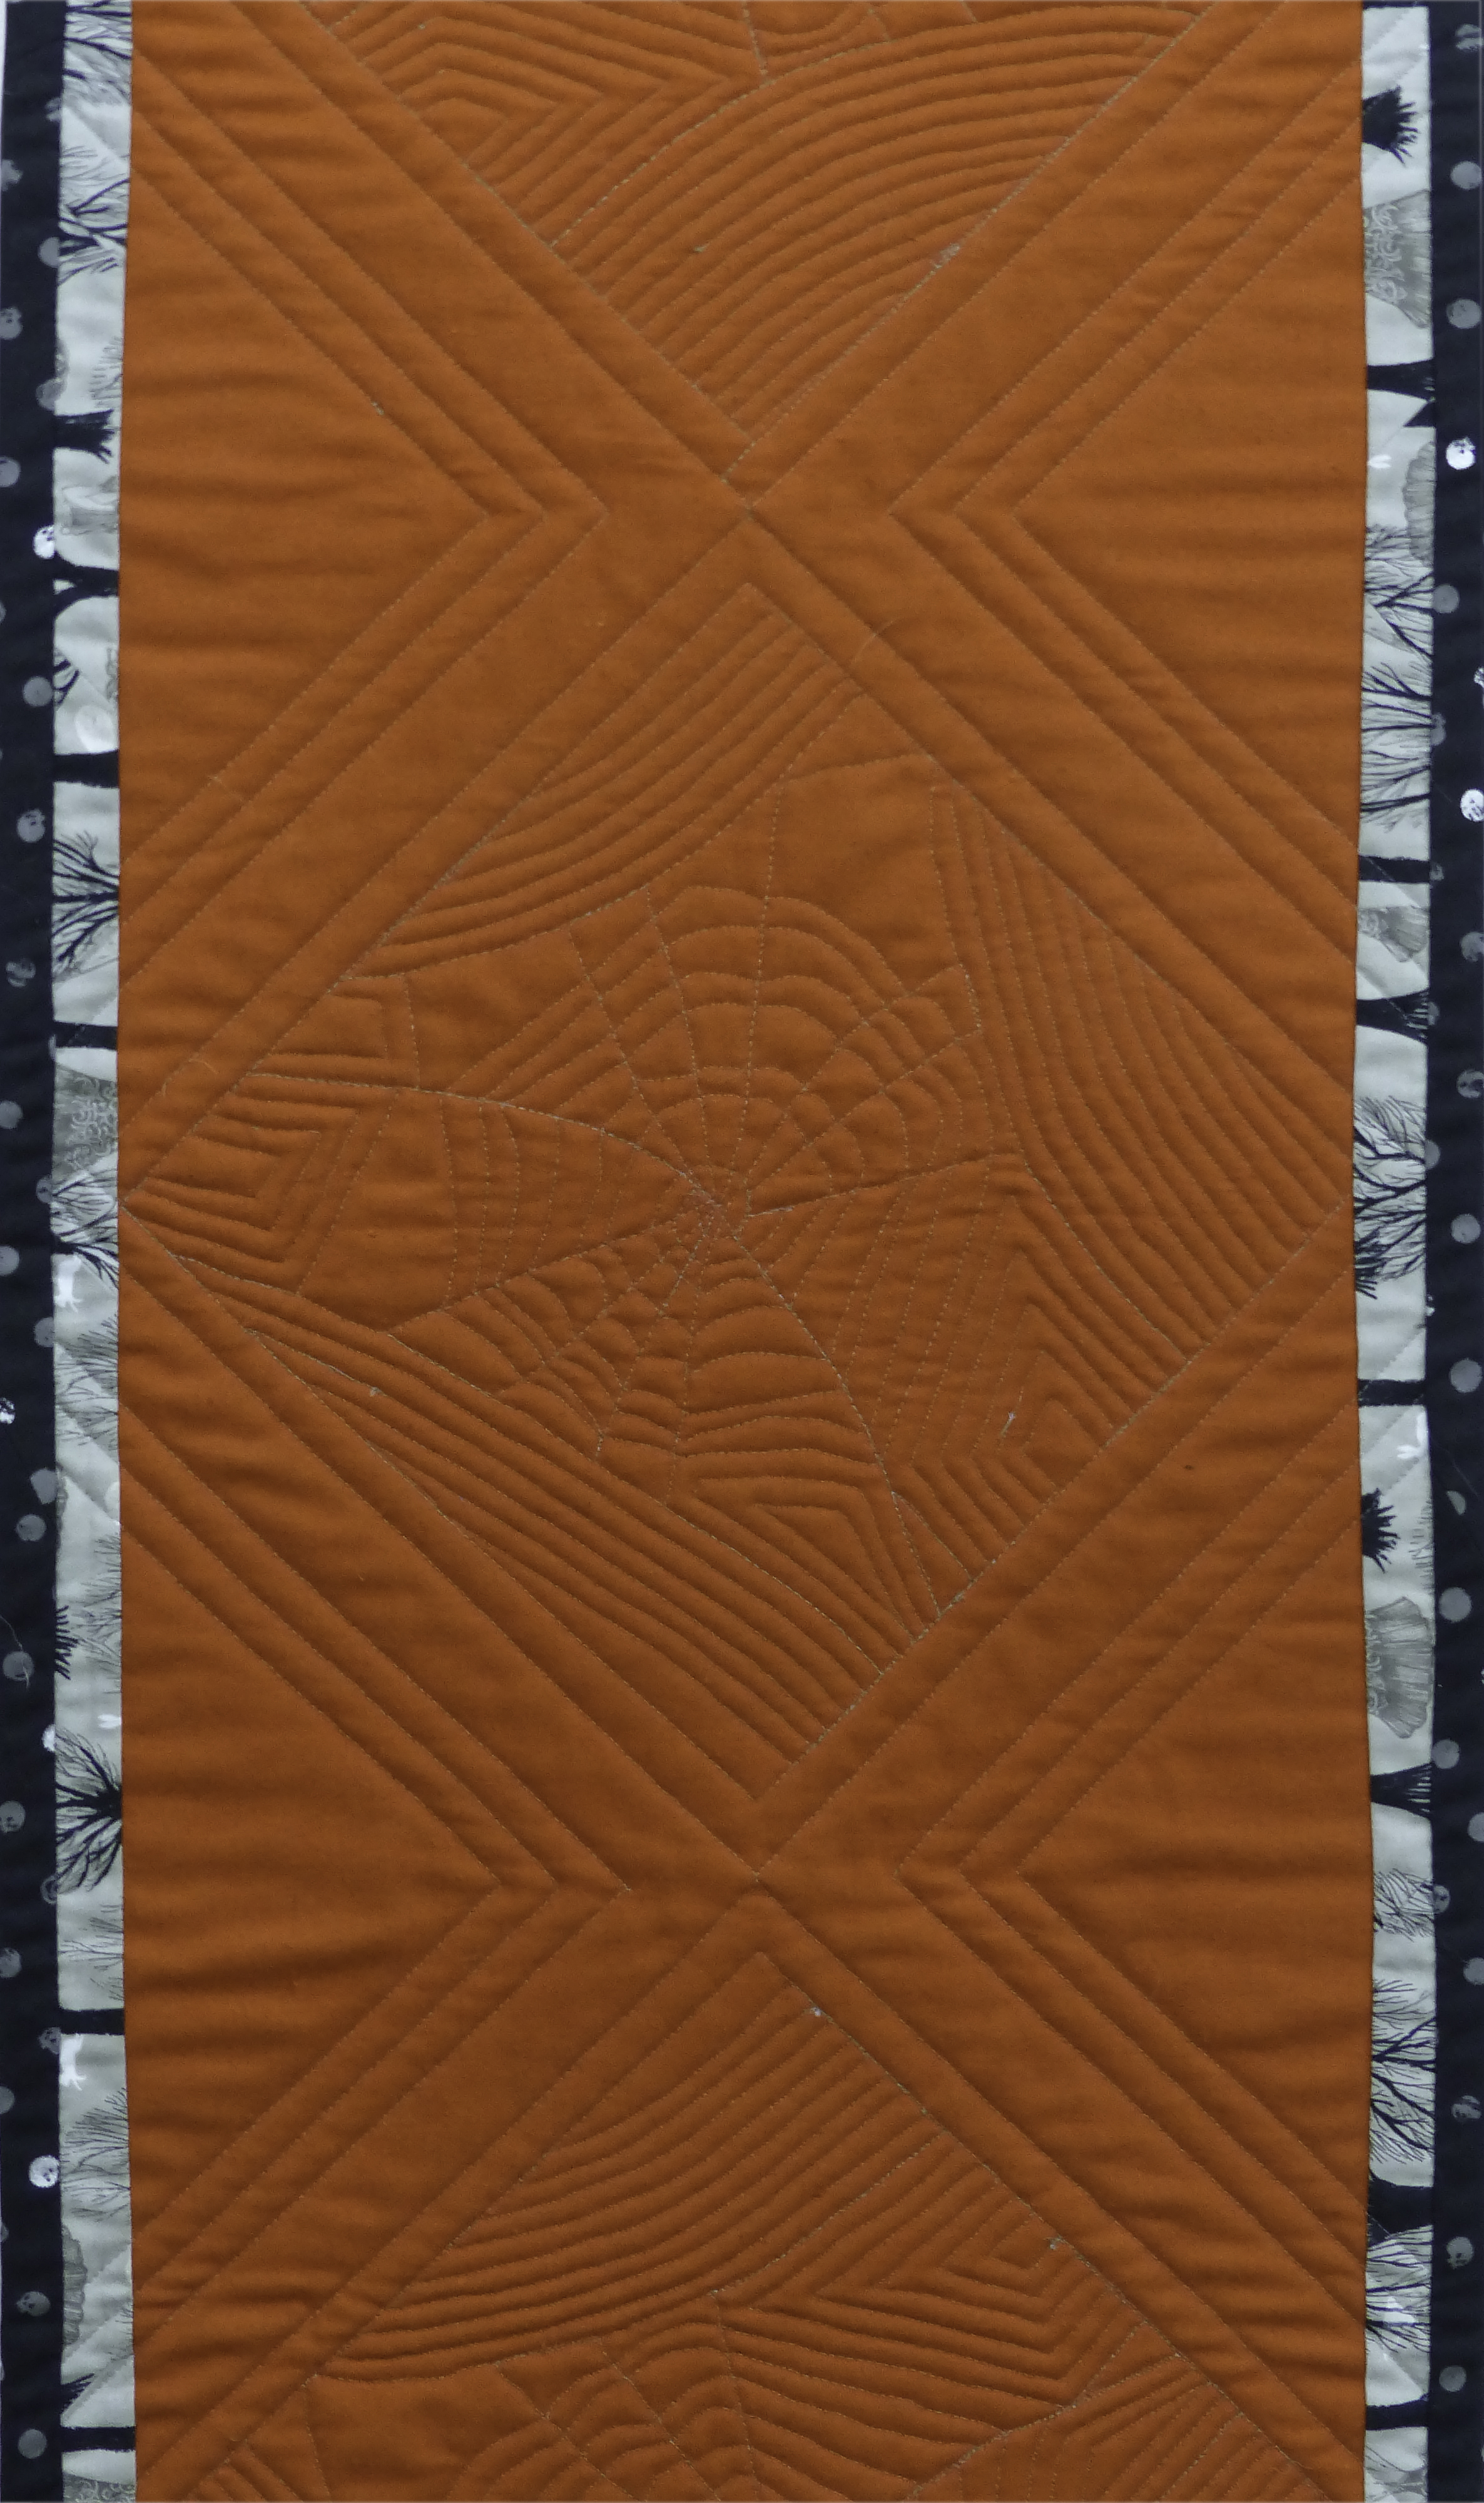
The quilting on the back of the tablerunner, so it is reversible if you want.
The fabric requirements on the pattern are SCANT–they are what I had, and I used every tiny little bit! If you find you need to square things up a lot, buy a little more than I suggested.
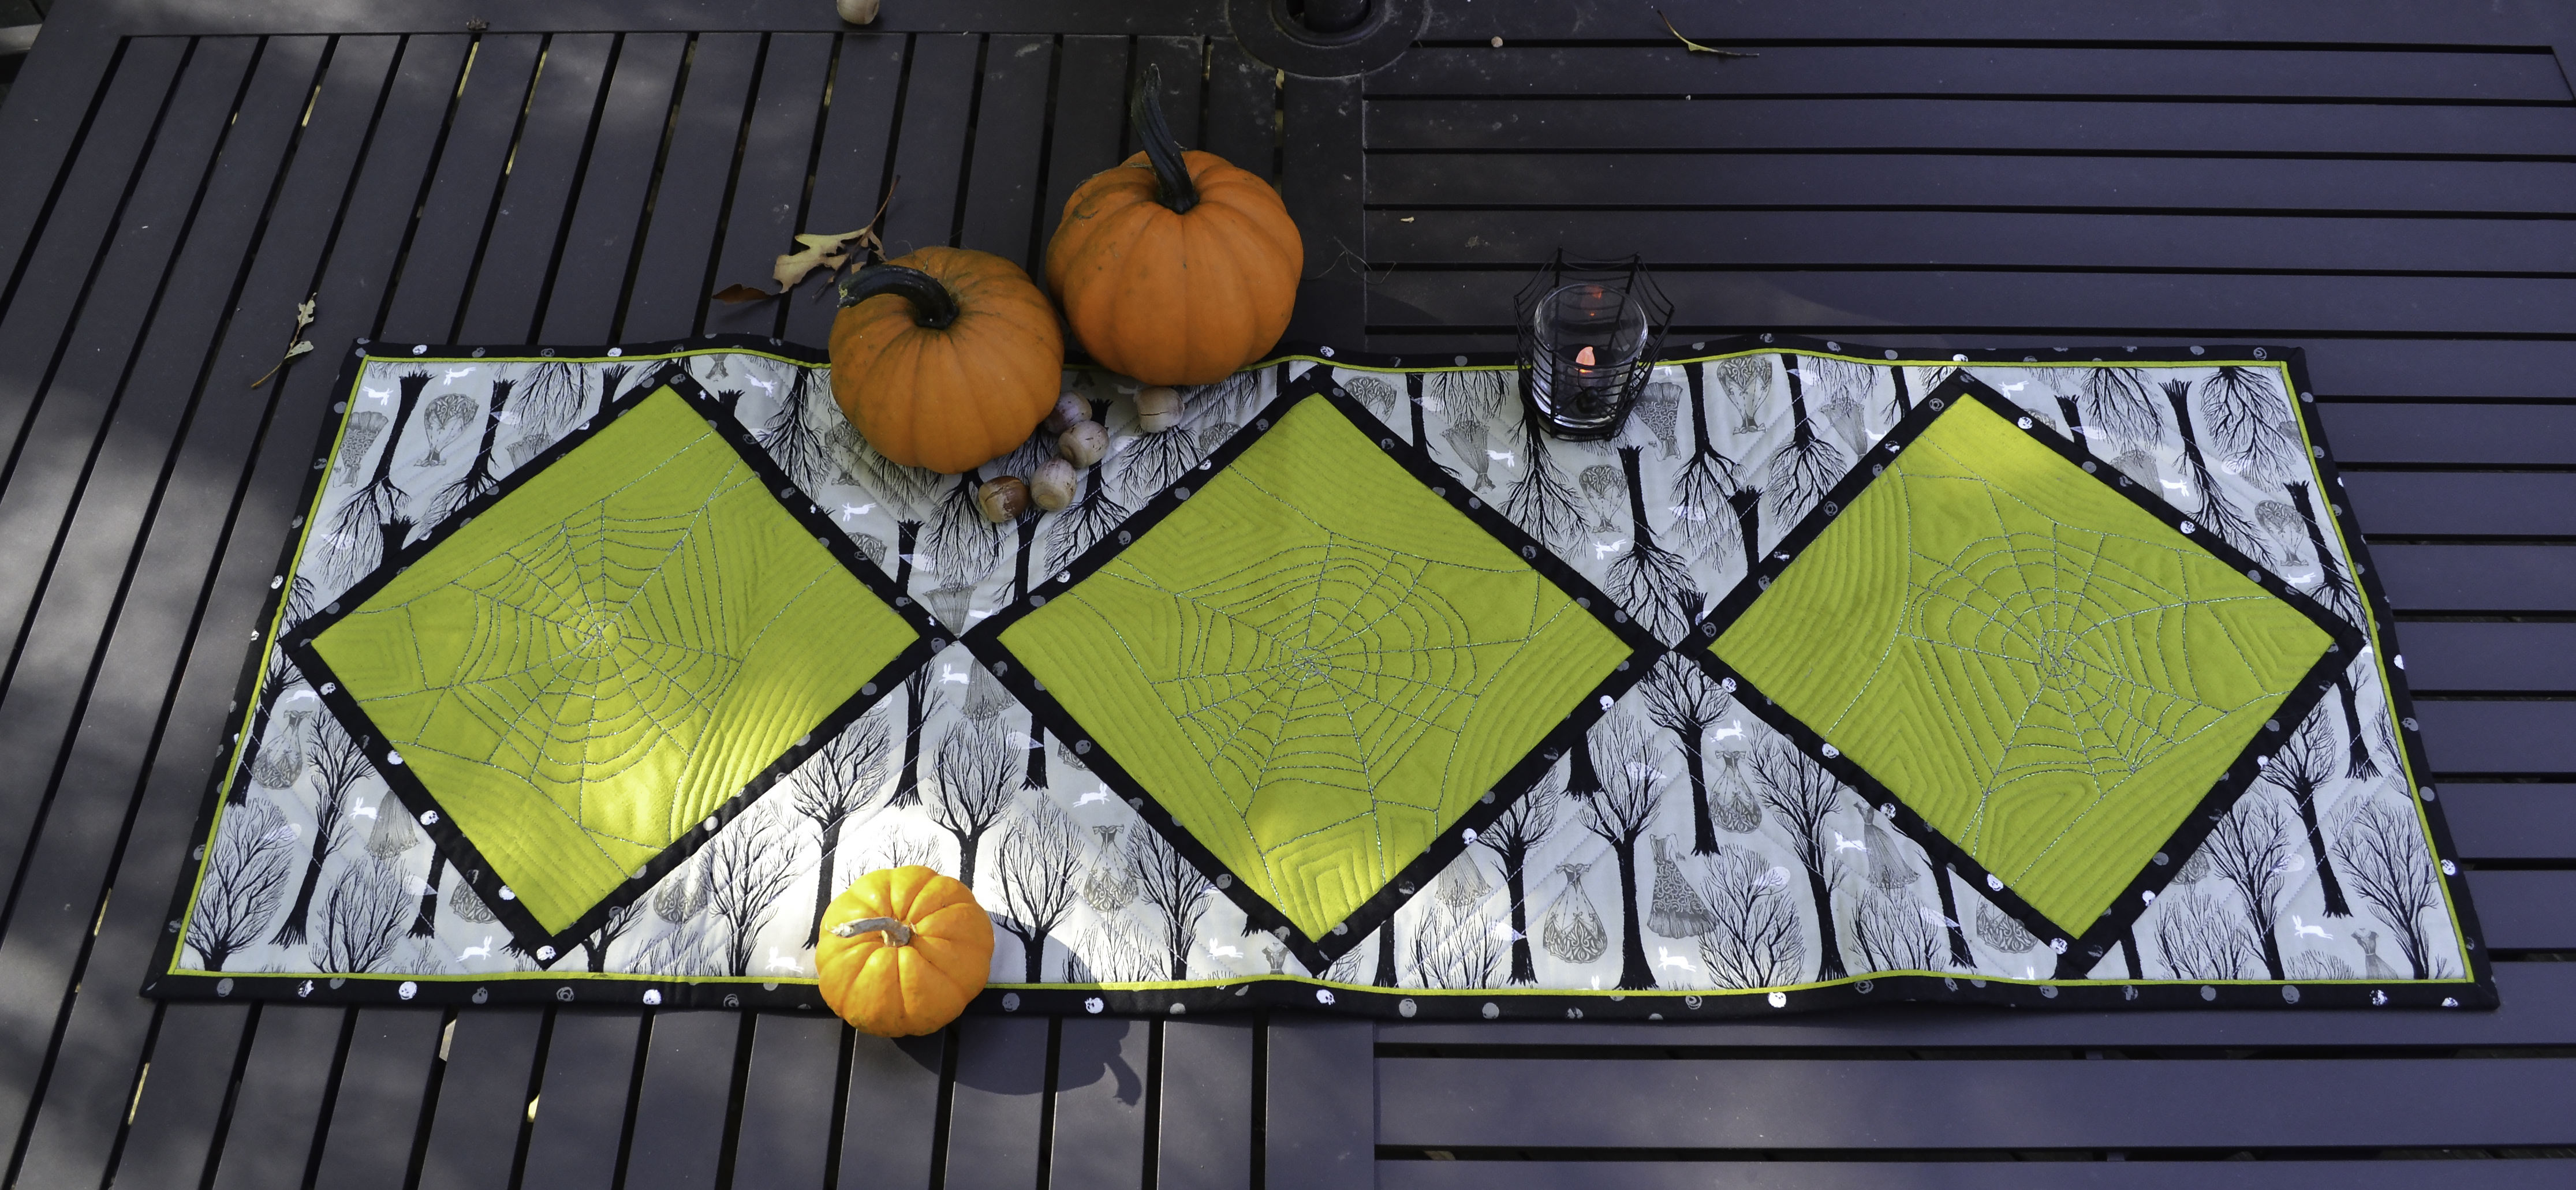
Spiderwebs table runner (c) Sarah Ann Smith 2015. Featured on the Janome America website/blog on October 15, and on Sarah’s blog. Photo (c) Janome-America; used with permission and thanks!
An extra thanks to Taylor D. and Janome America for letting me use some of their photos (the nicely staged ones on the table)–I forgot to take nice photos before I sent it off to them for Institute! And as always, thanks to Janome for having me in their Artist-Teacher program for so many years. I truly appreciate it–and best of all, for making such great machines. Yes, I’m affiliated, but I’d say the same things if I paid full MSRP!