Conversations, Part 2–starting the quilting
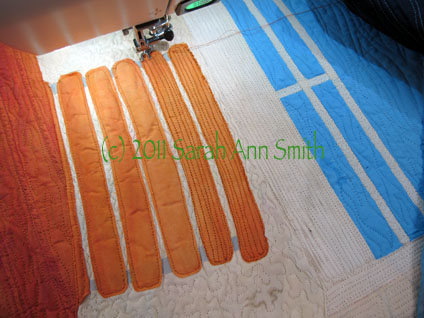
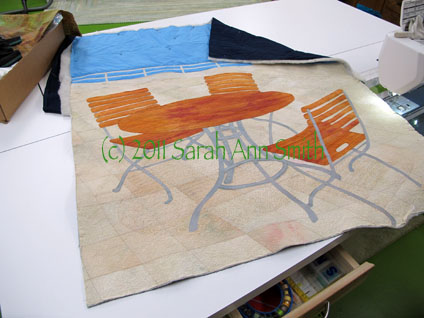
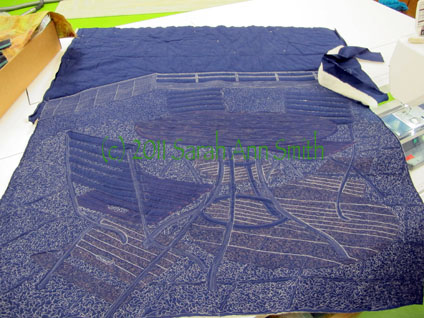
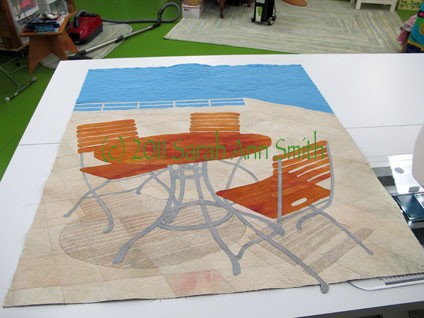
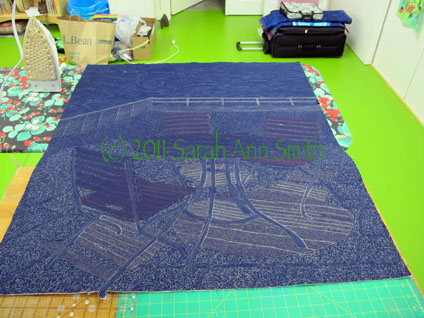
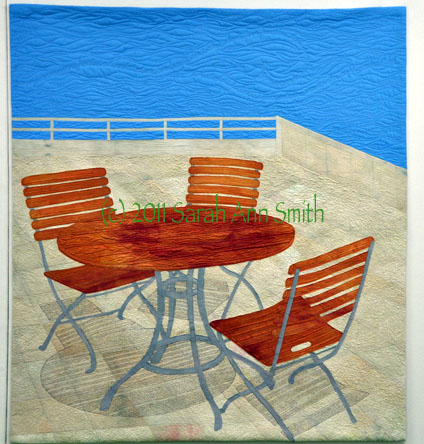
- The last time I wrote, I shared the ideas and dyeing the cloth and assembling the top to Conversations. In this post, I’ll share the quilting, or at least the first part of i
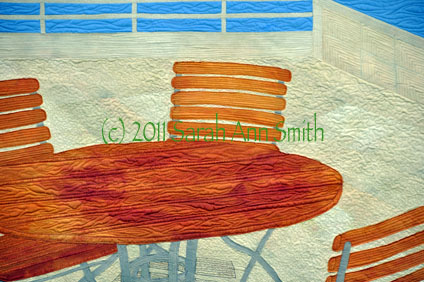
- I guess you’ll have to believe me when I say that in the narrow channels on the table, where the wood goes down vertically, there is writing to create the “shadow”
The path to finished wasn’t exactly smooth. I dyed the fabric…several times. I was having a bit of a brain scramble, and not once but twice mixed up the proportions of red-yellow-blue. At least I have some lovely browns, and fortunately I managed to make just enough of the creamy stone to make all three pieces! The sky fabric is the first time I’ve tried a vat dye (versus low immersion) where you stir the fabric to get a smooth, even color. But since the Los Angeles skies are screaming blue, I was so happy when this turned out just right, and on the first attempt (thanks to taking a few dyeing fabric workshops with Carol Soderlund).
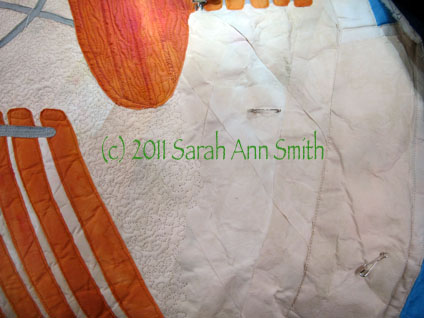
For this piece, I decided to try something different…instead of fusing the entire top, shifting my piece of non-stick press sheet as I work (I LOVE my Goddess Sheets from MistyFuse!), I thought I’d fuse everything to water-soluble stabilizer, often used in embroidery or thread sketching. What I didn’t think through is that because the top is FUSED, the stabilizer wouldn’t disintegrate when wet. In fact, it ended up looking like a crumpled paper bag. Erg.
In the next post on this series, I’ll share what I did to fix the quilt (well, I hope I fixed it and didn’t make it worse!) and the two smaller pieces. More coming soon!

August 10th, 2011 at 12:46 am
Sarah, thank you for sharing your process. It is wonderful seeing this quilt come to life.
August 10th, 2011 at 8:05 am
I love the backside also! And I am loving it as is in this picture. But, you know what you are looking for! Go for it!
August 21st, 2011 at 9:55 am
I am a first time visitor to your blog and I have to say this piece is amazing! Great work! You must have really enjoyed the artist journey this took you on.