Quilt Nebraska 2011, part 2
To continue the story of my trip to Quilt Nebraska….
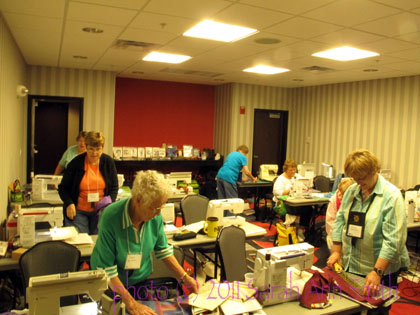
The next day, Friday, I was in the new convention center located a short walk (less than from the far reaches of the Hilton in Houston to the convention center floor, and they are all attached!), which was lovely. The rooms had not been completed when they toured the facility (it was still under construction, the place is SO new), so some of us ended up in rather cozy classrooms. The students were incredibly gracious about the tight quarters…not one single person complained (at least to me) and they all just figured this was what we had, so work with it, and we did! I moved my stuff to the floors to create more workspace, and the rooms had these really nice counters in back which we appropriated for work and cutting surfaces. They also has an awesome front-of-room thing with a white board, pull down screen, and two “doors” that covered it that could hold either a large pad of paper or on which you could PIN stuff… PERFECT!
Friday, the second day, I taught one of my all time favorite classes to teach: Fine Finishes. I teach four basic techniques, but share a number of others. Depending on how quickly students work, they can explore some of the other techniques… I just have them tell me which one, then I explain that one to them….there are enough hours in a class day to teach all the techiques, so I cover the essentials then let students learn what they came for. My theory is that I am there for them to pick my brain and learn as much as they can and as I can teach, so I share as much as possible!
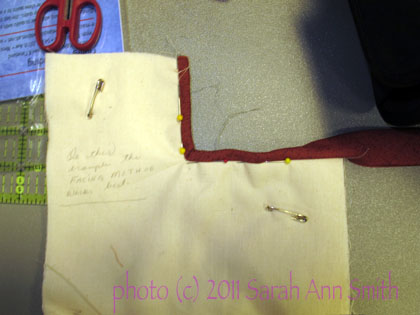
One of the best moments was toward the end of the day when a student asked something I’ve never been asked before: how to bind an *inside* corner. Fortunately, I remembered how. We used one of her quilt mini-sandwiches to do up a sample. I liked this so much I’m going to make up a sample to have on my own to add to the offerings!
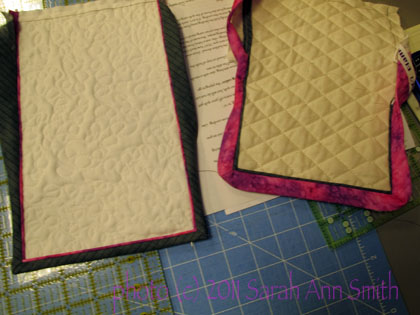
Two students shared their bias strips to try piping with a binding…they look great!
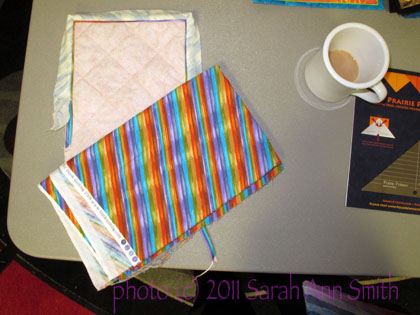
 This striped fabric looks a bit bold, but when used as a piping it was subtle and fabulous!
And on Saturday, another totally fun class, Hawaiian Applique by machine! Stay tuned for the many photos in part 3!


