email Youtube

Home
Galleries
Blog
Workshops & Calendar
Store
Resources
About
Contact

Author Archive

Postcards–Mt. Fuji, or paint as snow

Friday, September 15th, 2006

As I was working on the first of my postcards, I had a flash: Mt. Fuji through the seasons. I’m honestly not sure where the idea came from…I was at the computer, the little TV next to it was on, and I think I was at my Webshots homepage…on either the TV or the computer screen there was a mountain (not Fuji), and the idea just materialized, fully-fledged, in my head. So here are what I think are the best of the bunch of postcards so far.

Winter

Spring

Summer

Fall

In addition to the verticals, which I have decided I will keep and mount on a quilted background (to enjoy and to use as a teaching example that will travel well), I also made two horizontals. Not sure if I will send one to FFAC or what…. I’m feeling particularly “partial” to these. I think I’ll send one, but which one??? Anyway, the only notable technique (fusing, of course, has gotten routine) is using paint for the snow on Fuji. Rather than fuss with tiny pointy, shred-y slivers of white cloth on top of dark (which would shadow through the white and make it look murky) I opted to use Jacquard opaque white textile paint with an overlay of Pebeo Pearl Setacolor Shimmer Opaque textile paint.

The easiest way to mask off an area and not get smudges in a use like this is to make a freezer paper stencil. Cut a piece of freezer paper that will give you a couple of inches all the way around the area to be stencilled. I then drew an outline of Mt. Fuji and two snow lines. Using my 18mm rotary cutter and small, sharp scissors (I used the Fiskars 6″ multi-purpose scissors) I cut out the snow portion of the mountaintop. Here’s a picture of it (laying on my notebook cover, since the inside of the scanner is white, which wouldn’t exactly provide good contrast!):

Position the stencil carefully to surround the area you want to paint. Iron in place. Using a sponge or stencil brush and a pouncing motion, or a flat paintbrush stroking from the paper to the open center, paint in the area to be stencilled. That “extra white” area around the mountain is where the stencil brush overlapped the cut edge, and what gives a nice crisp edge. You want to make sure the freezer paper is securely ironed along this edge, otherwise paint can leak underneath and make blobs and unsightly boo-boos.

Allow the paint to partially dry. If you pick it up too soon, you can get leaking / blobbing; see the vertical spring card above … I got a small blob, so daubed on a couple more bits of paint with the tip of a brush to make it look like small pockets of melting snow instead of a mistake. Ahem! If you leave the stencil on too long until the paint is completely dry, you may peel some of the paint off the fabric … not attractive! Here’s the spring horizontal of Fuji, which may be my most favorite of all the cards:

The Autumn Horizontal is the first card I quilted. I usually quilt stuff to death, but after quilting ridgelines in the snow, I decided in the other cards I would just outline the snow. Also, for this card, I pounced the lower edge of the snowline with the nearly-dry stencil brush to give it that “just-snowed” dusty look:

This card gave me the idea I should do the same composition but use Mount Kahtahdin here in Maine…..stay tuned (other priorities happening soon, but that’s an idea that will happen in due time!).

The painting is actually really easy….no skill required. And making the stencils is easy, too….just trace! I often take a photo, size it on my computer screen to the desired final size, then tape a piece of paper over the screen (even regular printer paper works…the screen is a virtual light table) and trace the outlines. If the final size of the picture is larger than my computer screen, I’ll just work on one section at a time. When that part is done, I scroll the image on the screen so that an inch or so of the first section appears, re-align the traced image, and keep going until done.

I’ve done the tracing technique for a couple of my 2006 journal quilts which I’ll be able to share at the beginning of November, once they have debuted in the Journal Quilt Project in Houston (and for more on that, visit here for the 2005 journals, for 2004, and for 2003). The Journal Project began in 2002, and a fantabulous new book documenting the Journal project, will be out by late October (and lucky me! I’ll have several pieces in it!), edited by IQA co-founder Karey Bresenhan (think of her as the fairy godmother and guardian angel of quilting, and major art quilting booster!) and published by Quilting Arts Magazine. Stay tuned for more on that one in about 6 weeks!
Nelda Warkentin

Thursday, September 14th, 2006

A brief diversion from postcards…

Recently, I came across a fiberartist that is new to me, but obviously not to many in the art quilt / textile art world: Nelda Warkentin. I am blown away by her work — it is exciting in a way that many pieced textile works are not, though I’m not sure I’ve figured out the “why” (at least for the “why” for me). You can see her work here. Also, there is a PDF of an article on /by her in Fiberarts here. Hope you enjoy the links!

back tomorrow I hope with the final installment in this series on postcards….

More postcards, September 2006

Tuesday, September 12th, 2006

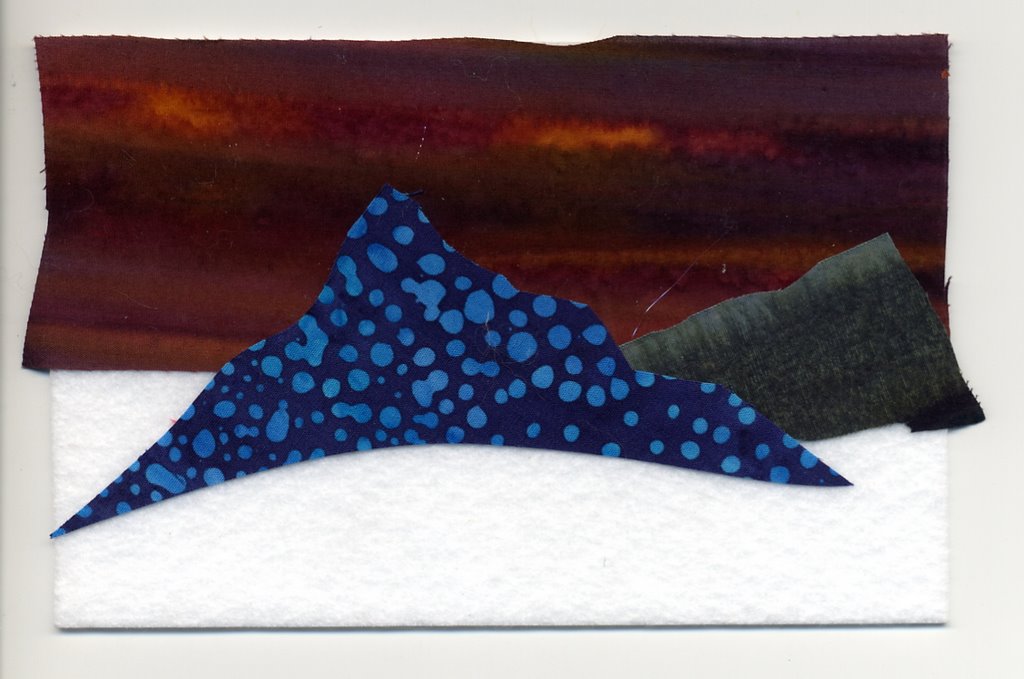
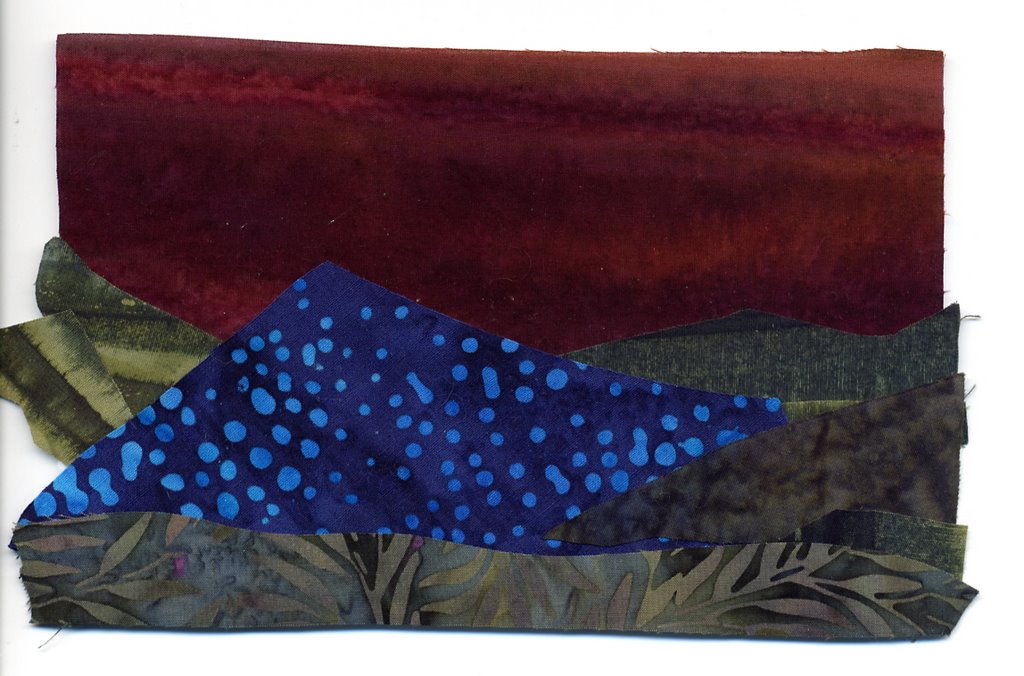
Here’s the second teaching series of postcards, plus a few more. In my previous post last week about making postcards, I showed how I build up a scene starting with a piece of stabilizer covered entirely with one fused bit of cloth. In this series, I am going to build up the background using several different fabrics. Rather than (a) waste fabric and (b) have double thicknesses, I like to use this method for most of my “scenics.” In this first sample, I have fused on the burgundy stripe for the sky and a chunk of blue for the focal point / distant mountains.

(Sidebar: I double-checked…the brand of stabilizer I used for these cards is Floriani Stitch and Shape, distributed by RNK….alas, they don’t seem to market their stuff through the quilting trade major wholesalers, although RNK does sell directly to shops. I’m hoping Maine-ly Sewing will be able to carry this product and have it on their web-shop, though. Stay tuned and I’ll let you know if Marjorie gets it in–price is comparable to Timtex, but you can buy it off the 15″ wide bolt, which means you have less waste when cutting because you can order a length that won’t leave you with scrawny strips of leftovers. No matter what, check out the website … Marjorie LOVES art quilting and has all sorts of cool stuff!)

This second card shows how I have sliced up a different, green-striped batik into shapes for the foothills and a third batik in the foreground.

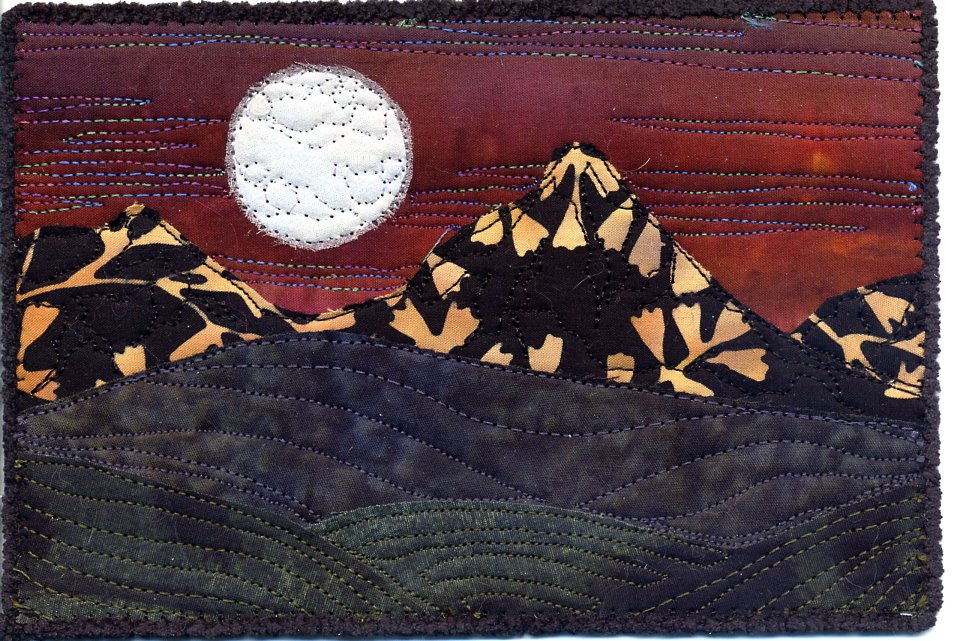
Finally, you have a modern twist on Moon over the Mountains:

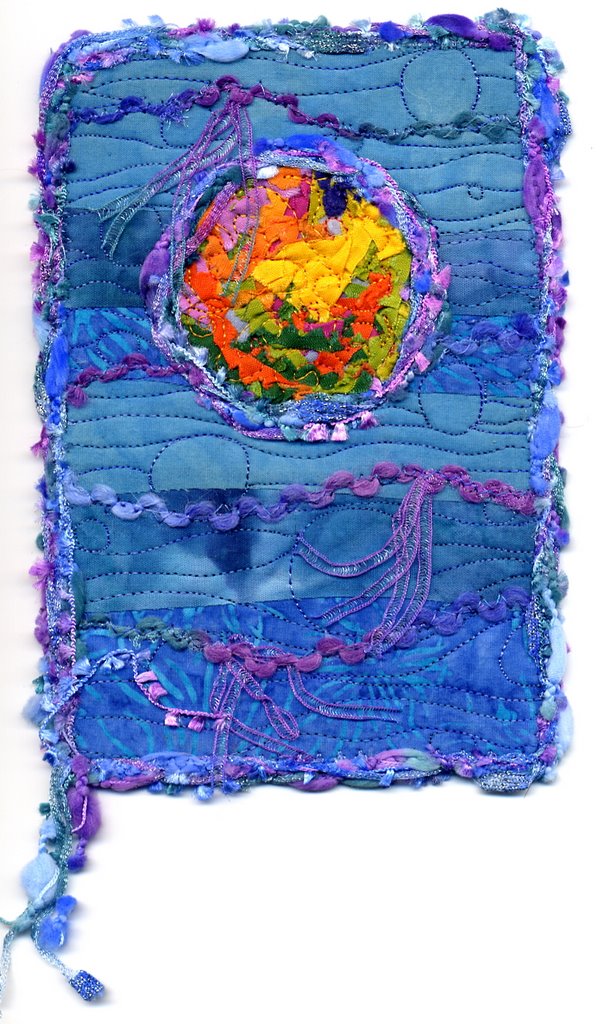
I made several other postcards using a layered background, and here are two using the same “colorwash” in blues. Both used slivers of fabric without fuse on. In both instances I used water soluble stabilizer over the “schnibbles” of brightly colored slivers. In Fireworks, I placed the slivers where I wanted them, spritzed one side of the water-soluble stabilizer (Dissolve by Superior Threads is my favorite…rinses out easily in cold water) with basting spray (Spray and Fix 505), then pressed the sticky side onto the schnibbles / front of the card. Then I quilted the card, then sprayed with water (a lot–if I hadn’t needed to take the postcard to a lecture the next day, I would have just soaked it in the sink…a better way to remove the Dissolve) to dissolve and remove the Dissolve.

In the second card, I cut a circle in the colorwash blues (batiks and my hand-dyes). I made a nest of schnibbles on the stabilizer, covered it with a square of Dissolve, then placed the fused colorwash over it. I fused the edges of the colorwash blues with the iron, but kept the iron off the Dissolve water-soluble stabilizer. Next, quilting by machine (heavily over the schnibbles). Then, you guessed it, heavy soak with the spray bottle and some blotting to remove the stabilizer.

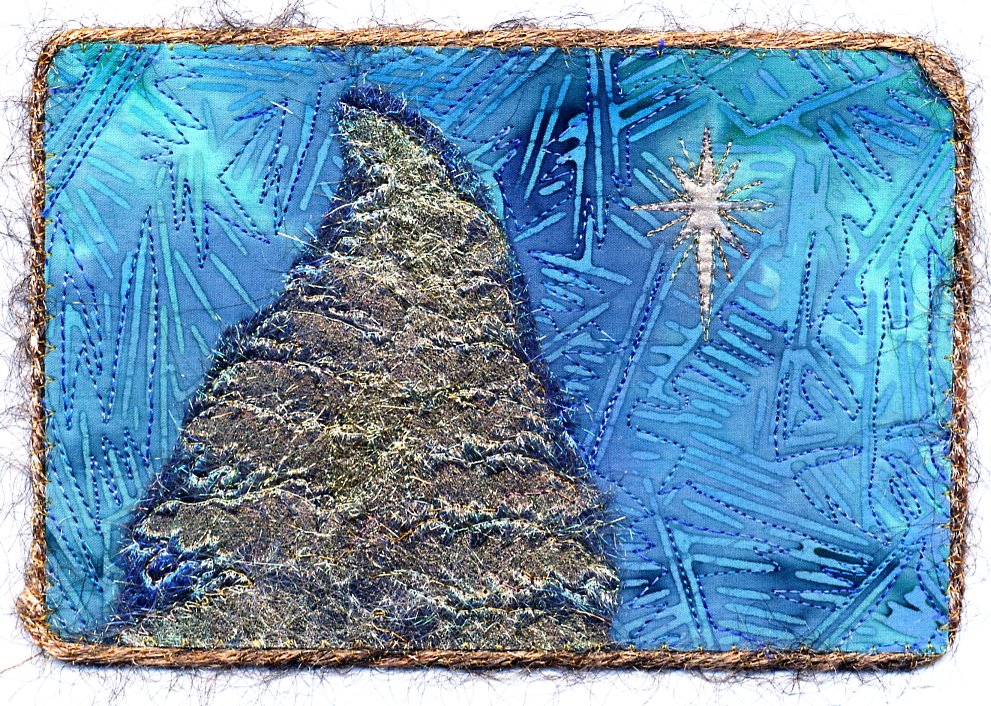
Finally, I made a card using a single piece of cloth for the entire background. I placed gold and deep blue Angelina fibers over a stamp (large-ish…maybe 6 inches long) of a fern and “fused” them with a medium-temp. iron. I cut off the bottom to turn the fern into a tree. The star is a freezer paper stencil using Shiva paintstiks. To learn more about Shivas, visit Cedar Canyon Textiles. Shelley Stokes has written a very helpful book on using these stick paints, which you can also order from her.

And, being a wicked soul, I’m saving what I think are the best for last…stay tuned for the Mt. Fuji series and a mini-lesson on making freezer paper stencils (really easy!).

The Frayed Edges–September 2006

Tuesday, September 12th, 2006

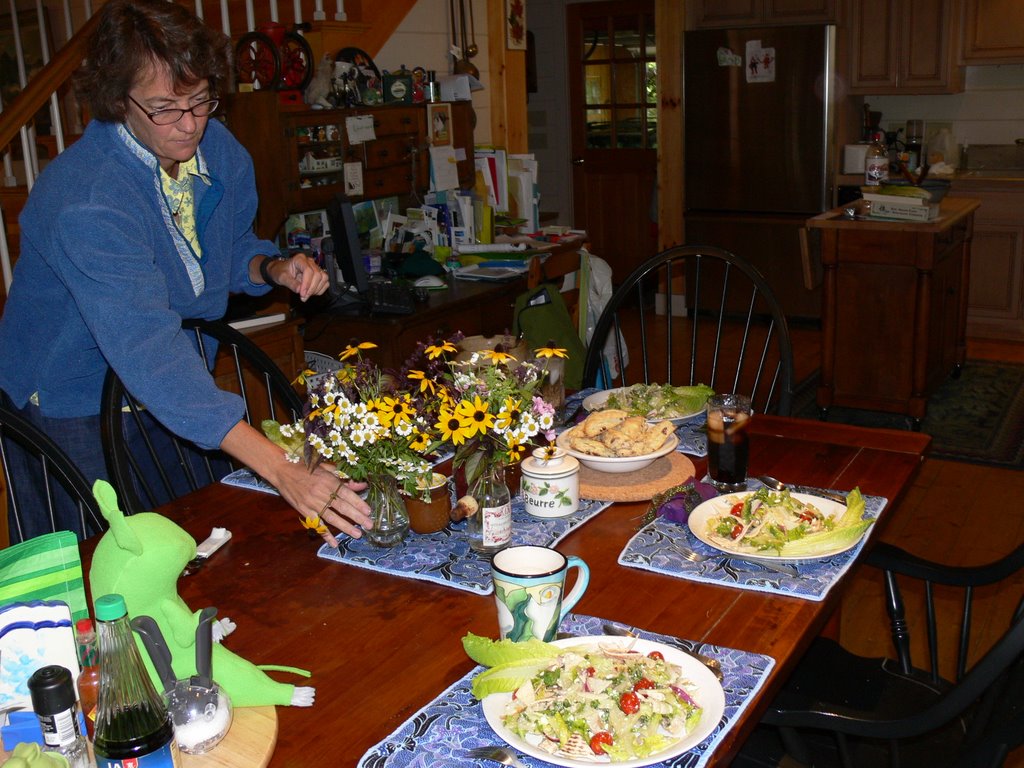
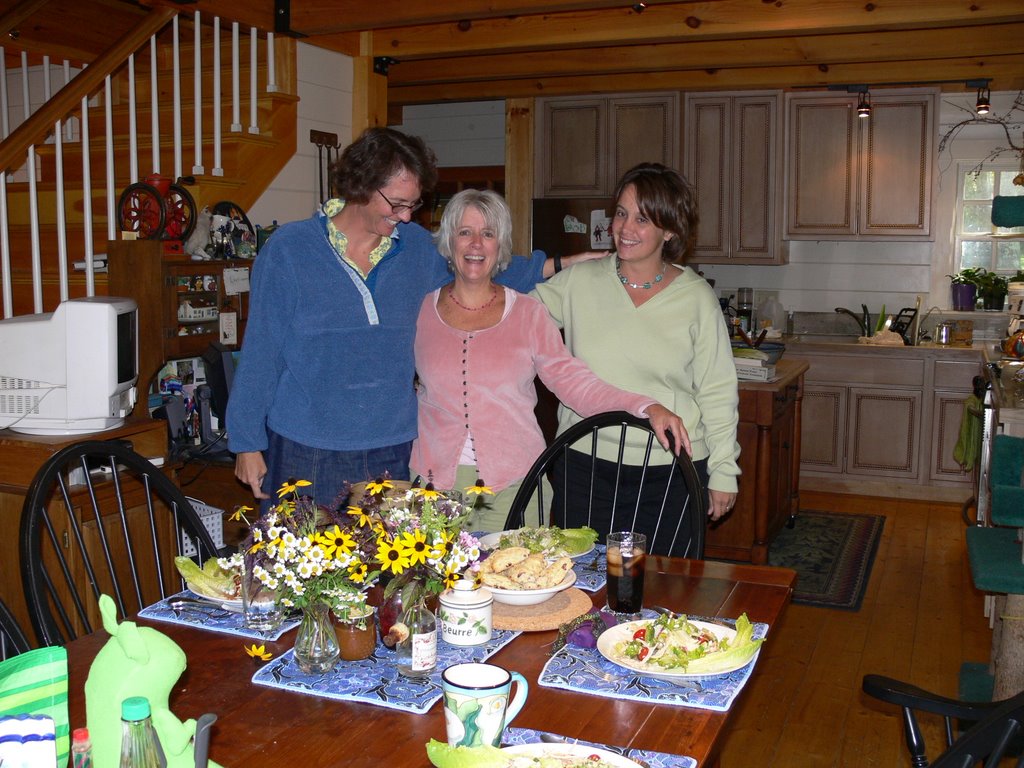
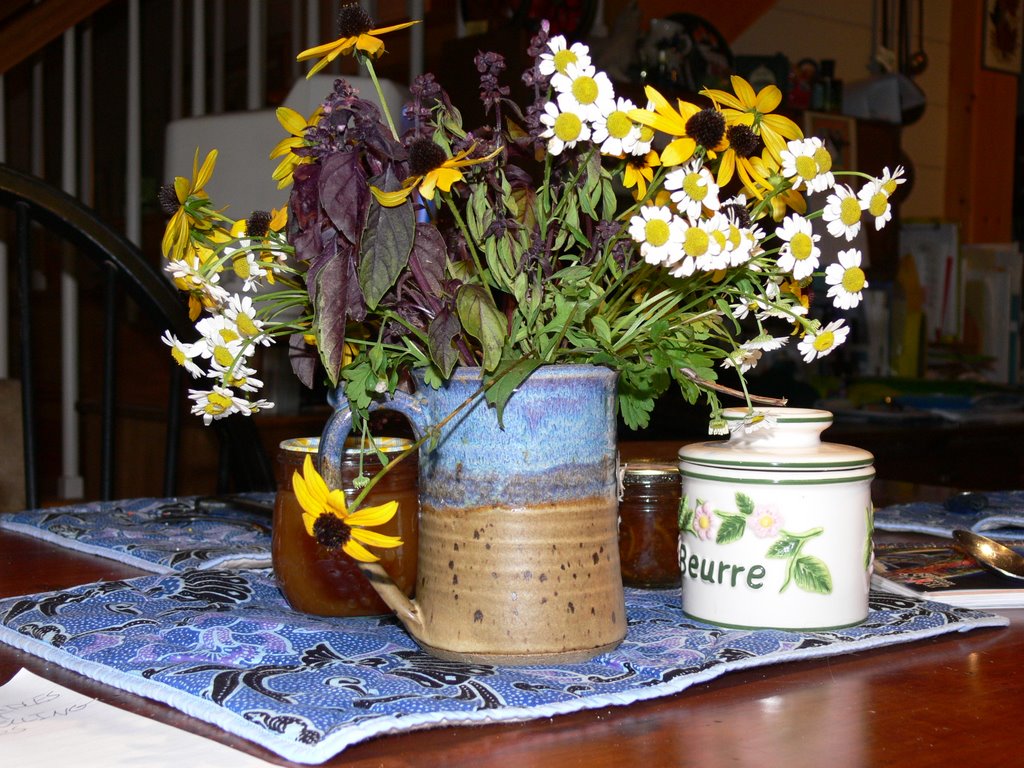
What a wonderful meeting…so much to share after the craziness and busy-ness of summer! This month we (an aside: “we” is four of the five Frayed Edges, an art quilt mini-group that began in January 2005…Deborah of this blog now lives in Dallas, drat, so we keep up with her on-line) met at my house in Camden. Kate arrived bearing lovely posies…coreopsis, basil and (I think) feverfew (those little white flowers)—one for Kathy for her birthday, one for the table!

As usual we had a wonderful lunch, and I actually remembered to stand in for Deborah, who has always been the one to remember to take pictures of lunch before we eat it, and take pictures. Left to right we’ve got Kate, Kathy and Hannah).

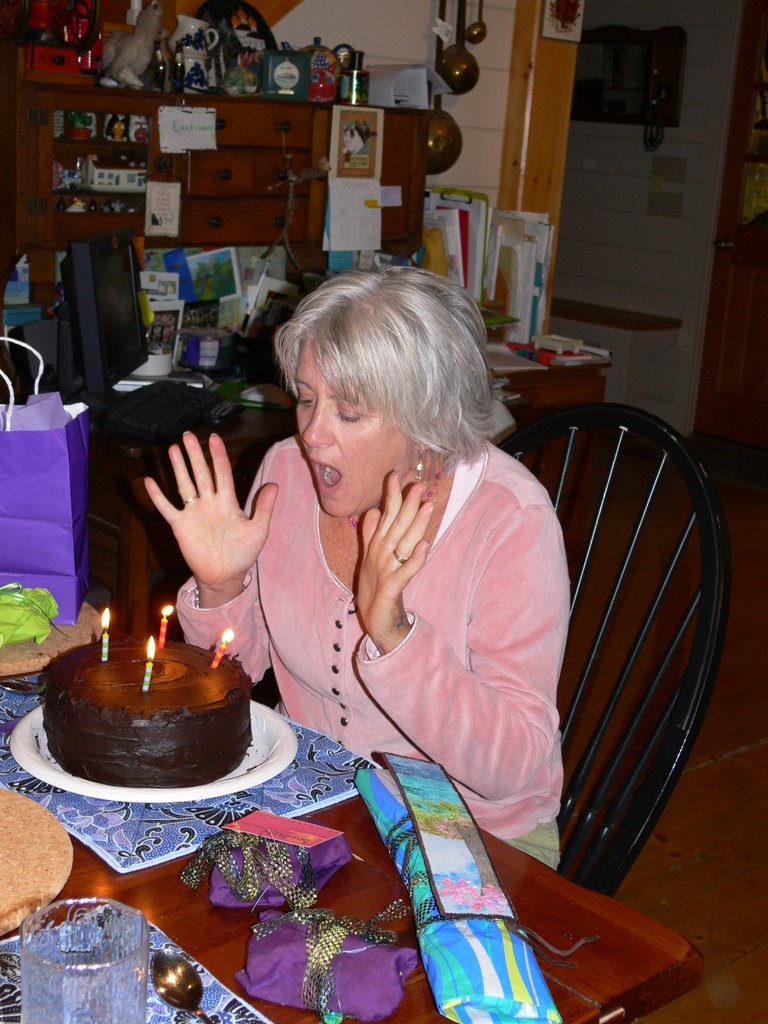
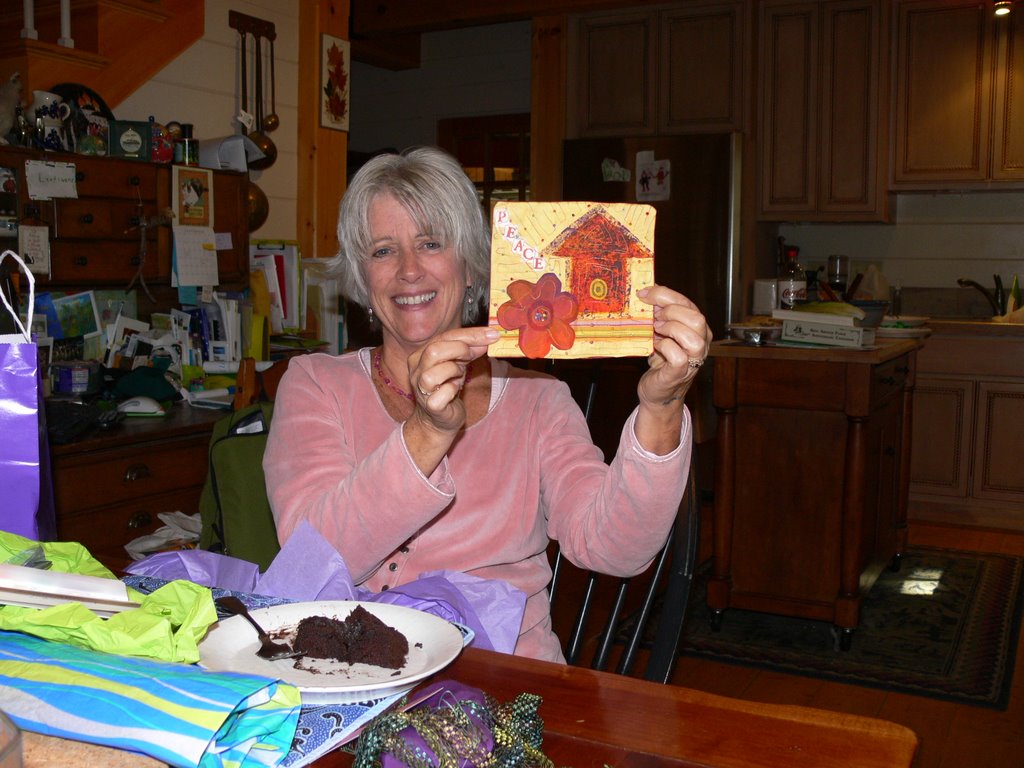
Kathy’s birthday is at the end of August, so we had an extended birthday for her, and came with gifts and the delectable super-chocolate cake that Hannah. Here’s Kath about to blow out the candles:

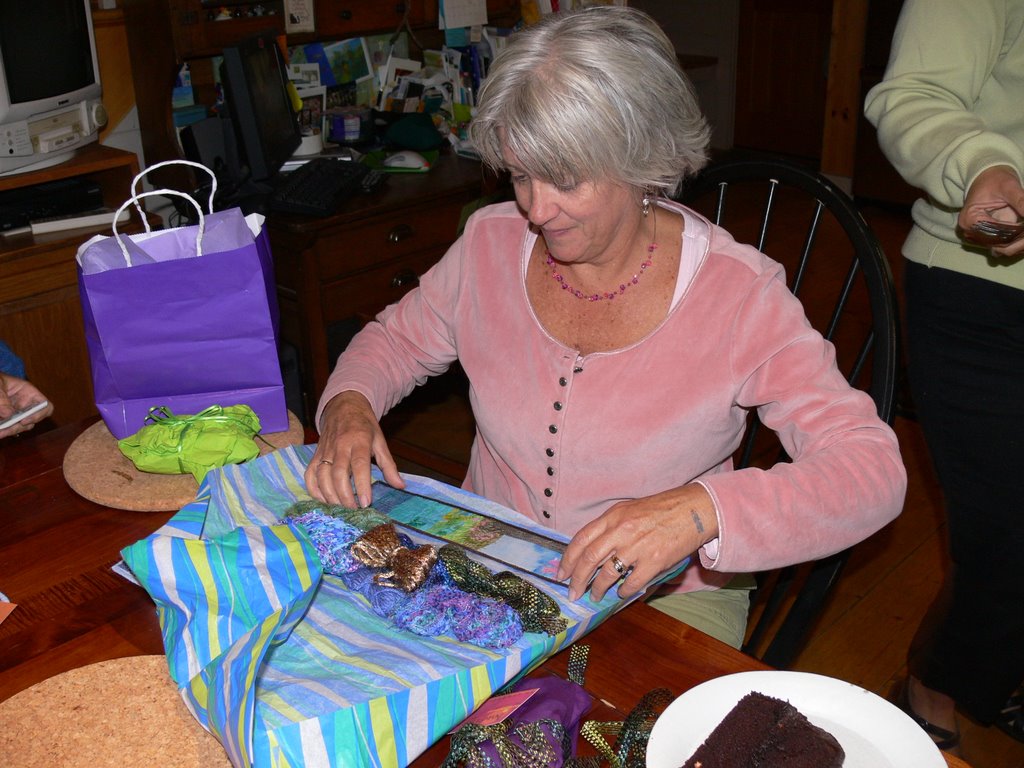
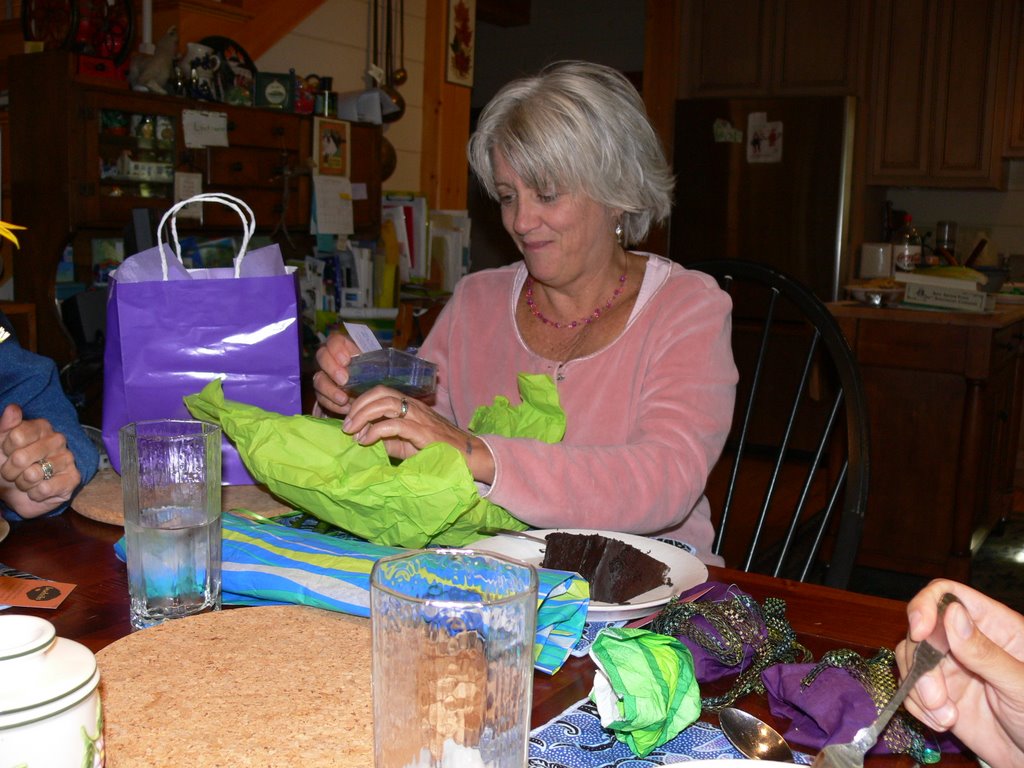
And then came gifts…..there was definitely a theme and color … even our wrappings looked good together, and the insides all looked very “Kathy”. I gave her a bookmark similar to one of my postcards (pics of the latter coming tomorrow), and trims and goodies to use…all in sea blues and kelp and grassy greens.

Kate gave her this wonderful hand-made soap that looks like sea glass and smelled wonderfully:

and Hannah made this wonderful mini-wall-hanging with a home filled with Peace, just like Kathy’s home!

And last night, I had transferred Kate’s herbs and flowers to the perfect-for-them “vase/mug”, and at dinner remembering our wonderful, sharing, laughter-filled day:

Postcards for Coastal Quilters

Sunday, September 10th, 2006

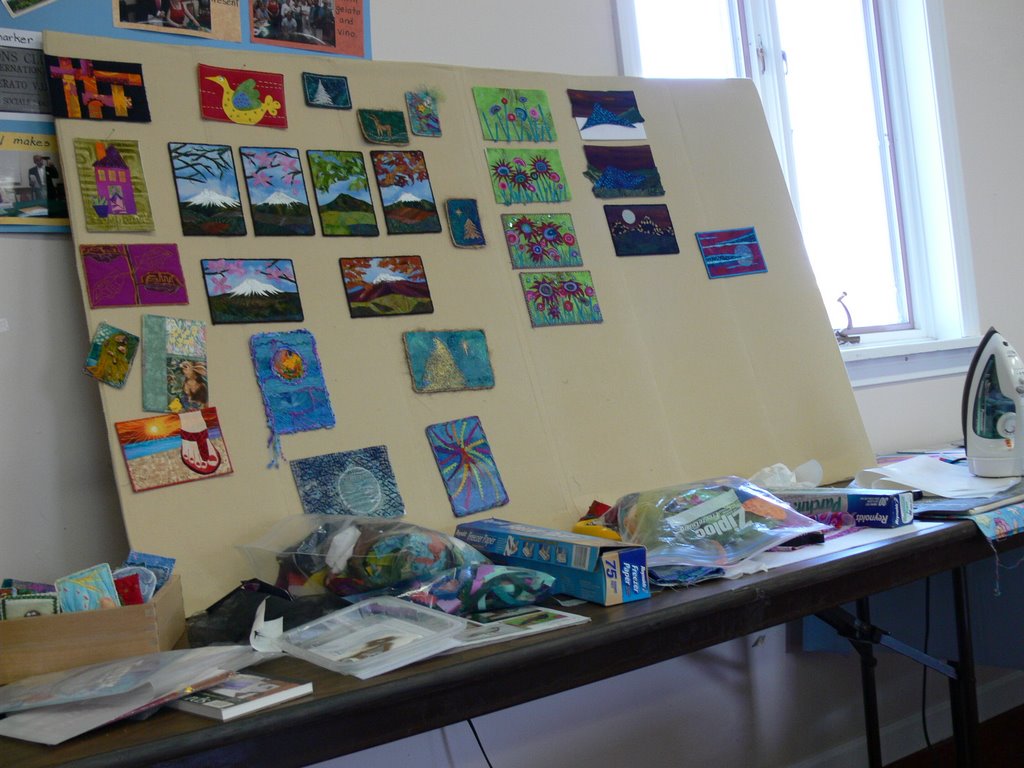
On Saturday, I gave a talk about making fabric postcards to my local guild chapter, the Coastal Quilters (one of the many, many, MANY regional chapters in our state-wide Pine Tree Quilt Guild). Fortunately, I think it went well…when folks are asking questions at the end, that means they were interested, paid attention, and are thinking…all of which are really cool things! Here’s a picture of my set-up…rudimentary but functional! And I had fun…probably talked a bit too long, but it was fun and folks seemed to enjoy it.

This talk ended up serving triple duty: first, it was this talk. Second, Marjorie at Maine-ly Sewing asked me—when I told her I was doing this–to turn it into a class (it’ll be on October 21, Saturday, at the shop in Nobleboro, Maine). Third, it got me to get my keester in gear and make some more postcards for Fiberart For a Cause, a fundraiser for cancer research.

First, I talked about the supplies one uses. There are several great tutorials on the internet, including here at Deb R’s blog, at Kathie Briggs‘ blog, and Pamela Allen’s. I decided that for my class, I needed teaching samples, showing progress from blank stabilizer to finished card. Here’s the first of two “sequences”:

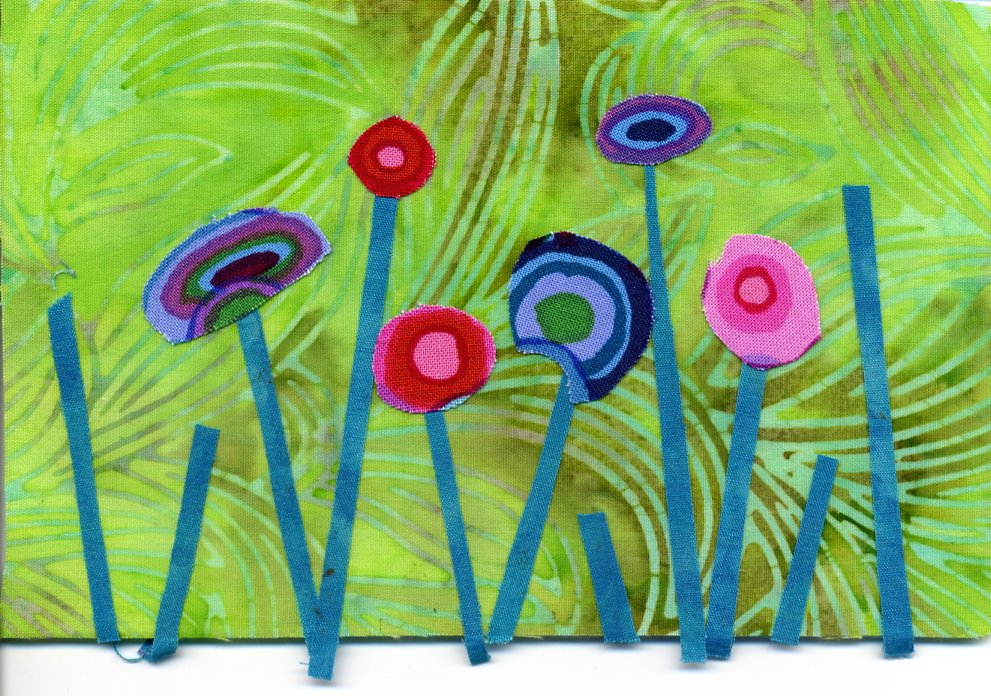
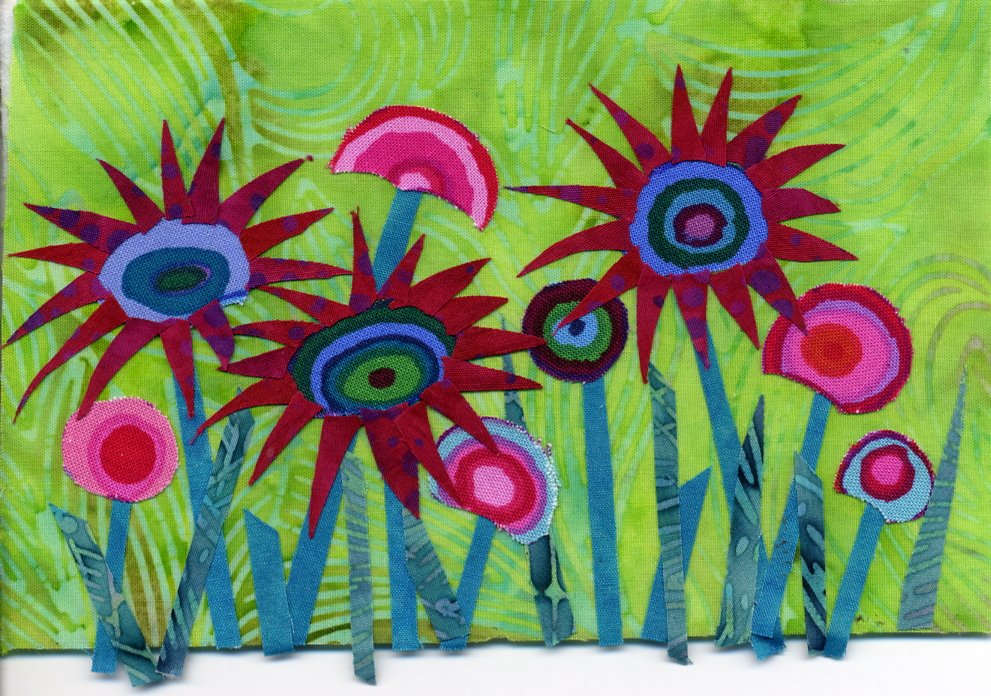
Here’s the start..a single fabric fused to the stabilizer (Floriani Stitch and Sew I think it is called), with a few stems and flowers:

Next, more stems, grass and flowers:

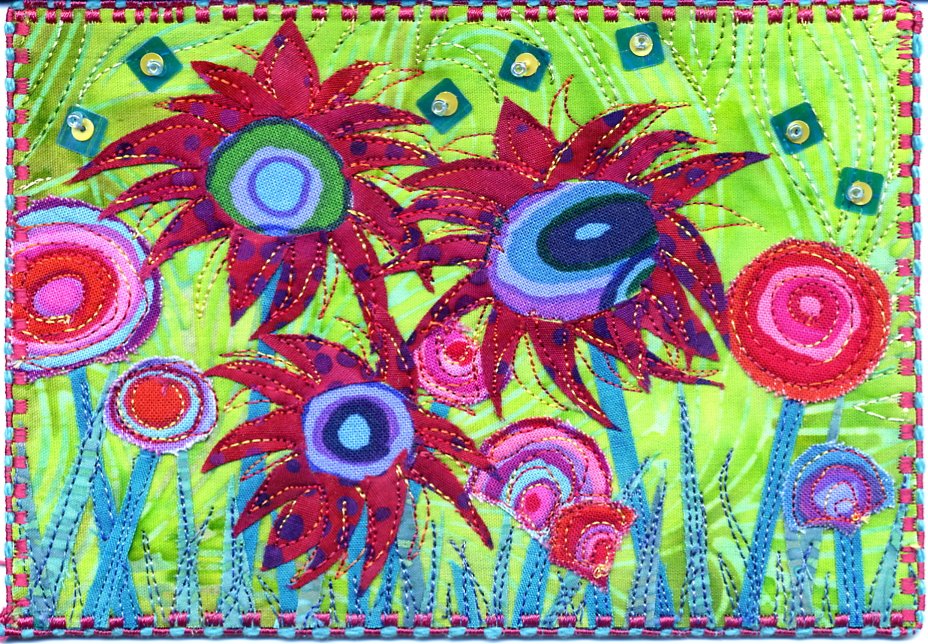
Third: finished, version 1, which will be donated to the FFAC sale at Festival in Houston:

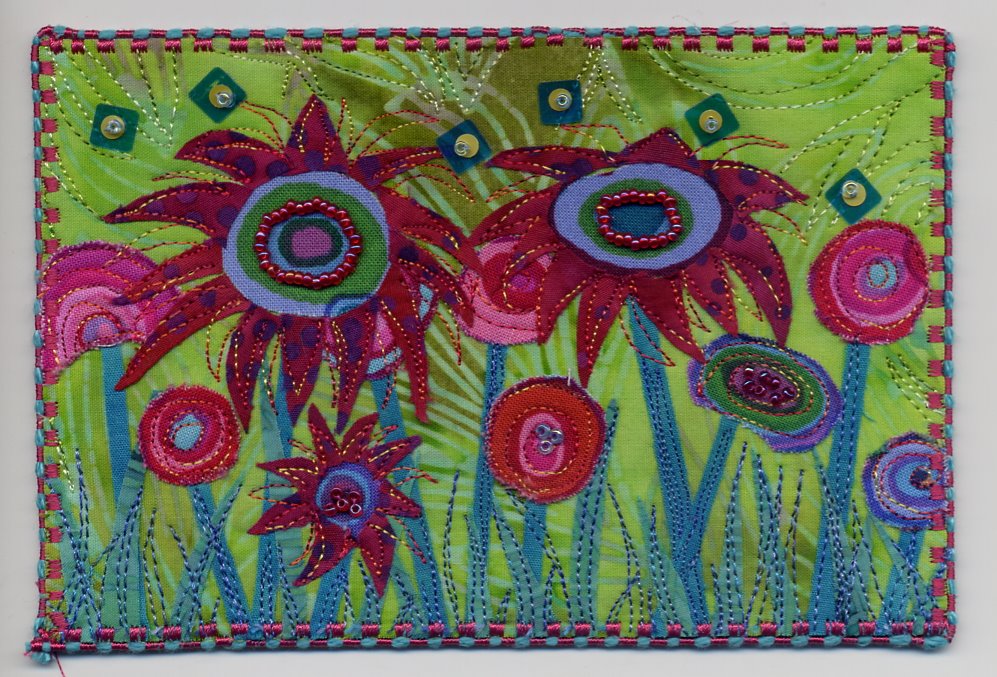
Fourth, finished version 2, with a few more beads:

It’s now REALLY late at night … well, OK, it’s late for me…. I’m halfway to becoming a Mainer. Mainers are very early risers. Which means they also must go to bed reasonably early too. I do the go to bed early bit. The alarm goes off and wakes me up at 6, which I find unreasonably early, only to find that some of my true Mainer friends are already up and have already read my blog! Eeeek! So, I’m off to bed. I’ll post the second sequence tomorrow (I hope), and add more photos as the week goes on.