Creative Quilting With Beads–it’s on the way!
Saturday, April 26th, 2008Great news…. the Lark book with 8 projects by the Frayed Edges is now available!!!!
I’ve ordered copies, and as soon as they arrive you’ll be able to order up an autographed copy (or unmarked if you prefer… either way is great!) here. I have also obtained a supply of the drop beads I used, so if folks want, let me know and I can add a baggie of enough beads to make one journal cover to the store site if there is any demand for them.
I am so proud of ALL of the Frayed Edges! Four of the five of us submitted proposals, we were all accepted and we are either
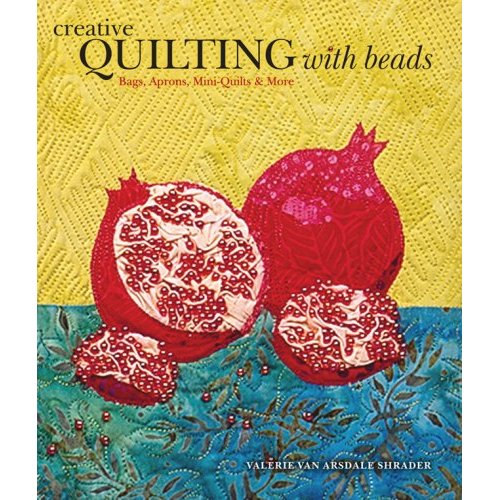
- on the cover (my pomegranate notebook cover, which you can see here)
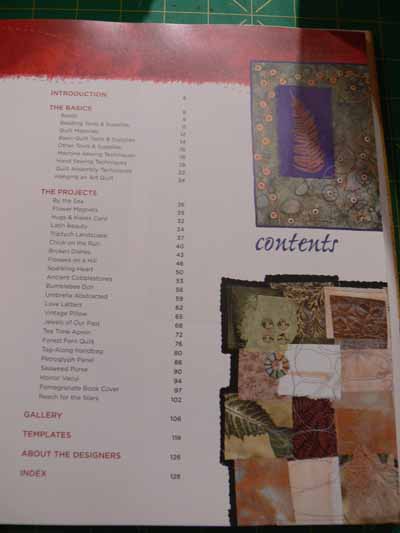
- on the table of contents (Deborah)
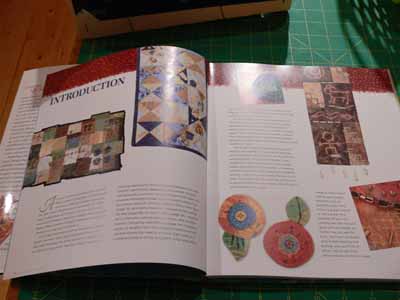
- on the Introduction pages (Deborah and Kate)
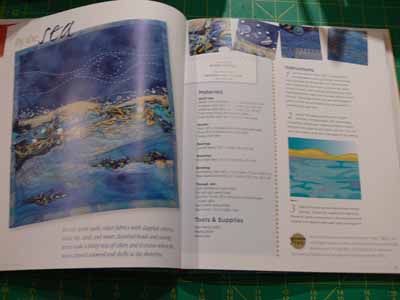
- or the FIRST project in the book (Kathy!)
WOW! Here are some pictures and a bit of a review of the book:
After the elation of learning a while ago that my project was on the cover, it only got better as soon as I opened the book. Here is the table of contents, with part of Deborah‘s Cobblestones piece on the lower right:
Then I turned the page to the Introduction, which repeats Cobblestones and has BOTH of Kate Cutko’s pieces (Broken Dishes and Petroglyph):
Then I turned to the projects, and it begins with Kathy Daniels‘ sea piece:
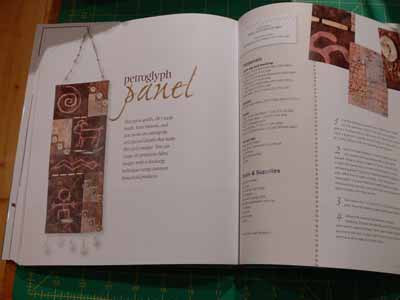
Kate’s Petroglyph panel (one day at one of our regular Frayed Edges meetings, we decided the beads were too bright and shiny, so we sandpapered them and stained them with leftover coffee!):
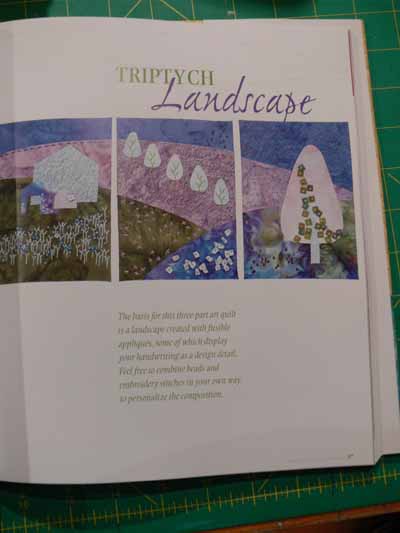
Deborah’s landscape triptych with her signature writing on her fabrics (one of her THREE projects!):
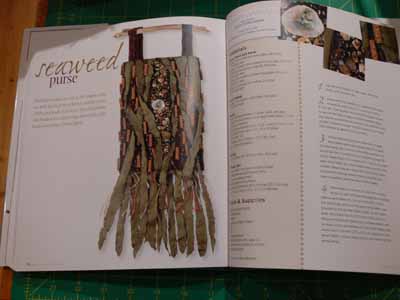
The layout of the book is good–nice and clean, clear instructions, concise (I tend to go into LOTS of detail!). The projects look as though they could all be fairly easily and quickly accomplished (once you get the “stuff” you need for them anyway!). A basics and tips/ideas section starts the book, then it progresses to the projects, which are nicely illustrated and beautifully photographed! I hope the photography in my book turns out as well as this! Apart from the Frayed Edges projects, there were a couple I loved, and I could see doing a riff on this bag in an art quilt:
The projects shown could easily be adapted to use in your own art work or done as is… way cool.
At the end of the book is a gallery of inspiring pieces. These are much more in-depth, complicated works of art from some of the top art quilters today. It would probably be impossible to pattern these works of art (if the artists would even be willing), but they show what you can do with the techniques learned in the book. Just let yourself loose and PLAY! Which is what I hope to do when I get back from teaching in Paducah.
I should be home on April 27th, and the books for sale should be here that week. I’ll start shipping as soon as I’m unpacked!