About a week ago (how time flies!) Martha in NY asked me if I used a home machine or a long-arm for my quilting, and how I do my marking. I thought that would make a great blog post, so here we go—thanks for asking, Martha!
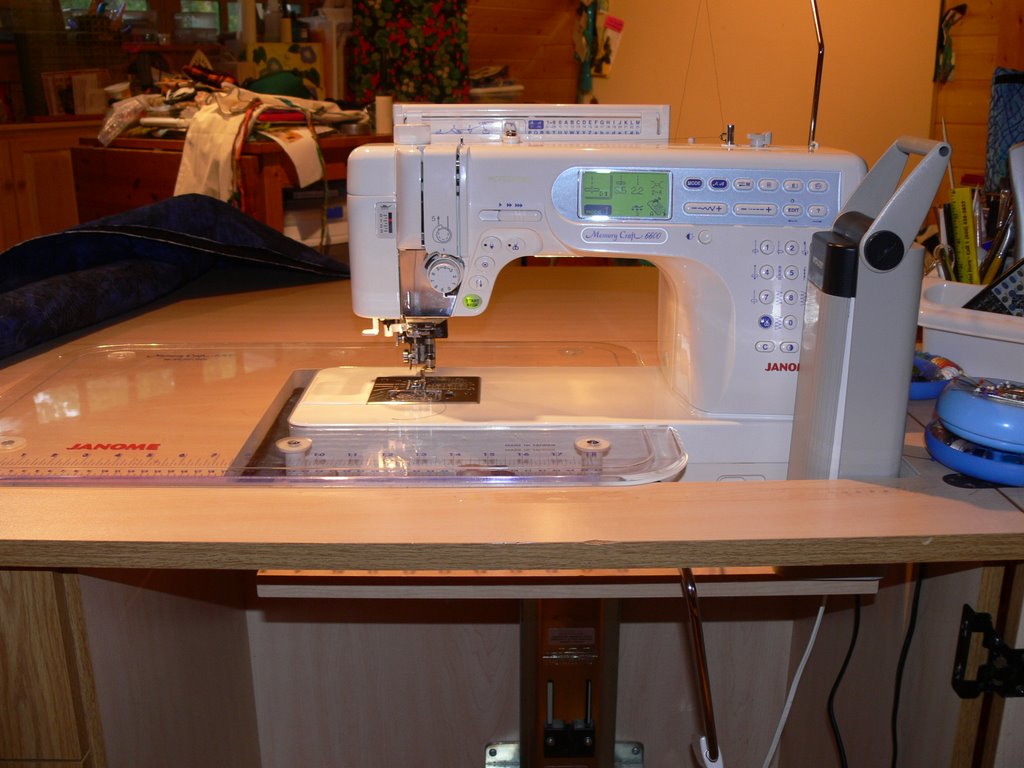
Now I use my beloved Janome 6600 (and want to thank Janome-America here and now for their support!):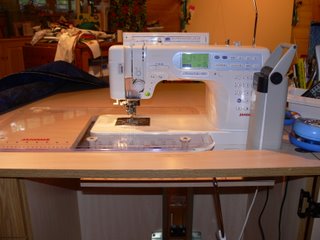
Here’s another picture in a more common state…with the Ott Lite opened up to supplement the lighting in my room. I LOVE my plastic cutlery doohickie to the right…holds remote controls, marking tools, bamboo skewer (my favorite “poking thing”), seam ripper…..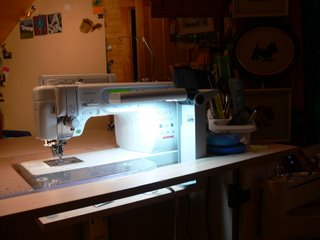
I have always done my quilting on a home machine, starting with my entry-level Viking nearly 20 years ago. About 1993 or ’94 I actually quilted a king-sized log cabin for a friend on that machine (she was dying of cancer, and I’m happy to say it took six weeks and got done and to her two weeks before she died so she could sign the label for her husband and sons), and I’m eternally grateful she picked a simple, using-the-walking-foot design, or I never would have managed all that bulk!
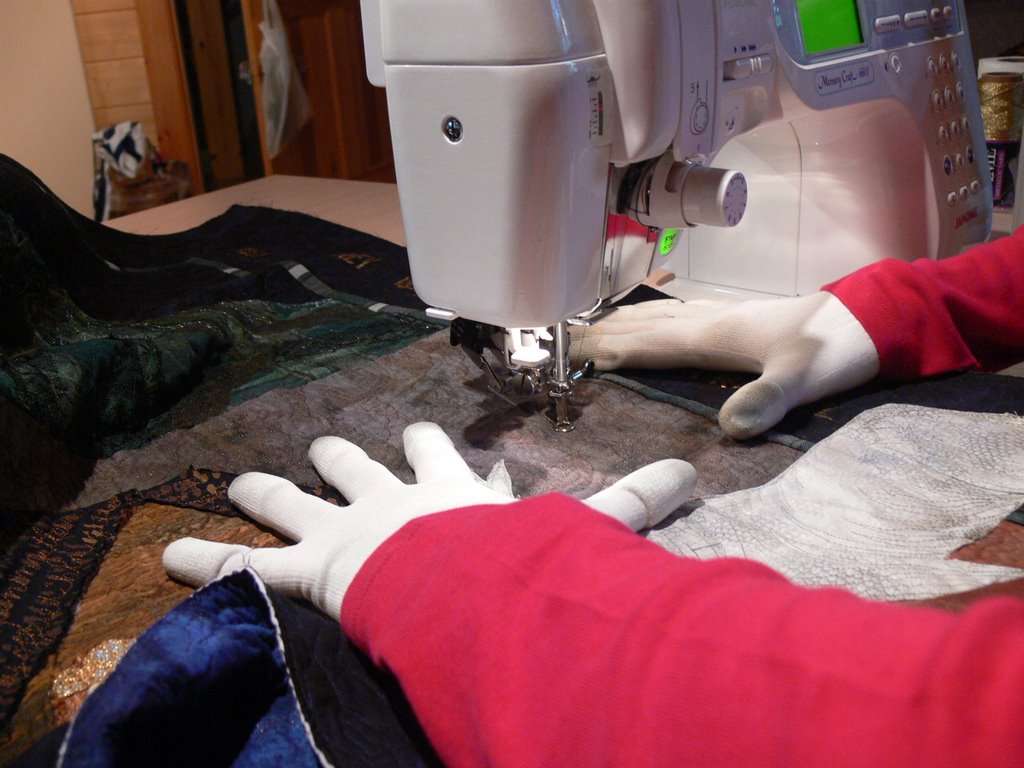
And here’s me working on a quilt. Eli (age 8) was my handy photographing assistant today!
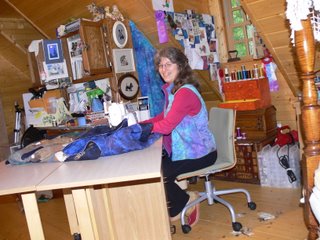
This picture shows how I bunch up the quilt to work on an area. I “oooch” the quilt into small hills and valleys, with a valley under the needle. With neighboring hills, I can easily move the quilt under the needle without having to pull the weight of the entire thing.
When machine quilting you want to make things easy for yourself: sit comfortably, have enough light, and position the quilt in such a way that you don’t have to fight gravity. If the set-up works with you, not against you, you can then concentrate on making good stitches and putting them where you want them. You don’t want anything to pull on the needle (thereby avoiding the needle slamming into the throat plate, breaking, and doing bad stuff to your machine).
There are various ways to perfect your work environment. The best single thing you can do is have a surface that is flat and even with the bed of the sewing machine. In my case, I made a lot of high-end duvet covers and bedroom “suites” for rich folks where I used to live so I could afford this cabinet.
Here’s a close up of my hands. 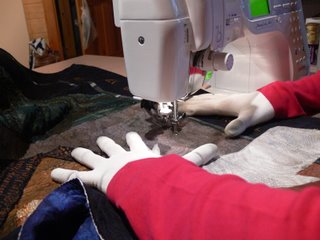 I LOVE Machinger’s gloves. They make my life easier; I have very dry skin, and find it hard to grip and move the quilt without some sort of gloves. Until these came out, I used the “rubber bumpies” ones. To touch the Machingers, they don’t feel like they would improve your grab / grip on the quilt, but they sure do. I can pick up a pin, a dime, or thread a needle while wearing them, and they are comfortable on all but the hottest days of summer (I’m talking days over 85 and muggy).
There are many ways to manipulate the quilt, but I find that most of the time I either “stand on my fingertips” OR use the full flat of my hand to keep the area on which I am working smooth and flat. In any case, ***** keep your fingers well away from the needle zone***** . … I can tell you from experience that that a needle though the finger hurts, a lot, and the machine inevitably stops in the needle down position so that you have to hand-walk the flywheel to extract the needle. Ouch.
A simpler way to get a large flat surface than buying an expensive cabinet is to use a table, and that’s what I’d do now (back then I needed something that closed up so I could keep my then-2-year old’s fingers out of things like trashing an expensive machine or getting hurt on the needle). Cut a hole in a table, make a drop-in shelf, and use that. Here’s a GREAT link on how to make your own sewing table. You’ll need a drill, jigsaw, table, some basic tools like screwdrivers, and a little extra wood and the hardware equivalent of notions. If you don’t have a table, you can make a sturdy one from plywood and galvanized pipe (for the legs); your local home center can cut the plywood down to a size you can use on their panel saw.
If you don’t have room or can’t afford to buy or make something like this right now, you can improvise. A *large* extension table (most sewing machine stores will order them—Dream World is a great brand, and made in the USA, and available on-line–just google “Sew Steady”) is key. You order them to fit your sewing machine. If you work on something like the dining room table, the “drop off” from the extension table to the table is about 3-4 inches, and isn’t enough pull to cause havoc. The extended surface gives your hands room to move and manipulate the quilt with skill–something that simply isn’t possible on the surface of home sewing machines…the “bed” area is smaller than your hands, so too small for them to move. Like I said, make things easy for you so you can concentrate on the quality and placement of the stitches.
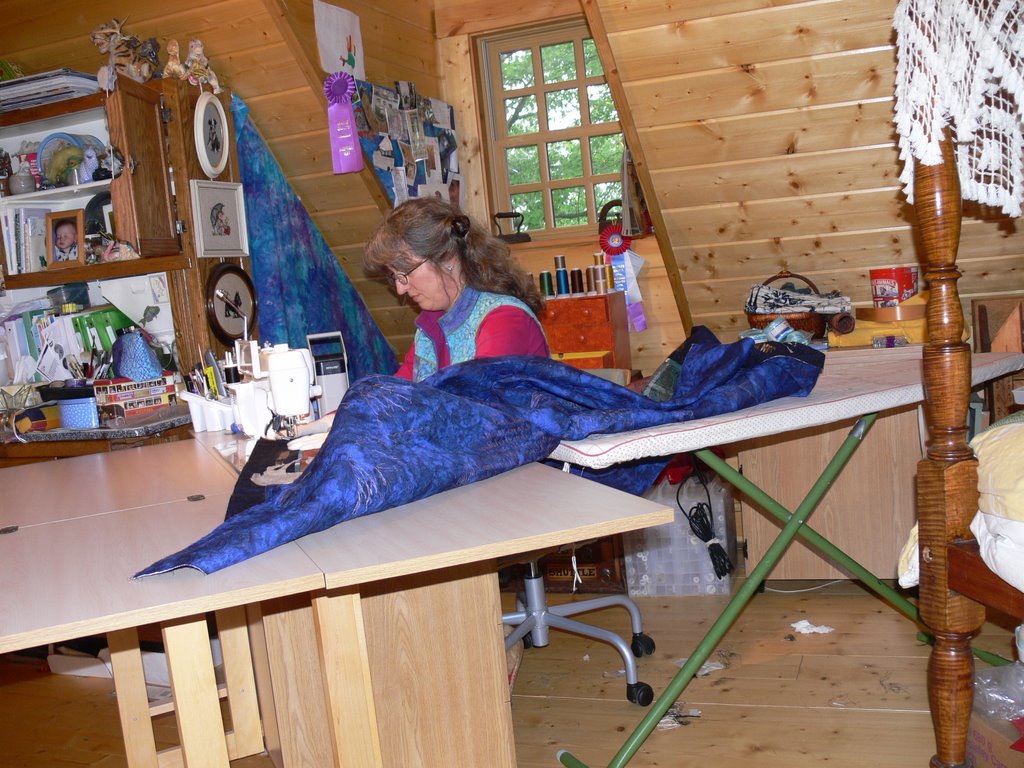
No matter what, the one thing you don’t want is to have the quilt dragging off the edges, like this:
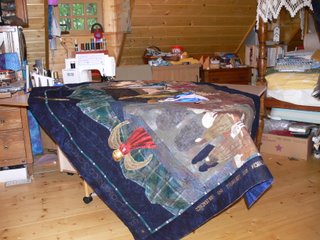 The weight of the quilt will pull towards the floor (gravity works on quilts as well as our bodies….), which will (a) make it harder for you to control and move the quilt, (b) make your body sore fighting the quilt, and (c) pull on the needle, possibly slamming into the throat plate and doing bad things (in addition to turning the air blue when you react….ahem!). I can tell when the quilt has shifted and some of it has gone off the back edge just from the pull / feel of the quilt as I’m working. I look for the first good place to stop moving, then re-adjust the quilt onto the top of the surface.
You also want to have the quilt supported to the left of you…basically under your left elbow. Usually I accomplish this by folding the quilt up and onto the table surface as in the picture up above, but you can also put a cart, table or ironing board (lowered to cabinet / sewing table height) at right angles to your sewing surface. If you use the ironing board and the quilt drags too much on the cloth cover, tape a garbage bag over the top to make the surface slippery.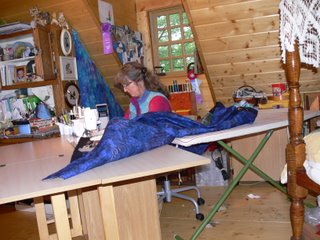
Here are a couple of links I’ve found over time:
For a good review of Designing a Sewing Space, check out this link. This site covers more than just quilting, but the ideas work, and there is good info about ergonomics…as in how to set things up so you don’t make your body hurt.
Carol Taylor has my dream studio…. if you go to her home page and click on “Carol’s Studio” (in the list of web pages on the left), you’ll see why I’m in lust….
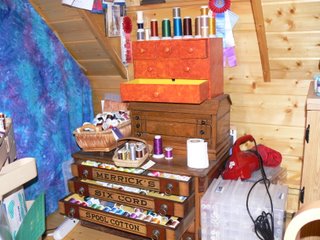
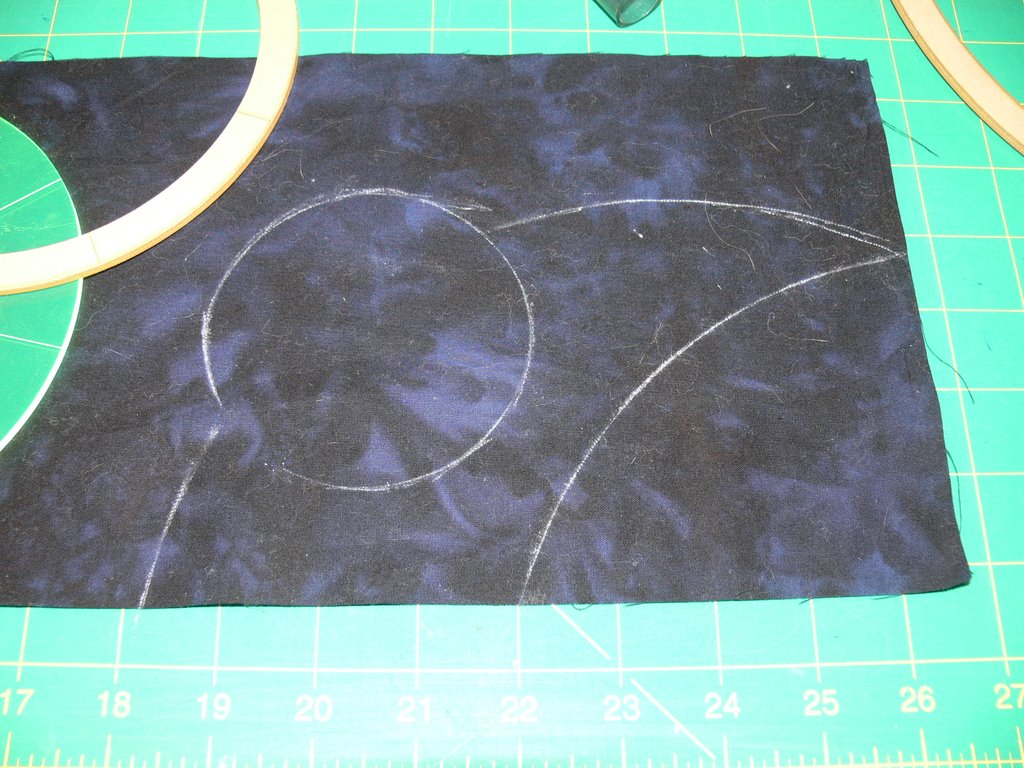
Since this has gotten long, I’ll do the quilt marking (as little as I can manage–the marking that is, not the writing) in the next post. But before I go, I’ll ‘fess up and share my thread stash…which I love at least as much as my fabric: