Carol Soderlund’s Dyeing Workshop, 3
I promised pictures of some fabrics I dyed, so here you go–all of them on the design wall all at once!
For our first excercises, we dyed one color two-ways. I had been hoping to make a dark, deep blue, but didn’t find the color I wanted (and that’s w/ith 1053 swatches!)…that was because I didn’t yet know how to take the correct hue (color) and darken the value. So I picked a deep, deep eggplant purple (which is a bit ironic since I generally avoid purple like the plague). Due to warmths issues (blue dye likes summer temps and the classroom was a bit cool), it came out a shade or two less blue, but I love the red-violet that I got. Here is the first piece, which I folded and manipulated a bit. Here’s what it looked like in the bucket before dyeing, still dry: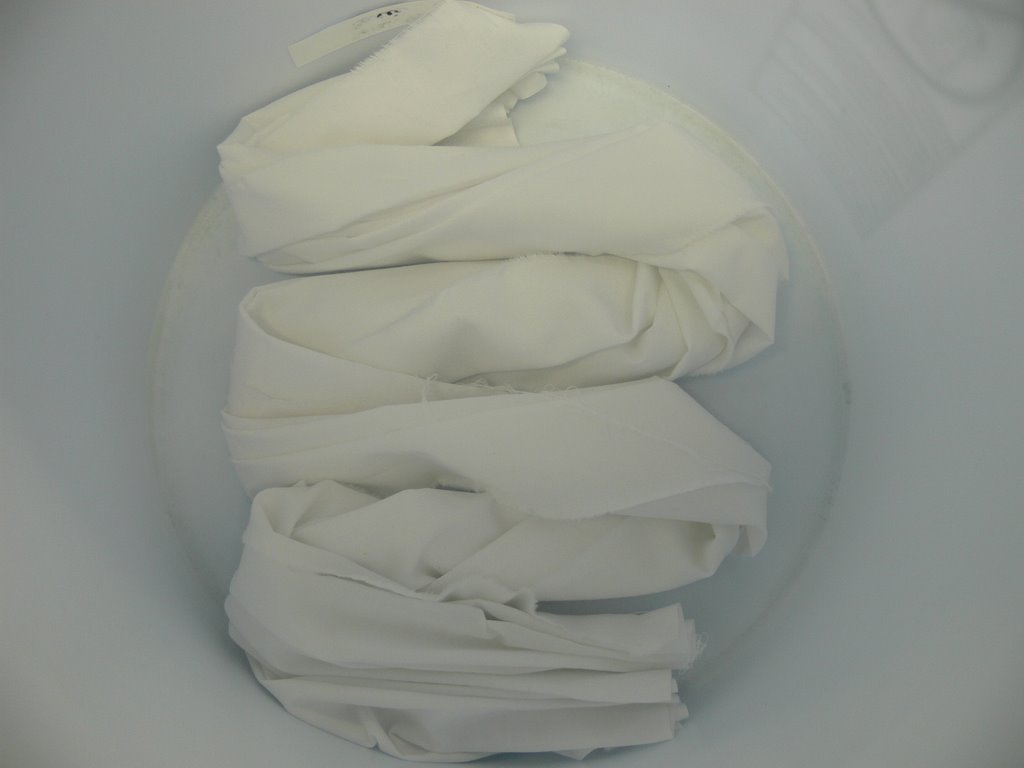
Then, with the dye, while soaking.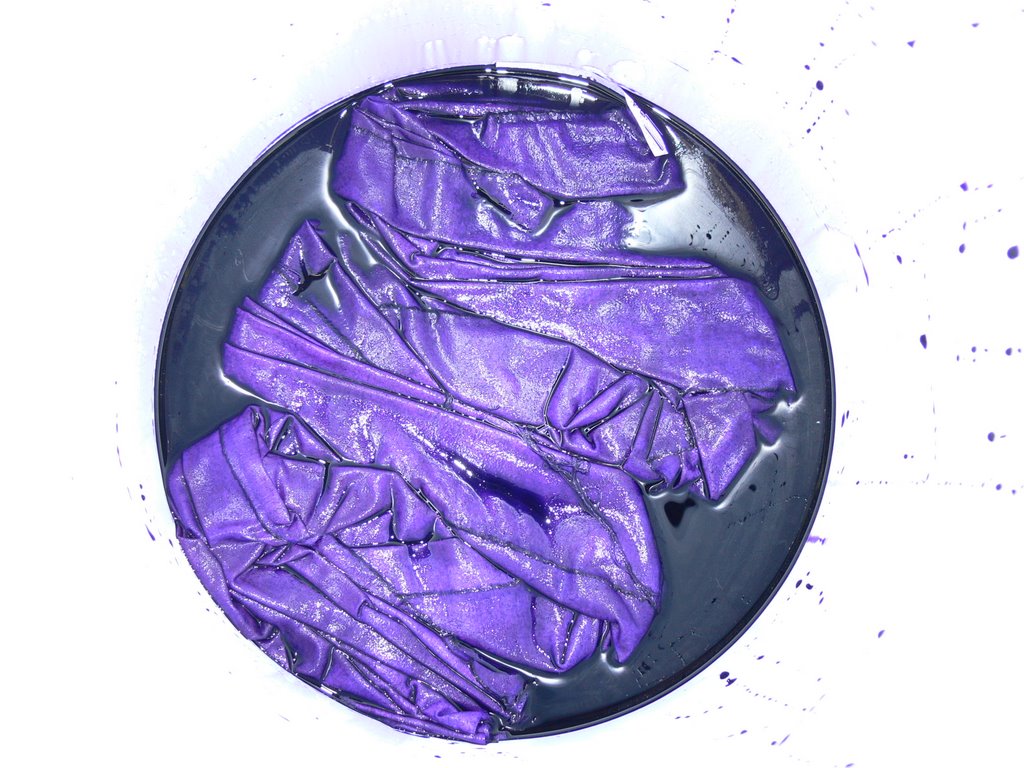
Finally, ironed–it’s the piece on the left; the one on the right is the same dye, measured for mixing in a different way, and scrunched instead of folded..I LOVE those chevrons!
The next days, we had the chance to use up some extra mixed dyes, so I did a couple of “scrunch and pours”. The first was this one, a scrap about 9 by 19 inches. While I was ironing it (looking at it horizontally), my table-mate Debby saw it vertically and said gee, it looks like sky and trees and a lake. Of course, now I can’t see it as anything but that, so guess it will become a small wholecloth quilt…thanks Debby!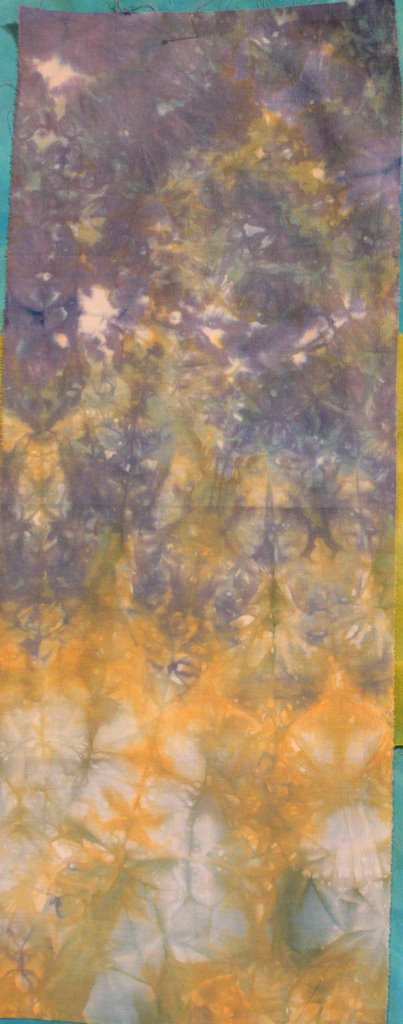
Then I did some pink-yellow-tangerines, which I TOTALLY love!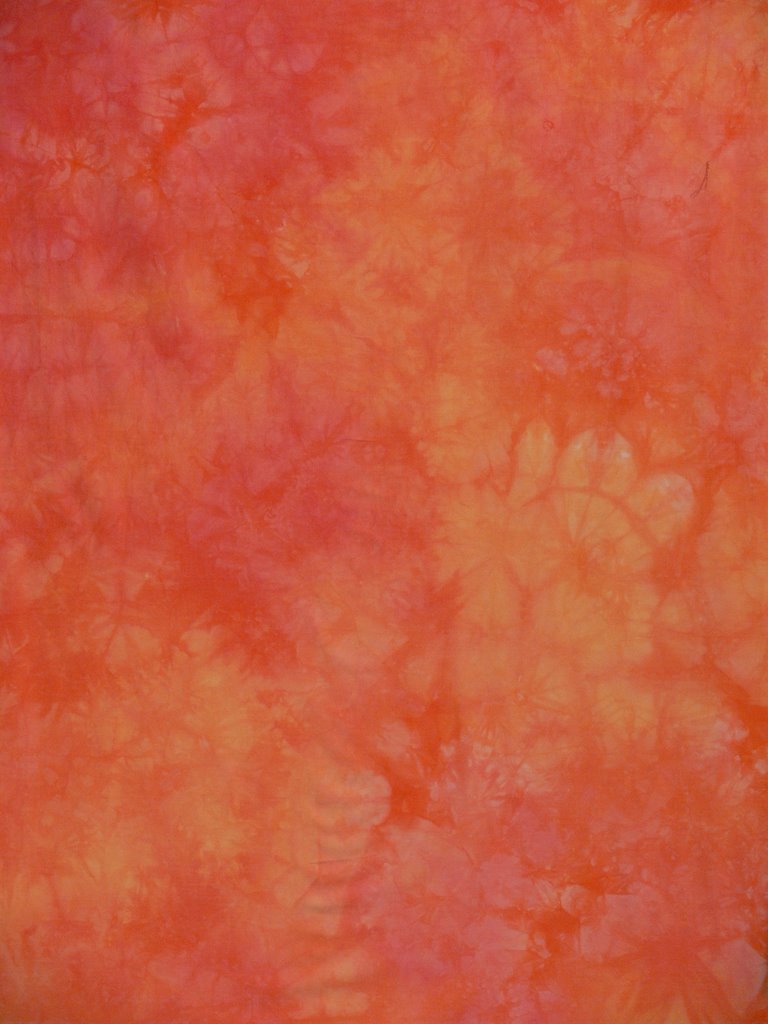
For my final piece, I decided to do a folded one, using Caribbean waters colors. The contrast was low, so the patterning isn’t as bold as I would like. However, since I was thinking of using this for a wall or lap-quilt sized Hawaiian-style quilt, on a hand-dyed background (possibly the same but much lighter aqua in a very textured style, with an accent of raspberry–piping? on the edges), I’m happy with it. 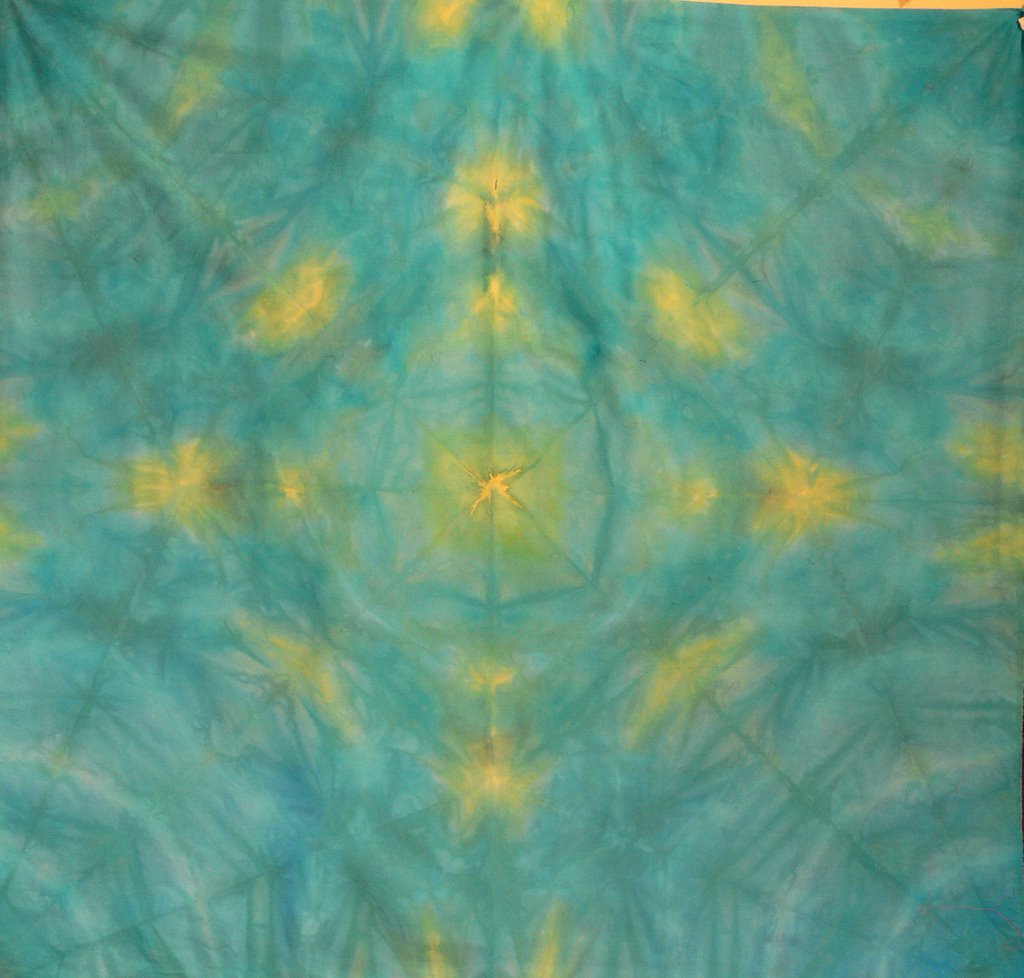 Next time, I may try lightly dipping the folded edges in soda-ash-solution, which will cause the dye to bond very rapidly with the soda-soaked portions, then pour more dye on the remaining dry parts, which should create some fairly bold patterning. Think I may try that on a SMALL piece first, though, cuz it could also be awful!
September 2nd, 2006 at 4:50 pm
I have LOVED reading about your workshop with Carol. It’s on my to-do list if I can ever find the time between teaching gigs. Your fabric turned out beautifully and envy the fact that you know what you are doing. Mostly – LOL.
Thanks for the link to Vicki Jensen’s blog – I didn’t know she had one and now I’m hooked.
September 7th, 2006 at 1:27 pm
Sarah —
I once experimented with folding, rolling or scrunching soda ashed FQs to form a log and putting each end into a container of dye — two different colors. The dye that attaches faster does tend to take over the piece but the effects can be pretty interesting esp where the colors meet. I don’t have any of that fabric — sent it all of in a swap n the Dyers List years ago
jq