Color Mixing for Dyers, week 2, continued
As I mentioned earlier, we began our five-day workshop with Carol Soderlund working with thickened dyes and resists. As with textile paints, you can apply color to cloth with stamps, paintbrushes, rubbings (put stuff underneath and rub over it to get a relief, like a gravestone or temple rubbing), paint rollers (sometimes textured by wrapping with rubber bands or scored with a knife), mono-printing and more. Carol invited us to bring previously dyed cloth to over dye and print, so I selected a couple of fabrics known to dyers as “dogs.” Bleah. My first dog was a pale peach that was nearly solid and totally boring. I had yards of it. Ick. I tore the cloth into several pieces and started playing.
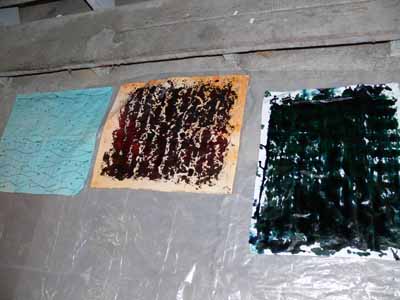
This first photo shows three of my pieces in progress. On the left is a cloth with Elmer’s blue washable school glue used as a resist (more on the blues and greens in a following blogpost). The bleah peach is in the center, with the first monoprint on it, and a fairly yucky monoprint on the right on white PFD (Prepared For Dyeing) fabric. PFD is cloth that does not have optical brighteners or other chemical treatments on it, so that it is ready to accept dye without “scrubbing” or washing.
The monoprinting was the one technique I hadn’t tried with paints, and I especially liked the visual texture created when you take a print paste mix, a gelatinous mix to which you add dye concentrate or dye powders and a dye activator (the latter added at the last possible moment), smear it on heavy vinyl (think the stuff old biddies used to use to cover and protect the sofa), wait for the goo to separate into blobs, then place a cloth on top. Carefully pat the fabric onto the gel, then lift the cloth off and “batch” it. Batching is when you allow the damp fiber-reactive dye react and form a chemical bond with the cotton cloth, usually for a period of 4-24 hours.
This photo shows four diferent pieces of cloth, all of which began as the same ugly peach (visible at the bottom of the piece on the left):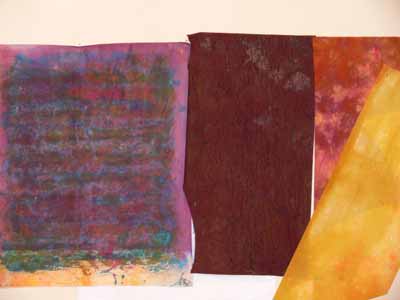
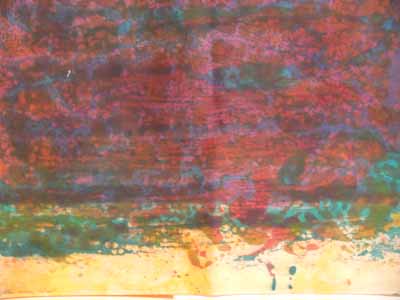
The one on the far left is my favorite… I love the way the blue print paste mix made a network of fine bubbles. Since I didn’t care about what happened to these fabrics, I think I did about three separate monoprints on this one chunk of fabric. Here’s a close-up:
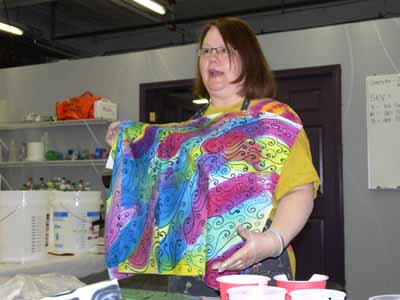
The darkest piece in the 4-piece photo (the picture above the photo immediately preceeding this sentence) was first rollered with a paint roller wrapped with rubber bands, then dipped in thickened dye. Next I did what Carol calls “black work”, where thickened black dye is put into a squeeze bottle with a fine tip. Since I was tired that day, I opted for the ever-easy and always-usable “tree bark”. Finally, I overdyed the whole thing to make it deep brown. Here is a picture of Carol showing a cheery and bright piece on which she did some black work:
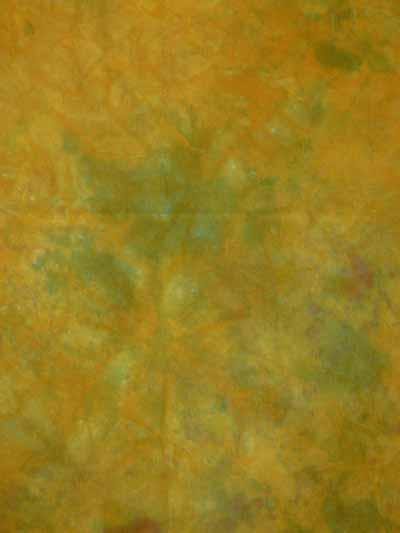
 And as always, the “dye rag” often ends up being the best piece of cloth. I made a warms and a cools rag, and this ochre-leaf color will get used!
I’m totally NOT into surface design, but I did have fun, and the next post will show some of the better pieces I made. They are blues and greens for a challenge piece that (eek, gasp, gulp) needs to be DONE by December 1! Fortunately, I have the idea done, the first sketch begun, and the fabric assembled, dyed, etc, so I can do it. So Larkin, if you are reading this, don’t panic. It WILL be ready!
Stay tuned for more pictures from this workshop, but in the next couple of days I have a few other things to share first……

October 30th, 2007 at 12:10 am
I love all the texture that you got from those formerly peach pieces! Surface Design is a lot of work! But it’s full of surprises that can be fun too. I miss being there at ProChem with you, but you look like you did have fun!