email Youtube

Home
Galleries
Blog
Workshops & Calendar
Store
Resources
About
Contact

Art quilting disguised as fusible applique

May 2nd, 2008
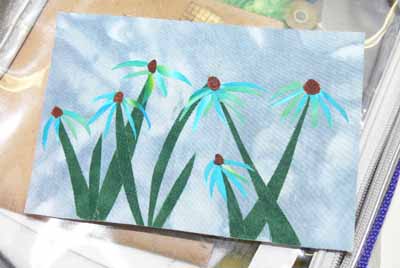
Turquoise coneflowers

My first day in Paducah, I taught an evening 3-hour class called “Chunk and Jigsaw Fusible Applique.” This class is actually a portion of my Fabric Postcards all-day class which teaches various art quilting and embellishing techniques. I teach how to make up a small stash of fused fabrics ready for a quick project using leftovers from other projects (placed on the fusible web like a jigsaw) or small chunks of fabric…say 5×7 to 10×10 inches or so…. Then, we make a few postcards. For most students in these classes, it is their first time trying to design something, so I provide eight patterns. What is interesting, once I started providing a selection of patterns, the students didn’t use them! HOORAY! It meant the variety of ideas was enough to get them going on their own… mo’ bettah! Here are some of the results–the one above is one I would have loved to fly home with me… imagine, turquoise coneflowers…. glorious!

Note: if you were in my class and made one of these, PLEASE let me know and I’d love to include your name in this post! The class was so short that I wasn’t able to get names attached to each postcard for sharing here, but I did ask in the class if it was OK to share them. Michele E in Alabama… I’ll not share your wonderful birdie because I know you wanted to finish him/her before “going public!” but I adore him/her!

This student was game, despite never having designed something like a scenic card… I love how she placed the shapes, added the cut-out leaves, and used color. See how she cut out motifs from a batik to create the waterplants?
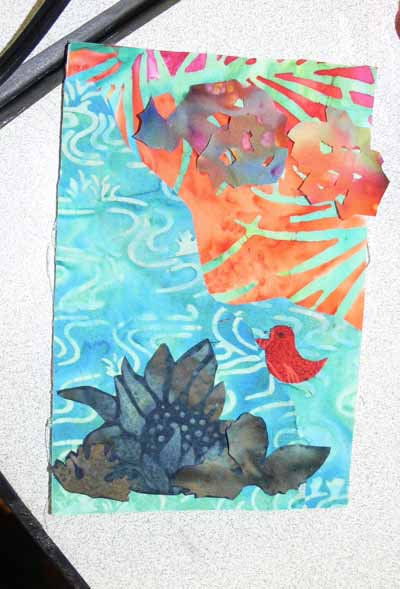
Beach and bird

I love Love LOVE the swoopy roofline on this house! She had found some cool “postcard foundations”, in the YLI booth I think. They were dyed/painted, creating the cool colors and textures in the background… I’ll have to look for them! Also love how she used the circles in a Kaffe Fassett print (do ALL of us have this fabric in our stash?) for the window and doorknob.
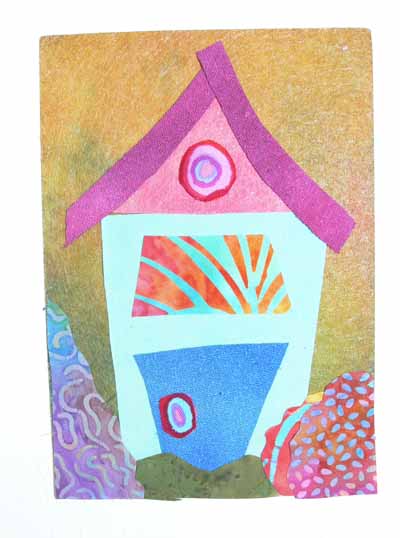
House

Notice the cool not-quilting-cotton fabrics in the houses here?
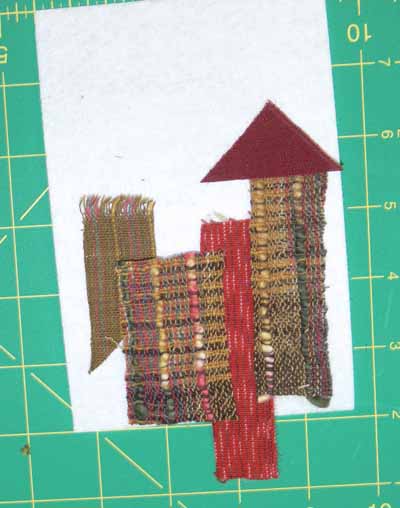
Different fabrics

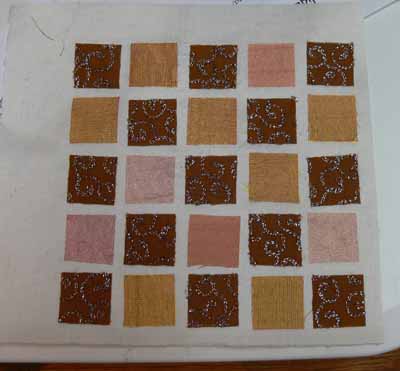
Another student worked on a slightly larger background that the 4×6 peltex cards I included in the kit, using her awesome selection of sheers (which I wouldn’t have minded if they flew home with me, either). Her first piece was squares, in progress:
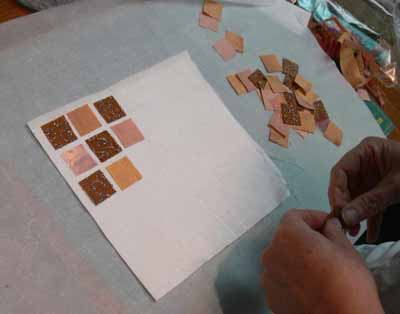
Sheers checkerboard, beginning

and fused up:

Sheers checkerboard

Then she made this totally wonderful sun scene:
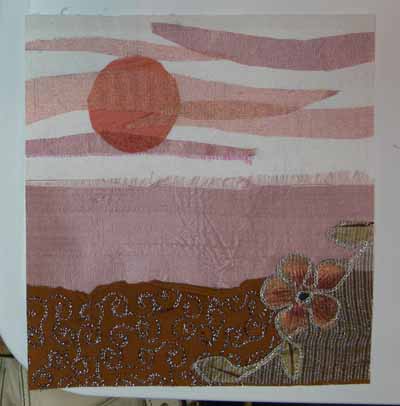
sheers scene

One student with a completely different sense of color and composition than I have used the prints in her fabrics SO effectively:
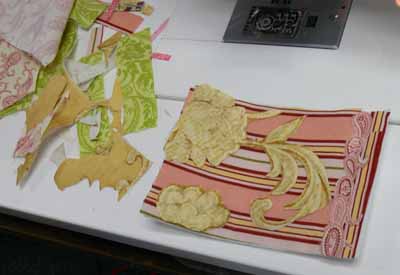
Baroque swirls

The combination of soft batiks creates a soothing landscape:
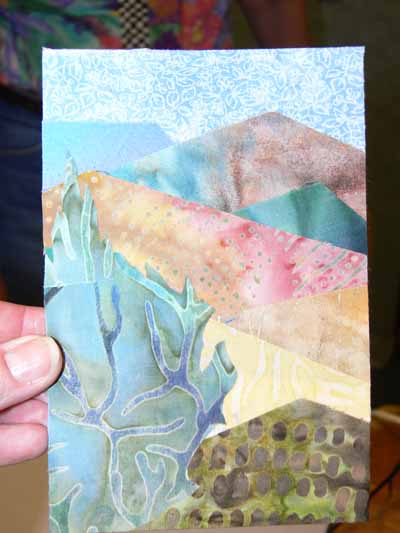
Mountain scene

And here’s another landscape under construction:
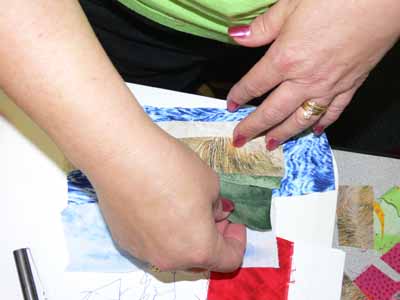
Another landscape, in progress

Despite the hour of the class– 5:30 to 8:30 pm — the students seemed to have fun, and I know I did. And the peanut M&Ms and Milky Way bars I brought to share helped!
Home from Paducah

April 30th, 2008

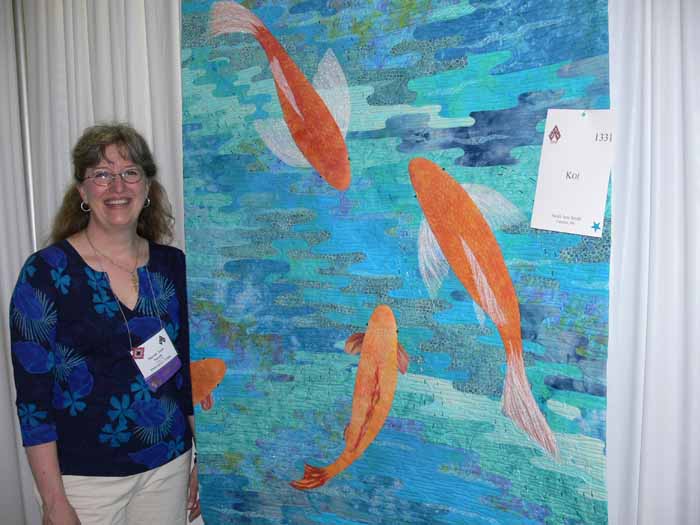
Me with Koi

Phew! I did it! I taught at the AQS Show in Paducah last week, which also happens to have been my first major teaching gig at the national level…what a way to begin! It was exhausting, fun, a learning experience, and I’d do it again…just not every year please! Unlike Festival in Houston, the show is spread out in Paducah’s Expo hall, convention center, and the (icky) attached Executive Inn. The rest of the town joins in, from the MAQS Museum 3-4 blocks away, to Hancock’s of Paducah (a major store and catalog/online quilt store) several miles away via car/shuttle bus, to the many shops in town including Caryl Bryer Fallert’s studio and the new Eleanor Burns emporium. Regular stores all have quilts in the windows… it’s just fun! (Even if the weather can be hot and humid and sticky. Showers please!)

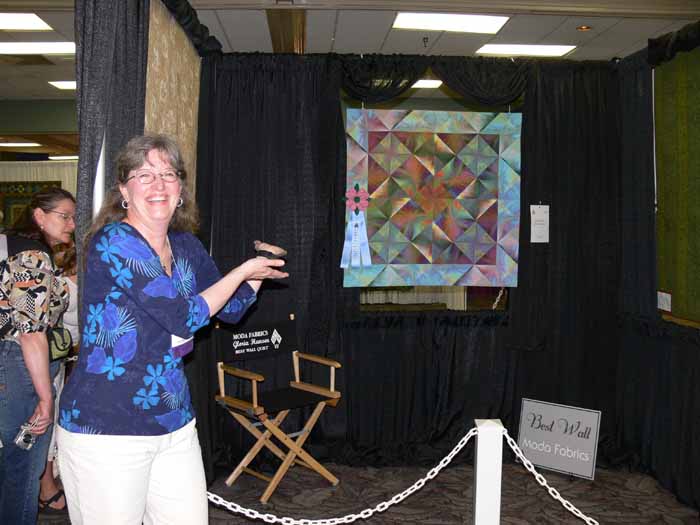
Standing in for Gloria Hansen

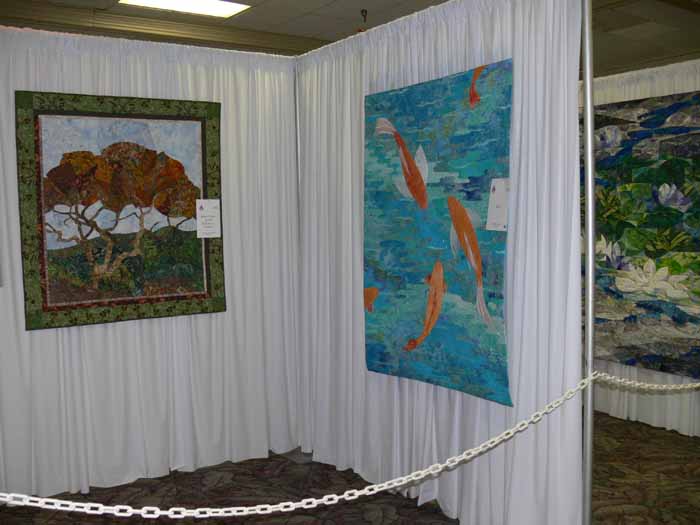
I did get to see the show, and thought I’d seen all of it, but since my return it appears I missed a section of the exhibits…bummers! From my arrival on Tuesday, to my departure for the Nashville airport on Saturday evening (I actually reached home at 9 pm Sunday), I had maybe 4 hours total during open hours to see everything and do just a little shopping! The first thing I saw, above, to my sheer delight was Gloria Hansen‘s quilt with a big ribbon (that’s me doing a stand-in for the much prettier Gloria, who is also my website designer extraordinaire)! (Note! All photos in this post are clickable for larger views.) Across the aisle was my Koi quilt. I totally love its simplicity, but it suffered in comparison to the heavily worked quilts in the show, I think. Still I’m glad that some of the folks in my classes saw it and remembered it!

Koi in situ

One of the best parts of going to a big quilt show is meeting folks from online. I’ve also discovered that hanging out with other teachers is a phenomenal experience. Like quilters, they are so sharing, helping newbies like me learn the ropes. Jan Krentz was awesome (I may have to take a piecing class with her just to learn from watching a master teacher at work), and I got to room with Suzanne Marshall, whose quilts have earned spots in the top 100 quilts of the 20th century and the next best 100 quilts of the 20th century… amazing! (Click on their names to open a new window to their websites.)

The Beast and the Boy, Suzanne Marshall

And such a kind, down-to-earth lady. I’d room with her again any time! Our dinner out after our evening classes on Weds. was the best dinner of the week–we yakked for hours! This is her entry in this year’s show The Beast and The Boy…yes, all hand appliqued, hand quilted, hand stitched…sigh!

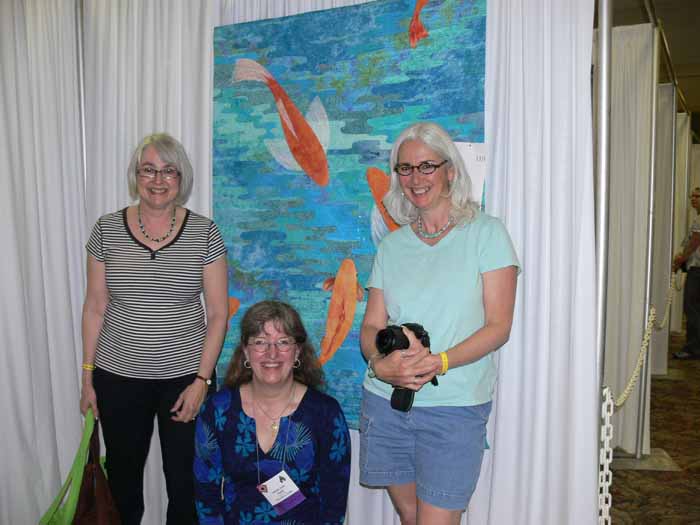
Here I am with Caty and Leslie from the Quilt Mavs list (they are sisters, yes their hair is that gorgeous, I want Caty’s!):

With Caty and Leslie

I was so busy teaching, that I didn’t get to really see much of the town. Thanks to meeting online friends, Caty and Leslie, for the first time, I DID get a lovely tour of the town (and was so glad to be able to do that sitting down in her comfy car! I was literally hobbling by the time I met them Thursday evening). We saw old homes, beautifully renovated old homes, dogwoods in bloom (the thing I may miss the most about Virginia), and also azaleas and redbuds. And we drove the Lower Town Arts Walk area…what a great idea to revitalize a town.

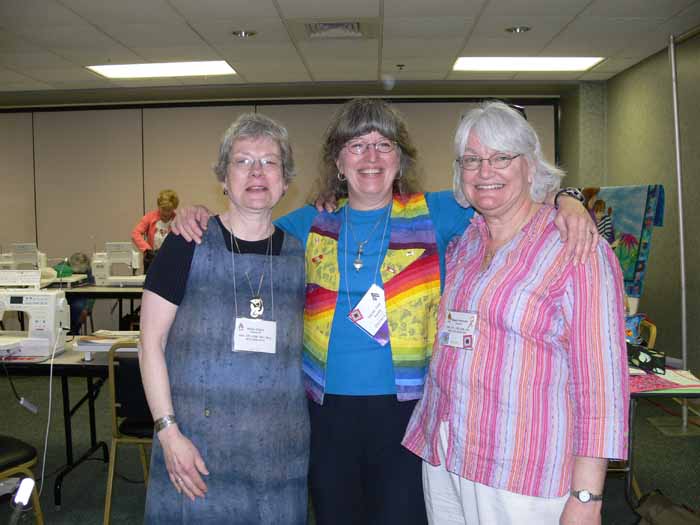
From the Janome 6500 list, I met Maggie S. and Madge Z. and we got this pic (thanks for taking my classes!):

with Madge and Maggie

and from the Pickles list, Michele E. from Alabama — if we look tired it’s because it was the end of my sixth and final class, and I was ELATED–I did it!

With Pickle Michele

I also met and really enjoyed having Ruth Ann W. from the QuiltArt list and her friends in my classes…Ruth Ann, how did we miss taking a photo????? Maybe in Florida!

The hotel was, well,….. ugh. The folks who run AQS have apparently threatened to leave town and find another venue if the owner doesn’t fix it up, but according to the “word on the street” (aka gossip) the owner doesn’t much care and wants to turn it into a casino. If you go to Paducah, try to stay somewhere else then drive or shuttle to the expo center! Over the next few days I’ll be adding more posts….pictures of the show, of students and classes, the Ricky Tims concert… can you tell I had fun (and that I’m now catching up on sleep enough to enjoy it LOL!).

Quilting with Decorative Threads

April 28th, 2008

When I teach the after-intro-level machine quilting class, the one for folks who are comfortable with free-motion (I always say you don’t have to be good at it, just comfortable with the concept) and want to explore playing with threads, usually I have students do a sampler to test thread tension on their machines with various needles and thread combinations. However, in Paducah, the students will be using loaner machines (HOORAY>… I got the Janome classroom filled with my loved 6600s!). I wanted the students to learn HOW to make the tension sampler, but what they need most is to take the sampler home and then play with the tension on THEIR machines! That would leave some extra time in the class.

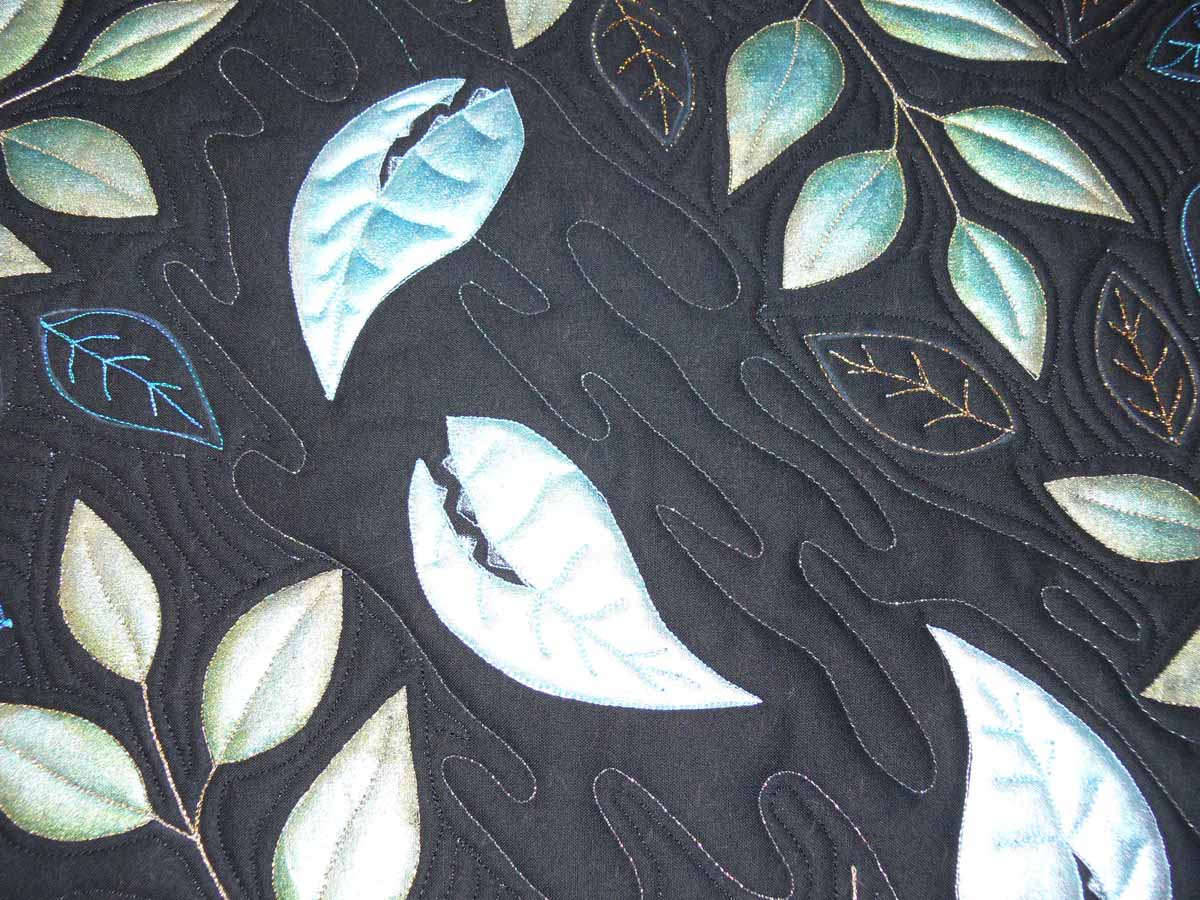
Painted leaves

That led to the idea of a project. I grabbed my tossed leaves patterns to use as handouts, and thought gee, let’s quilt up a square that could be practice OR be a pillow top (or whatever) that lets students play with a variety of fancy threads. Rather than fuss with applique or whatever, the students can simply outline the shapes on their fabric, then quilt them as if it were a wholecloth. Of course, I decided I wanted to play with paint (who wants to mark a quilt when you can paint it?), which led to the sample above. I took some 12+ year old black print fabric and painted on the back through a freezer paper stencil using Lumiere paints. I then tossed in a few other leaf shapes (the fine white lines you see on the black) .

I used the following threads, all from Superior Threads:

  • Rainbows, a variegated 40-wt trilobal (shiny) poly
  • Highlights and the other 40-wt. trilobal polyesters in a solid color
  • Metallic (gold I think it was?)
  • Glitter, a holographic thread
  • in the bobbin, The Bottom Line, a 60-wt poly

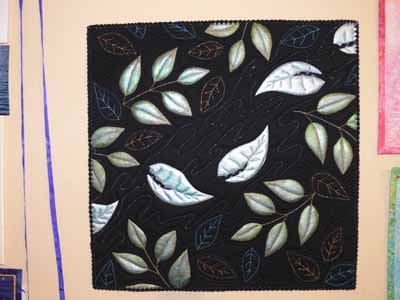
Metallic tossed leaves

To see a close up of this quilt, click on the thumbnail (if you are on a PC and right click, you can open in a separate tab or window, if on a Mac click the apple key and mouse at the same time):

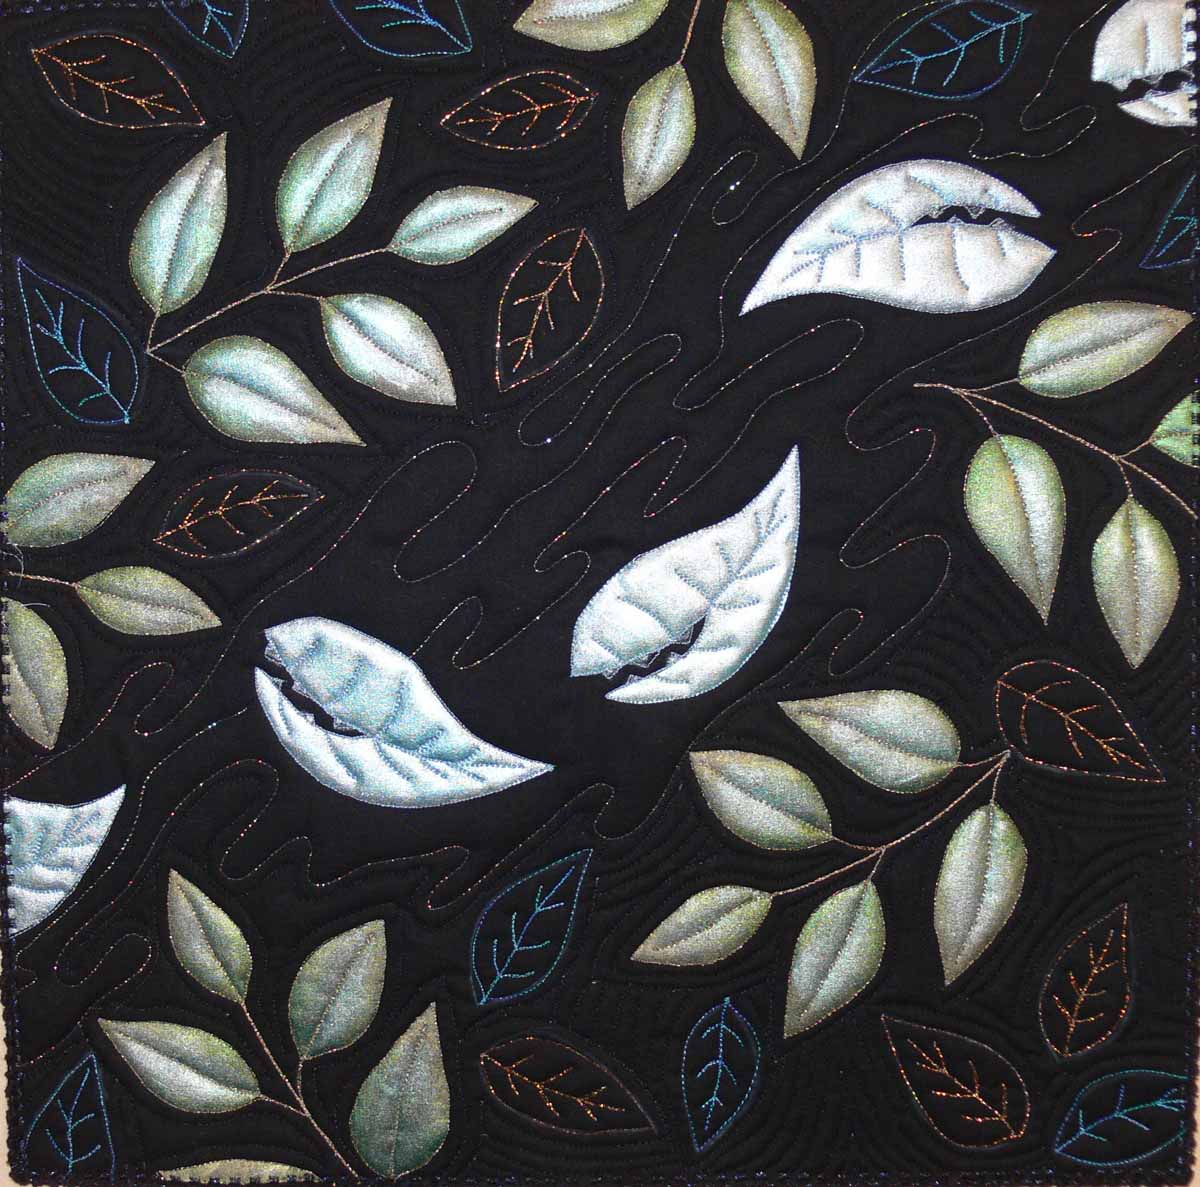
Metallic tossed leaves–larger

And here is a detail shot:

Tossed leaves detail

if you click on the shot, it will open up larger, too.

Superior offers this awesome service: as a teacher, I can order a bunch of thread, then have them re-wind the cones onto “bobbins” (not for use in the bobbin, more like micro-spools on a clear plastic bobbins). Then I can make kits for students with a range of threads. For $15, my students will get samples of the Bottom Line (on bobbins that can actually be USED in the bobbins), King Tut (variegated cotton), MasterPiece (50/2 cotton, solid colors), Rainbows (variegated poly), 40-wt trilobal poly, metallic and Glitter! You’d MAYBE be able to buy two spools of thread, and they get to try six different types of thread to see if the look is right for their style of quilting and compatible with their machines (after all, we KNOW some machines are just cranky!) without spending a fortune on spools they might never use again. Cool! Love the service!  And then I know the students will have good quality thread and not be frustrated with junky stuff or not have a good selection because 8 spools just costs too much!

Creative Quilting With Beads–it’s on the way!

April 26th, 2008

Great news…. the Lark book with 8 projects by the Frayed Edges is now available!!!!

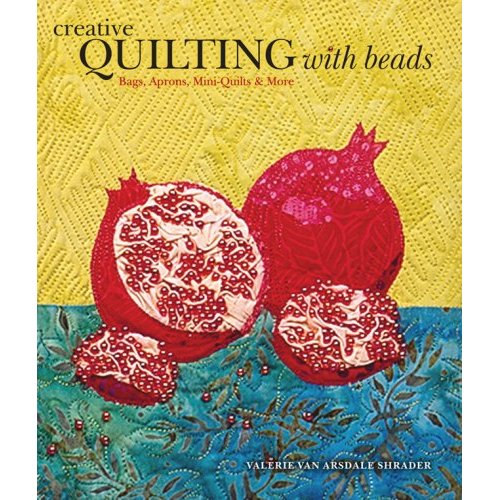
Creative Quilting With Beads

I’ve ordered copies, and as soon as they arrive you’ll be able to order up an autographed copy (or unmarked if you prefer… either way is great!) here. I have also obtained a supply of the drop beads I used, so if folks want, let me know and I can add a baggie of enough beads to make one journal cover to the store site if there is any demand for them.

I am so proud of ALL of the Frayed Edges! Four of the five of us submitted proposals, we were all accepted and we are either

  • on the cover (my pomegranate notebook cover, which you can see here)
  • on the table of contents (Deborah)
  • on the Introduction pages (Deborah and Kate)
  • or the FIRST project in the book (Kathy!)

WOW! Here are some pictures and a bit of a review of the book:

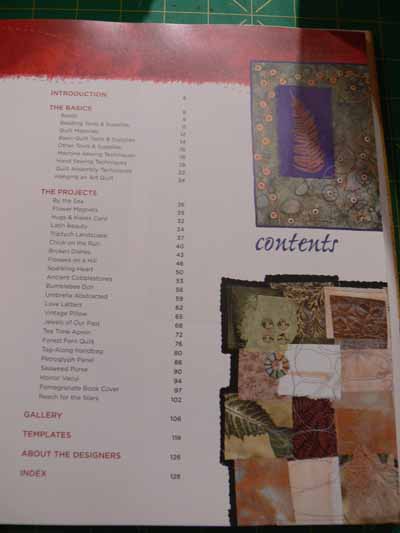
After the elation of learning a while ago that my project was on the cover, it only got better as soon as I opened the book. Here is the table of contents, with part of Deborah‘s Cobblestones piece on the lower right:

Table of Contents

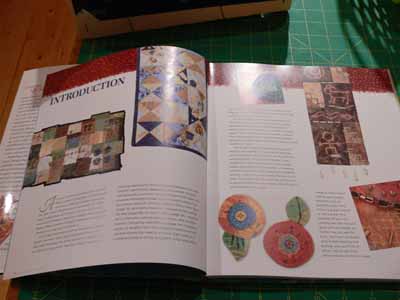
Then I turned the page to the Introduction, which repeats Cobblestones and has BOTH of Kate Cutko’s pieces (Broken Dishes and Petroglyph):

Intro

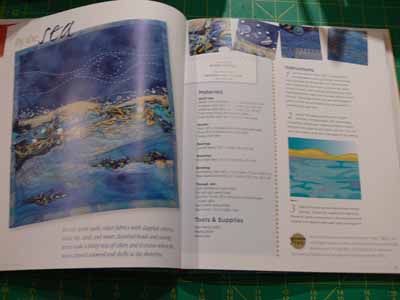
Then I turned to the projects, and it begins with Kathy Daniels‘ sea piece:

Kath’s project

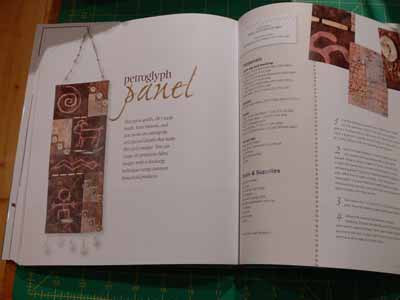
Kate’s Petroglyph panel (one day at one of our regular Frayed Edges meetings, we decided the beads were too bright and shiny, so we sandpapered them and stained them with leftover coffee!):

Kate’s

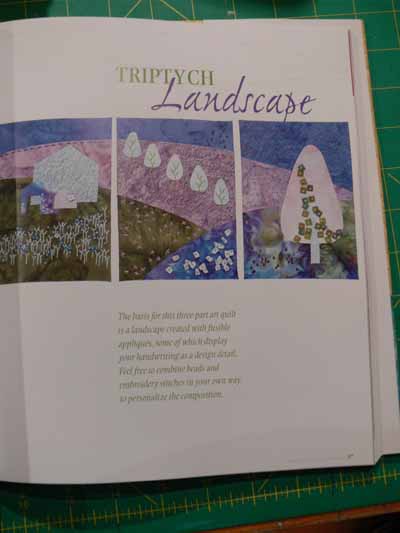
Deborah’s landscape triptych with her signature writing on her fabrics (one of her THREE projects!):

Deborah

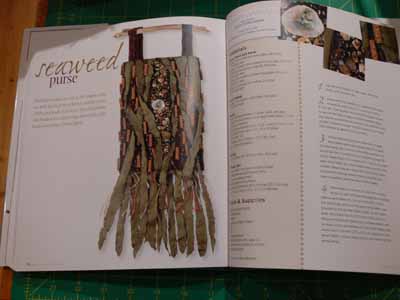
The layout of the book is good–nice and clean, clear instructions, concise (I tend to go into LOTS of detail!). The projects look as though they could all be fairly easily and quickly accomplished (once you get the “stuff” you need for them anyway!). A basics and tips/ideas section starts the book, then it progresses to the projects, which are nicely illustrated and beautifully photographed! I hope the photography in my book turns out as well as this! Apart from the Frayed Edges projects, there were a couple I loved, and I could see doing a riff on this bag in an art quilt:

Seaweed bag

The projects shown could easily be adapted to use in your own art work or done as is… way cool.

At the end of the book is a gallery of inspiring pieces. These are much more in-depth, complicated works of art from some of the top art quilters today. It would probably be impossible to pattern these works of art (if the artists would even be willing), but they show what you can do with the techniques learned in the book. Just let yourself loose and PLAY! Which is what I hope to do when I get back from teaching in Paducah.

I should be home on April 27th, and the books for sale should be here that week. I’ll start shipping as soon as I’m unpacked!

Free-motion for art quilters

April 24th, 2008

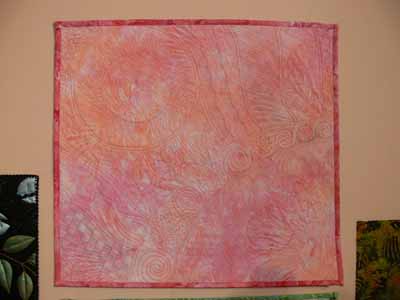
Double-duty projects (aka the grim phrase killing two birds with one stone) is becoming a habit. I needed to make some samples for my still-not-finished (sigh) book on threadwork in quilting AND have different free-motion designs for the 3-bhour “Nearly No-Mark Machine Quilting” class I’ll be teaching this week. I made two… one on a pink batik, the other on a turquoise “batik solid.” I like the former much better, but still really like the patterns on the turquoise, just not the overall piece.

Pink quilt orbs

The pink one is done with about six different Superior Threads 40-wt. trilobal polyester (shiny like rayon but stronger and more lightfast) through the needle and a single medium-pink/coral Bottom Line (60-wt. poly) in the bobbin. I LOVE the design on this one. I’ve had this “thing” for circle, arcs and orbs lately, and this was a fun way to play with different quilting patterns. The thing I have found is that I prefer curvy shapes to actually quilt, but that to make them really stand out, I need to incorporate straight lines (either in separators or alternate background patterns).

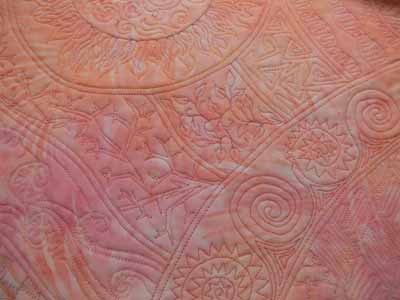
Pink quilt detail

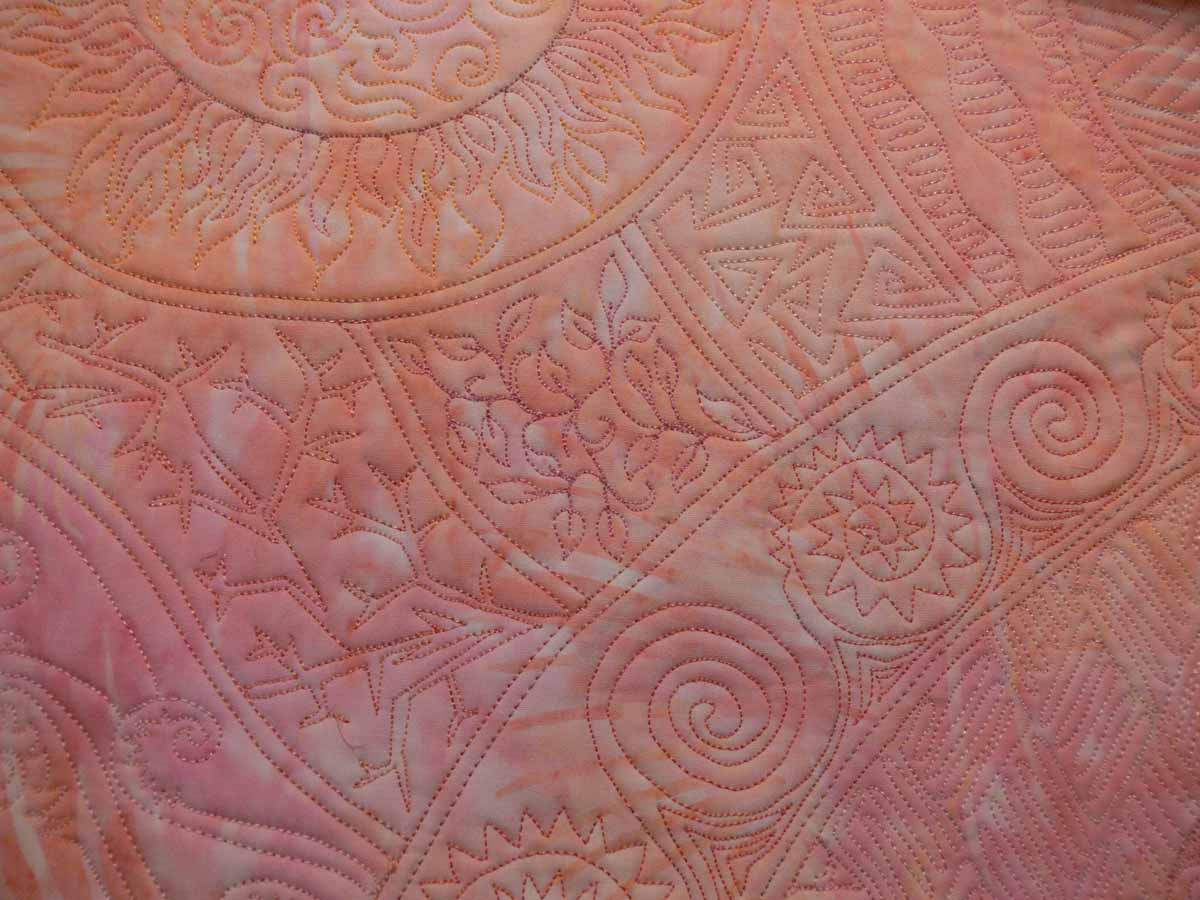
This detail shot let’s you see every stitch, and that I varied the shades of color slightly for effect. You can also see that what you look at isn’t so much the stitching line, as the puffy in-between shapes the lines create. See how much more the scroll (snails and spiky snails) stands out when I didn’t fill in the background? To see a larger version of this detail shot, click the thumbnail, below:

FMQ pink detail

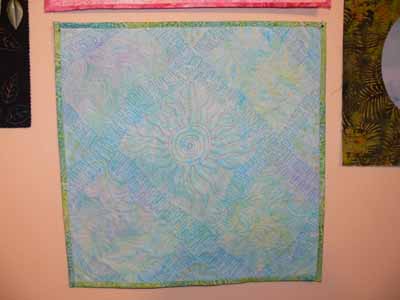
Here’s the turquoise one, which I did first.

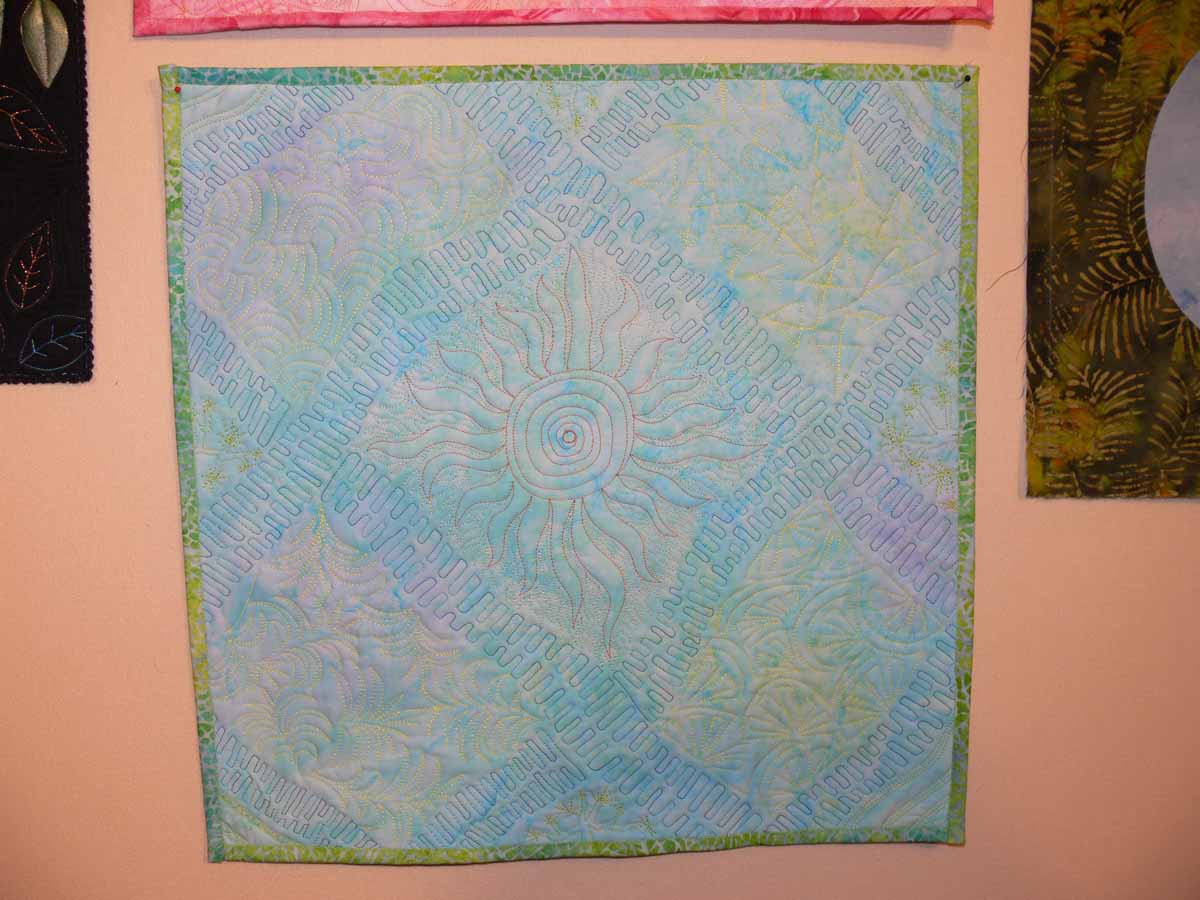
Turquoise quilt

A copule problems… the beautiful variegated thread I used for the “sashing” is too dark compared to the colors I used in the quilting, which seems to disappear. Oops. Also, the overall composition isn’t great, but oh well….   think of this as my Southern California quilting motifs:  sun, palm tree fronds, orange sections, stucco arcs (like the patterns on the stucco on the outside of my gramma’s house), sailboat sails, and Joshua trees.  This was a class sample not a work of art. Obviously. Clicking on the thumbnail below will open up a larger window/view:

FMQ Turq

The fill patterns are done on a fairly small scale…these pieces are approx. 18×18 inches, but it would be easy to scale them up to use as an overall quilting pattern for a lap quilt, say. Anyway, I hope you like them. Also hope the editors of my book like the, too!