email Youtube

Home
Galleries
Blog
Workshops & Calendar
Store
Resources
About
Contact

Archive for the ‘Teaching / Classes’ Category

Plaid Top Tutorial: Lesson 8–Lined Patch Pocket

Tuesday, March 14th, 2023

Today we move on to another fun technique:  a lined patch pocket.  I kinda made this up along the way (my first photos are not included because I figured out a better way…this is the revised and improved method!). The flannel is SO soft and comfy–in part because the weave is dense but not terribly tight. That means I might be able to wear holes in the bottom of the pockets, so I decided to give them some strength and structure by adding a lining.  The hand-dyed blue was in my stash and worked well enough  I also really liked the frayed selvage edge of the fabric so decided to use that as a decorative element.  I cut the pockets with the  the upper edge of the pocket on the selvage (lengthwise edge of the fabric) instead of the usual orientation.

Here’s what we are doing today–pockets!

Please note:  I am affiliated with Janome as a Janome Artisan and am compensated.  However, my reviews are honest and I would say what I say whether affiliated or not.  I’ve also chosen to be affiliated with Janome since 2003 (!!!) because their machines are so good and they are so responsive to the interests and needs of their customers.

Let’s dive into the details!  First cut out your pocket including either a turn back (flap that will turn toward the garment or, as I did, a flap that will fold down over the front of the pocket.  In the next photo, I’m preparing the cut pocket piece by sewing a basting stitch to make it easier to get a consistent turned-under seam allowance.
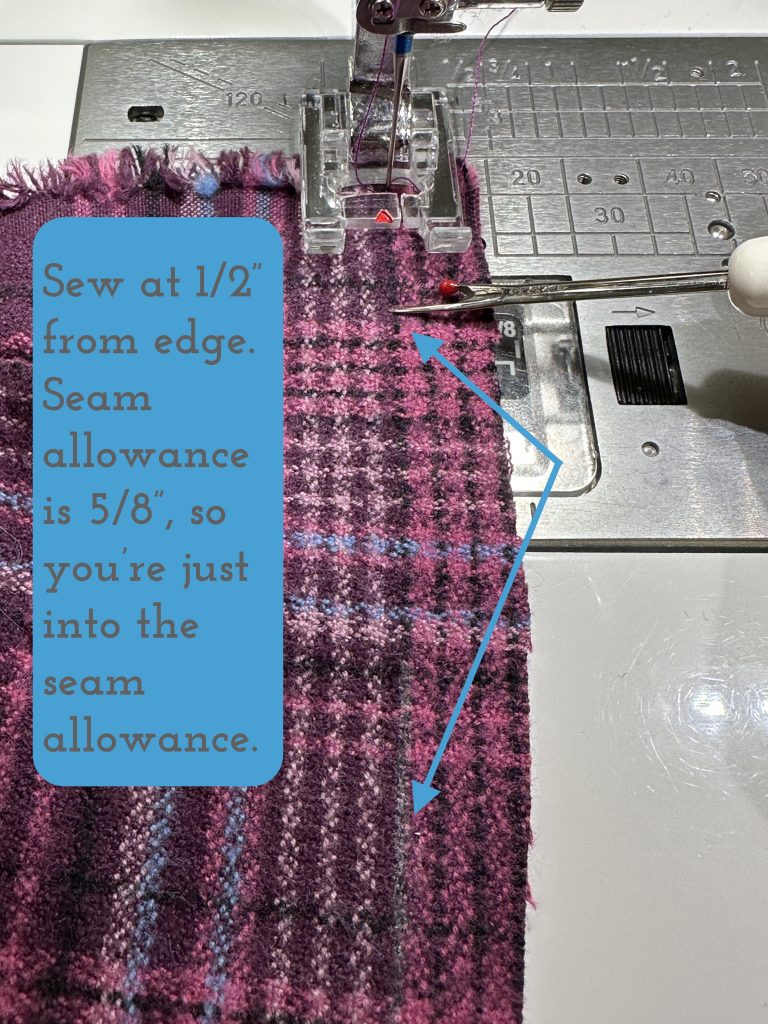
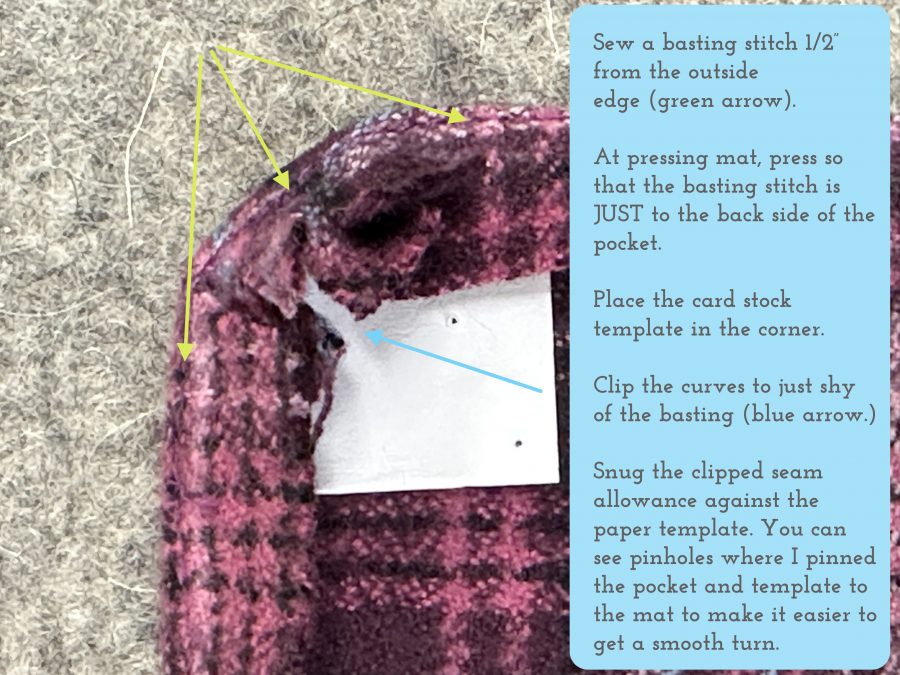
Sometimes taking an extra step makes things easier, not harder. This is one of those times. Sew with a basting stitch–I used about a 3.5 stitch length–1/2″ from the raw edge. This leaves 1/8″ between the basting and the turned edge line. The basting won’t show when the pocket is turned right side out, but the stitched line makes is SO much easier to turn accurately!
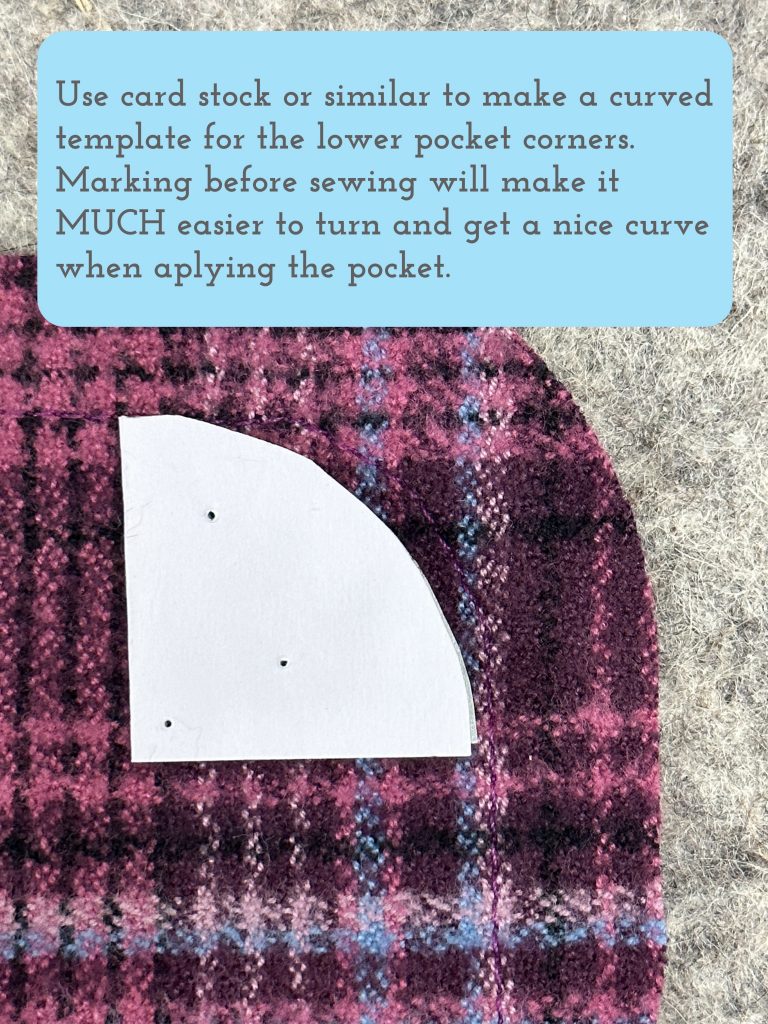
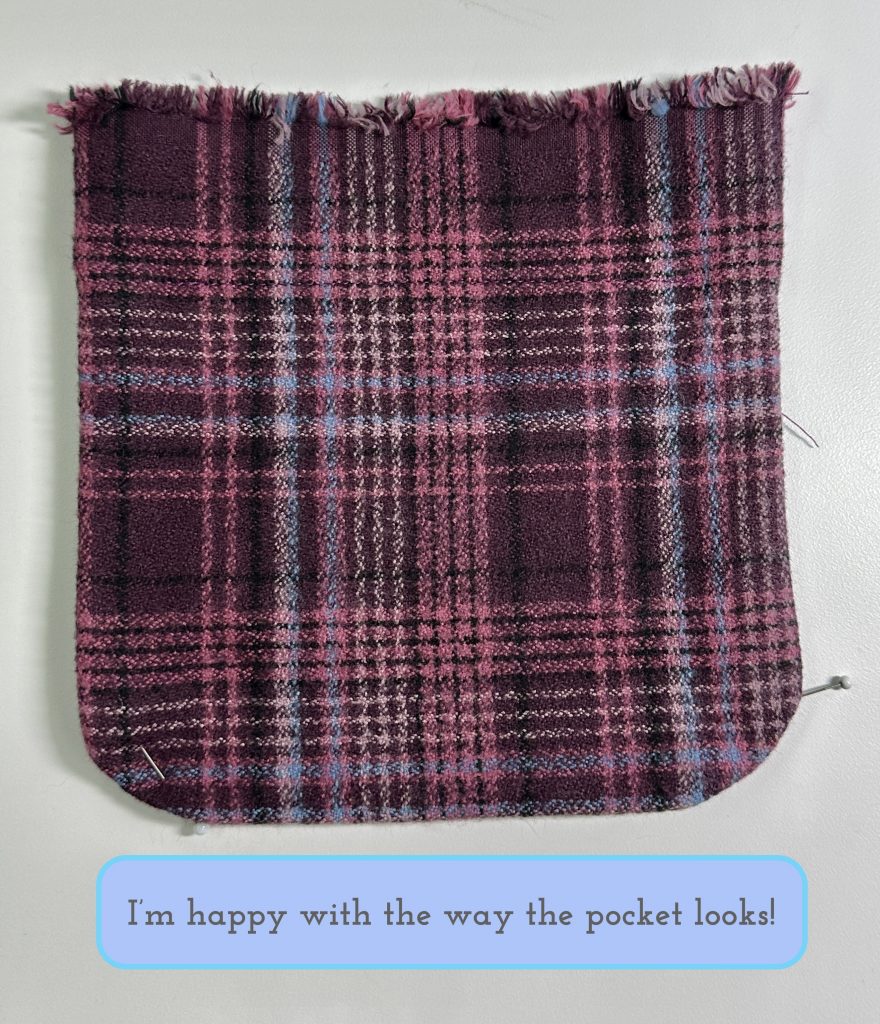
Using something firm like card stock, index card, or a cereal box, cut a quarter circle. I folded a sorta-square piece of cardstock into quarters, marked a set distance (an inch), then used a round item (think jar, pepper mill base, even (!!) a quilting template) that has a curve shape that  you like. Be sure the curve intersects the distance marks so it curves symmetrically round the corner.
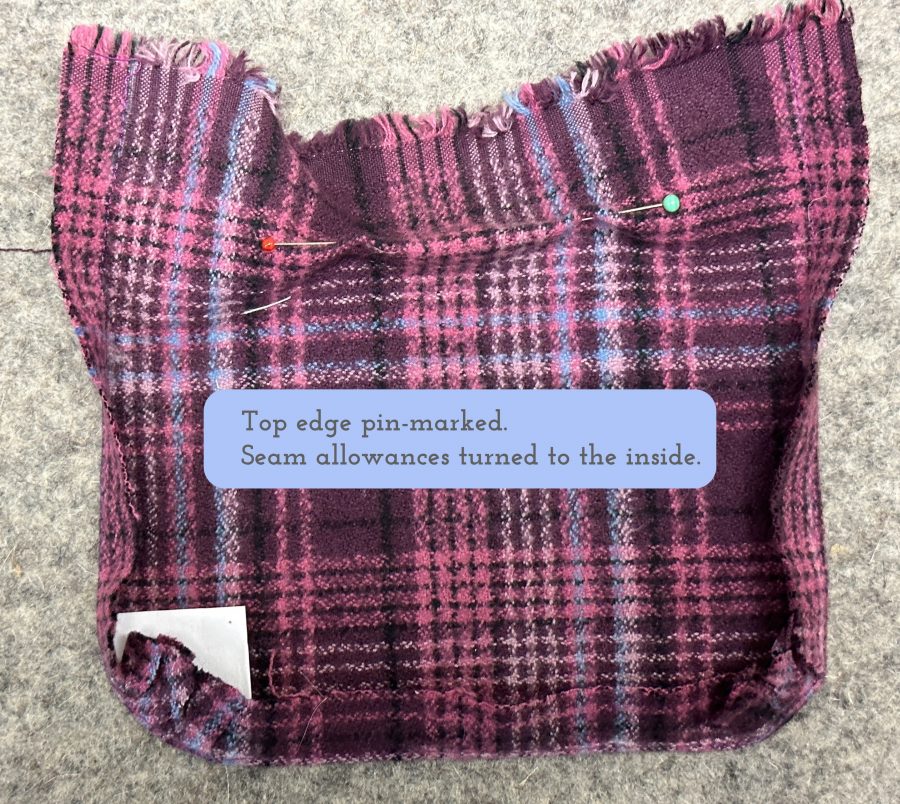
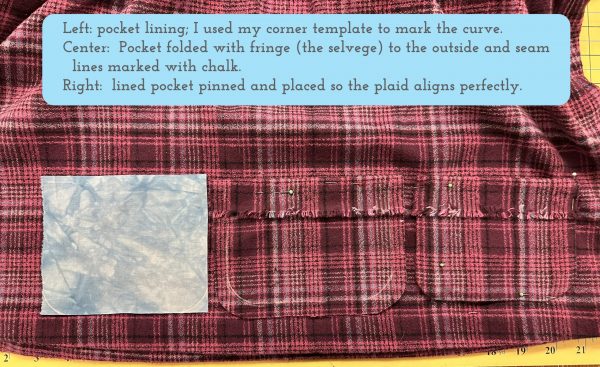
Notice that the top edge, with the fringed selvage, is pin marked where it will fold over to the outside of the pocket.

If your finished pocket is 6×6″ (honestly I’m not sure what size I cut mine, just using this to make the math simple!), you’ll have cut it 5/8″ seam allowance + 6″ + 5/8″ seam allowance = 7 1/4″.  Now, you’ll want to cut your lining smaller so that it is nicely hidden.  That means the lining would be cut at 6×6″ or a perhaps 6″ wide by 6 1/4″ long (to allow you an extra bit to tuck under at the top.  You will sew it to the pocket exterior with 1/4″ seams allowance, NOT 5/8″!
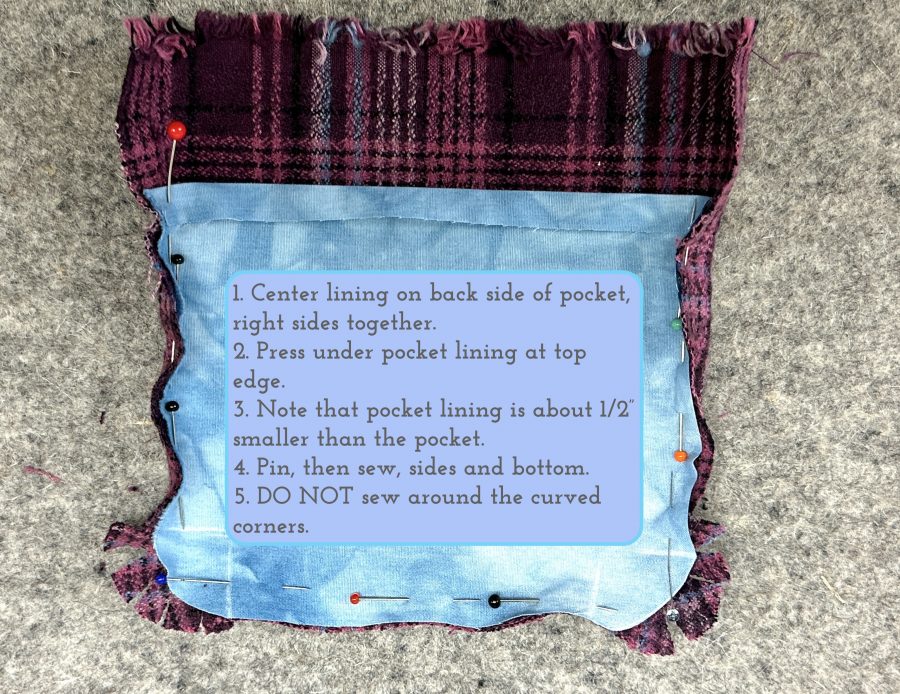
Press under 1/4-1/2″ at the top (see photo). Sew the lining to the exterior of the pocket with 1/4″ seams, right sides together, on the sides and bottom ONLY, but SKIP sewing those fiddly curves at the bottom.

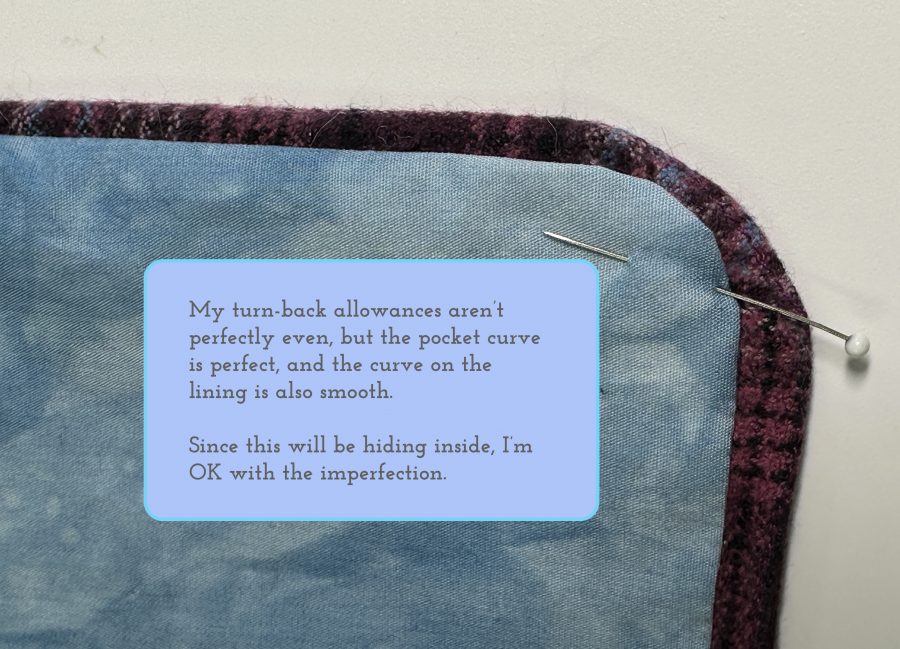
Turn the pocket right sides out and press so that the lining is centered and you see about 3/8″ of the fashion fabric on the edges.

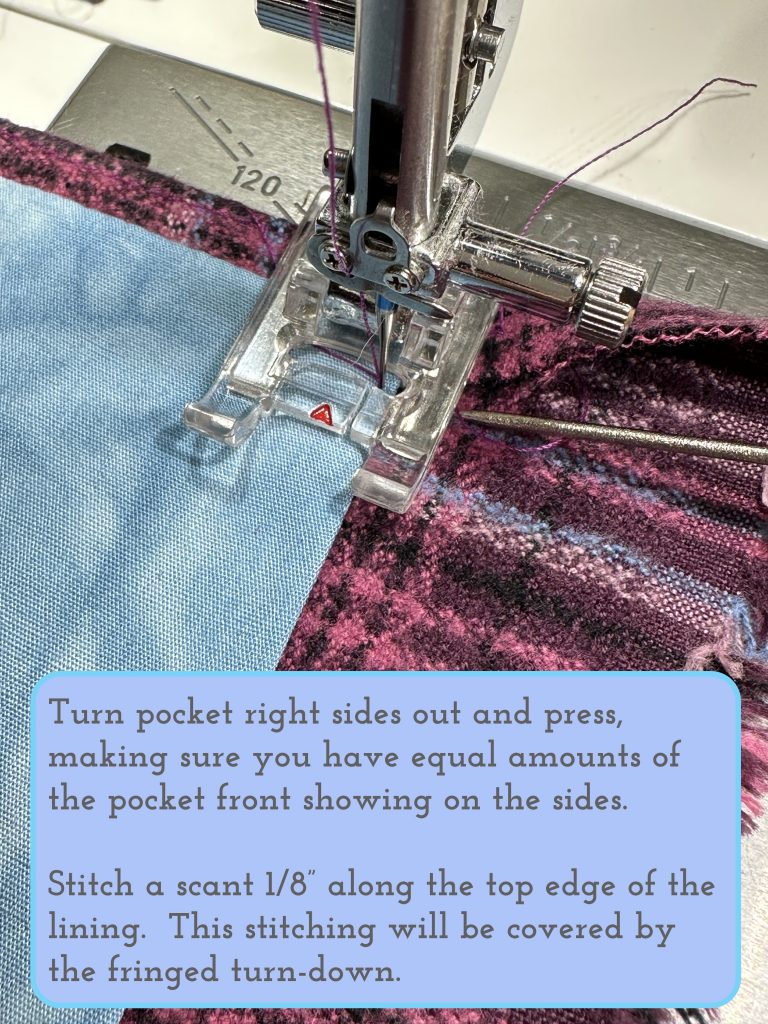
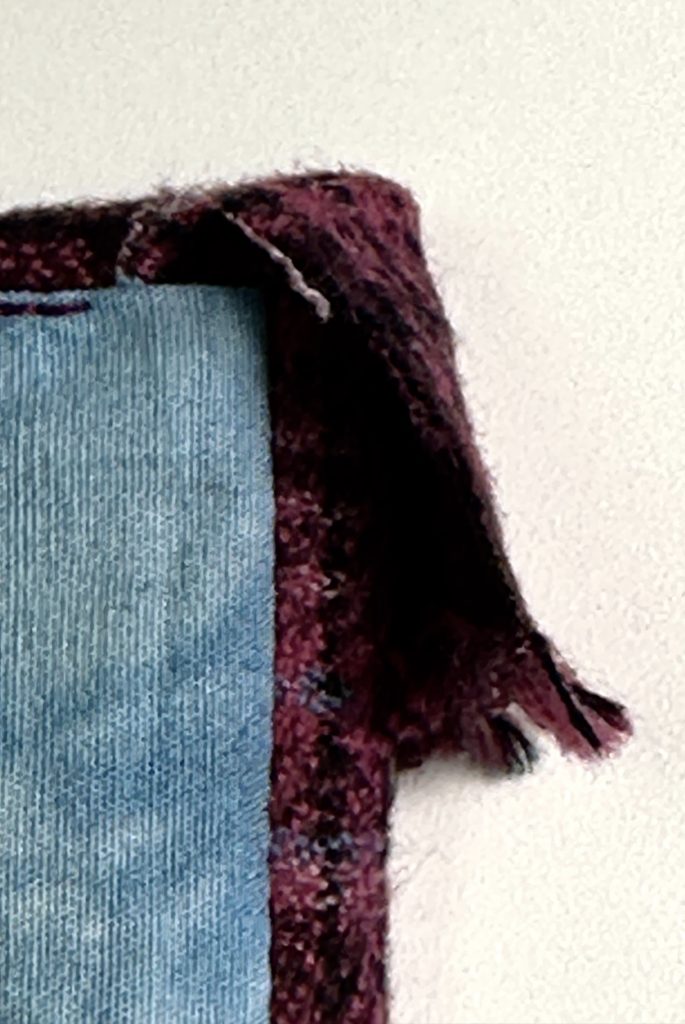
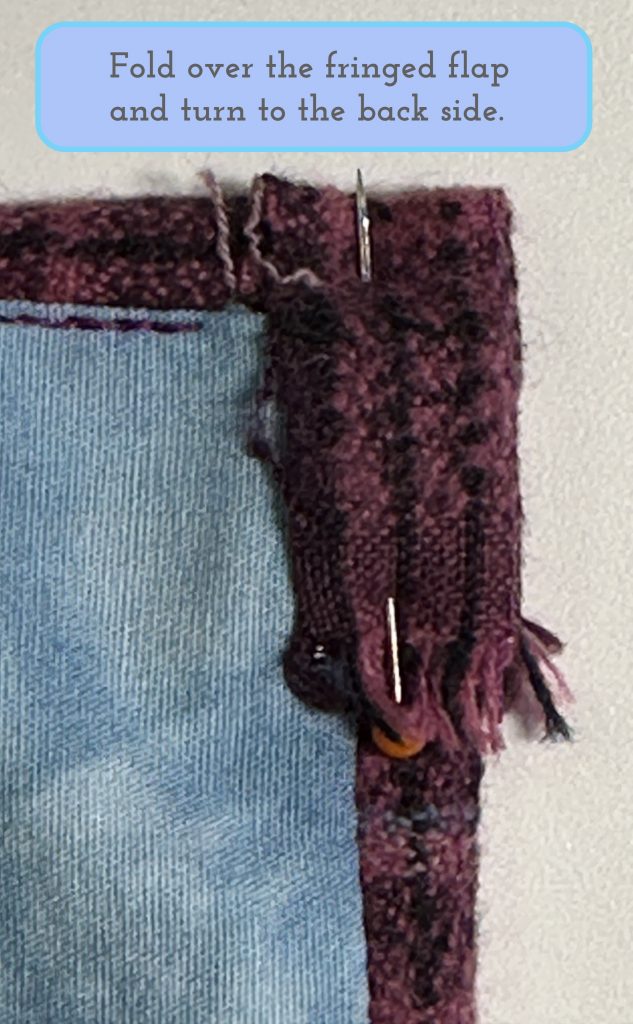
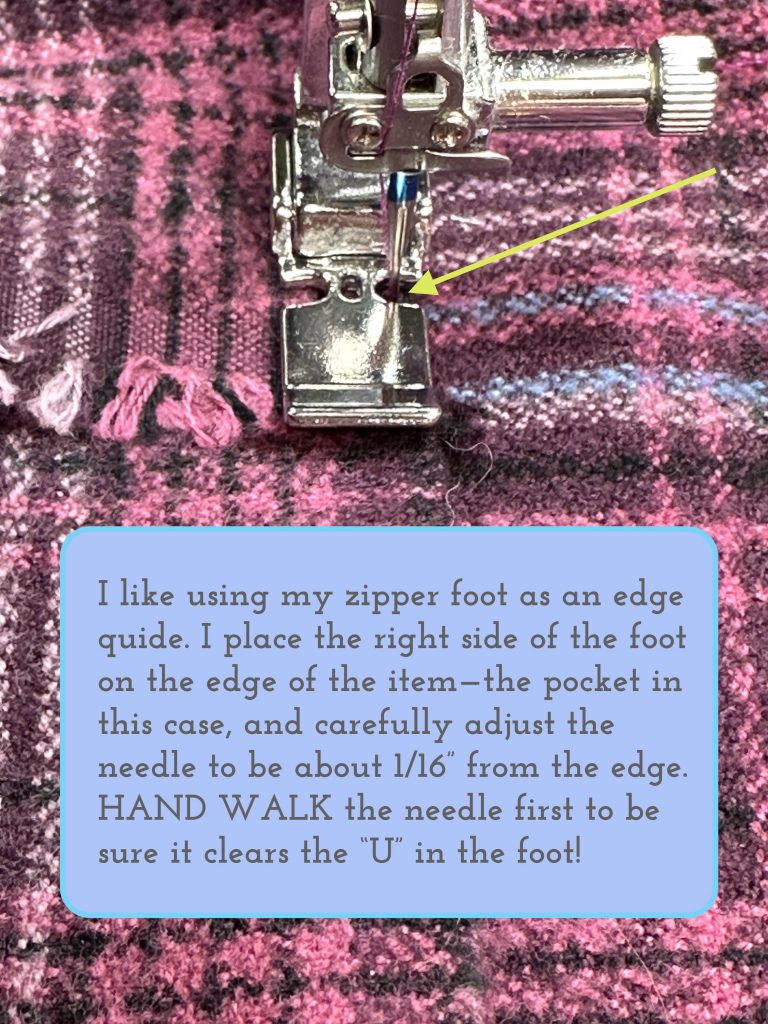
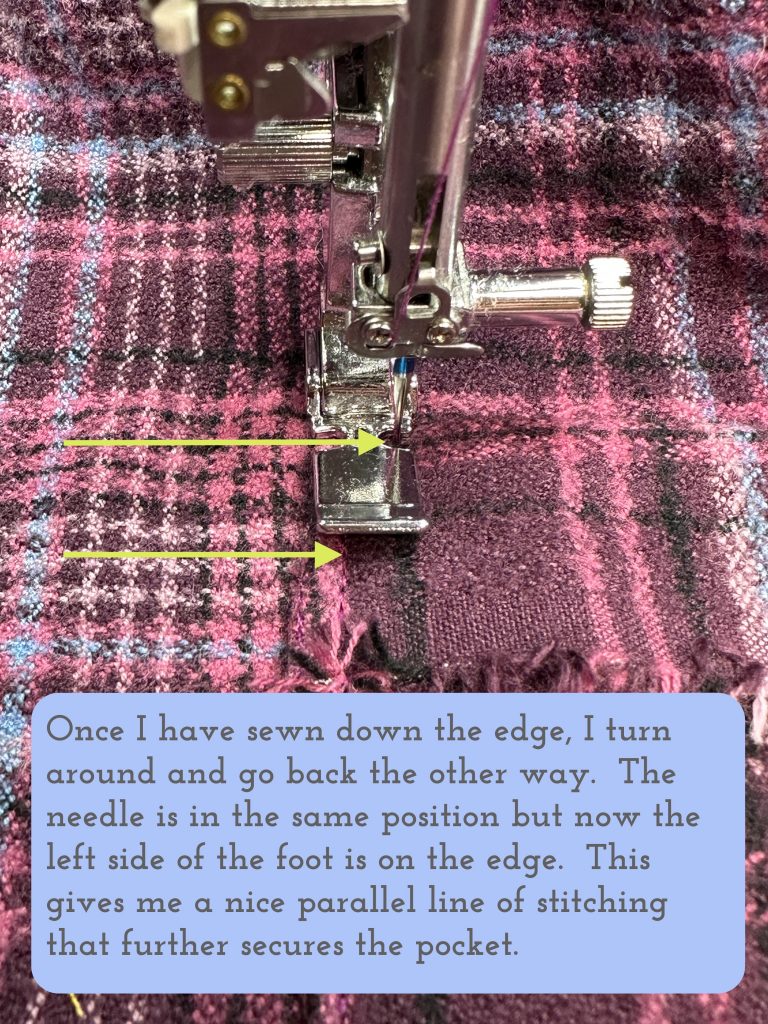
For my fringe-flap, I just tugged it out of the way.  Then I edge-stitched the top (turned under) edge of the lining started about 1/2″ away from the outer edges of the pocket — this allows you some leeway when you deal with hiding that flap. Clarification to caption above:  the turn-down is on the outside and doesn’t cover the lining, but the lining stitching is hidden by / covered by the turned down flap.
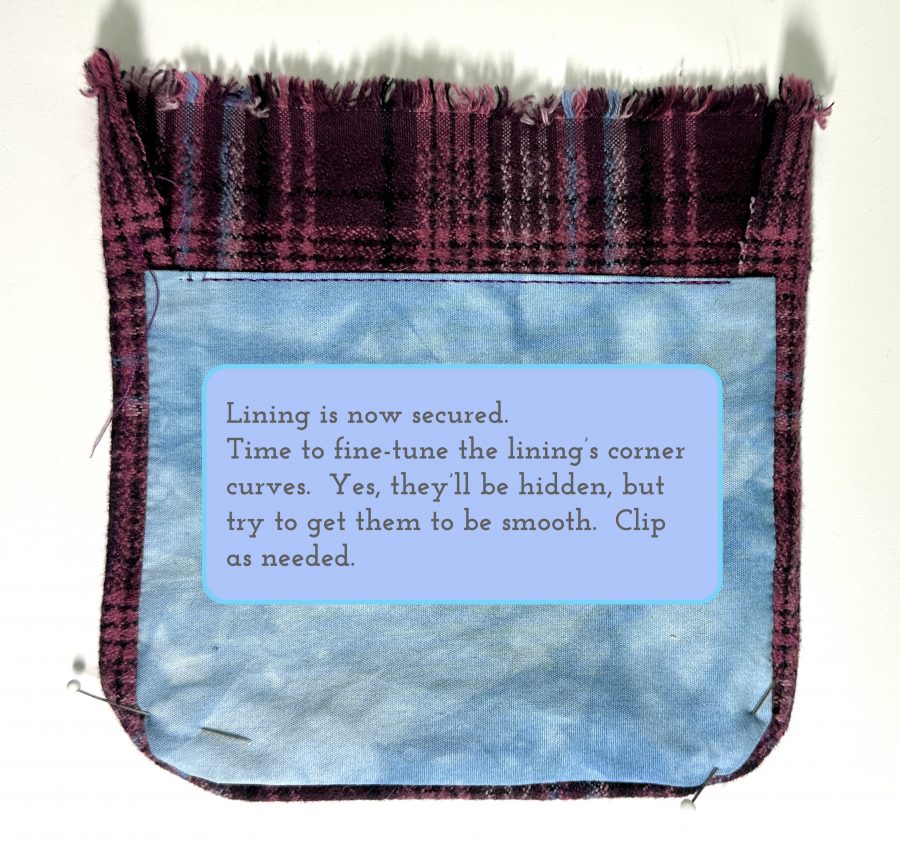
The corners are, honestly, a bit of a nuisance, but you can do it!  Just tuck them inside, clip into the seam allowance as needed to facilitate turning and press the daylights out of them.  I have become a fan of–don’t faint–washable glue stick.  It works and is easier than pins, clips and whatnot.  Just use a toothpick or the tip of your seam ripper to dab some between the seam allowances of the lining and fashion fabric to hold them together.  The glue will wash out in the first laundering!  I prefer glue stick to dots of white glue because it is already sorta dry and doesn’t soak through the fabric or require extra drying time.

Here’s the lined and pressed pocket from the front side.

Next I needed to deal with that flap detail.

This is another spot where a dab of washable glue stick between each of the layers can help.

The second line of stitching, above, means that those unstitched rounded corners on the lining are trapped between the two lines of stitching and won’t go anywhere.
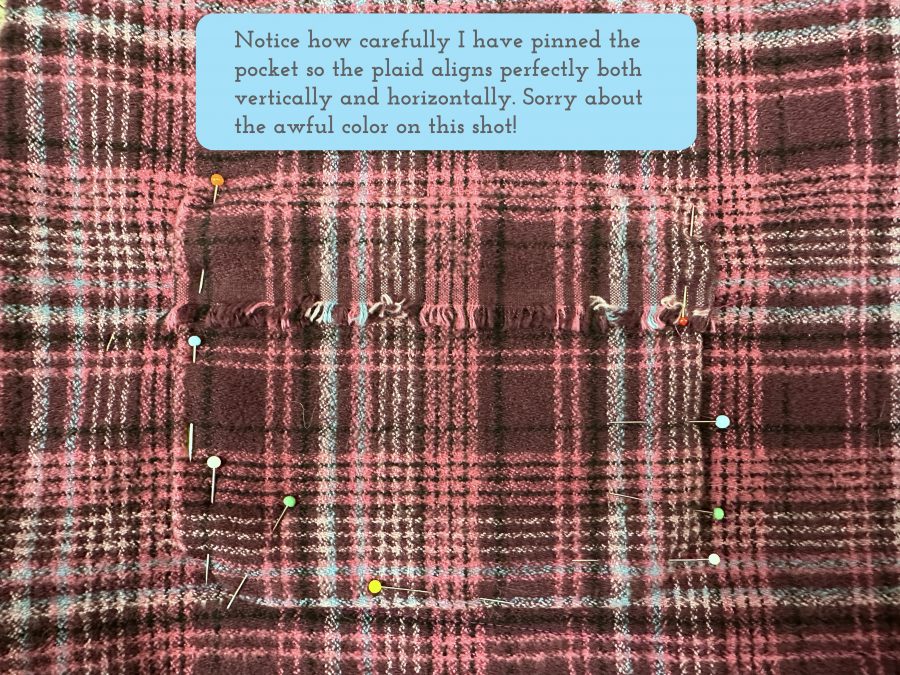
And there we go–pretty lined plaid pockets, perfectly matched, ready to use: kleenex, keys, doggie treats!

The next post will be the last in this series with hem finishing and the easy-peasy scarf!  See you then!

Here are the links to all the posts in this series of lessons, techniques that can be applied to virtually any garment and many home dec projects.   Let me know what you’d like to learn and see here on the blog.  Cheers and thanks, Sarah

Lesson 1:   Choosing a Pattern and Starting Tips

Lesson 2:   Making a Muslin, Fitting and Sleeves

Lesson 3:   Matching Plaids, Cutting out Your Garment Pieces

Lesson 4:  Overcast Seams, just like Serged Seams

Lesson 5:   French Seams

Lesson 6:  Lapped and Flat-felled Seams

Lesson 7:  Hong Kong Finish for Seams

Lesson 8:  Lined Patch Pocket Tutorial

Lesson 9:  Hems and Scarf

Teaching Online this August! Join me!

Monday, June 21st, 2021

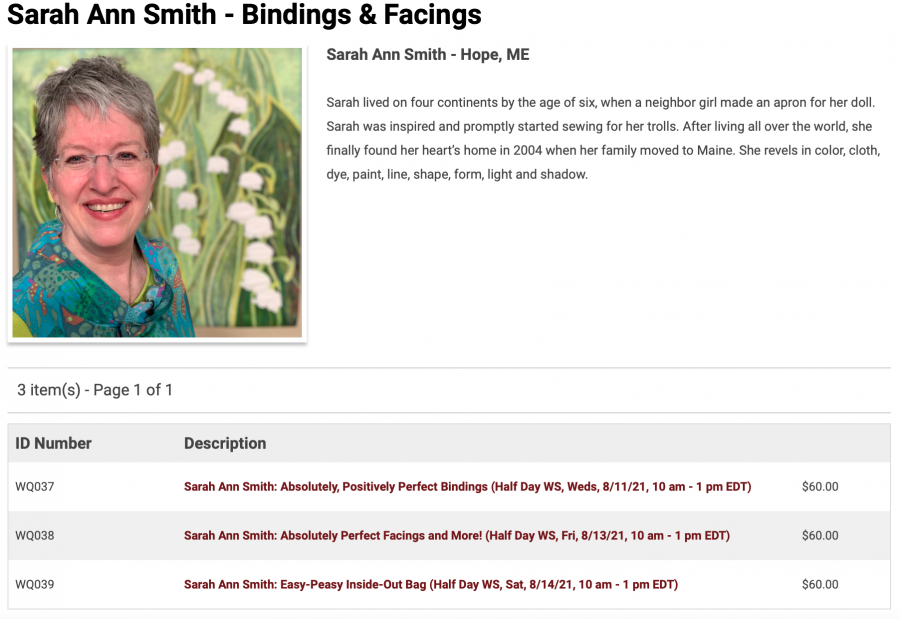
Guess what I’m teaching online again! in August at the Mancuso World Quilt Fest!  Enjoy the video below– and then go sign up for my workshops here:  https://www.quiltfest.com/register/world-quilt-show-online/workshops-by-instructor/sarah-ann-smith-bindings-facings/    For more info, you can also visit my workshop page here

Here’s the hotlink to sign up again: https://www.quiltfest.com/register/world-quilt-show-online/workshops-by-instructor/sarah-ann-smith-bindings-facings/

These are three of my favorite workshops, and in consideration of SUMMER and being able to get back out into the world (WOOOOOT!), I chose half-day workshops so you can learn then go play and actually smile at people–all of their faces–in person!

This is the LAST TIME I’ll be teaching online win a public venue (there are two guild jobs I’m doing online) this year, and I don’t know if I will be teaching online next year or not. For sure, I am cutting back on my teaching schedule, so get these while you can! Hope you’ll join me!

PLEASE feel free to comment and ask questions!

Take an online class with me while you can!

Tuesday, January 5th, 2021

Now is the time to take an online class with me because I’ve got six great classes coming up in January and February, AND because I have decided I won’t be teaching online again for at least six months and possibly not until early 2022! So sign up NOW so you don’t miss the chance!

Come play and learn with me online!

First up is January at Road@Home (the online Road 2 California event). Go here to register or find more information.

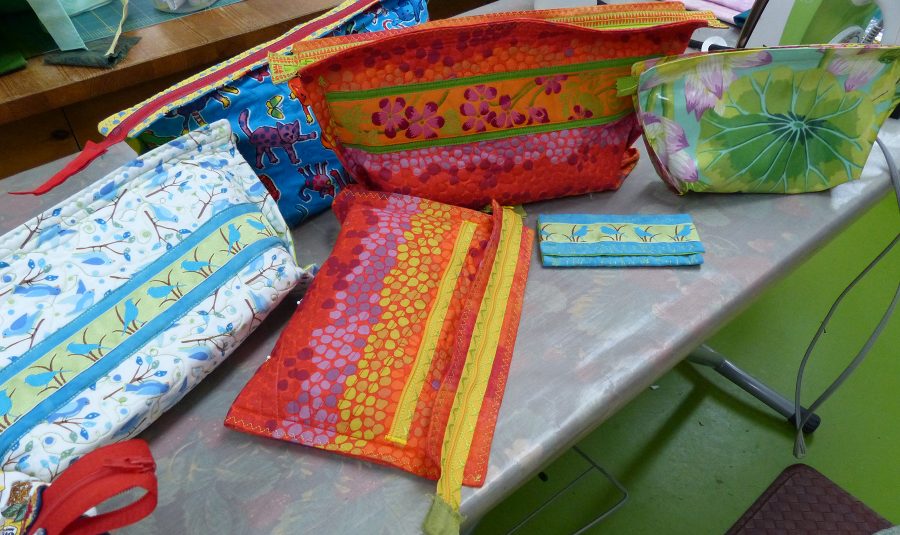
This is a sampling of the fun bags I teach in the Easy-Peasy Inside-Out Class…. if you think you’d like me to teach this for your guild–including LIVE ONLINE workshops, leave me a comment!

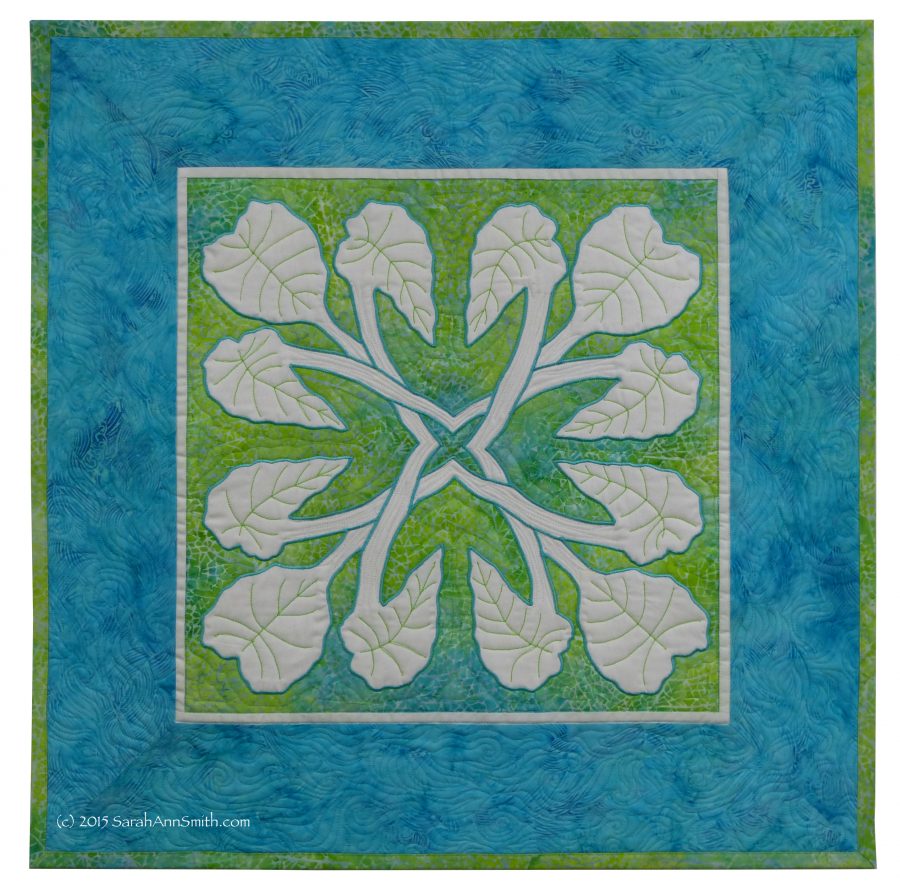
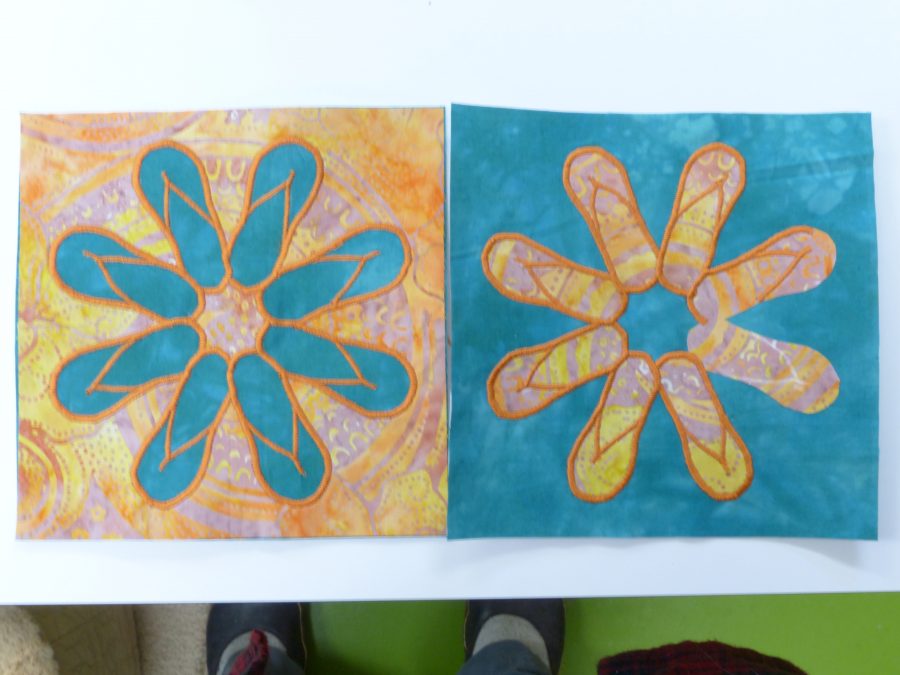
T207 – Hawaiian Applique By Machine on Thursday January 21 2021 from 8 am to 4:30 pm PACIFIC (California) time, so 11 am to 7:30 pm East coast time in the US.

F137 – Easy Peasy Inside Out Bag on Friday, January 22nd 2021 from 1:30-4:30 PM PACIFIC (California) time, so 4:30-7:30 East coast time in the US.

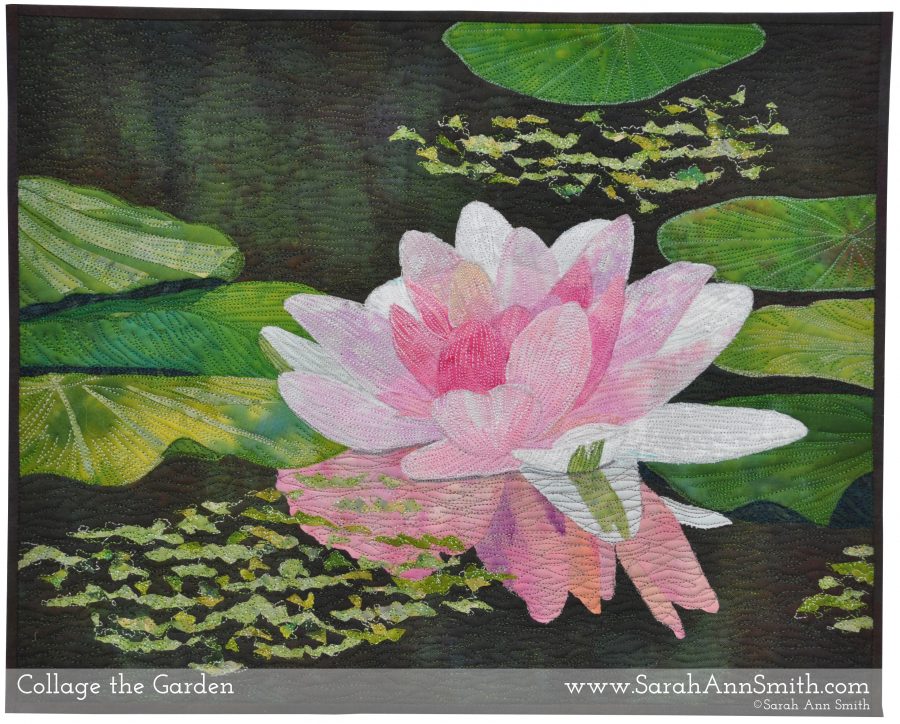
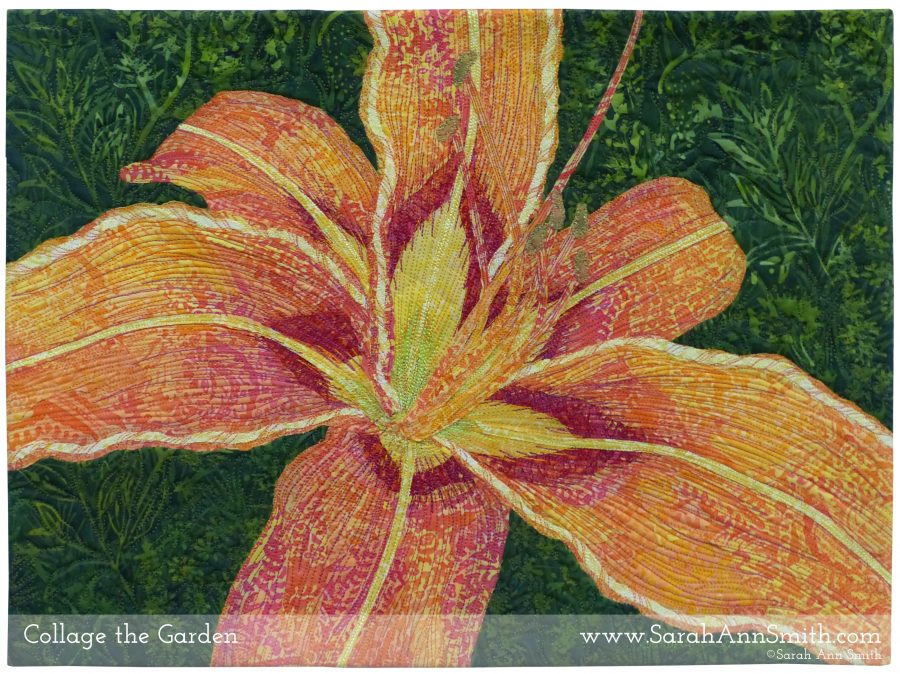
S204 – Collage The Garden: From Photo To Flower on Saturday, January 23rd, 2021, from 8 am to 4:30 pm PACIFIC (California) time, so 11 am to 7:30 pm East coast time in the US. Although the class image is a flower, my technique works on ANY imagery you choose from people to pets to buildings to landscapes.

Here’s the goodies! Go here to see my class listings in full. Go here to register! Students rave about how much they learn in these workshops.

I so hope you’ll join me! Once February is over, I am taking time for creating art, taking care of family and taking care of home. I’ll still be teaching in person later in the year (we all hope) as well as in 2022. After that, who knows? I may well teach live and online in about year, but until then… this is your only chance! See you in class!

Sarah’s Machine Quilting Forum II video–ends Dec. 12

Sunday, December 6th, 2020

Now Registered participants ONLY can SEE it … CLEARLY!

If you were enrolled in the Virtual Quilt Festival’s second Machine Quilting Forum on Saturday, you know there were serious transmission issues with my presentation that made the video just yucky. TOTAL BUMMERS, but now TOTAL JOY! Thanks to the hard working folks in the Education Department (who should have been taking today off) you can SEE the video through December 12th. After that, like Cinderella’s pumpkin, it disappears. To access it, follow the following steps:

Registered participants ONLY can follow these instructions – 

—Go to My Schedule (be sure to select the Saturday, Dec 5 schedule)

—Click on the class – 320 Machine Quilting Forum II

—A new page will open with the description of the class, recording link, faculty links, and attachments

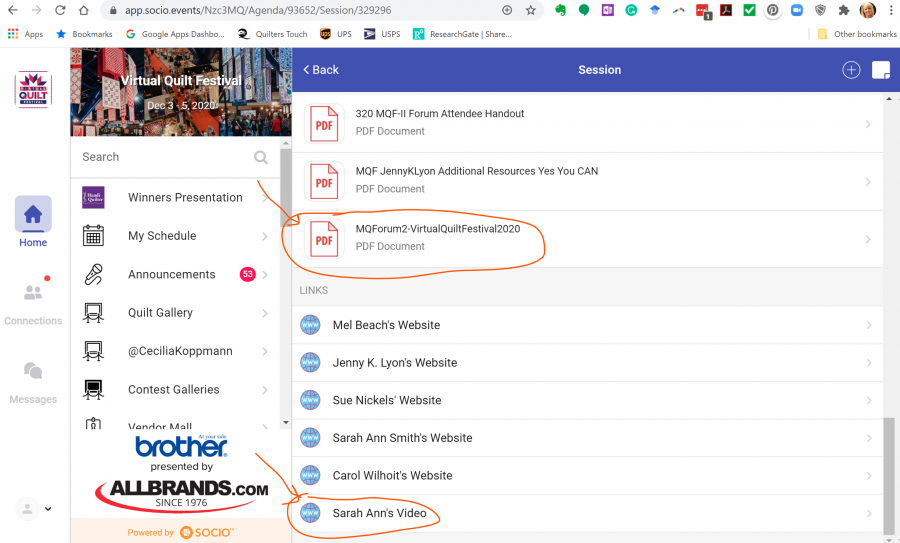
—Scroll down to the bottom of the page to find the PDF attachment and the link to “Sarah Ann’s Video” to watch the YouTube video

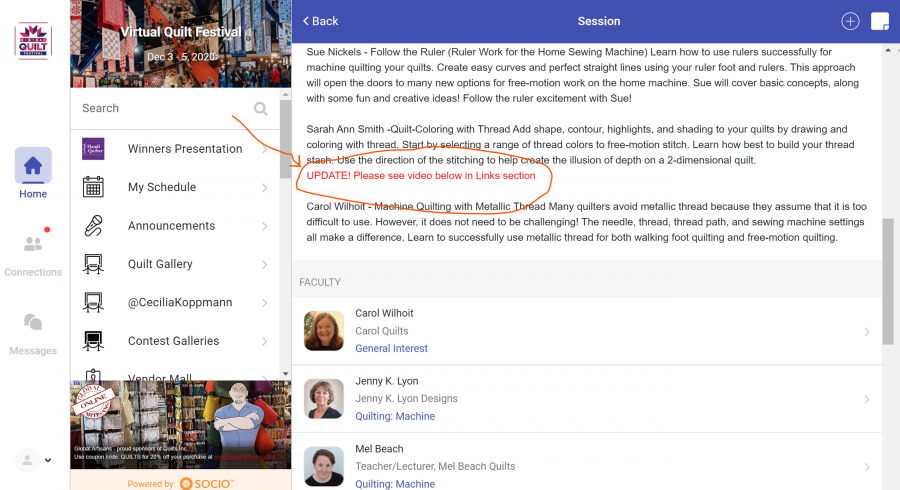
Here are some screen shots. They drew attention to the video by adding a text message in RED font in the class description.

Then this will open up on the next page. My friend Jenny K. Lyon prepared a PDF with links to her stuff, I prepared one for my stuff and the questions I received, and I was able to upload my presentation as an “Unlisted” video on my YouTube channel. The only way to access it is through your “My Schedule” portal. I promise, the video quality is VASTLY better!

Special thanks to Suzanne Hyland, head of the Education Department, who checked email on Sunday when she should have been taking a nap to recover from the frenetic pace she kept up for weeks to direct and pull off this debut event. MASSIVE THANKS to everyone at Quilts Inc. and, for me particularly, in the Education Department. I took three classes, attended three lectures, and would do it again–both present and attend–in a nano-second! Please let Quilts, Inc., the people who bring you International Quilt Festival Houston (and more) that you want MORE!

Teaching at Virtual Quilt Festival, the IQF answer to COVID!!!!

Wednesday, November 25th, 2020

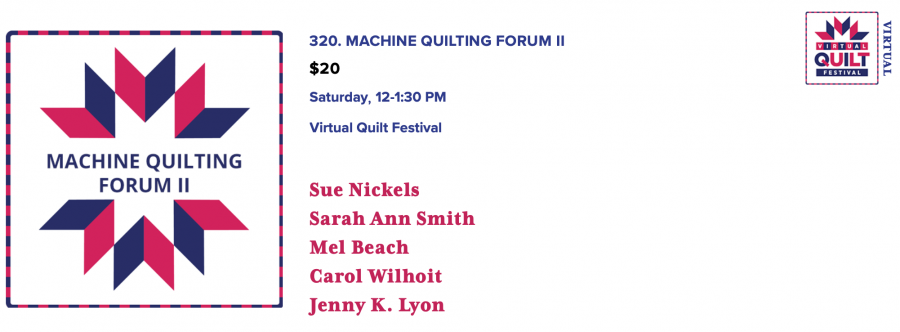
I’ll be one of the five panelists in the Machine Quilting Forum on Saturday, December 5. You can still sign up! Here’s a link to the “Saturday” page. If we weren’t able to go to Houston this year, this is a spiffy alternative! There is a link at the top of the page to enroll. The price for forums, lectures and classes is astonishingly reasonable…. I’ve signed up to be a student too!

I do believe Quilts Inc, the folks that bring you the International Quilt Festival every year (except this one due to COVID) have come up with a better version of the online quilt festival: forums, lectures and Master Classes. The longest are 2 hours, a length of time that gives you TONS of content at a reasonable price in a time length that is manageable online.

I’m actually taking FIVE things: three lectures and two classes. Even better, TWO of them are at the same time … but it’s not a conflict! You don’t even need Hermione Granger’s Time Turner (Harry Potter geek reference), because most of the events are recorded and available for one week! So I can take a class and a lecture that overlap, yet be able to watch BOTH! I’m so stoked… things I’ve never been able to do because in Houston there are classes to teach all day and exhibits and people to see during each and every break.

Anyway, I’d love for you to join me for the Machine Quilting Forum–I’m also excited because for the first time I’ll be able to hear the OTHER teachers just like all the participants! See you in “Virtual Houston”!