email Youtube

Home
Galleries
Blog
Workshops & Calendar
Store
Resources
About
Contact

Archive for the ‘Thermofax’ Category

Sarah’s Machine Quilting Forum II video–ends Dec. 12

Sunday, December 6th, 2020

Now Registered participants ONLY can SEE it … CLEARLY!

If you were enrolled in the Virtual Quilt Festival’s second Machine Quilting Forum on Saturday, you know there were serious transmission issues with my presentation that made the video just yucky. TOTAL BUMMERS, but now TOTAL JOY! Thanks to the hard working folks in the Education Department (who should have been taking today off) you can SEE the video through December 12th. After that, like Cinderella’s pumpkin, it disappears. To access it, follow the following steps:

Registered participants ONLY can follow these instructions – 

—Go to My Schedule (be sure to select the Saturday, Dec 5 schedule)

—Click on the class – 320 Machine Quilting Forum II

—A new page will open with the description of the class, recording link, faculty links, and attachments

—Scroll down to the bottom of the page to find the PDF attachment and the link to “Sarah Ann’s Video” to watch the YouTube video

Here are some screen shots. They drew attention to the video by adding a text message in RED font in the class description.
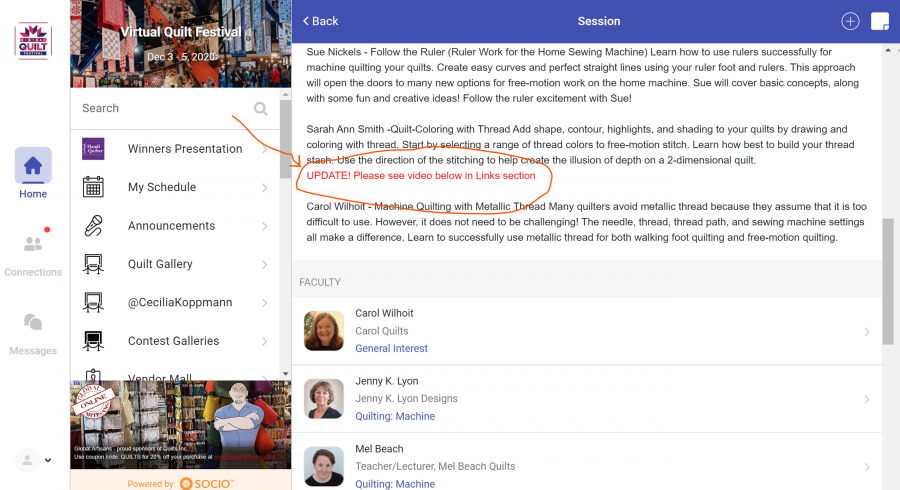
Then this will open up on the next page. My friend Jenny K. Lyon prepared a PDF with links to her stuff, I prepared one for my stuff and the questions I received, and I was able to upload my presentation as an “Unlisted” video on my YouTube channel. The only way to access it is through your “My Schedule” portal. I promise, the video quality is VASTLY better!
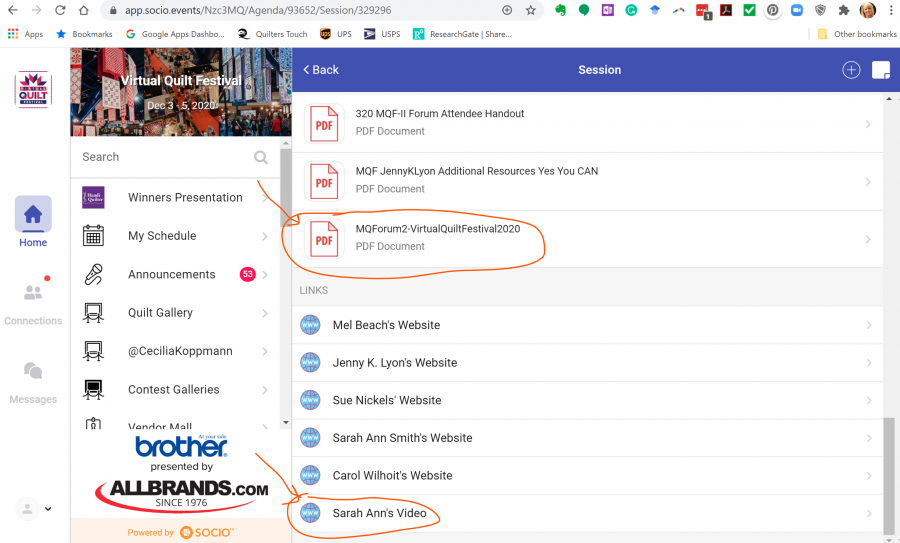
Special thanks to Suzanne Hyland, head of the Education Department, who checked email on Sunday when she should have been taking a nap to recover from the frenetic pace she kept up for weeks to direct and pull off this debut event. MASSIVE THANKS to everyone at Quilts Inc. and, for me particularly, in the Education Department. I took three classes, attended three lectures, and would do it again–both present and attend–in a nano-second! Please let Quilts, Inc., the people who bring you International Quilt Festival Houston (and more) that you want MORE!

Screen Printed Garments!

Monday, July 20th, 2020
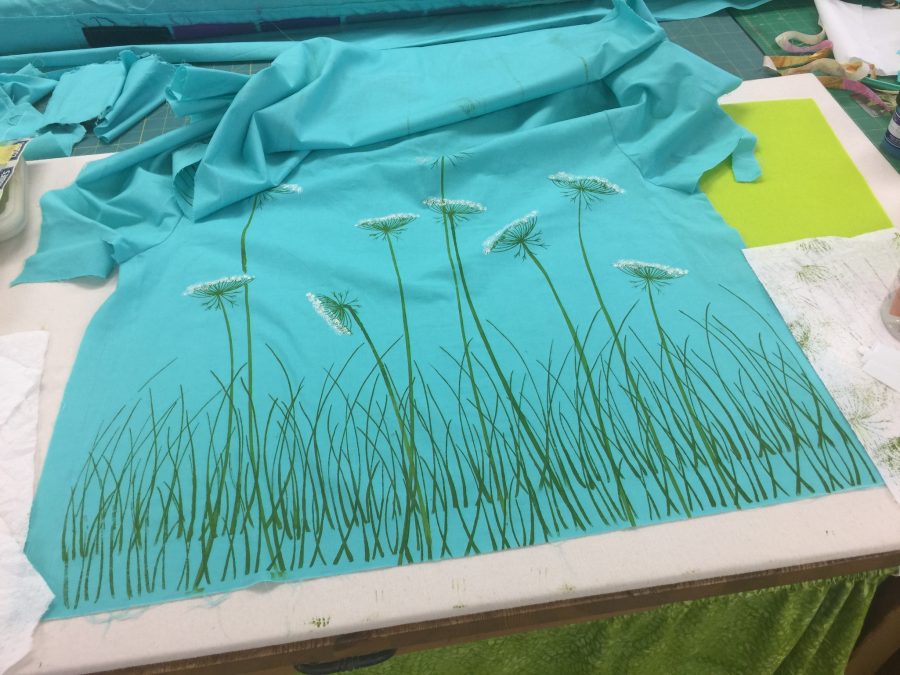
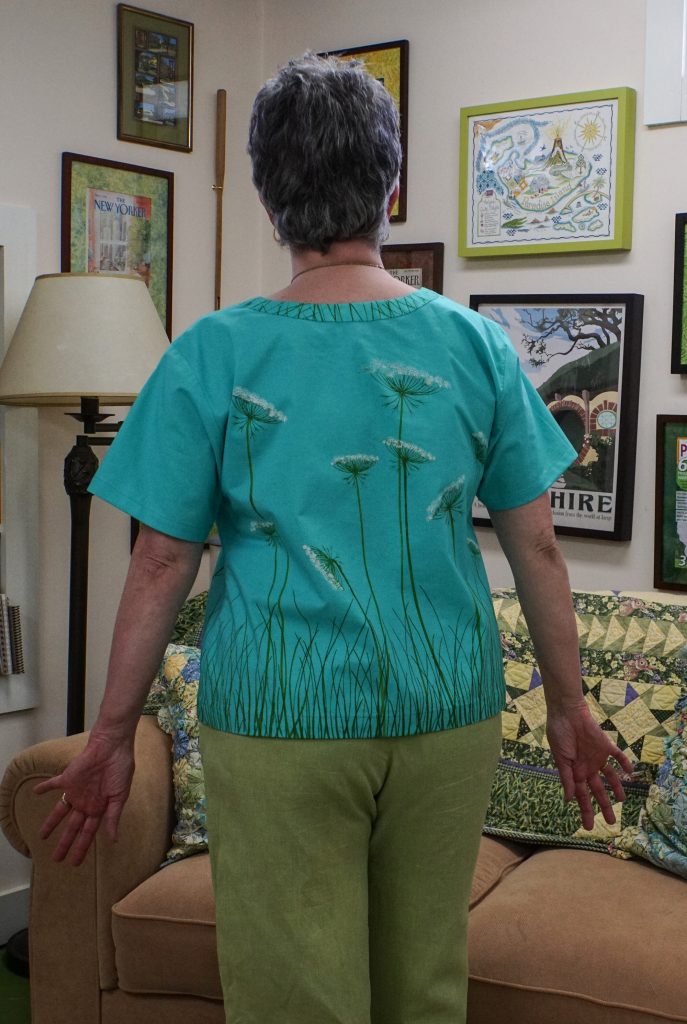
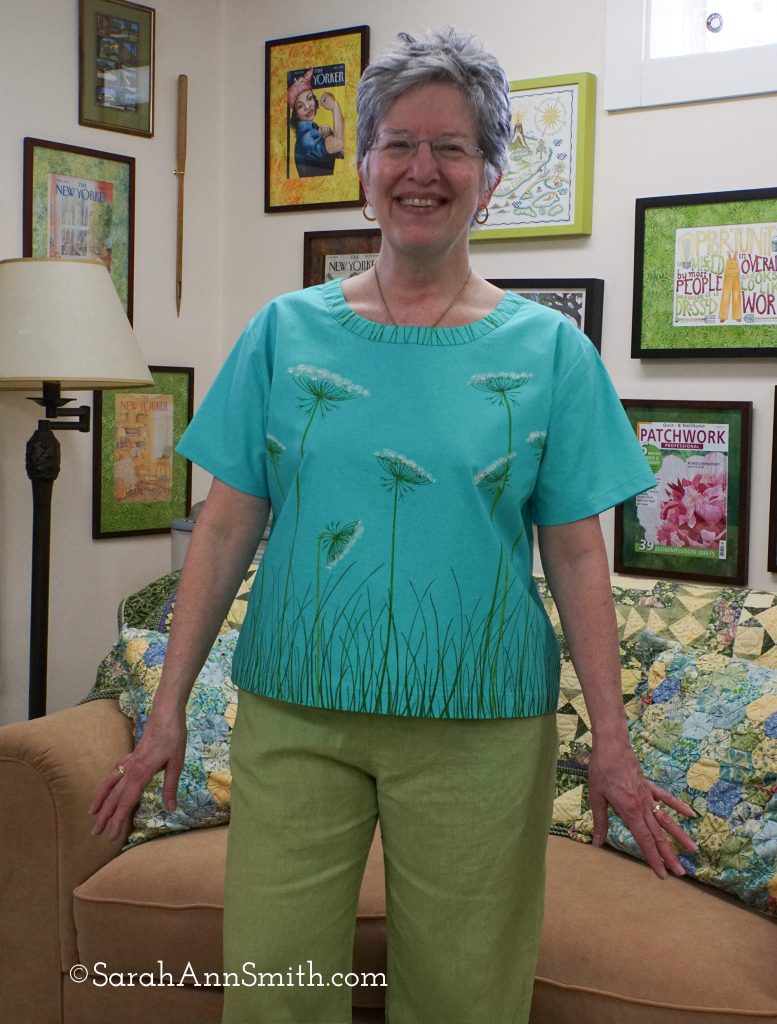
My new Queen Anne’s Lace top. I screen printed my custom designs onto Cotton Couture solids (courtesy of Michael Miller Fabrics), this color is “Luna.”
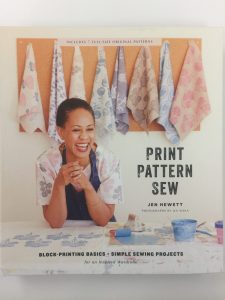
In the summer of 2020 I saw Print Pattern Sew by Jen Hewitt somewhere online and ordered it immediately. It’s FAB! is available many places including Amazon . DO check out Jen’s site, here. Of course it took until April to start playing and until now to post. For the workshop and this post I wanted to use a pattern currently available that is similar to two vintage (circa mid 1980s) patterns that I still make over and over because I love them so much.
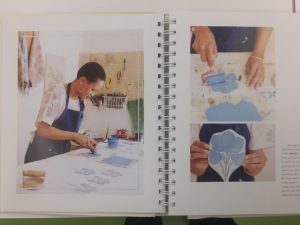
There are LOTS of great photos and step outs in the book.
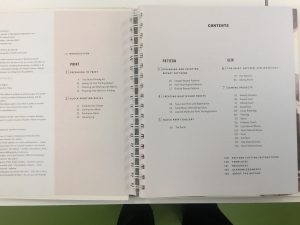
Table of Contents
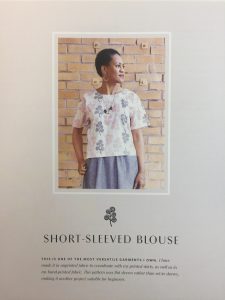
Since my favorite patterns are decades out of print, I selected this one for this project in case anyone wants to buy the book for further instruction. It comes with the pattern included.

I’ve been developing some new classes using paint on cloth and I thought as part of being a Michael Miller Brand Ambassador and a Janome Artisan what better thing to do than combine all these things I love in one! Some of you may remember this post from when I did a DIY improvement to my hall sconces; one of the lampshades was Queen Anne’s Lace screen printed on linen. I used the thermofax screens I made for that again for this top.

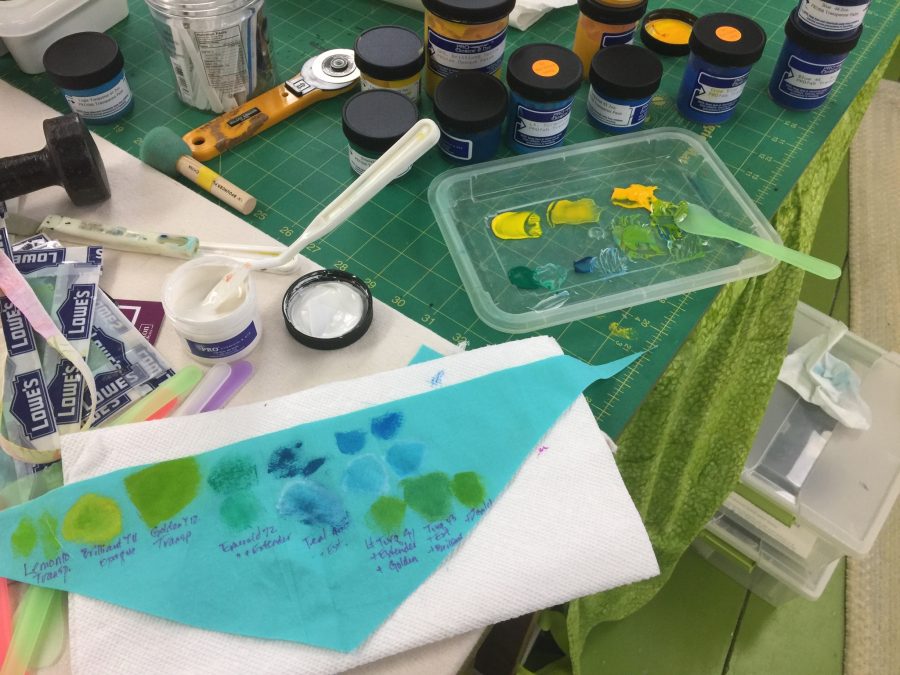
Step one is testing various mixes of color to get just what I wanted. You can see a colorful little plastic “flat not-a-spoon”–that is a make-up paddle, available in packages on Amazon for about $5 for 100 (more than a lifetime supply). They are great for getting into small paint jars. I used to use some Gelato spoons a shop gave me, but the flat paddles are better for scraping off (and not wasting) excess paint).
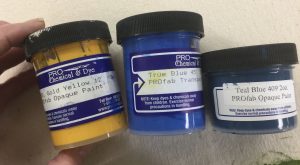
The paints I used are ProFAB Transparent paints from ProChemical and Dye, but most textile paints will work. These have a particularly soft hand to them. Starter kits are a great and cost-effective way to try them out (I have a pair of kits available here; also available in just one or the other types of paint).
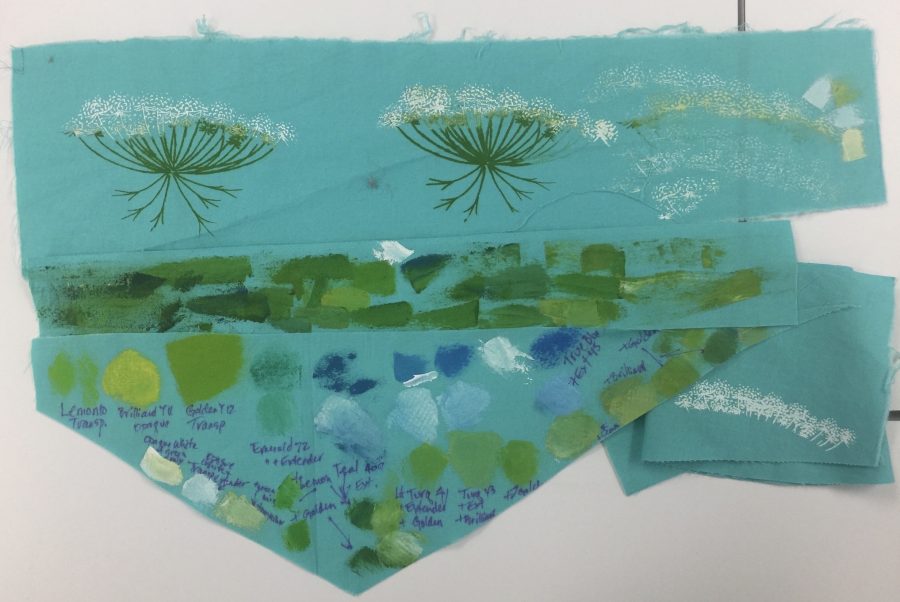
LABEL what you use, what base paints are in the mix. I can promise you, with three yellows and three blues in 15 minutes I will forget which one is which! I keep these test-scraps for future reference.
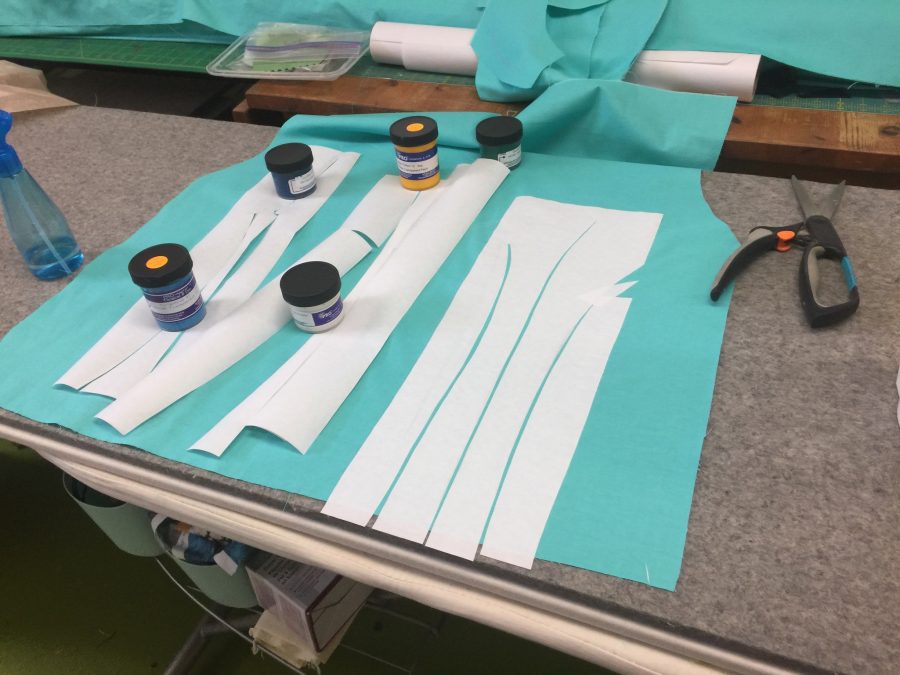
I used freezer paper to make stencils for the stems. I could have made a thermofax screen, but the mesh is expensive and Freezer Paper is cheap.
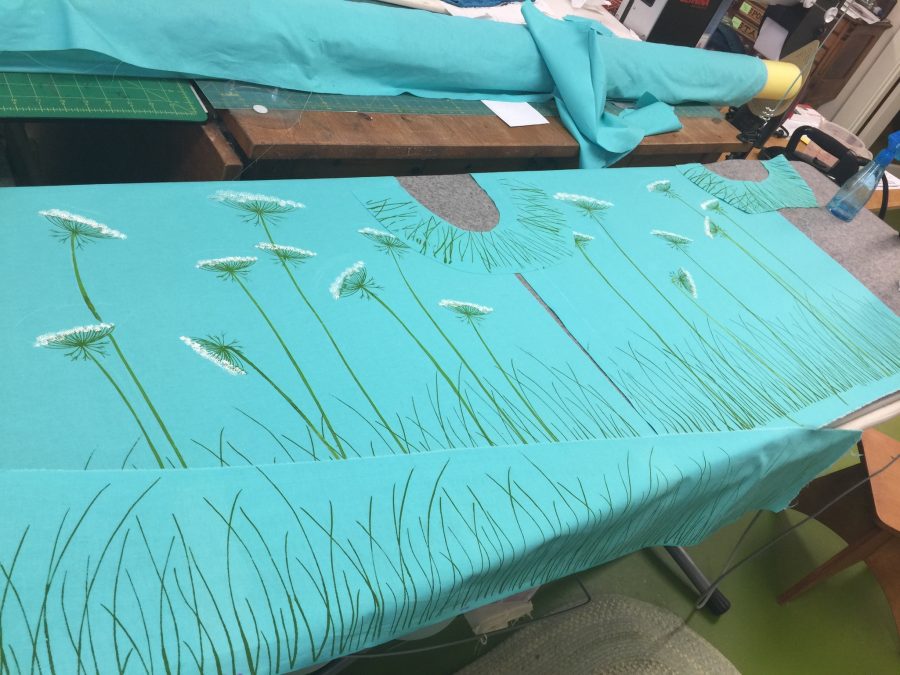
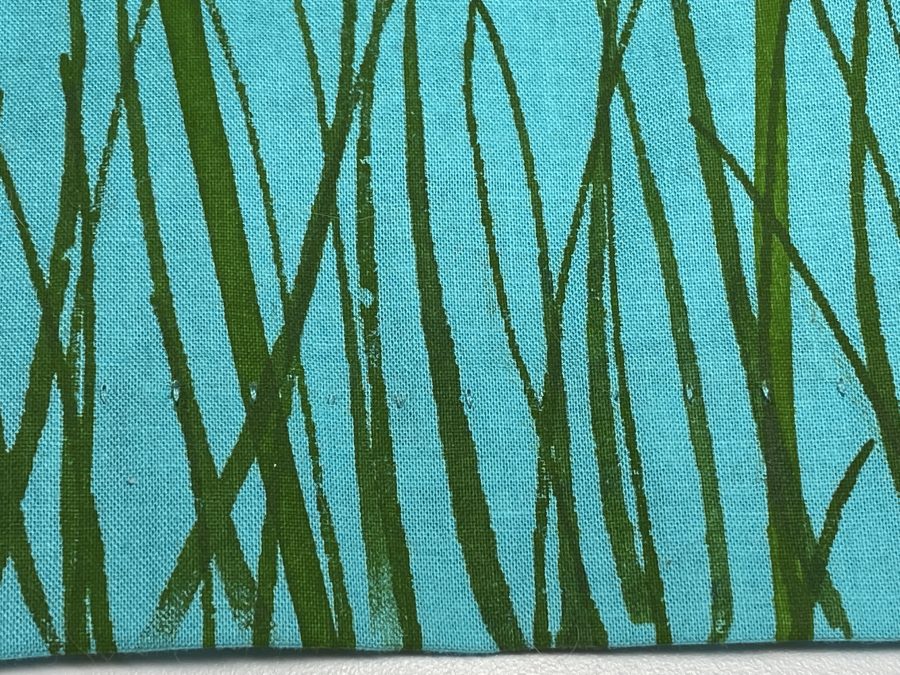
I used a thermofax screen of grasses I had used for my lampshade for the bottom of the garment. I cut oversized pike for the front, back, and what I thought would be a trim for the sleeves. I later decided to leave the cuff/bottom of the sleeves plain.
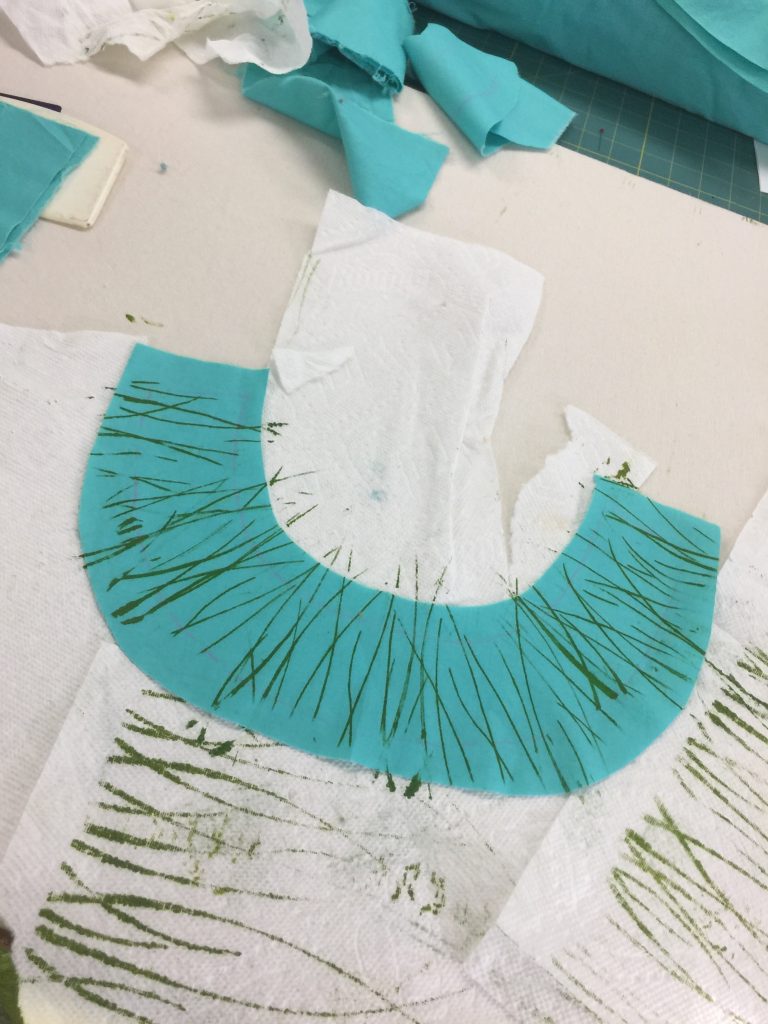
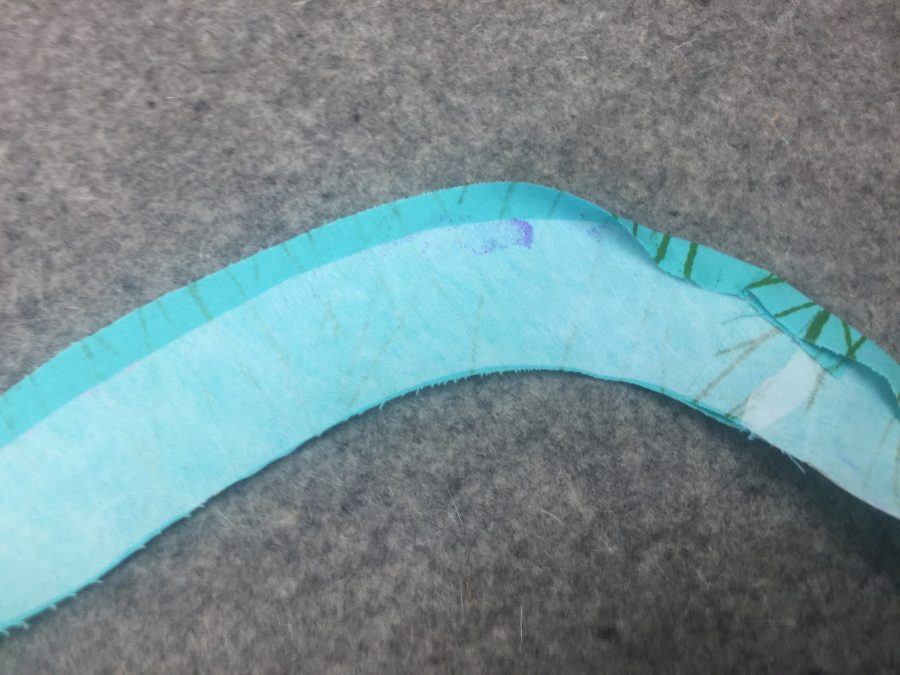
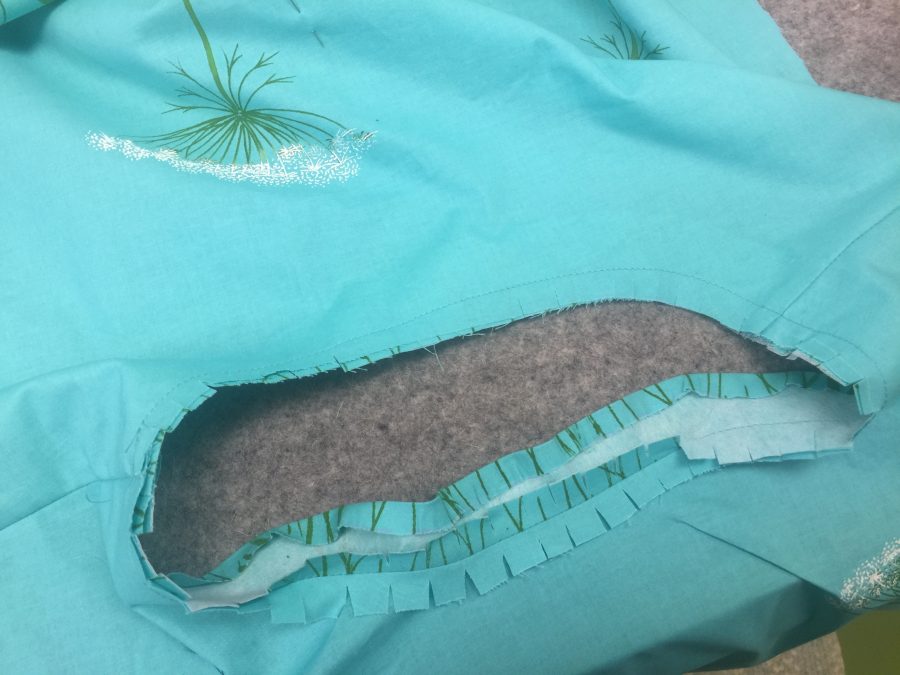
I used the grass screen to decorate the “facing” piece. Instead of putting the facing on the inside of the garment, I turned it to the outside as a decorative element.
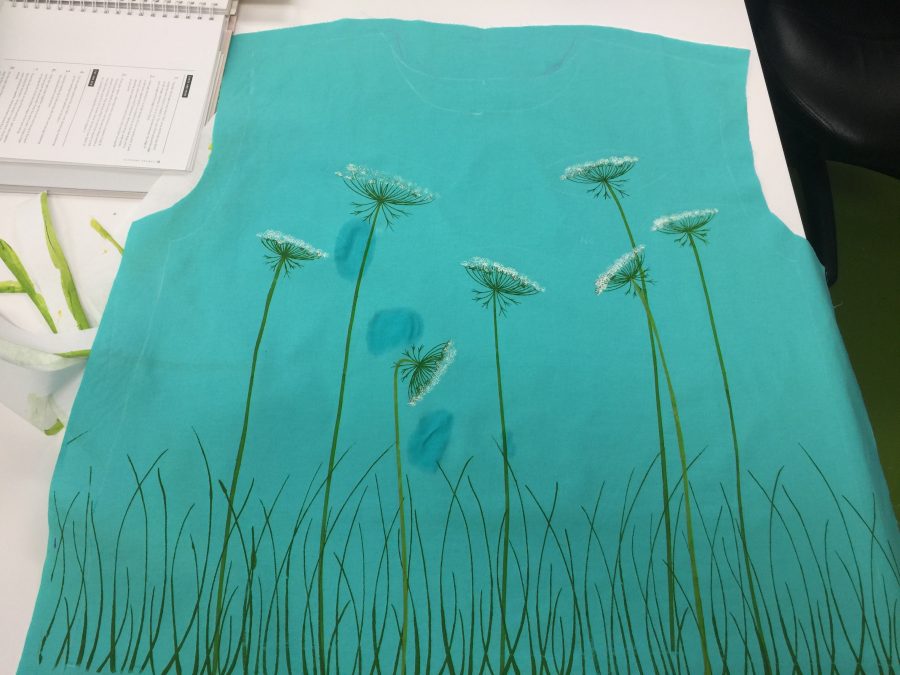
Ooops! Sometimes goobers happen. Any unwanted random little smudges of paint are quickly wet and scraped away. Or you just live with them.
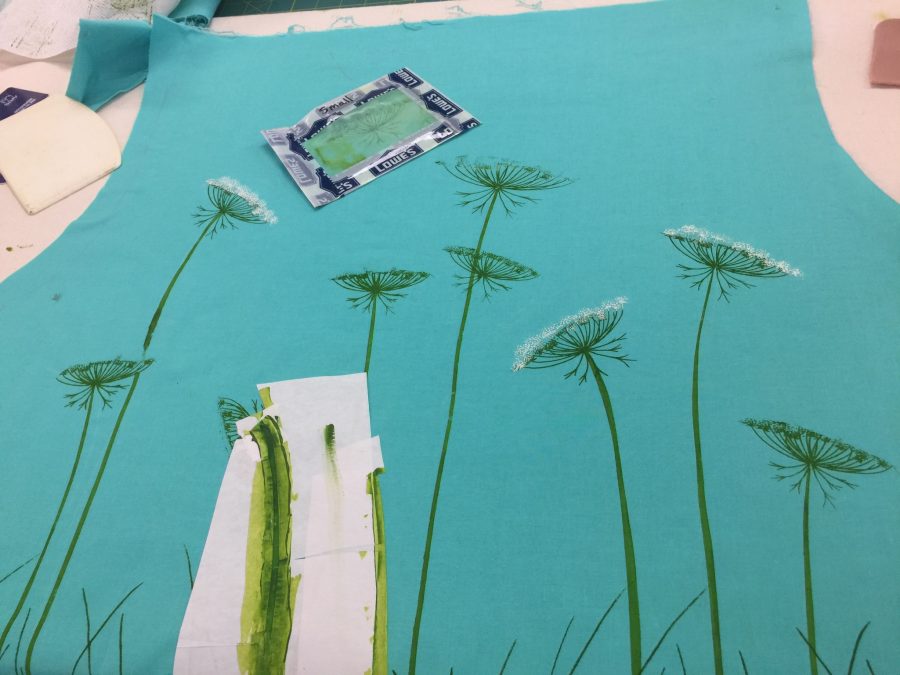
The printing was done in four steps: 1. Print stems over freezer paper stencil and let dry. I ended up adding another flower later on, so had to add another stem as seen here. 2. Print grass with thermofax screen. Let dry. 3. The thermofax screen for the Queen Anne’s Lace was made from my pen and ink drawing. My lampshades were all green on white linen. For this blouse, I wanted the flowers to be white, so I **carefully** screen printed the stems through the screen (seen above left) and let them dry. 4. Then I went back in with a creamy white (mixed from white with a dab of yellow) to do the flowers. This is the point where you pray you don’t mess up!
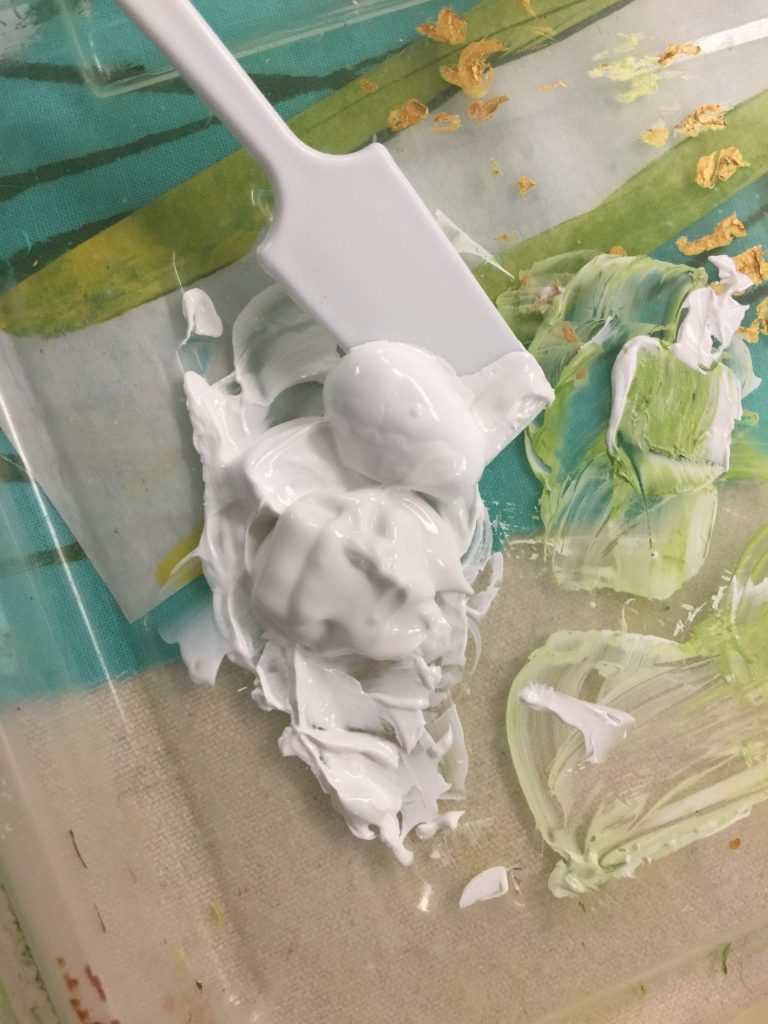
When mixing light colors, start with a larger amount of the lightest color and put in just the TINY-est touch of color…it takes surprisingly little yellow to turn that glob of white into a softer white or barely-green. After purchasing the multicolored make up paddles, I discovered these square cornered white ones. They are great for applying small amounts of paint carefully through a thermofax screen and for getting into the bottom edges of the ProChem jars.
Once I had the front and back printed, I pinned them together and tried them on. The grasses on the bottom looked sparse, wimpy. And I wanted the shirt a bit shorter. So I went back in with the same screen, offsetting it so the same shapes weren’t repeated too closely, and did a second layer higher up. I didn’t care if the printing didn’t follow all the way up what would become the hem on the inside. And that way I could just use the same screen instead of making another one.
For the “facing” on the outside, I cut the outer edge of the interfacing very carefully so I could iron the seam allowance over it and create a lovely, smooth outside curve.
If you are new to garment making, be SURE to clip your curves well so that the facing turns and lies nice and flat.
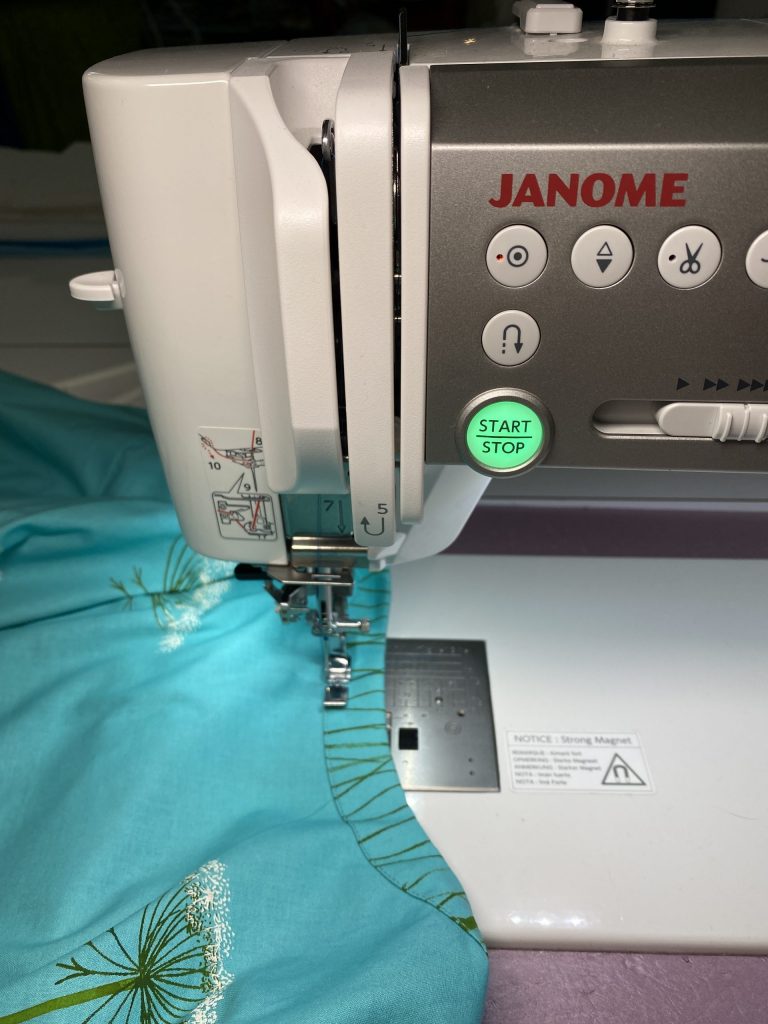
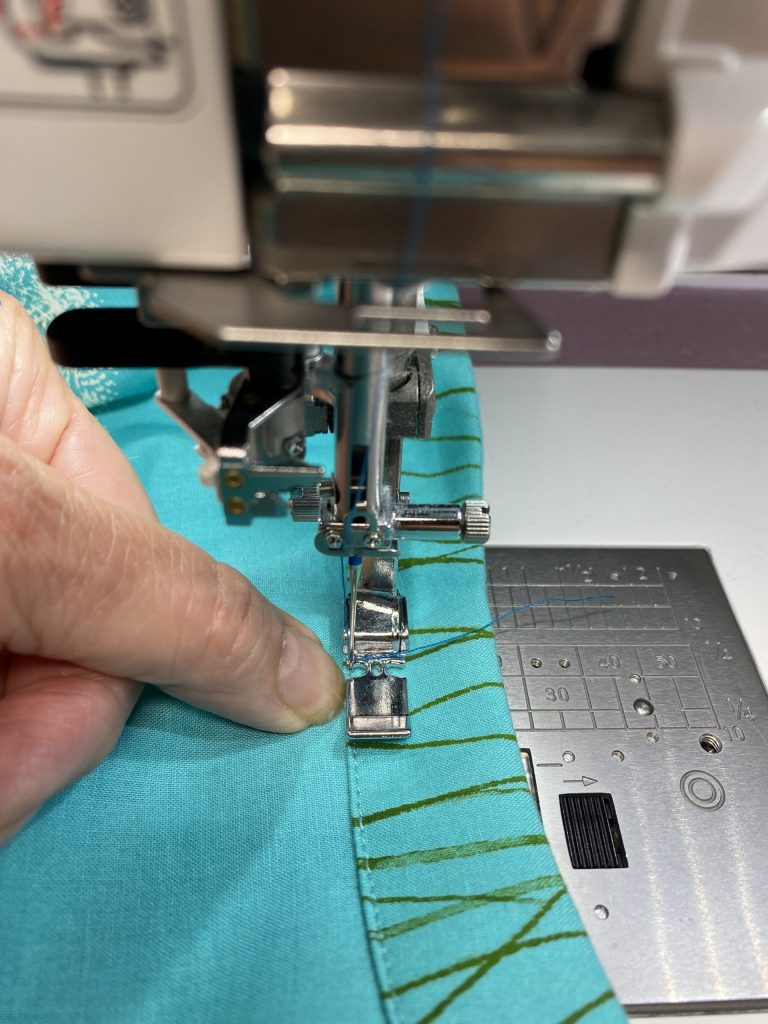
My favorite way to get a perfect edge stitch is old school: using the zipper foot!
Place the edge of the zipper foot against the edge where you want to stitch. In this case I need to use the left side of the foot. Move the needle so that it drops a few threads away from the folded edge. I use a fingernail or thumbnail as an edge guide and don’t sew too quickly. There are indeed “edge feet” for this purpose, but I find that the blades can bend or not be as precise as I want them to be (not to mention visibility isn’t as good as doing it this way). I’d already completed the top when I took this shot, so you can see how perfectly my Janome M7 stitched!
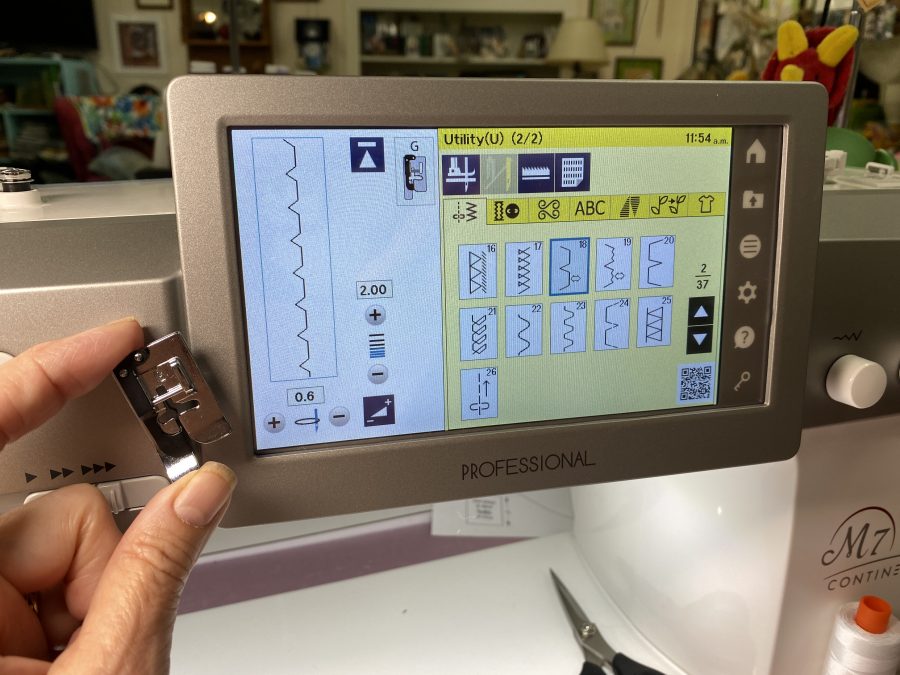
For the hem, I decided I would use a blind hem stitch instead of hand-sewing it. The blind hem stitch I selected is for woven cloth, with straight stitches in between the zigs (#18…on the yellow part of the screen you can see that stitch 19 is a blind hem stitch for knits). Over on the white, it shows the settings and to use the G foot which I am holding up It has an “ice skating blade” (i.e. guide) in the middle.
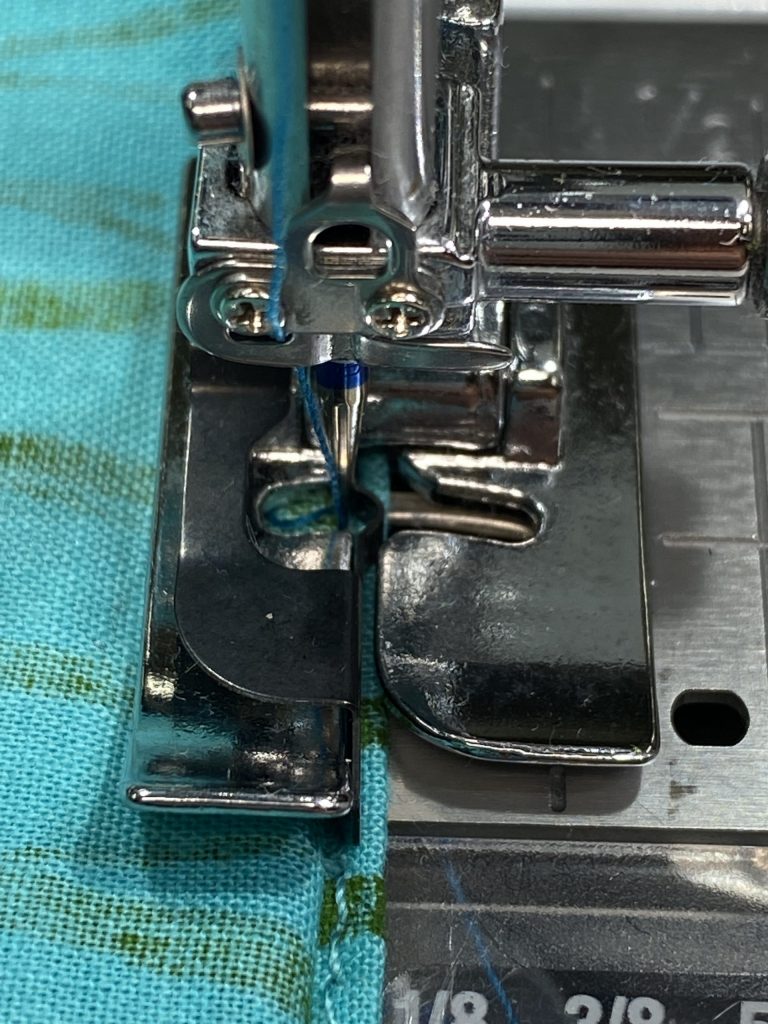
You can see the metal guide in the center of the foot. As above, I set up this photo after the garment is complete, which is why you see stitching at th bottom of the image. To prepare for blind hem stitching, you fold the hem up with the raw edge pressed to it will be inside the hem. You then fold back the outside of the garment so that the soon-to-be-hidden part of the hem is barely visible, about 1/8″. The body of the garment folds away to the left. The straight stitching on the hem is done with the needle in the curvy part of the “blade” where it stitches on the inside of the hem. The flat part of the blade snugs up against the folded back fabric, and the “Zig” part of the stitch takes a little nibble of the outside of the garment.
My thread matched the Luna Cotton Couture perfectly. It is challenging to see those tiny hem stitches on the right side of the garment.
Back view
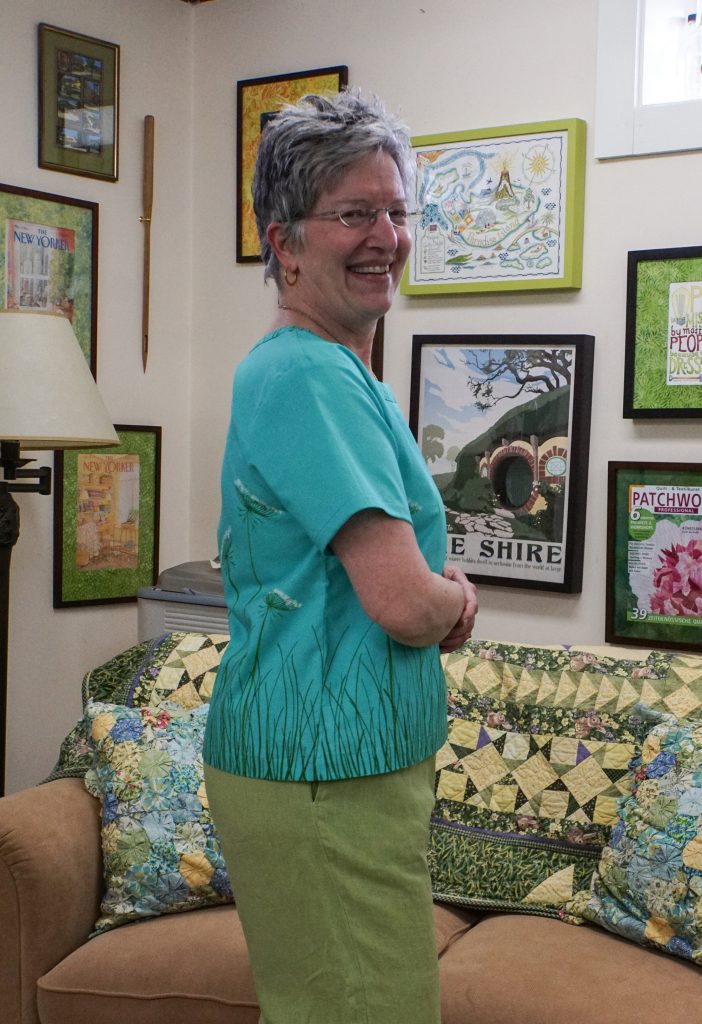
Side view–I love how the design goes all the way around. I hope you’ve enjoyed this mini tutorial! Thanks again to Janome for their 16+ years of sponsorship and to Michael Miller for having me as a Brand Ambassador this year!

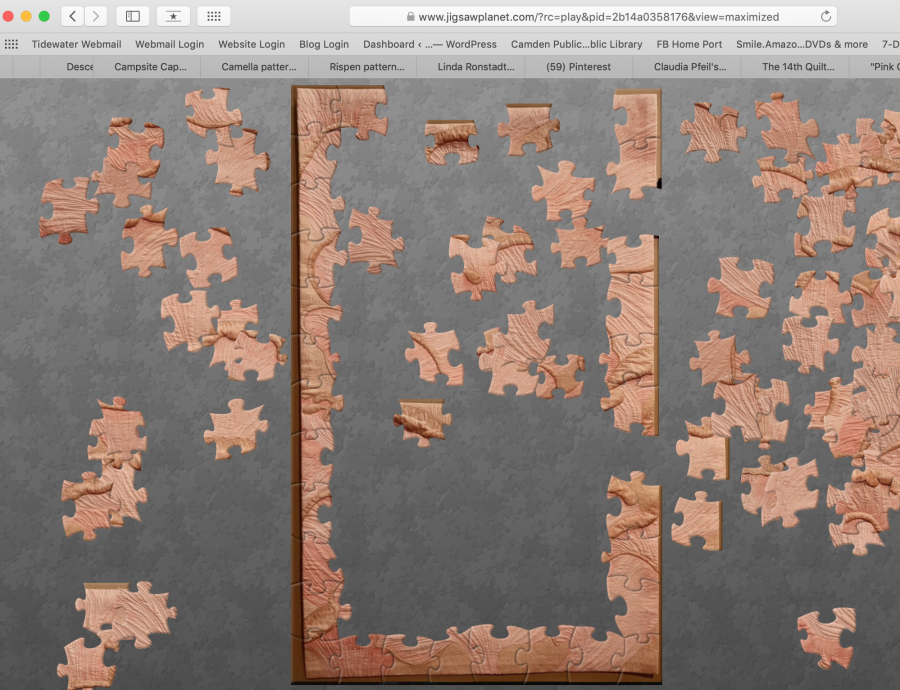
Last free viewing day on The Quilt Show and puzzles of my quilts

Sunday, October 20th, 2019

Today is the LAST DAY you can see my episode on The Quilt Show for free…and you can also do what may be the most challenging of the puzzles, Pink Oyster Mushrooms. I’d really like to thank Alex Anderson, Ricky Tims, Shelly Heesacker​, Lilo Bowman, Adele Merrell​, Mary Kay Davis​ and all the gang at TQS for a phenomenal experience. I hope to do it again some day! If you’d like to see my interview with Alex scroll to the bottom of this post and click play! Here is the link for the last day of free viewing of my episode: http://thequiltshow.com/watch/show-list/video/latest/show-2508-sarah-ann-smith?artist_coupon=25081013

Here’s the link….you can select how may pieces, rotating or not, or automatic!
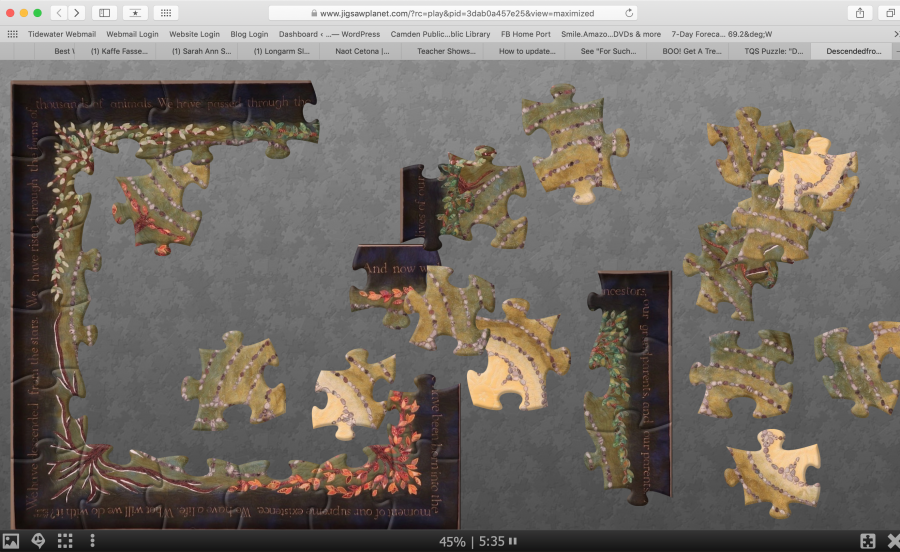
Descended From the Stars as a puzzle is Here.
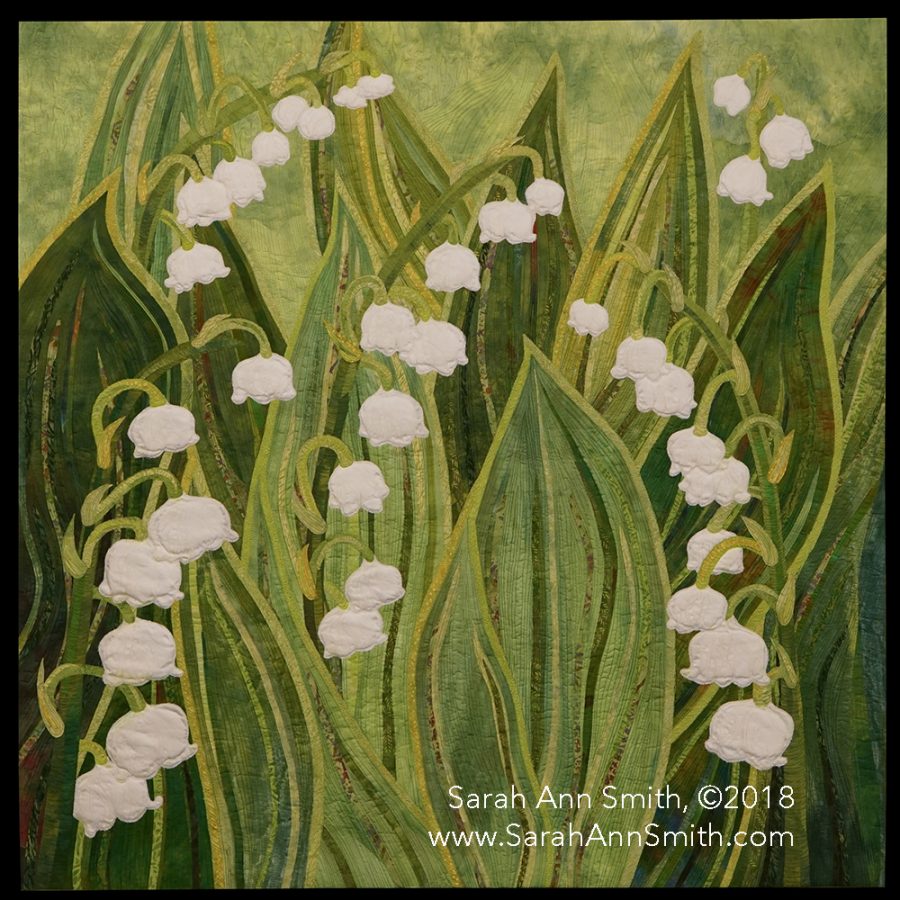
Lilies of the Valley puzzle is here.
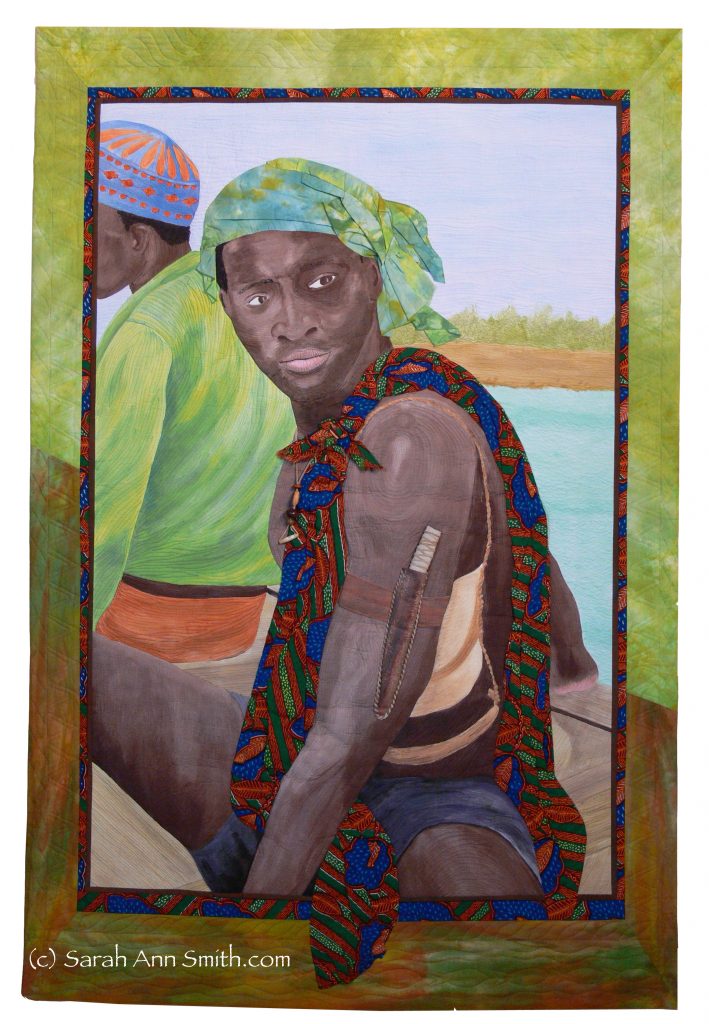
And the puzzle for Bijagos Warrior is here.

Again, HUGE thanks to everyone at The Quilt Show for the opportunity to be on the show. One last little bit of fun…a Skype interview with Alex! https://www.youtube.com/watch?v=d_4zjksQZ5w

The Quilt Show with … me(OMG!) … is live! Episode 2508

Sunday, October 6th, 2019

Bucket list item: appear on The Quilt Show with Alex Anderson and Ricky Tims: CHECK! Here’s the link to watch if you are a member. If you couldn’t tell, I’m giddy!

Sarah Ann Smith on The Quilt Show https://thequiltshow.com/component/allvideoshare/video/show-2508-sarah-ann-smith
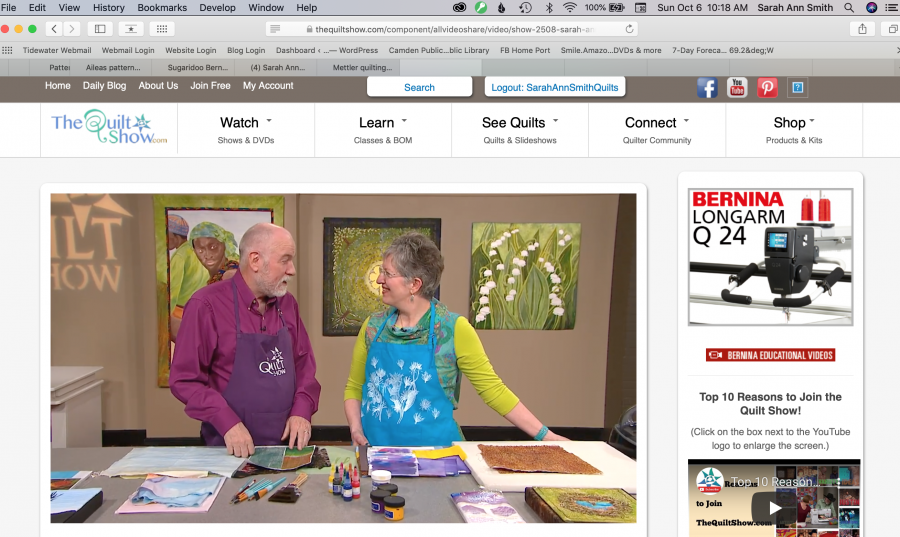
Just took this screen shot as I’m watching my first of two “doing” segments on The Quilt Show….I’m over the moon!

To watch the show, you usually need to be a member of The Quilt Show community, which is an online “TV” show and so much more. Next Sunday, for one week from October 13-20, 2019, or thereabouts, the episode will be FREE to anyone with the code. I’ll post here on my blog, Facebook and Instagram. I might even post my first tweet (Shudder!)…. so stay tuned.

For those who aren’t TQS members, you can see the preview now, at this link.

I am so grateful for this opportunity, so excited, and hope some of you can join me in my classes at International Quilt Festival 2019 in Houston (there are still a few spaces in my Friday class, Tame Fussy Fiddly Threads which includes painting and learning to handle those glitzy threads that really aren’t hard to use once you learn how from me, and my Saturday class on Hawaiian Style appliqué…did you know I love it?)

Join my 3-day workshop playing with paint on cloth at ProChem in Fall River, Mass., in August 2020, to spend time learning what I’m demonstrating in my first segment on The Quilt Show. You can sign up now by going here https://prochemicalanddye.net/workshops/exploring-paint-on-cloth-smith-august-2020.html

And one more time……SQUEEEEE!
Becoming a rose hip

Tuesday, January 15th, 2019

Off and on for the past couple of weeks I have been dyeing fabric, drawing or photoshopping images to make thermofax screens, and finally working on collaging the background for the rose hip, the large (36″ square) version. To those of you have landed here from my new newsletter, thank you! To those of you who don’t know about my new newsletter, please go here to the home page and sign up! I will write about mid-month and will never share your info!
When I last checked in with you, I was just getting to this stage–finishing the rose hip on a flat surface.
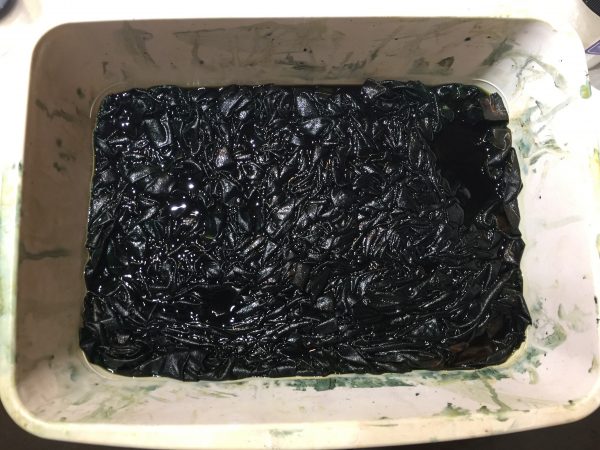
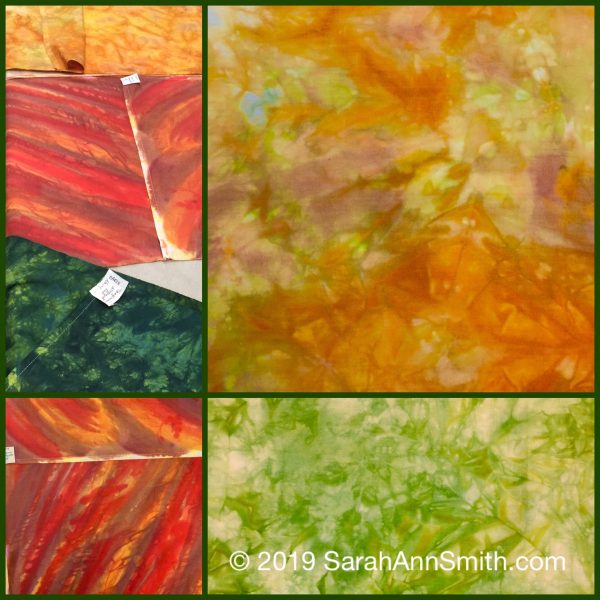
The next step was dyeing some greens. Kinda looks like pond scum, eh?

While I was at it, I used up the leftover dye for some autumn-y leaf colors for a future project.
Some of the fabrics turned out great–alas, most of these didn’t work for this piece. AND I got smart…I am now adding tags with the pure dyes used in each piece so I have a clue if I ever want to make them again.

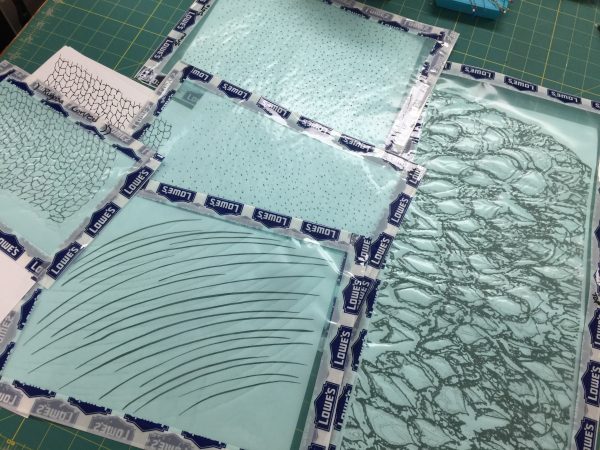
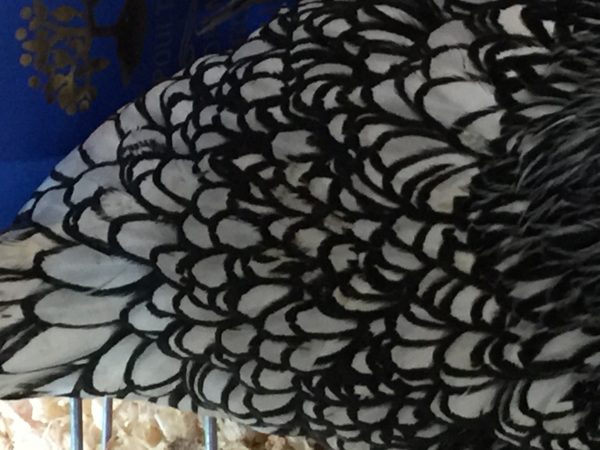
Next, working on thermofax screens. This is the photo of a chicken at the Common Ground Fair last September–as soon as I saw the strong light and dark I thought “Thermofax screen!”
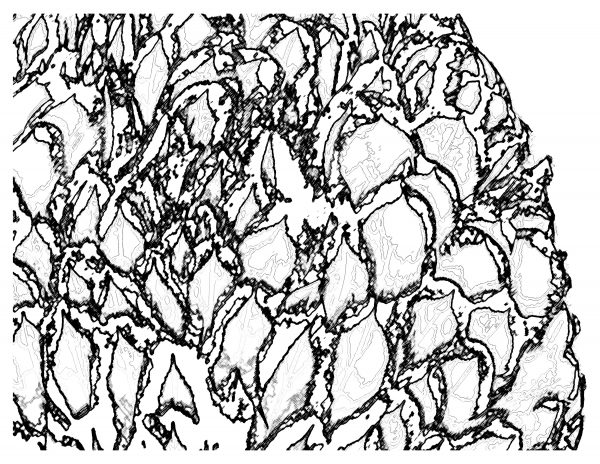
And here it is after photoshopping. It made a fabulous fabric, very dark tone on tone, that I’ve used in the background. Alas, I forgot tot akee pics before I cut it up!
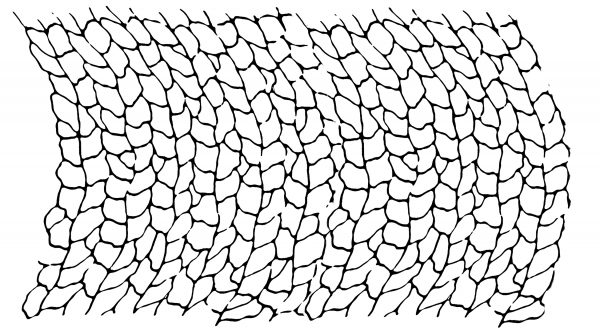
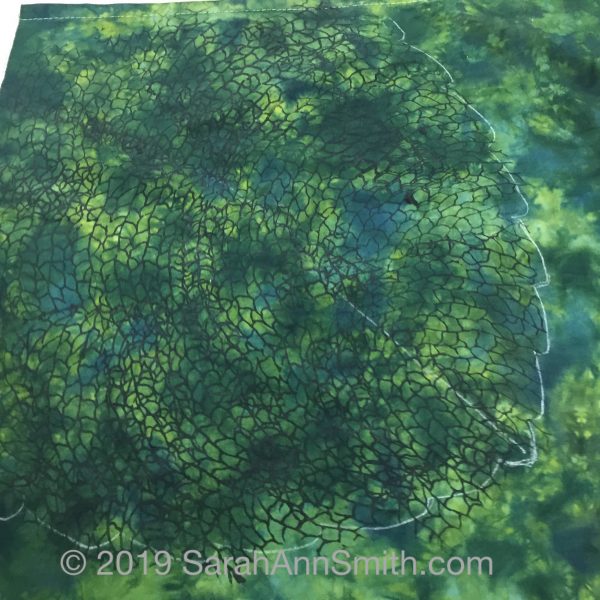
I also wanted to make a texture similar to Rugosa rose leaves, so this is my initial sketch, which became a screen.
I tend to work in batches, so while I was making those screens, I made several others. That one on the right, the feathers, is about 20 inches long! The snow is for another future quilt.

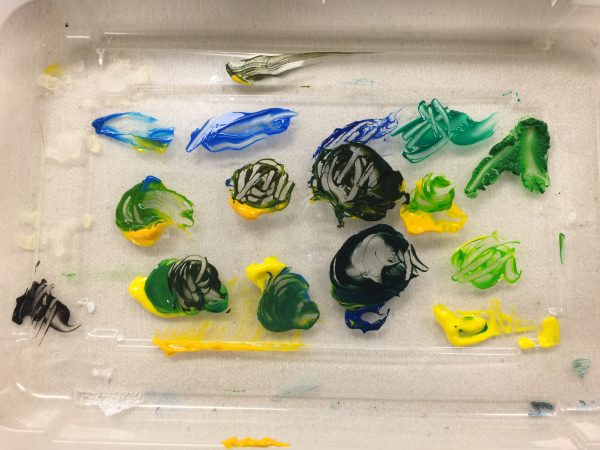
These are the transparent paints I mixed, with a little black, to use for the rugosa texture on the rose leaves.
Here’s one of the leaves…..
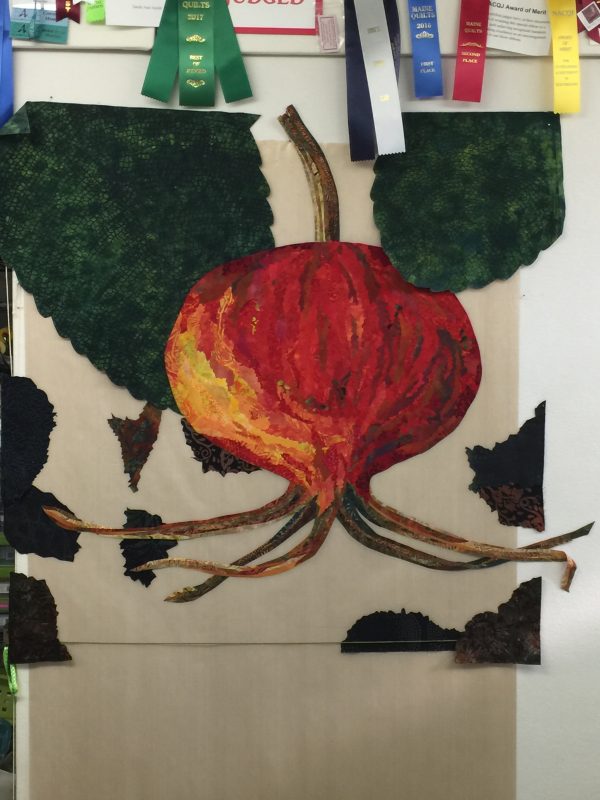
And the two large leaves, in place. The long one on the left is about 18 inches long. Alas, after looking at it this morning, I have decided those two leaves are too dark and have to go. Back to the dye pots once this post and my newsletter are done! I’ll use the fabric for something else eventually.
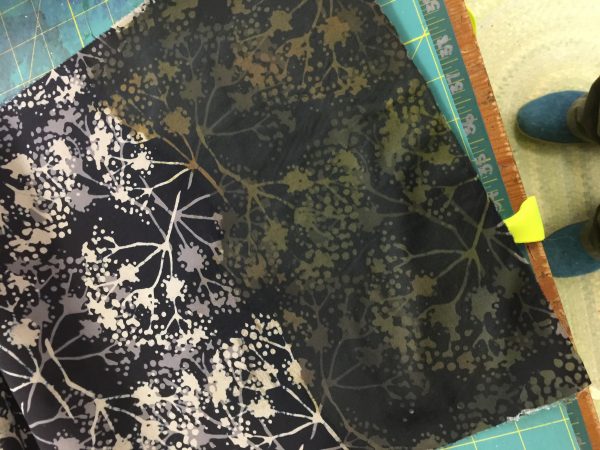
LOVED the batik but knew ordering it that it was too high contrast for my process. A little Dye-Na-Flow and ProSilk textile paints fixed that easily: overpaint in green!
And where I am now. I want the quilt to be dramatic, but it feels to dark overall. The smaller version has brighter green leaves and I’ve decided I need to dye something that is midway between the medium-light hand-dyes on my shelf and the dark green used here. Or use some fabric Lisa Walton gave me years ago…I think her bits of green are just right, especially once I add some texture.

So that’s about it for now….thanks for surfing in, share the post, and let others know about the newsletter. I’d love to ramp up my teaching again, and the best way to do that is by showing my work and getting the word out there. Now, off to make cookies for the guys roofing the house in freezing weather, then down to the studio.