It’s that wonderful time of the year again, Festival! When you say “Festival” to a dedicated quilter, they know there is only ONE Festival that counts, the Big One In Houston. Same thing–if you say Houston, we all know what that means–FUN, Friends, Quilts, all under one enormous roof. I’m teaching again this year and will have four quilts in the exhibit area, plus two small pieces in a booth. Read on!
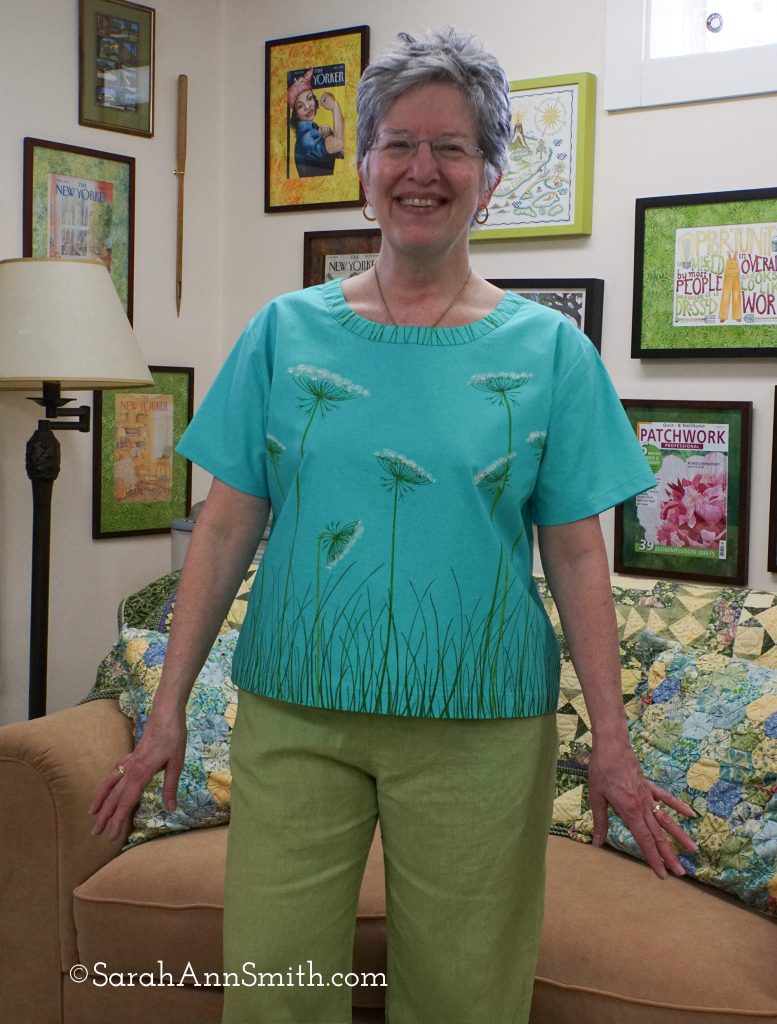
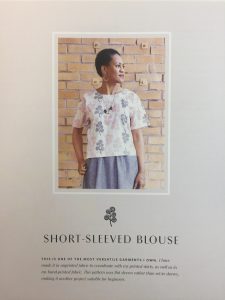
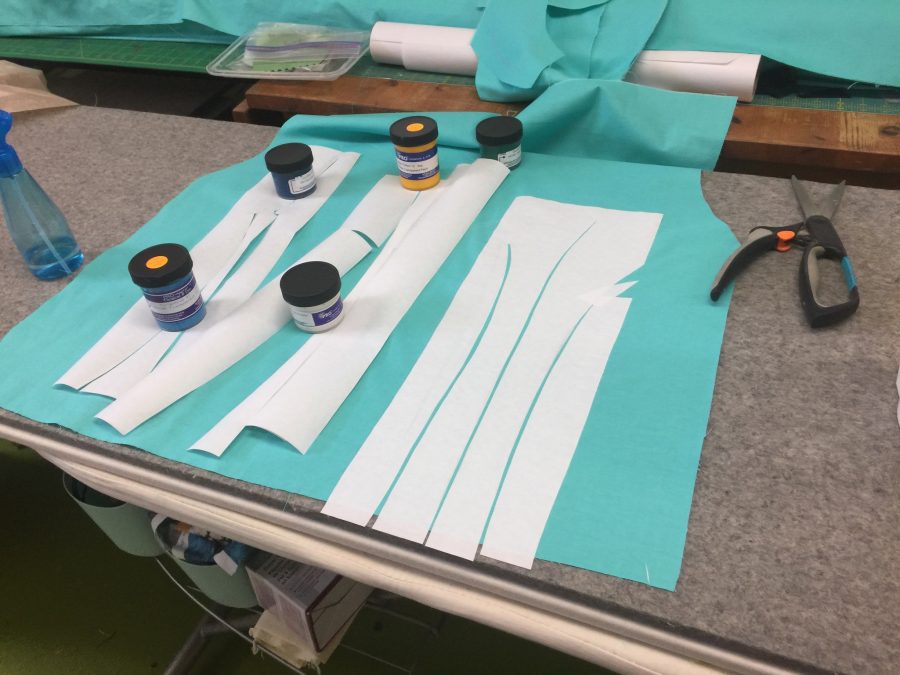
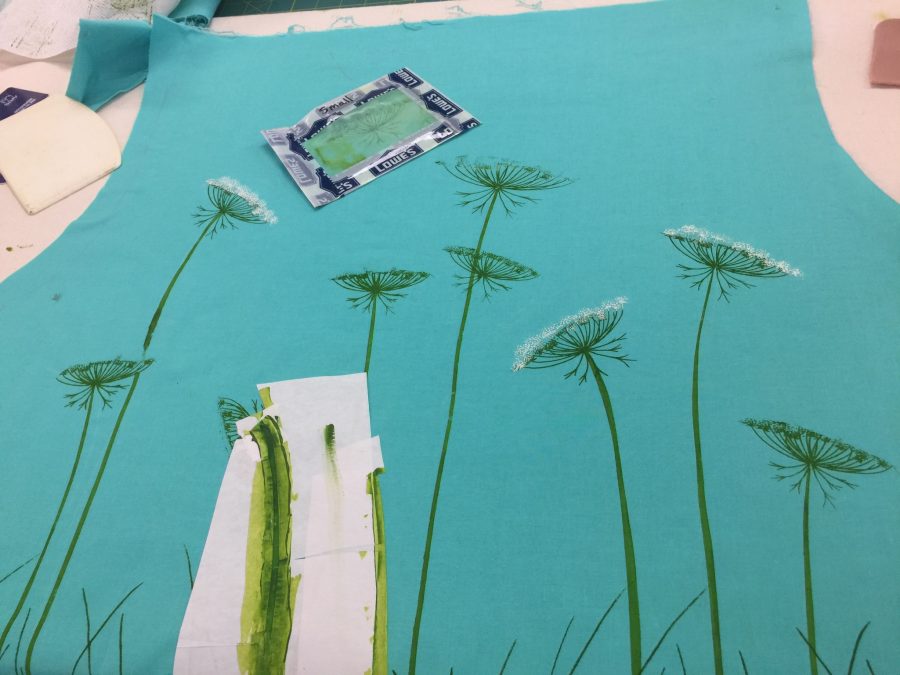
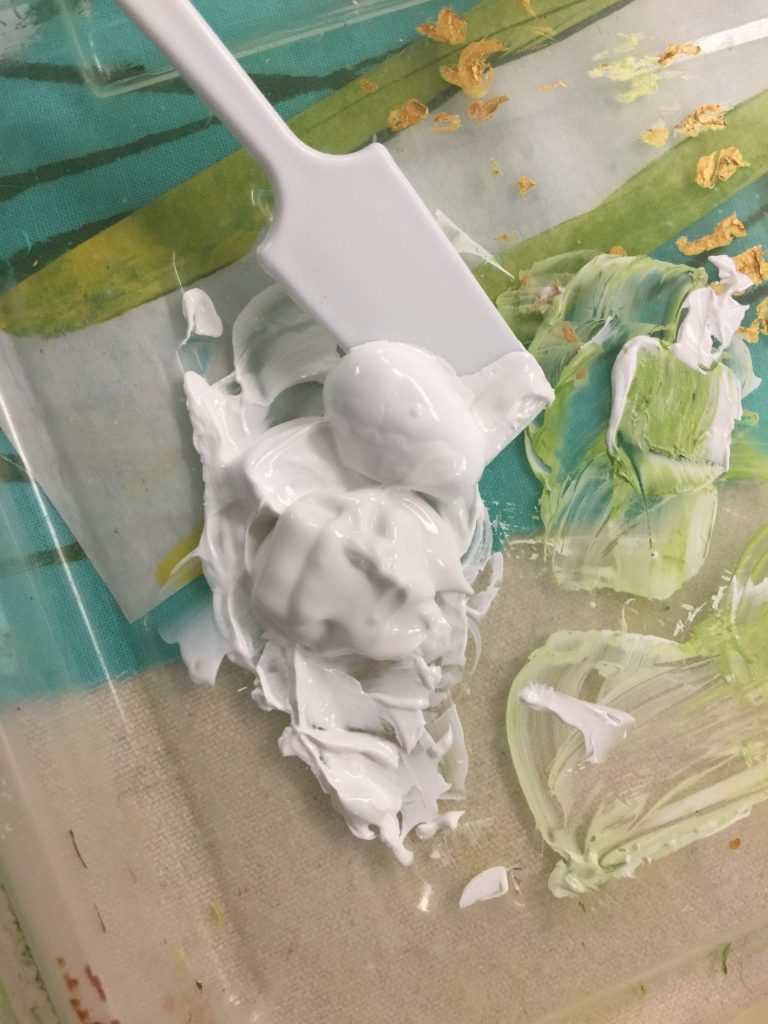
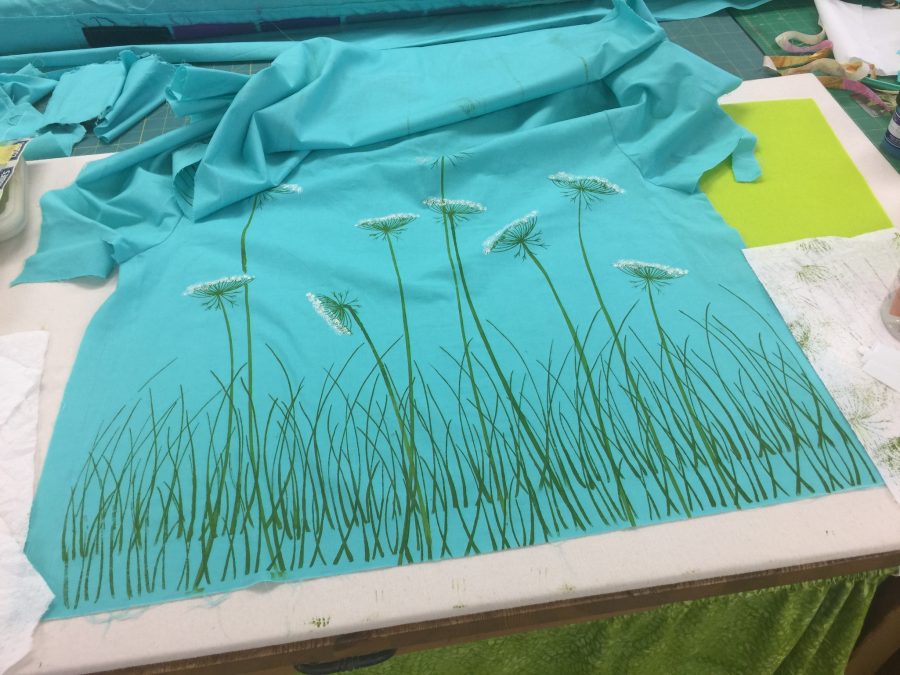
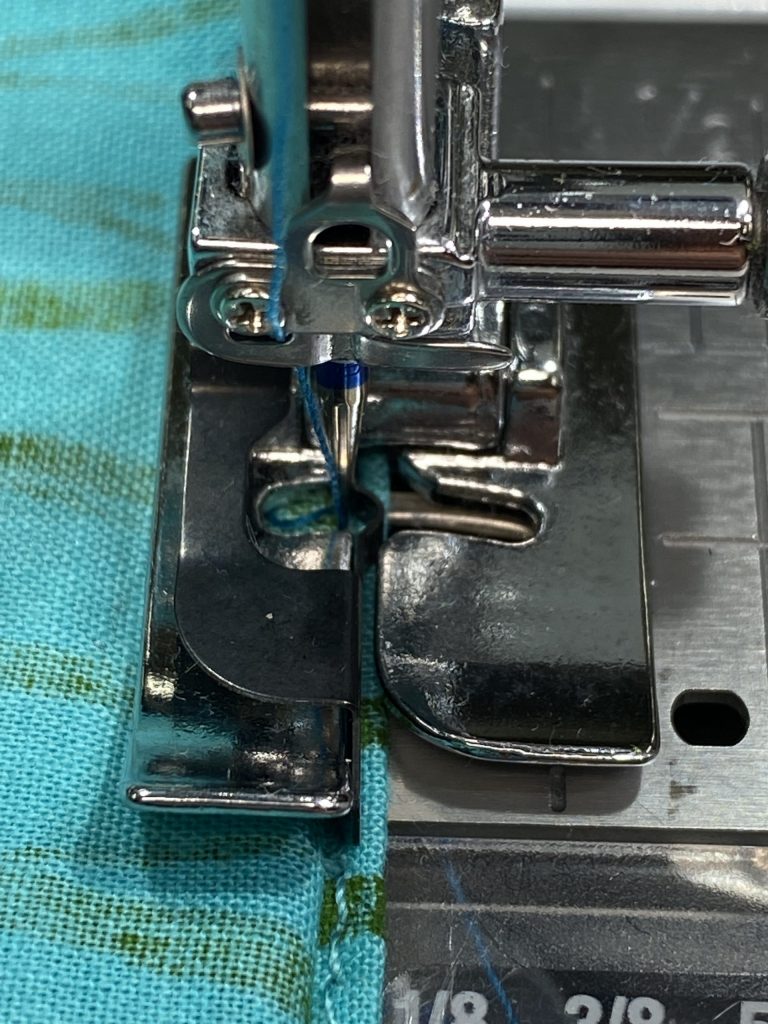
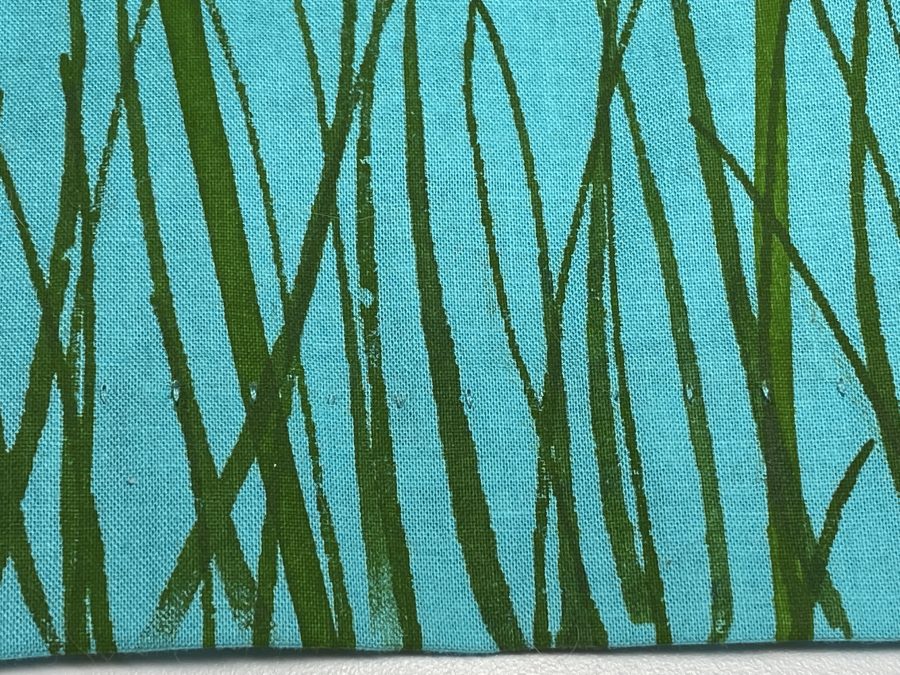
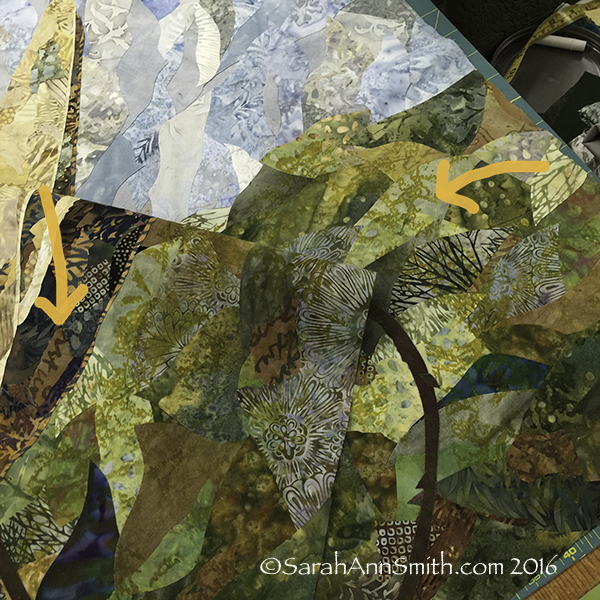
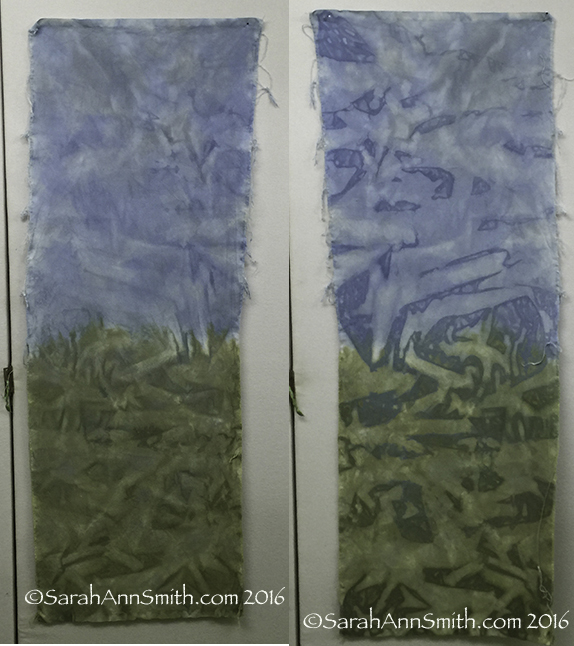
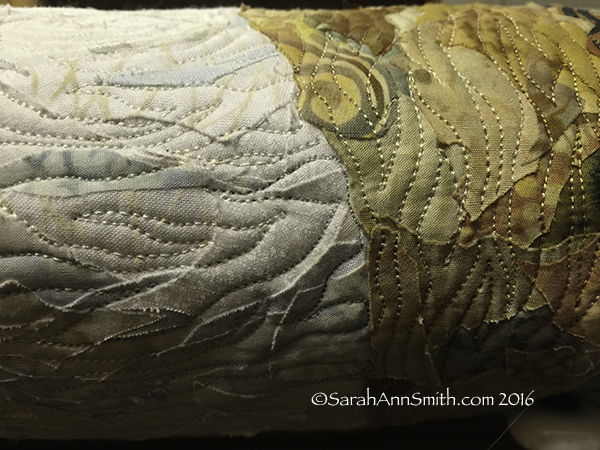
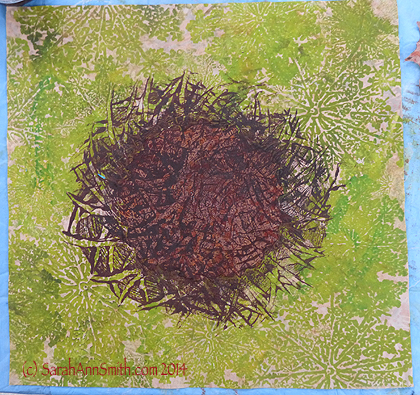
Learn to make the painted fabrics in this project in my mini-Whimsy class at IQF-International Quilt Festival Fall 2014. See Thursday and Friday October 30 and 31.
Sunday, Oct. 26: Travel from Maine to Texas. Provided all goes well, I will not only have time to check in to the Teachers’ Room, find my shipped items and get ready for my first class on Monday, I’ll be able to get to the International Quilt Market show (already have my credentials!) to visit some friends who will be there only for Market.

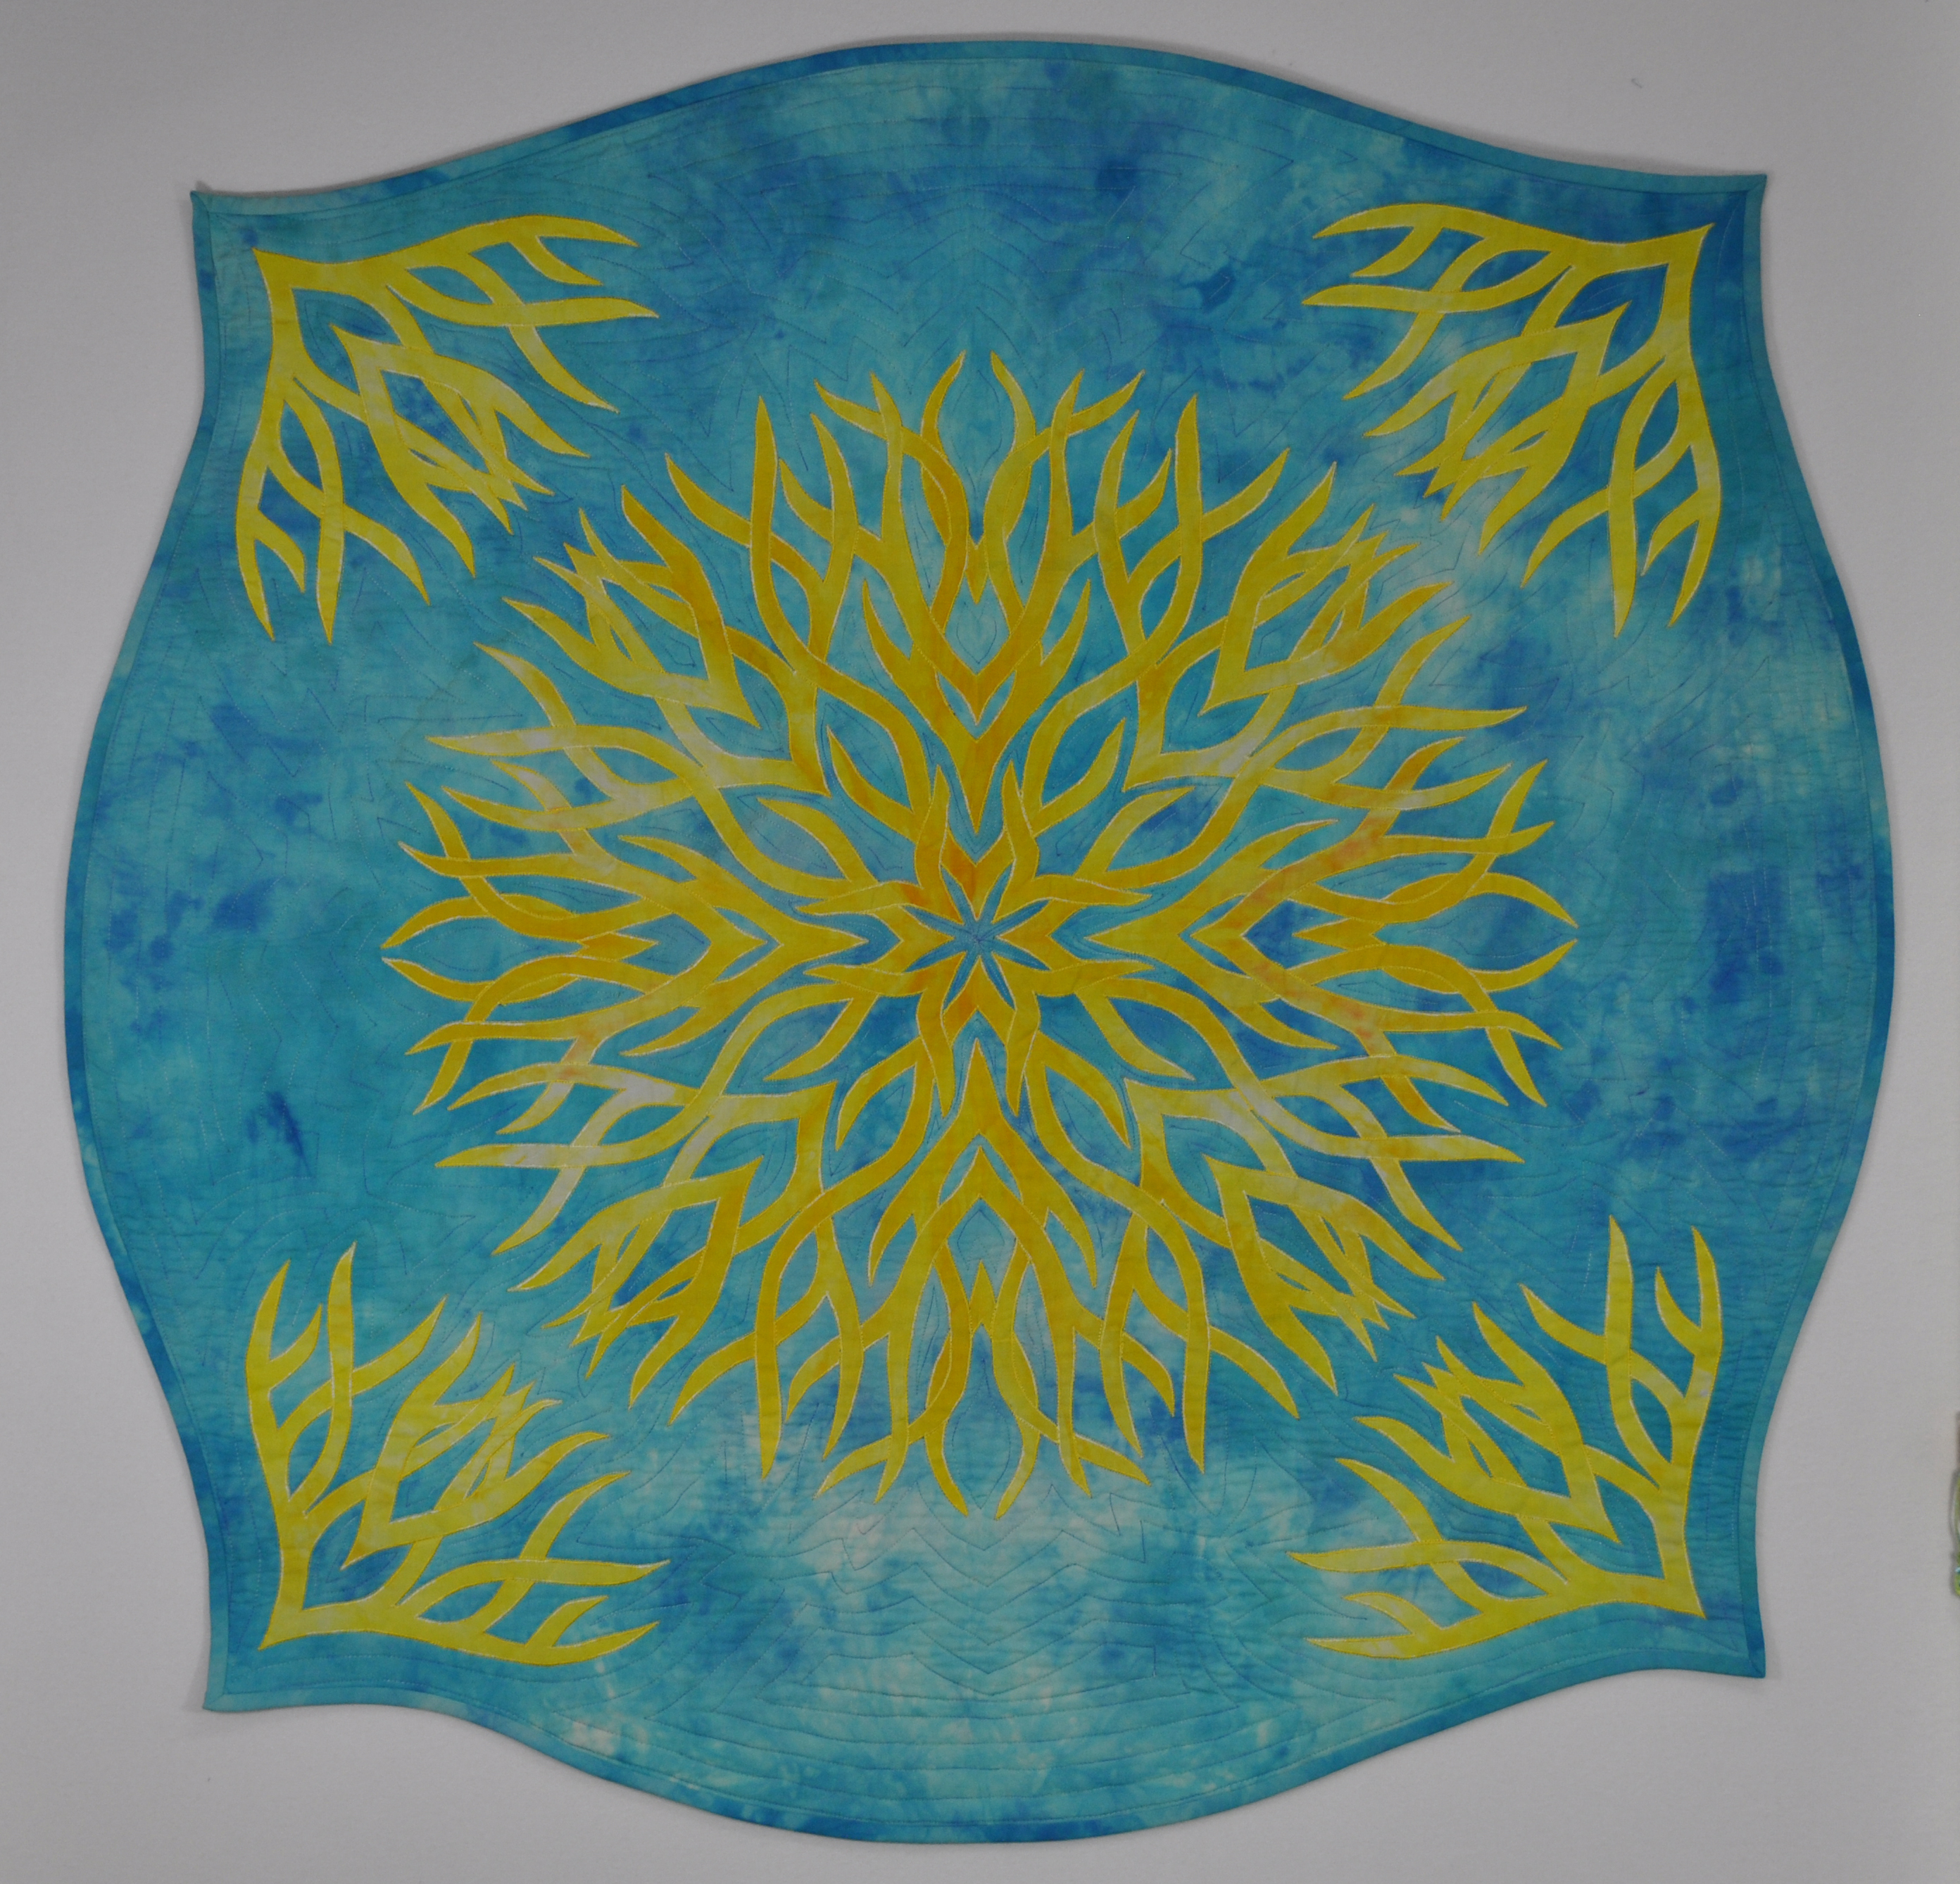
Nourish the Body, Nourish the Soul, in the 500 Traditional Quilts exhibit. (c) Sarah Ann Smith.
Monday, Oct. 27: I’m teaching Let’s Machine Quilt, my intro to Machine Quilting class. Class runs from 9-5, with a two hour lunch break which I plan to spend on the show floor making more contacts at market. When online registration closed, I think there were a couple spots left in this class. If you’re interested, sign up at registration at Market.
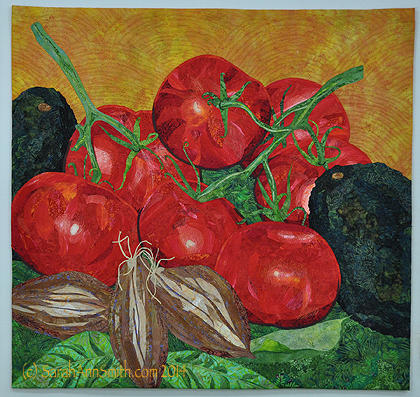
Insalata, (c) Sarah Ann Smith 2014. First major presentation in public at lecture, Tuesday, How Did She Do That?
Tuesday, Oct. 28: I’ll be giving my lecture, How Did She Do That? It is a virtual trunk show of what I do and how I do it, supplemented with at least half a dozen real live quilts. These lectures are in HUGE rooms so there is always room for more people. I’m hoping to attend the lecture before me at 10. Then at noon, I’ll be going to the luncheon and lecture (as will be many of the folks in my lecture). Tuesday is the day the Market-only booths pack up and depart and the Festival-only booths arrive and begin setting up. So I figure either the lecture will be full or empty (with folks having chosen to go off into the city or busy with booth set-up/take-down). DO come–it’s so much more fun to talk to a room with people in it!

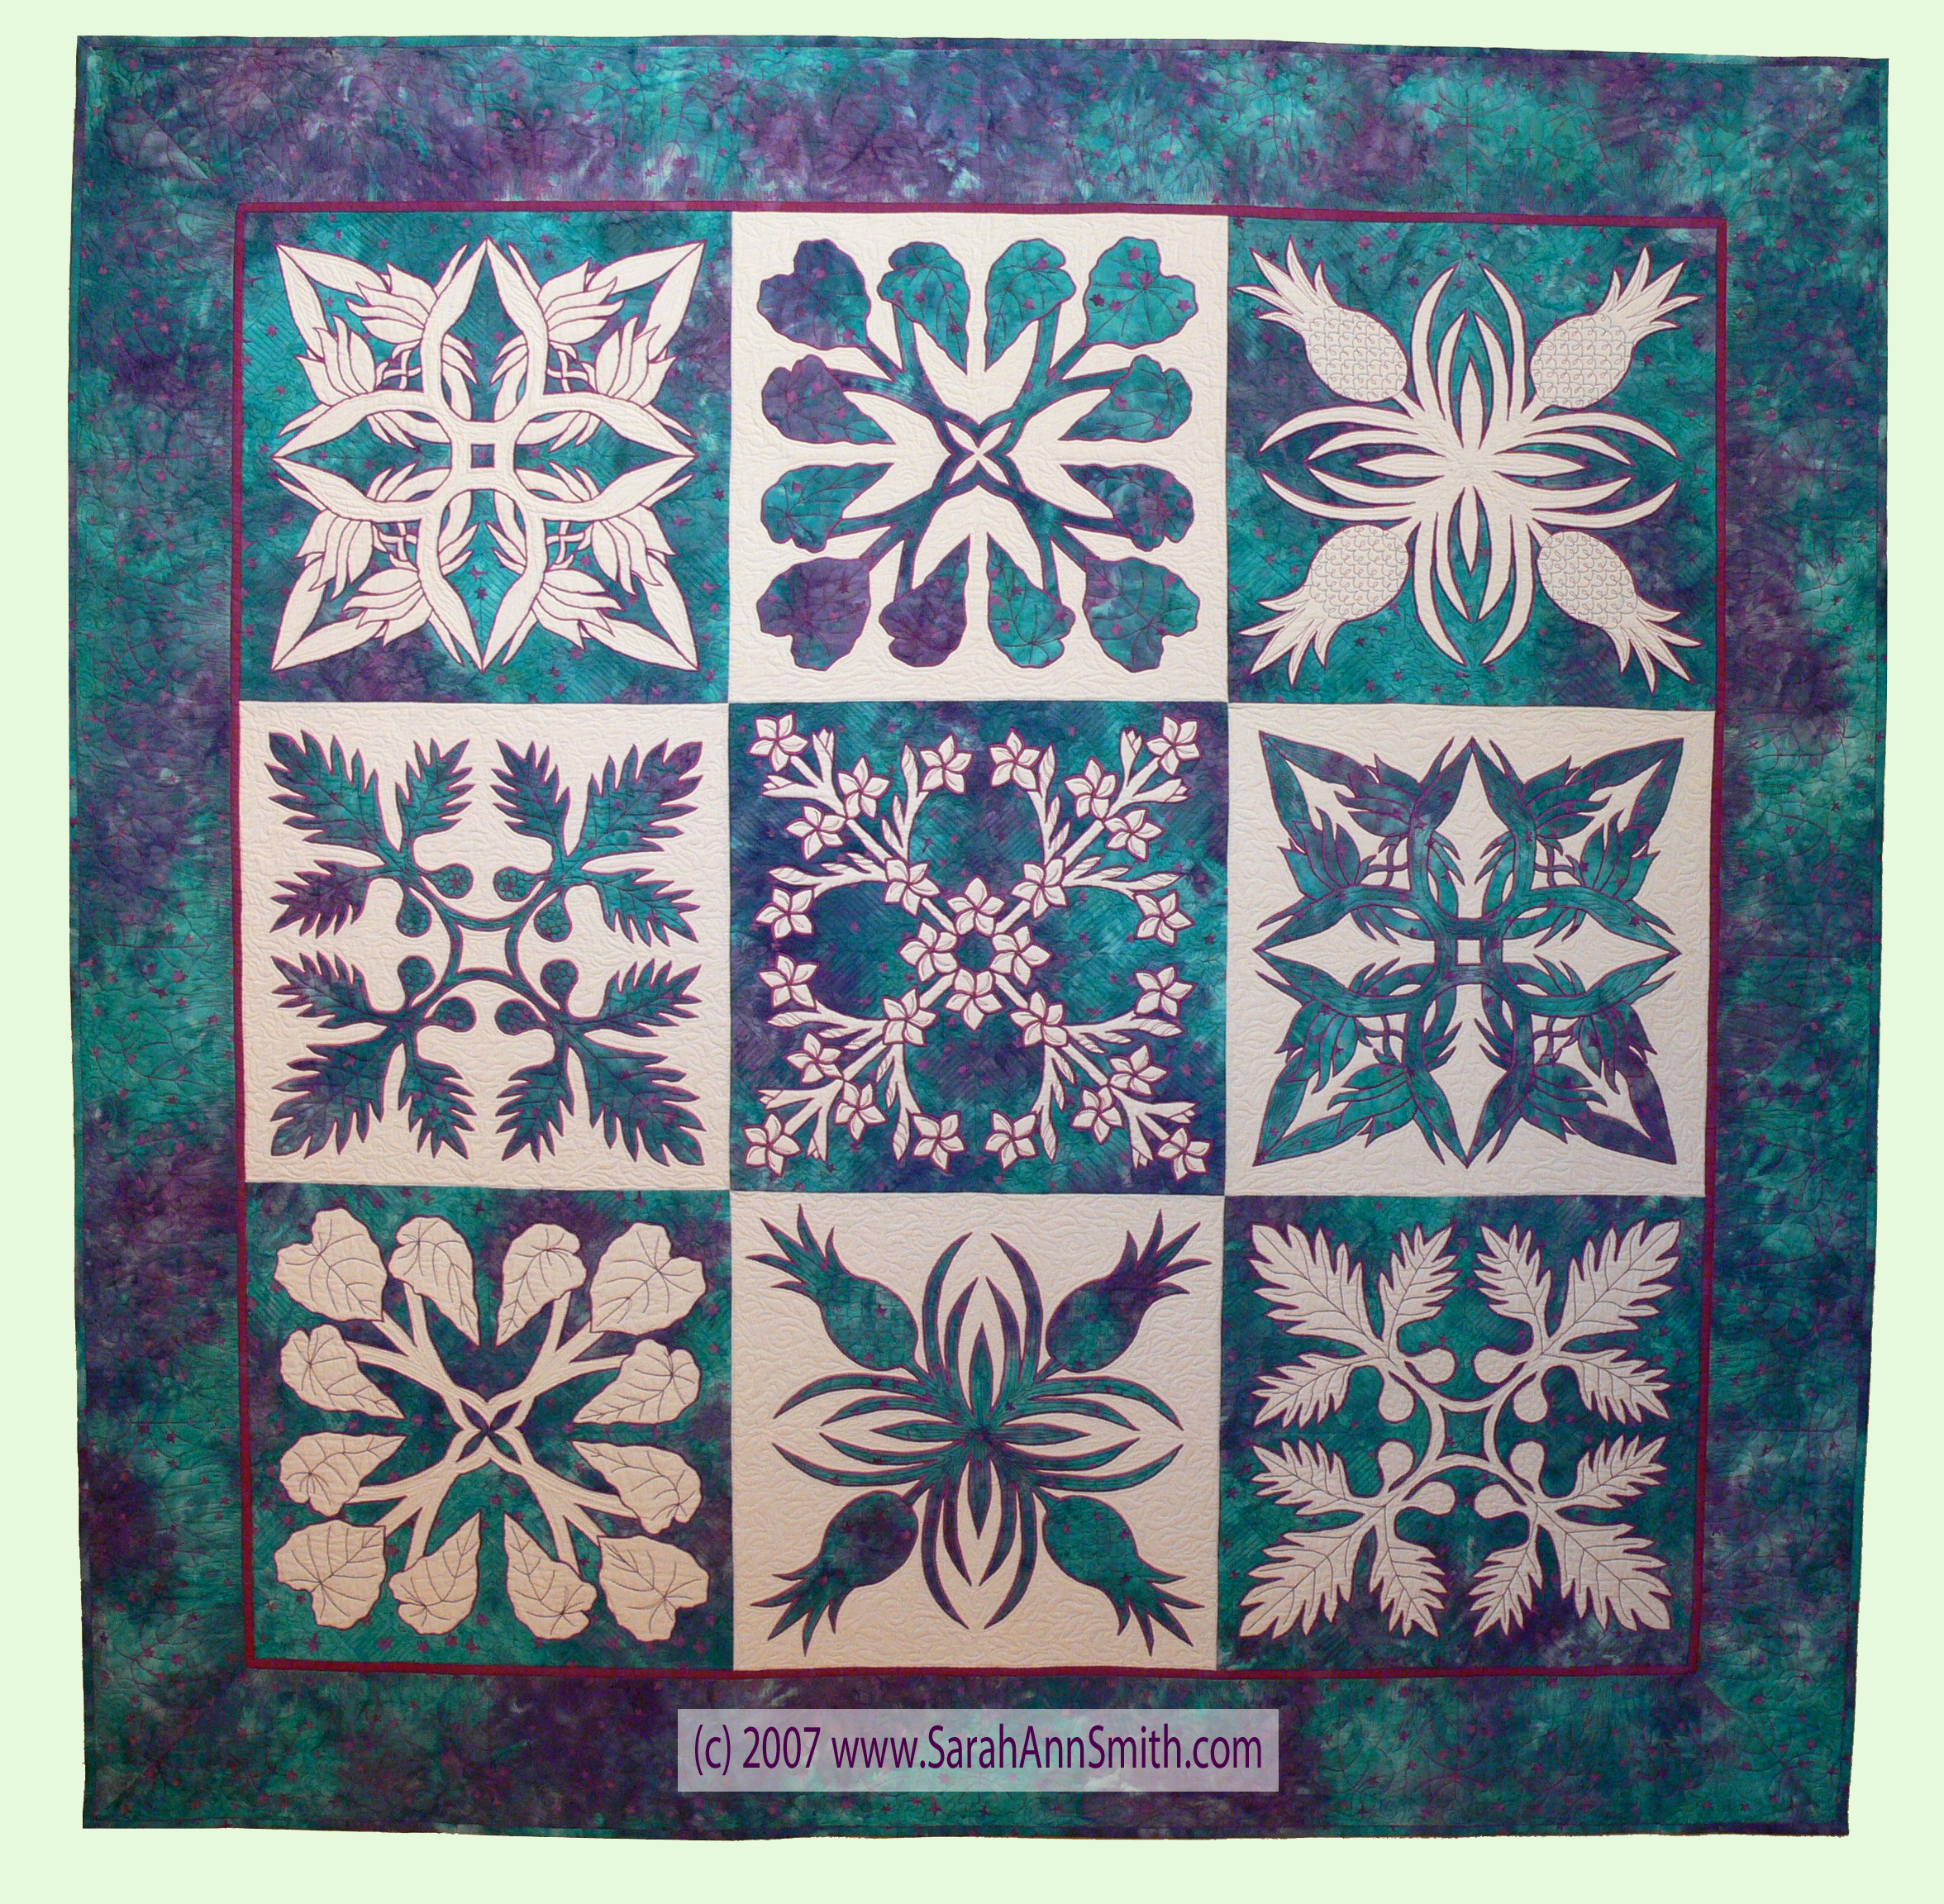
Haleakala Sunrise, (c) 2004 Sarah Ann Smith. In the 500 Traditional Quilts exhibit.
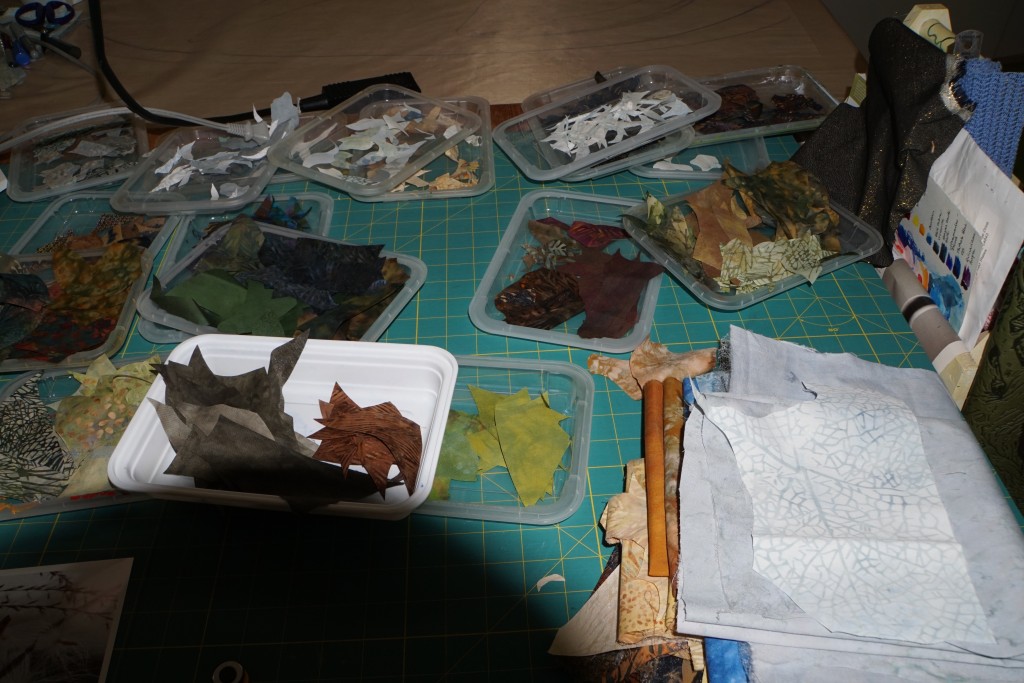
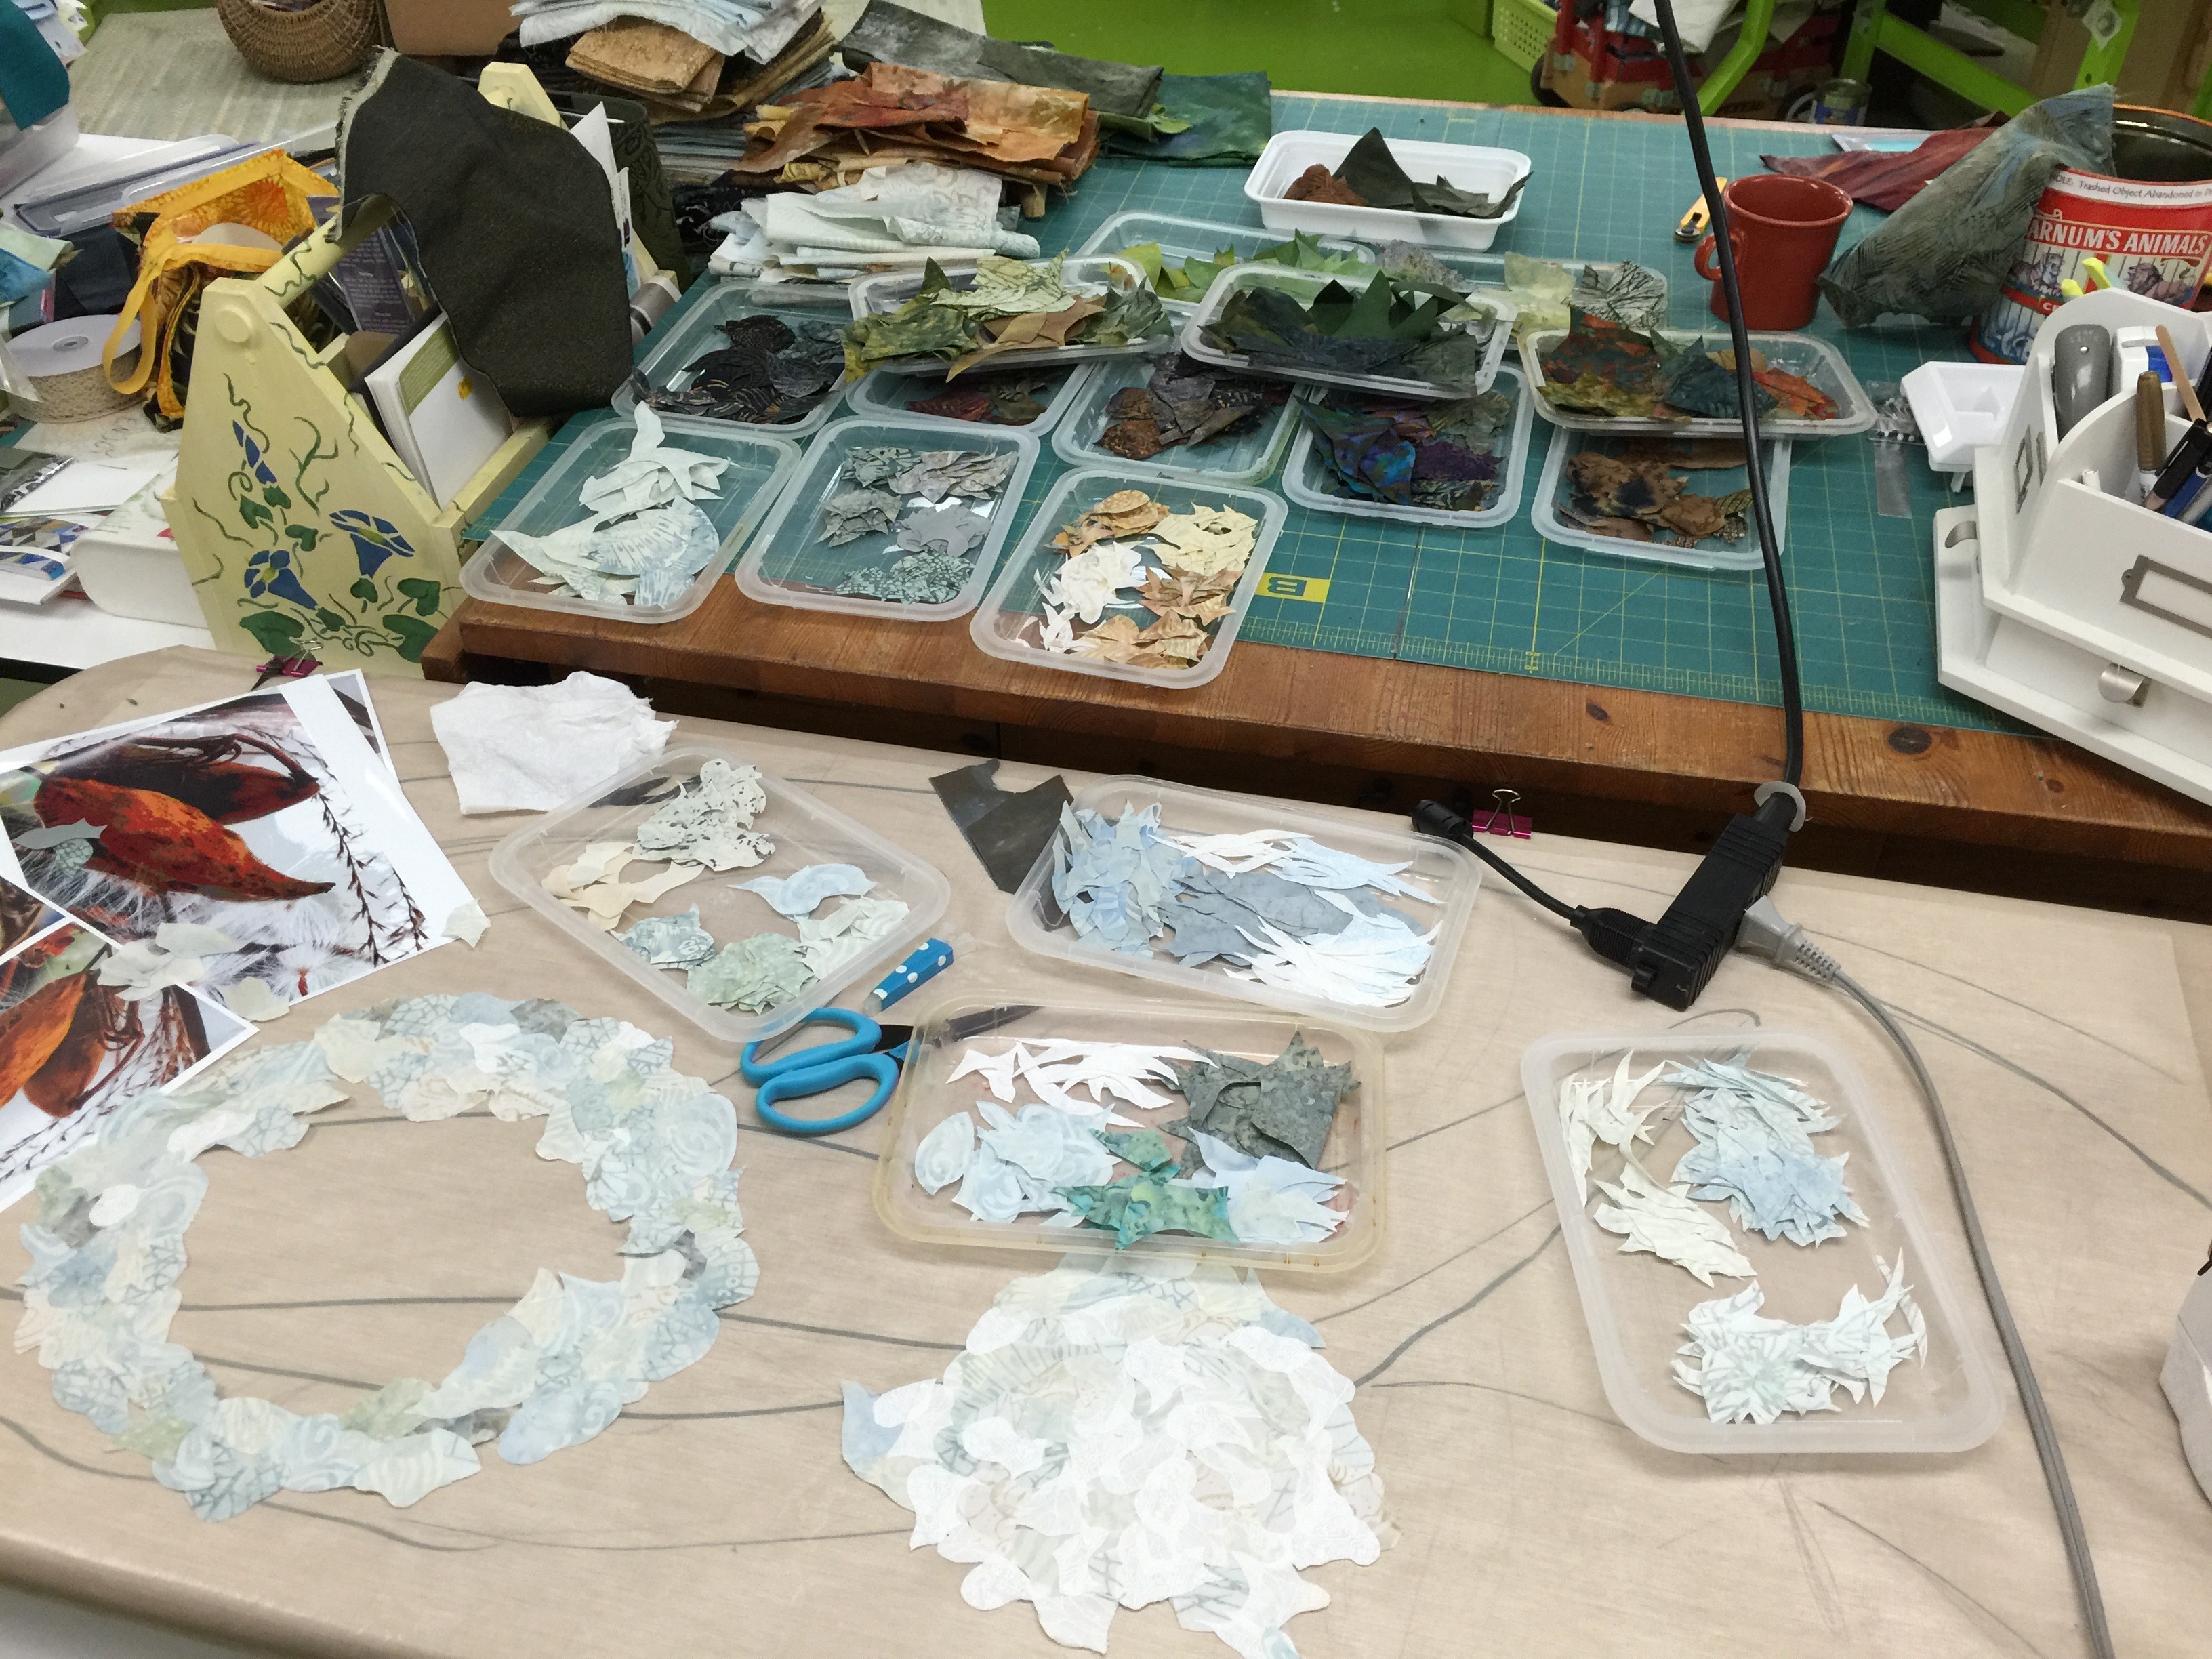
Wednesday, Oct. 29: Teaching Birch Pond Seasons, my third year in a row for this intro to art quilting and fused collage. This is a no-sewing class and I’m thrilled to report it filled during online enrollment! It’s my third year in a row teaching this class at Houston–so glad it works well for so many. I encourage students to do their own thing–no copy-the-teacher stuff in my classes!
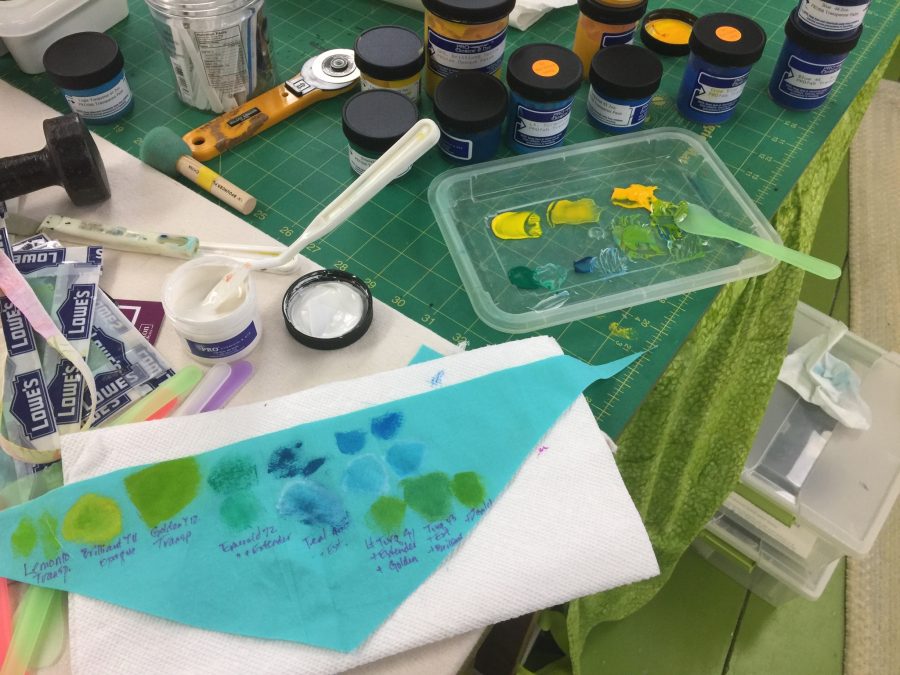
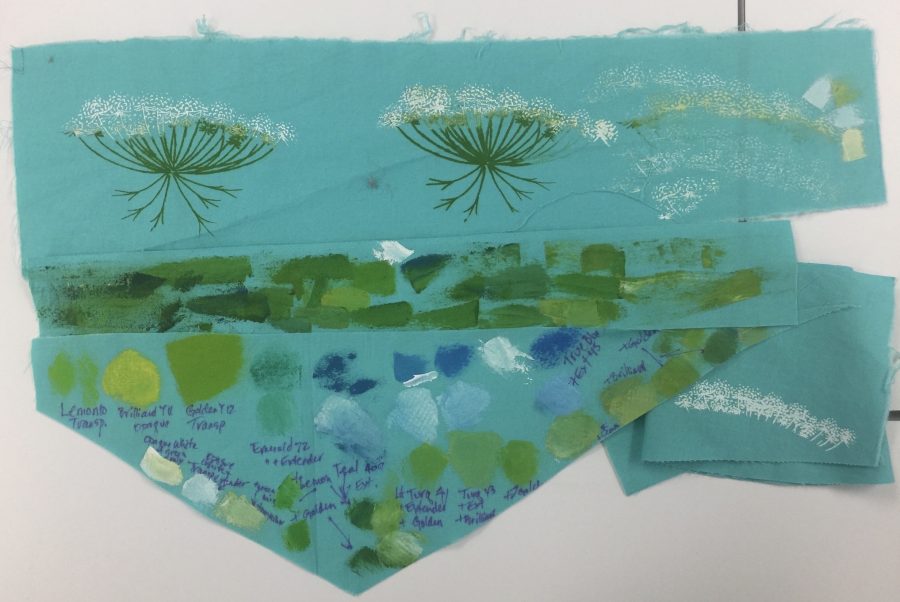
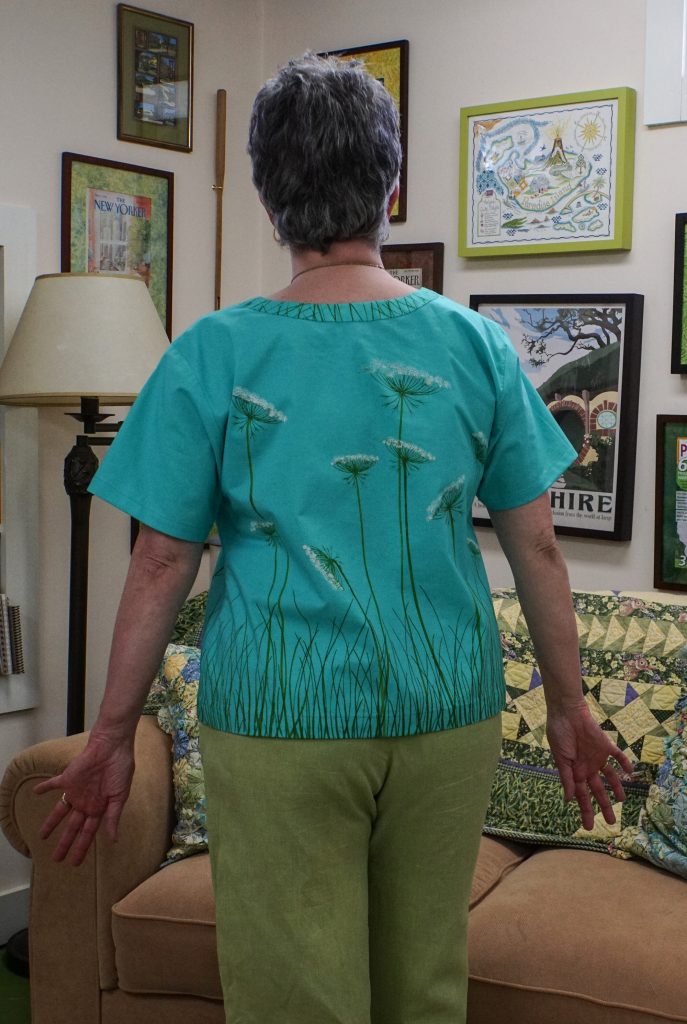
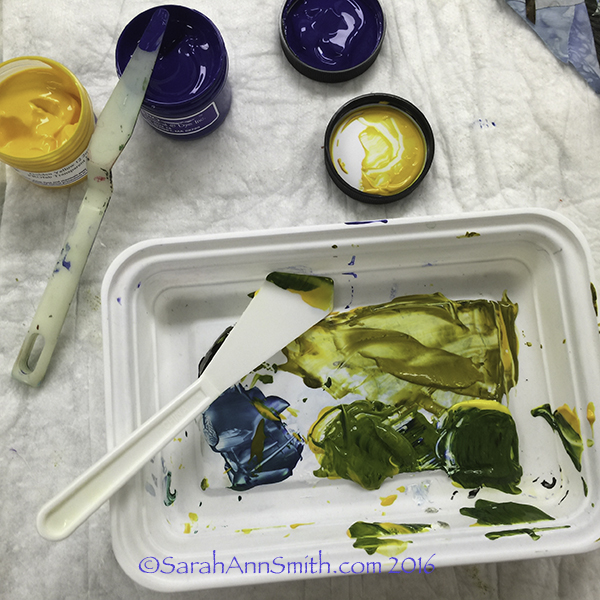
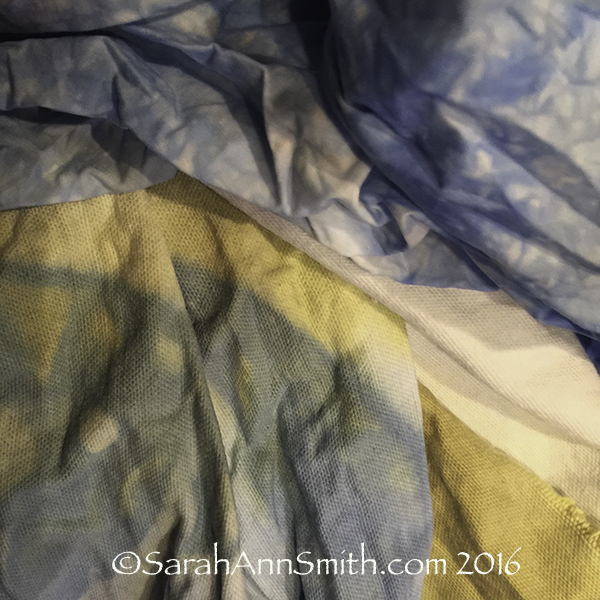
And some art cloth–this is SO not my typical, but I could see playing with surface design, a lot, to make more fabrics to use in my more typical style. I wanted to have something totally “not me” though so that students get to try both representational and not!
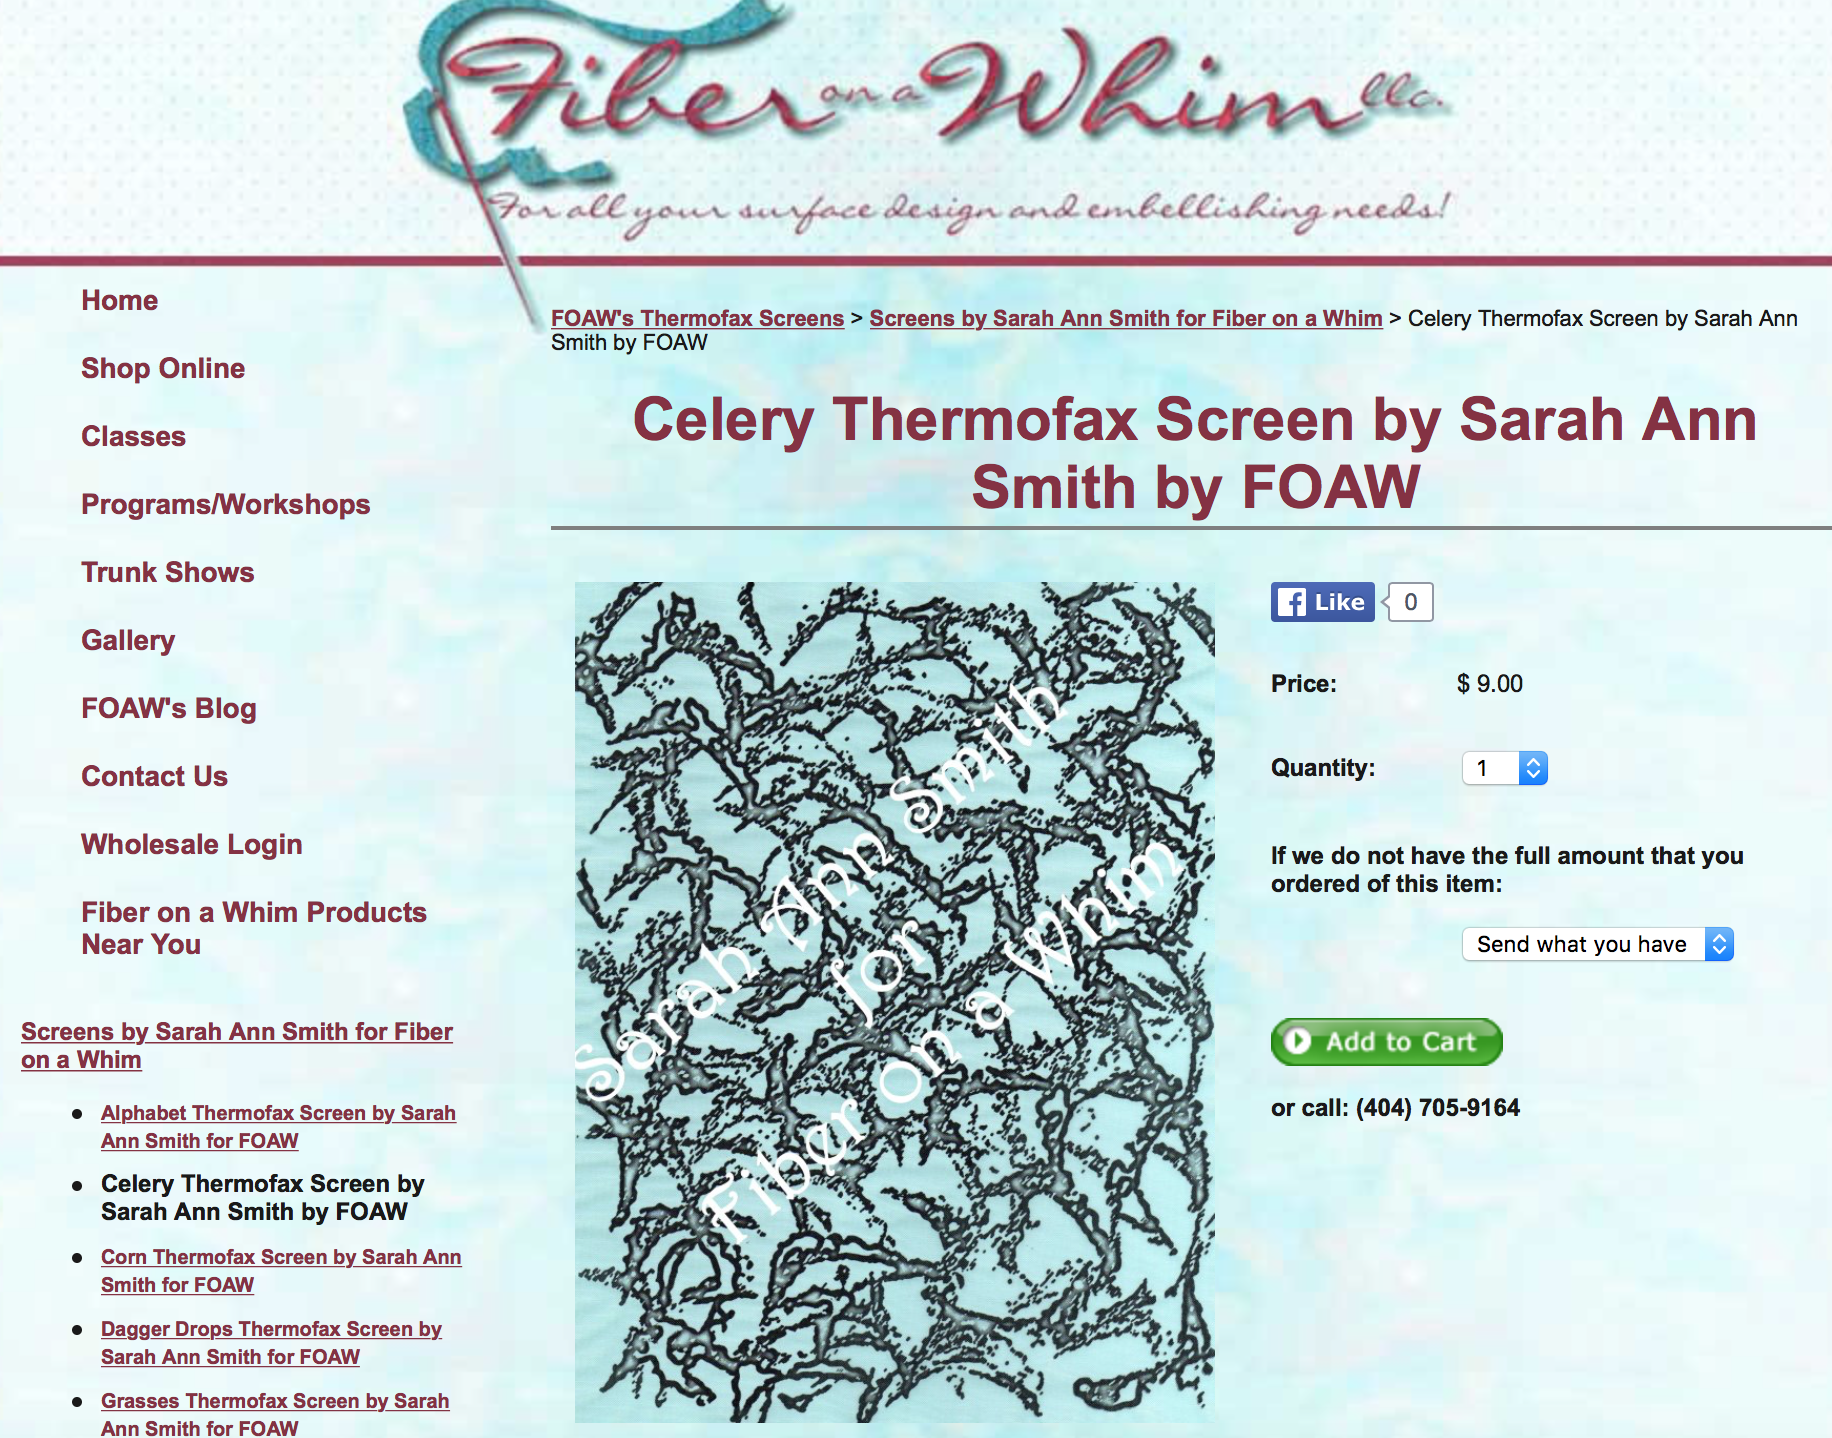
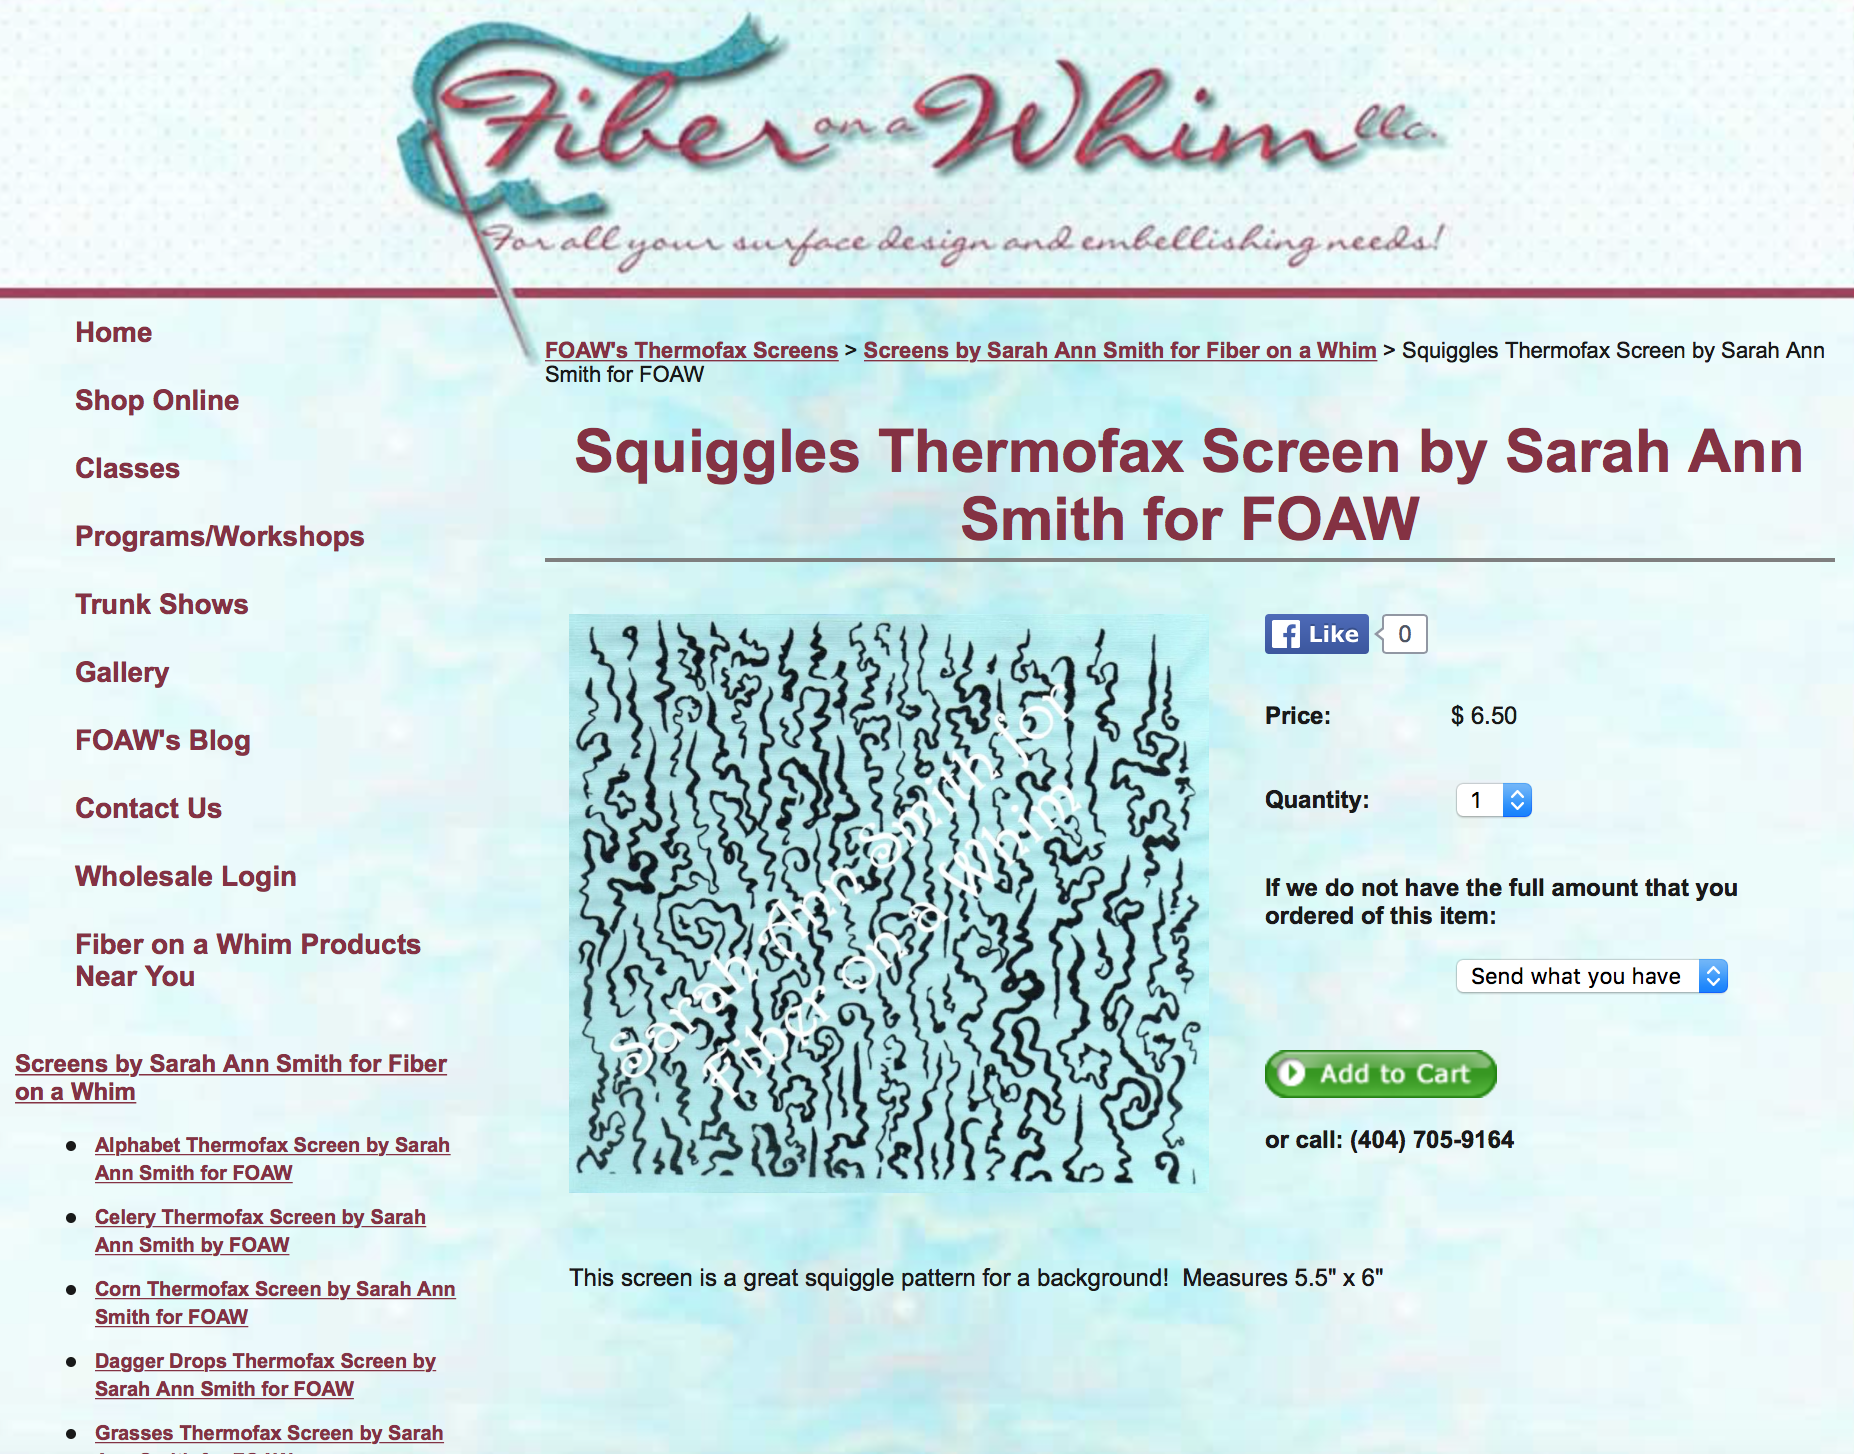
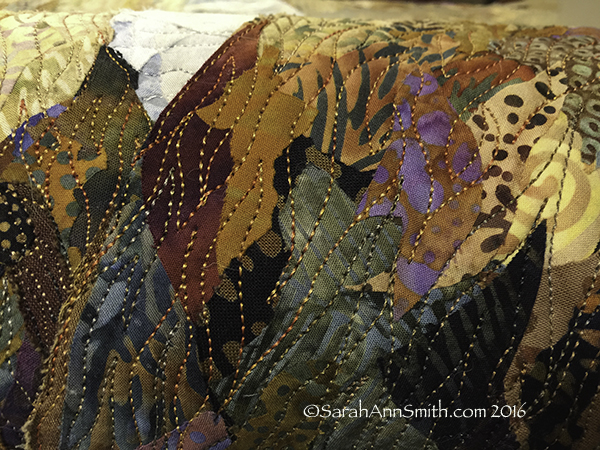
Thursday, Oct. 30: One of six presenters at Machine Quilting Forum (sold out) from 9-Noon. Attending the lecture and teacher appreciation luncheon Noon to 2. From 5-6 I will be teaching a mini-Whimsy Class at the Fiber on a Whim Booth, #144. For more info, see here and here and here There is no advance sign up–the first 8 people in line get in. All supplies are provided by me.
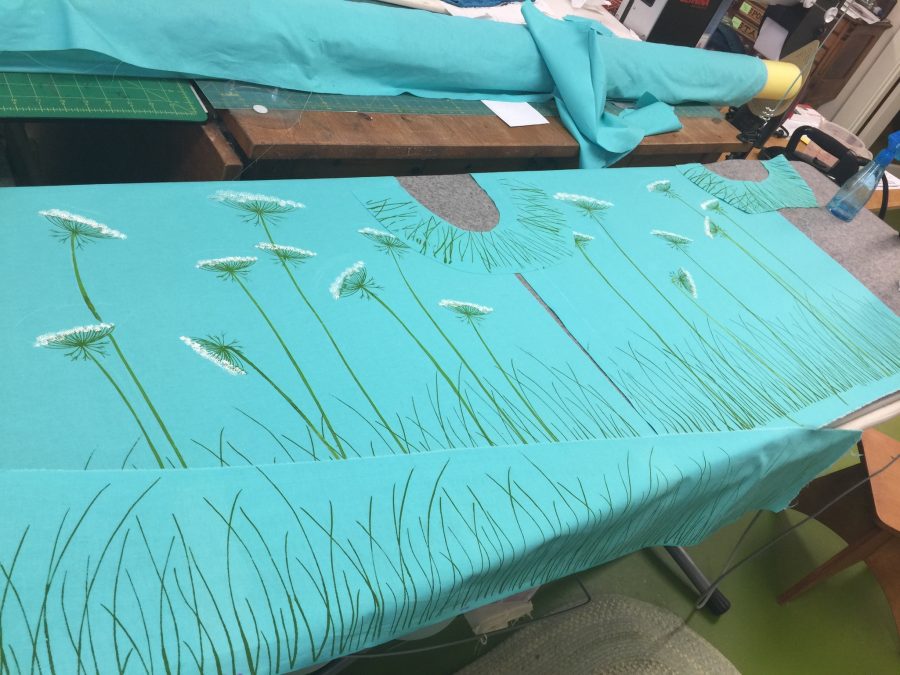
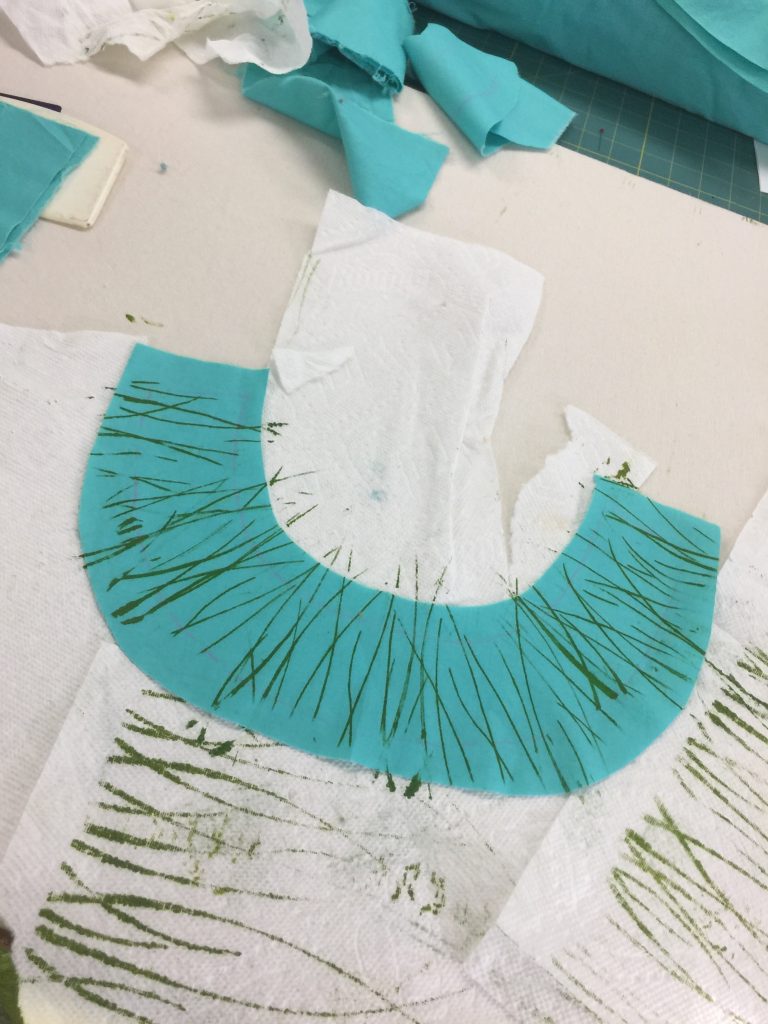
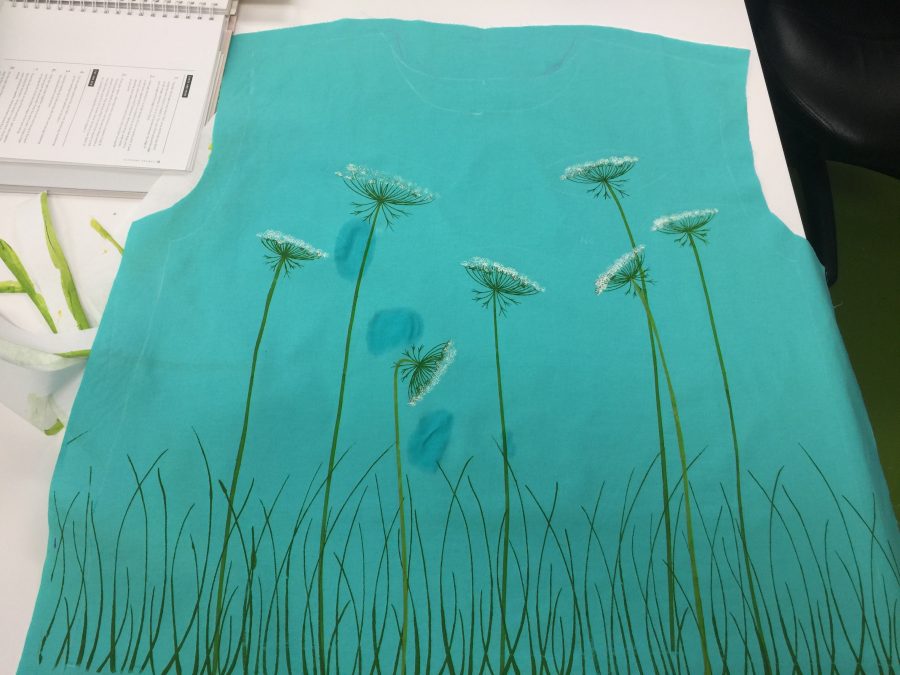
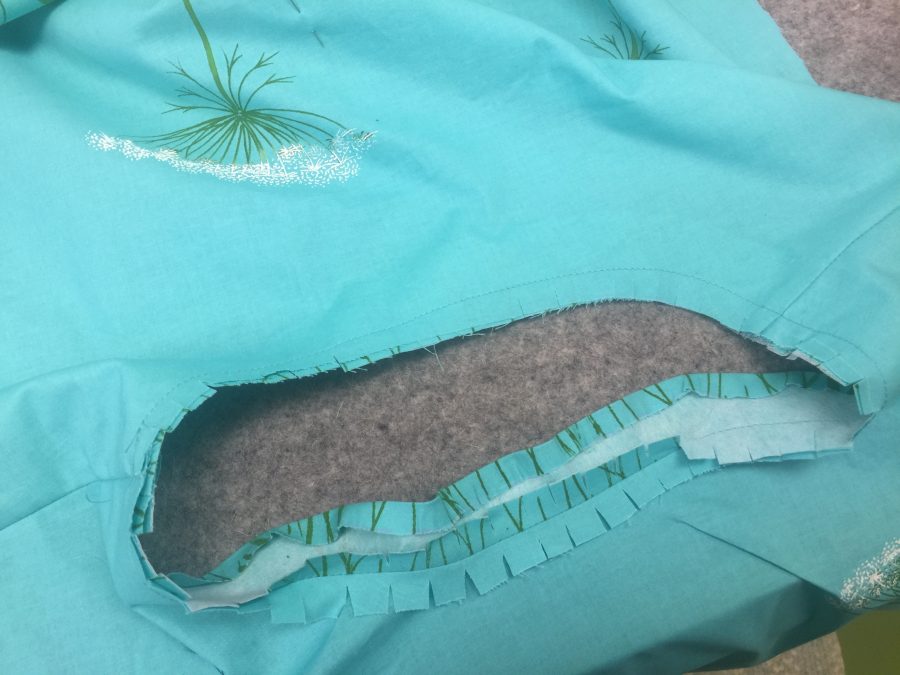
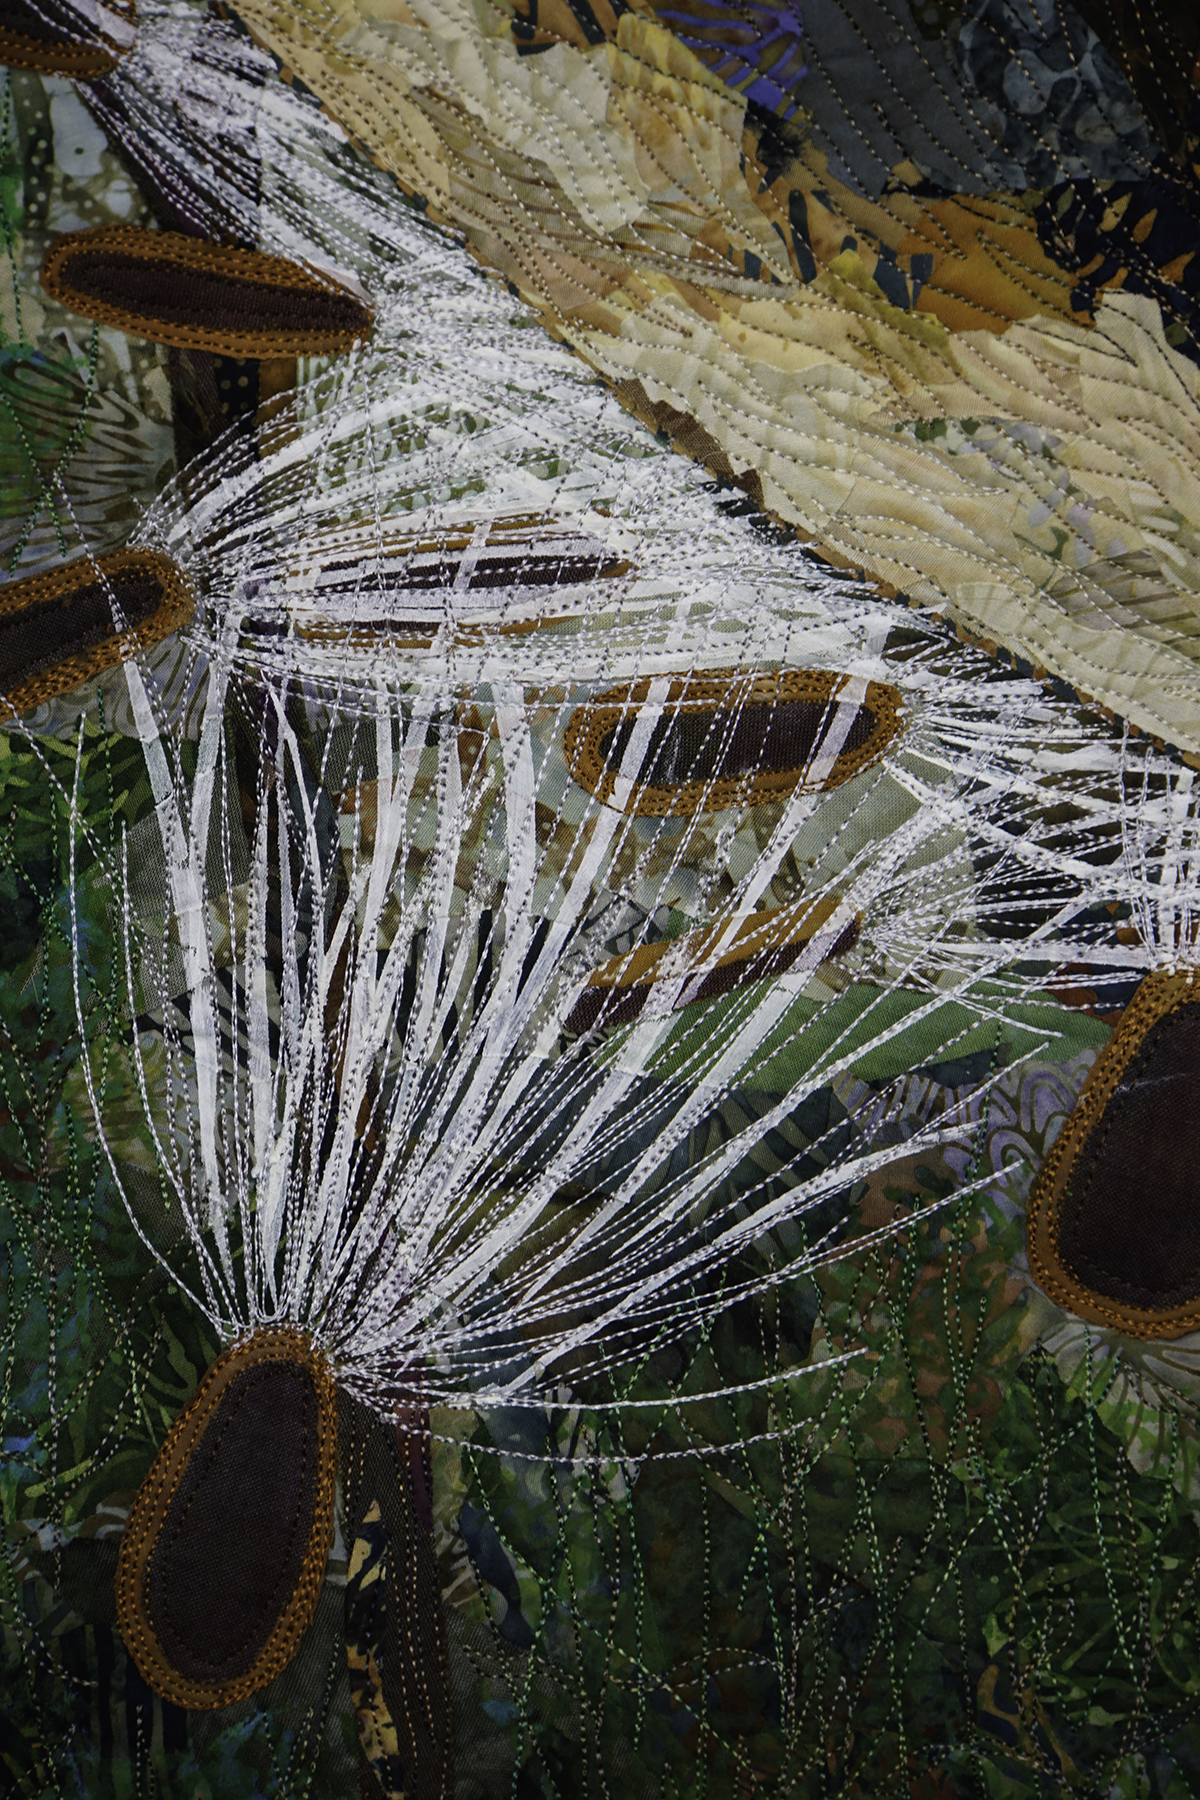
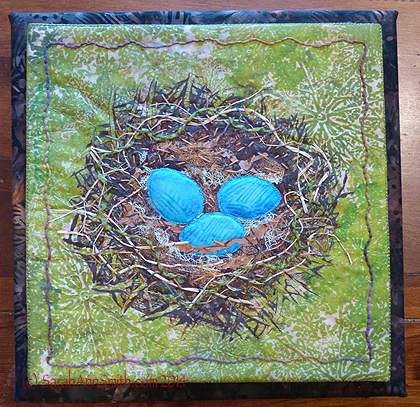
In progress shot from The Nest, (c) 2014 Sarah Ann Smith, part of Sarah’s Whimsy Class.
Friday, Oct. 31: From 11-Noon I’ll be teaching my mini-Whimsy Class (see Oct. 30 info and links). Then from 5:30 to 7, I’ll be “on duty” in the Inspired by the Beatles exhibit. In the evening, I’ll be enjoying diner the company of the marvelous artists in the Dinner@8 group.
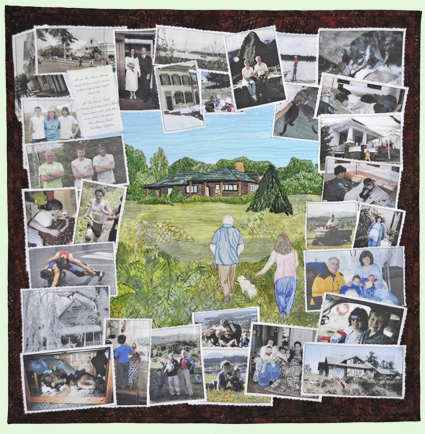
Two of Us (c) 2013 Sarah Ann Smith. Inspired by the Beatles challenge and exhibit.
Saturday, Nov. 1: almost first thing, I’ll be in the Machine Quilting Unlimited booth for an interview (who me?)! I’ve written for them quite a bit back in 2008-9 and over the past 16 months. This is one of the best magazines out there, especially if you love machine quilting, whether traditional, contemporary, modern, art….it’s a keeper! Then I’m officially “OFF DUTY” and get to race around and see everything and everyone.
I’ve shared photos of my works on display throughout this post, but here they are in a list:
500 Traditional Quilts exhibit:
- Nourish the Body, Nourish the Soul
- Haleakala Sunrise
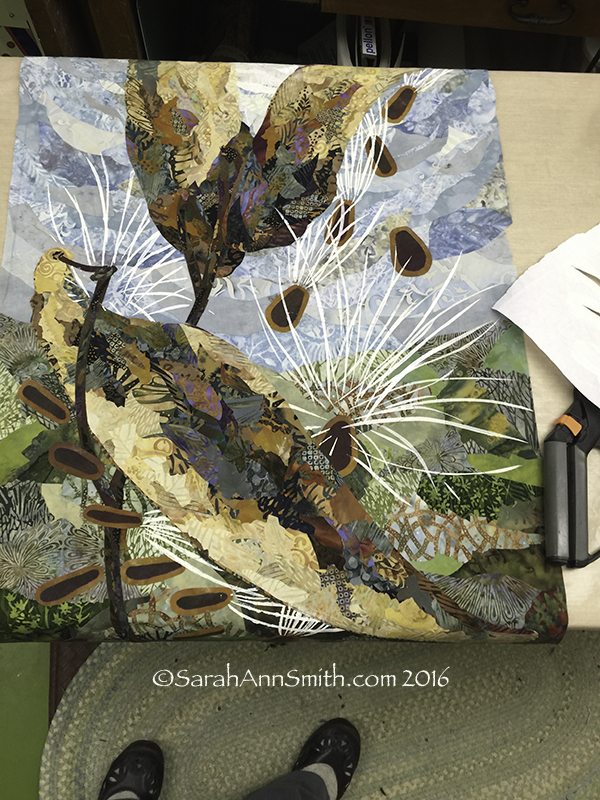
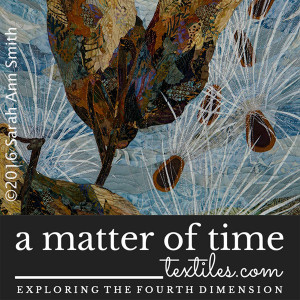
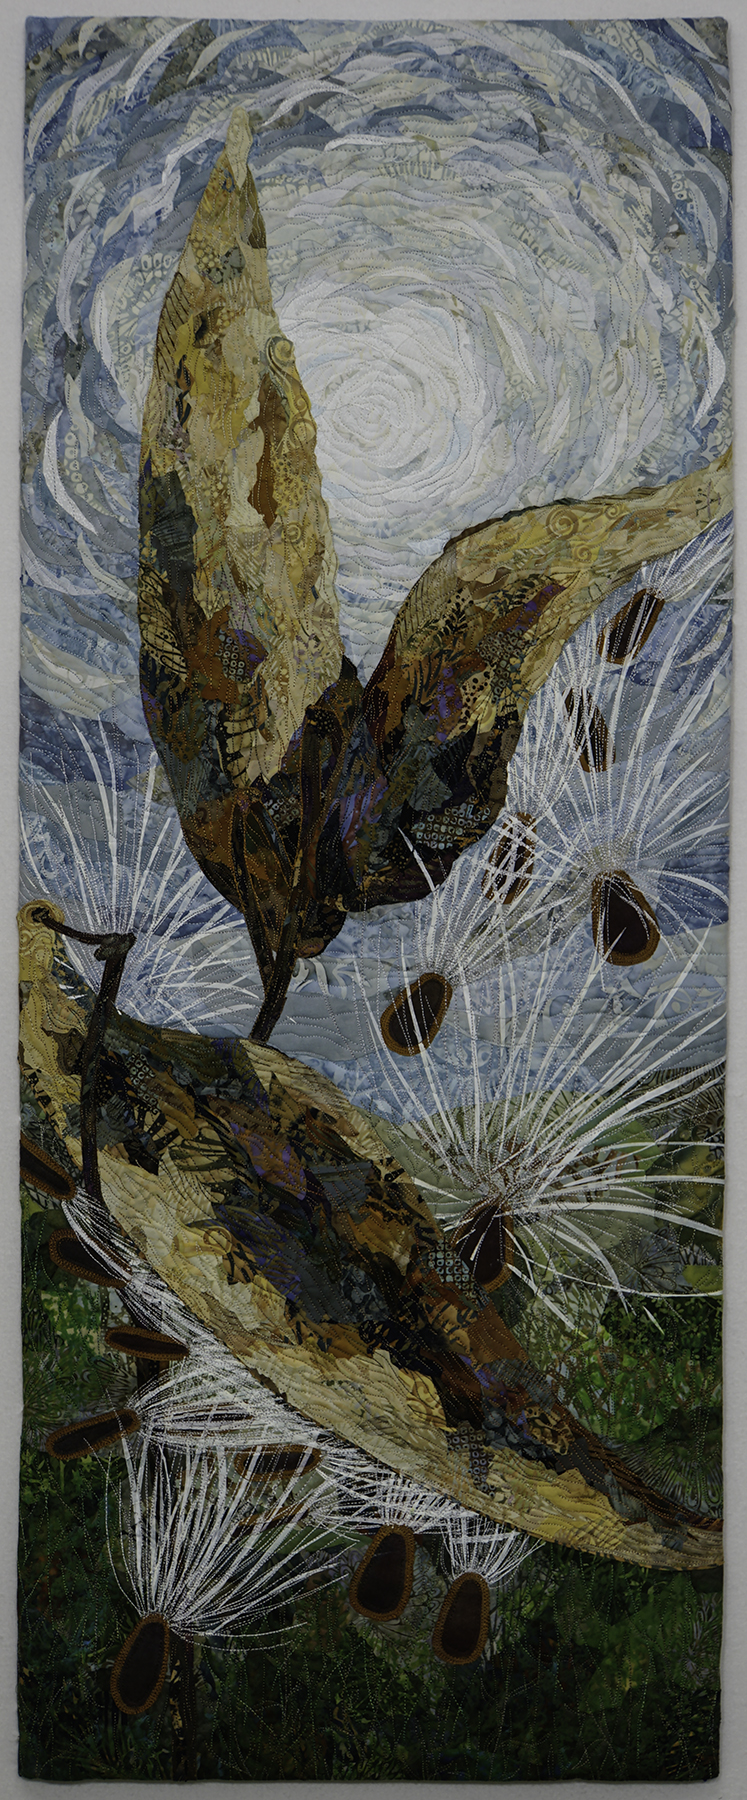
Dinner@8 Reflections exhibit:
Inspired by the Beatles exhibit:
- Two of Us (blogpost here)
Fiber on a Whim booth #144
- The Nest
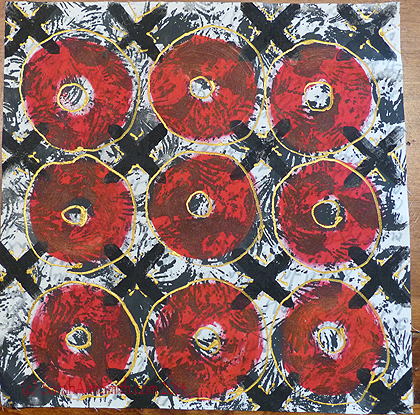
- White-Gray-Black-Red-Gold artcloth
See you in HOUSTON! WOOOOOOHOOOOOO!!!!!