email Youtube

Home
Galleries
Blog
Workshops & Calendar
Store
Resources
About
Contact

Archive for the ‘Traditional quilting’ Category

Piecing tips from the art quilter!

Saturday, September 9th, 2023

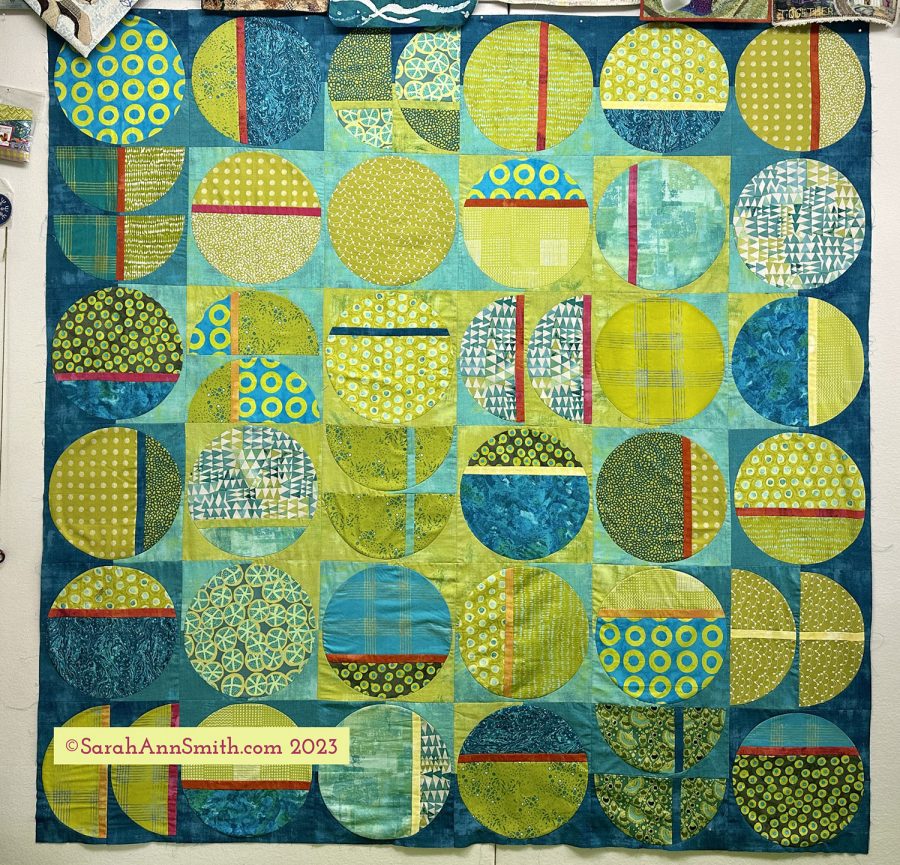
First, hi everyone and welcome to new readers!  I’ve actually been piecing…set-in circles no less!   Above is the 74″ square top.  Each block will finish at 12 1/2 inches.  I used Latifah Safari’s 12″ Clammy to cut the circles, half circles and the corner quarter squares.  Her instructions have you cut the outside from a single piece of cloth, but in addition to wanting to mix up the colors I felt that used too much yardage.  I do have a nice stack of the background fabric “pumpkin seeds” from the leftovers to use in something, though!    Need a title…not Crop Circles! Going in Circles?  Nah… maybe Hither and Yon? My newsletters readers have come up with a few really good ideas… I’m narrowing in on a title but Help me here! Suggestions welcome! And if you’d like to get my newsletter, look in the menu bar on the right of the blog page (or at the bottom of any other page on this site) to sign up.  If you live outside the US or prefer privacy, when it asks for a zip code just type in 12345 as a place holder–it works.

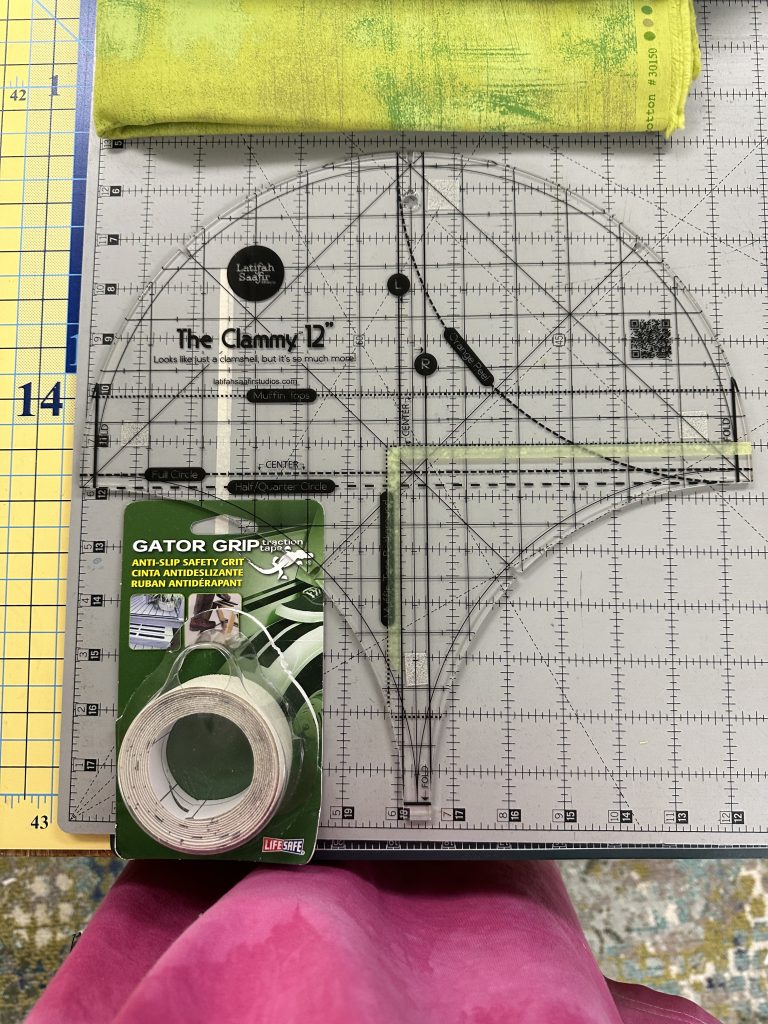
#latfahsaafir ‘s clammy and some grip tape made cutting the circles easy peasy!

I love many modern quilts because of the large scale of the blocks (for a graphic impact rather than ease of construction, though that is a bonus too), the room for quilting and/or the use of straight line quilting, the color and, frankly, for a change of pace.  I’ve also fallen for Latifah Saafir’s Clammy and Muffin Top quilts so I bought both the 8″ and 12″ templates.  What I didn’t realize is how incredibly versatile her templates are, allowing you to make clamshells, half circles, muffin tops (about a generous 1/3 of a circle), quarter circles, background pieces, pumpkin seeds (that elongated football shape you see in the top right, and all the really useful markings to cut on the fold, add seam allowances and what not. In going to collect the hotlink for you, I noticed she has bundles that save on cost and also some seconds that are less expensive.

You can see that I used highlighter tape to mark where I needed to cut for my background.  Her instructions have you cut a square, then cut from the square for the clamshell or circle.  That gave me more odd leftovers than I wanted, so I cut the circle from the edge of my fabric and then cut four corners so I could mix up the background as well as save on scraps.  Still, I’ve got a use for the leftovers….stay tuned (probably in a year LOL).

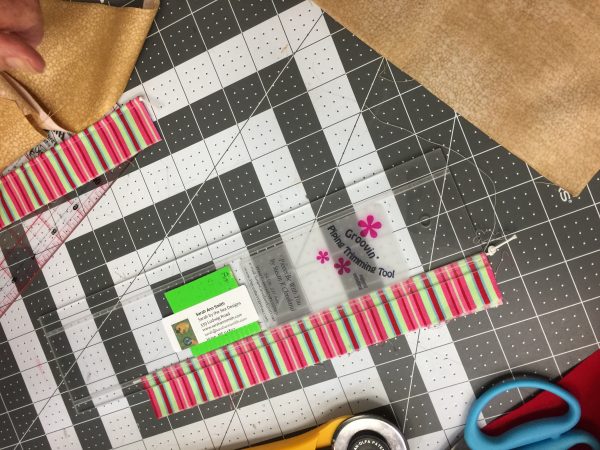
A longarmer recommended the Gator Grip tape to me; got it on Amazon to use for ruler-work machine quilting rulers, but it works for cutting rulers too.  I found that I wasn’t able to hold the template without making it slip sometimes, so I cut four small squares of the grip tape.  You can’t even hardly see it in this photo.  See the next one for a close up.  I LOVE THIS on the templates! You can still see the lines on the mat beneath the clear grip tape.  It works better than the sandpaper dots and other products I’ve tried, and a roll of this stuff will last forever.
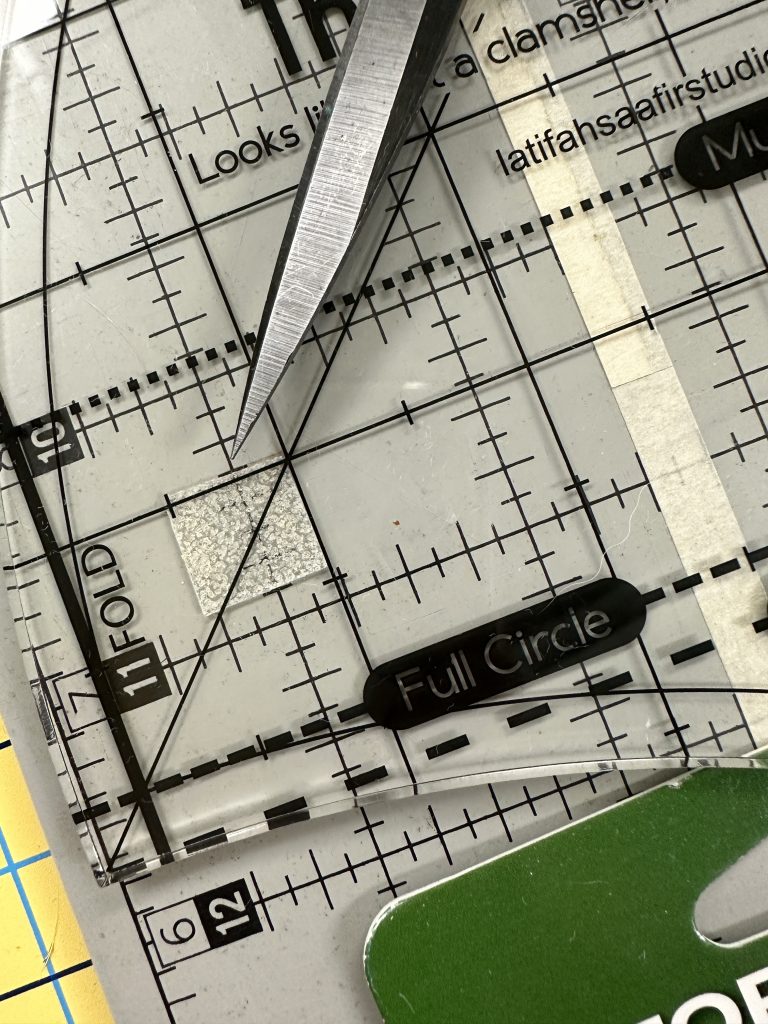
The scissors are pointing to the 1/2″ square of grip tape on the under side of the ruler. You can even (slightly) see the markings on the cutting mat through the tape! Also notice the helpful makings on the ruler for various extra ways to use the template for cutting things other than a clamshell.

Cutting and Precision

Let me just say “perfectly precise” are two words that have never been used to describe my work.  But I am trying and learning.  An online master class in International Quilt Festival’s Virtual Festival  (it was in either December 2020 or 2021) with Philippa Naylor showed me I really COULD be precise if I tried. First, slow down.  Second, cut as carefully and precisely as you can.  If the pieces aren’t exact, then nothing else will be!

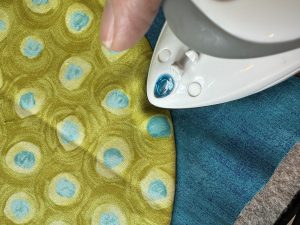
Pressing is also super important.  To avoid tucks when pressing seams to one side, use the tip (or toe if in the UK) of the iron, NOT the side of the iron. Astonishingly, it really is more precise at getting the entire fabric pushed away from the seam without an inadvertent little fold or tuck.  Sometimes, though, it is better to press seams open, and that takes a bit of learning when and how.  I’ve taken Philippa’s online Garment Makers’ Question Time workshop, and think in a year or so (if/when I get caught up on everything else) I may take her Quilters Question Time, even with as many years of quilting as I have–egads coming up on 33+ years!
It’s amazing how nice and a FLAT I got the blocks–precise cutting, careful sewing, smart ironing for the win!

Use the tip/toe of the iron to press seam allowance–here the allowance is under the green fabric.


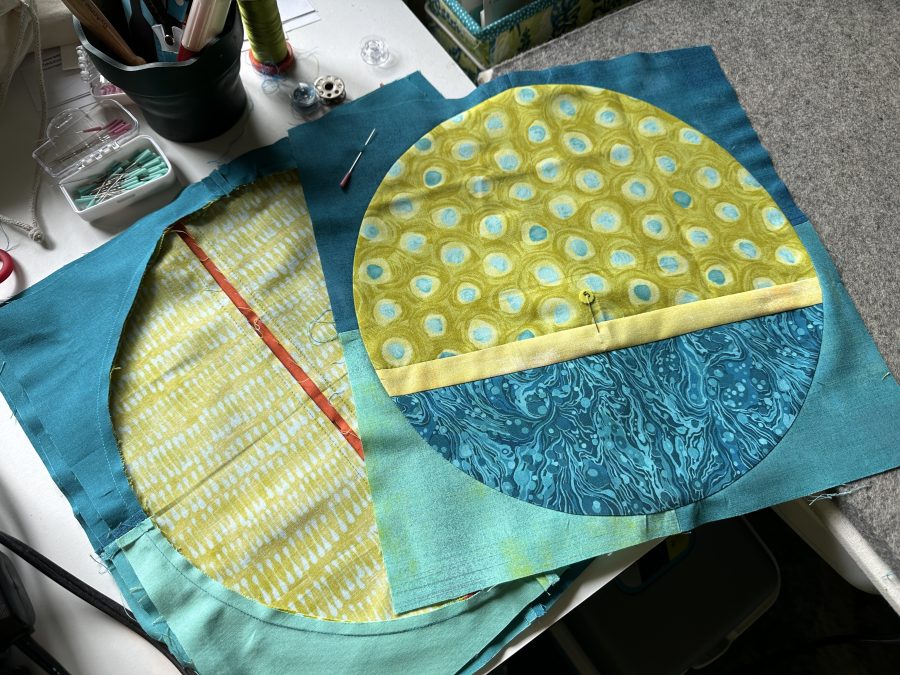
  • Stitched blocks front and back.  I used my alphabet and number pins to keep track of column and row.  I placed a pink pin (Taylor Seville’s Magic Pins…the pink are the LONG ones) in the top left background quarter to help me keep track of placement.  The letter/number pins are pinned vertically with the flower toward the top of the block, also to help me remember which way is up. Pressing:  the background sections are pressed open.  The stripe inserts are pressed under the strip.  The background goes under the circle.
  • Front and back of the blocks. Although the cross-cut on the circles creates thicker bumps, I opted to press under the circle to “raise” it above the background. Here you can see the top and the under side of two blocks.

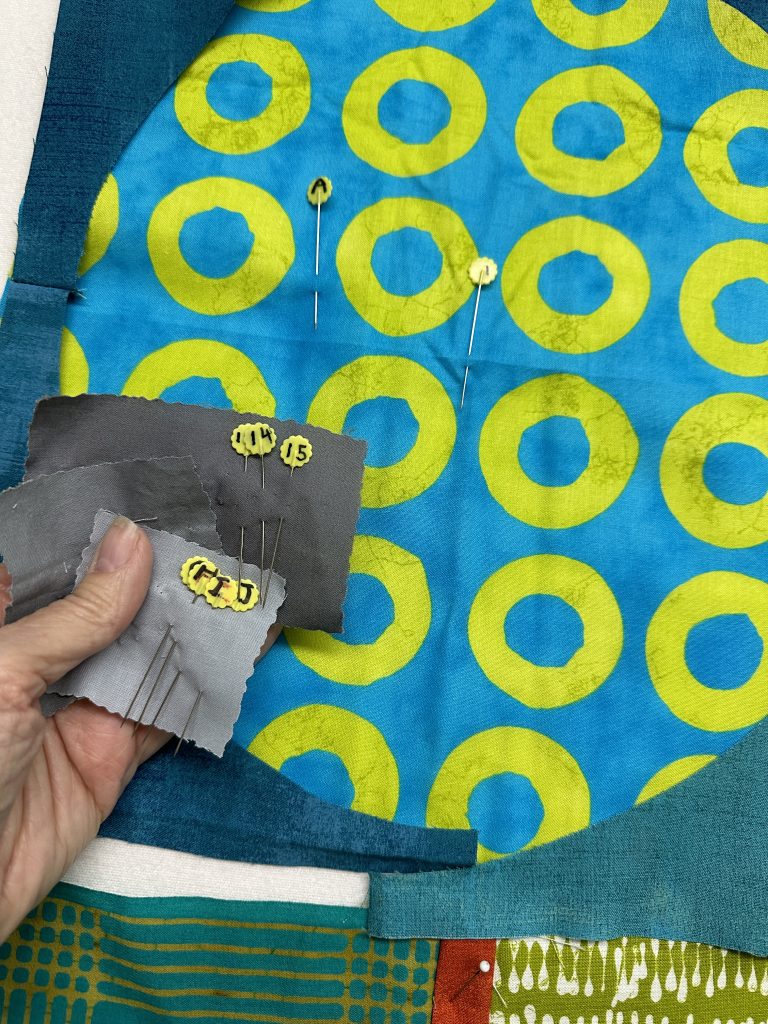
  • I used a Sharpie to mark A,B,C etc. on some flower head pins, and 1-12 on even more.  Each row is A, B, C etc., then each block going across is 1, 2, 3 etc.
  • My DIY numbered pins help me keep track of what goes where–and a photo on the phone is a MUST!

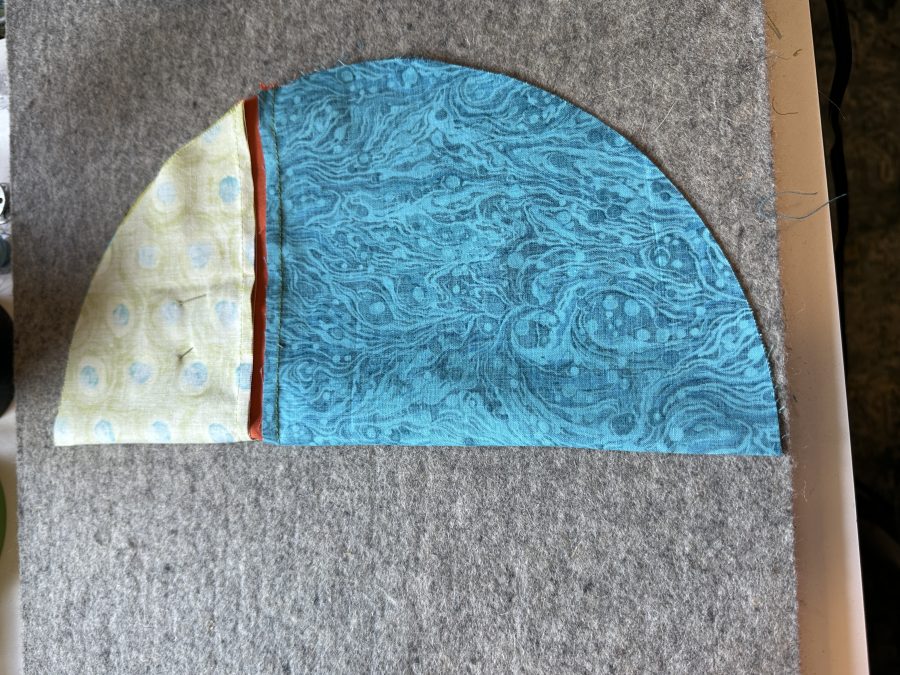
  •   Fold the circle in half exactly and press a crease on the edges.  Open it back up.
  • Fold circle in half. I am careful to align the strip so it folds directly on top of itself.

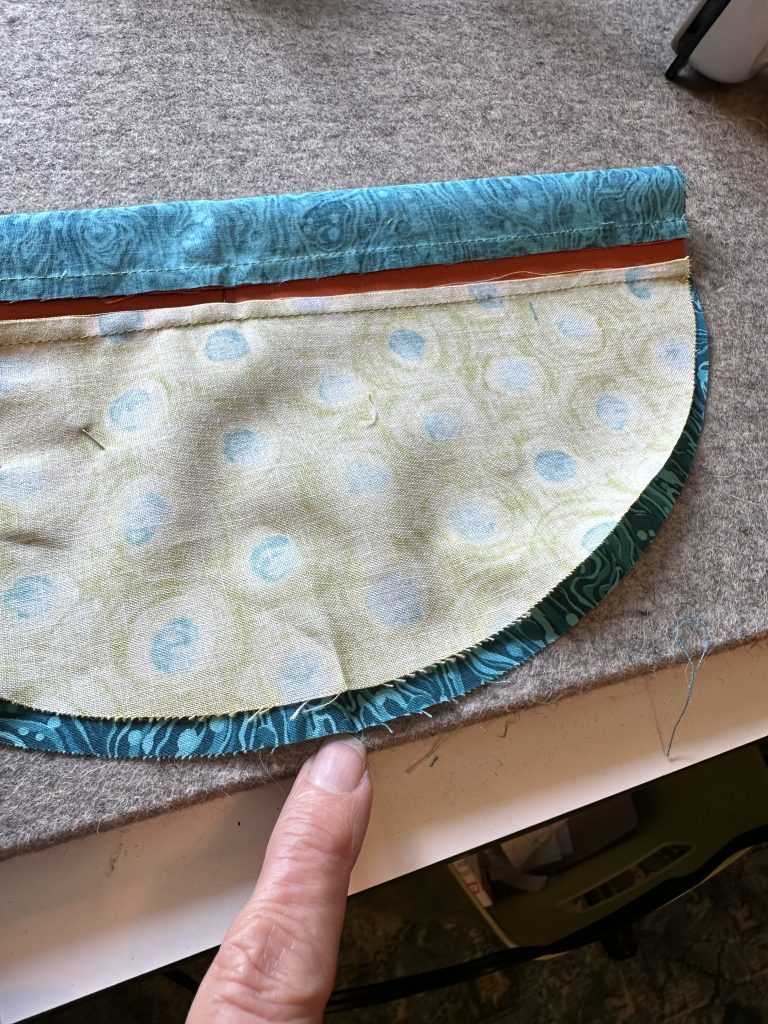
  • Turn the circle 90 degrees, fold in half the other way aligning the first pair of crease marks, then iron in the second set of creases at the fold.  At first I just quartered the circle and pressed, but I got more accurate alignment after I tried marking the spots in two steps.
  • align the creases you made (above), bringing the top all the way down–it’s offset here to show you the crease marks on both edges.

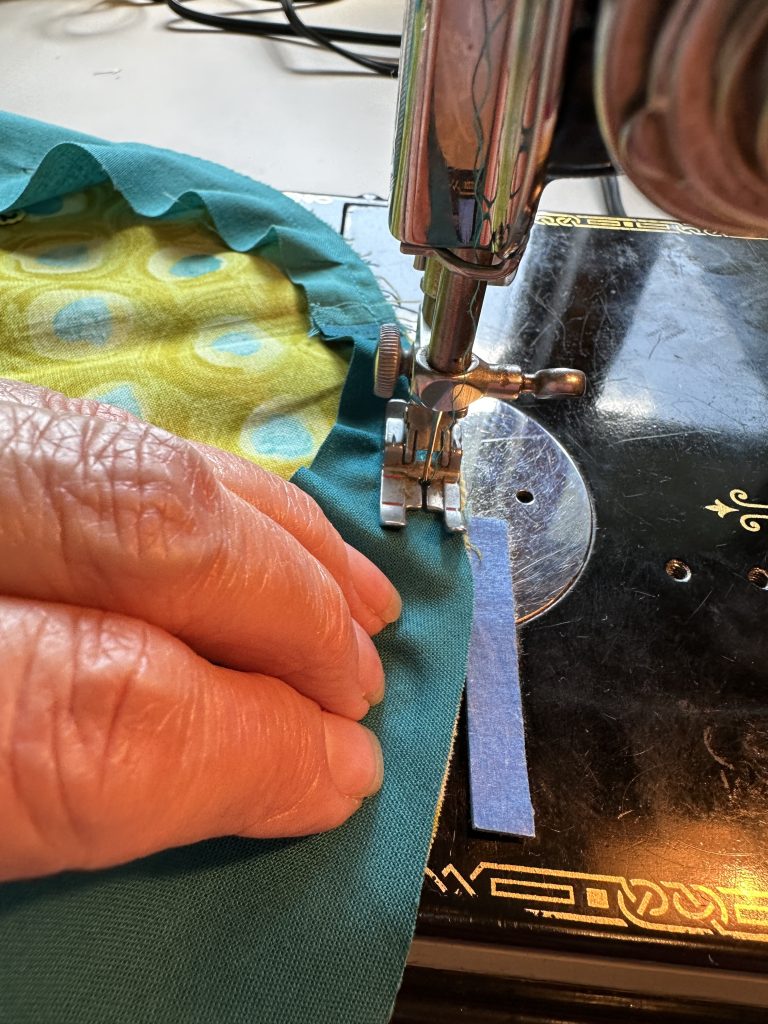
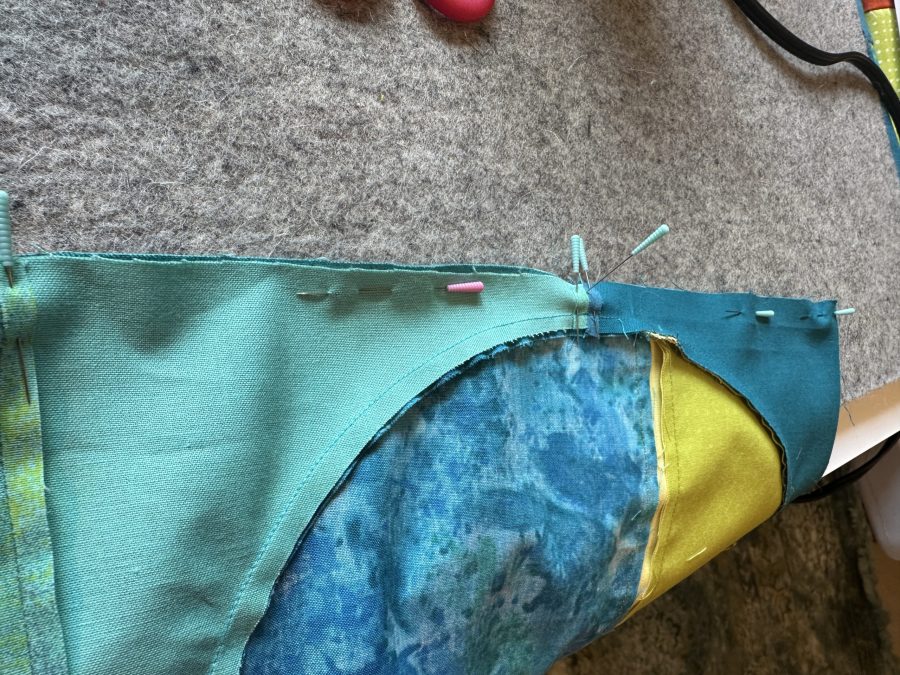
  • I pinned the background (sewn into a circle) to the center circle on the creases at the top, bottom and sides. In other words, the concave (innie) curve goes on top of the convex (outie) curve.  As I stitched I added a pin about  1 1/2″ before each of those pins–the fabric doesn’t ease in as well where the grain is closer to on-grain.  In the rest of the quarter circle arc, I use my fingers to ease in and hold the background in place.Being as accurate as you can at all steps helps!
  • This is a do what works best for you thing. I find that just a couple pins and using my fingers works better and more accurately (along with sewing reasonably slowly) than using a thousand pins.

In the studio I love my Zirkle magnetic pin minder, but this Clover magnetic pin “cushion” with a lid (that fits on the bottom when you don’t need the pins covered) is perfect for retreats and travel.
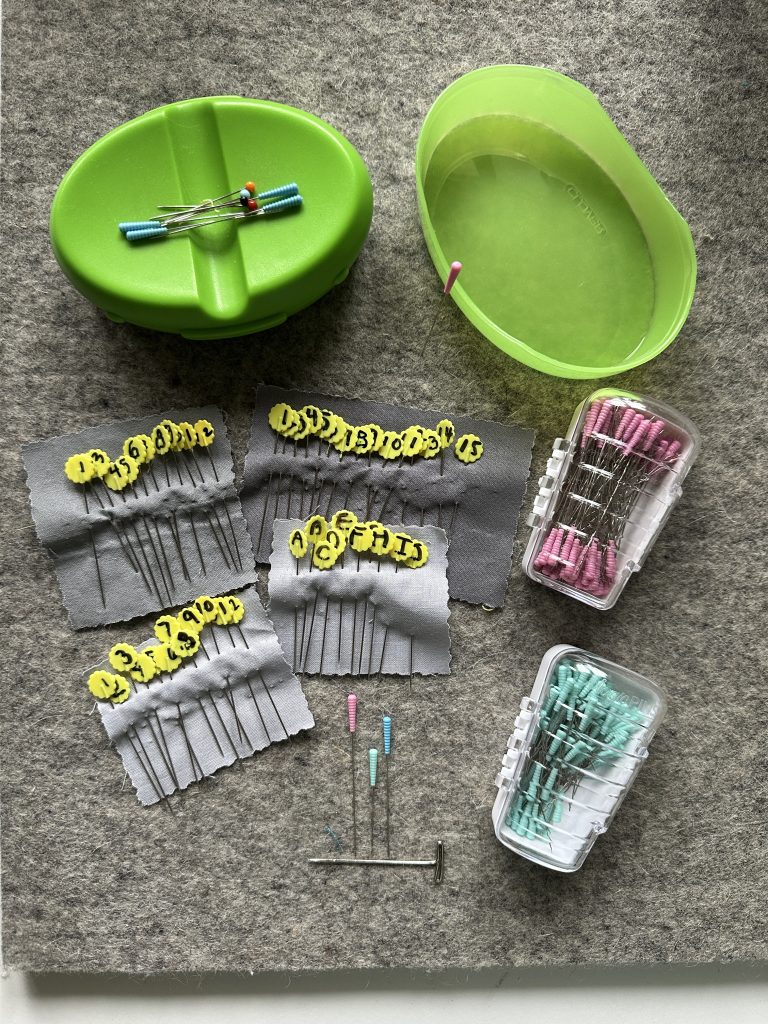
You can never have too many pins. For hand appliqué, you want them short so the thread doesn’t tangle. For machine piecing, I prefer really LONG so the head of the pin doesn’t get caught under the foot. ALWAYS pull the pin out before it reaches the needle–sometimes that maybe when it is one stitch away, but don’t sew over it. If you hit the pin you can knock the machine out of timing (expensive repair!).

My sets of homemade ABC and 123 pins are on the bottom, along with some of my Taylor Seville pins.  Taylor Seville reached out to me when I was teaching at a couple shows in the past year or so, and sent me some to try (I hadn’t used them before but now I do!) and more to share as classroom giveaways.  The pins come in different lengths and thicknesses.  The mint green ones are the shortest of the ones I have, the blue are a finer metal (makes pinning seam allowances open flatter and therefore sew up more accurately, but they bend more easily so choose your usages wisely), the pink are longer.  I prefer the longer as the grippy ends don’t get snugged under the presser foot.  Best of all, Taylor Seville is coming out with a BOX of ABC 123 pins with SLOTS for each one… no more pinning into cloth or having a muddled mess of pins….. I always figured why spend the $$$ when I could make my own cheaper, but that organizing box is Da Bomb!  Will be ordering as soon as they are available!  I saw maybe September 2023 for them…..

PERFECT intersections!  

Pinning is the key, with a big helping hand from seams pressed OPEN:

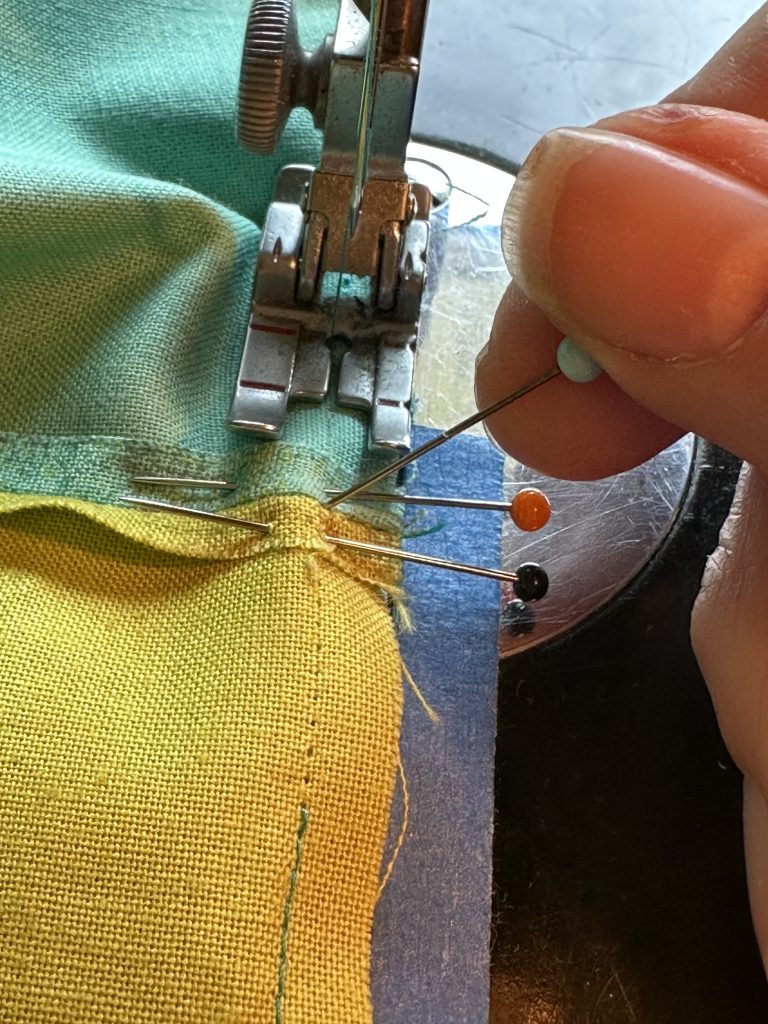
  • first, put one pin through the Very Center of the seam of the pieces on the top,
  • then poke that pin through the seam of the pieces on the bottom.

LEAVE the pin in the seam vertically–don’t bend it sideways or “pin the seam.”

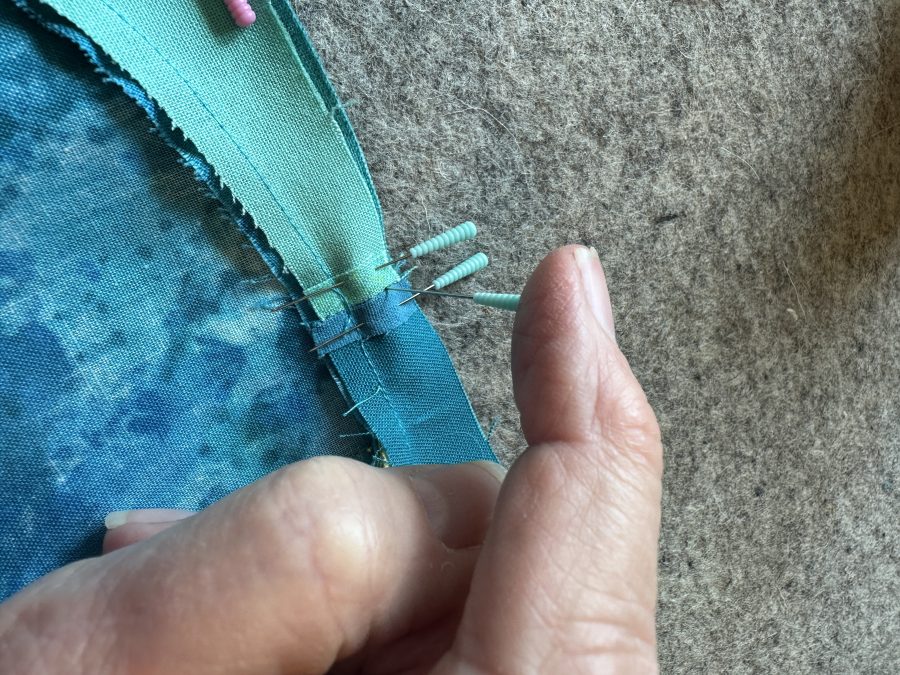
  • Place two more pins in the seam allowances on both sides of the seam.

The pin through the seam stays poking up!

  • Slide the fabric under the presser foot and try to keep the vertical pin in place.

In the photos, below, you see that at a certain point you need to let the vertical pin pivot out of the way.  The photo on the right shows me holding the pin still IN the seam to keep it aligned until the very last moment.
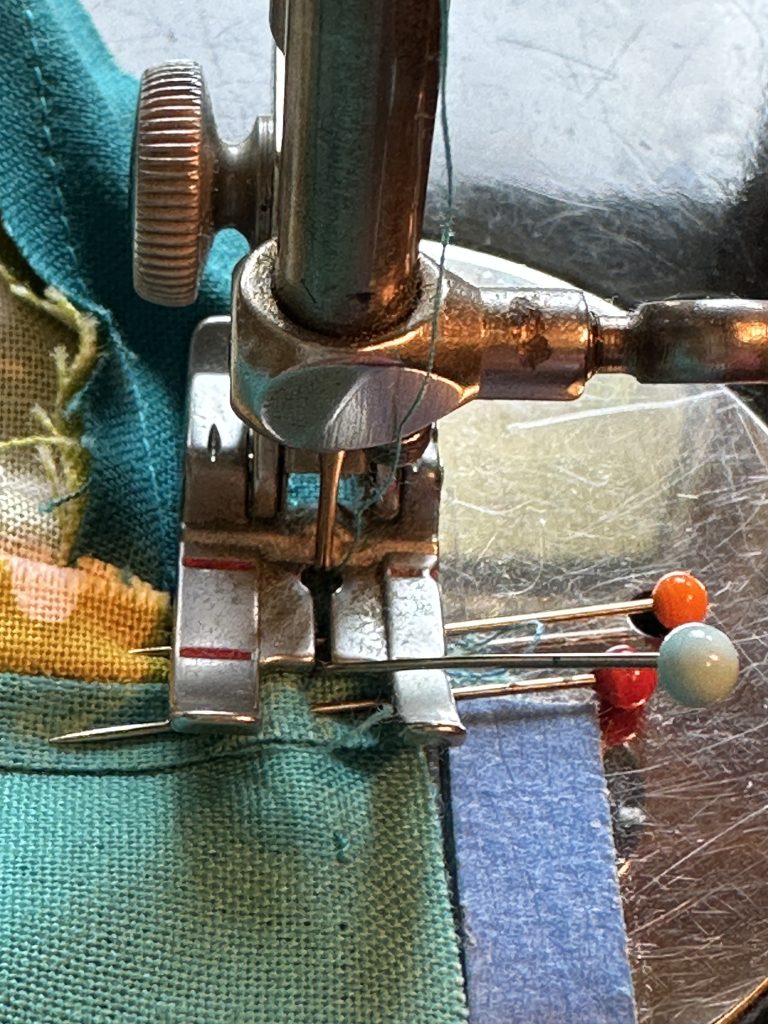
Sew SLOWLY when you approach all those pins. The finer the pins (in this image I’m using glass-headed pins that have a thicker shaft -metal part). The thinner the shaft, the more flat the fabric remains and the easier it is to get a perfect match. The drawback to finer pins is they bend more easily. Do what works for you. For me, I’ll sacrifice a few pins (and use them bent for a long while too) to get flat and perfect and not have to rip out and re-do.

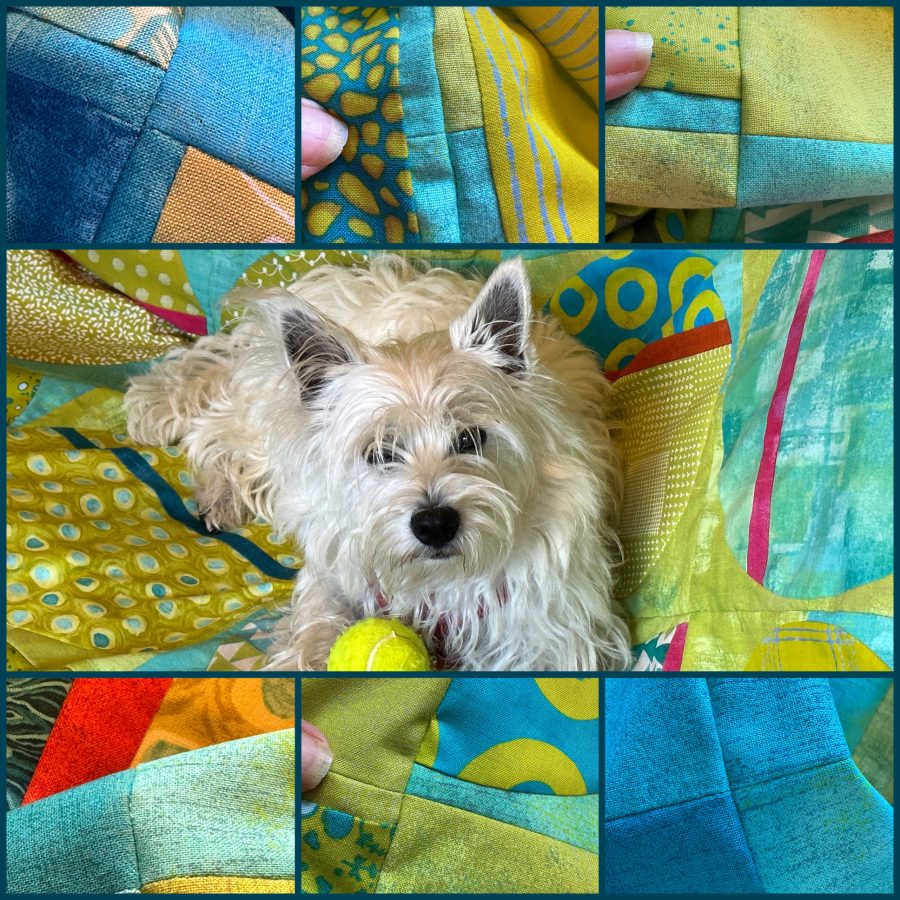
I counted up on the horizontal seams that joined the rows (see top photo) and counted about 50 intersections.  I only had to “fine tune” (i.e. fix) three, and even before fixing the perfect match was off by only a thread of two!  Since I am nowhere near a perfect or precision sewer, that is nearly a miracle!  I mean look at the next photo…SWOON!
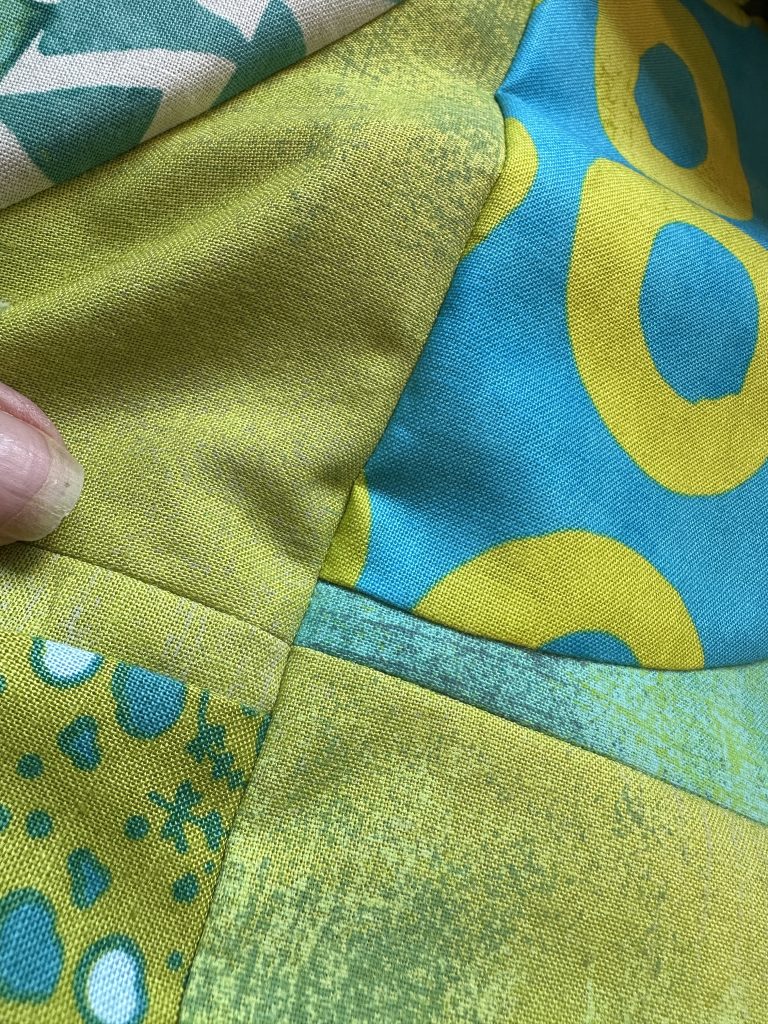
Since I wrote my newsletter, I got the backing made from leftovers (hooray…about 2″ of stash used up…sigh…..).
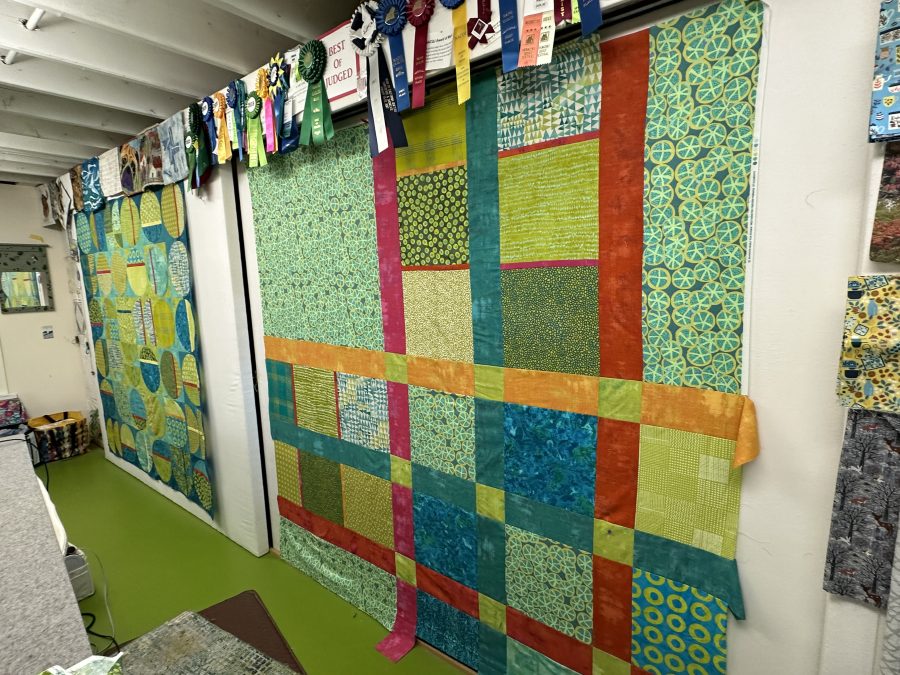
I LOVE my long closet. When we moved in in 2011, this room was awful and unfinished. I had a carpenter make me sliding design-wall doors and I love them. They hide clutter (teaching stuff, storage for mixed media, paper, ribbons, etc., and all my quilts, rolled). Use the search box at right and enter “state of the studio” to see the transformation pictures.

And because we all need cute AND perfect intersections in our lives, I’ll close with Percy, who hopped up on the top the instant it was done to approve of the design!

#thetalesofpercivalwulfric

Winding Ways: quilt and done!

Saturday, August 29th, 2020
Good tools (AccuQuiltGO!), good fabric (Michael Miller Fabrics), good thread (Aurifil), good machine (Janome Continental M7), and some experience, and you can do a lot! This return to my quilty roots just makes me happy!

Over the course of the year I’ve shared progress on this quilt:

  • First, there was learning to use the AccuQuiltGO! which I blogged about here. It was a different block, but the easy applies.
  • Then there is the PIECING of CURVES: see the blogpost here or go directly to the video on my YouTube Channel here.
  • Now there is the quilting video (that covers a couple other things), embedded below and share-able on my YouTube Channel here.

Full disclosure: I have proudly been a Janome Artisan since 2003, and this year am a Michael Miller Fabrics Brand Ambassador for 2020. MMF provided the fabric and we were given, as part of being a brand ambassador, an AccuQuiltGo and several dies. To my surprise I enjoyed the process so much I have purchased both the Winding Ways and Crossed Canoe dies. Stay tuned for more!

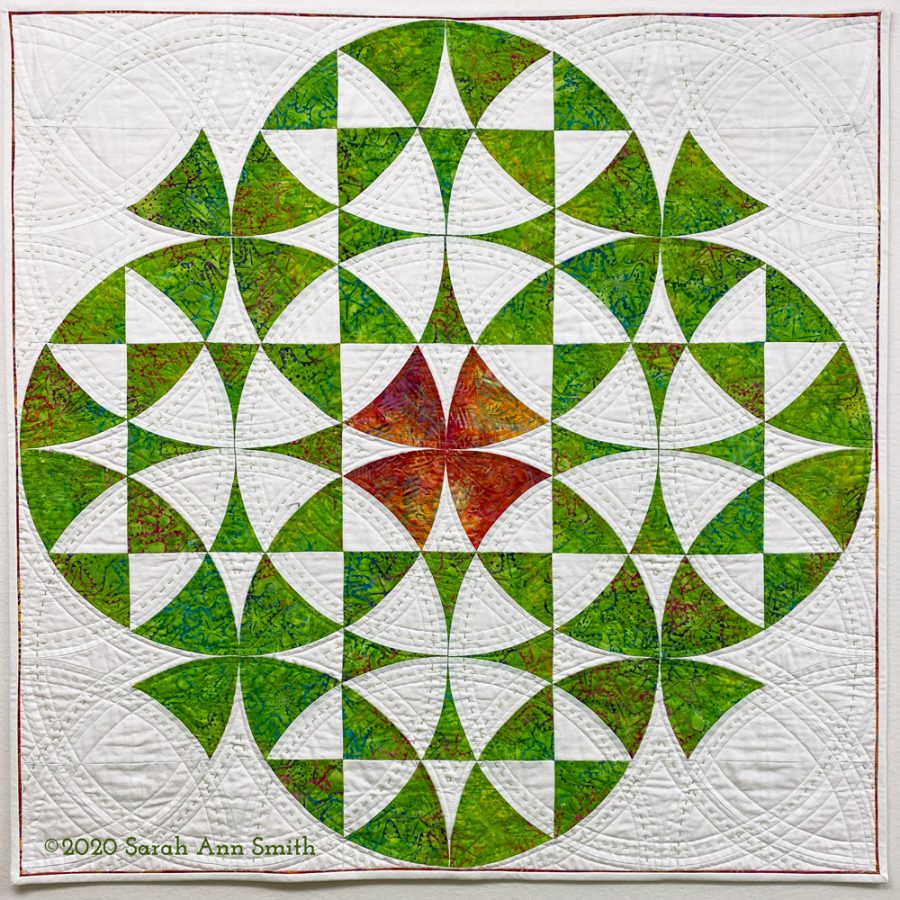
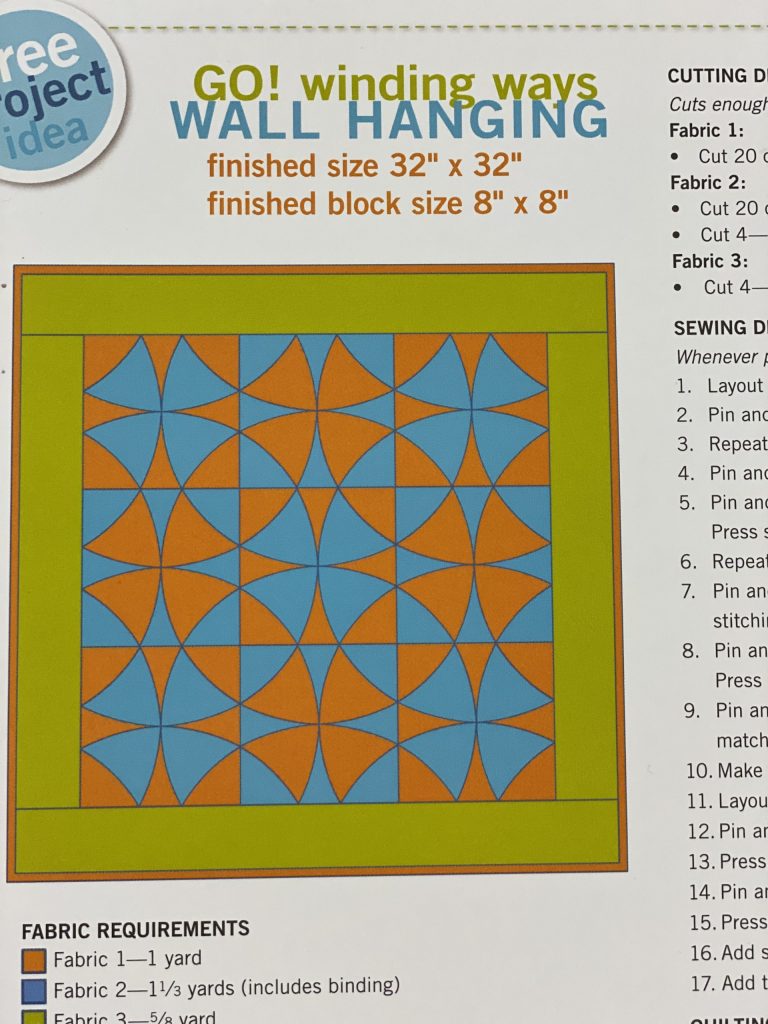
This is the die that I purchased to make the Winding Ways, which has always been one of my favorite traditional blocks. Click this link to see a blogpost of using the AccuQuiltGO (for another block, but it’s the exact same process) including a video.
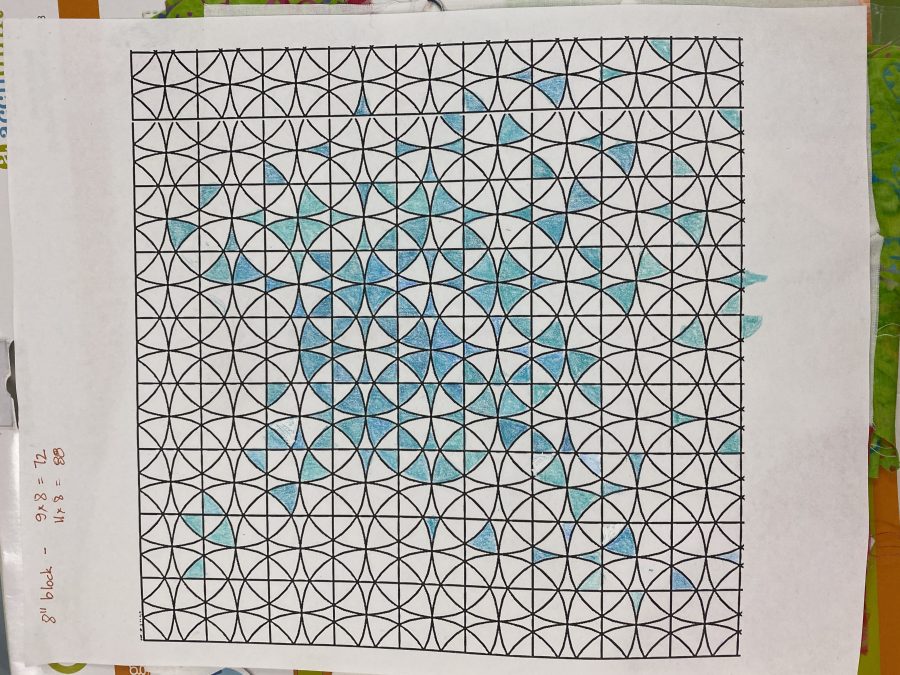
I found this design somewhere on the internet and printed it out to mess around with a design for a future quilt! Stay tuned for a WANDERING Winding Ways! Using a grid like this can help you plan out fun color fades and settings.

Next came machine quilting. I worked on that a while back–I did end up teaching for the Mancuso Online Quiltfest in August and will do a Threadcoloring the Garden workshop in October! More info on that soon! In this video I’m practicing making a video, demonstrating at the machine, and it just happens to be walking foot quilting (fast! easy!) on my beloved Janome M7. Even if I had paid full price instead of being a Janome Artisan I’d rave about this machine’s wonderfulness! Their new slogan, Reliability by Design, is really true!
Then, the hand quilting and the finishing!

I haven’t done any hand stitching in a thousand years, but nearly two years ago I bought matching green thread from aurifil in piecing/light quilting weight and a heavier 12-wt that is about the size of a light perle cotton or 6-strands of floss. I LOVE IT…and it went so fast! I can remember clearly sitting on the porch in early summer, something to watch on the iPad, stitching away.

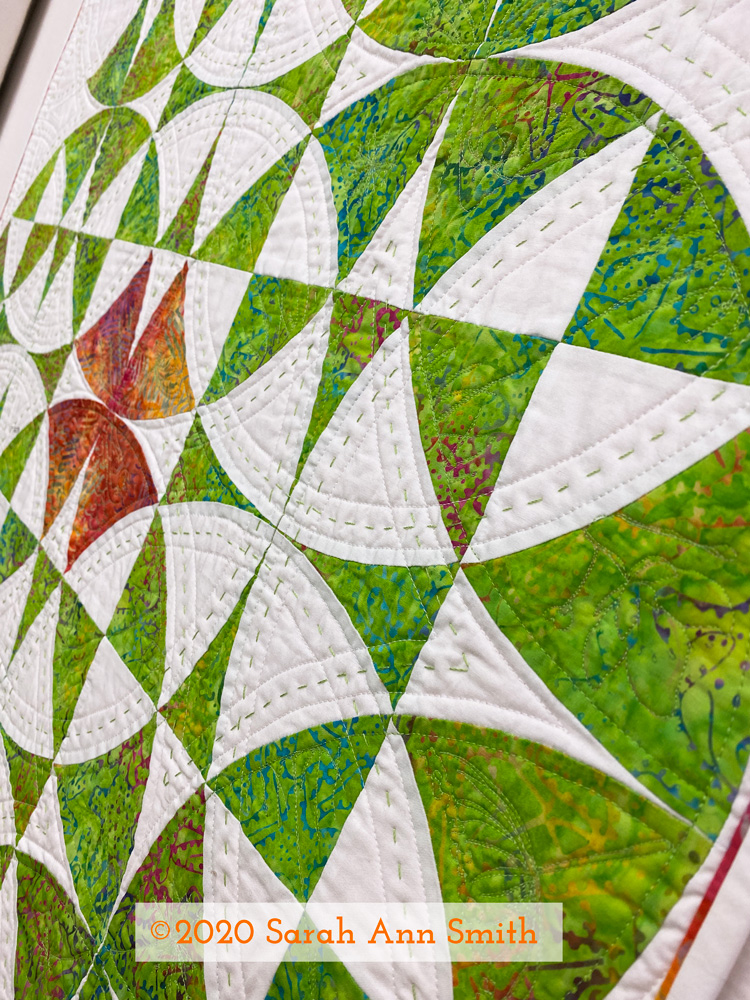
I just love how an angled shot shows the texture and dimension. I was surprised at how quickly the hand stitching went. I used the same green color of thread on the green parts for machine quilting as the green in the heavyweight Aurifil thread.

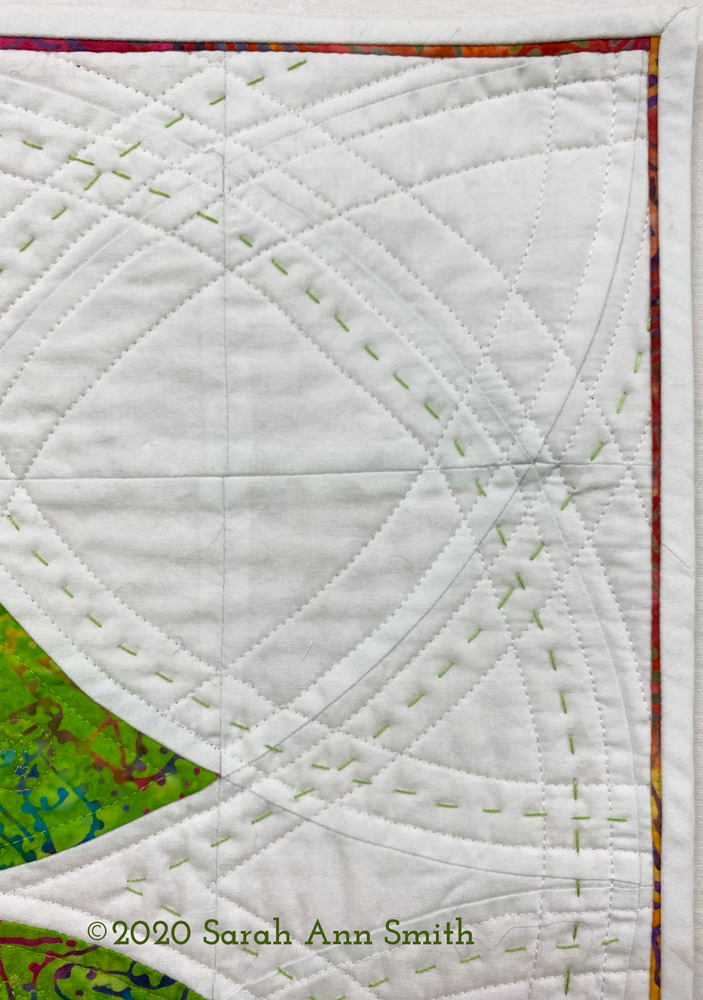
I wanted to repeat the orange batik in the center on the edges, but using it as the binding was too much. I instead inserted a tiny stitched down “reveal” that is a scant 1/8″ just inside the white binding. Can I also put in a plug for Michael Miller’s Cotton Couture solids? The quality of the base cloth is SO GOOD! And the consistency in color / dye lots over the years is really amazing. I dye fabric and know how hard it is to get perfect matches from batch to batch and it does.

Last but not least, those skinny inserts and perfect corners.

I taught the half day version of my bindings workshop at the Mancuso Online Quiltfest in June and may do so again in the new year. I am scheduled to teach and have an exhibit of my work at the Mid-Atlantic Quiltfest in Virginia in February, but at this point who knows if it will be in person or online! I promise I will teach the bindings (full or half day) again in the new year online, just need to figure out when. My students in June had GREAT results online so it works online too!

Anyway, I hope you’ve enjoyed my 2020 detour back to my quilty roots. Coming soon, a new art quilt!

Piecing Curves…it is possible even for me

Monday, August 3rd, 2020
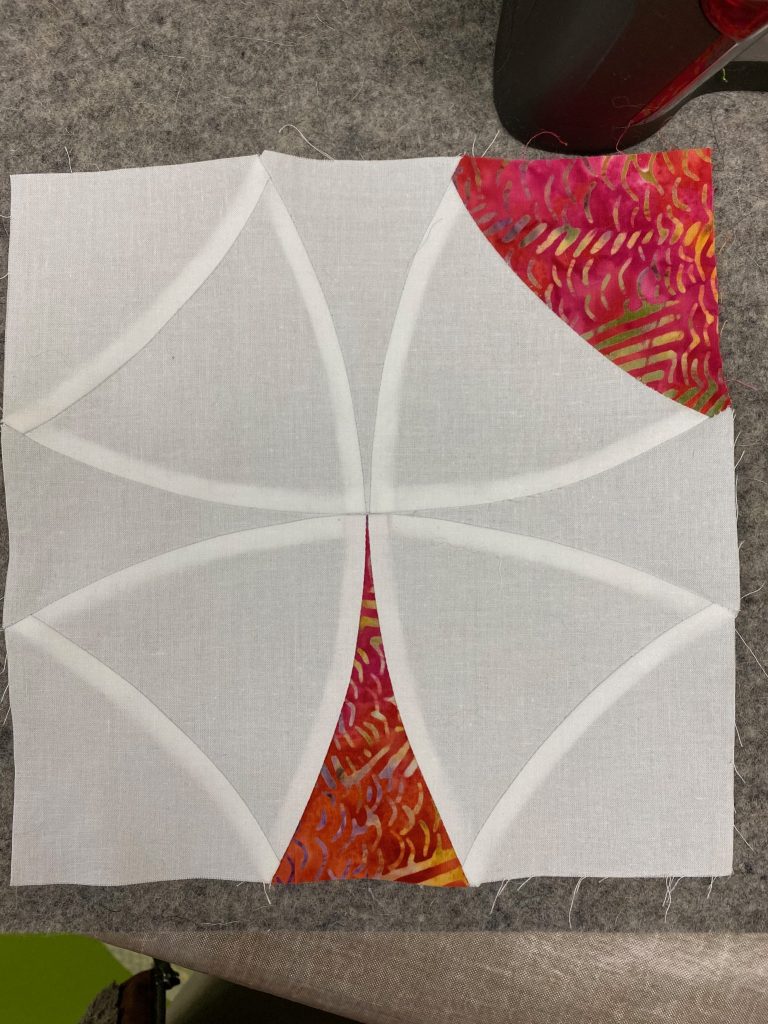
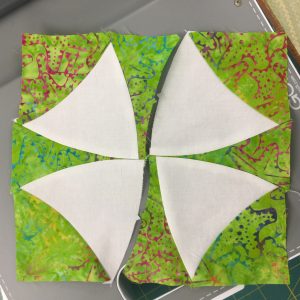
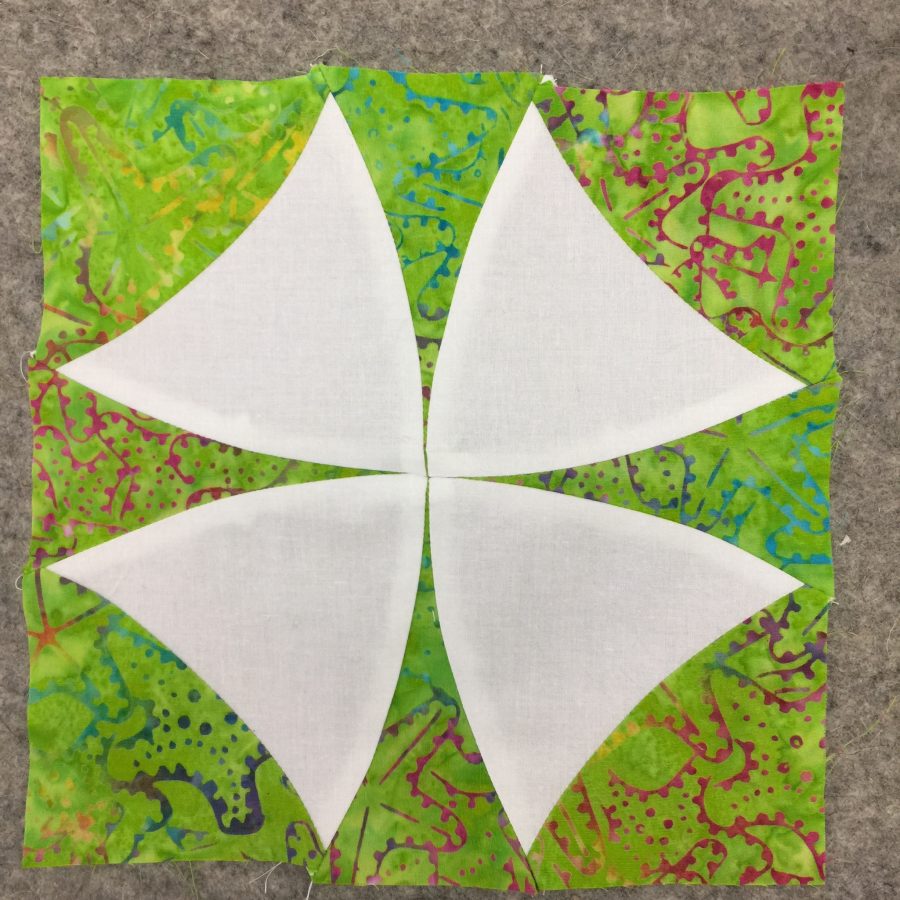
Whoo-eeeee! Lookit those perfect seams… this was my second block, and I think it looks pretty durn good for someone who doesn’t really piece a lot! There are a few MINOR things I can fuss at (like the seam allowance on the center top spike is a skosh wide and the upper left corner edge isn’t perfect, but still! Fabrics are batiks and Bright White Cotton Couture from Michael Miller Fabrics.

Precision piecing has never been my strong suit, but I am — like Michaelangelo at age 80 — still learning. One of the things I’ve learned is that it is OK to use specialty tools like the AccuQuiltGO! and byAnnie’s stiletto. Thank you to Michael Miller, for whom I am a Brand Ambassador this year) and Janome America for having me as an Artisan. For me, careful cutting for squares, rectangles and triangles isn’t too TOO challenging (as long as I’m paying attention which is never to be take for granted LOL). But CURVES? Not so much.

Back in May, I shared a video that tells yo about the amazing (Heavenly Perfection?) HP presser foot and throat plate, herhttps://www.sarahannsmith.com/weblog/?p=13206e. If you have a Janome with this option and haven’t tried it out, DO! Go watch the video… it’s a brief but I hope helpful mini tutorial. The video is also on my YouTube channel, here. I’ve been doing a bit more with brief videos…looks like about one a month. I’ll have another later this month about using the blind hem stitch for some slacks I made–you can subscribe to the channel.

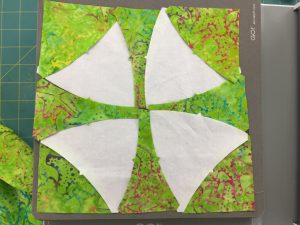
After cutting using the Winding Ways die (requires the AccuQuiltGo or similar cutter, too), I laid out the blocks to see how they looked (and to make sure I had enough of each shape).
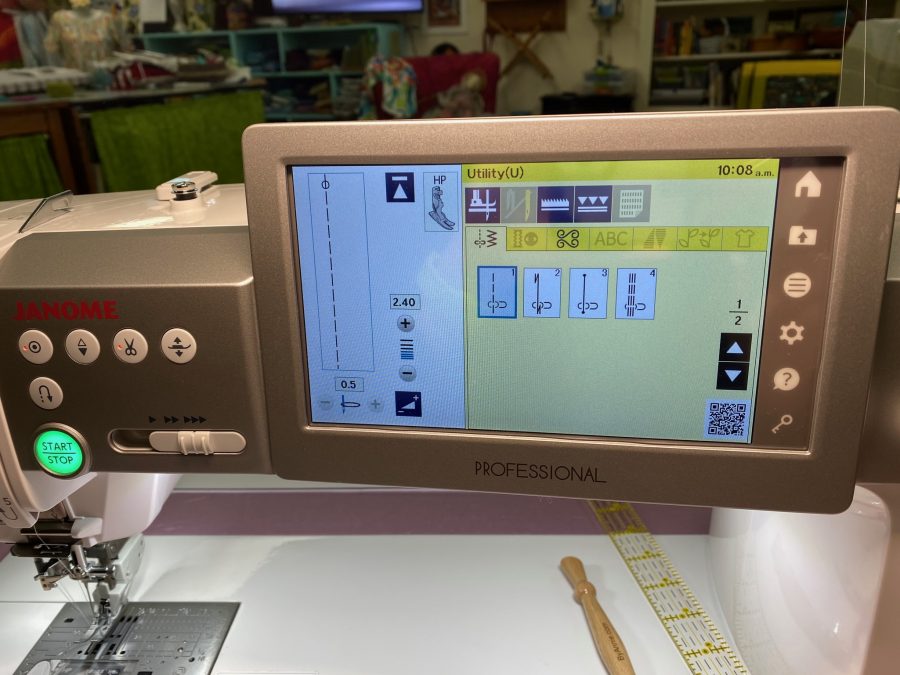
Here are the settings on my M7 for the HP foot which helped me get such amazing accuracy and careful piecing. Slowing down helps, too. Ahem.
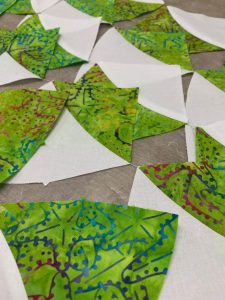
First, I cut and assembled segments.

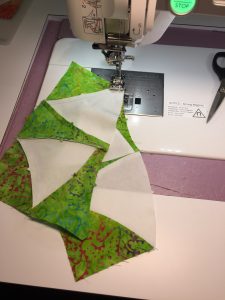
Here’s a quick video of me using the oh-so-wonderful HP accufeed foot and throat plate from Janome, on my M7. Thanks to Kimberly Einmo who shared her love of this accessory at the 2018 Janome Education Summit! Like I said…there is ALWAYS more to enjoy learning.

The stiletto from byAnnie.com is here.

Sub-units created
Following the assembly instructions that come with the Winding Ways die, you press seams in specific directions and create and assemble sub-units in a specific order.
Then you get as close to perfection as I am ever going to get! There is still some fine tuning I need to do (meaning the dreaded P-word: PRACTICE) to get the outside edges straight, but I mean really, look!
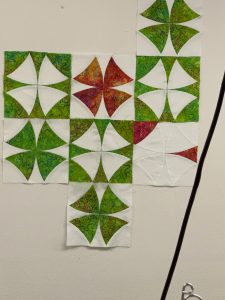
Here’s my Winding Ways on the design wall, considering various settings. I ended up going fairly traditional…I’ll share “done” in a week or two.

Hope you’ve enjoyed my detour from art quilting. I’ve actually needed a break to recharge myself, and this has been DELIGHTFUL. I’m thrilled with the finished quilt… will post it in about a week or so.

Full disclosure: I’ve been a Janome Artisan for 16 years, and am forever grateful for their support and machines. I’m a Michael Miller Fabrics (MMF) Brand Ambassador for 2020; the batiks and white fabric were donated as part of that ambassadorship. The AccuQuiltGO! was a GIFT (!!!!) as part of the MMF thing, and I purchased the Winding Ways die once I realized that wow, I could USE this machine! Whooda thunk it? Well, I should have. Having FUN! And lastly, thanks to byAnnie.com; their donations to the Teacher Goodie Bags in Houston one year netted me that awesome (and not expensive) Stiletto!

When to pre-shrink!

Thursday, January 23rd, 2020

Over the past week to two weeks, I have been working on ….sit down and prepare yourselves for this… a **pieced** quilt. Yes, me. A very simple pieced quilt, but nonetheless.

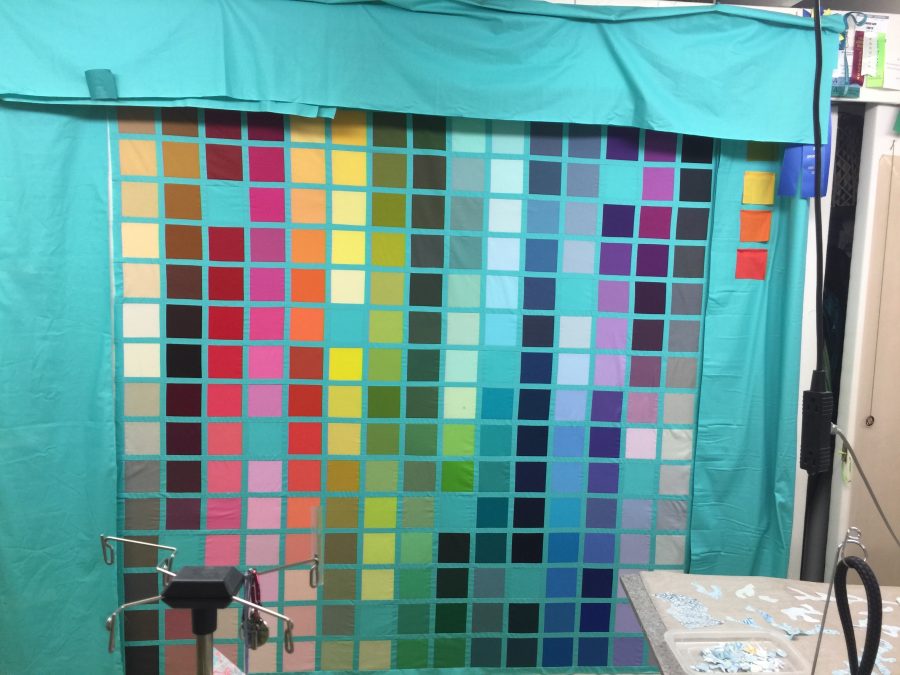
Eye-candy…my 214 colors, test-driving super wide borders with possible squares or rectangles. I’m going with nothing to distract from that glorious grid of color. Hopefully the quilting will make the wide borders look good. Want them that big so they will fit on a king size bed–we’ve got a queen but the pug takes up a ridiculous amount of room for such a small dog! The center is 72″ and overall I’m hoping for about 100″ square.

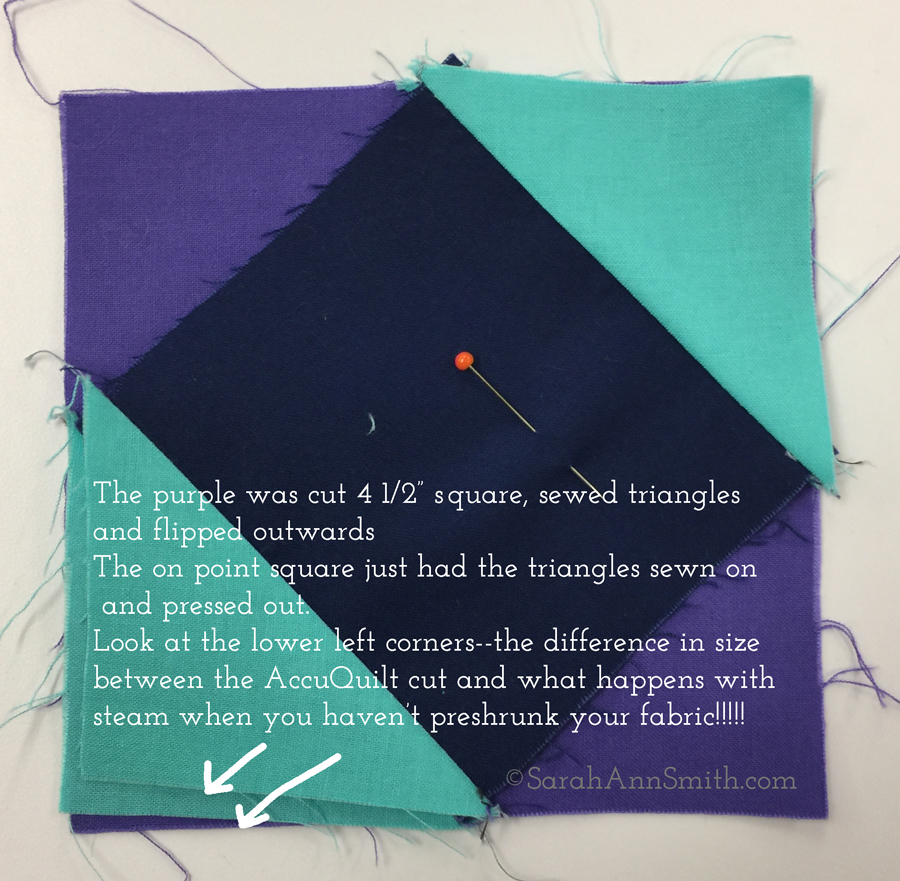
I’ve also been experimenting with the AccuQuiltGO! that was given to this year’s crop of Michael Miller Fabrics Brand Ambassadors. To my distress my block was not perfect–too small! I KNEW it had to be something on my end (it was), so I triple checked my seams (perfect to scant). I checked the size of the fabric cut on the dies: perfect. I checked that I used the correct dies: I did. Then I noticed something. After ironing, the block seemed off. Look at what I discovered:

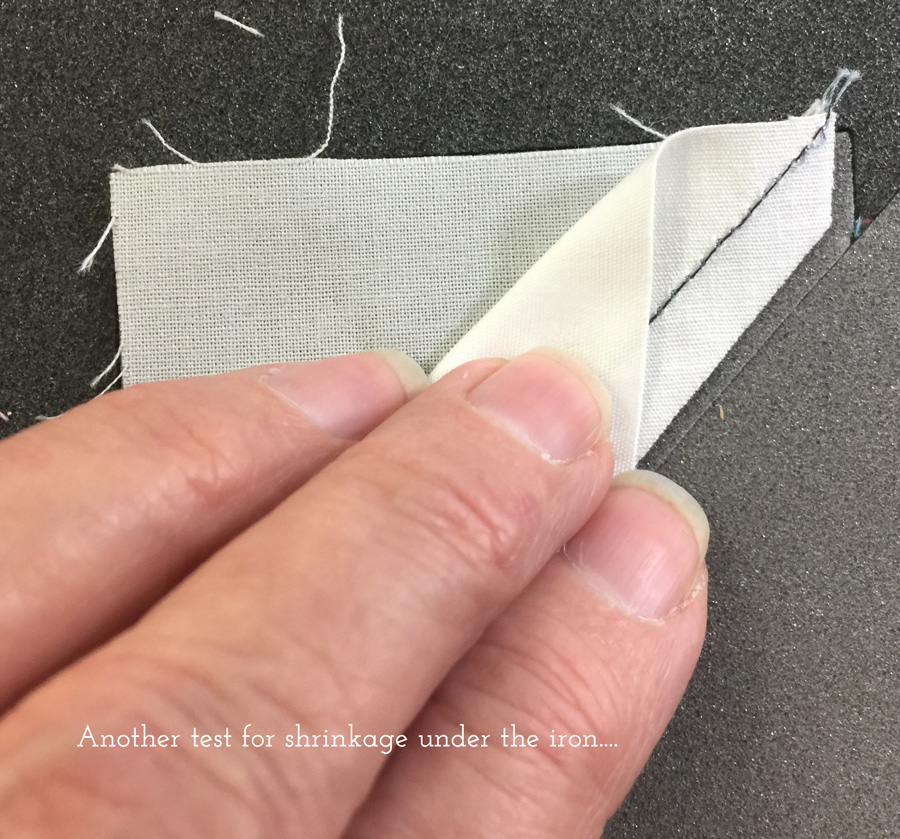
First I placed my half square triangles on the dies, and look how much smaller the pieces are after sewing and ironing! So then I checked the start of the square-in-a-square center of the block. Same thing: after steam ironing/pressing, a unit that finishes at 2″ and one that finishes at 3 1/4″ are each 1/16-1/8″ smaller!

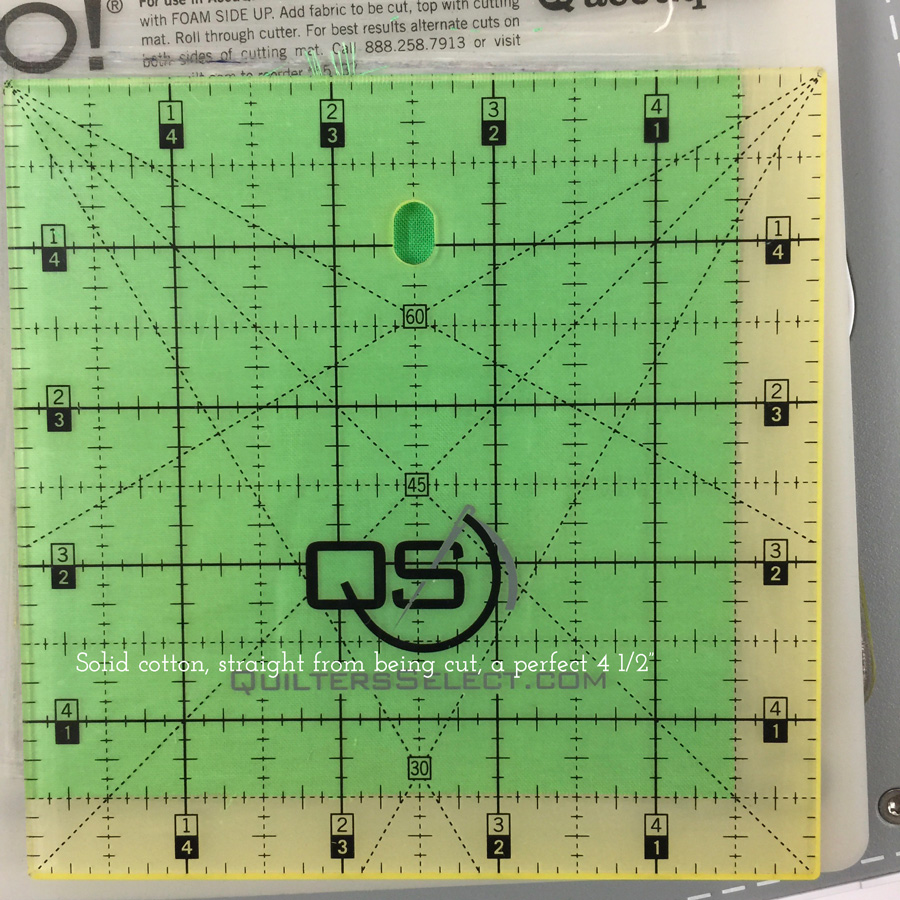
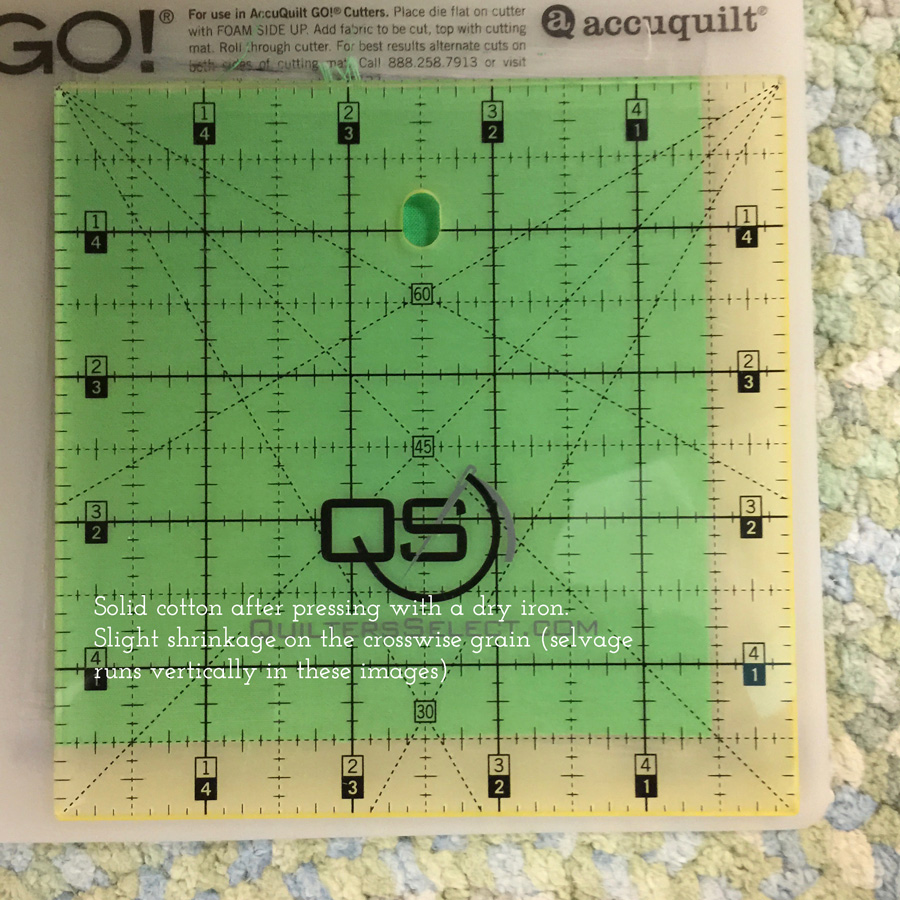
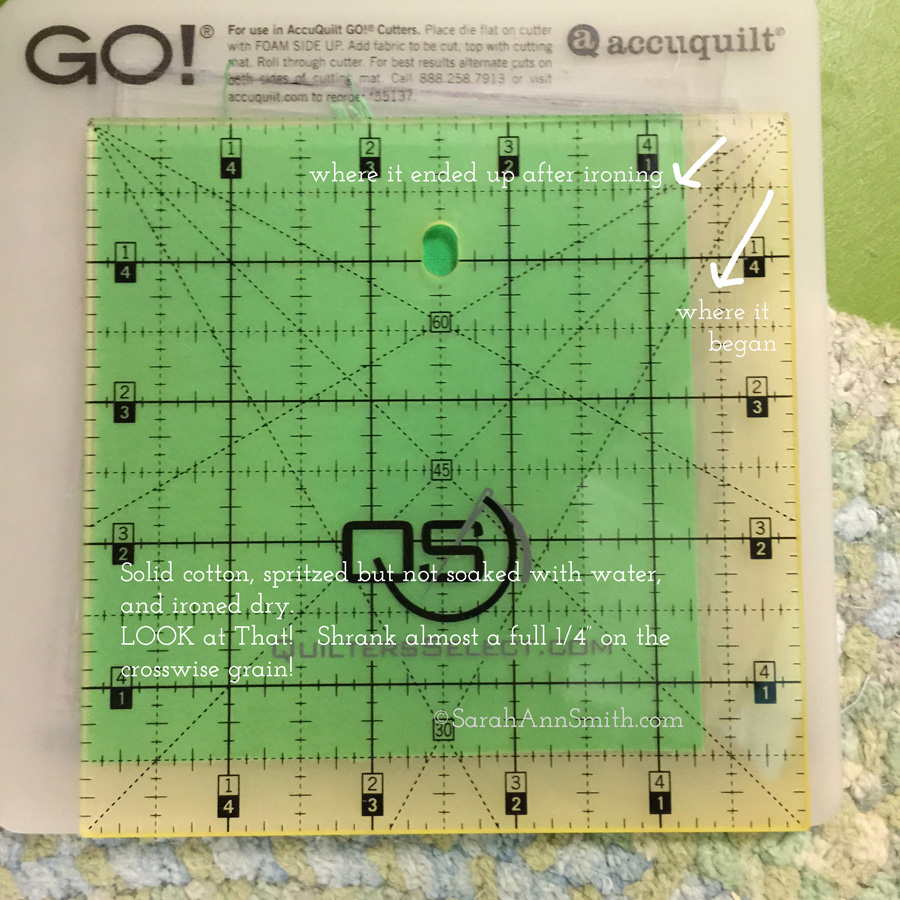
I decided to get a bit more scientific about it: Cut, measure, dry iron, measure, steam iron, measure. Here is what happened with the Cotton Couture, a delightful solid with a glorious feel in the hand:

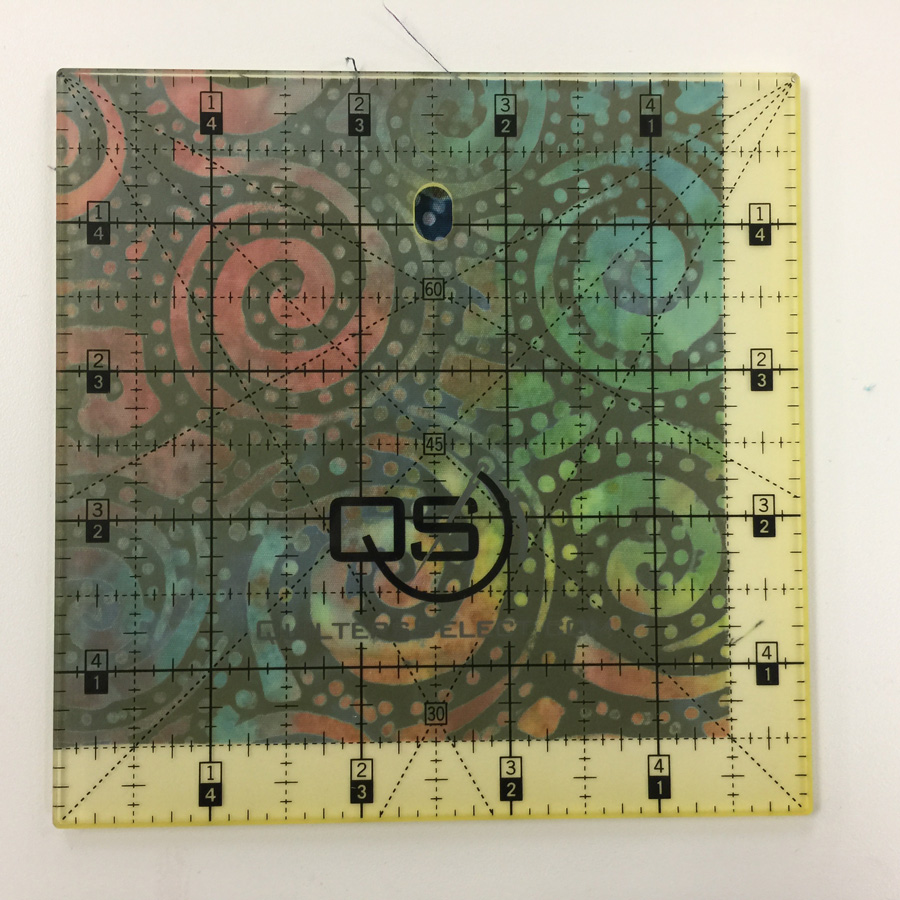
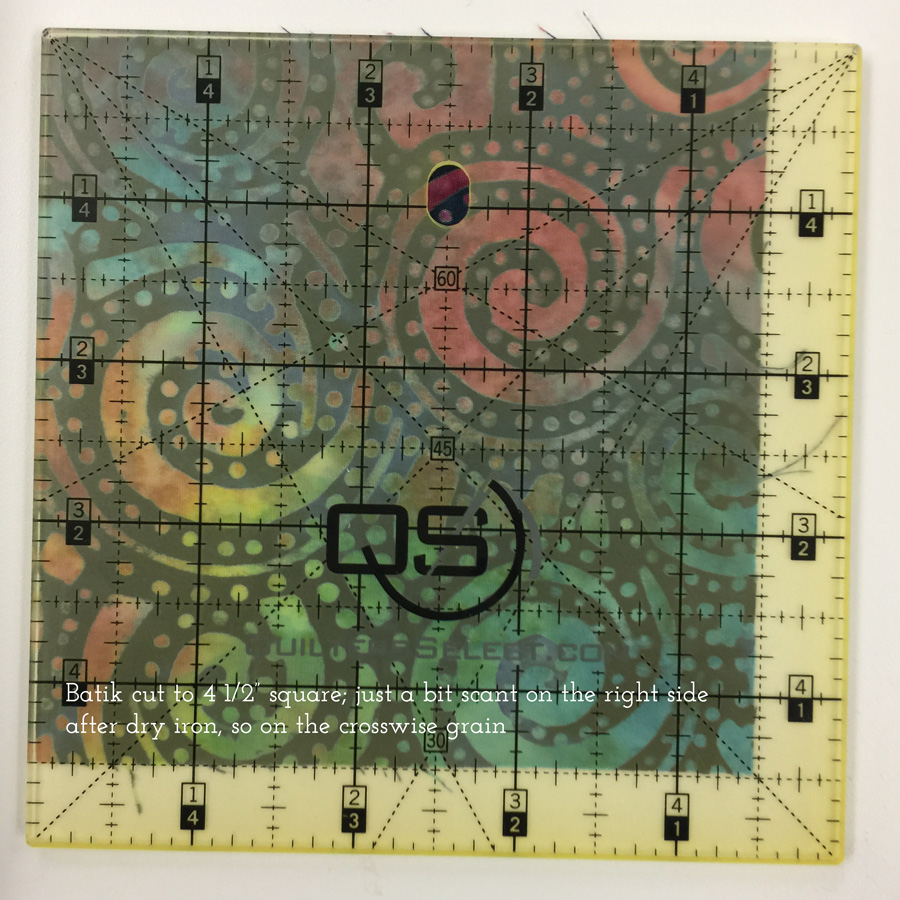
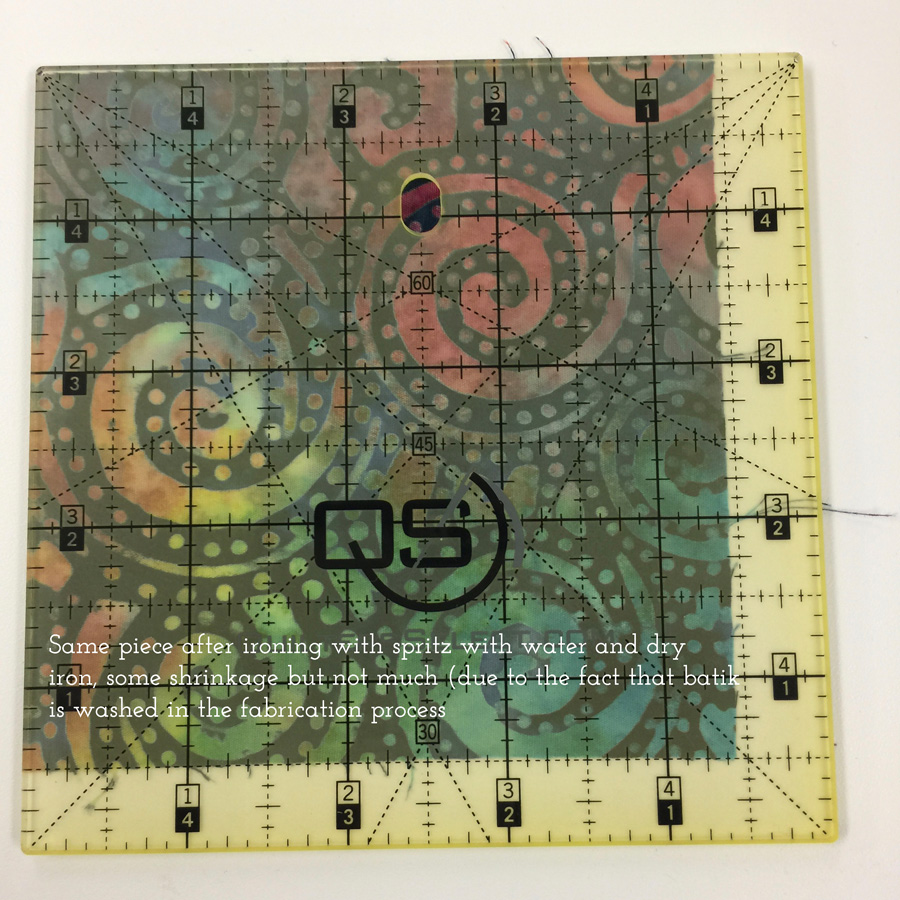
Batiks are made using hand-dyeing processes that include a resist being applied (usually wax of some sort), then the wax is washed out, more dye applied, and so on. This means some of the shrinkage should already have happened.

As cut with the AccuQuiltGO! Perfect 4 1/2″
One last image: Here I created the center square-in-a-square for a pieced block. I cut the purple fabric to 4 1/2″ thinking that might help my accuracy, and sewed on two half square triangles. I then used navy for the central square and piled on identical half square triangles. All are cut with the lengthwise grain as suggested by Accuquilt for accuracy. LOOK at how much smaller due to more pressing and moisture from the iron. ERK!

So my lesson is, when I am not fusing things up, I really need to either pre-steam-iron everything, or prewash and mostly-dry it and then iron dry and smooth. I can now use the perfection of the AccuquiltGO and actually achieve as close to perfect as I will ever get! Now, off to order backing fabric for my BIG quilt.

International Quilt Festival #4: Fine Finishes (to be retitled to Bindings and Piping and Facings, Oh My!)

Saturday, November 24th, 2018

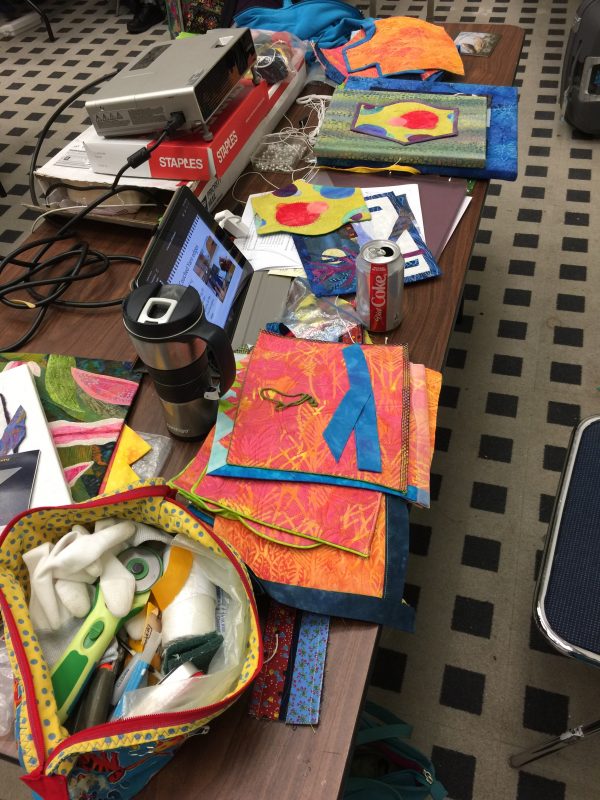
Bindings and Pipings and Facings, Oh My! class in Houston 2018:  Truth in teaching: this is usually what my teacher’s table looks like: a hot mess!

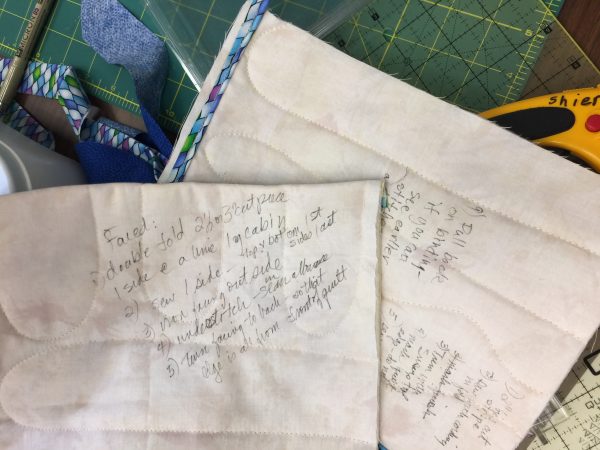
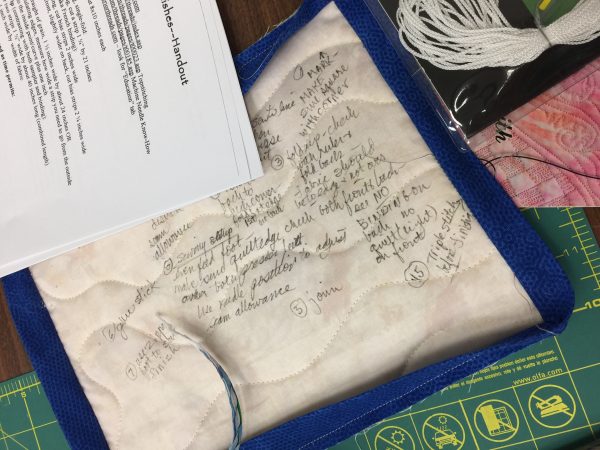
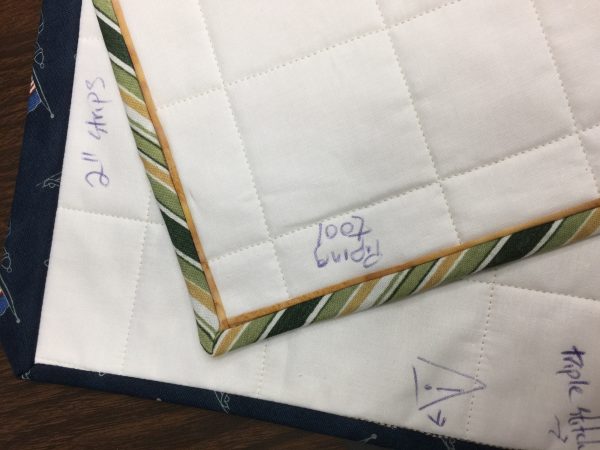
I LOVE teaching this class!  I LOVE that EVERYONE gets how to achieve a perfect mitered corner no matter what width your binding!  I LOVE showing students how to use Susan K. Cleveland’s Piping Hot Binding tool–students come into class thinking “I’ll try it but don’t think I’ll ever use it” and leave with the tool in hand planning how they CAN use it because it rocks!   Then I teach my perfect facings for art quilts which by the way is also how you can do perfect prairie point “bindings” etc.   I LOVE that this class has something for everyone:  traditional, modern, art, contemporary, whatever you do, it works.   I also LOVED that this class more than any I have ever taught immediately embraced the idea of taking notes ON their class samples:  that way the notes don’t get lost, what you need to remember about how YOU sew and what to do to improve is right there on the sample.

YES! They got it! Put the notes ON the sample to remember how to get is JUST right!

One older quilter in the class was BEAMING when she left–she was so delighted as she had never done a corner, let alone a piped corner, this good. I think I will remember her smile forever–THIS is why I teach this class!

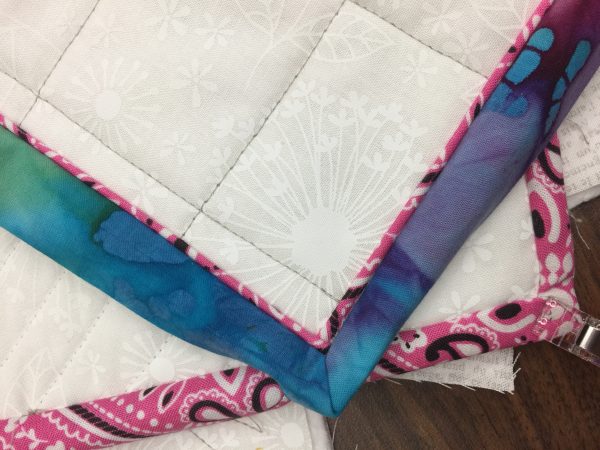
Doesn’t the pink bandana fabric look great as piping?

More notes, during the “perfect corners” part of the class in the morning

Midday/right after lunch we get to the piping (do the precise and time-consuming stuff first). LOVE Susan K. Cleveland’s Piping Hot Bindings tool. Available here.  It may be available at larger online sites, but I like buying things direct from the creator–Susan’s website is Pieces be With You (in the link).  I wrote my own instructions for the class handouts (without looking at Susan’s), but her more in depth instructions are worth every penny!   

The best part of Festival is FRIENDS–Linda Cooper

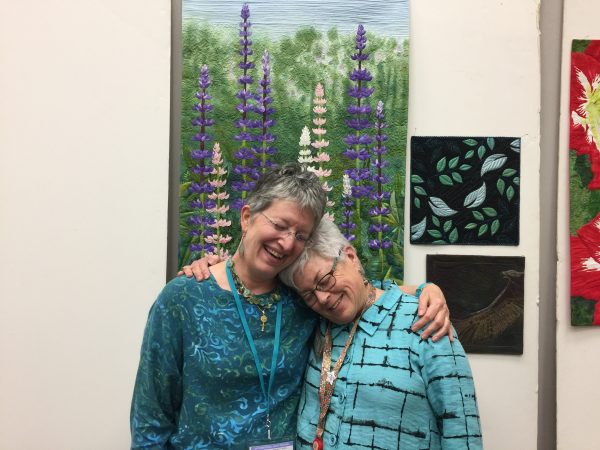
The absolute BEST PART of International Quilt Festival is FRIENDS!   Over the summer I learned that Linda, a BFF from my life on San Juan Island, would have a quilt in a special exhibit and was coming to Festival.  On Tuesday she showed up at my classroom door at lunch break with her friend from SJI.   They decided on the spot to take my Bindings class on Friday, their last full day at Festival (pitter patter, tear in my eye)!   It was like the intervening 14 years since I left the island evaporated.

She and Barbara managed to get the stuff to make the quilt sandwiches (class prep) and amongst the three of us came up with the requisite thread, scissors, rotary cutters, etc. to use.

Class….the lunchtime lull.  Thank you Kathy Spier for being my “Teacher’s Pet”—so much fun, met Suzy Webster when she took one of my classes a couple years ago.  This year her mom took Bindings, and we all had lunch together!   Like I said, the BEST PART of Festival is friends, old ones and making new ones!

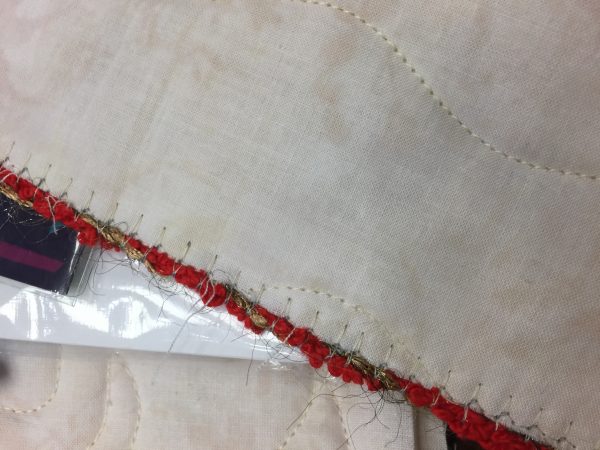
Time permitting, we even get into some fun alternative edge treatments…couched yarn is perfect for postcards and small works

And miraculously, I remembered Linda and I needed to get a photo before she packed up for the day!

Old friends reunited!