email Youtube

Home
Galleries
Blog
Workshops & Calendar
Store
Resources
About
Contact

Archive for the ‘Fun stuff’ Category

The Chaos before the Storm…uh… before teaching online!

Monday, August 10th, 2020

As I was setting up for my next online teaching gig, I thought it would be fun to share what it’s like totally upending your workspace to get ready to teach. Have fun watching this video. The sound varies (probably moved the phone farther away then closer), so with apologies, just adjust the volume as it goes along!

A “Covichat” with Lyric Kinard

Monday, April 6th, 2020
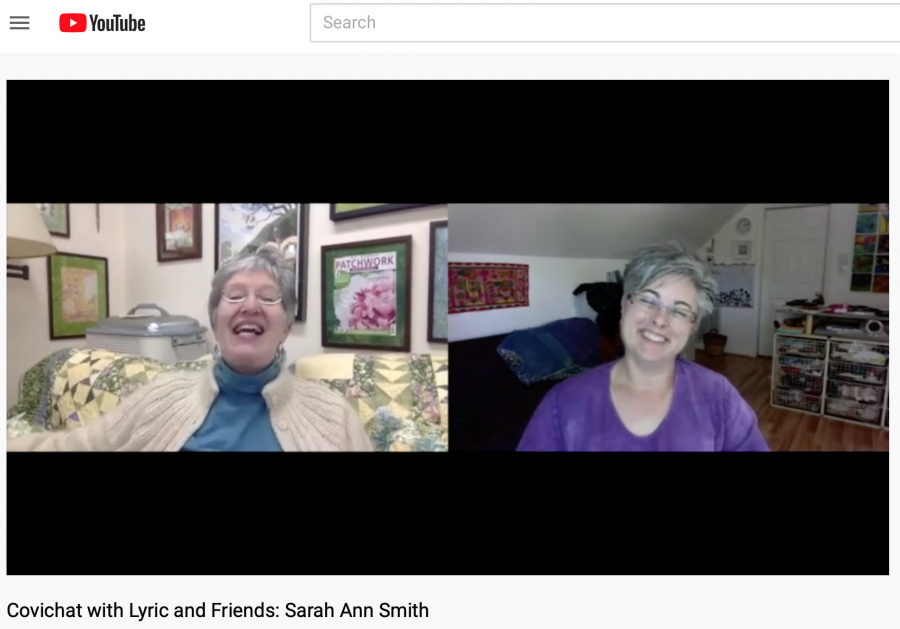
Had such a fun chat with Lyric…this is a screen shot, but I’ll embed the video below, and you can also see it on Lyric’s YouTube channel, Lyric’s blog, and my YouTube channel too.

What FUN! My friend and artist and teacher extraordinare Lyric Kinard has started doing a series of taped video chats with folks in our line of work and art. We chatted last Friday, and the Lyric uploaded the video today. So ENJOY!

In the video I mentioned a bunch of things…things which aren’t on my blog yet! BUT…

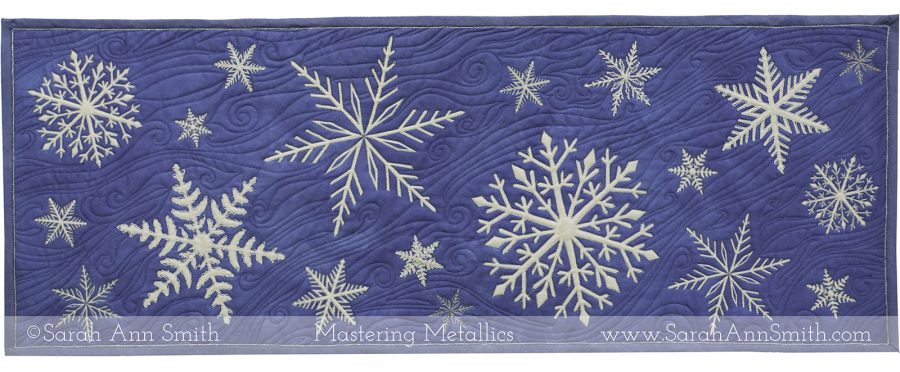
Mastering Metallics workshop is described here on my website, where you’ll also find the class supply list (I may need to update that though, so just get a rough idea). It is a half-day class that will debut at International Quilt Festival Houston this coming Fall–sign ups usually start up in July. You’ll learn tons, get a full kit with top, batting, backing and thread so all you need to do is show up. This is the project, a wintry tablerunner. Additional fabric will be available for purchase, and I may make it available on Spoonflower for orders from home. Let me know if there is interest.

I also mentioned some bags and projects fro Michael Miller Fabrics using byAnnie patterns. The first blogpost will go live on April 9th, and there will be another in May. Stay tuned!

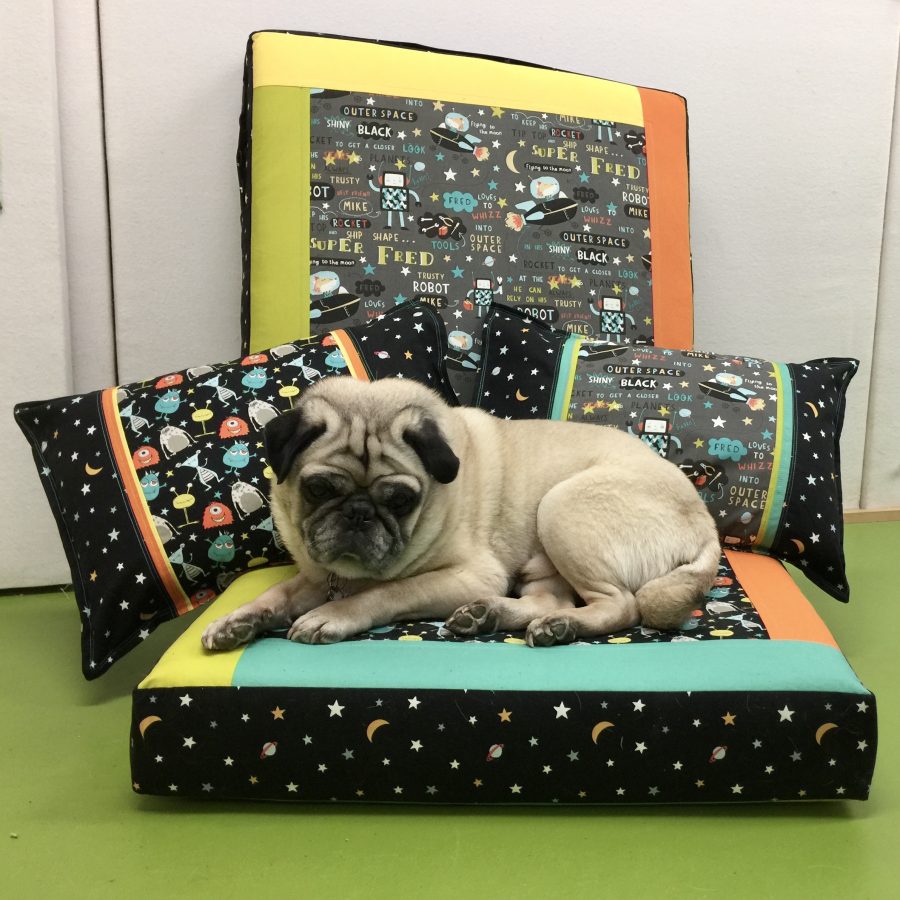
And if you liked that floor cushion, the fabric line is Space Pals and Super Fred. You can find the fabrics usually at Fabric.com, but right now things are messed up due to international shipment restrictions and low staffing at workplaces. So when all this stay-at-home is over and quilt shops can get back in business, as your local shop to carry the line.

The PATTERNS are free and available here with even more information on my blog. Go Here (1) and Here (2) for pdf links and lots of great info and detail.

Widgeon loves the cushions!

I’ve already watched Lyric’s interview with Robbi Joy Eklow and look forward to catching up on the chats with Pepper Cory and Thomas Knauer. Thanks for asking, Lyric…it’s always so easy to do these sorts of things when you’re already friends!

Easy-Peasy Inside-Out Bag class at Quilt Festival Houston 2019

Monday, July 22nd, 2019
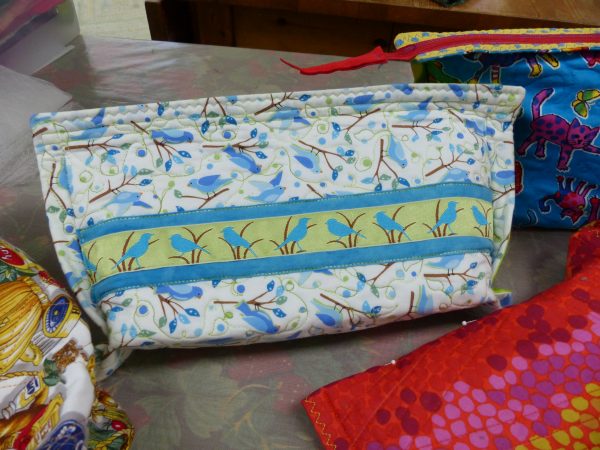
Like potato chips, you can’t stop at just one! Learn to make these FAST, easy and FUN bags on Thursday afternoon at International Quilt Festival! I’ll show you how to adapt the concept into card cases (fast gifts!), tablet cases, sketchbook covers, you name it!

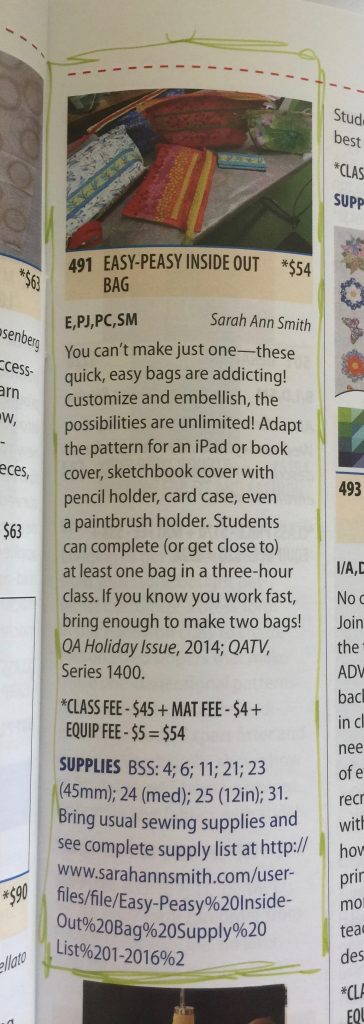
Come play with me on Thursday at International Quilt Festival…Easy Peasy Inside Out Bags, class 491, is in the afternoon, total play, and you’ll become addicted to making them. So far I’ve had every. single. student. nearly finish or finish a bag in the three hours including the quilting and zipper! Once you grasp the concept in the class, you can go home and make an iPad (or Kindle, nook, etc) case, a notebook cover, you name it. Here’s a link to registration and Thursday classes: http:// http://www.quilts.com/quilt-festival-houston-classes-and-events-thursday.html

Here’s the class listing. The Supply list is on my Classes page, here.
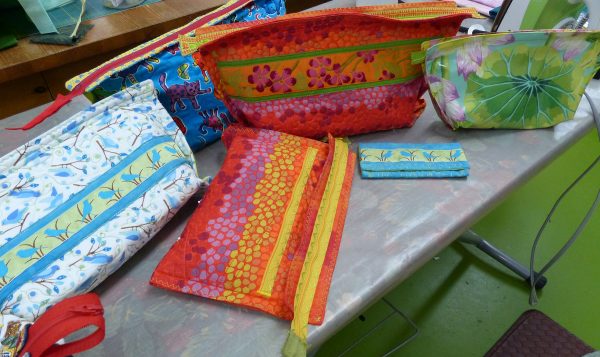
A whole buncha bags and a card case. Make them out of coated fabric for a make up bag (I use mine for cash when teaching…money literally stinks!) Make them any size, proportions, colors, embellish!

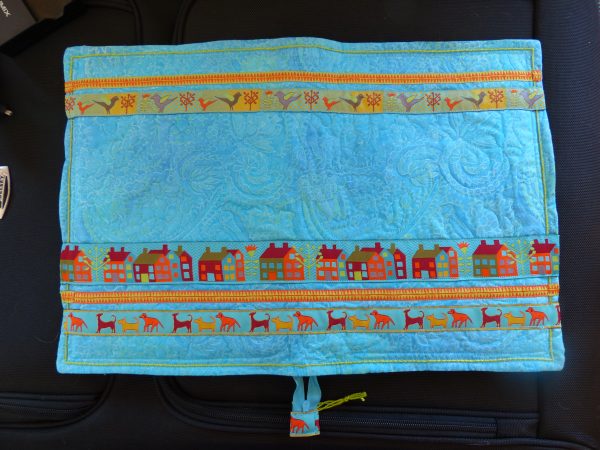
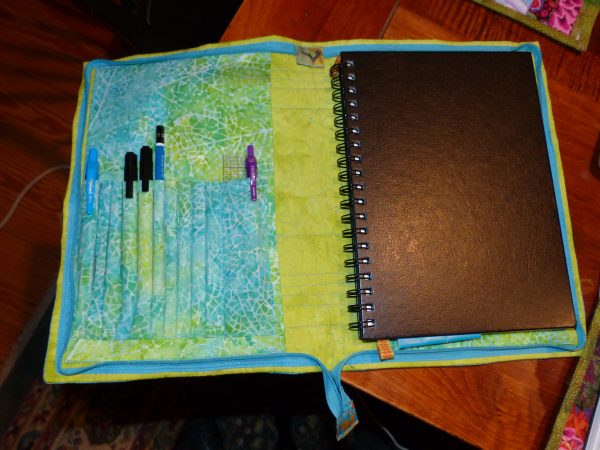
AFTER you get home, you can have fun spreading your wings and seeing how to adapt the pattern as I did with my notebook cover:

Opened up. With ribbon trim, zipper, couched perle cotton.
And inside! Love my pen pockets. Love that it zips all the way around and I don’t LOSE my pens!

If you’ve got questions, PLEASE DO WRITE to me…just use the contact button! Full class descriptions for all the classes listed below along with Supply lists are on my Class page. Here’s the list of all the classes I’ll be teaching…hope to see you there:

The Quilt Show–Sarah’s Episode!

Friday, April 12th, 2019

What a delight it was to be invited to tape a show for the Ricky Tims and Alex Anderson online “tv” show, The Quilt Show (TQS)! In the past I have taped for two seasons of Quilting Arts TV (on PBS) and did a video workshop for Interweave (Art Quilt Design from Photo to Threadwork, available as a download), but TQS is on a whole other level of professionalism. It was filmed in the Comcast center near Denver…as you walked by the main office there was an entire cabinet of awards including a few Golden Globes! And to get it up front: THANK YOU ADELE Merrell for all these great photos and Gayle Schliemann from Bernina for a bunch more!

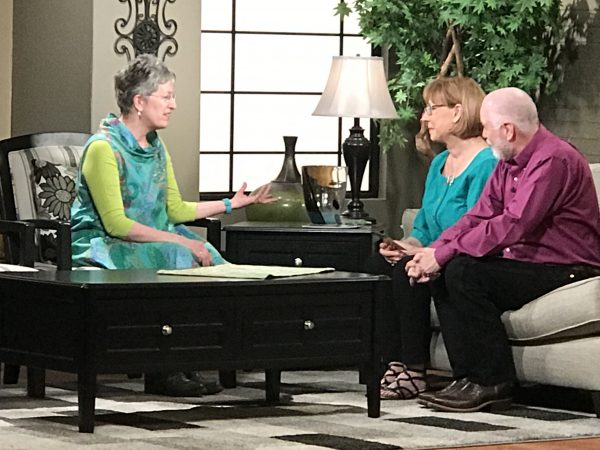
Intro segment with Alex Anderson and Ricky Tims…yes, they color coordinate their tops with the guest’s outfit! My dress is a Marcy Tilton pattern, Vogue 9112
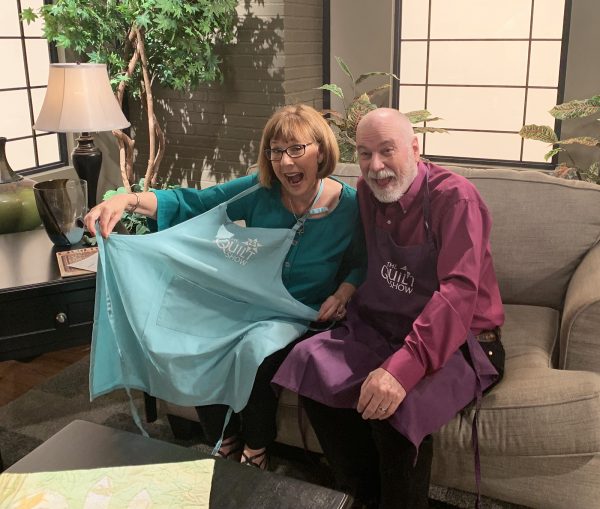
I was so excited that I was able to pull off my surprise gifts for Alex, Ricky, John and Justin: custom TQS aprons made with a thermofax screen I made for them (with behind the scenes help from Producer Shelly to help with a graphic and favorite colors for them).
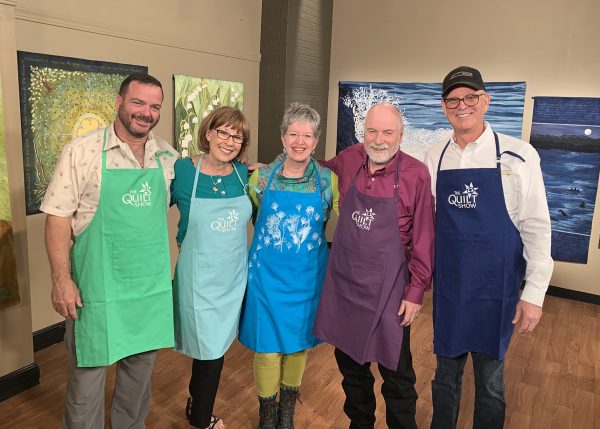
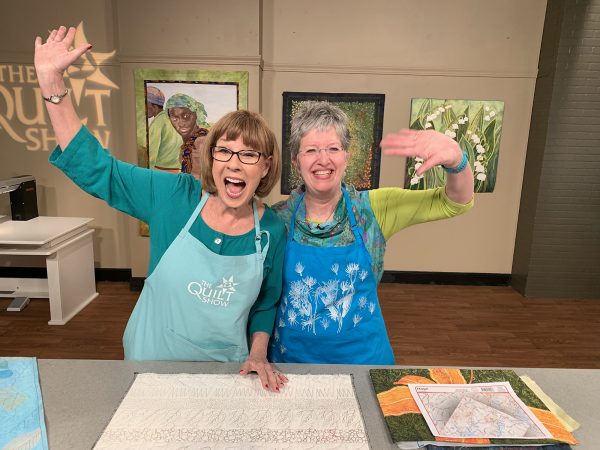
After the intro we got together and everyone modeled their custom TQS aprons. Sorry folks, there are only four of these that exist, but I’m delighted they are already using them with other guests. I bought all cotton colored aprons on Amazon (where else?). If you like the milkweed design on mine, I am selling my custom screens on my website for a limited time (maybe six to 12 months) so you could make your own!
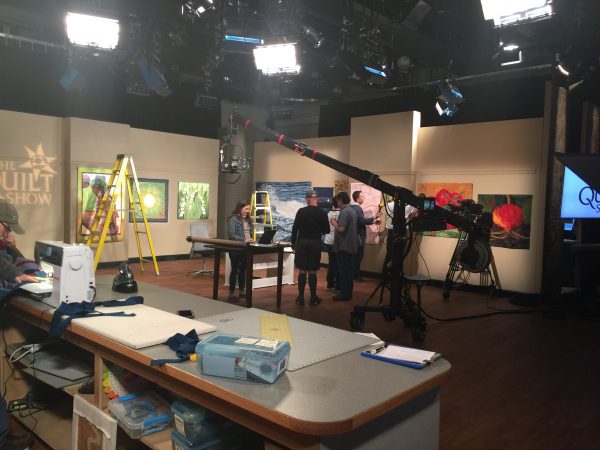
There are two guests taped each day–I had Saturday morning. They hang the quilts first as all the other prep begins, and well before the audience comes in. The lighting is SUPERB…both of the guests and the quilts. There are light colored walls behind the seat walls with bounce diffuser lights that reflect off the exterior studio walls to create a smooth even light, then each quilt has a spot…there wasn’t a single “hot spot” or deep dark area (unless it was intentional)

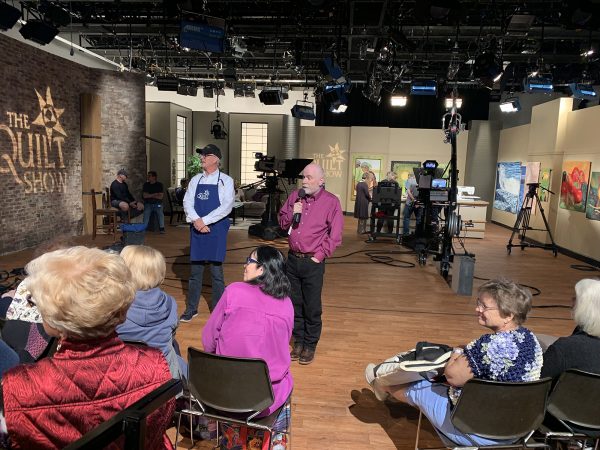
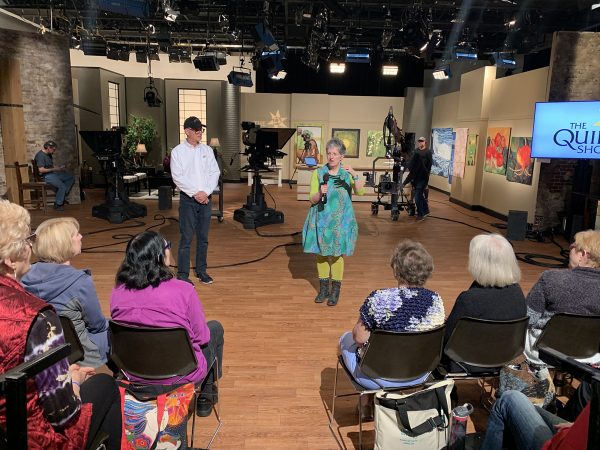
And a panorama shot…the detail isn’t great because of the re-sizing I had to do for the blog, but I am standing in the center of the audience area. There were four large quilts including this year’s BOM, Sizzle, then the door to the Green Room, a monitor, the areas of the set from the “brick” wall, seating area, gallery space. The big tables are all on rollers as is the longarm and Q20 so everything can be moved easily for each segment. Another monitor on the middle-right, the staff and guest cubbyhole is behind that wall, you can see a long light thing that is the longarm, then Alex’s quilt (which is gorgeous in person) and right bank of the audience seating. There are usually 50-70 guests for each show. Tickets are free but you must reserve in advance…check the TQS website for info.
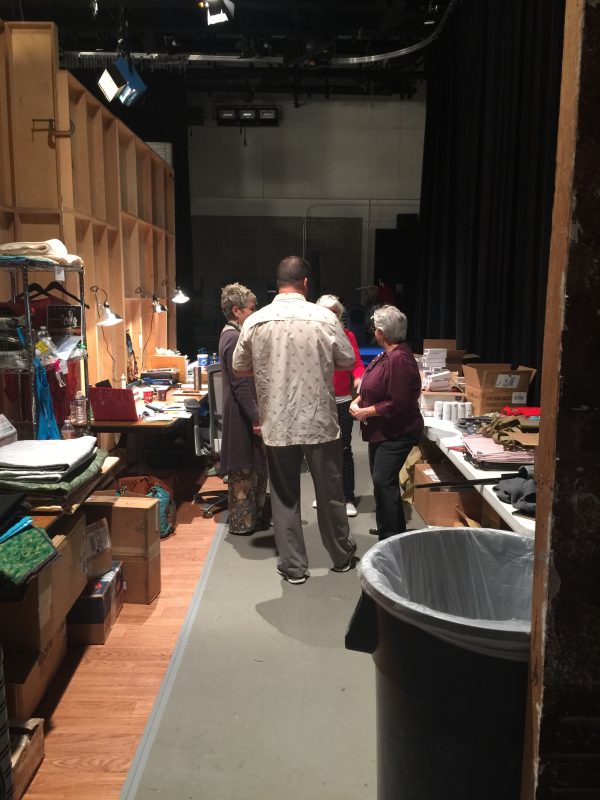
Justin Shults, Ricky’s partner, consults with the team in an area to by one side of the set where they collect the guests’ “stuff” for the episodes and serves as staff work space. I love that they said “welcome to the family.” Everyone staying at the DoubleTree collects in the same zone of the restaurant for breakfast (travel, meals, hotel are on your own dime, but it is so worth it!) and eat together. It is a delightful way to get to know the crew and principals. Left to right: Lilo Bowman, Justin Shults, Mary Kay Davis and Katie. Justin is the guy coordinating things on the set while Shelly Heesacker, the Producer, is in the control room. They communicate by headsets.
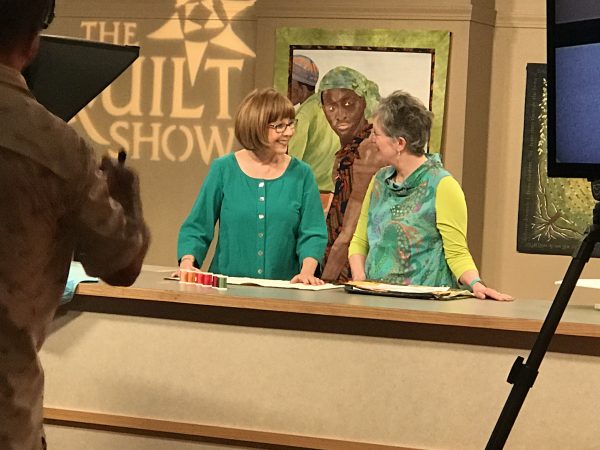
This is pretty close to the image folks will see when the show airs online sometime this autumn.
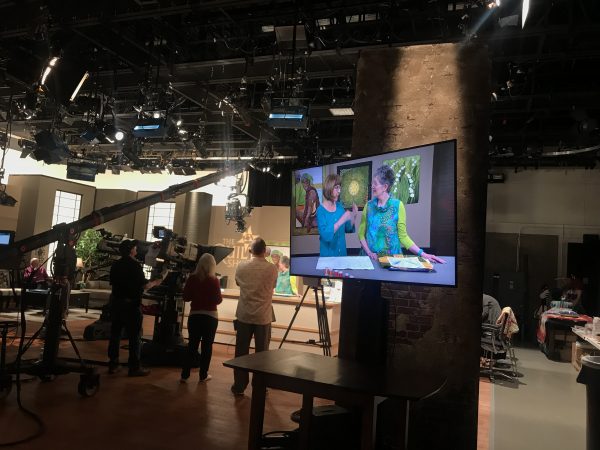
And here’s what that looks like from the sidelines
Sarah Ann Smith visits The Quilt Show with Alex Anderson and Ricky Tims
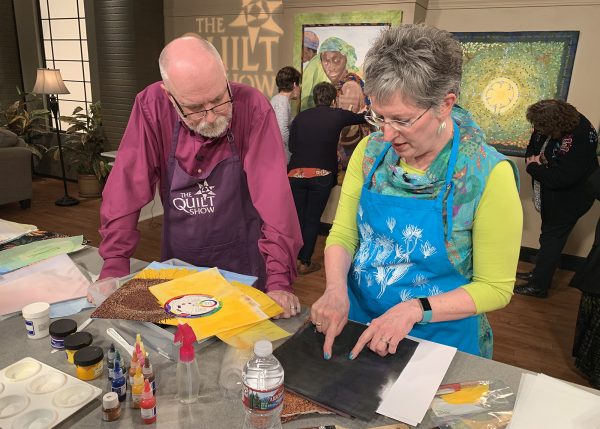
My first segment was about using paint on cloth (and I now have custom paint kits available here) and using shrink fabric to make my sunflower quilt (a blogpost to come). Here Ricky and I reviewed what I brought and what we could fit into the 10-14 minute segment. While the guest and hosts review the segments, groups of folks from the audience are allowed to come up and see the quilts up close.
In the breaks between segments, John Anderson (Alex’s husband) keeps the audience entertained, shares quilts from upcoming guests and more. This one is at the end of the day when Ricky came to chat with the audience.

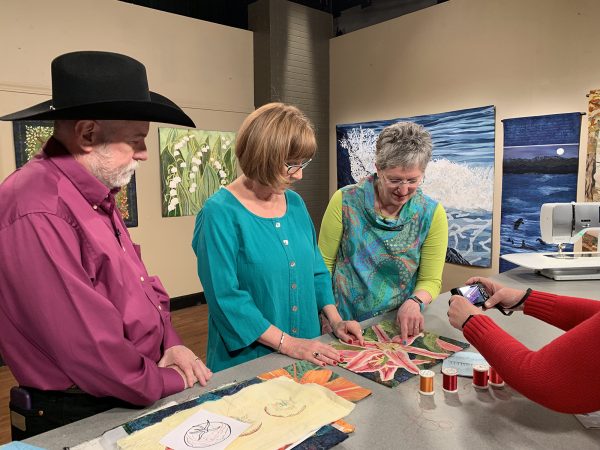
Rehearsing for the thread segment: Ricky, Alex, me and Mary Kay Davis taking a close up photo.
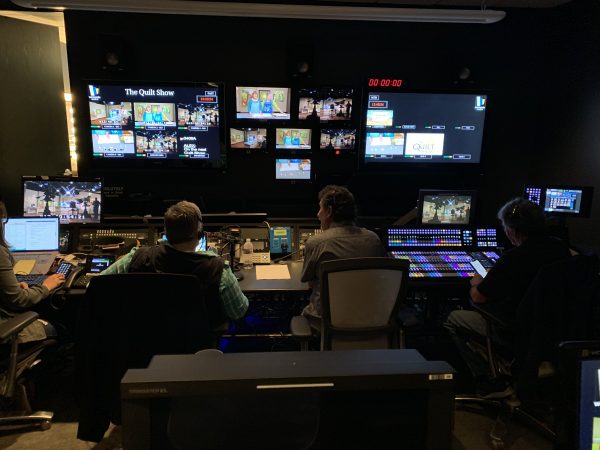
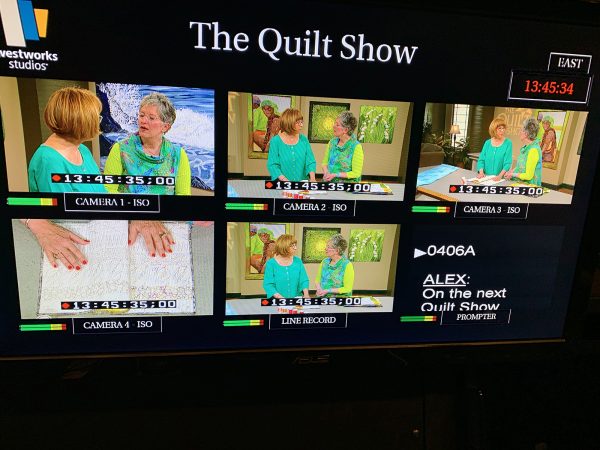
Thanks SO MUCH to Adele, who dresses the set, for taking a billion photos for me. I especially wanted this one from inside the control room that shows what a polished and complicated production this is. Producer Shelly Heesacker is in the bottom left and she crafts each episode and runs the show.
And a close up of the screens as I am taping my second segment, with Alex, on how I do my Threadwork.

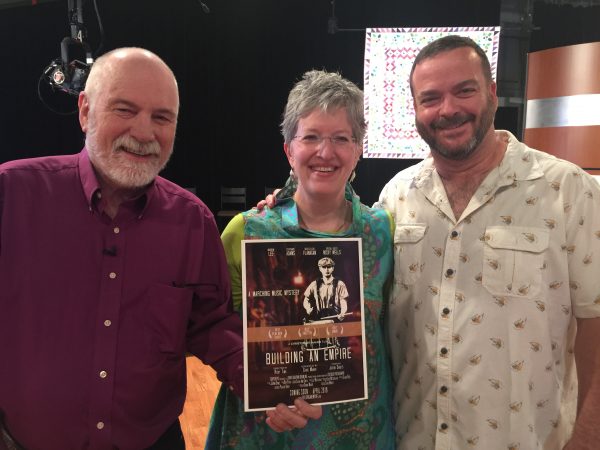
After-taping shots: here, I am holding a photo by Chris Maher from the online Photo Critique Group–it is a mock movie poster, with Ricky, Justin and many of our classmates in the assorted cast and crew roles. Too much fun!
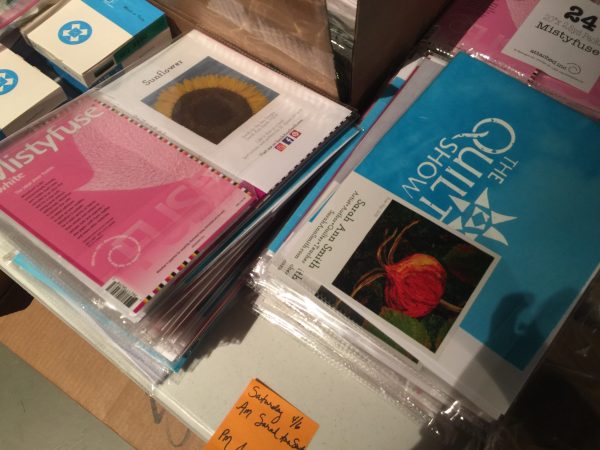
I made TQS screen prints on my hand-dyed fabric for the audience as a little gift. MAJOR thanks to Iris Karp of MistyFuse for donating a package of MF (which changed my life and makes what I do possible!!!!! and that is NO exaggeration) so I made up a pattern for the sunflower that I demonstrated on set.
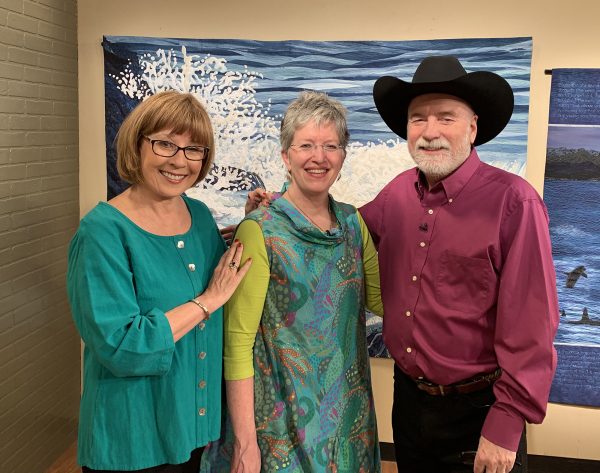
Time for some portrait shots with my quilts…this was one of the best!
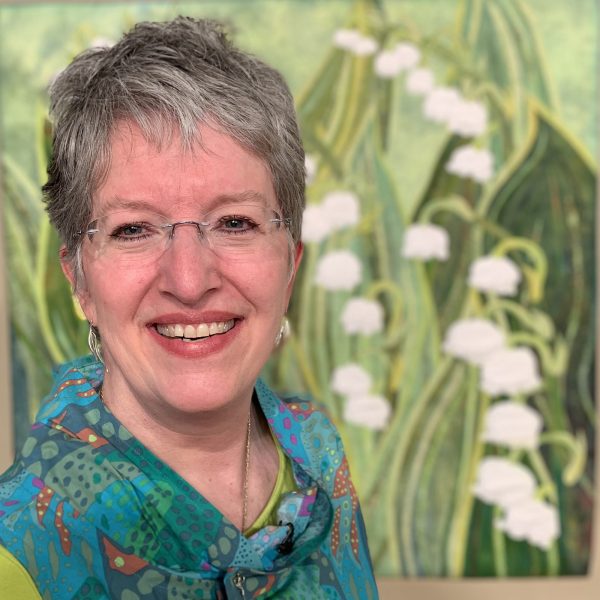
Going to use this one for my FB profile photo for a while…THANK YOU ADELE!
Question and Answer session with the audience (and you can see that fun dress!) after taping.

I have to say, I wasn’t all that nervous thanks to being UBER prepared and having done Quilting Arts before, but I was wired for sound LOL..by the time of the Q&A I was relaxed and ready to have even more fun sharing.

At the end of my segment saying “It’s a new day EVERY day,” the TQS motto. Can you tell we were having fun?!!!!


My episode will air sometime in late summer/autumn. Star Members of The Quilt Show will have the first view, then there will be one week where the episode will be free to everyone. I will be sure to post, but gosh there are so many wonderful guests that I am so glad I am a member–and did you know I joined the very first day TQS began: January 1, 2007? And now, here I am as a guest! WOOT! Life is GOOD!

Free and quick Shannon Cuddle Fleece Hat pattern!

Saturday, December 1st, 2018

Hi everyone…is anyone else madly trying to figure out what to do for Christmas gifts?  Here’s a FREE pattern by me, with major thanks to Shannon Fabrics for the Cuddle fleece.  Literally you can make a couple of these in an hour or so–give yourself three hours and a yard and you can make half a dozen in production-line mode!
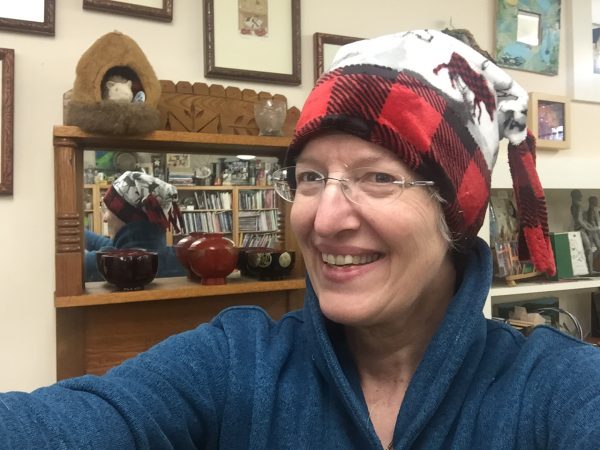
How many selfies do you need to take to eliminate many chins or no chin? LOL! I love my soft hat!

And here is what the hat looks like, flat:
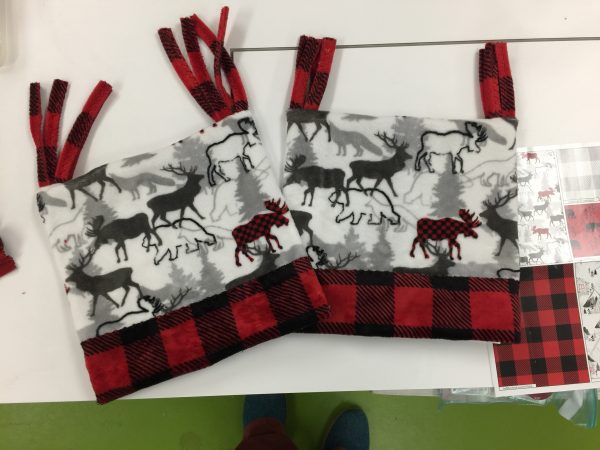
Two hats…I mean I used up EVERY LAST BIT of scraps! One hat for me, one to send to Shannon for them to use as they wish!

Here’s the pattern in PDF form…and typed out below:

Shannon Fabrics Cuddle Hat in an Hour

You’ll need:

¼ yard (about 8 ½ lengthwise grain by 22-23 inches) fleece for main fabric

5” by 22-23 inches for contrast

Scraps or yarn for hat tassels

How to:

  •  Measure your head around the forehead:  ______ + 1 “ =  ________  cutting width

Tip: In my case, my head measures 22 ½”.  I found that I wanted my hat to be snug so it would stay on in the wind, so I used a larger seam allowance.  My hat **finishes** at 21 ½” or one inch smaller than my head circumference. Depending on what you find comfortable, you may find that a cutting width exactly the same as your head circumference is just perfect.   

  • Cut main body fleece 8 ½” high by cutting width.  Make certain that the lengthwise (not-stretchy) grainline runs vertically and that the stretchy cross-grain is what goes around your head!
  • Cut hat band fleece 4 ½” by cutting width (if folding under) or 3 ½” by cutting width (if using raw edge).

Option:  vary the width of your band depending on how warm you want it to be and the pattern (if any) of your fleece.  My main fabric is not fuzzy on the inside and I wanted soft, so I have 1 ¼” of the red checked fleece on the inside and about  1” folded under on the outside edge so that there are two layers of fleece to keep my ears warm on a windy winter’s day.

  • Pin seam and test the fit: now is the time make adjustments to snug it up if needed.
  • Sew seams on hat body and hat band using a narrow zigzag, about 1.0 width and 3.0 length.
  • Pin the seams open.
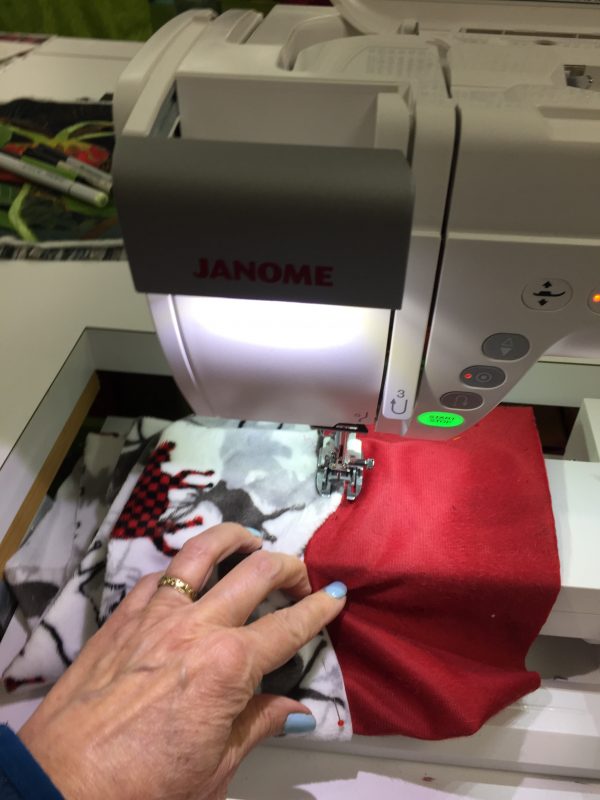
  • Place the hat band and hat body WRONG sides together, matching the seams and overlapping about ½”. Stitch with a serpentine (wavy multi-stitch), 3-step zigzag or narrow zigzag to secure each raw edge.  You will sew two lines of stitching, one on each side of the overlap.
  • Because the fleece is thick, and because I wanted the soft part next to my forehead, I didn’t use a typical garment seam. Instead, I overlapped the two fabrics, wrong sides together, and sewed them with a serpentine stitch. I did this twice, on either side, so I would catch both edges of the overlap.
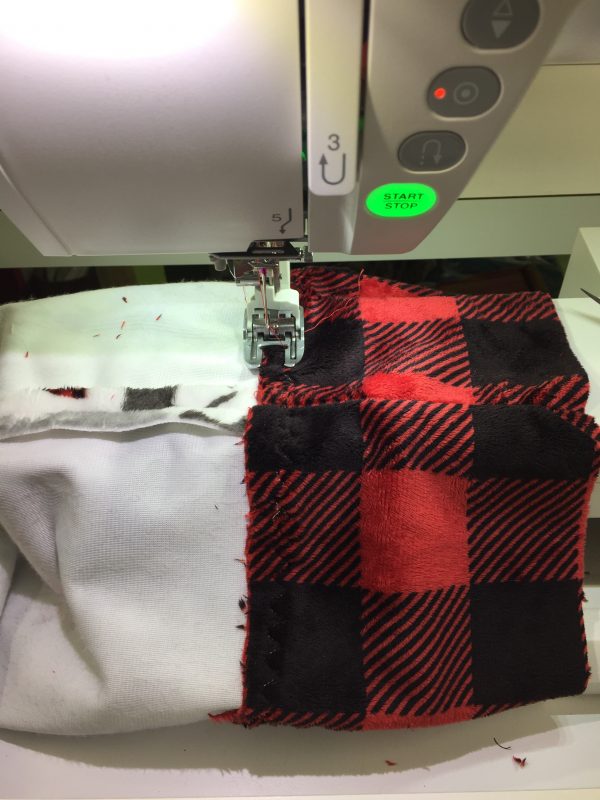
Sewing the other side of the band
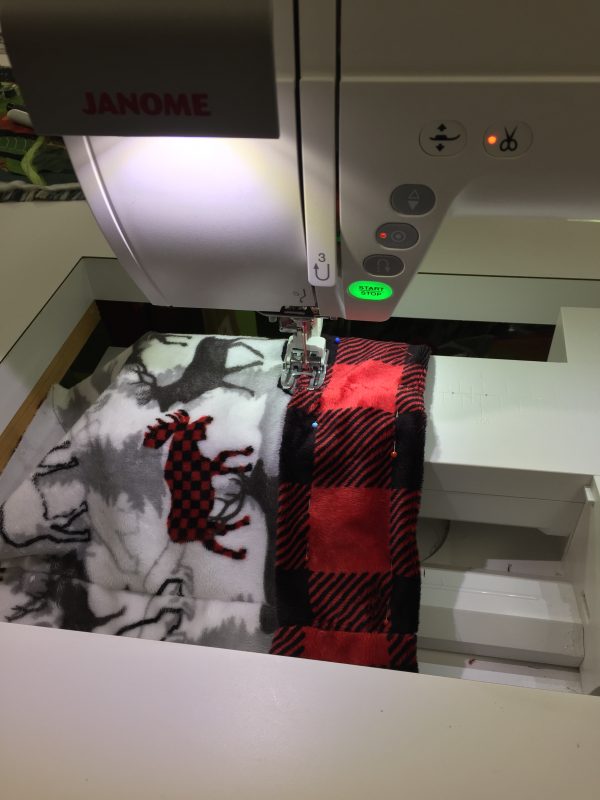
I then turned the plaid to the outside and brought it up above the seam that joins the top of the hat to the “cuff.”

  • Turn the hat band to the outside of the hat body and turn up.  If you are making a thicker band, turn under about an inch; if you are not making a thicker band, simply fold up.  Pin the edge in place; carefully put on the hat.  If you want a narrower contrasting band, now is the time to trim or fold under more.
  • Sew the top edge of the contrasting band using the serpentine  / 3-step zigzag / narrow zigzag stitch.

Optional:  make some tassels. I used a 1” strip of fleece from the selvedge (leftover from another project) and folded it in half wrong-sides together and sewed with the serpentine stitch.  Cut into 9-11” (or thereabouts) lengths.  I opted for four strips which I then folded in half. 

  • Turn the hat inside out. Centering the seamline in the center back, pin right sides together.
  • If using tassels, tuck them into the seam at the corners so that the folded edge is even with the raw edge of the seam.  I placed two at each corner.
  • Sew the seam using a narrow zigzag.

Tip:  sew from the center to the outside edge, pivot at the end and sew back to the center about ½.”  Repeat from the center to the other end.  This is easier than sewing all the way across beginning at the bulky outside edge.

  • Turn right side out and wear with joy!