email Youtube

Home
Galleries
Blog
Workshops & Calendar
Store
Resources
About
Contact

Archive for the ‘Professional quilting’ Category

Ready to travel? Come to Japan with me!
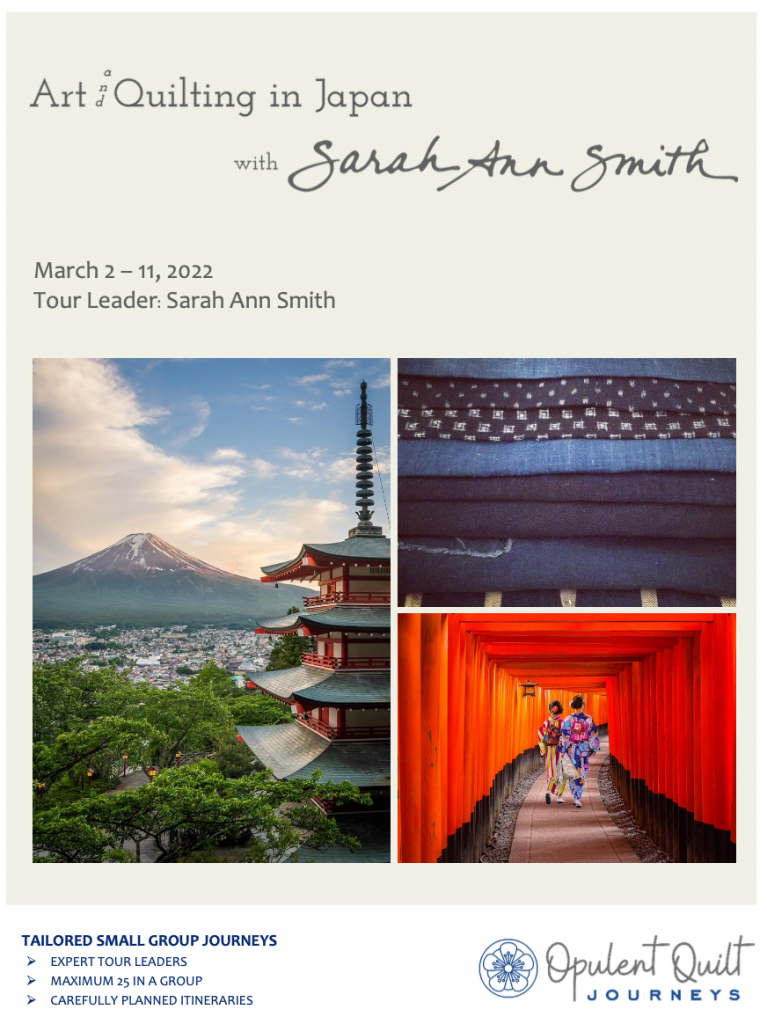
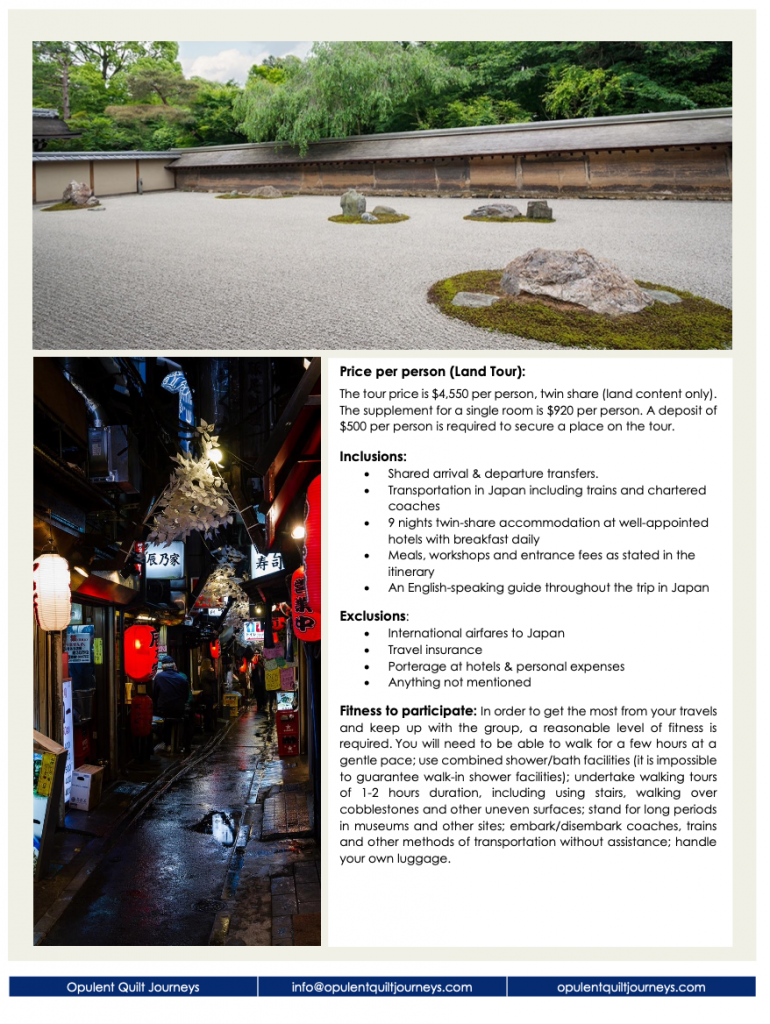
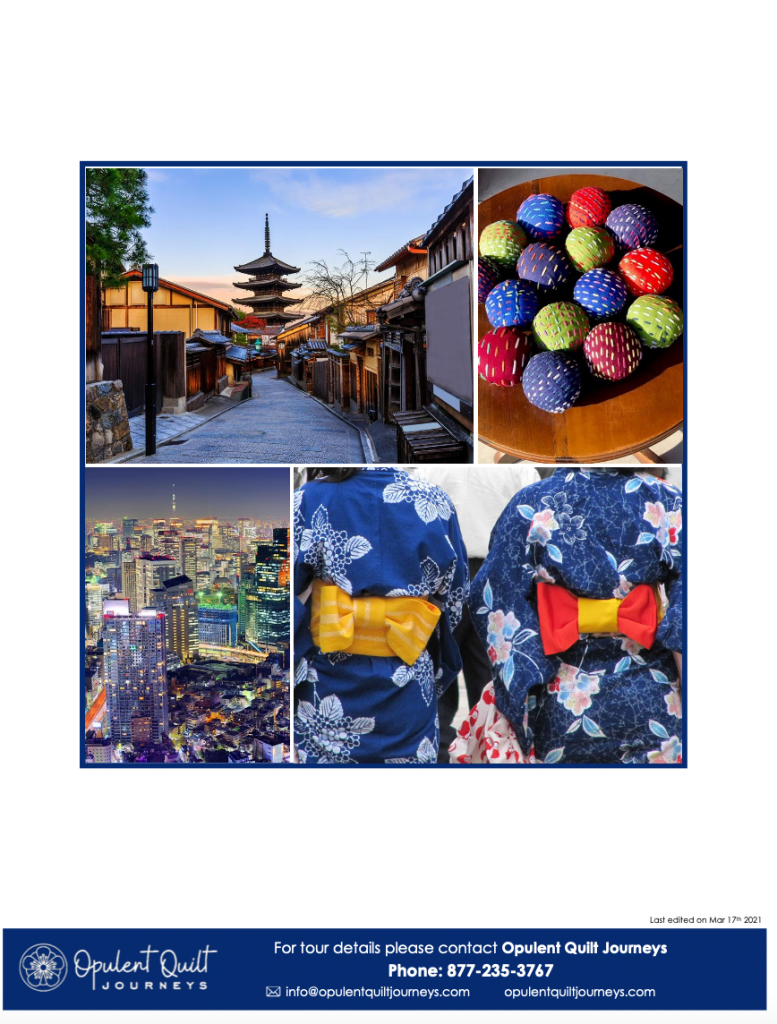
Thursday, April 1st, 2021

I am beyond elated to share that I will be your US host on a 10-day trip to Japan March 2-11, 2022! Here’s a link to the complete PDF Brochure which you can download or print, but I’ll post each page here in the photos. Originally, this trip was to have been in January 2021 but was cancelled due to COVID. It was rescheduled to January 2022 to coincide with the Tokyo Quilt Festival, but that looks like it won’t happen either so we are now in March 2022. BUT, I think the March itinerary is EVEN BETTER–so many cool things, including quilts, shibori workshop, my bucket-list-dream-item visit to the Itchiku Kubota museum (see my Kubota Pinterest board here), and so much more (and not as cold as January)! AND here’s some more eye candy, my Japan pinterest board.

A friend asked about food restrictions, and the company replied: “Regarding diets.  We have a place on the registration form for them to include dietary restrictions.  They were really good about it in Japan.  The meals that are included will be notified ahead of time regarding any restrictions and they do make substitutions.  Both years I have gone we have had guests that were vegetarian and gluten free.  They were prepared separate meals.  Also for when she eats on her own she should give the Japanese guide an index card and ask her to write in Japanese what she is allergic to and dietary restrictions then she can show it to waitresses when she eats on her own.  This worked well.” Fantastic! So don’t worry if you are vegetarian or gluten free or whatever you can travel on this trip!

I am so excited about this trip…. while many go on these trips just to go to the Tokyo Quilt Festival, comparing the two itineraries and activities, I actually think this is a better trip! AND the weather won’t be as cold in March! I hope you’ll join me–I’m already thinking of little on-tour goodies for you should you join me! Please do write and ask any questions!

The Chaos before the Storm…uh… before teaching online!

Monday, August 10th, 2020

As I was setting up for my next online teaching gig, I thought it would be fun to share what it’s like totally upending your workspace to get ready to teach. Have fun watching this video. The sound varies (probably moved the phone farther away then closer), so with apologies, just adjust the volume as it goes along!

Making an overhead camera stand for online teaching

Monday, June 22nd, 2020

As I transition to holding online classes to supplement live and in person classes, I needed an overhead view of my work table. The traditional way to do this (outside of a fancy filming studio) is with a “C-stand” that is sturdy/heavy, stands on the floor next to your work table and has a boom arm that extends over the table. Then you hang the camera/iPad/iPhone from the boom arm. Cue COVID delays in shipping. I tried the one I could get in time for this week’s Perfect Bindings class at the first ever Mancuso online shows. The accessories didn’t fit the boom arm. Back they went!

Cue: Mama’s brainstorming, Mama and son’s (Joshua) creativity, and Joshua’s awesome tools (Band saw! drill! Random bits and bobs) and construction experience and help, and a stand using leftover stuff and $5 in supplies.

A DIY overhead camera stand

The wooden “light stands” were built based on information from Holly Knott’s wonderful “Shoot That Quilt” section on her website about taking great photos yourself of your quilts to enter in shows and magazines: two pieces of 2×4 lumber and four cheap shelf brackets for each stand.

Ignore the dust, cat hair, pug hair and thread. Please. Sorry. Here’s the link to Holly’s useful webpage on quilt photography.

Joshua, our older son, did some electrical work for Mom and Dad (us) a while back, and introduced us to something called Unistrut. Link here. It is a bit heavy, which is why I looked at C-stands to begin with, but that is also its virtue: it is totally rigid. Rigid helps keep your camera (in my case my iPad) stable.

The upper brackets were from something else that was modified. Knew they’d be handy! I bought two small black brackets with one hole on each side. Joshua said I needed two holes to prevent the small L brackets from wobbling, so using his awesome power tools (tool envy!), he just drilled an extra hole. He cut the Unistrut in about 8 seconds with his band saw. It would have taken me the better part of an hour with a manual hacksaw! The length is the width of my table plus an extra inch or so to help maneuver the stand into place.
The ruler is serving as my iPad’s stunt double because I was too lazy to run upstairs and get the iPad while taking photos. Can you tell from the clutter how chaotic it has been?
I CAN’T WAIT to have a MASSIVE TIDY ATTACK!
I wanted the iPad above the bar for added stability and so I could have full access to the screen while teaching live online workshops.
A close up view of the stand attaching to the unistrut. Here’s a link to the iPad holder on Amazon. It isn’t the most rigid thing and the little grip thingies that hold the iPad in place aren’t huge, so that’s another reason to have the iPad on top supported by the cross bar and not just those four little pads.

SO if you are wondering what your teachers does to get ready for you, this is just one small but vital component. If you are going to TEACH online, I hope this helps you–please feel free to ask questions! MASSIVELY HUGE thanks to Lyric Kinard for her help on so many things on the technical side over the years, and to Lee Chappell who gave us newbie online teachers for the Mancuso show a studio tour by Zoom to share with us how she set things up. And THANK YOU to my wonderful, creative son who comes home and always wants to do some sort of “fix up” something for his mom and dad. Joshua, you ROCK!

Accuquilt GO!

Sunday, January 12th, 2020

Part of every new year should be learning new things…and I’m starting with the Accuquilt GO!

As part of the Michael Miller 2020 Brand Ambassador program, we received the Ready. Set. GO! Ultimate Fabric Cutting System from Accuquilt. It includes an AccuquiltGO! plus the 8″ Qube (a set of dies to cut shapes often used in piecing 8″ blocks) and a ginormous die to cut my own 2 1/2″ strips. I’ve never seen one of these used in person, let alone done it myself. They are supposed to be lots faster than traditional rotary cutting and more accurate to boot. That makes two things where I need improvement–grin!

Lookit those amazing colors…don’t you want to dive in face first?

A while back, I was deliriously delighted to learn I had WON all 214 colors (above and below) of Michel Miller’s Cotton Couture (this was before I even applied for the Brand Ambassador program). I’ve been wanting to make a quilt I shall call “214.” As I’ve been waiting to upload this post, I realized that I can use the AccuquiltGO! to do the majority of the cutting, even the sashing! If I use the die for 2 1/2″ strips, I can then manually cut those in half vertically to get the 3/4″ finished strips I want to use for sashing. And then (!!!) I can use the die to cut 4 1/2″ squares (4″ finished) — if I am careful — to subcut the strips into 4 1/2″ lengths to match the size of squares I’m going to use in the quilt! Stay tuned…guess what I’m going to do today!

So, with that I am going to sign off and go play with my new fabric and toys!

Christmas arrived early thanks to Michael Miller Fabrics!

Monday, December 30th, 2019

I mentioned earlier that I am DELIGHTED to have been selected as a Michael Miller Brand Ambassador for 2020. As part of that we received, just before Christmas (Squee!), a box of goodies to use. I cannot WAIT to get into the studio to play. As a reward for getting all the gift wrapping and prep actually done before the 24th, I treated myself to opening the box on December 23rd, but waited until today to post and share the joy.

There are so many goodies in this package I hardly know where to start, but since I am prepping for a new 3-day workshop, Exploring Paint on Cloth (details here) August 5-7 at ProChemical and Dye in Massachusetts, I think I’ll start with the Krystal and some of my thermofax screens and paint!

These are the “color cards” for this year, and OH MY what joy awaits inside. It’s going to be a FUN year!
Here’s those color cards opened up. Top to bottom: Fairy Frost, Marbles, Krystal and Cotton Couture–all 214 colors!!!!!!! SWOON!

Thanks to Michael Miller Fabrics @michaelmillerfabrics for selecting me. Can’t wait to get started on my projects!