Perfecting the Tote Bag–Part 2, the Sheep in Sweaters Tote
Wednesday, September 27th, 2023So FINALLY we get to the Sheep in Sweaters Tote! When I started the previous post, I discovered I’d never blogged about the turquoise tote, which is the forerunner and partner of this one! I will say now that I have finished this post (Part 2), it is LONG–but I wanted to be sure you got ALL the good info. If you’re here for just the totebag part, skim the embroidery bits! Thanks for reading!
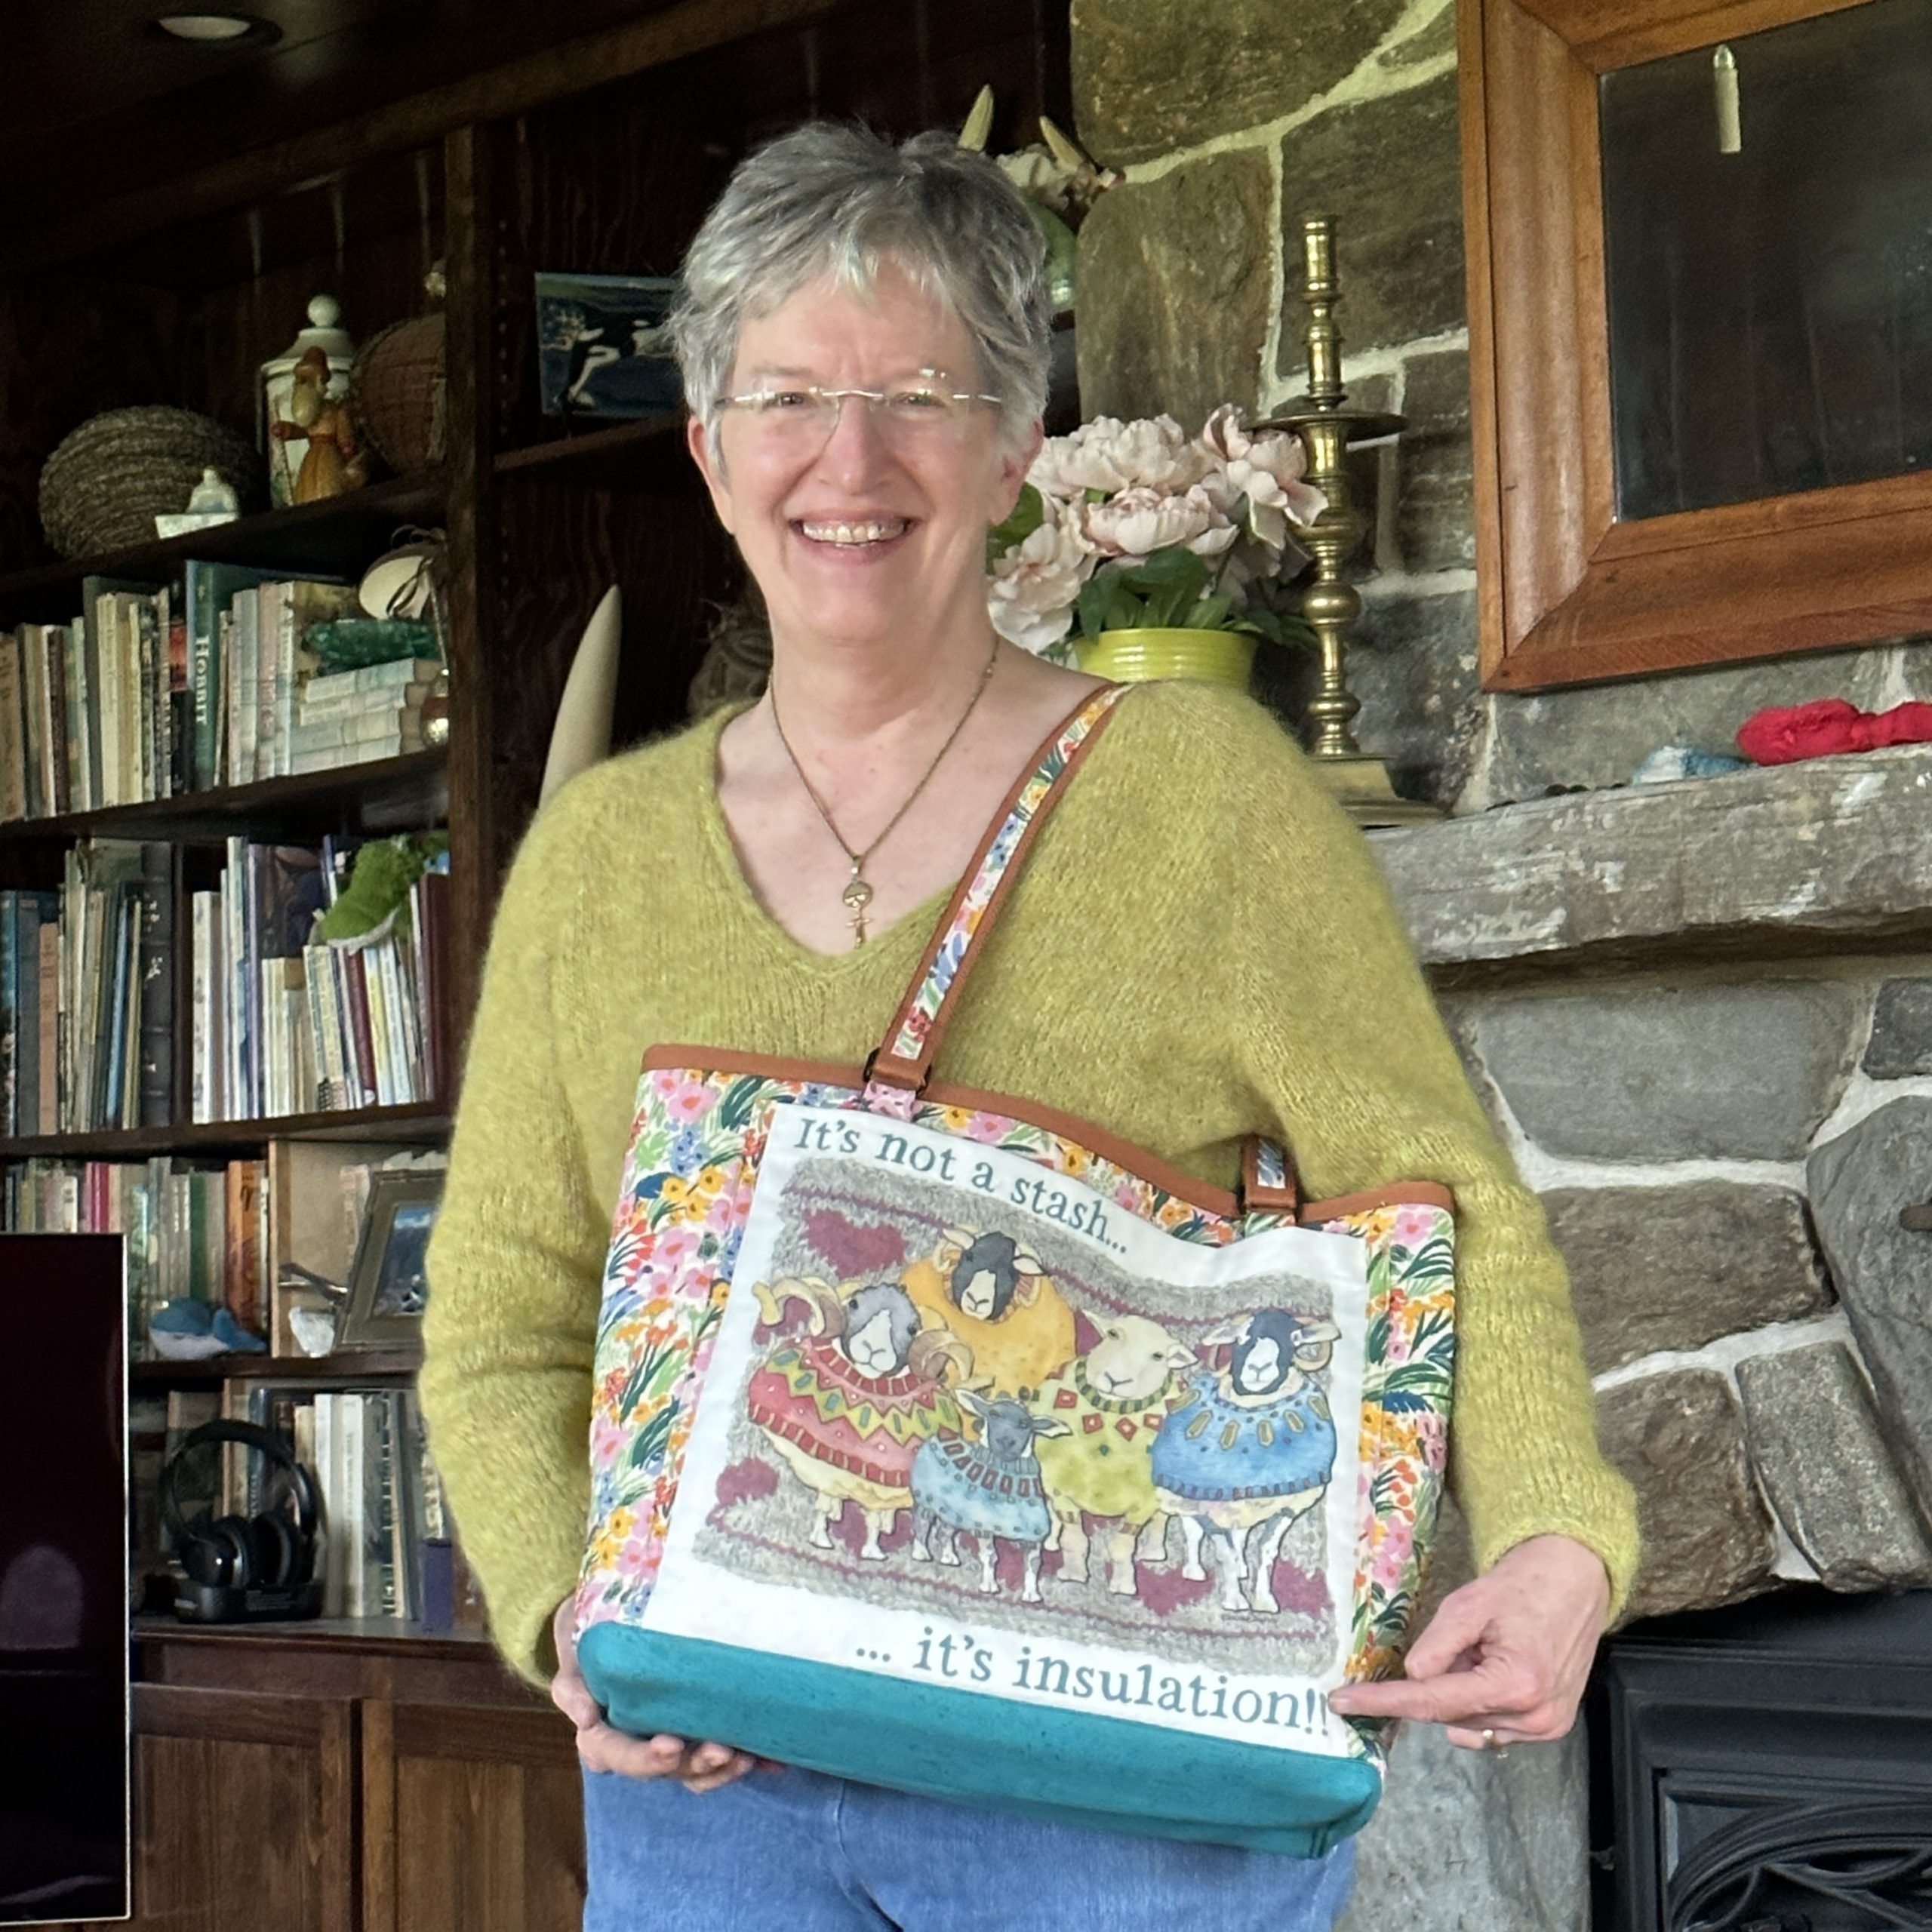
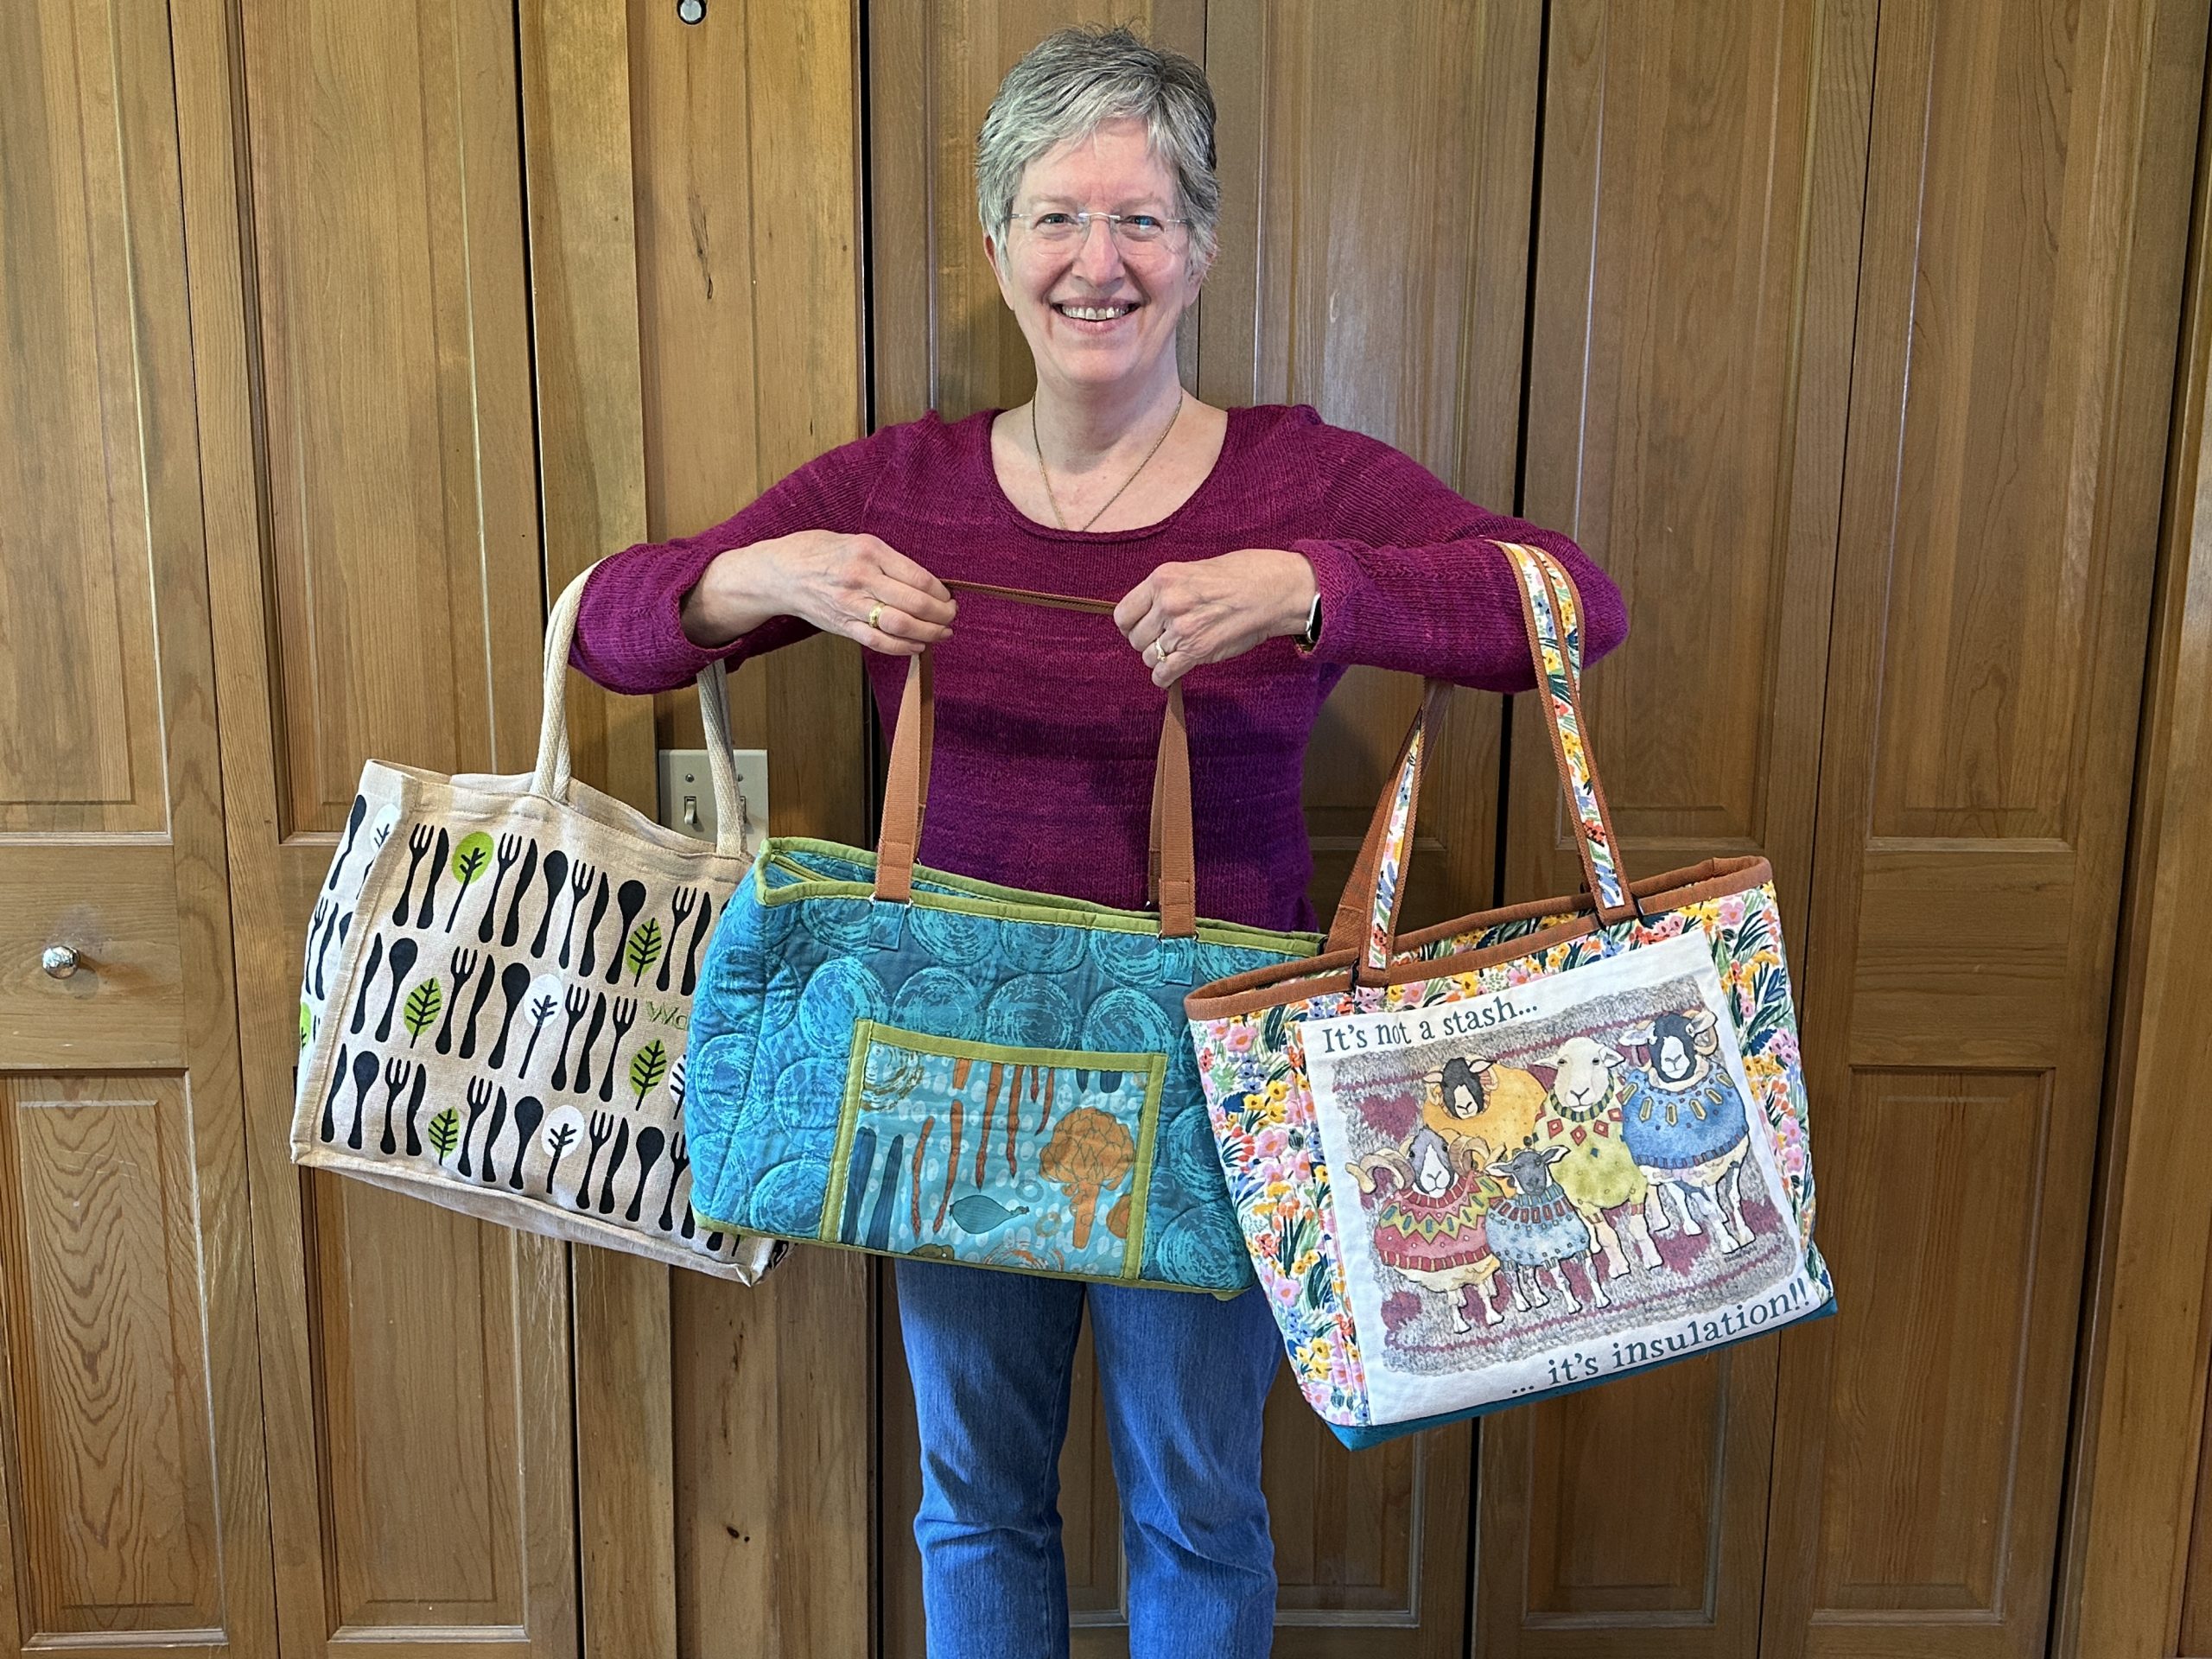
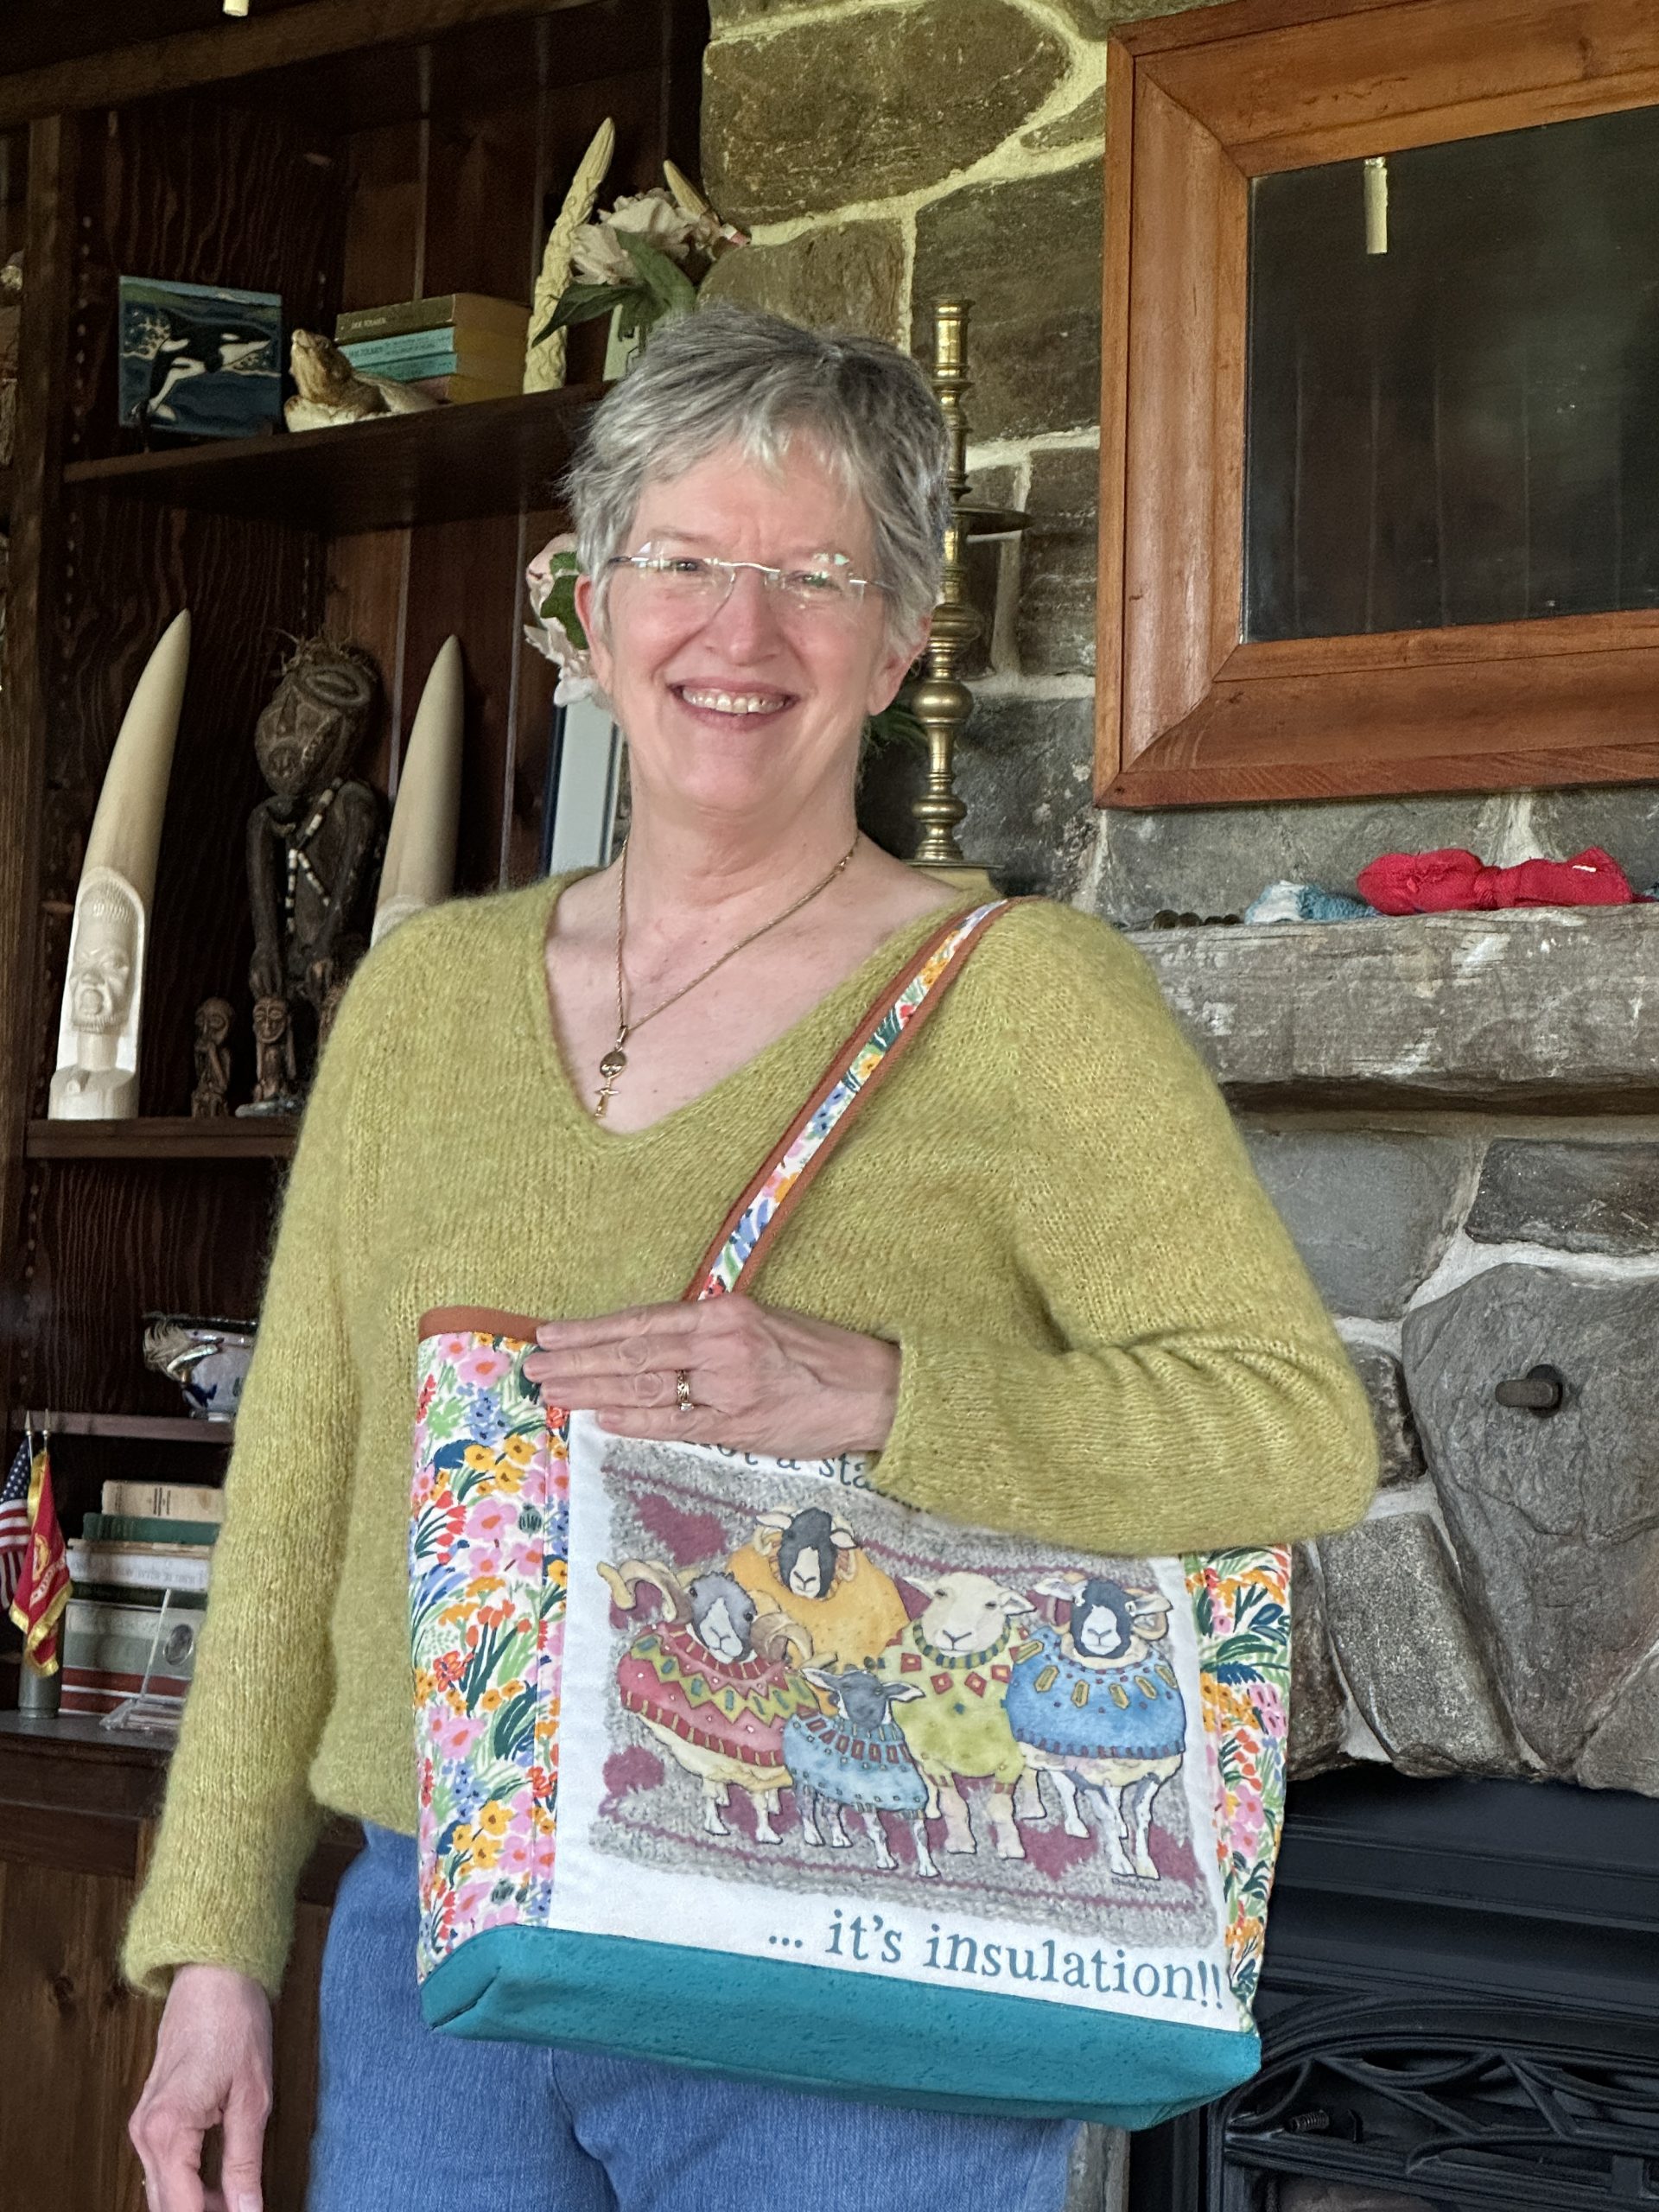
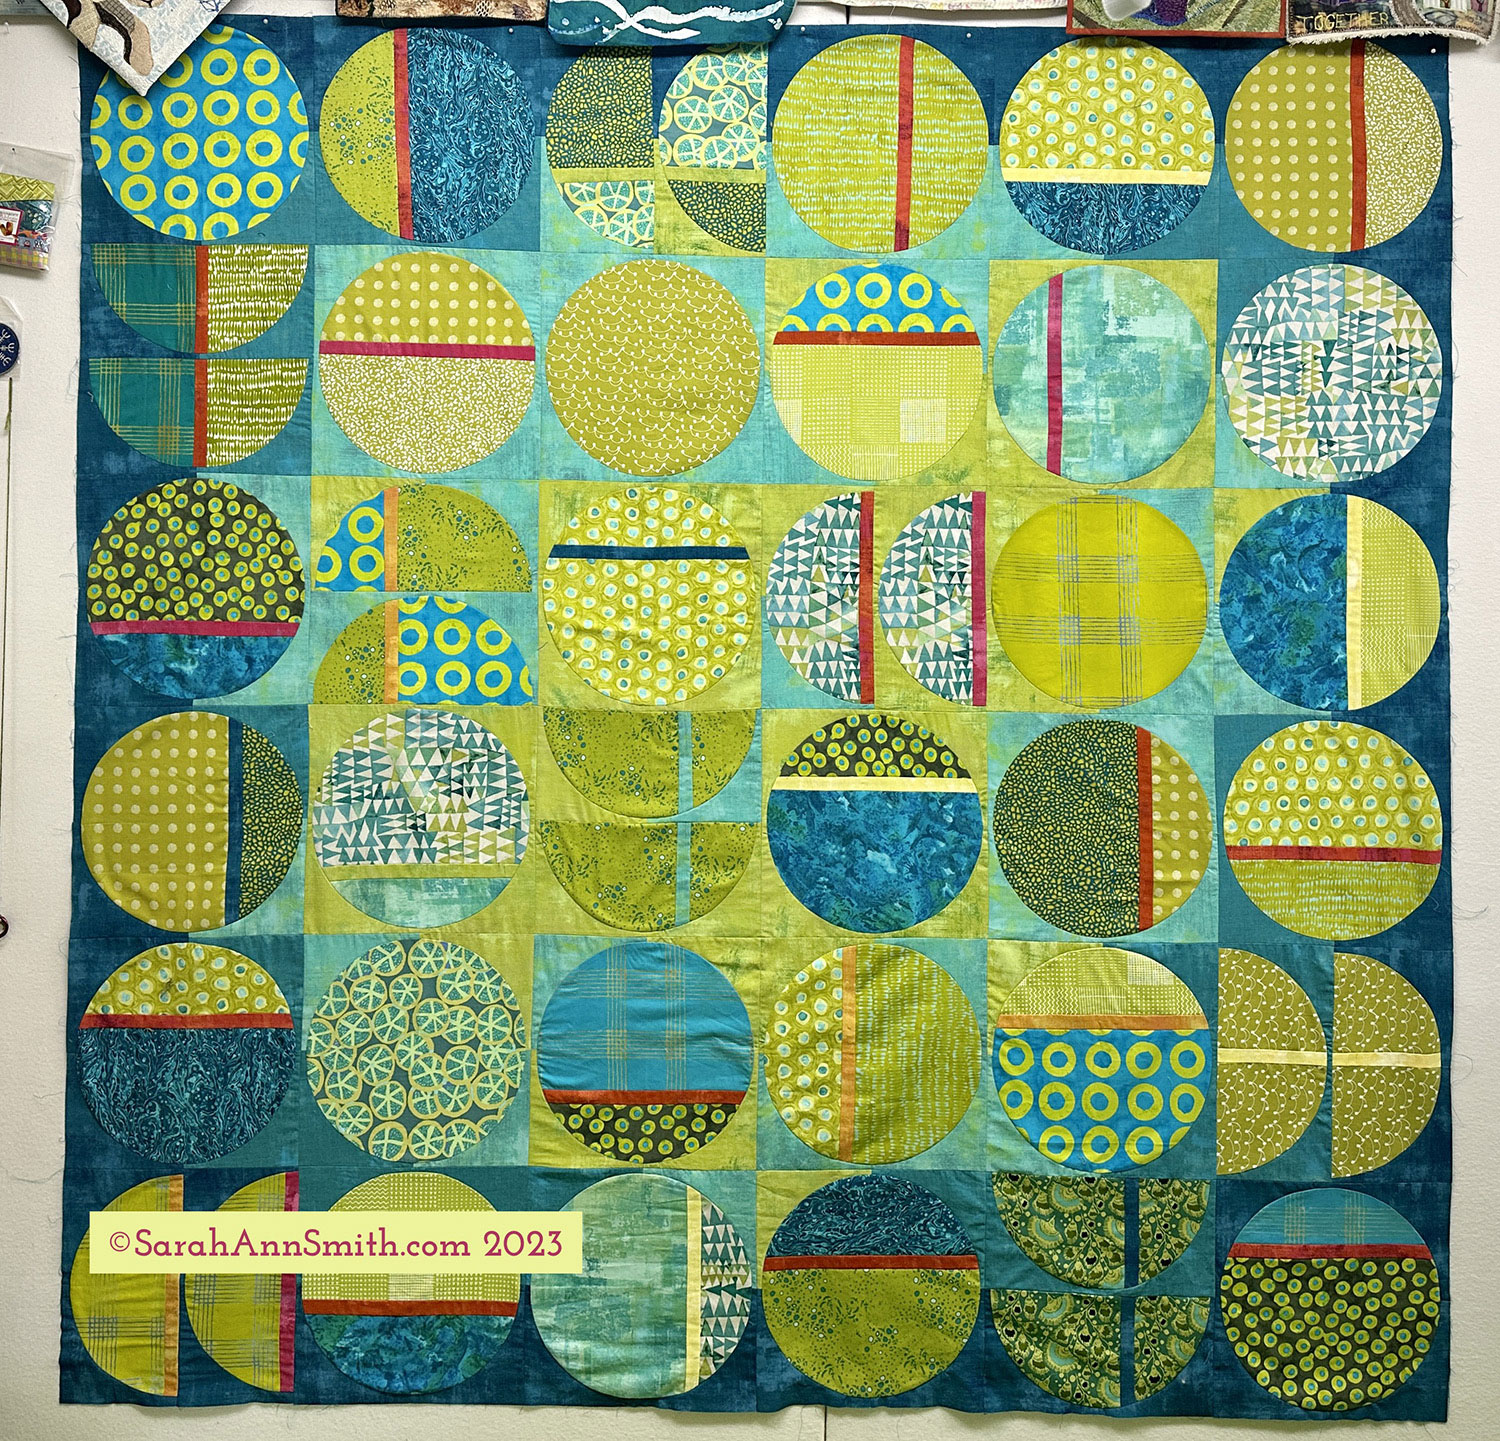
Those of you who get my newsletter (sign up in right sidebar on this blog or the bottom of all the other website pages–if you prefer enter 12345 as your zip code when it asks) or follow me on social media (@sarahannsmithq and @sarahannsmithartist on FB and @sarahannsmithdesigns on IG), may remember that in 2022, older son Joshua, daughter-in-love Ashley and I spent two weeks in Scotland. While there Ashley spotted a hilarious totebag with this illustration. It was a soft, squishy tote, but inexpensive so I bought it and vowed I would convert it into a bag I LOVE!
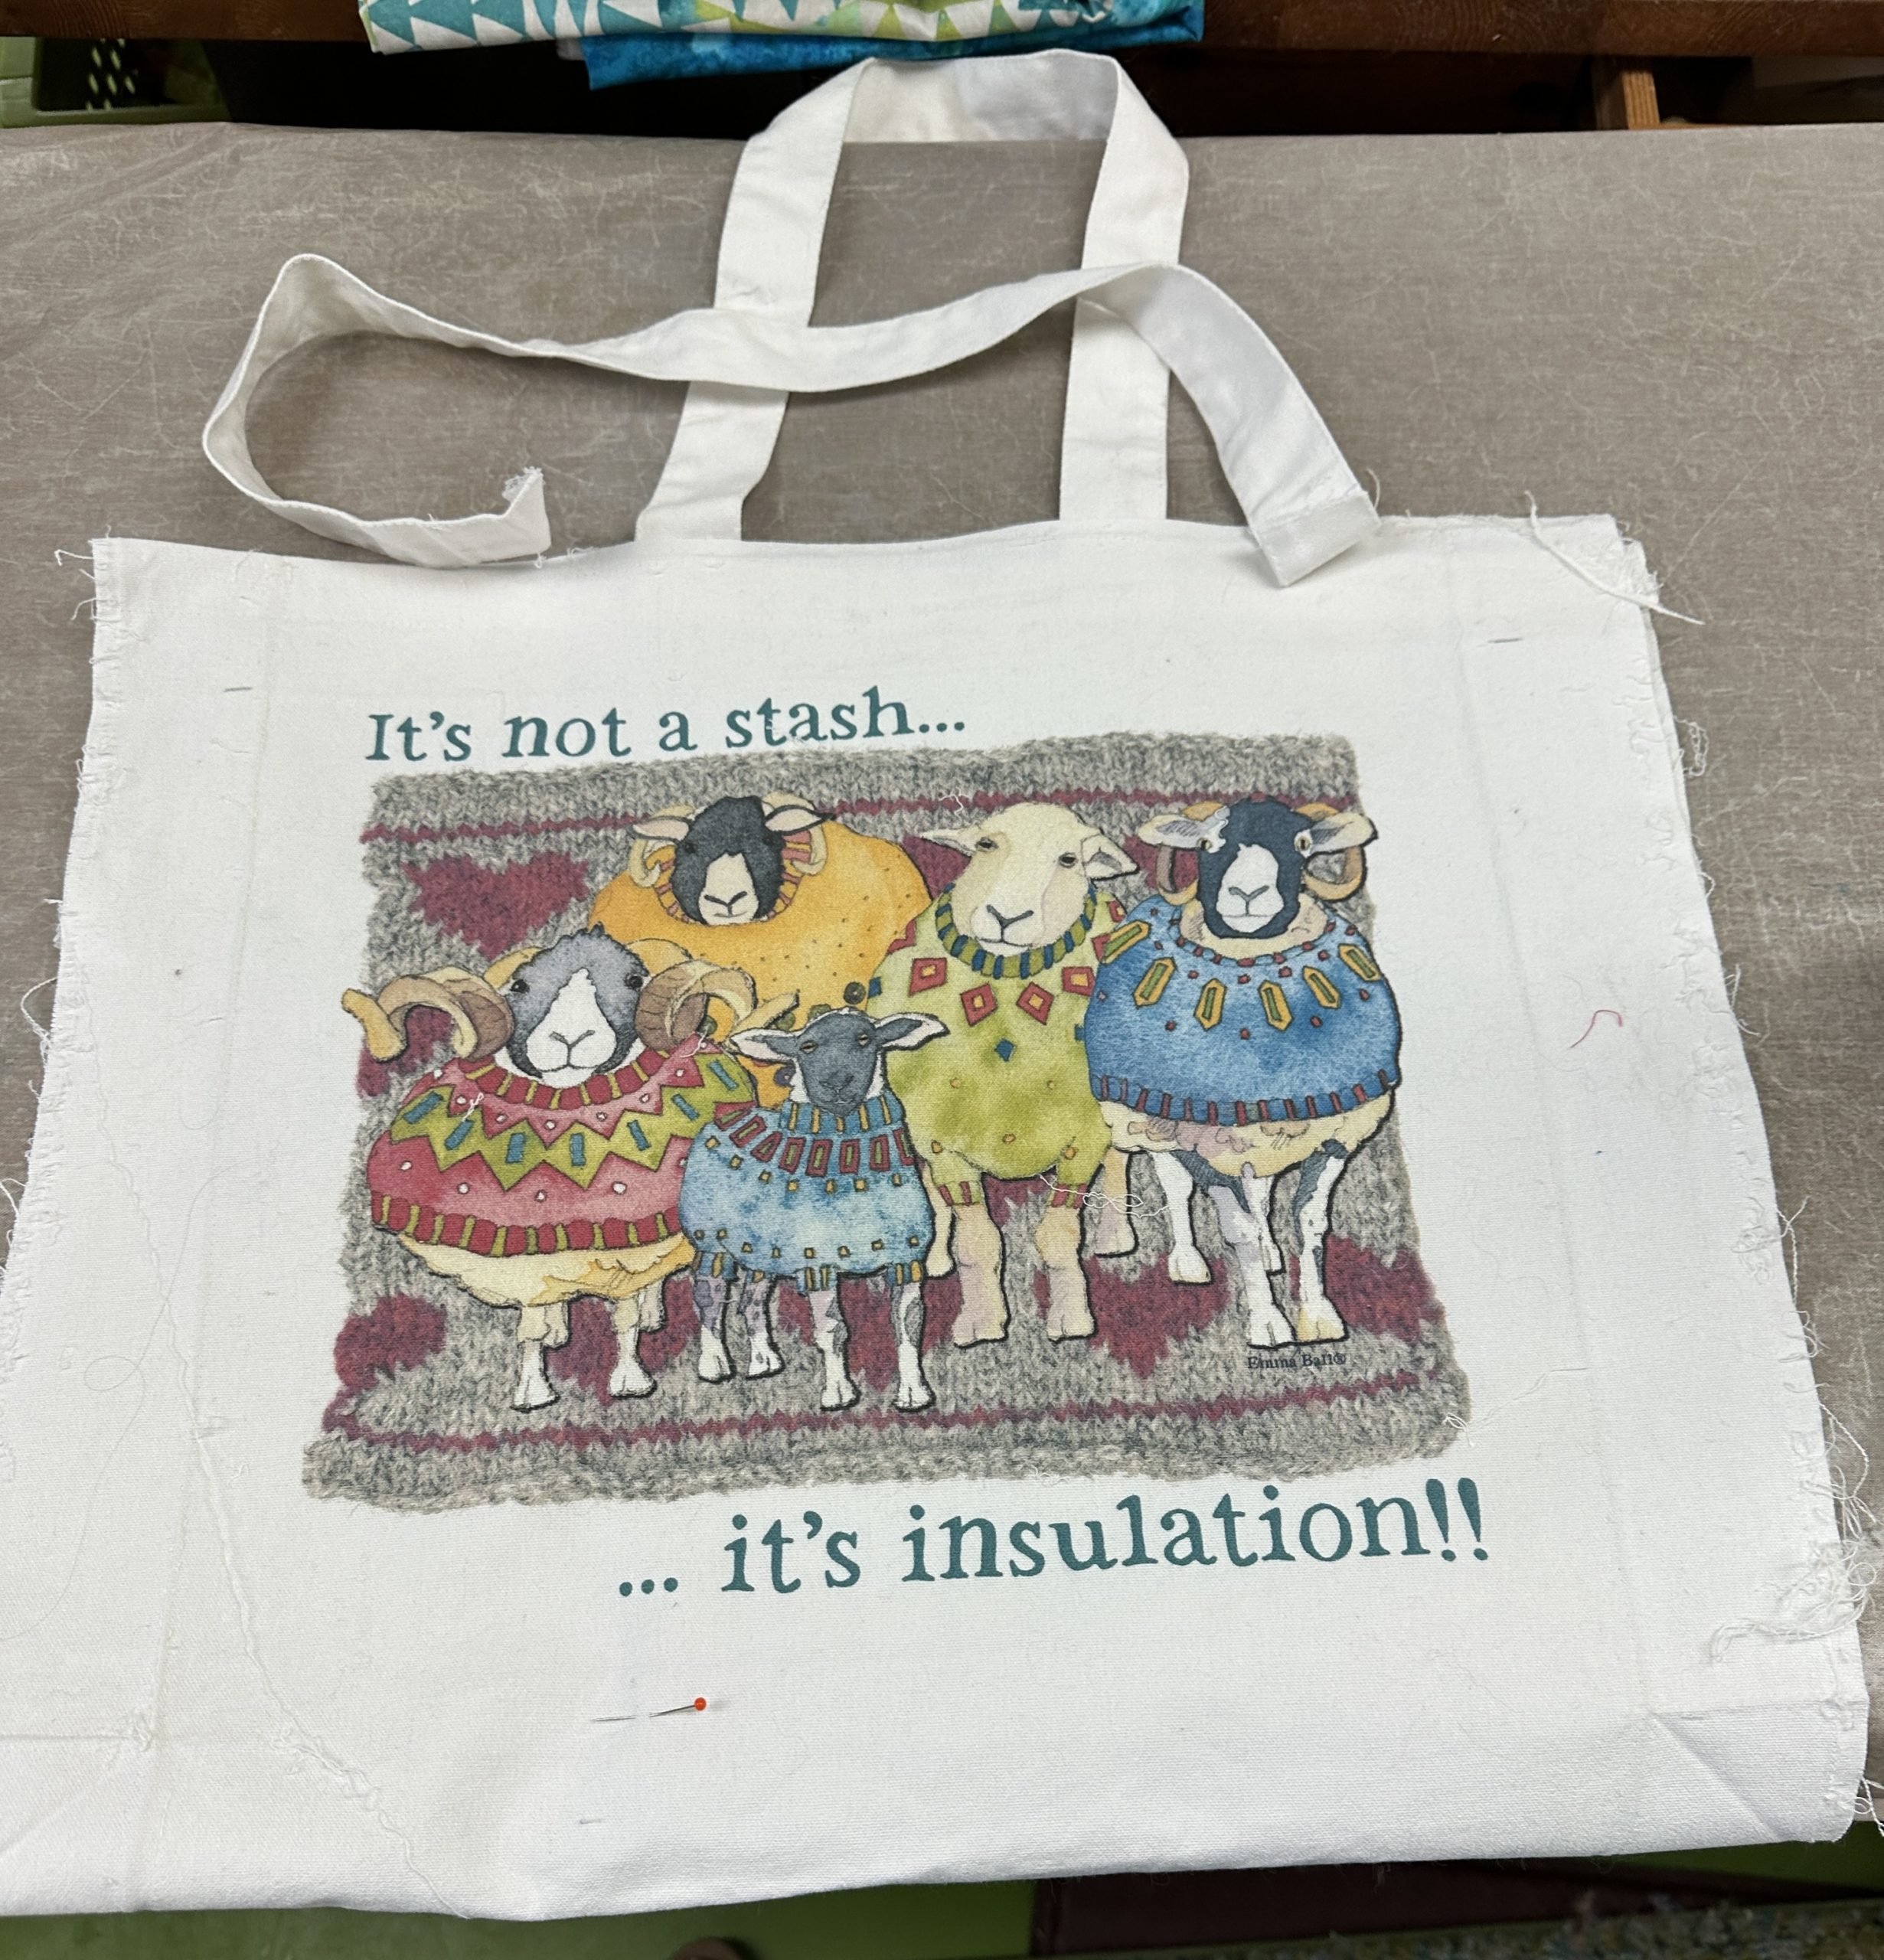
I forgot to take a photo before I picked out the side seams, but you can tell it is pretty supple. Great for packing flat into a suitcase, but collapses and not so comfy when full. In a minor miracle, it has only taken about a year to re-make it. In the last post, I mentioned that I really like bags that stand up on their own, and that I wanted at least one pocket large enough to hold a knitting pattern in a page protector and/or an iPad. FYI: links to supplies / info on products is at the VERY end of this post.
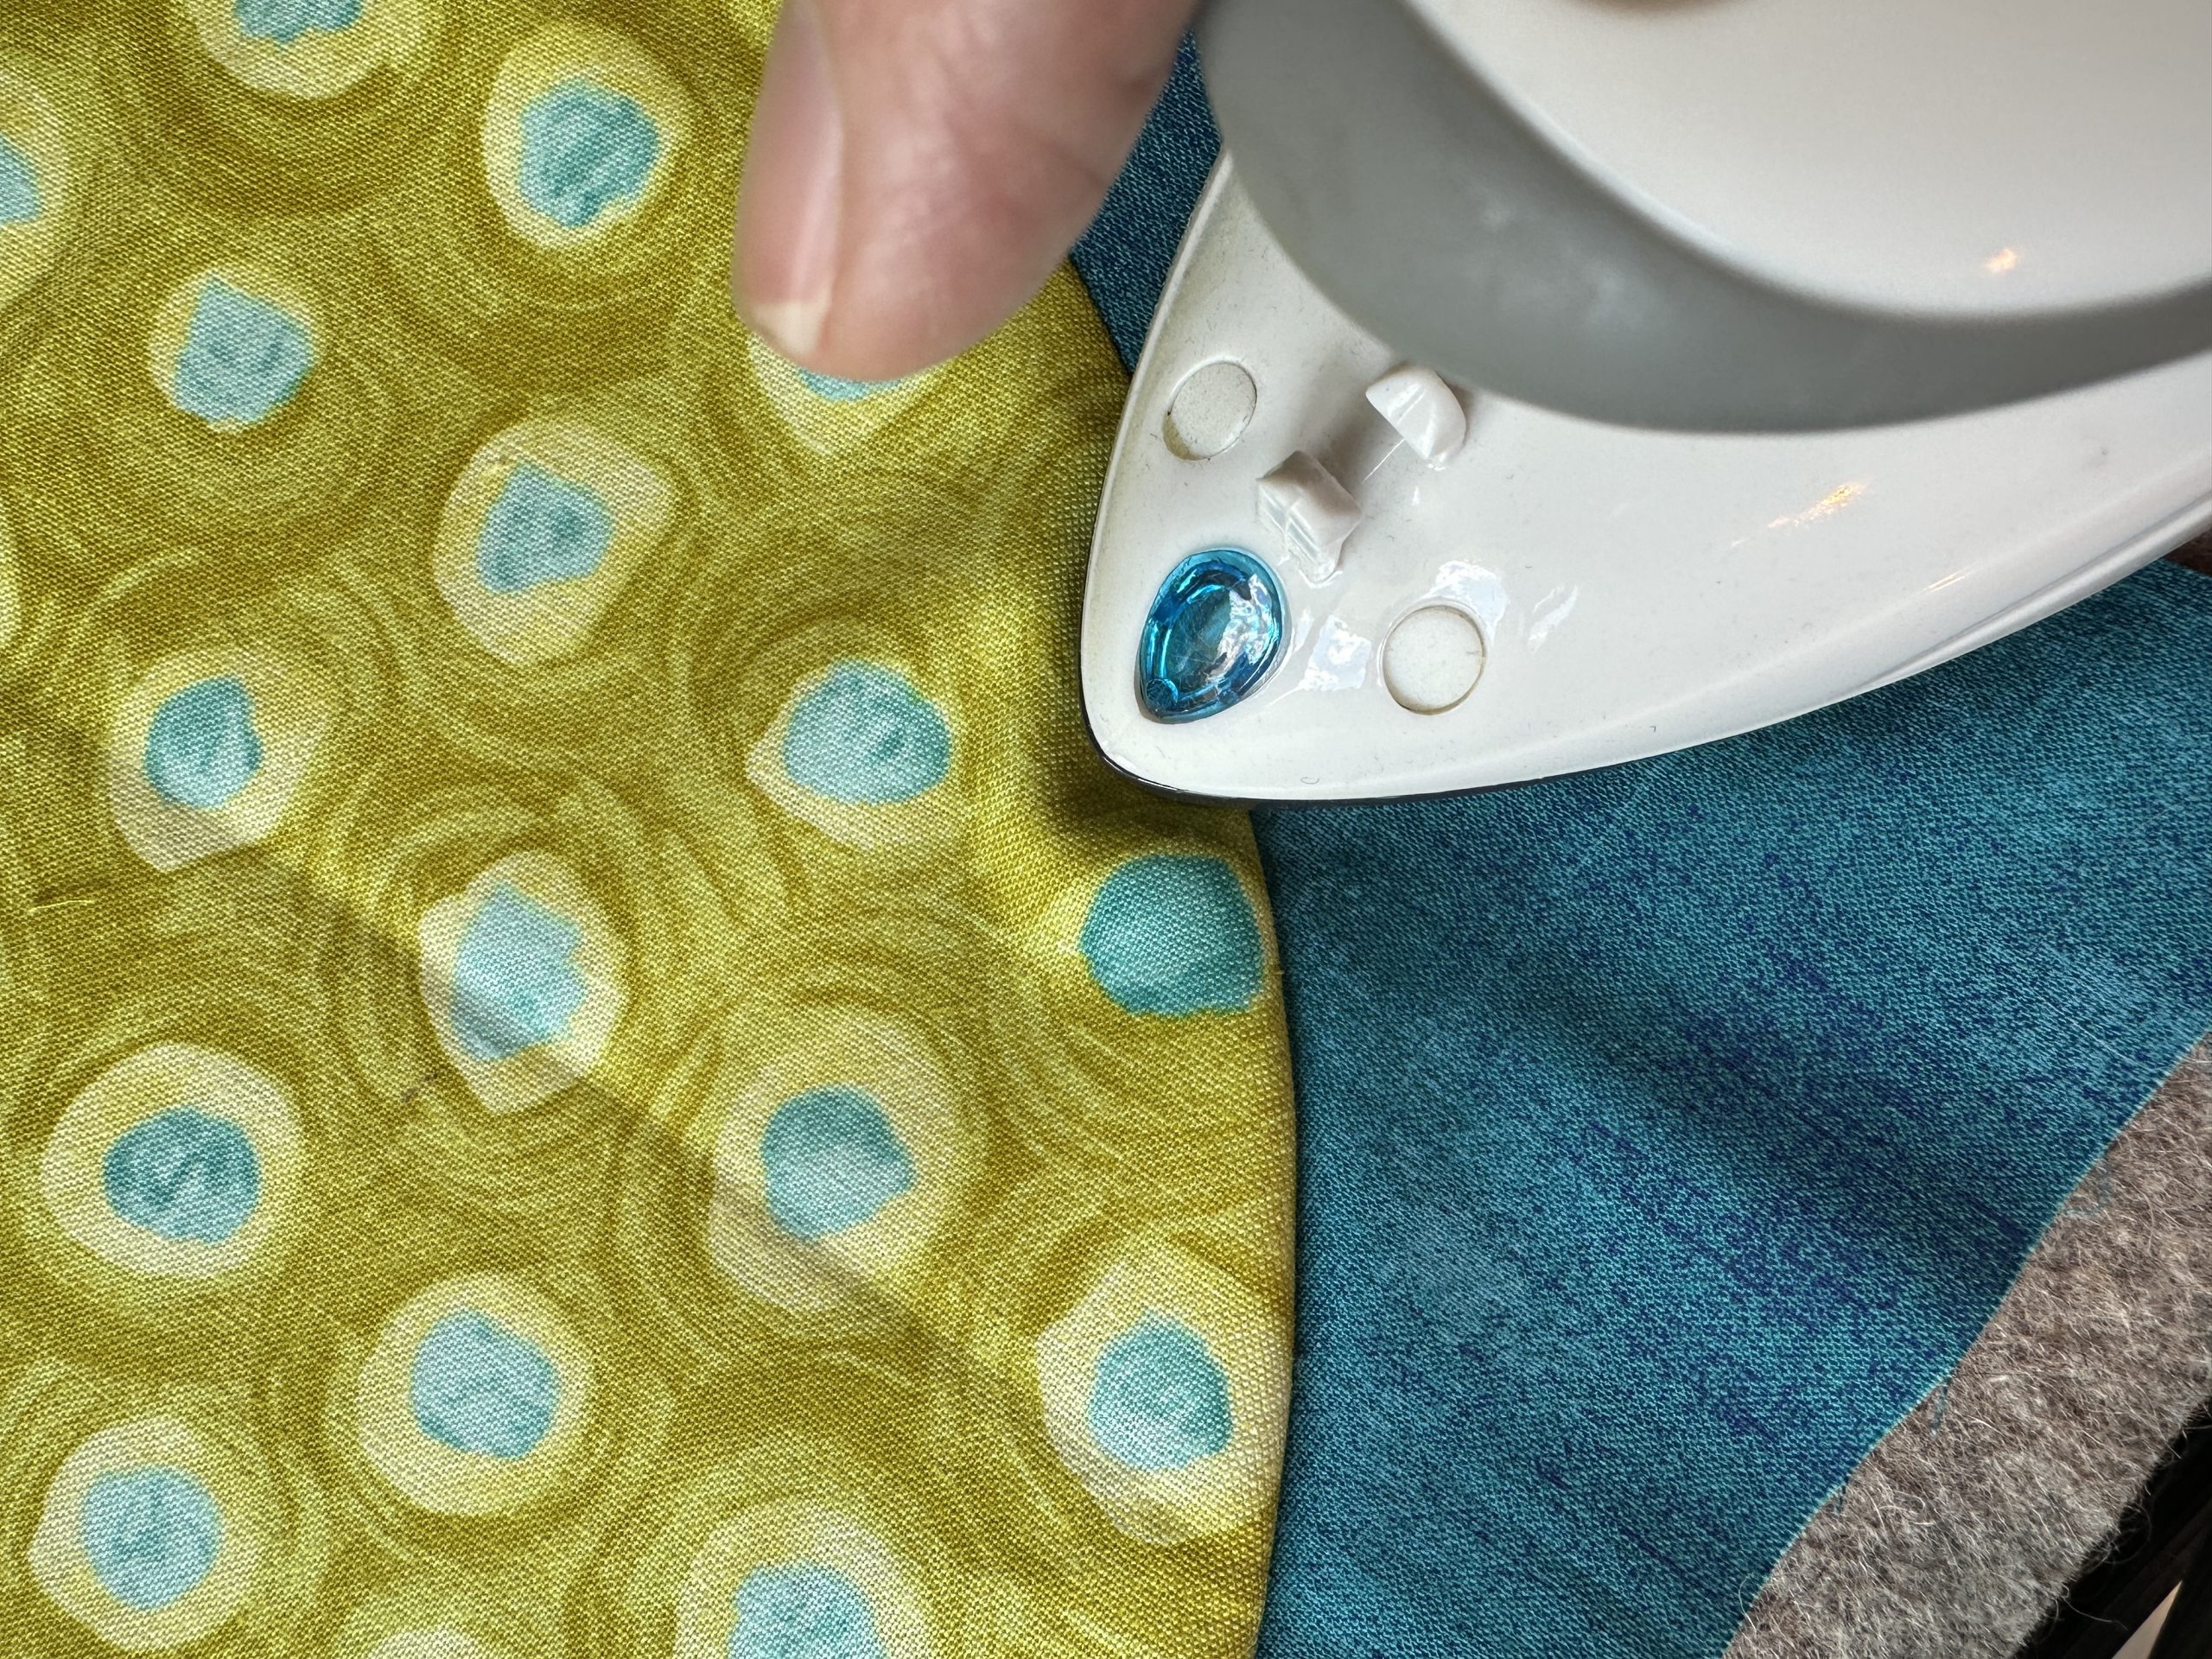
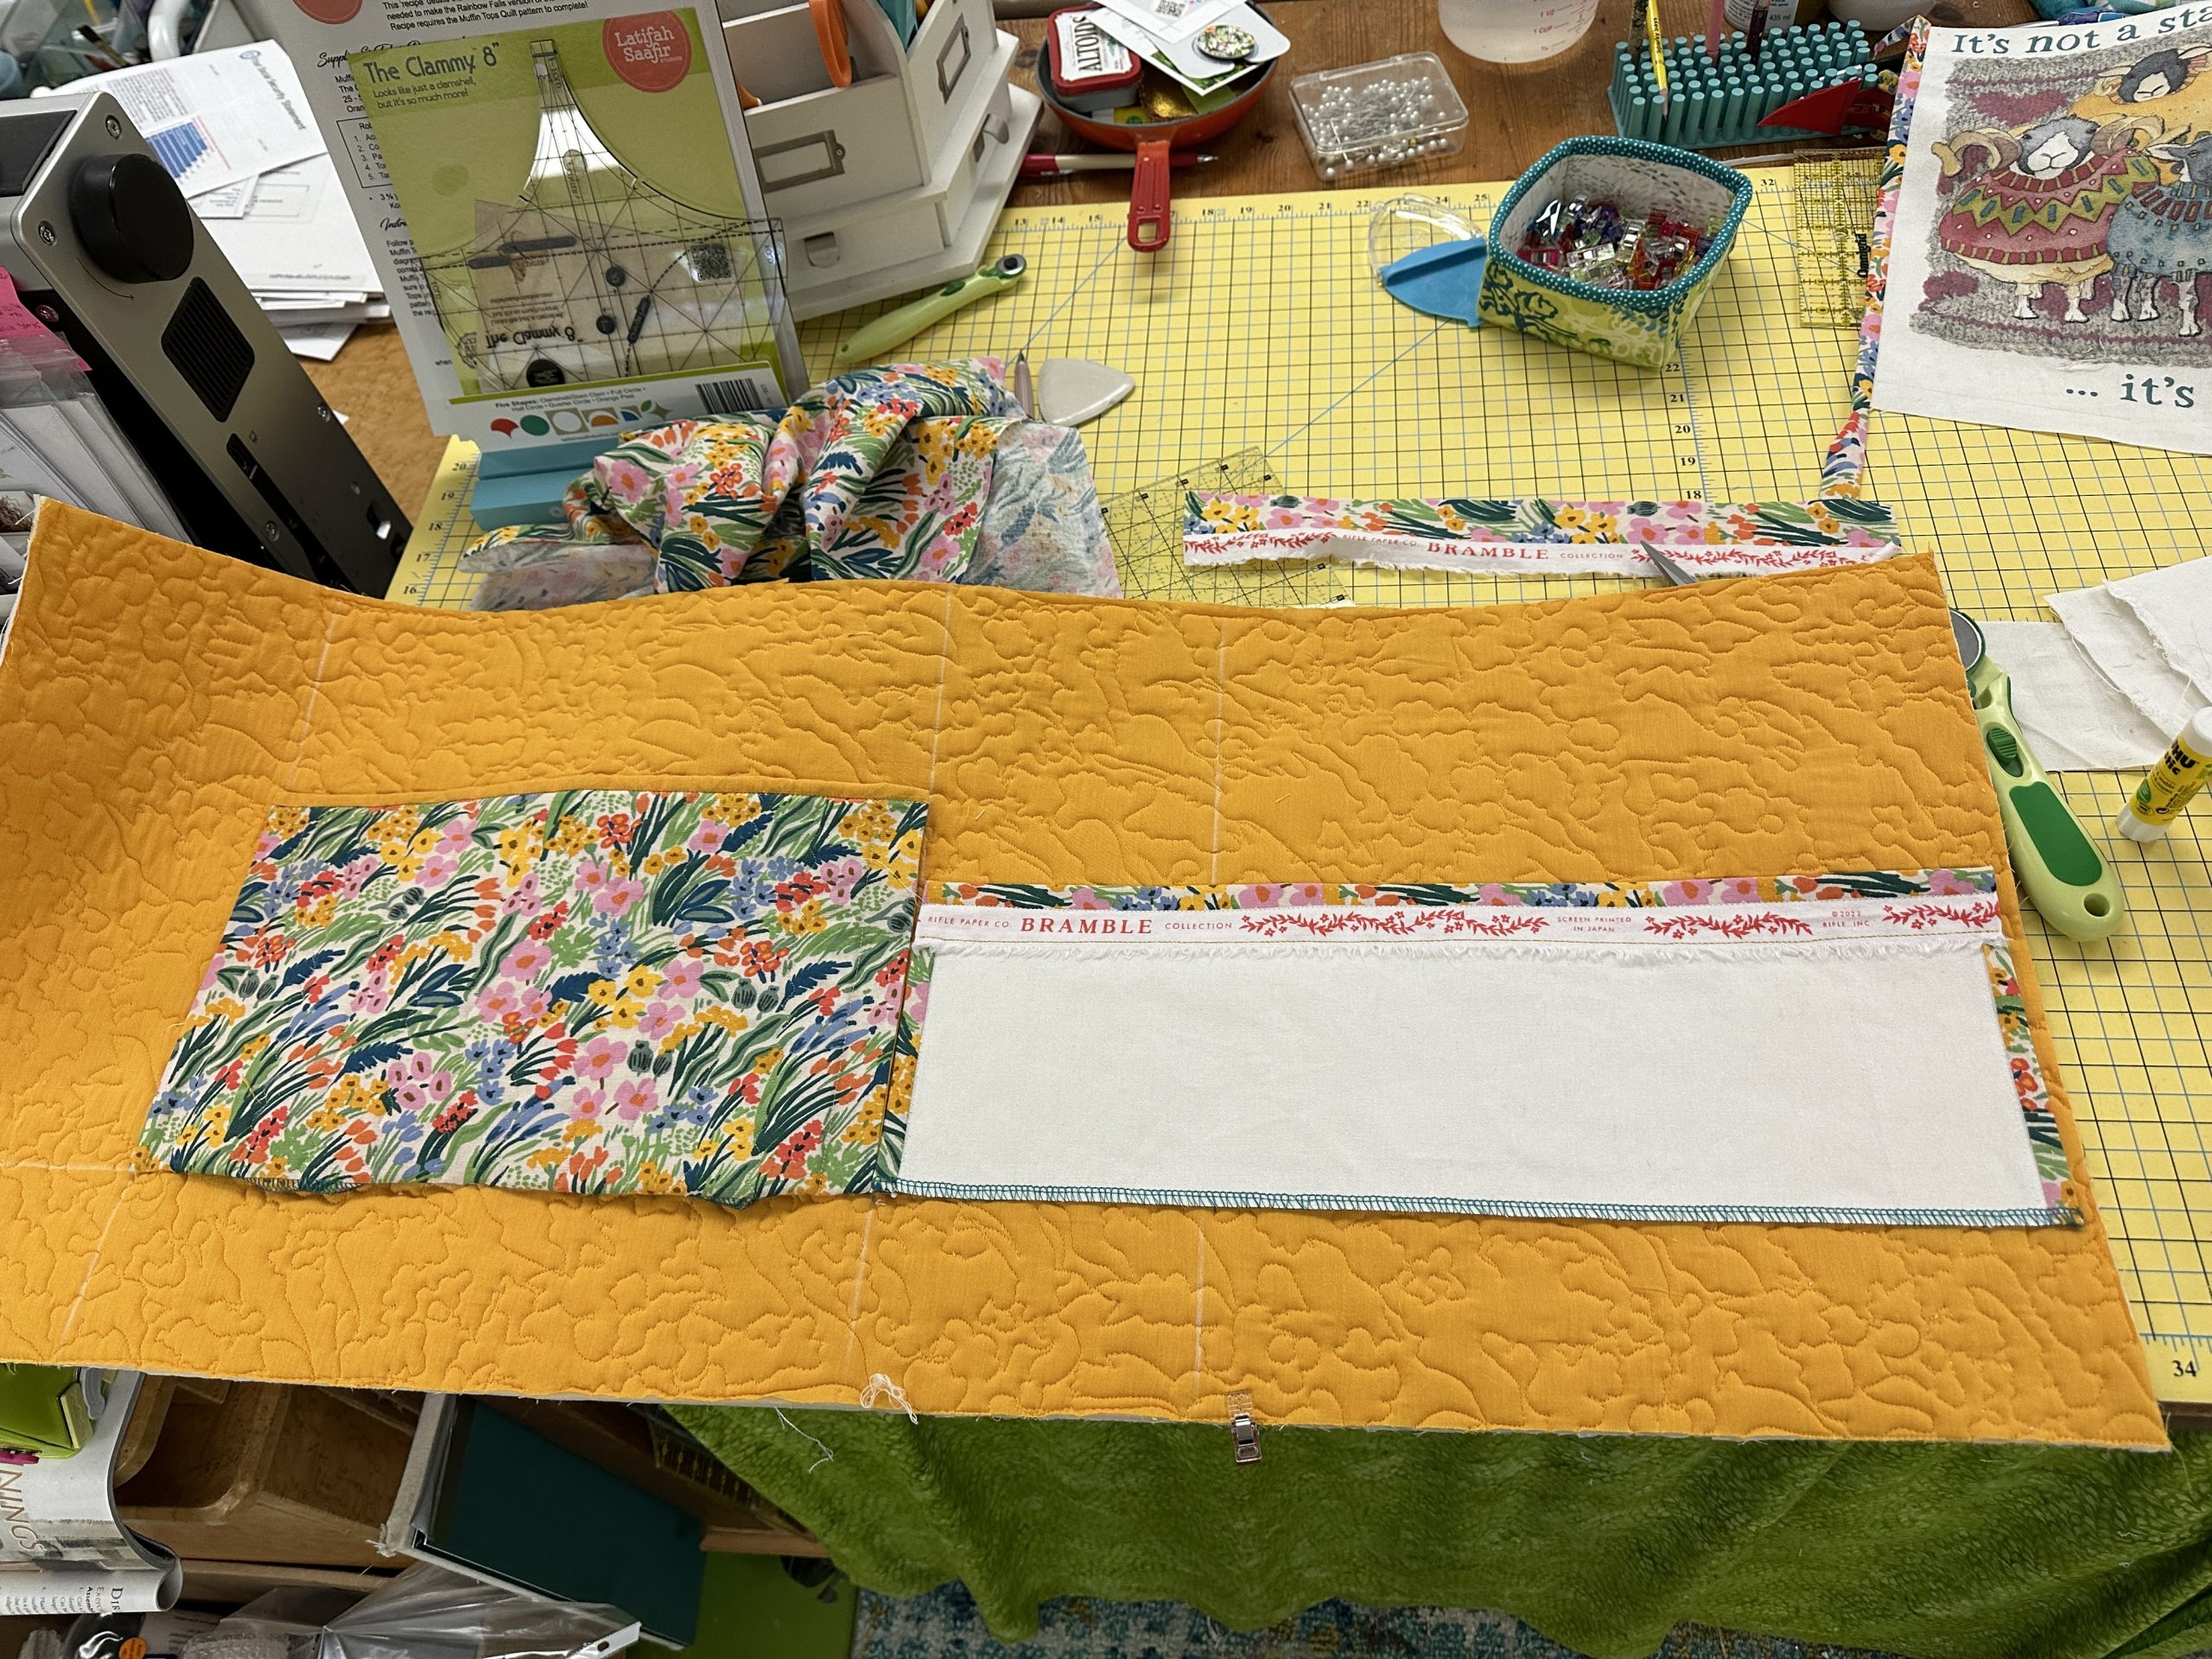
The overall size of this tote was determined by the size of the image in the photo above and the width of the fabric I purchased to go with the colors of the illustration. At Fiddlehead Artisan Supply (online shop, but if you EVER get anywhere near Belfast, Maine, you MUST go–quilting and garment fabric, books, art supplies galore, craft supplies…. LOVE), I found a Rifle Paper Company fabric with just the right colors. Since it was about 43-44″ wide, that determined the circumference of the bag (didn’t want to buy a whole extra 27 inches to get just a short side panel!). As with the turquoise onions tote, I quilted the fabric first, using cream thread and going around the motifs in the print.
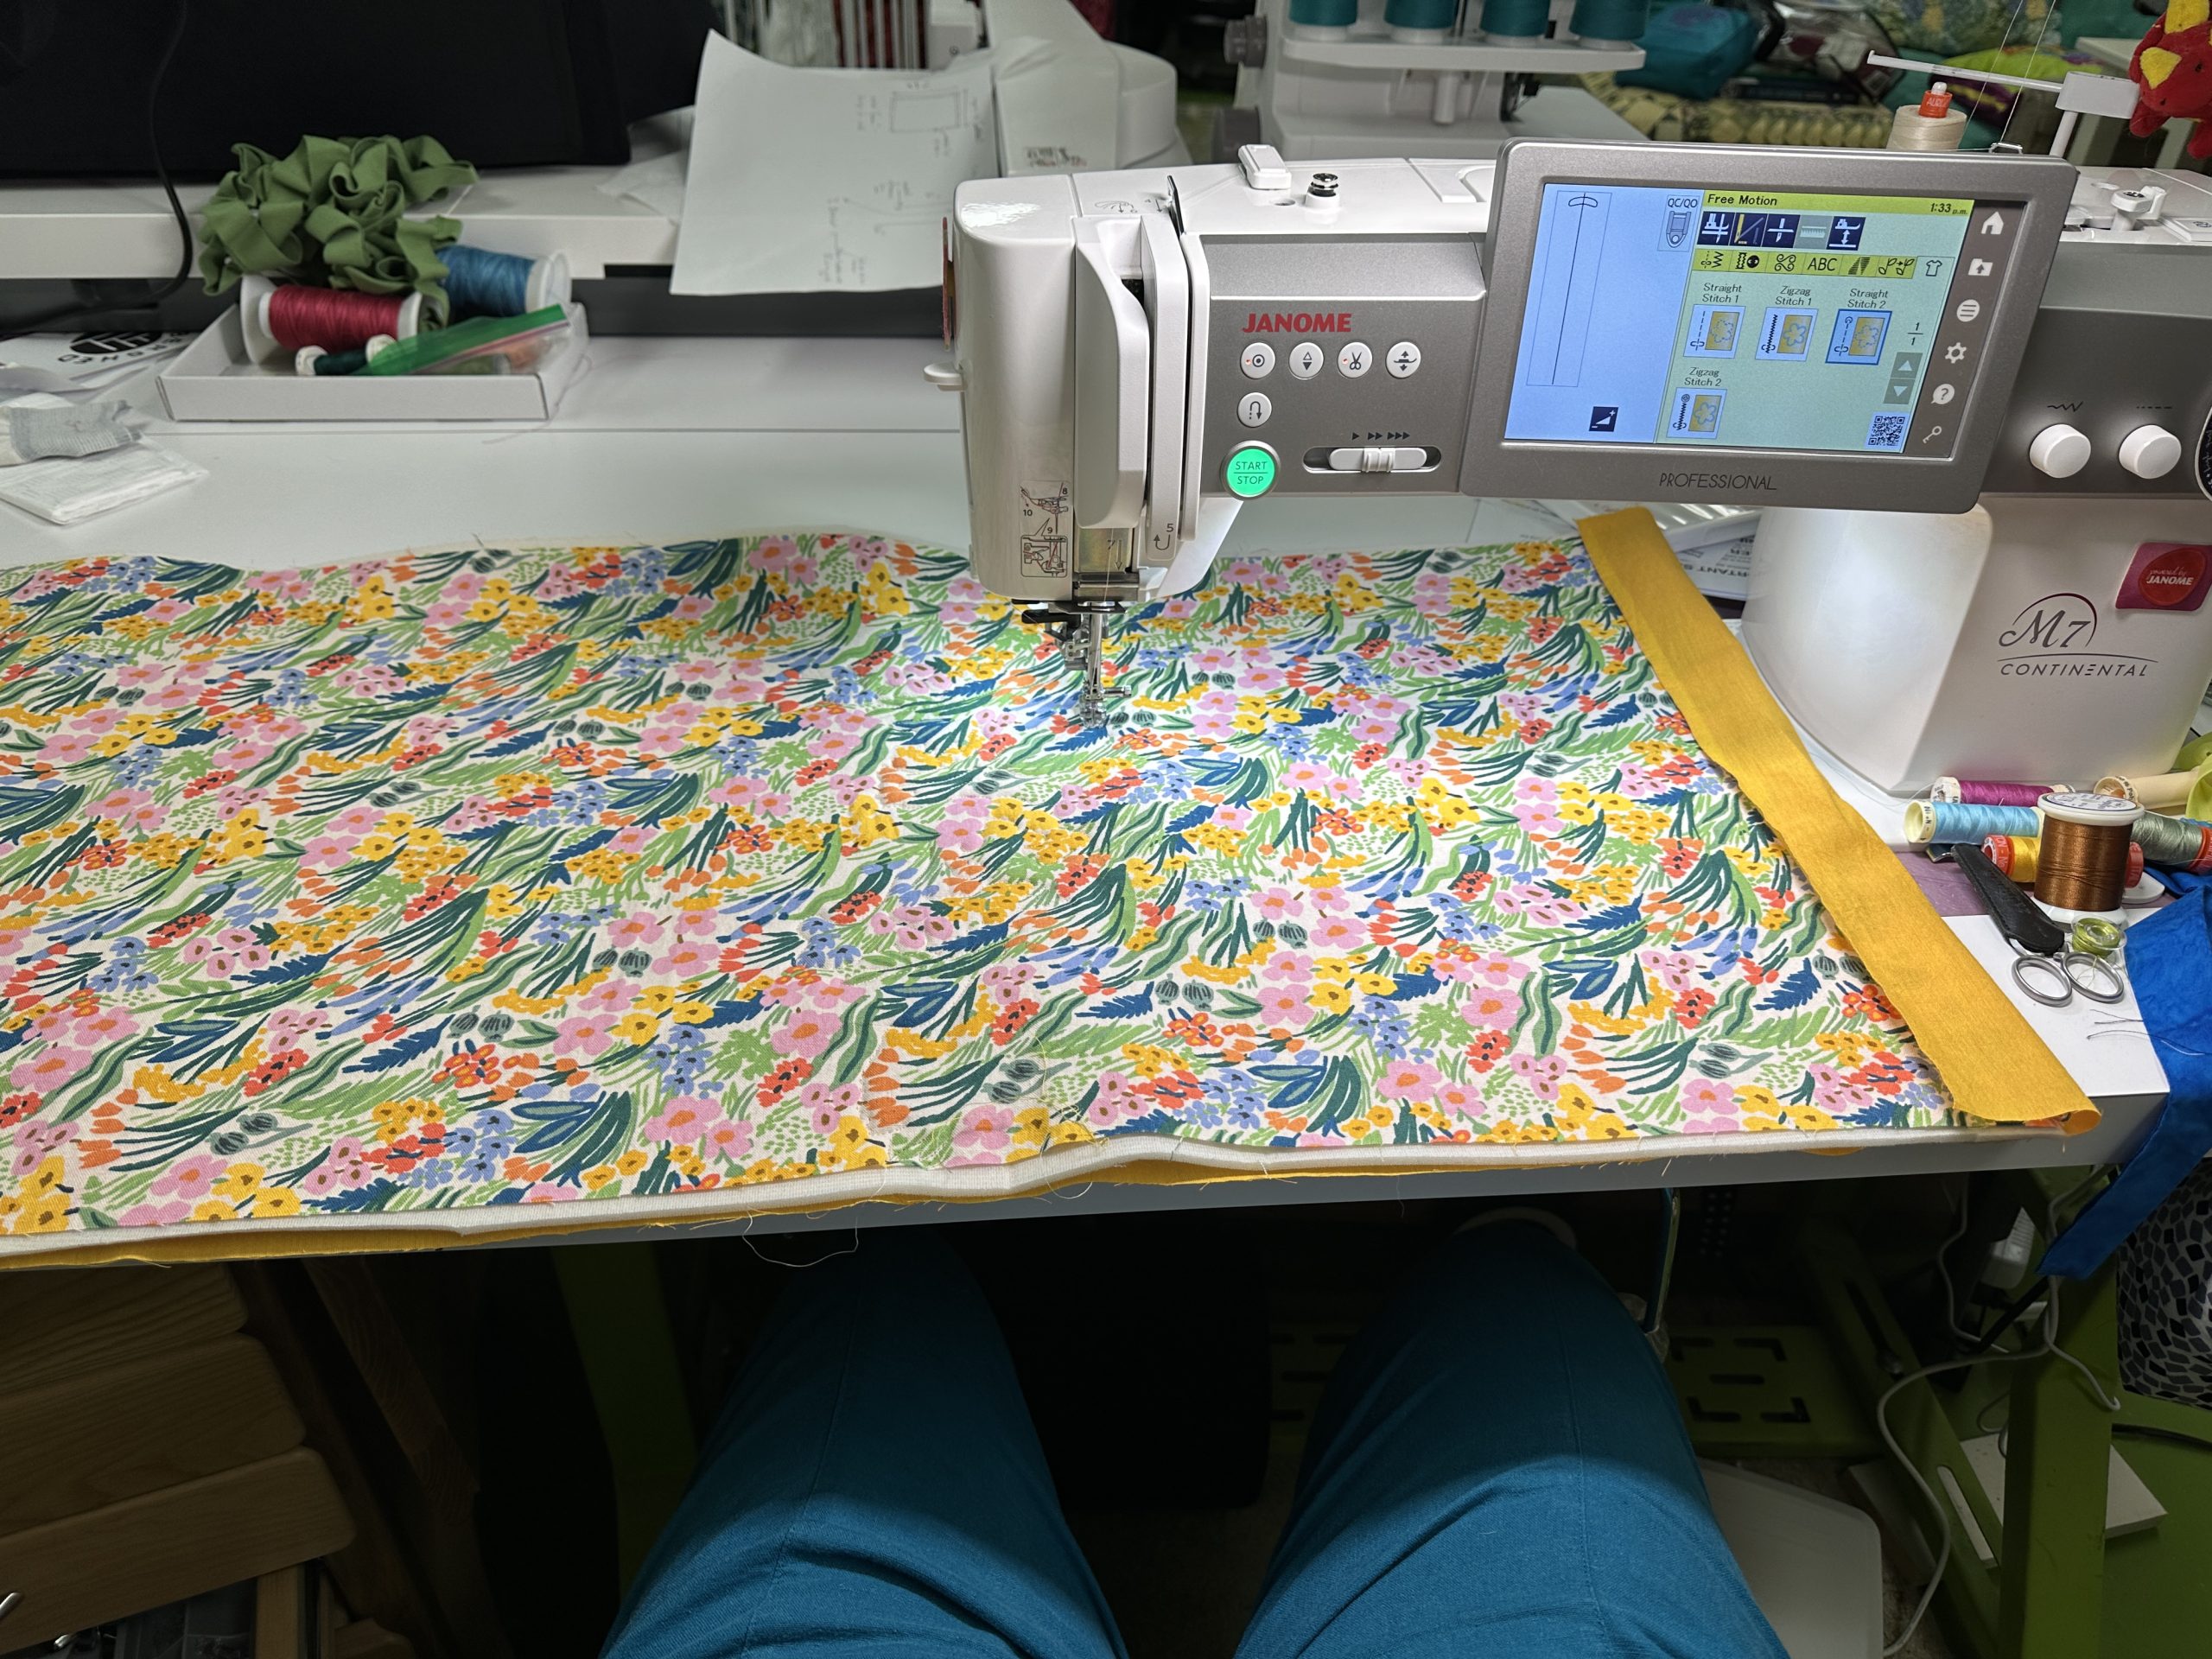
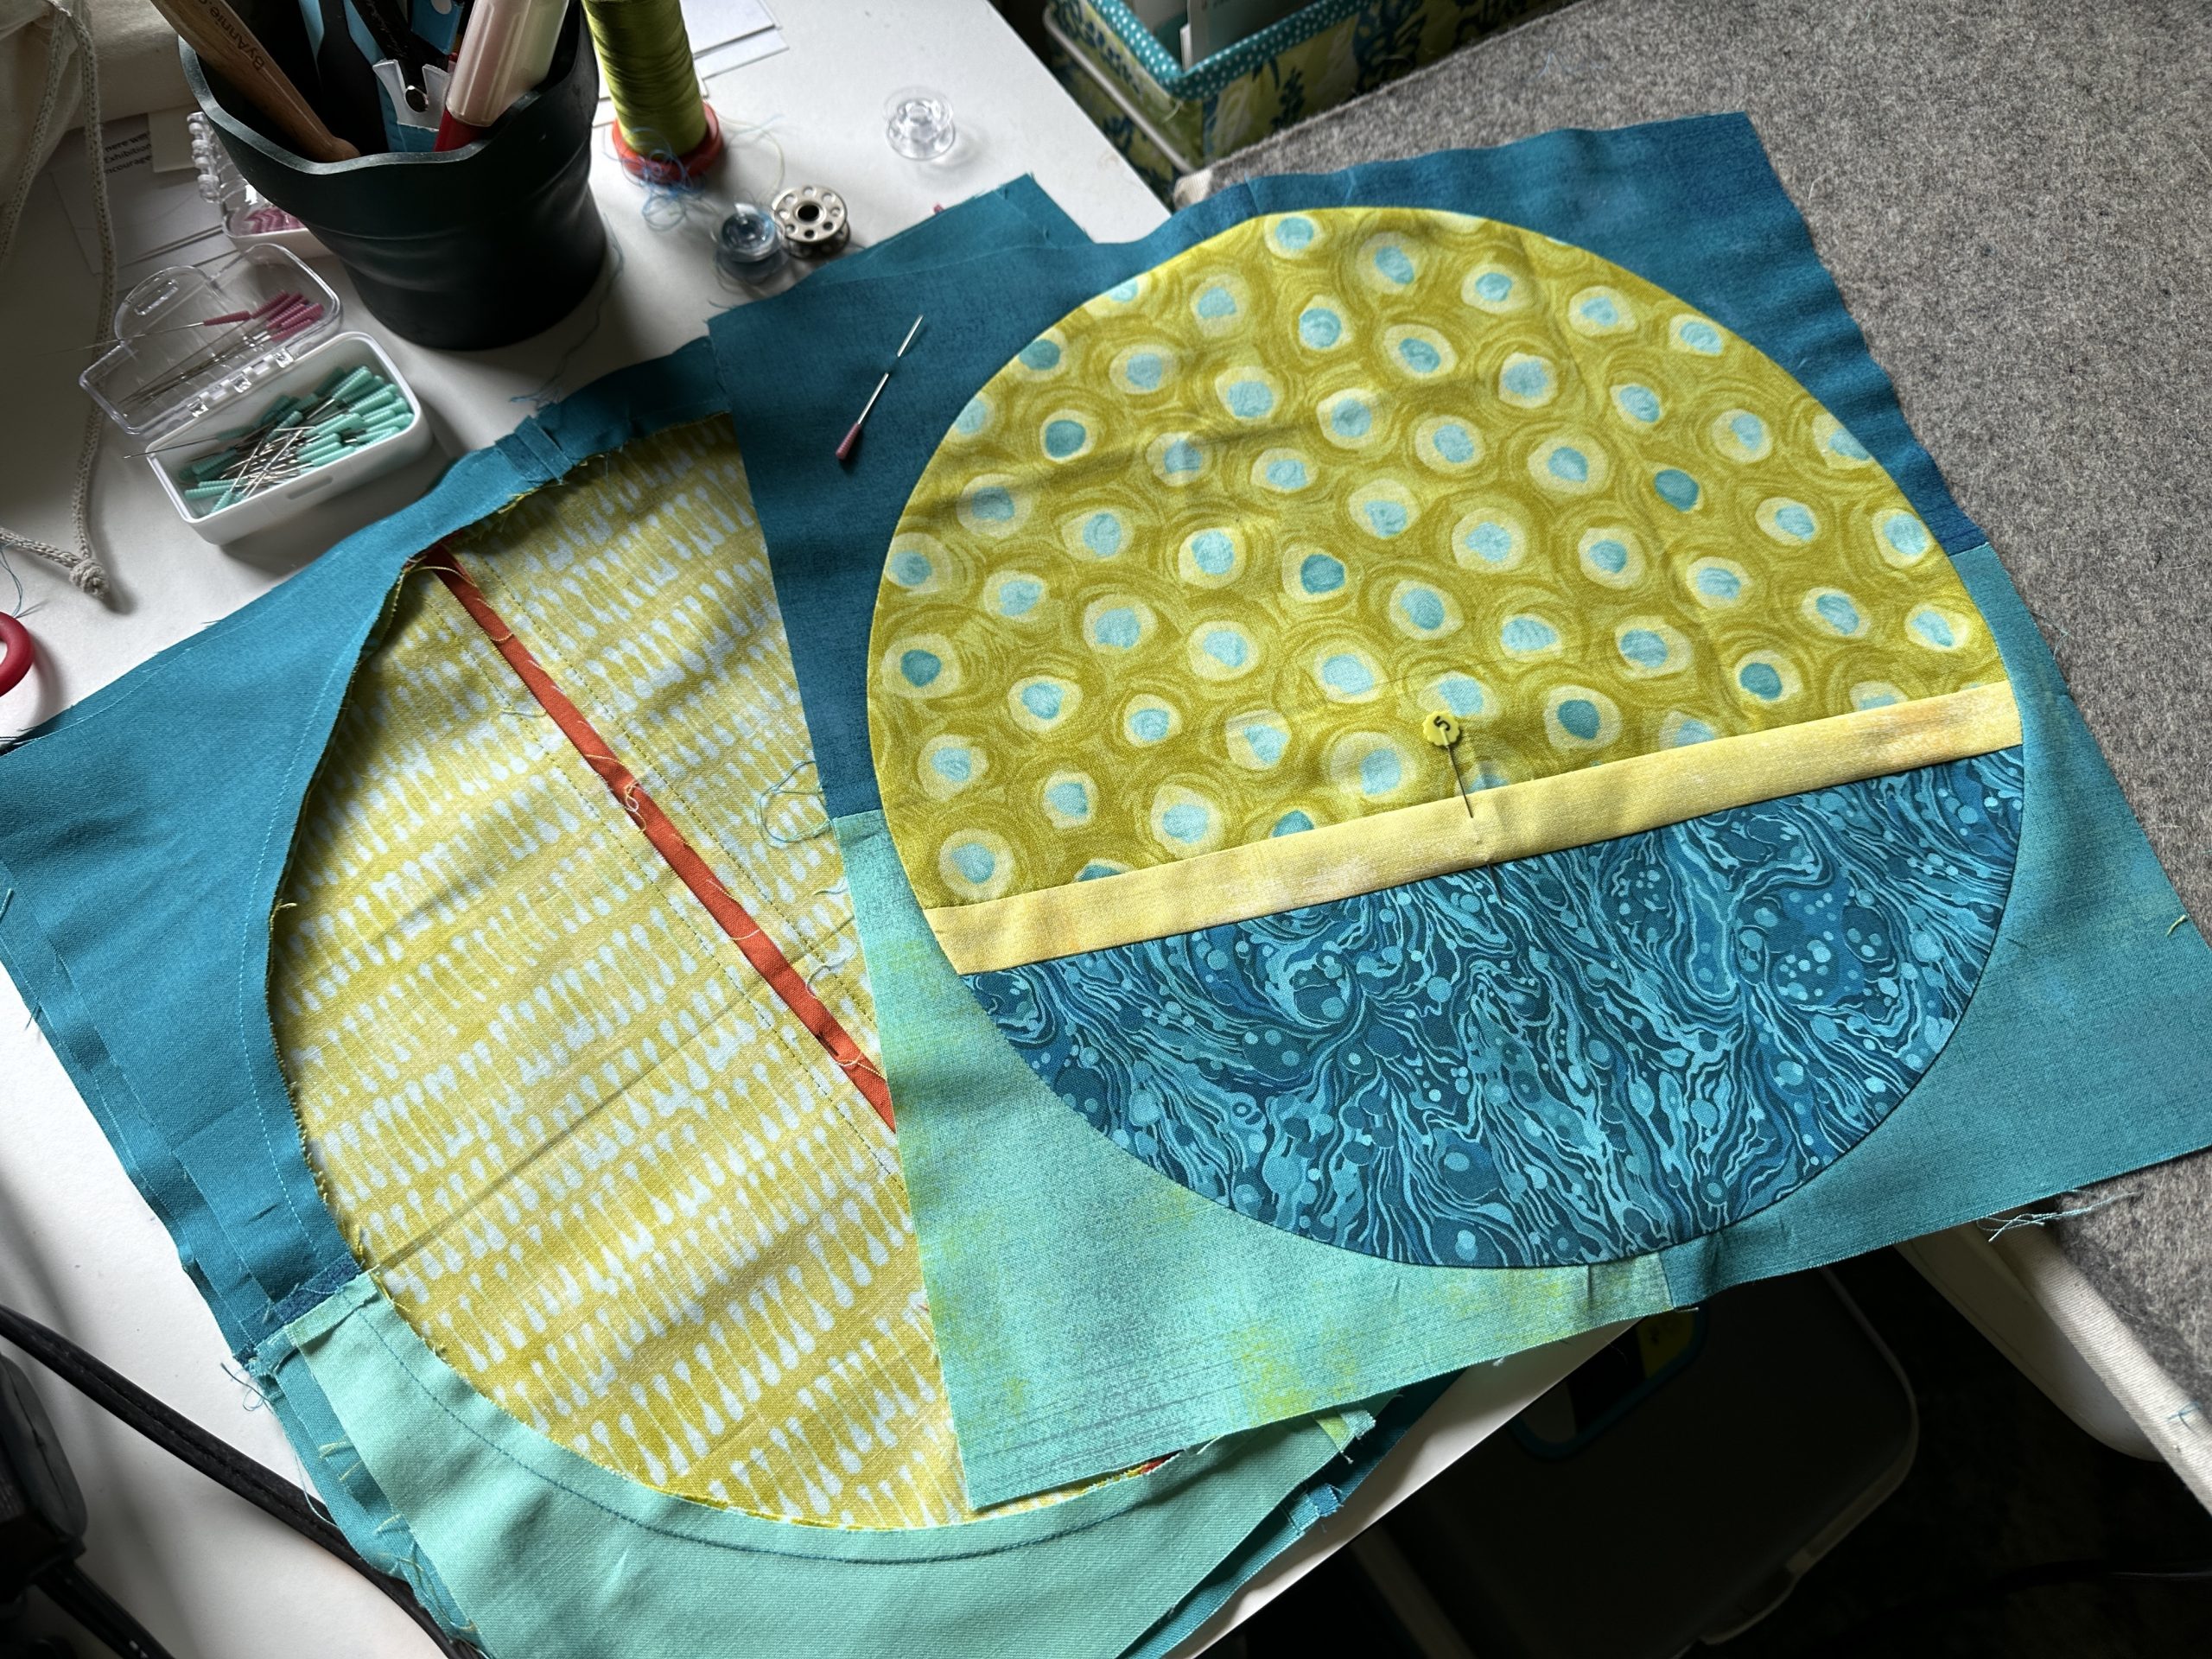
I DO recommend clearing the area of stray stuff, like paper….that you really didn’t intend to quilt into the bag. Ahem. Another truth-in-teaching moment……
At least you can see the lovely quilting pattern?
This year, as a Janome Artisan, I am one of the very few who was unbelievably fortunate to receive the new, top-of-the-line Janome sewing, quilting and embroidery machine, the M17 Continental. I was determined to overcome my trepidation and learn machine embroidery. OMG–yes I am affiliated but I’d say it anyway–the fact that I could get this outstanding a result on literally my first attempt says a lot of very good things about the machine and software as my skill level was way low (but I’m learning!). I purchased an 18-color-change Tula Pink design from the Moon Glow collection at OESD. I adjusted the colors very slightly (my blues are darker) due to the bazillion threads I already have and to better blend with the fabric colors.
The Janome software now works with both Apple and pc-based platforms. You can use the Janome software to digitize your own designs and such on the computer, buy designs etc., then air-drop / send by wifi to your tablet AND to the SEWING MACHINE! No thumb drives! No compatibility hassles! Just boom–you input your WiFi info into the sewing machine, and it talks to your iPad, which you can carry around the house with you as the design stitches! There are also several free Janome apps for sketching, monitoring, accessing manuals and other helpful info. Anyway…. here’s the screen
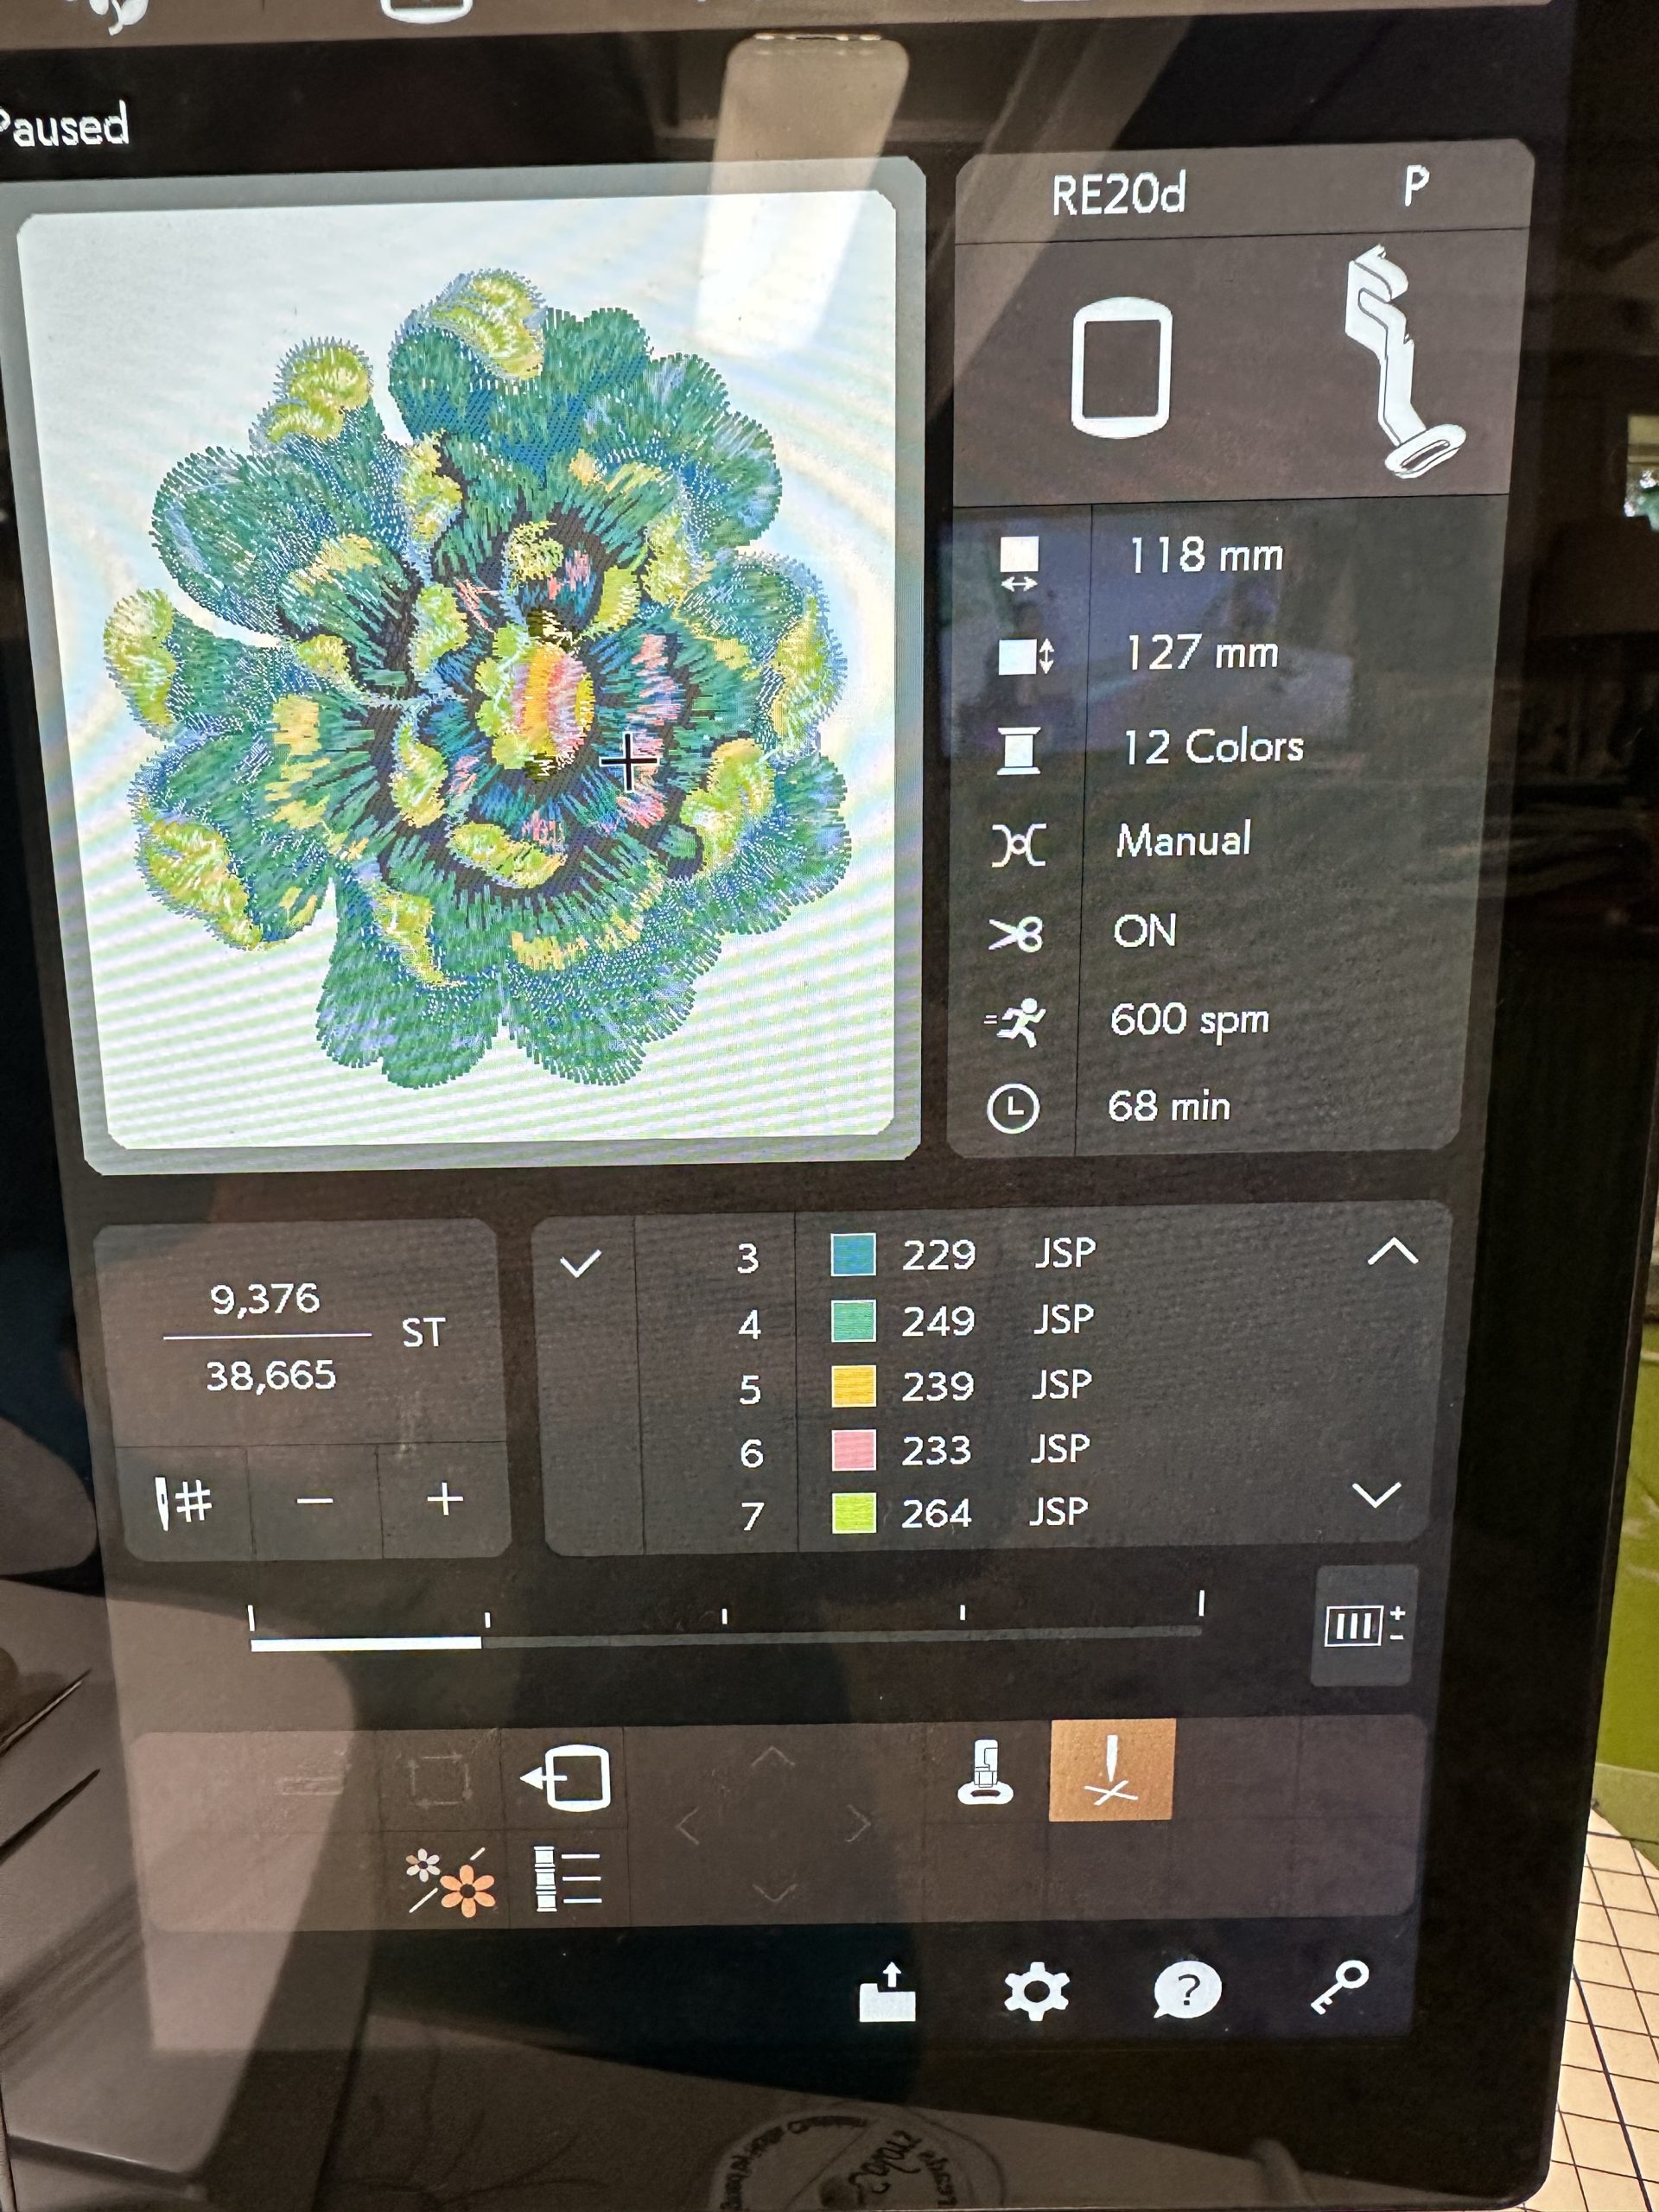
From top to bottom you can see
- the recommended hoop size for the design
- the proper embroidery foot
- the dimensions of the design ( I think you can also change the settings so it displays in inches, not cm, but that may be a function of the design)
- that tension is adjusted to manual
- automatic cutting is on
- speed of stitching is set to 600 stitches per minute (you get tension issues sometimes if you go too fast depending on the design)
- minutes remaining until stitching is complete
- Below the image, you see how many stitches have been sewn out of the total of 38,665 stitches. The + and – sign are helpful–if the thread breaks or bobbin thread runs out, you can back up a few stitches so there aren’t any gaps in stitching!
- To the right of that section, are the thread color (sequenced) and the thread color number if you are using a color supported in the software. It is displaying the Janome thread colors but also supports major embroidery thread brands (but not alas the Superior Threads trilobal poly of which I have hundreds of colors, so I just winged it and chose colors, marking out which color corresponded)
- A progress bar for stitching is below that.
- In the very bottom you can see a square with arrows–that is to baste near the outside of the hoop to secure the stabilizer and fabric before stitching, and the brown box with a needle pointed at an X is to help you precisely position the design within the hoop.
Yes, as a total newbie to embroidery, I had to learn what all those things were, how to adjust this and that, but the fact that *I* could do it successfully on my first outing is a testament to good planning and design on Janome’s part. Here are some photos from the embroidery process:
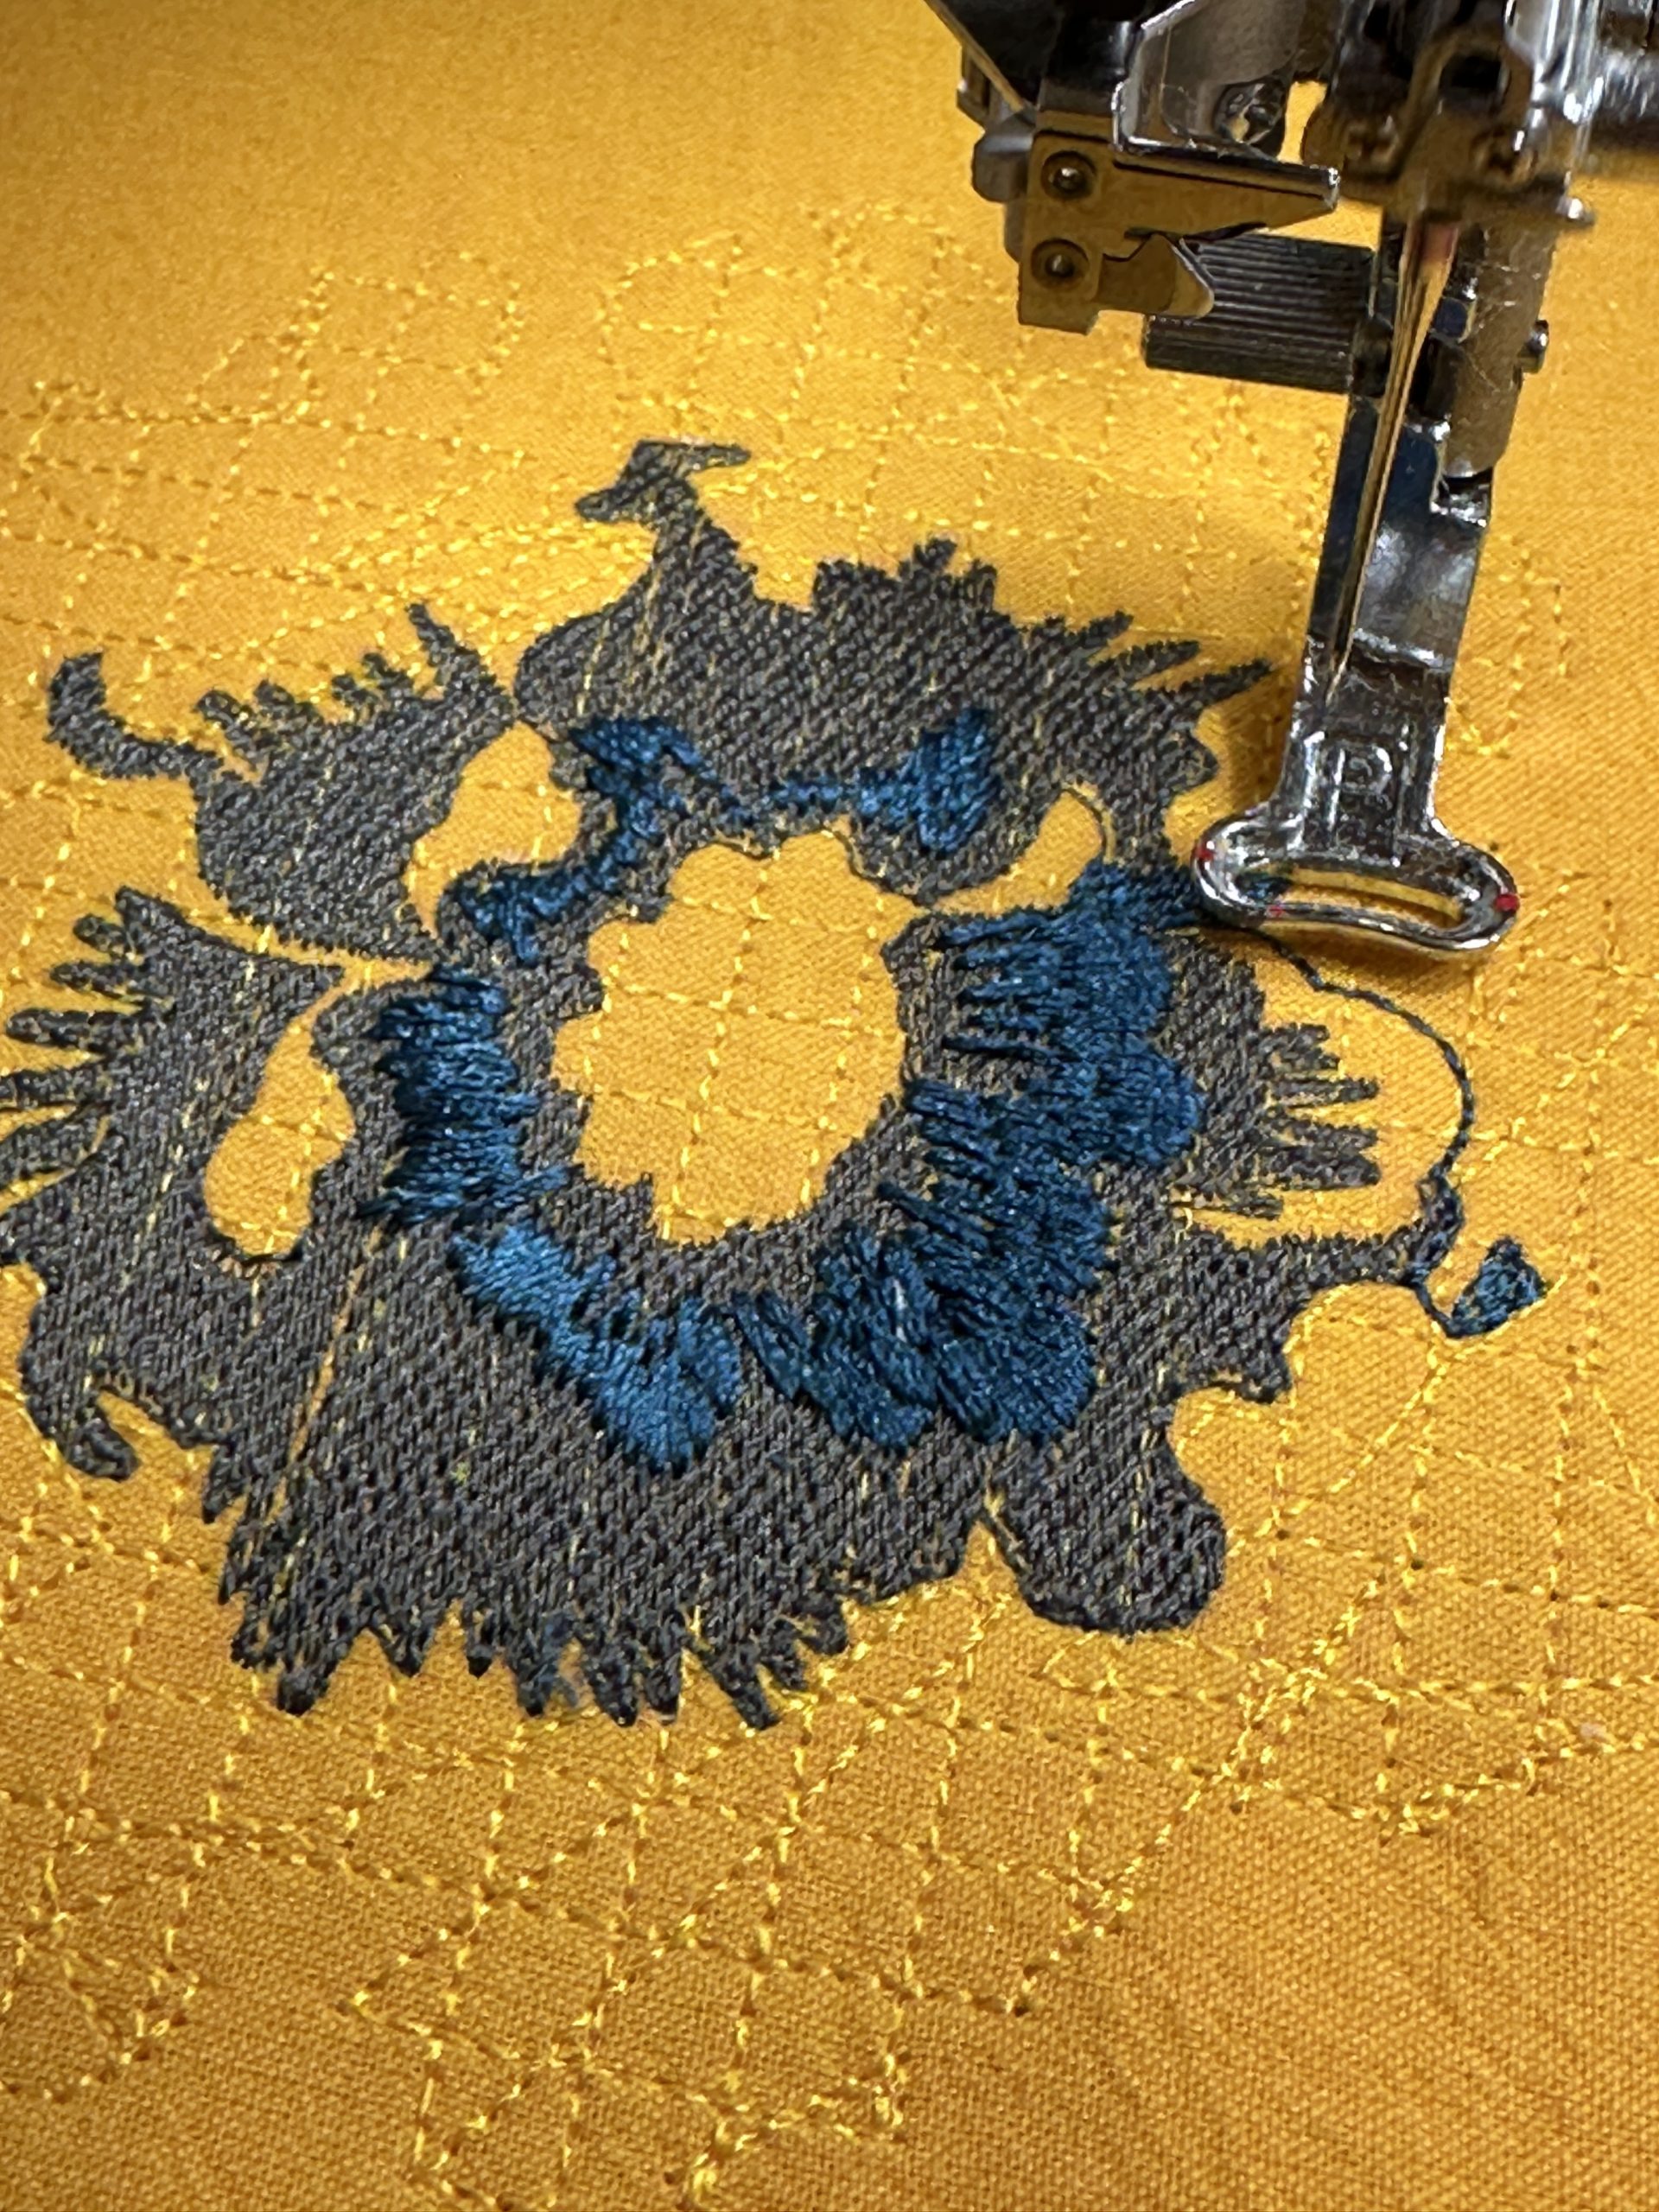
First, the design stitches a grid in a thread color to match the background fabric. I am assuming this is to stabilize the fabric and prevent directional distortion from the way the stitches are programmed. The first two layers were the dark gray, which is a pebble texture, then the darker blue in an extra long satin stitch that looks oh so lovely when all is done.
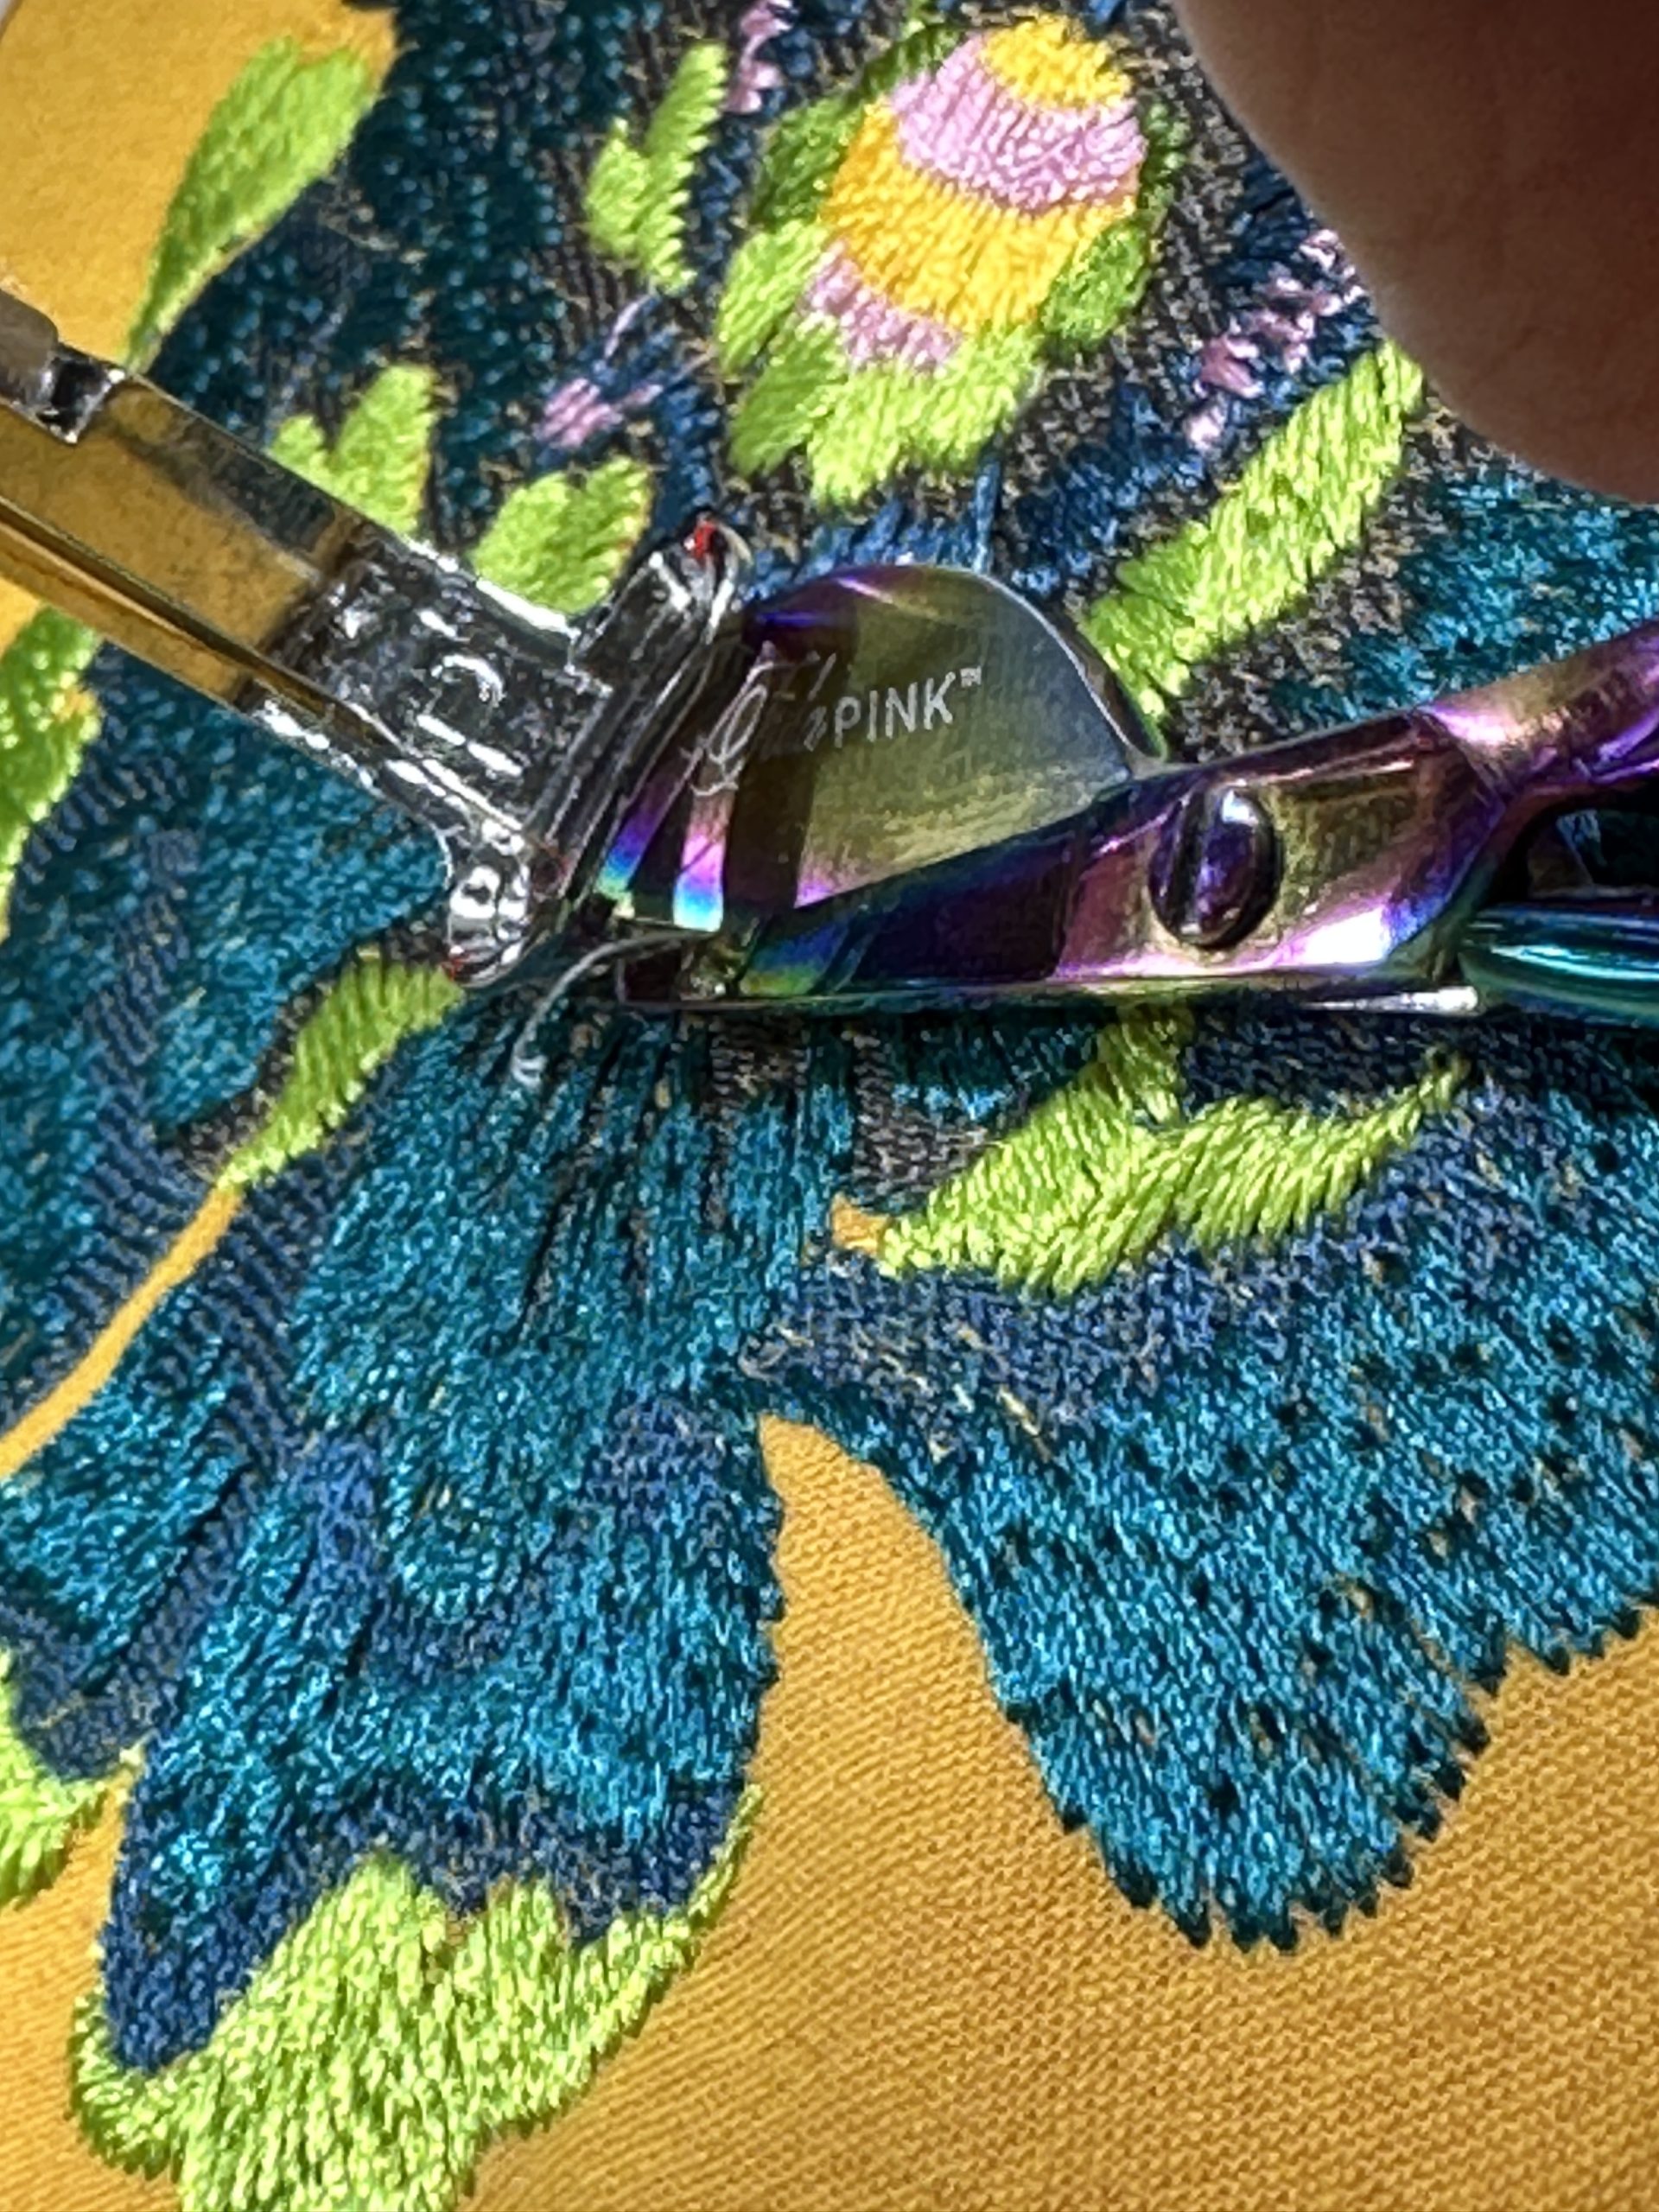
A lot of the stitching is now complete. Having offset, duckbilled scissors (these were a gift from my dear friend Marie Z) helps a LOT when trimming threads close to the surface while still in the hoop).
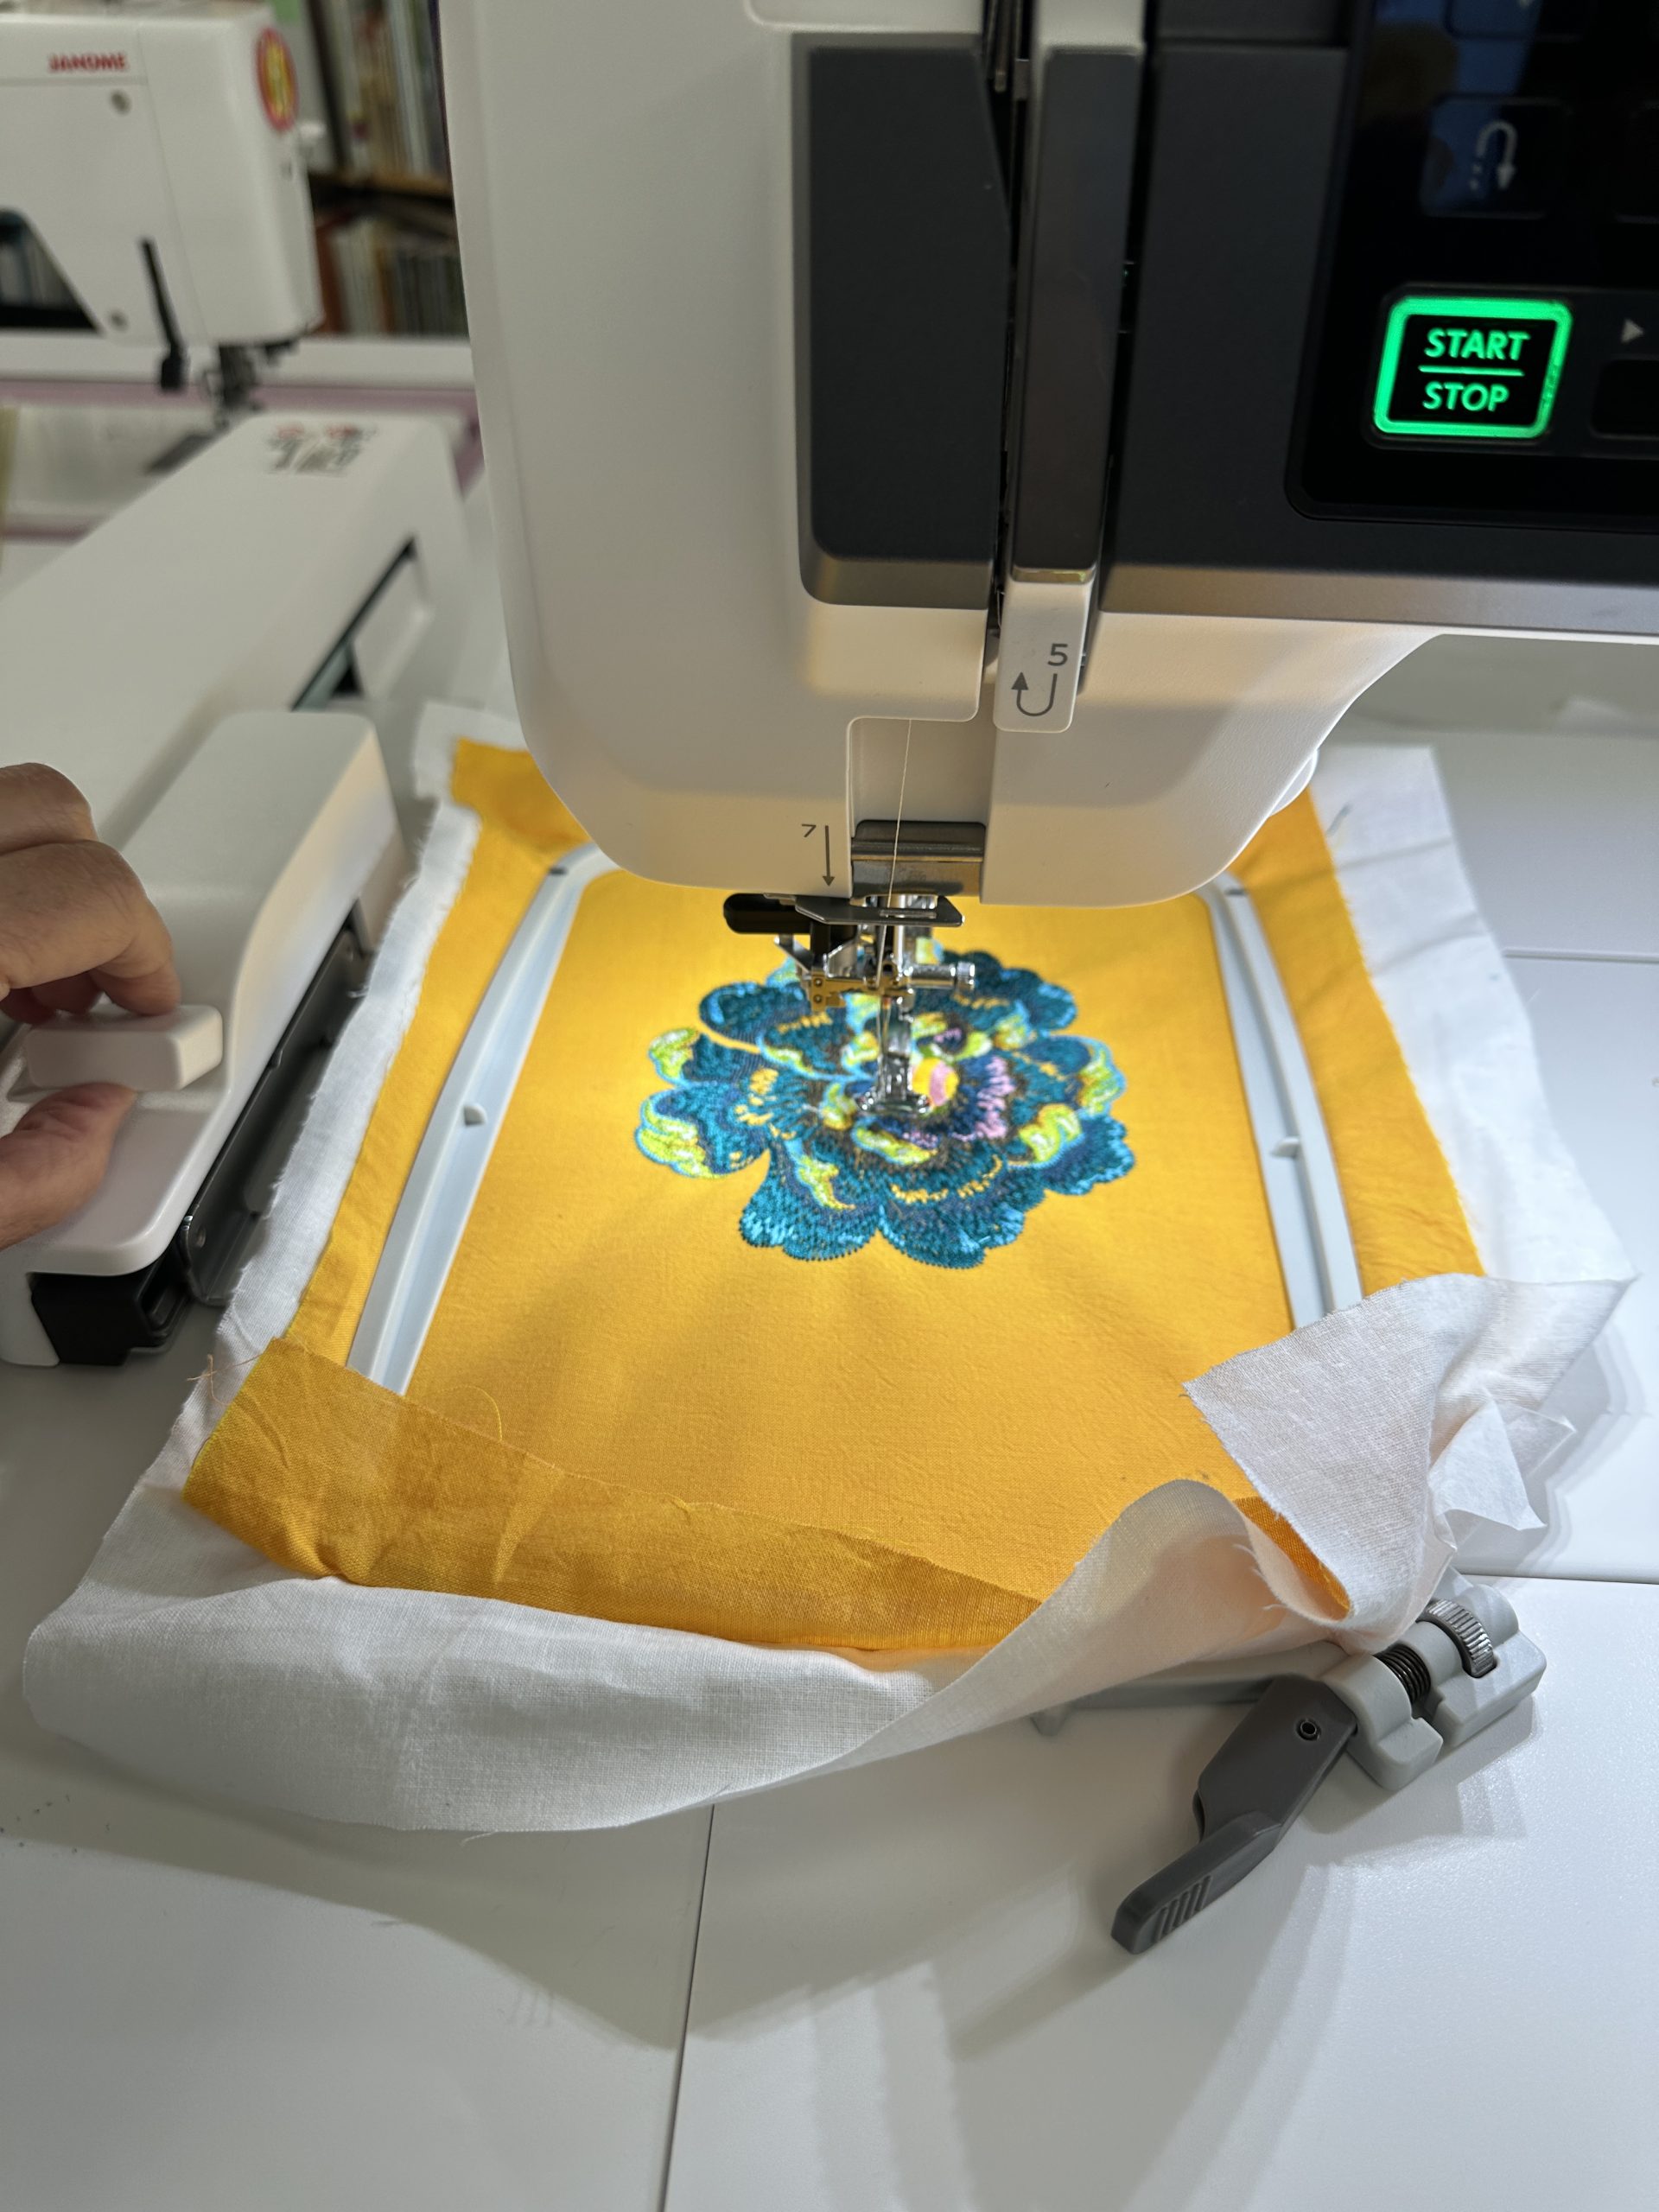
The design is now completely stitched out and I am releasing the hoop from the carriage (on the left).
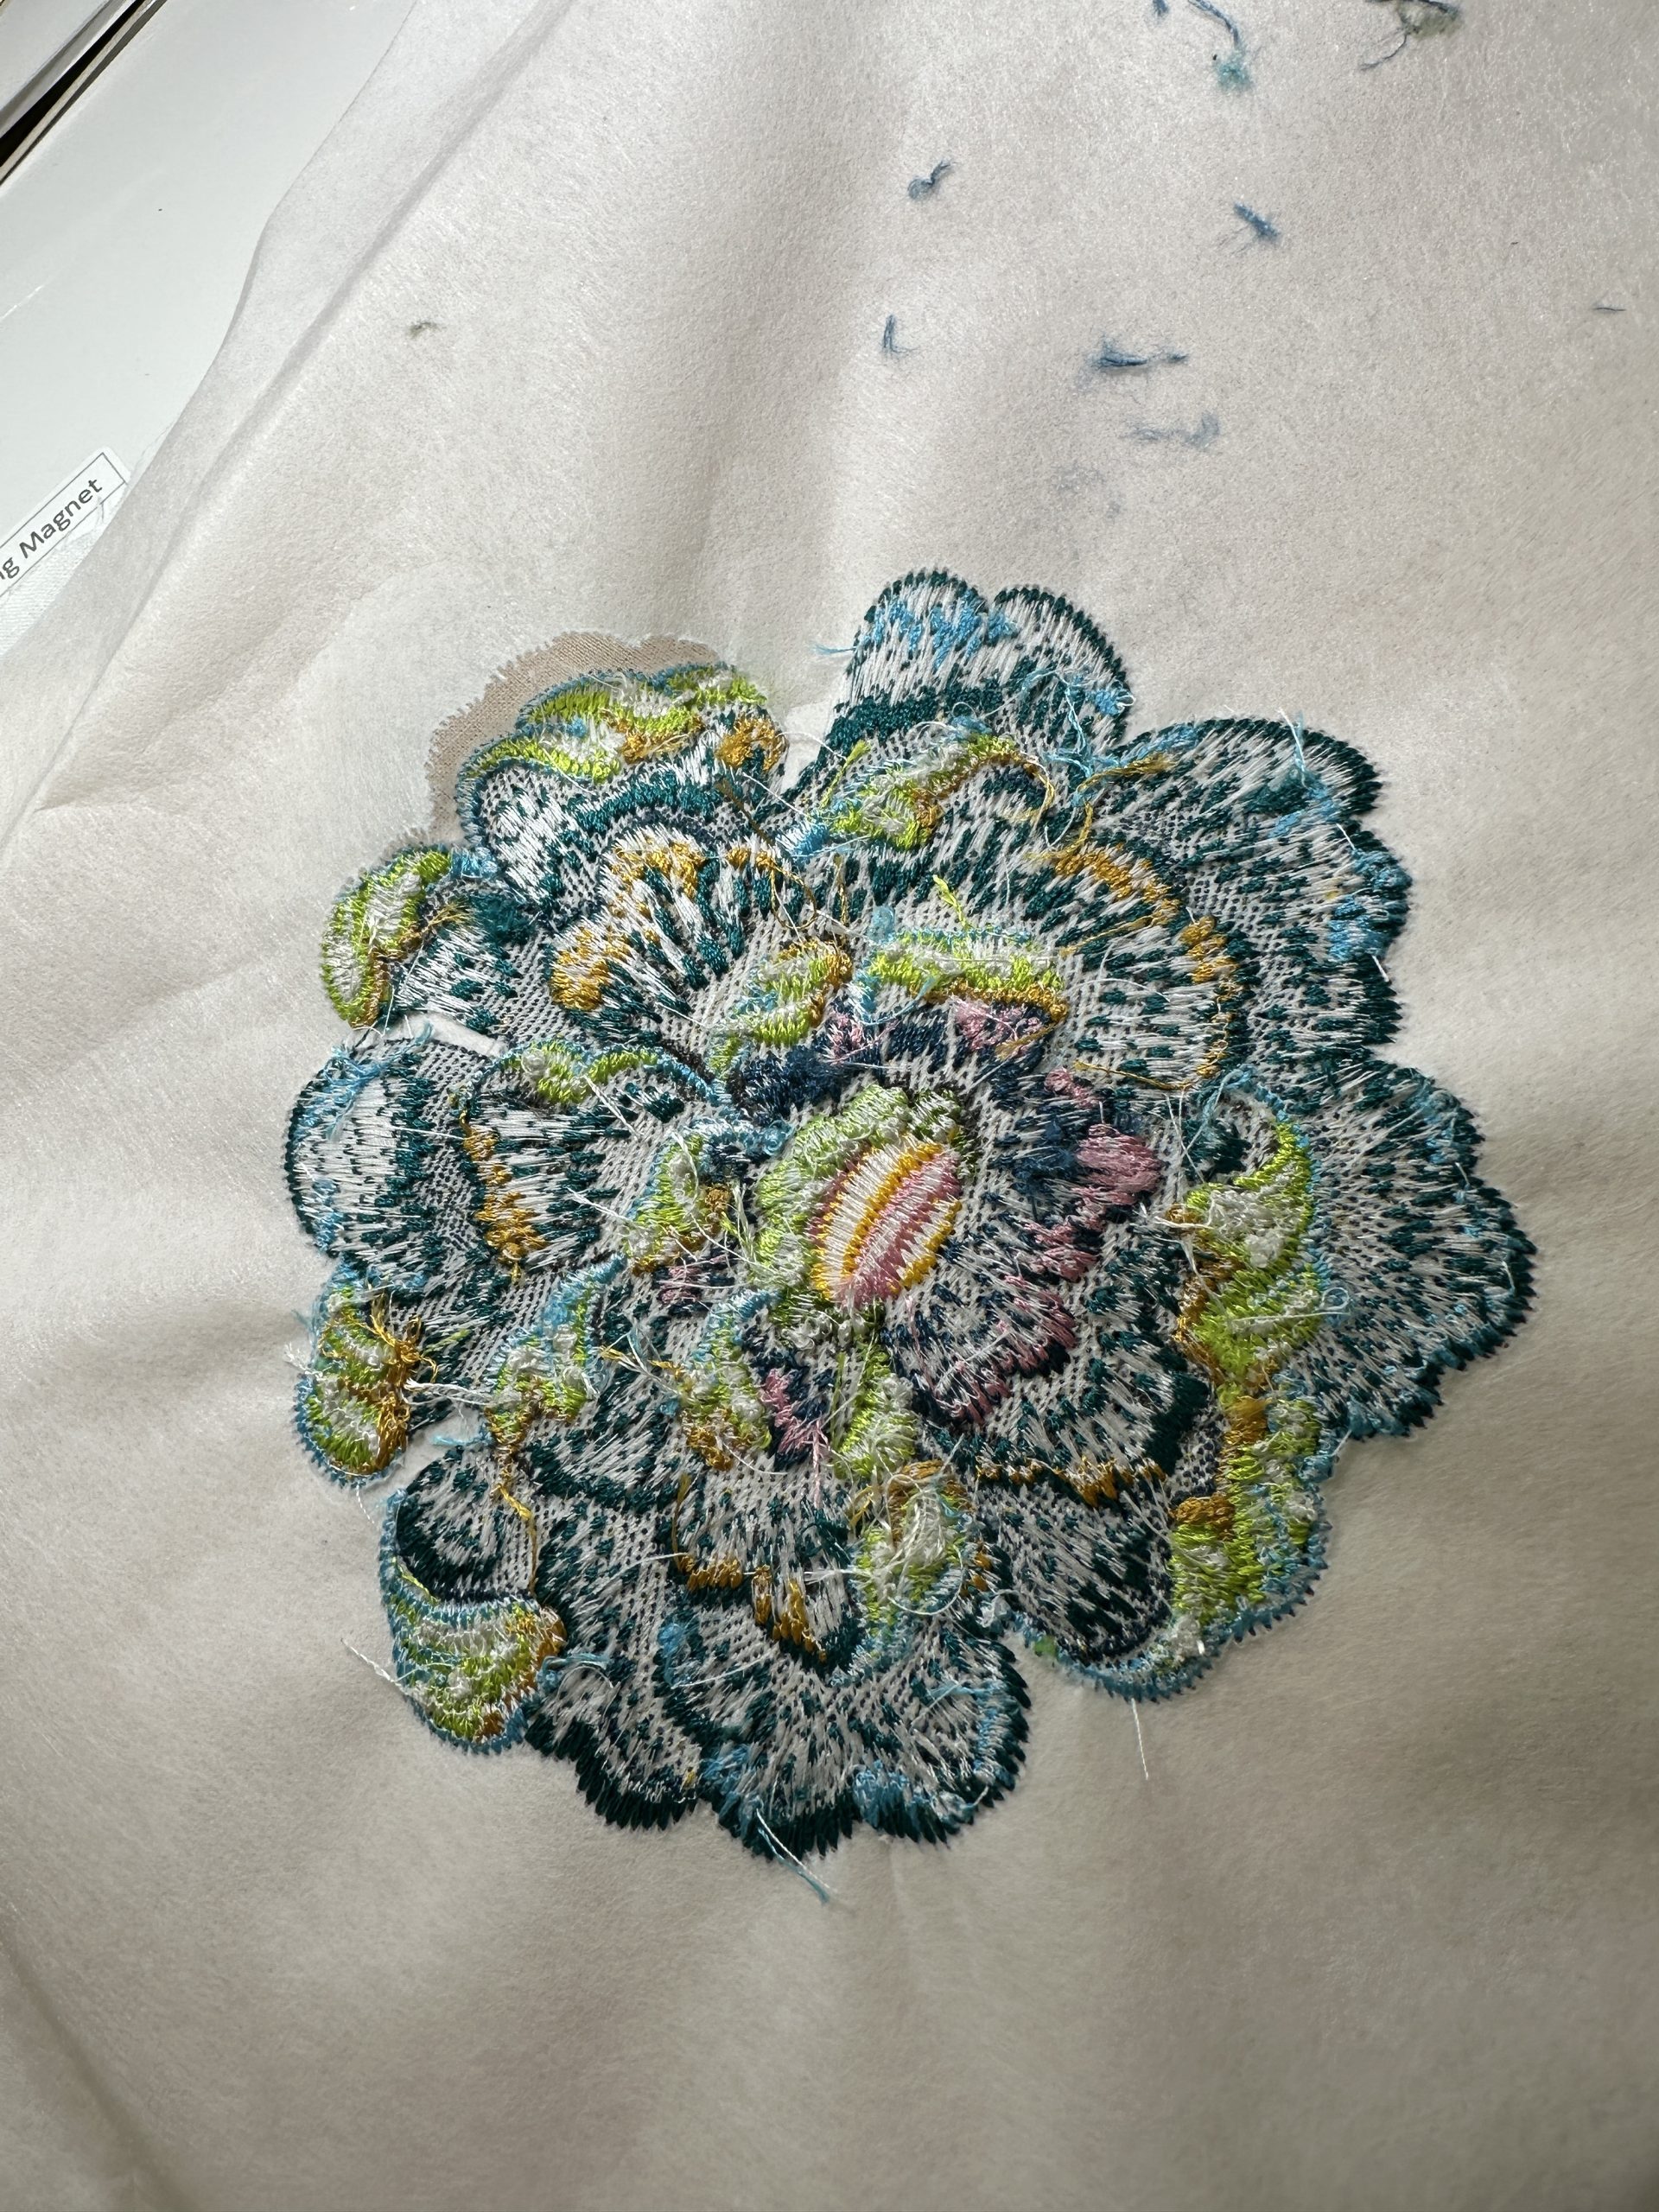
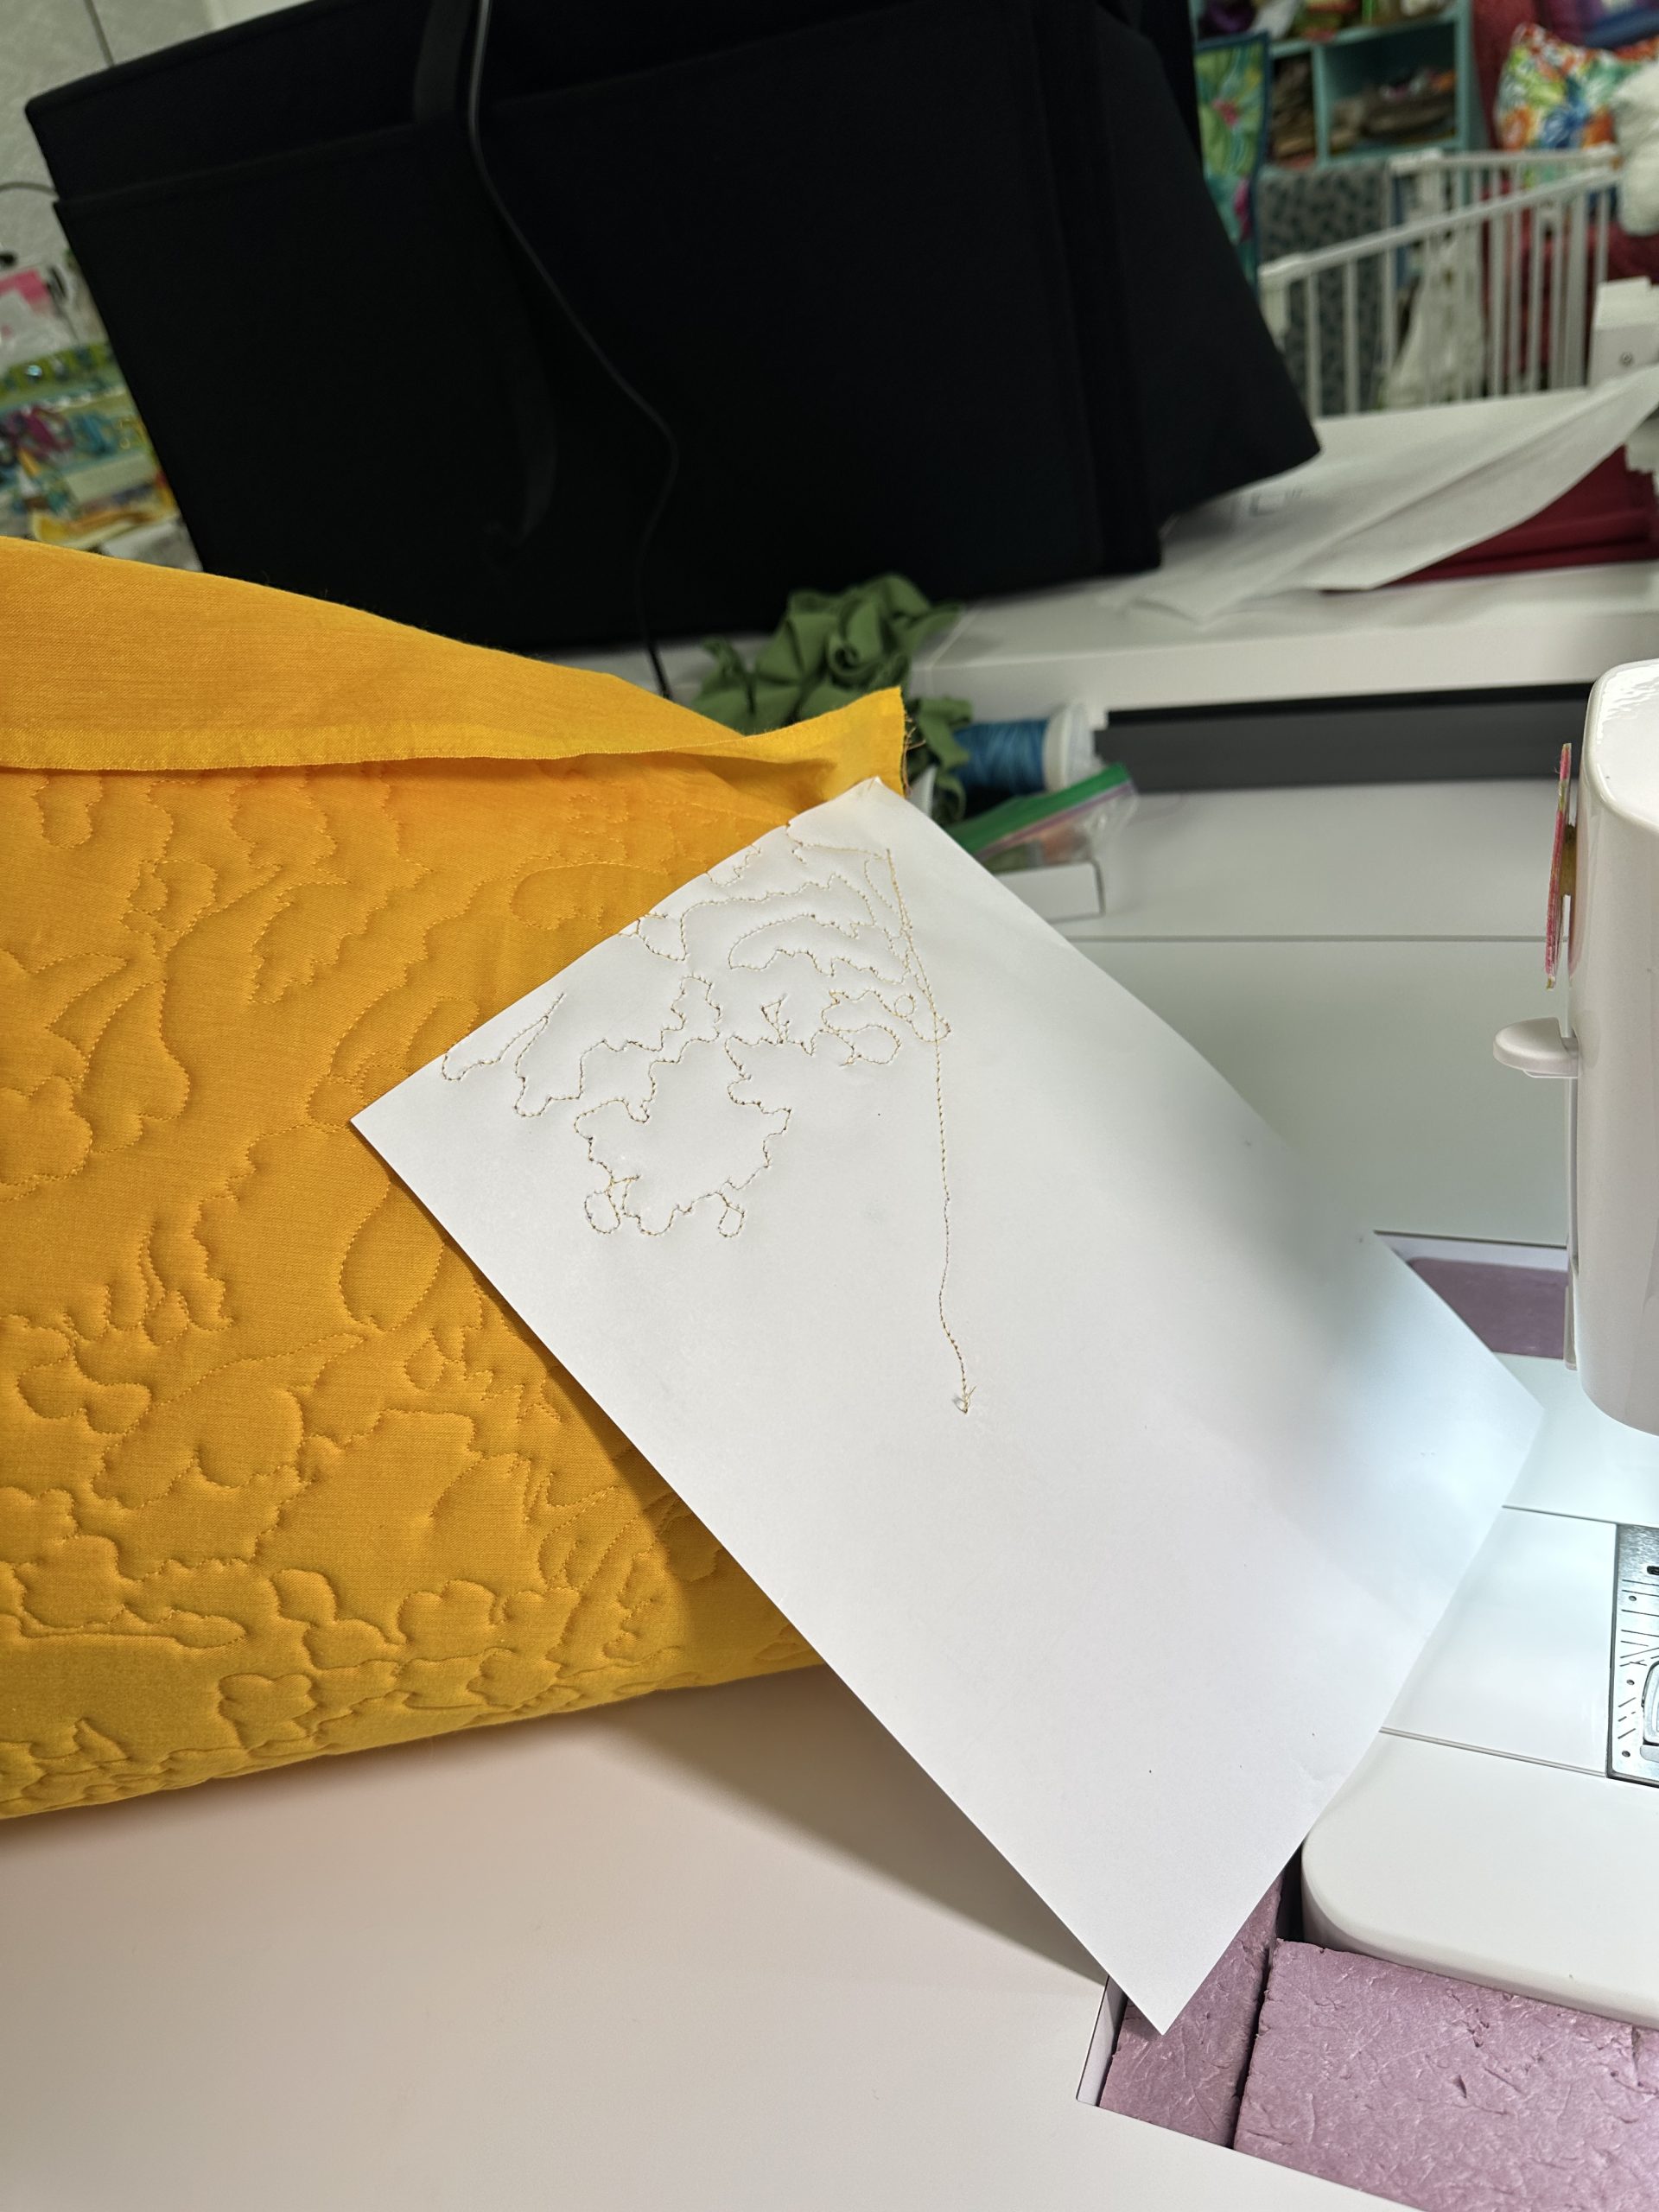
This is the back of the design… which frankly I think looks pretty good. I used a soft shot-cotton plus one layer of sturdy stabilizer. I was a little concerned at some buckling despite hooping very snugly, but it pressed flat very nicely. However, on a design as large as this one, about 4×5 inches, I might add a second layer of stabilizer next time. I used the triple-stretch stitch to decorate the rest of the pocket background–this is a common utility stitch on many machines.
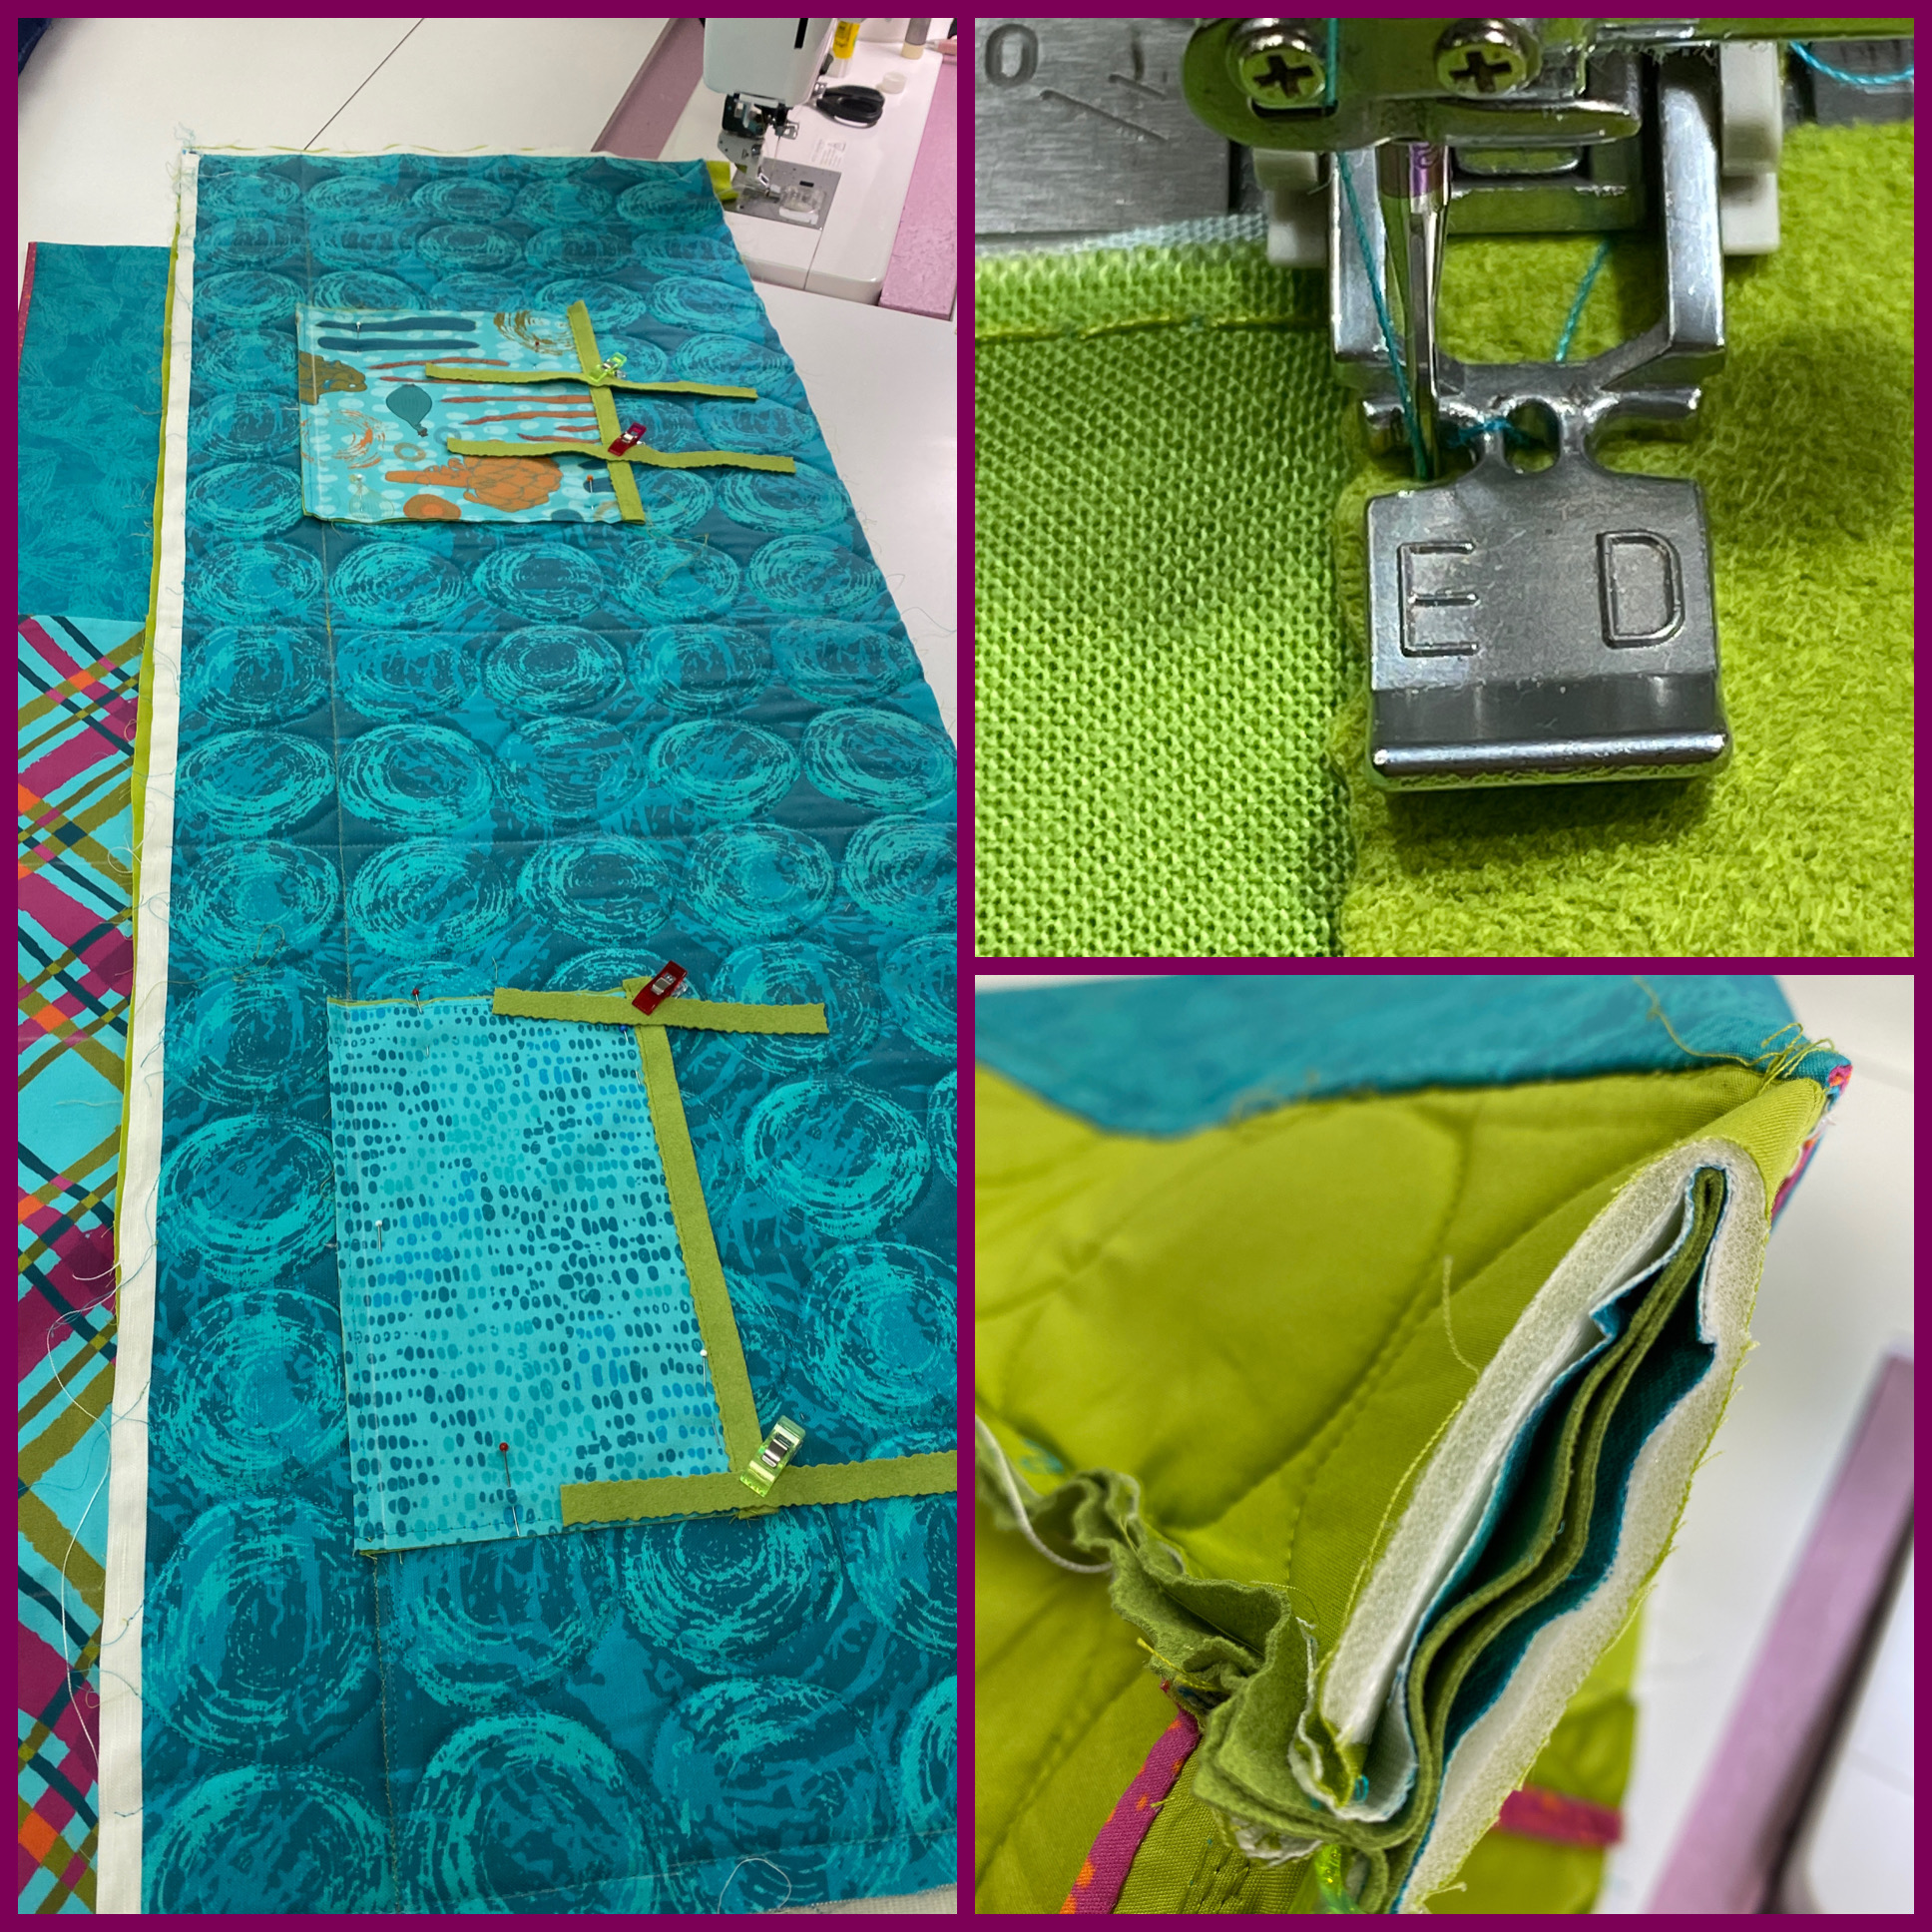
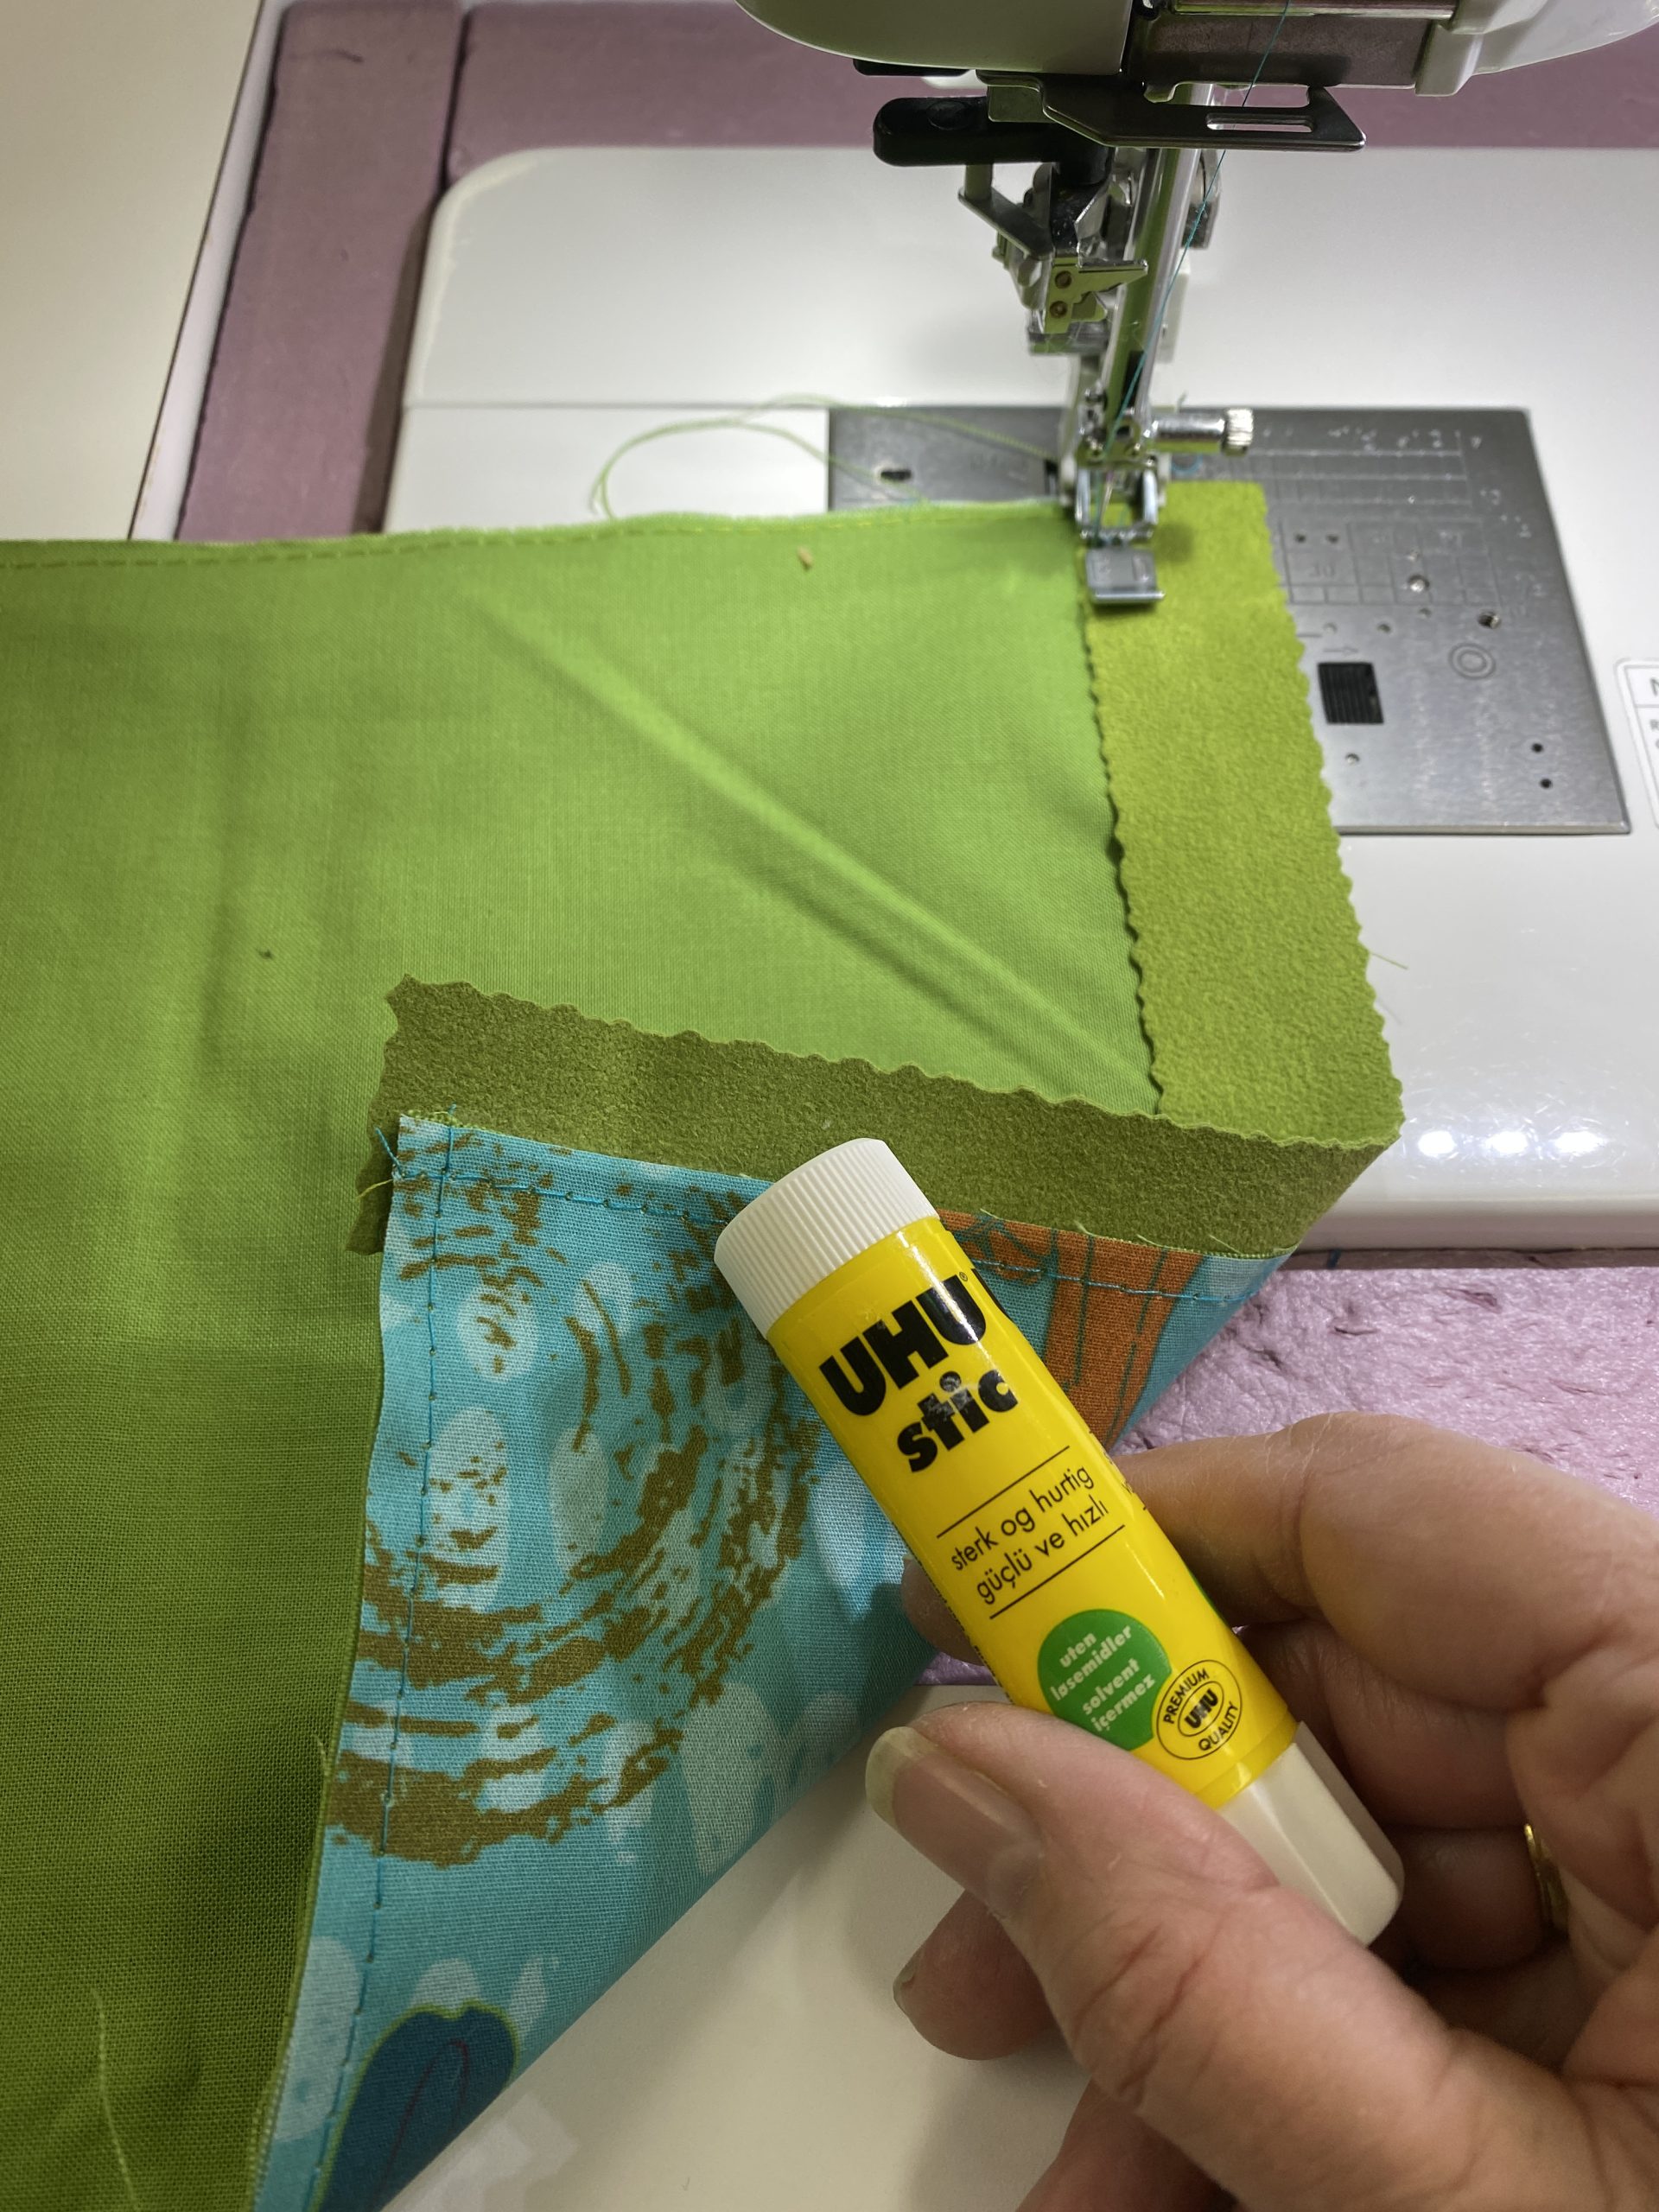
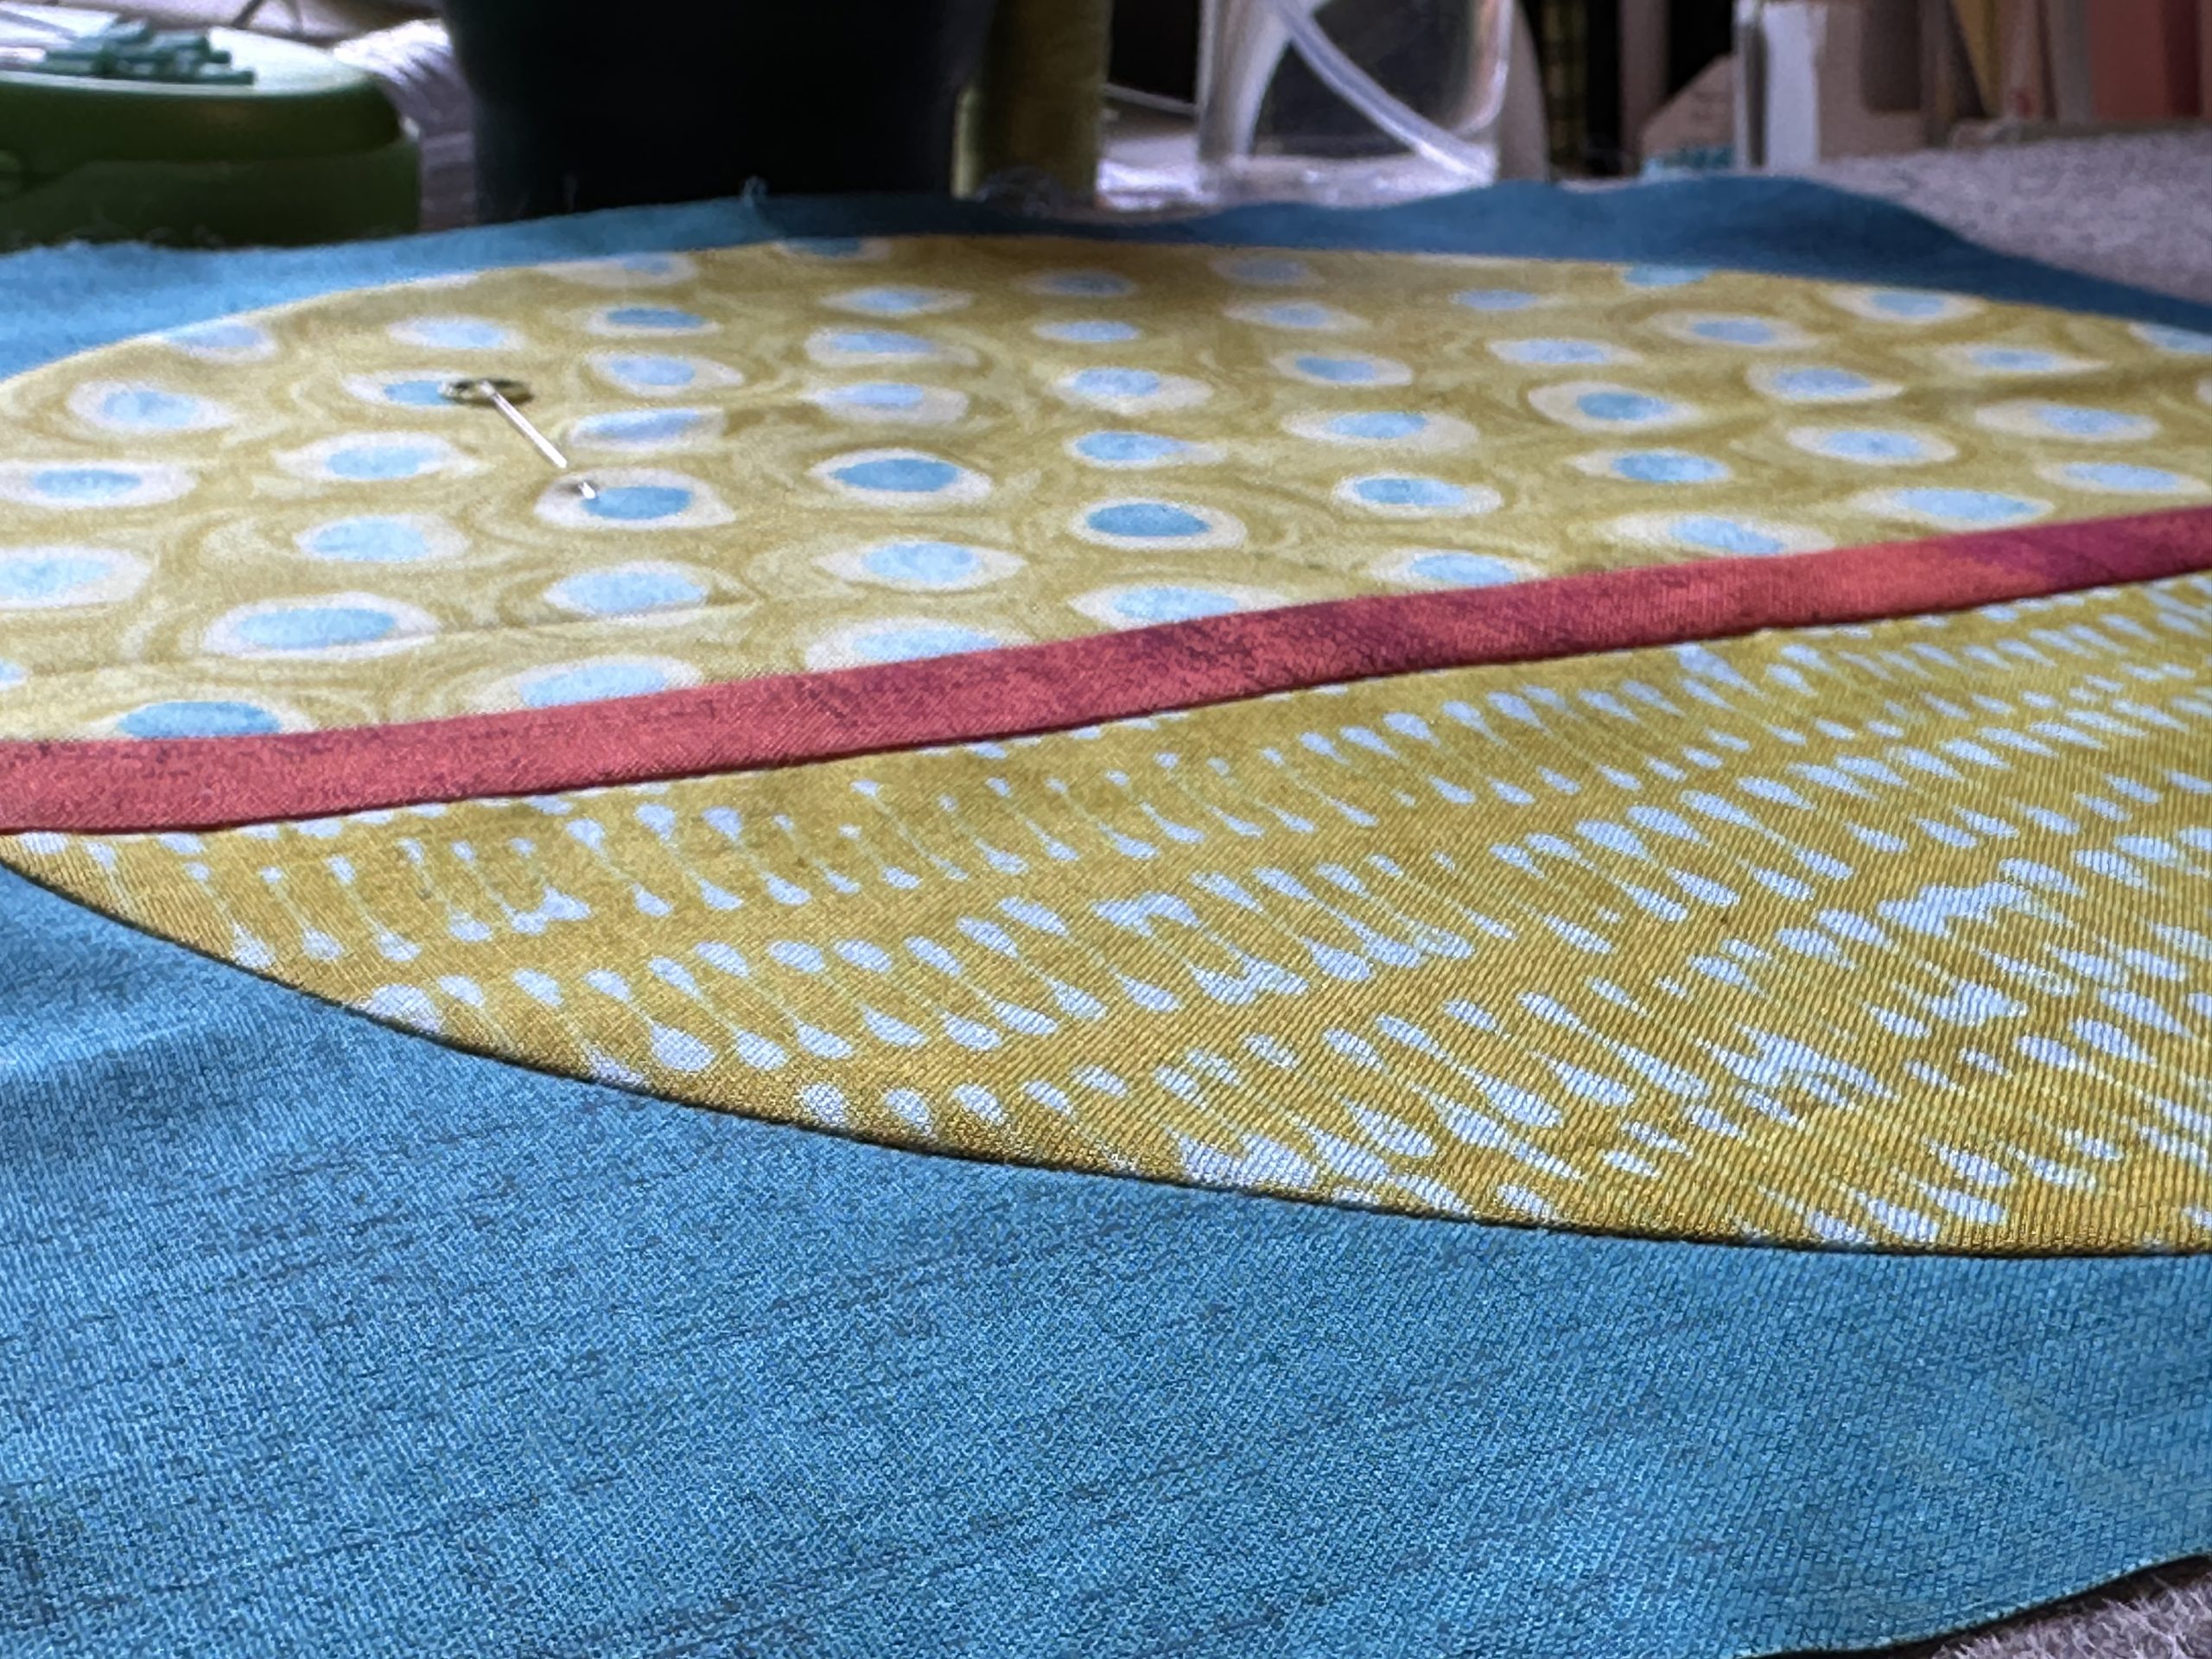
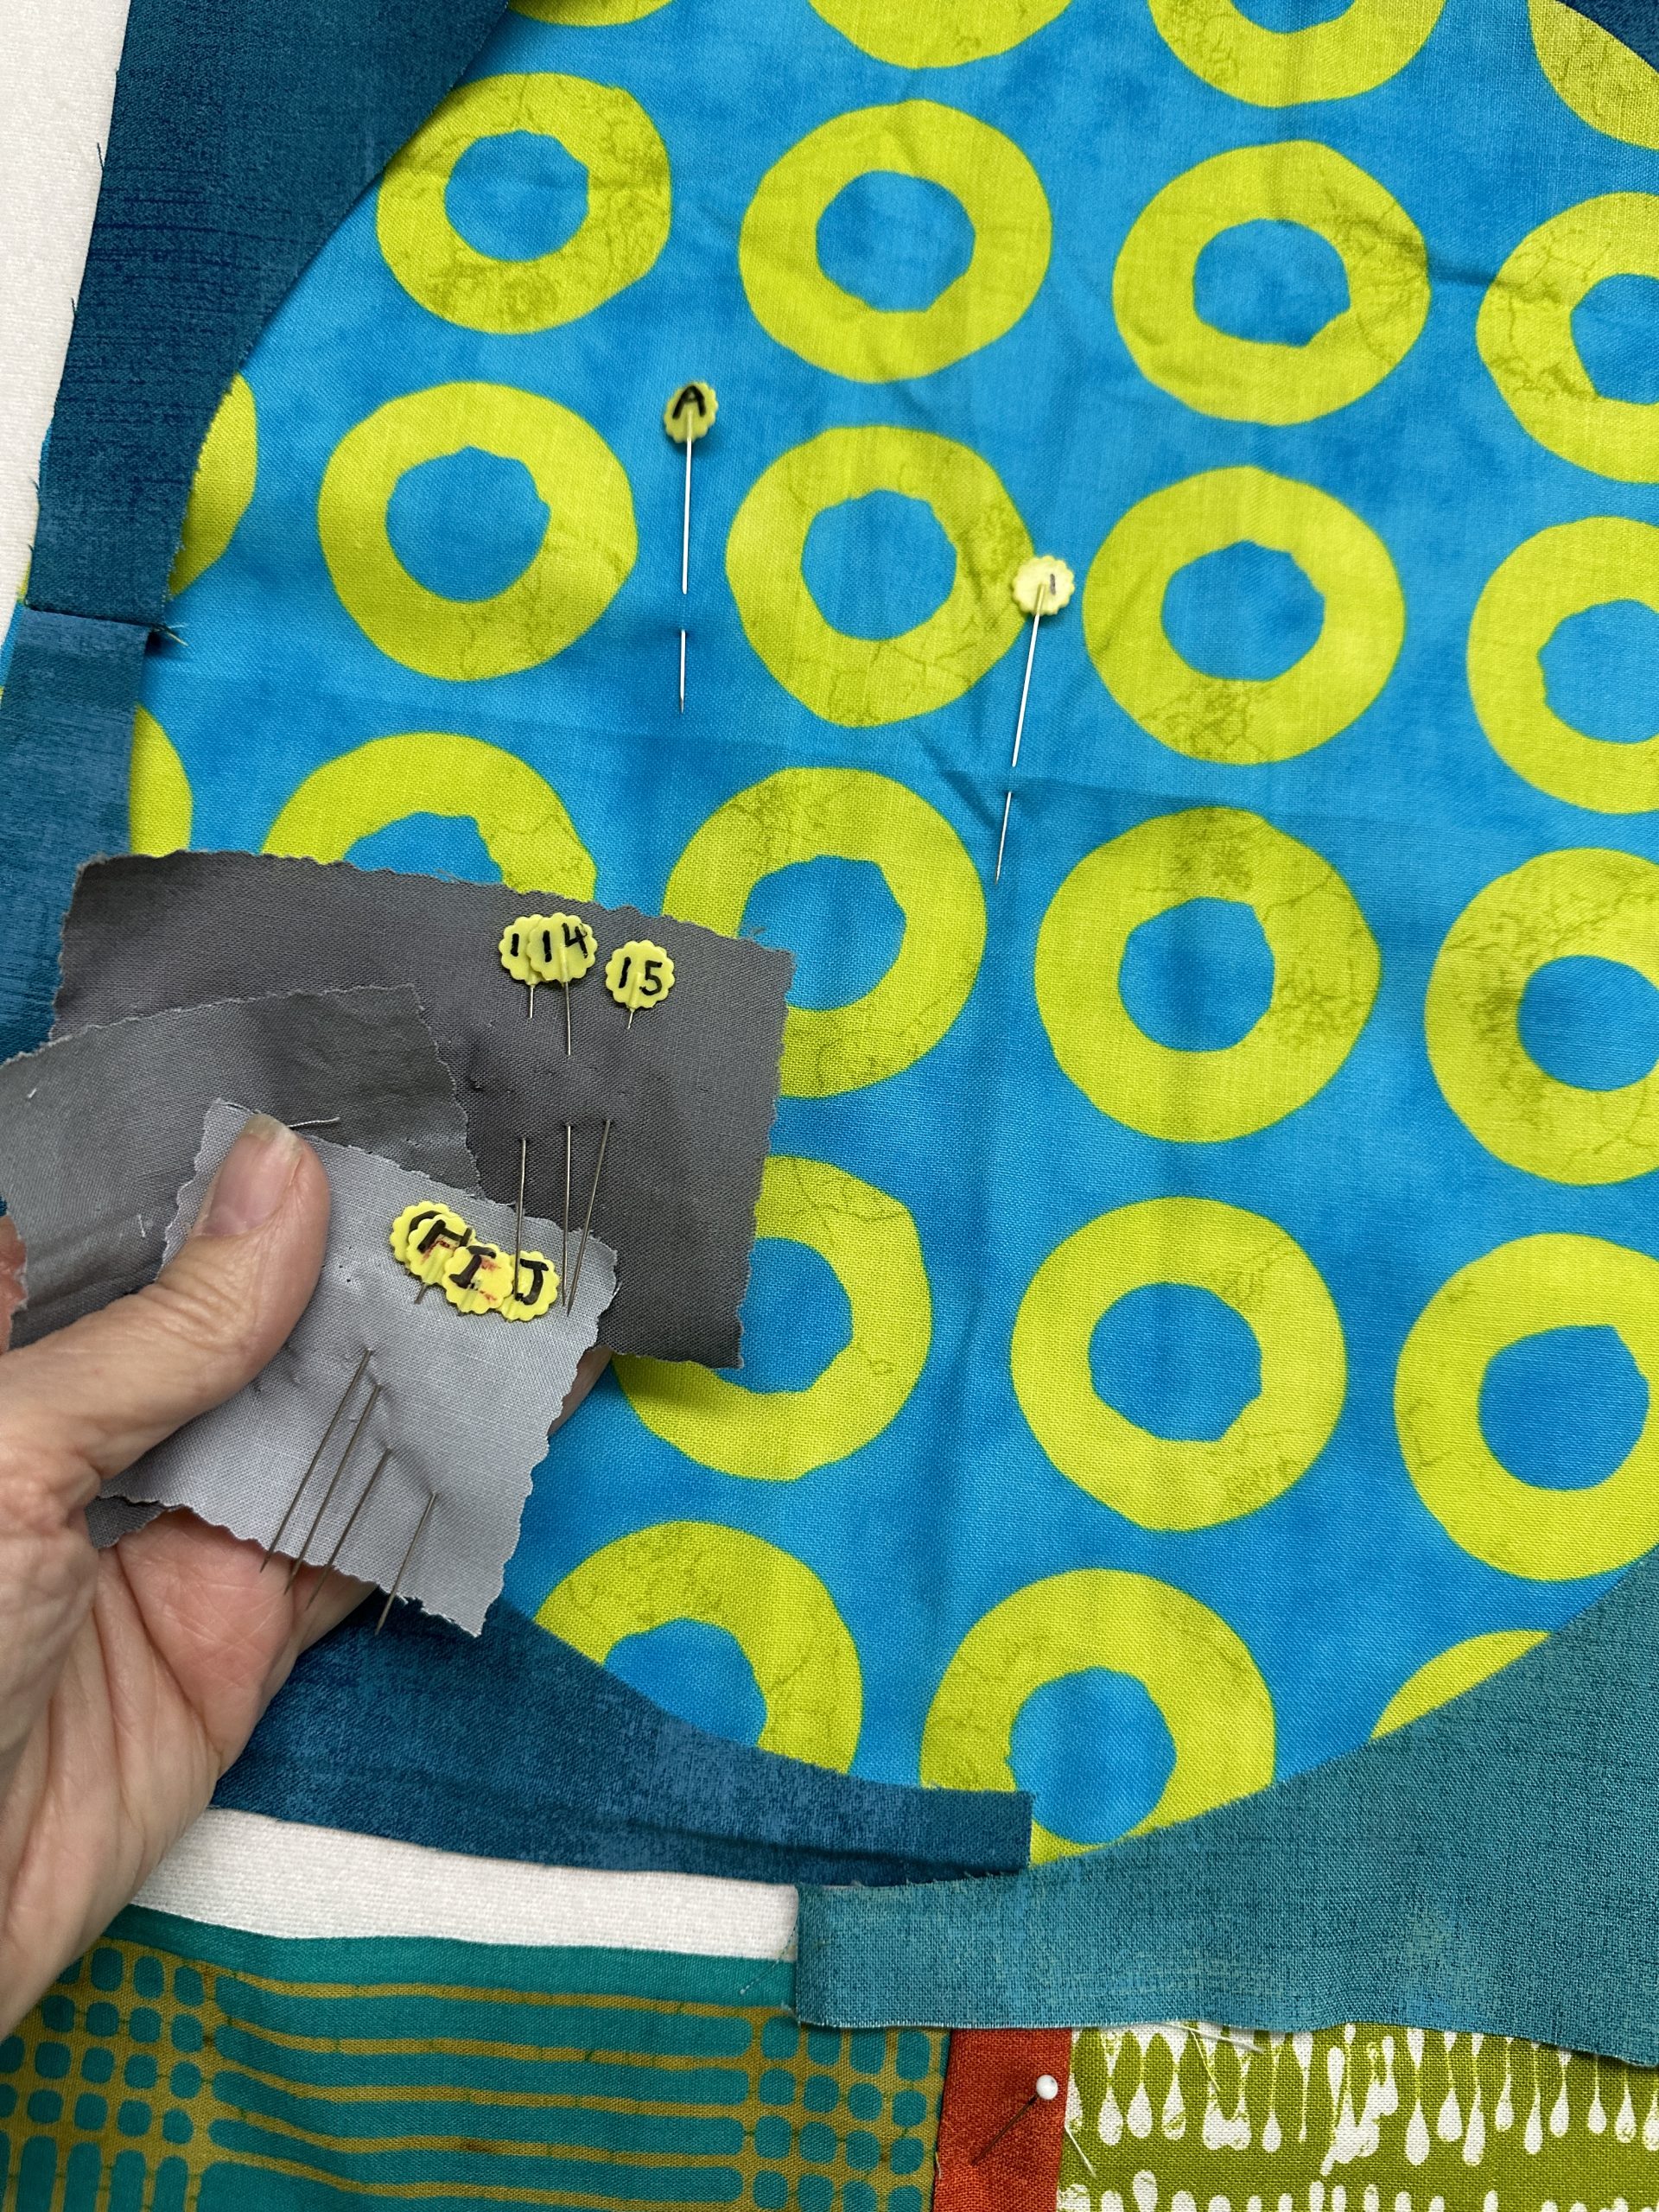
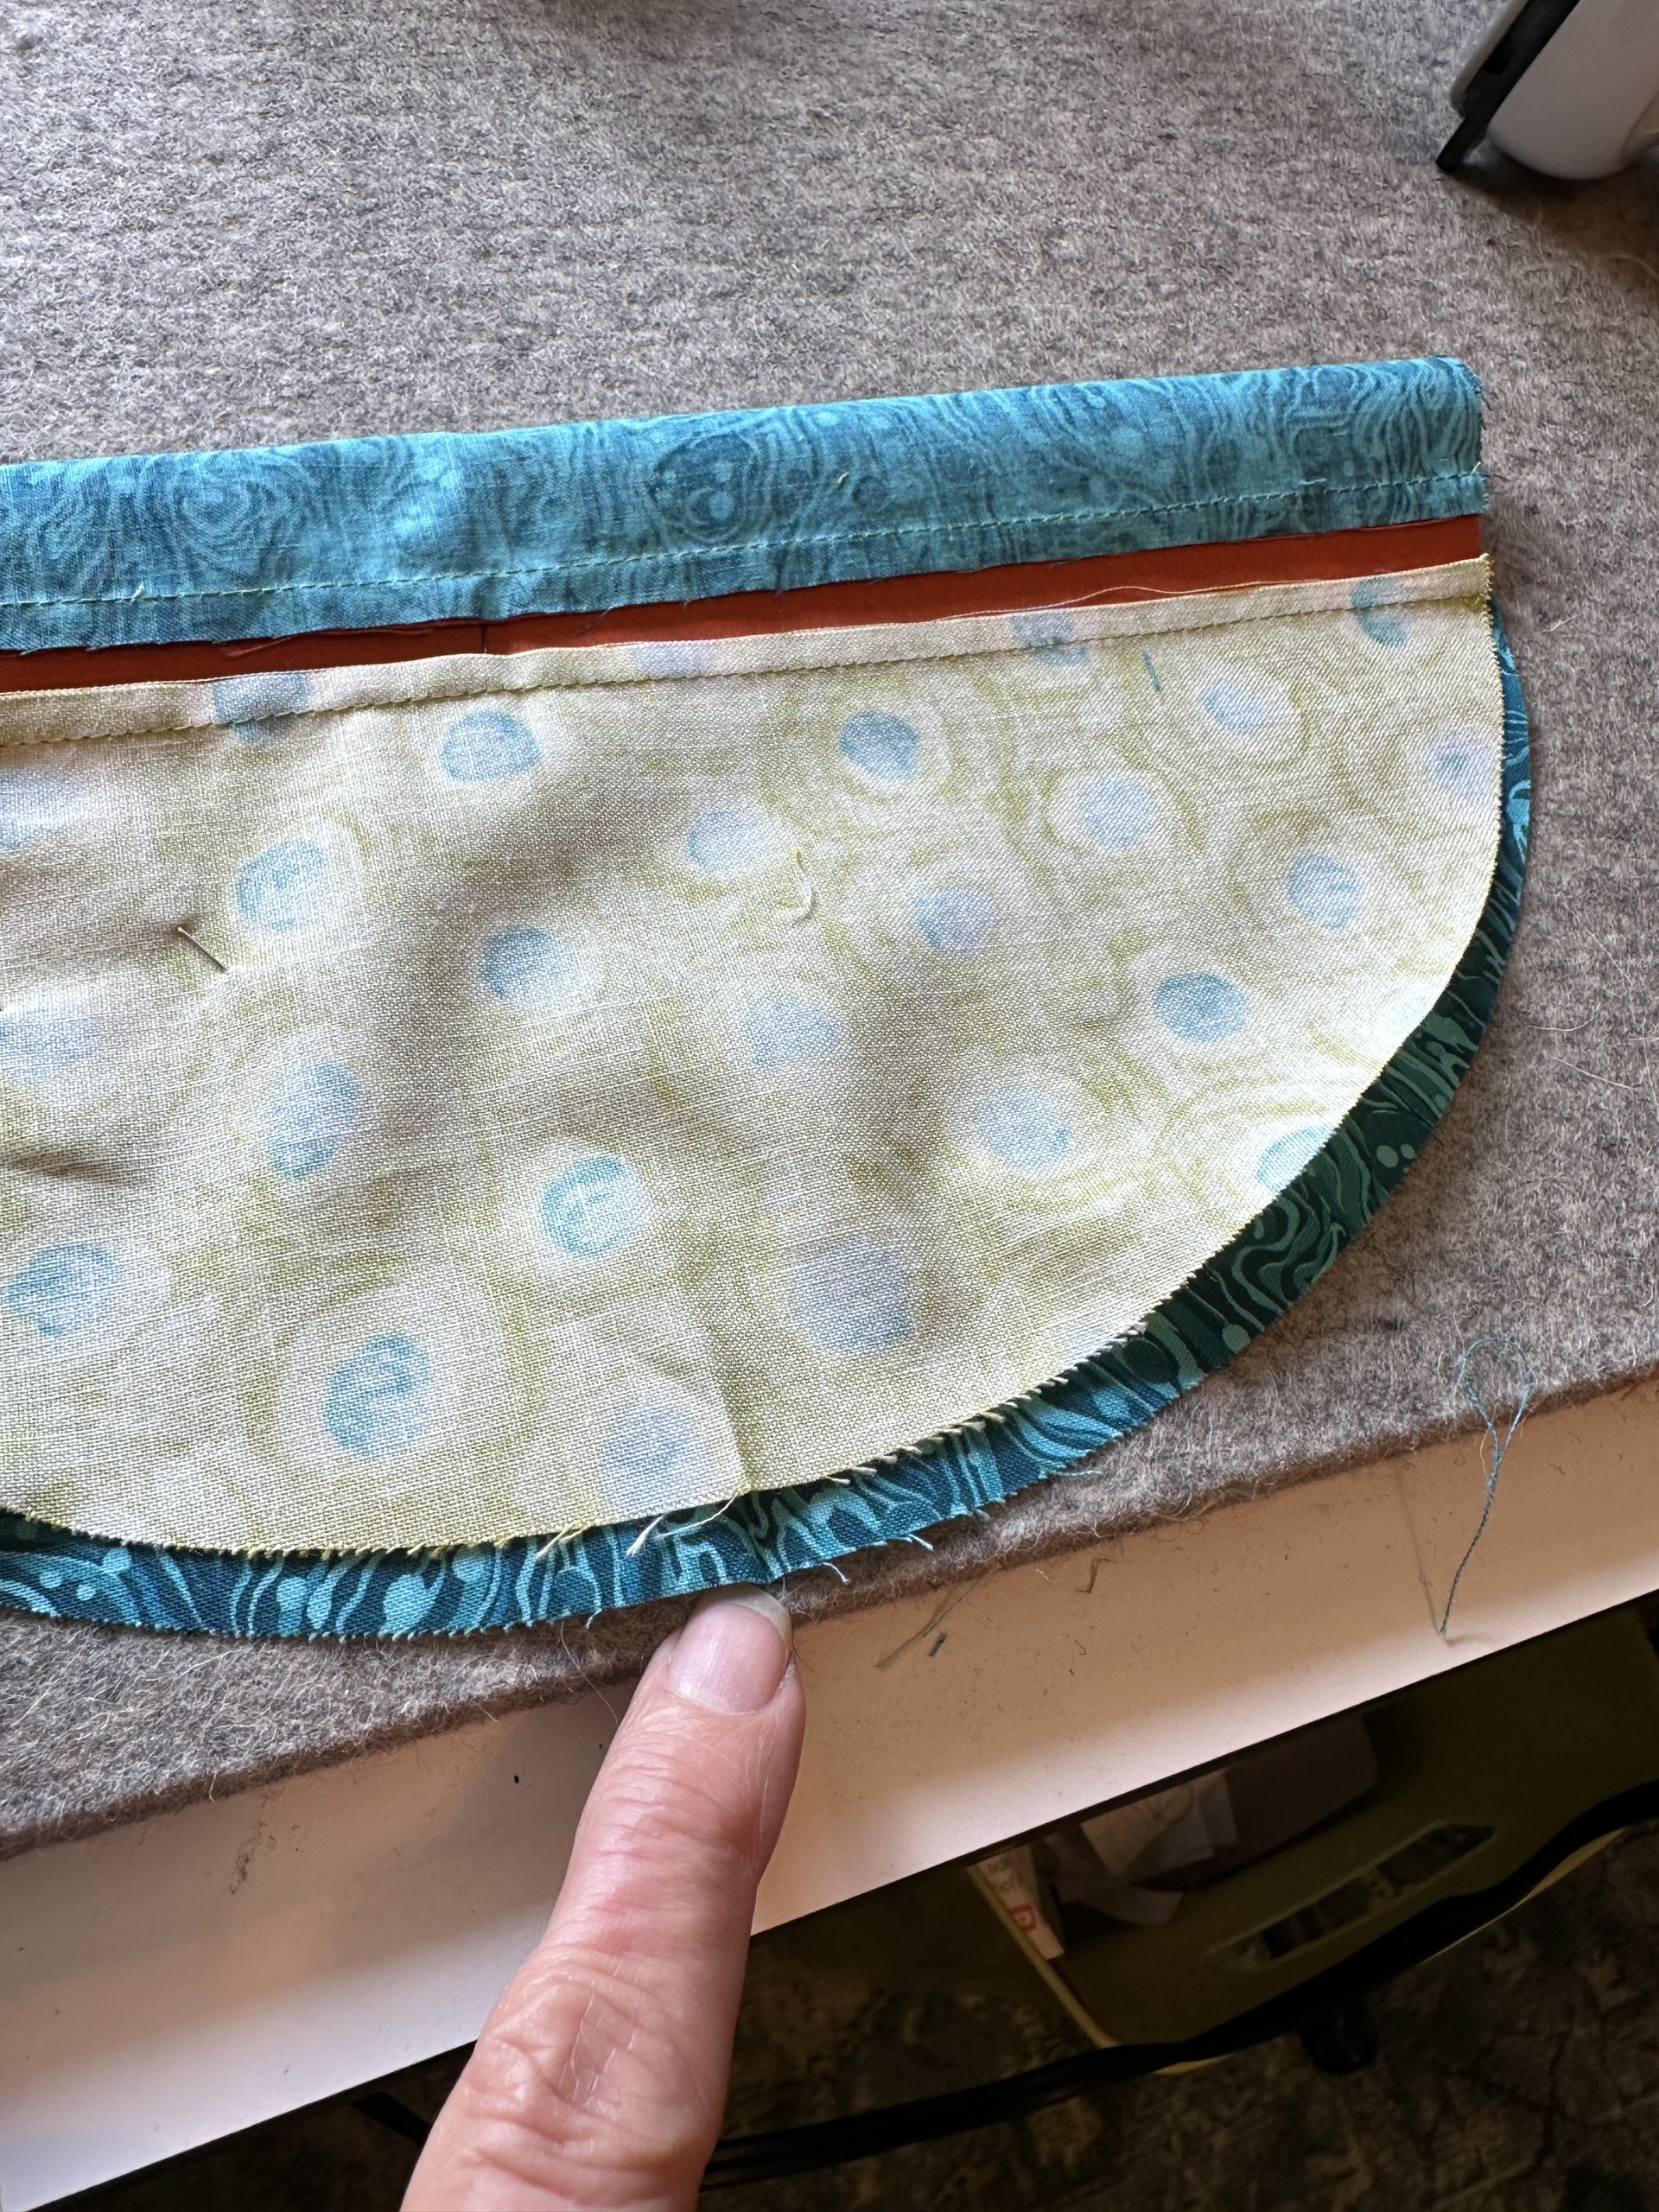
Next was assemble the parts. In the photo above, you can see that I used a strip of print fabric cut 1″ wide, with edges folded to the center, to appliqué the Tula pocket (and also the front of the original totebag to the front of the bag). The Tula Moon Garden Flower 3 (link at the end) embroidered pocket is on the side that faces my body…sized to hold my cell phone and safe from pickpockets by being on the inside. I like the idea of a wipe-clean base for my bags–there is a lot of scuzzy, icky stuff out in the world. AND by having something sturdy cover the bottom 1/2-1″ of the sides, it protects the corners from wearing out. I used cork fabric from FabricFunhouse (a wholesaler, but they also sell retail–click on the link in the name). The inside pockets were sewn on first (see photo below). There is a single patch pocket behind the sheep-in-sweaters that is slightly narrower, so the stitching doesn’t show on the outside. On the other part of the interior, I used leftover canvas from the original bag and the pretty selvage as a trim. You can see my chalk-,asked guidelines.
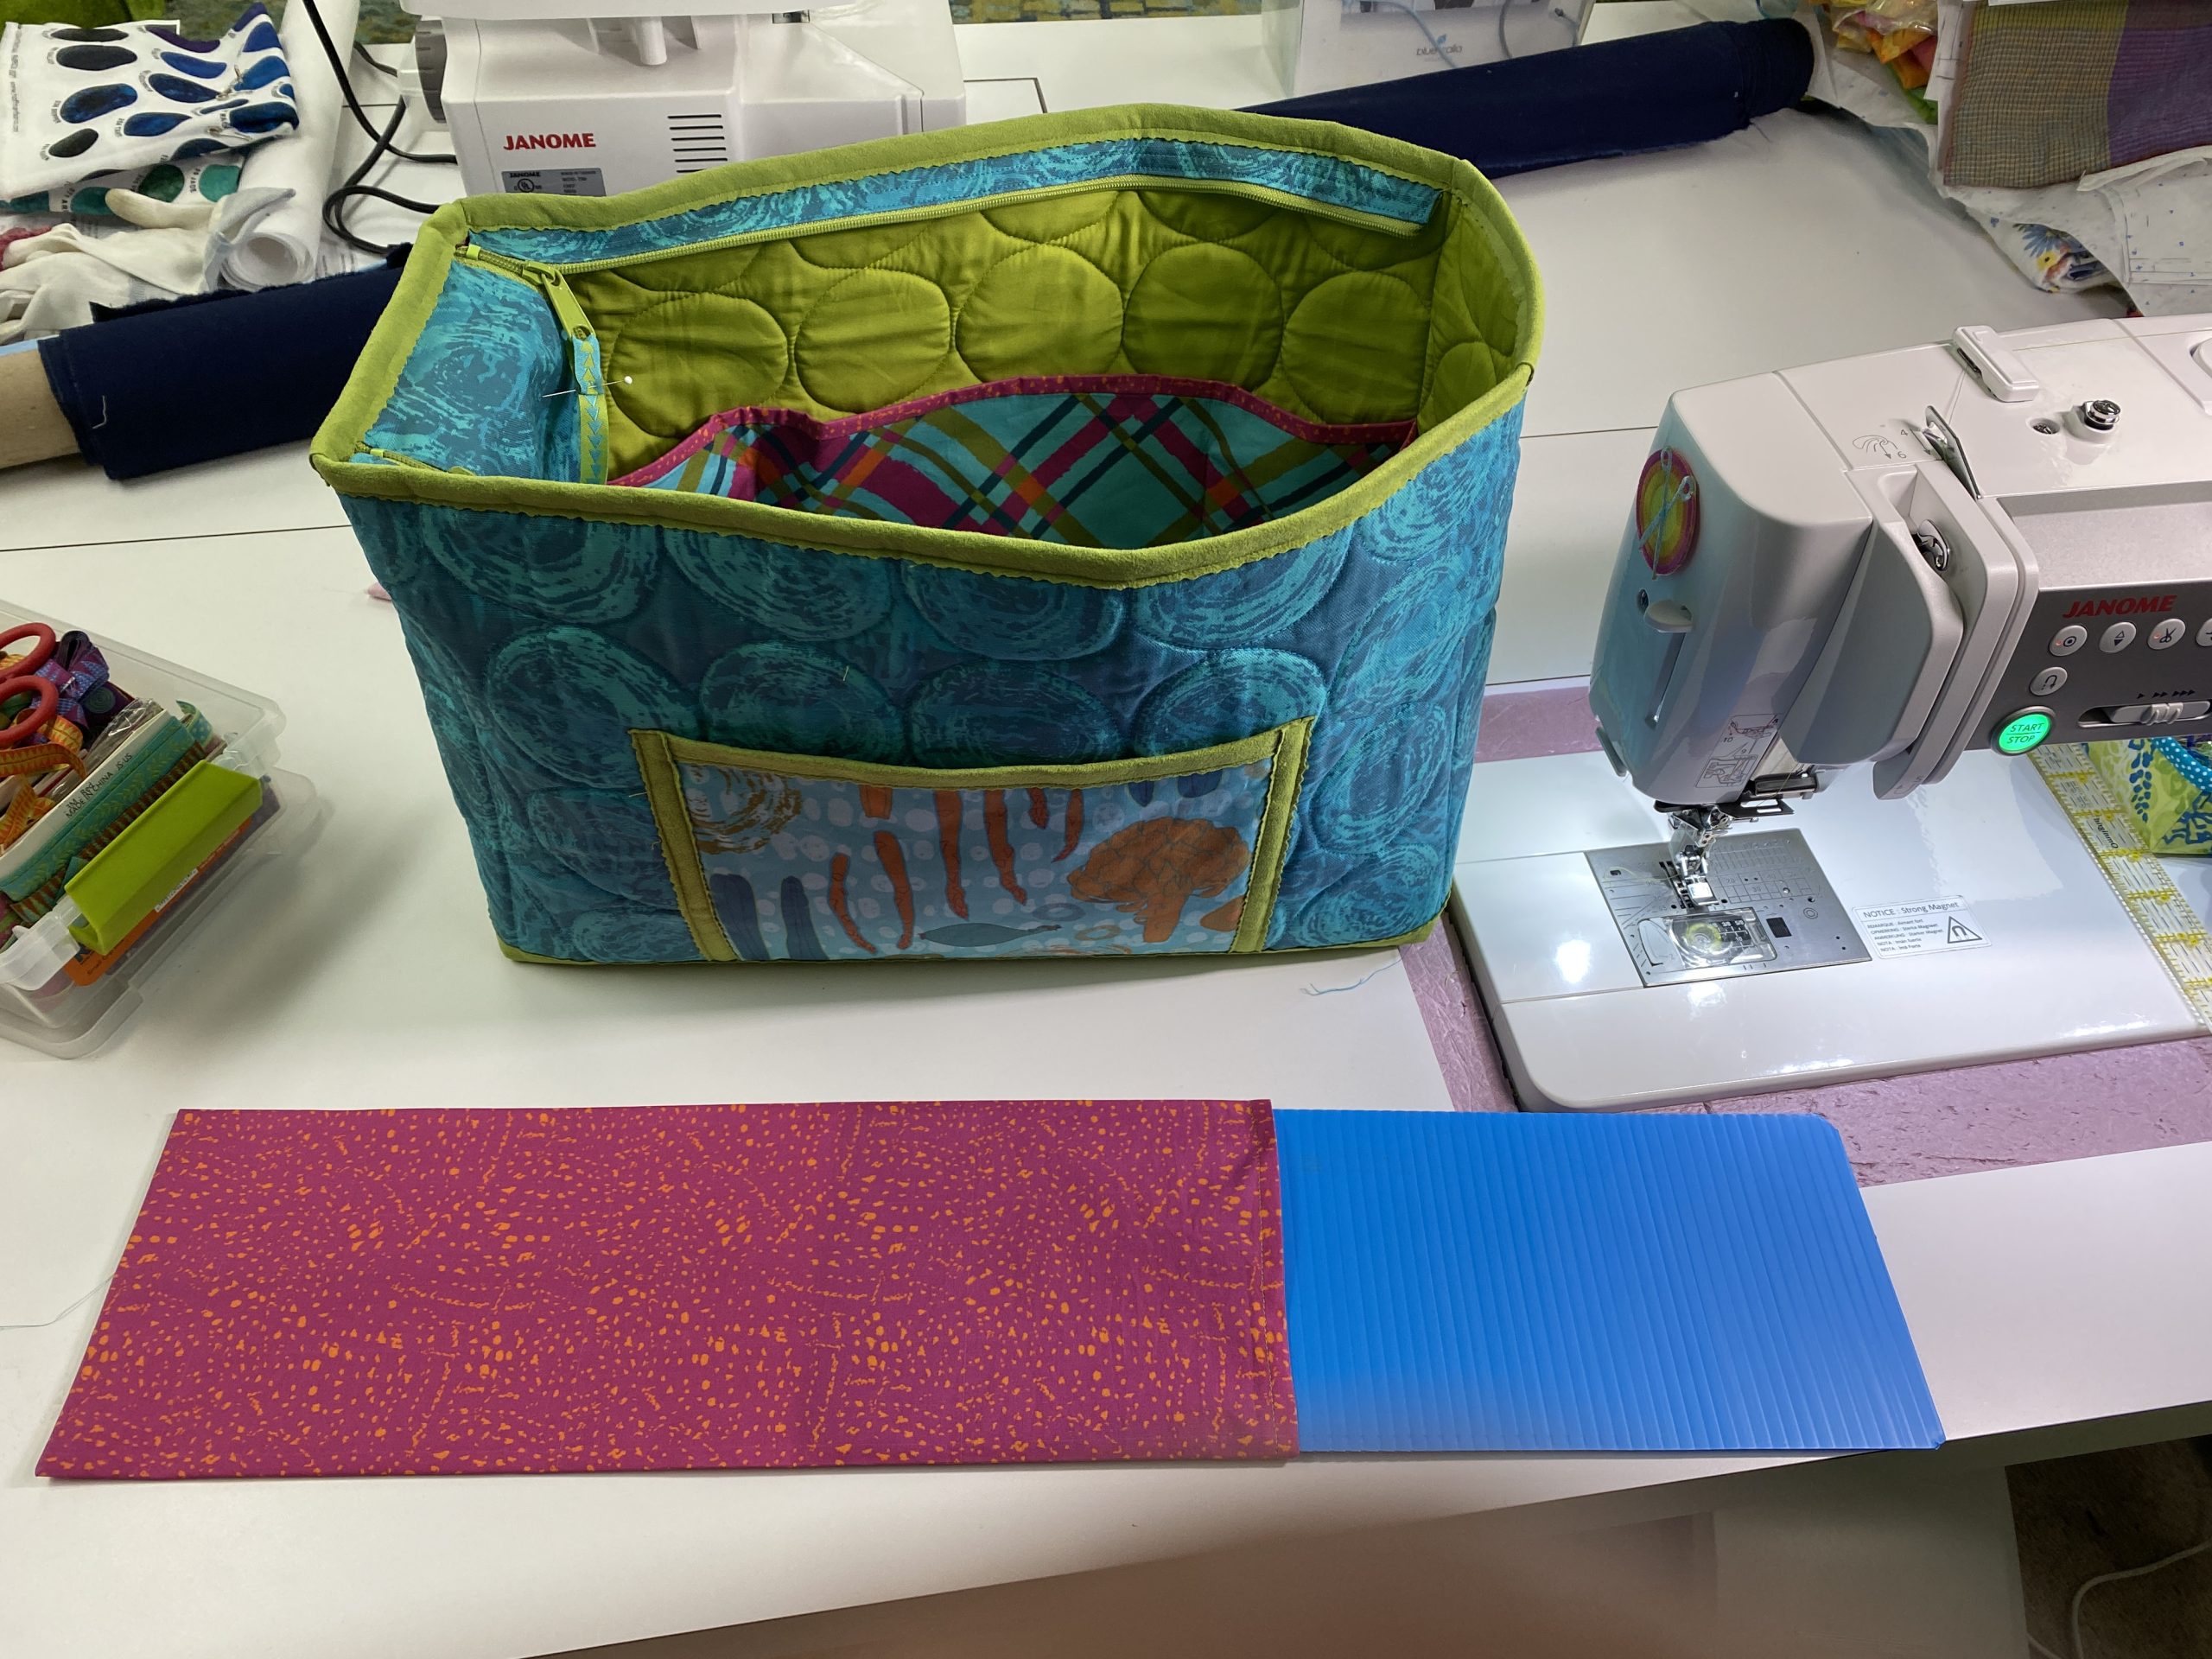
It was on the printed pocket that I had my brainstorm! I wanted the pocket to stand up and not flop, but if I had used the Soft And Stable all the way to the edges of the pocket it would have been way too thick and lumpy and hard to sew. SO! I cut the Soft and Stable about 2″ narrower than the full width of the pocket! That meant I would have just the fabric on the edges, allowing me to sew the pocket in place, making a little pleat on either side. Easier to sew and lets me slide my iPad inside without bulging. Mo’ bettah! (see second photo)
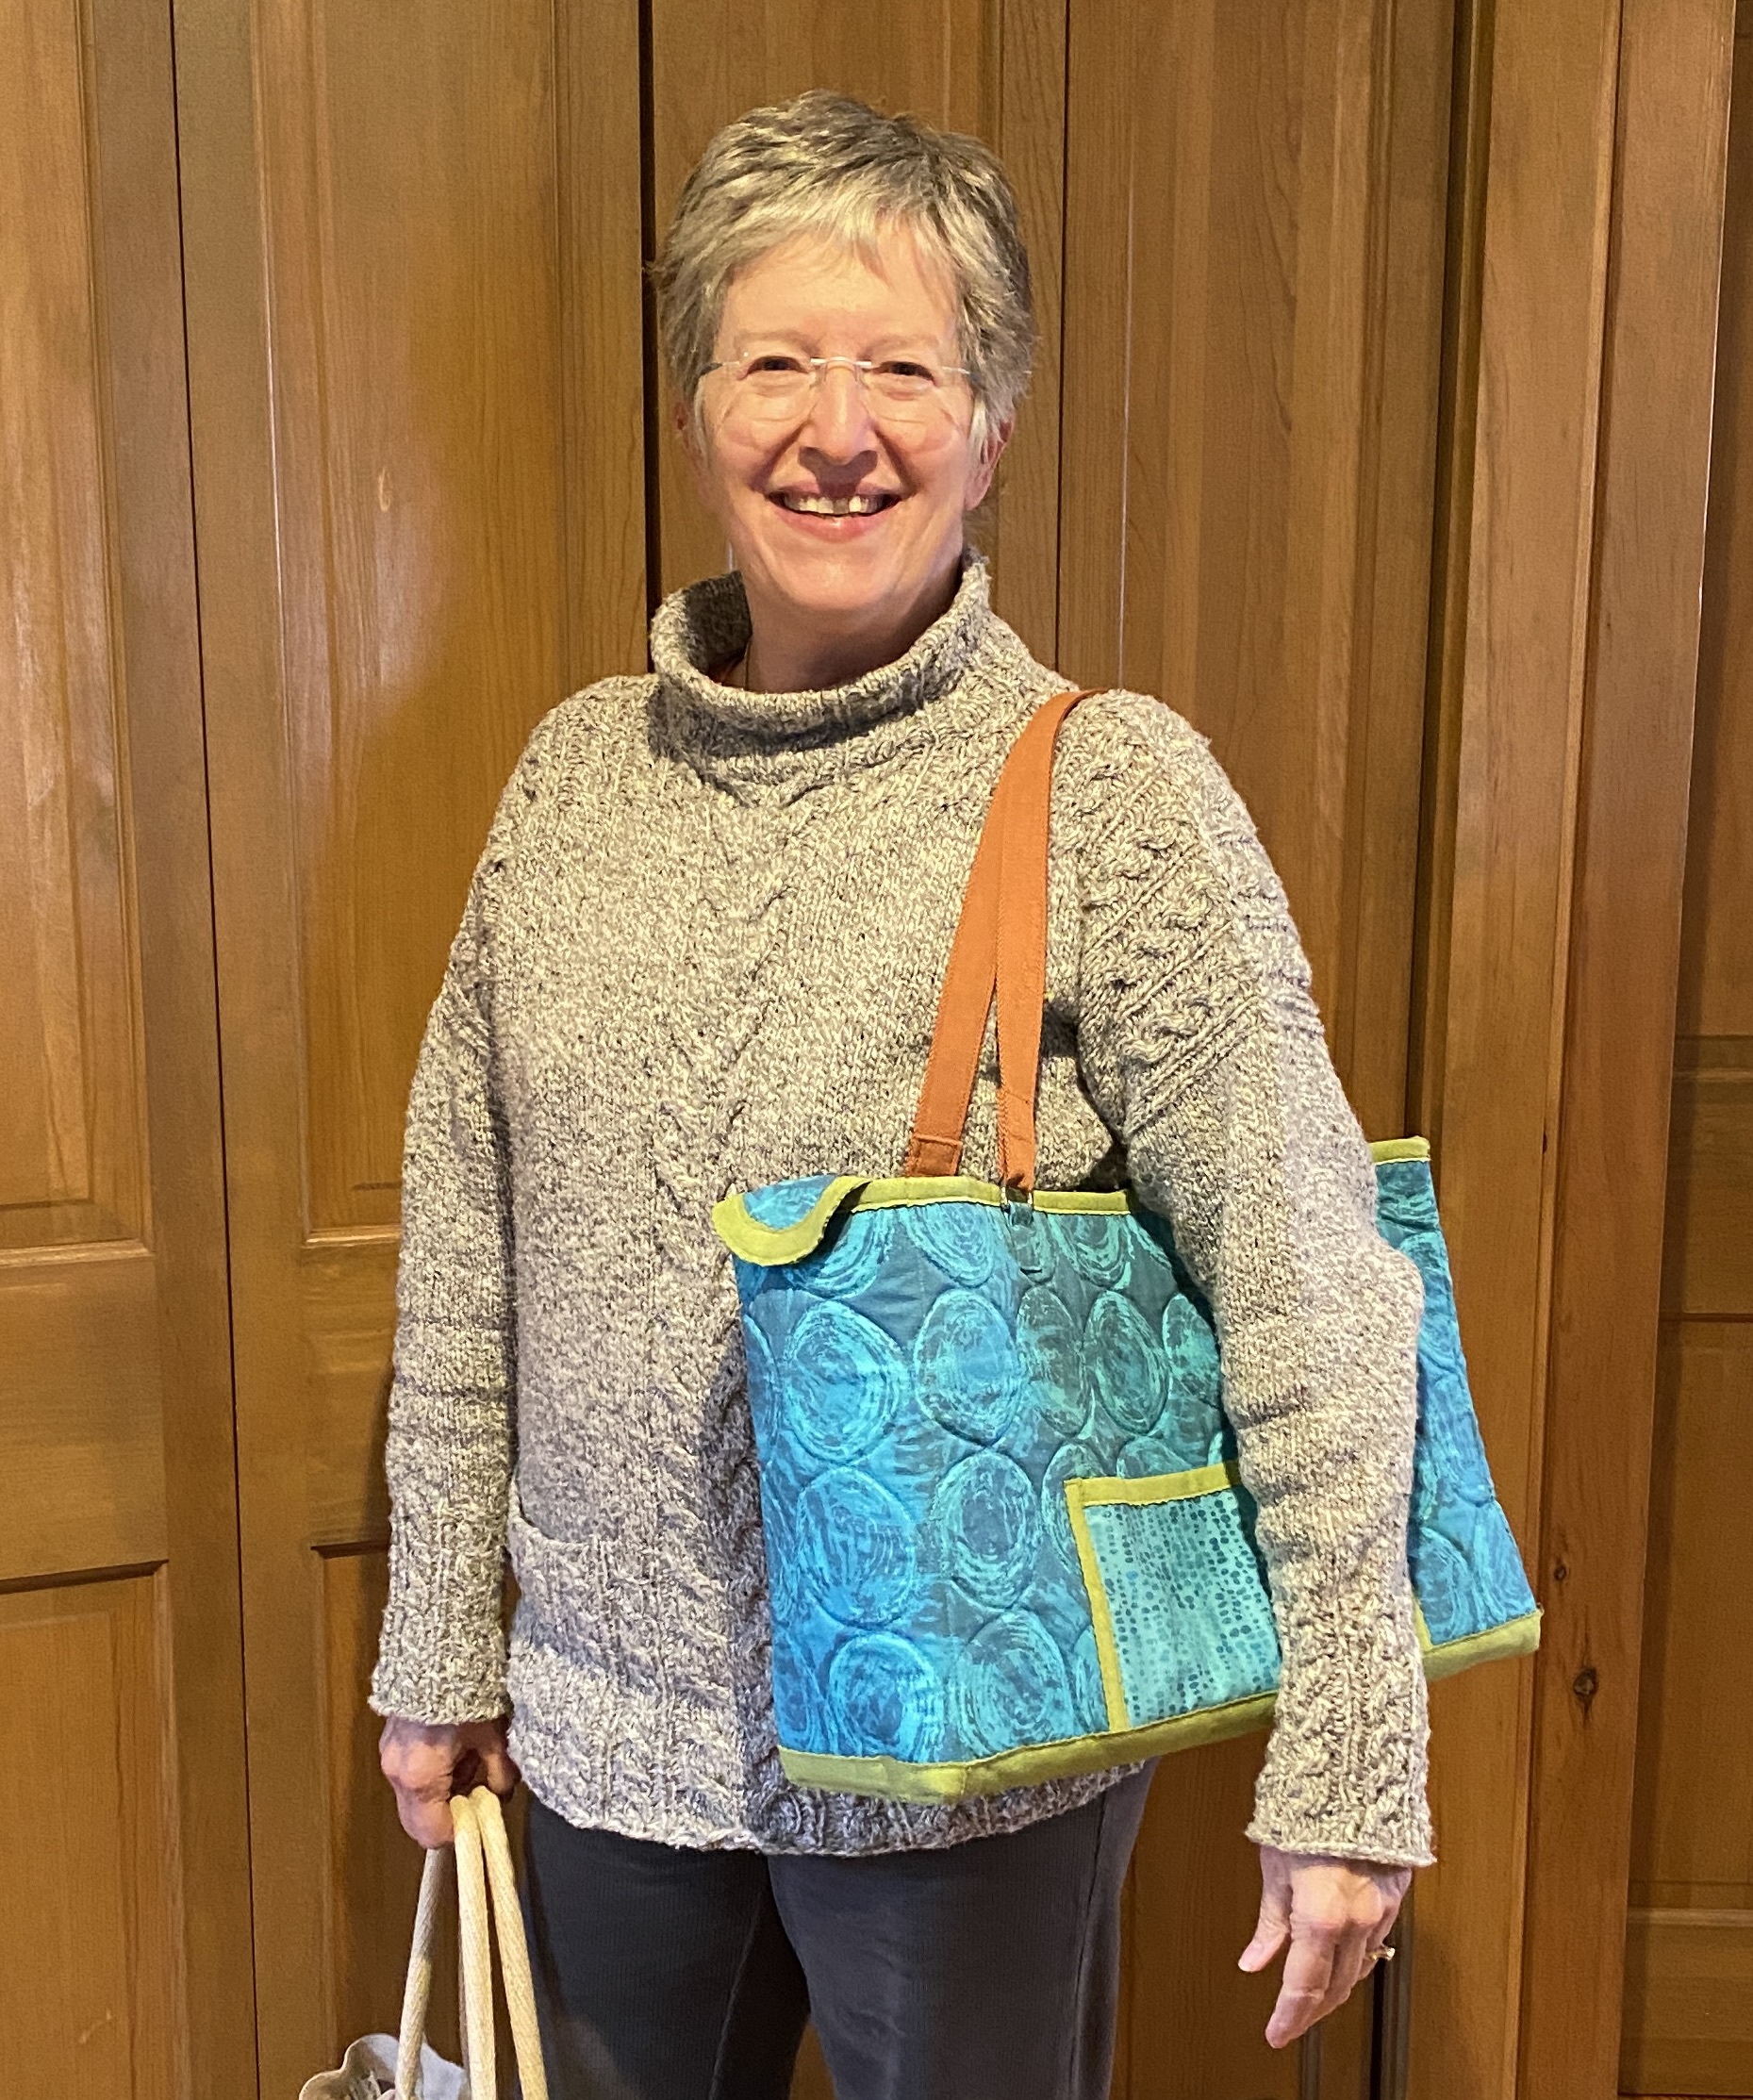
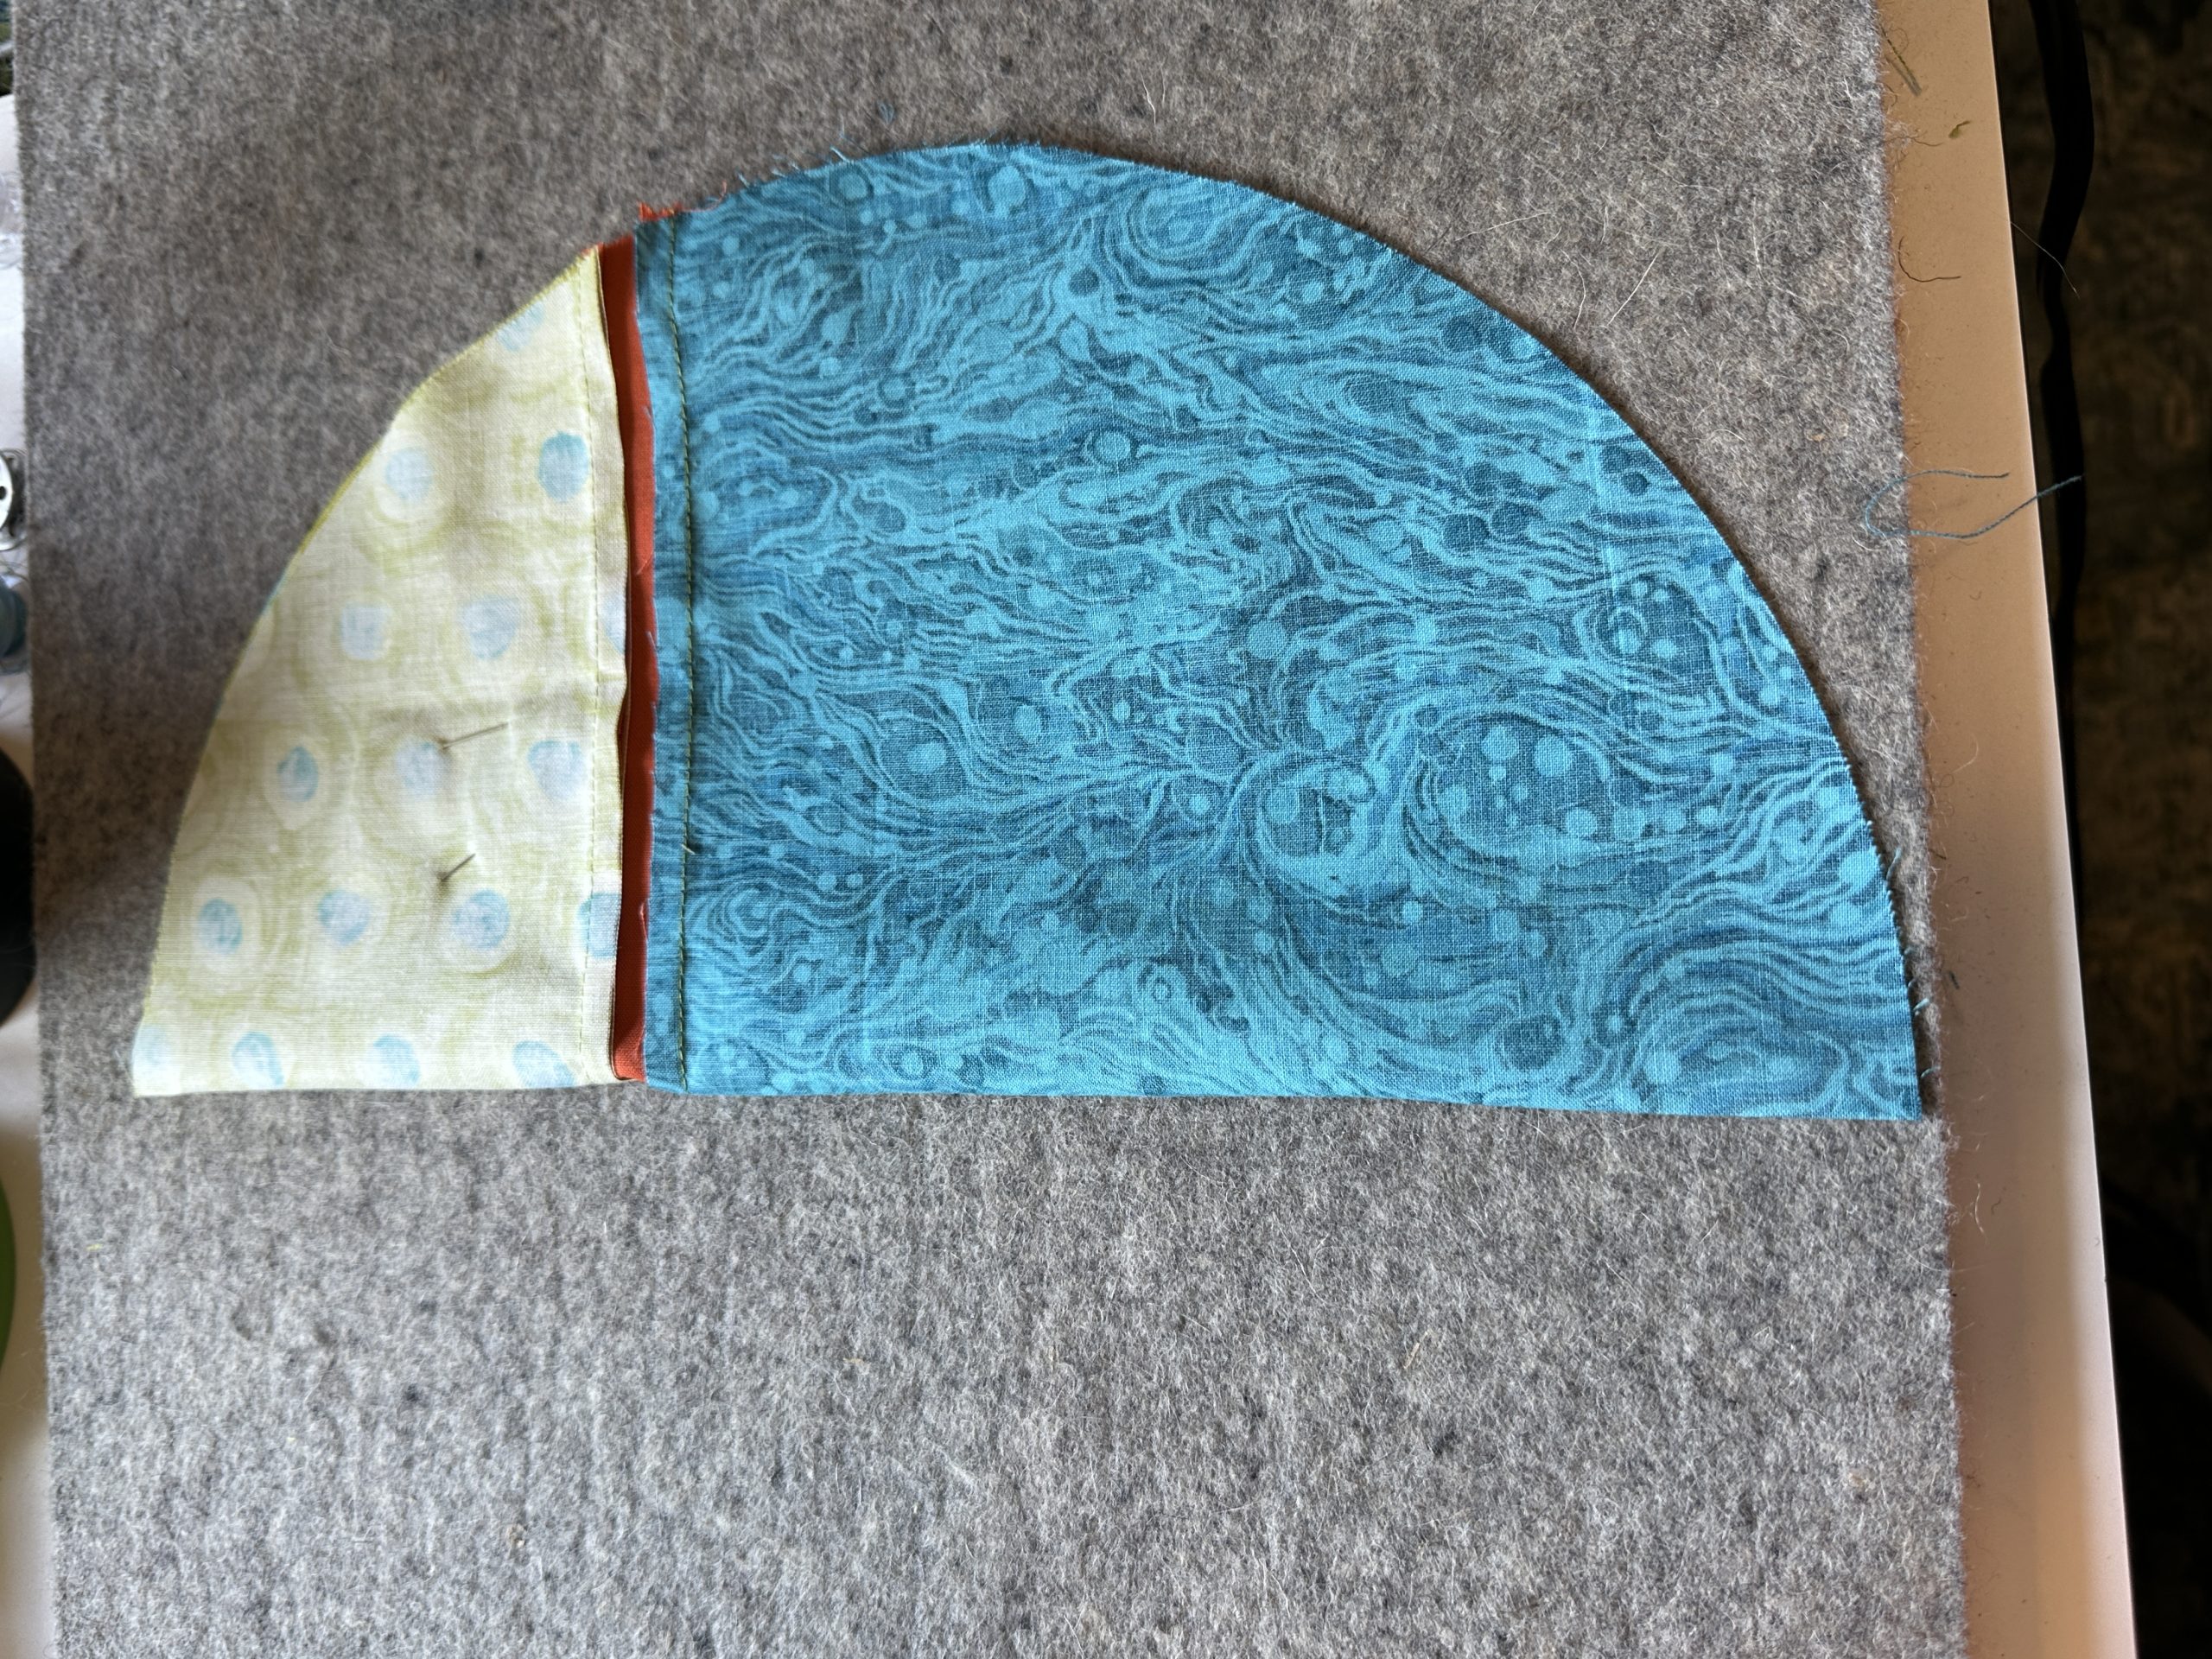
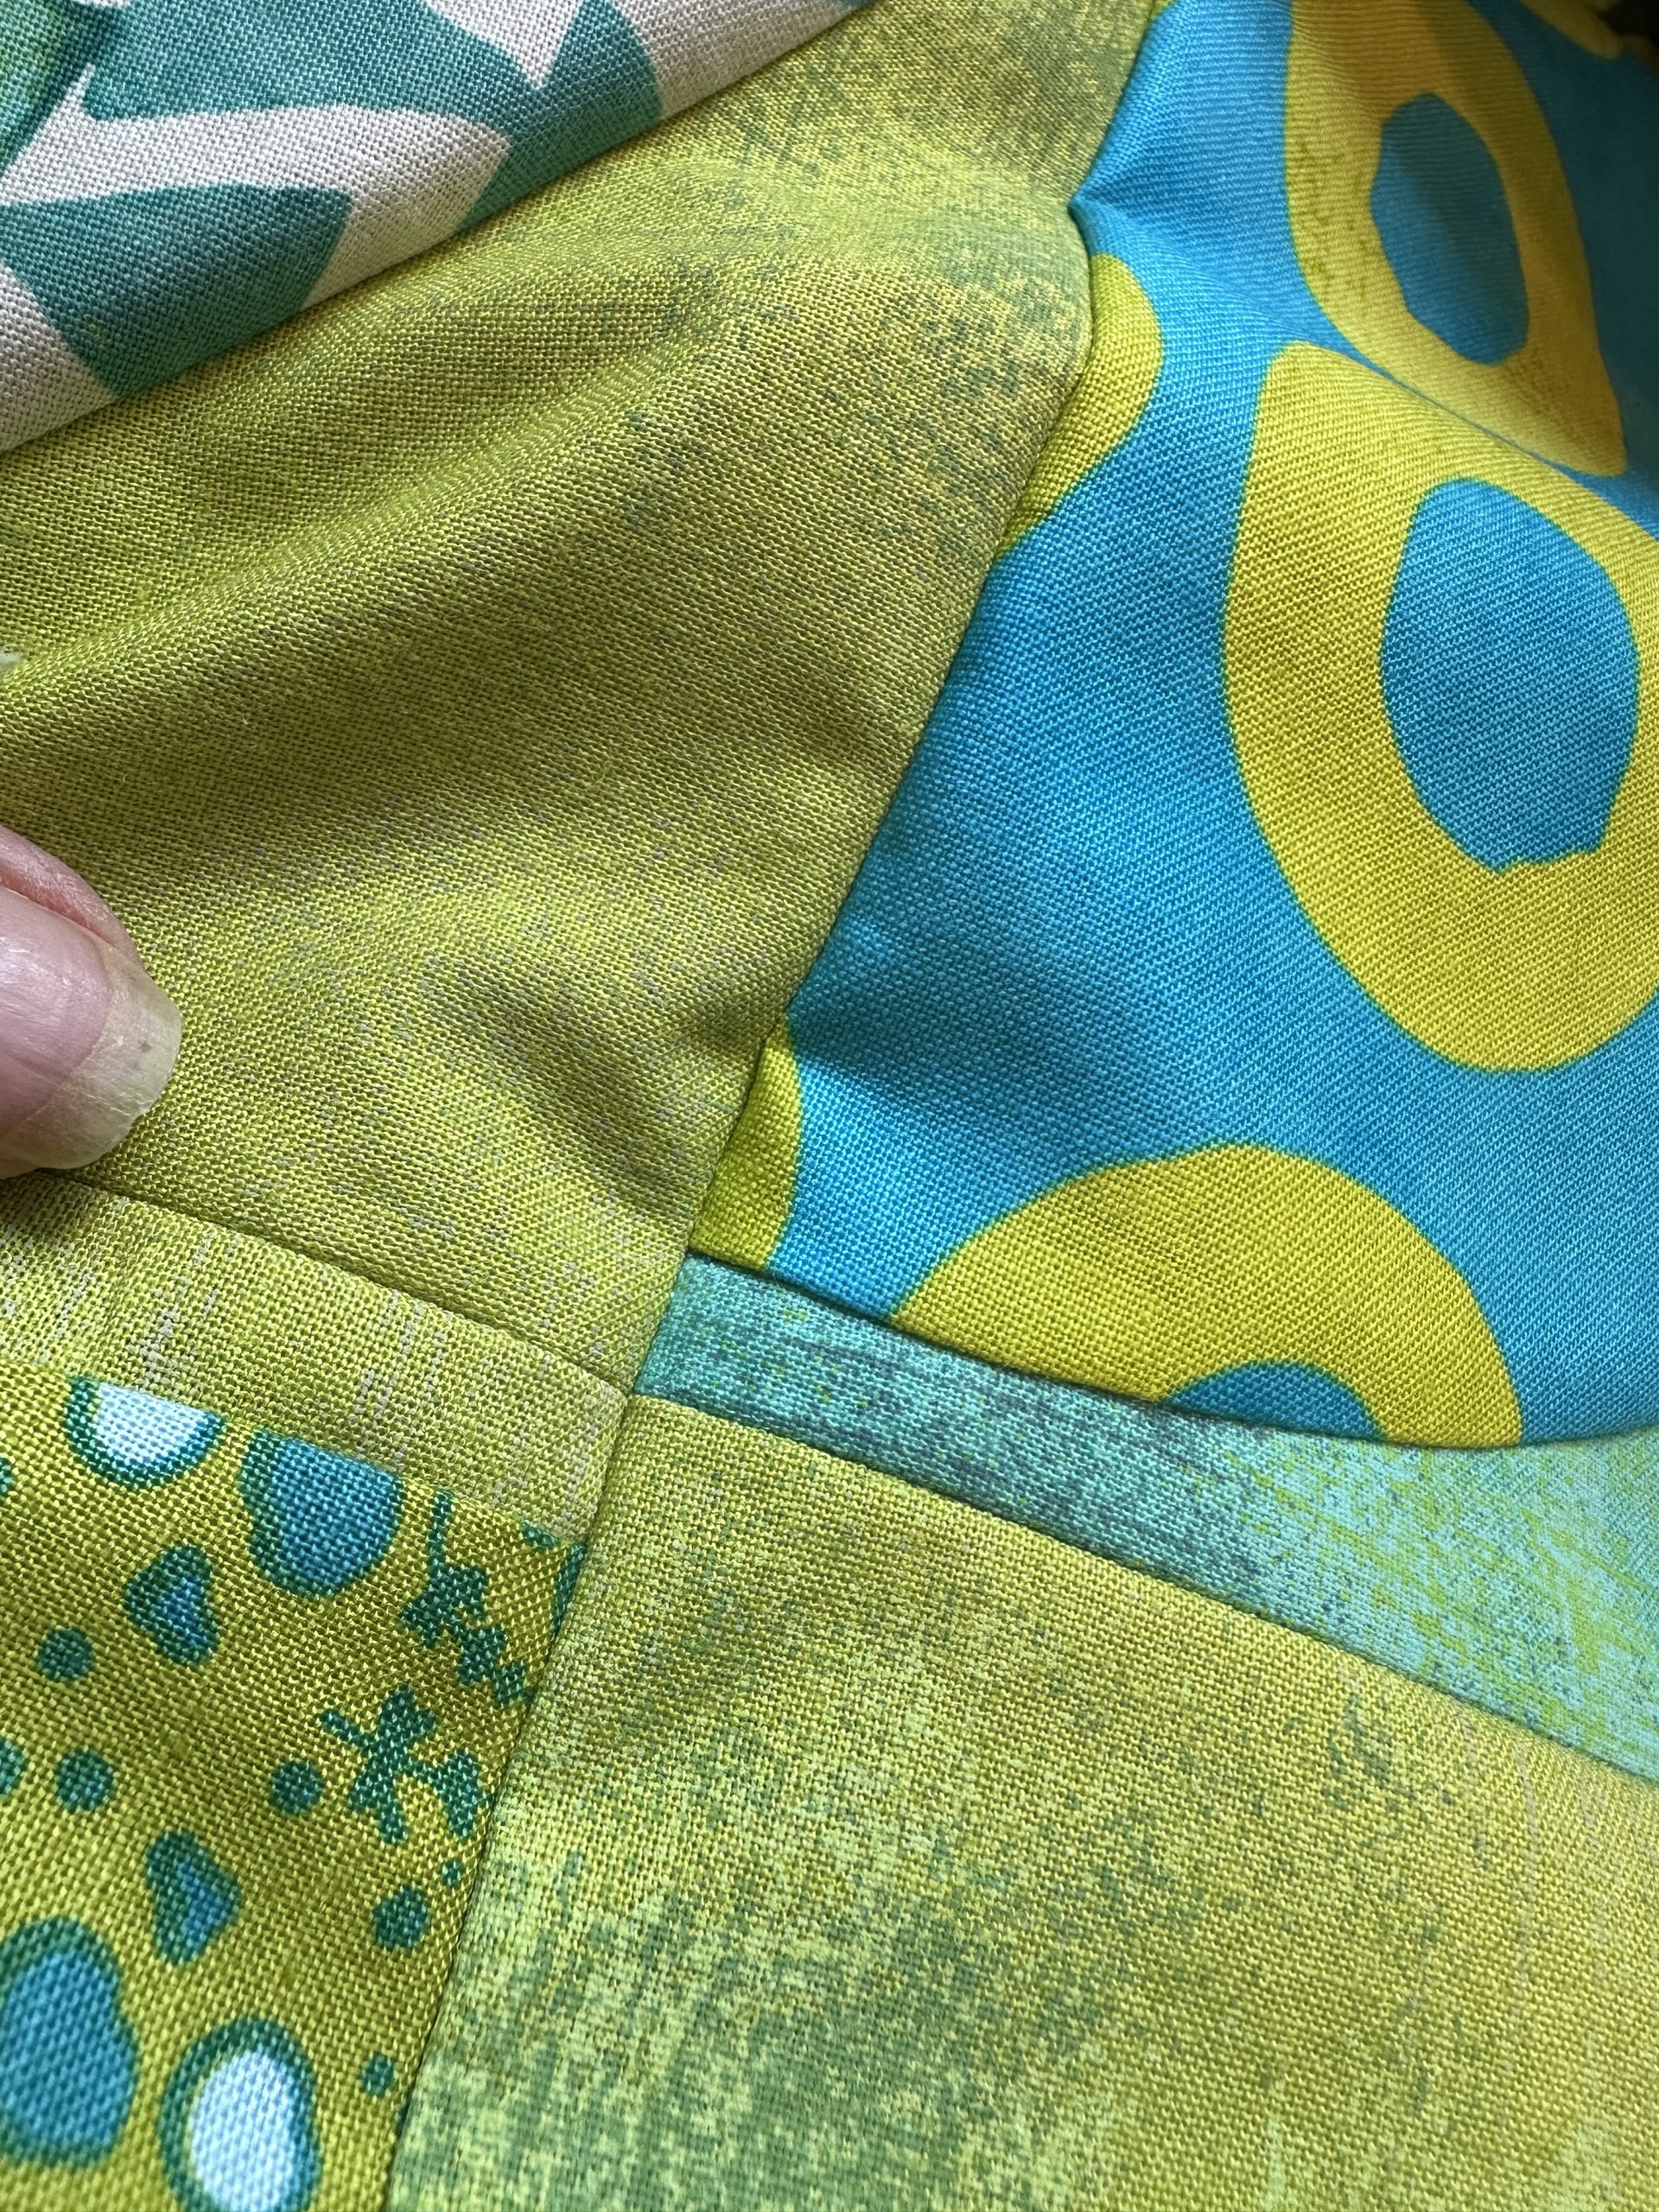
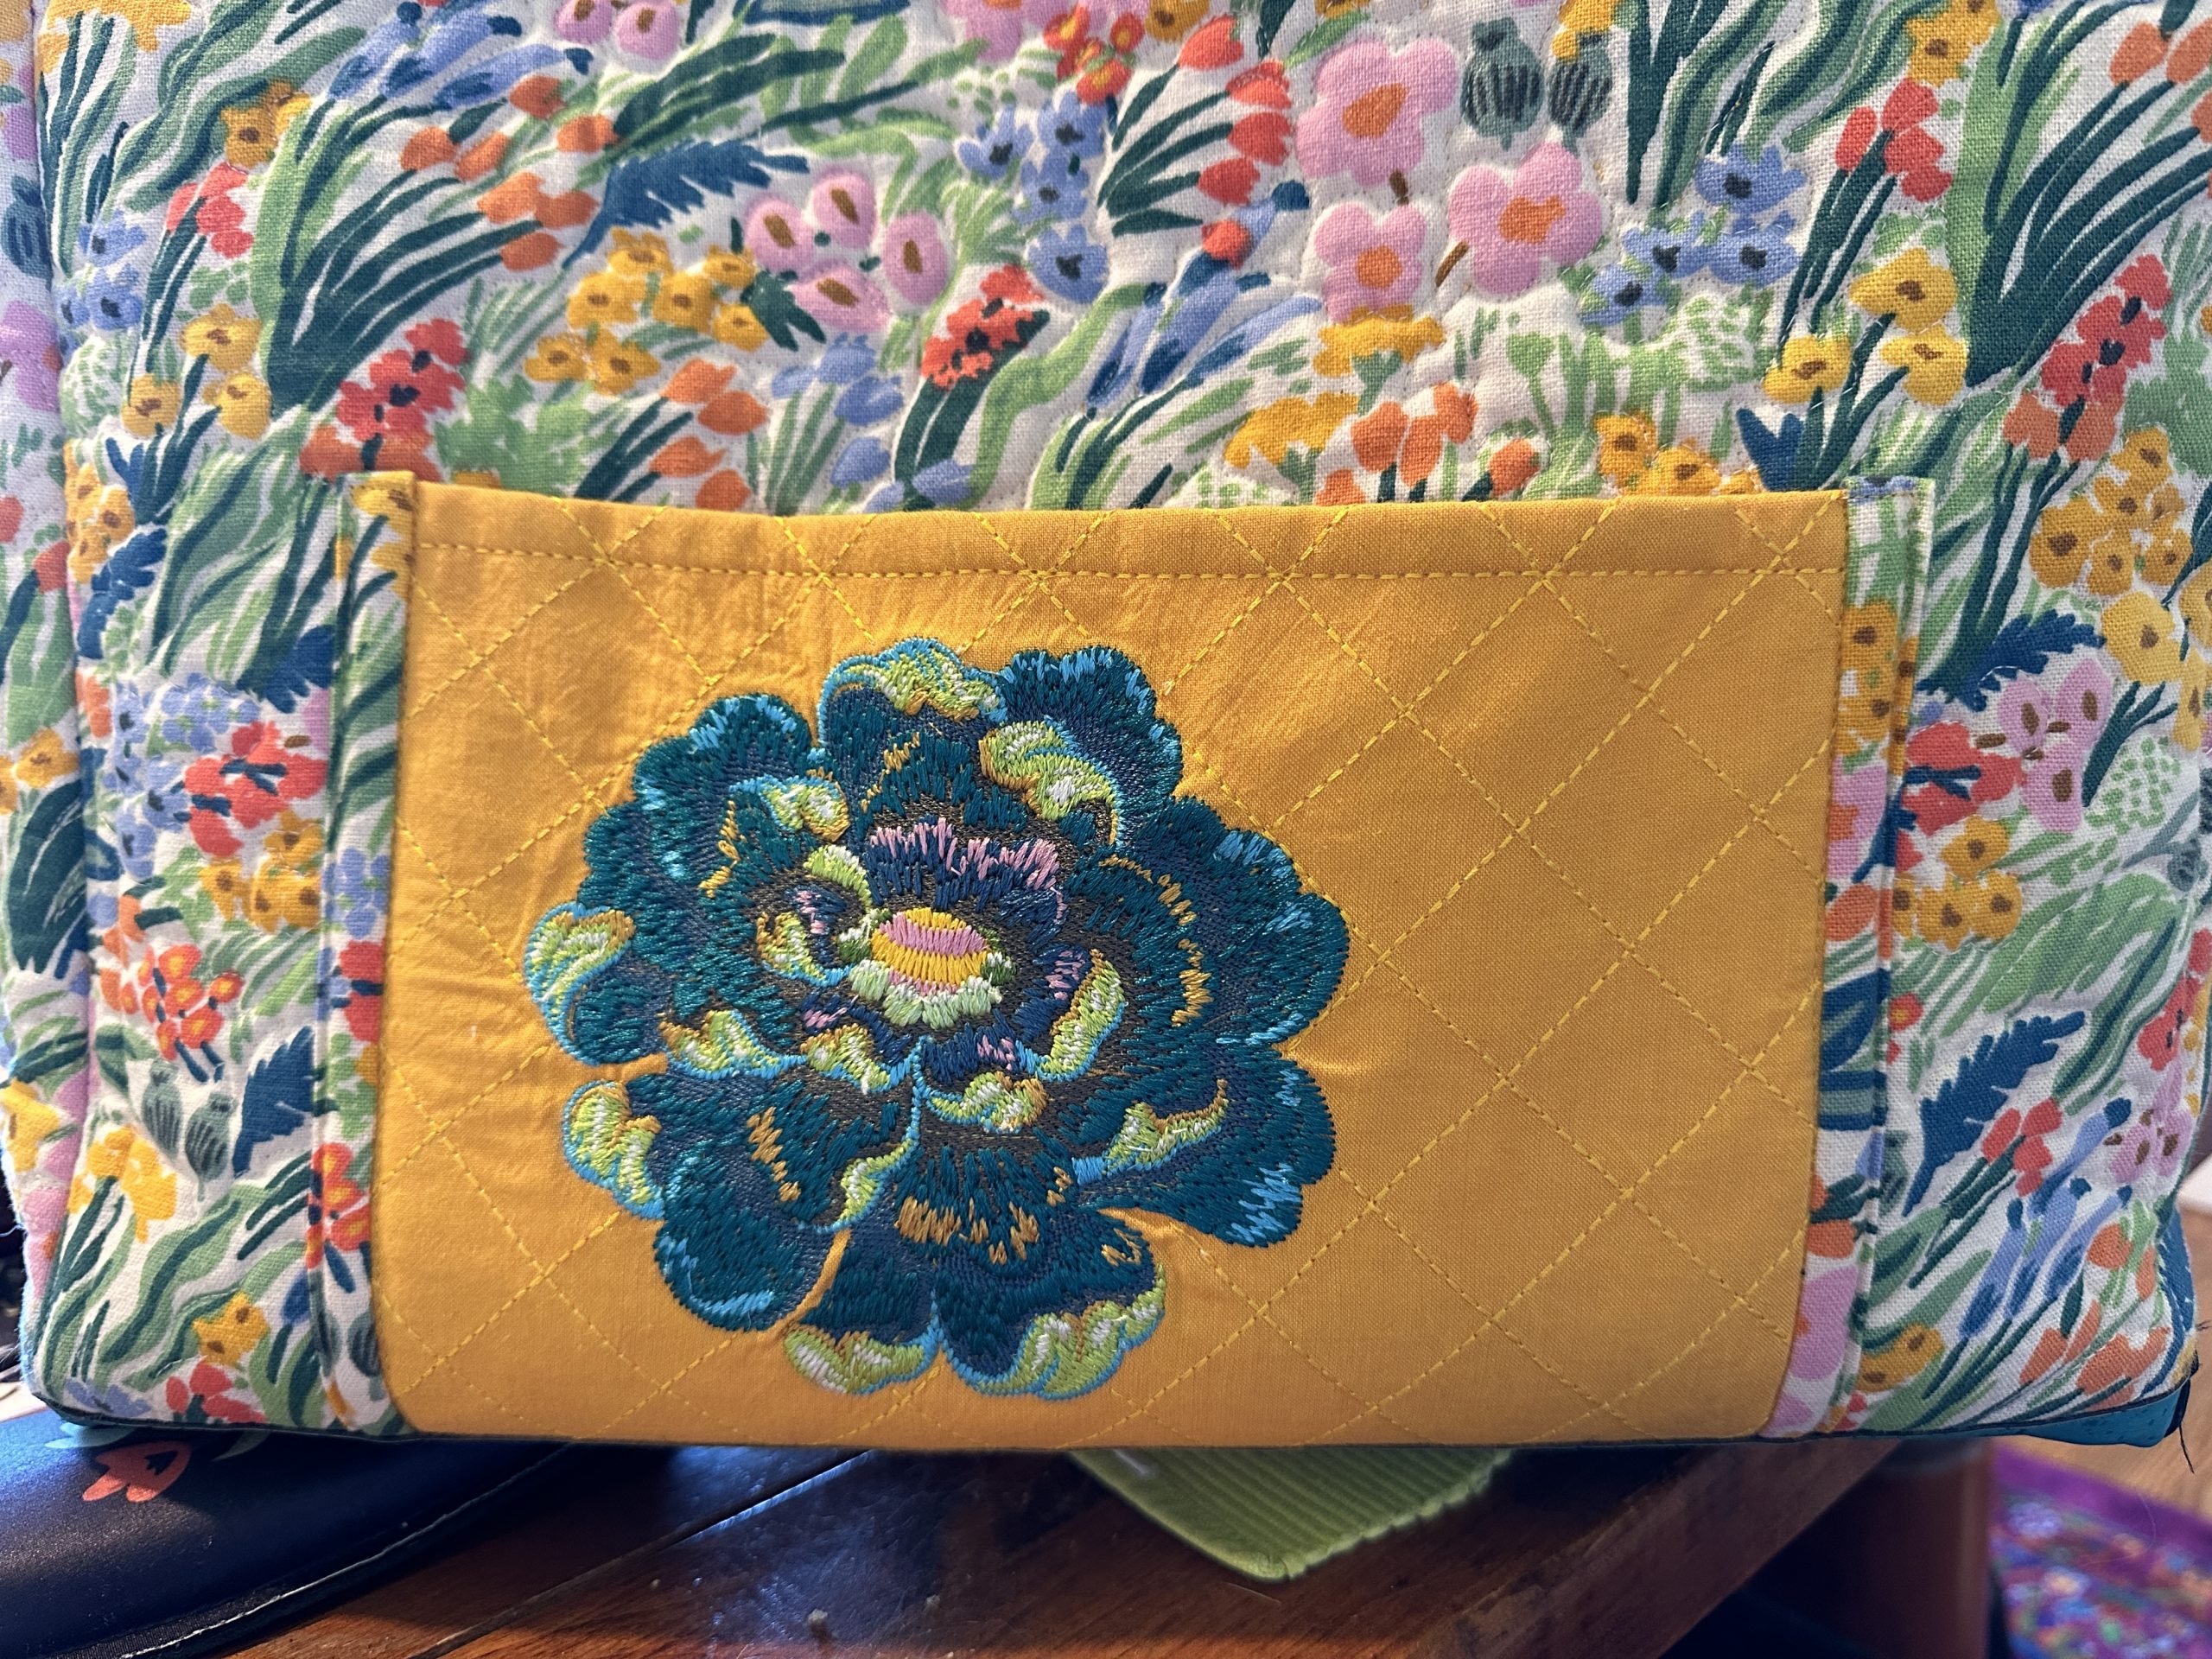
Here’s that side of the bag after it was completed:
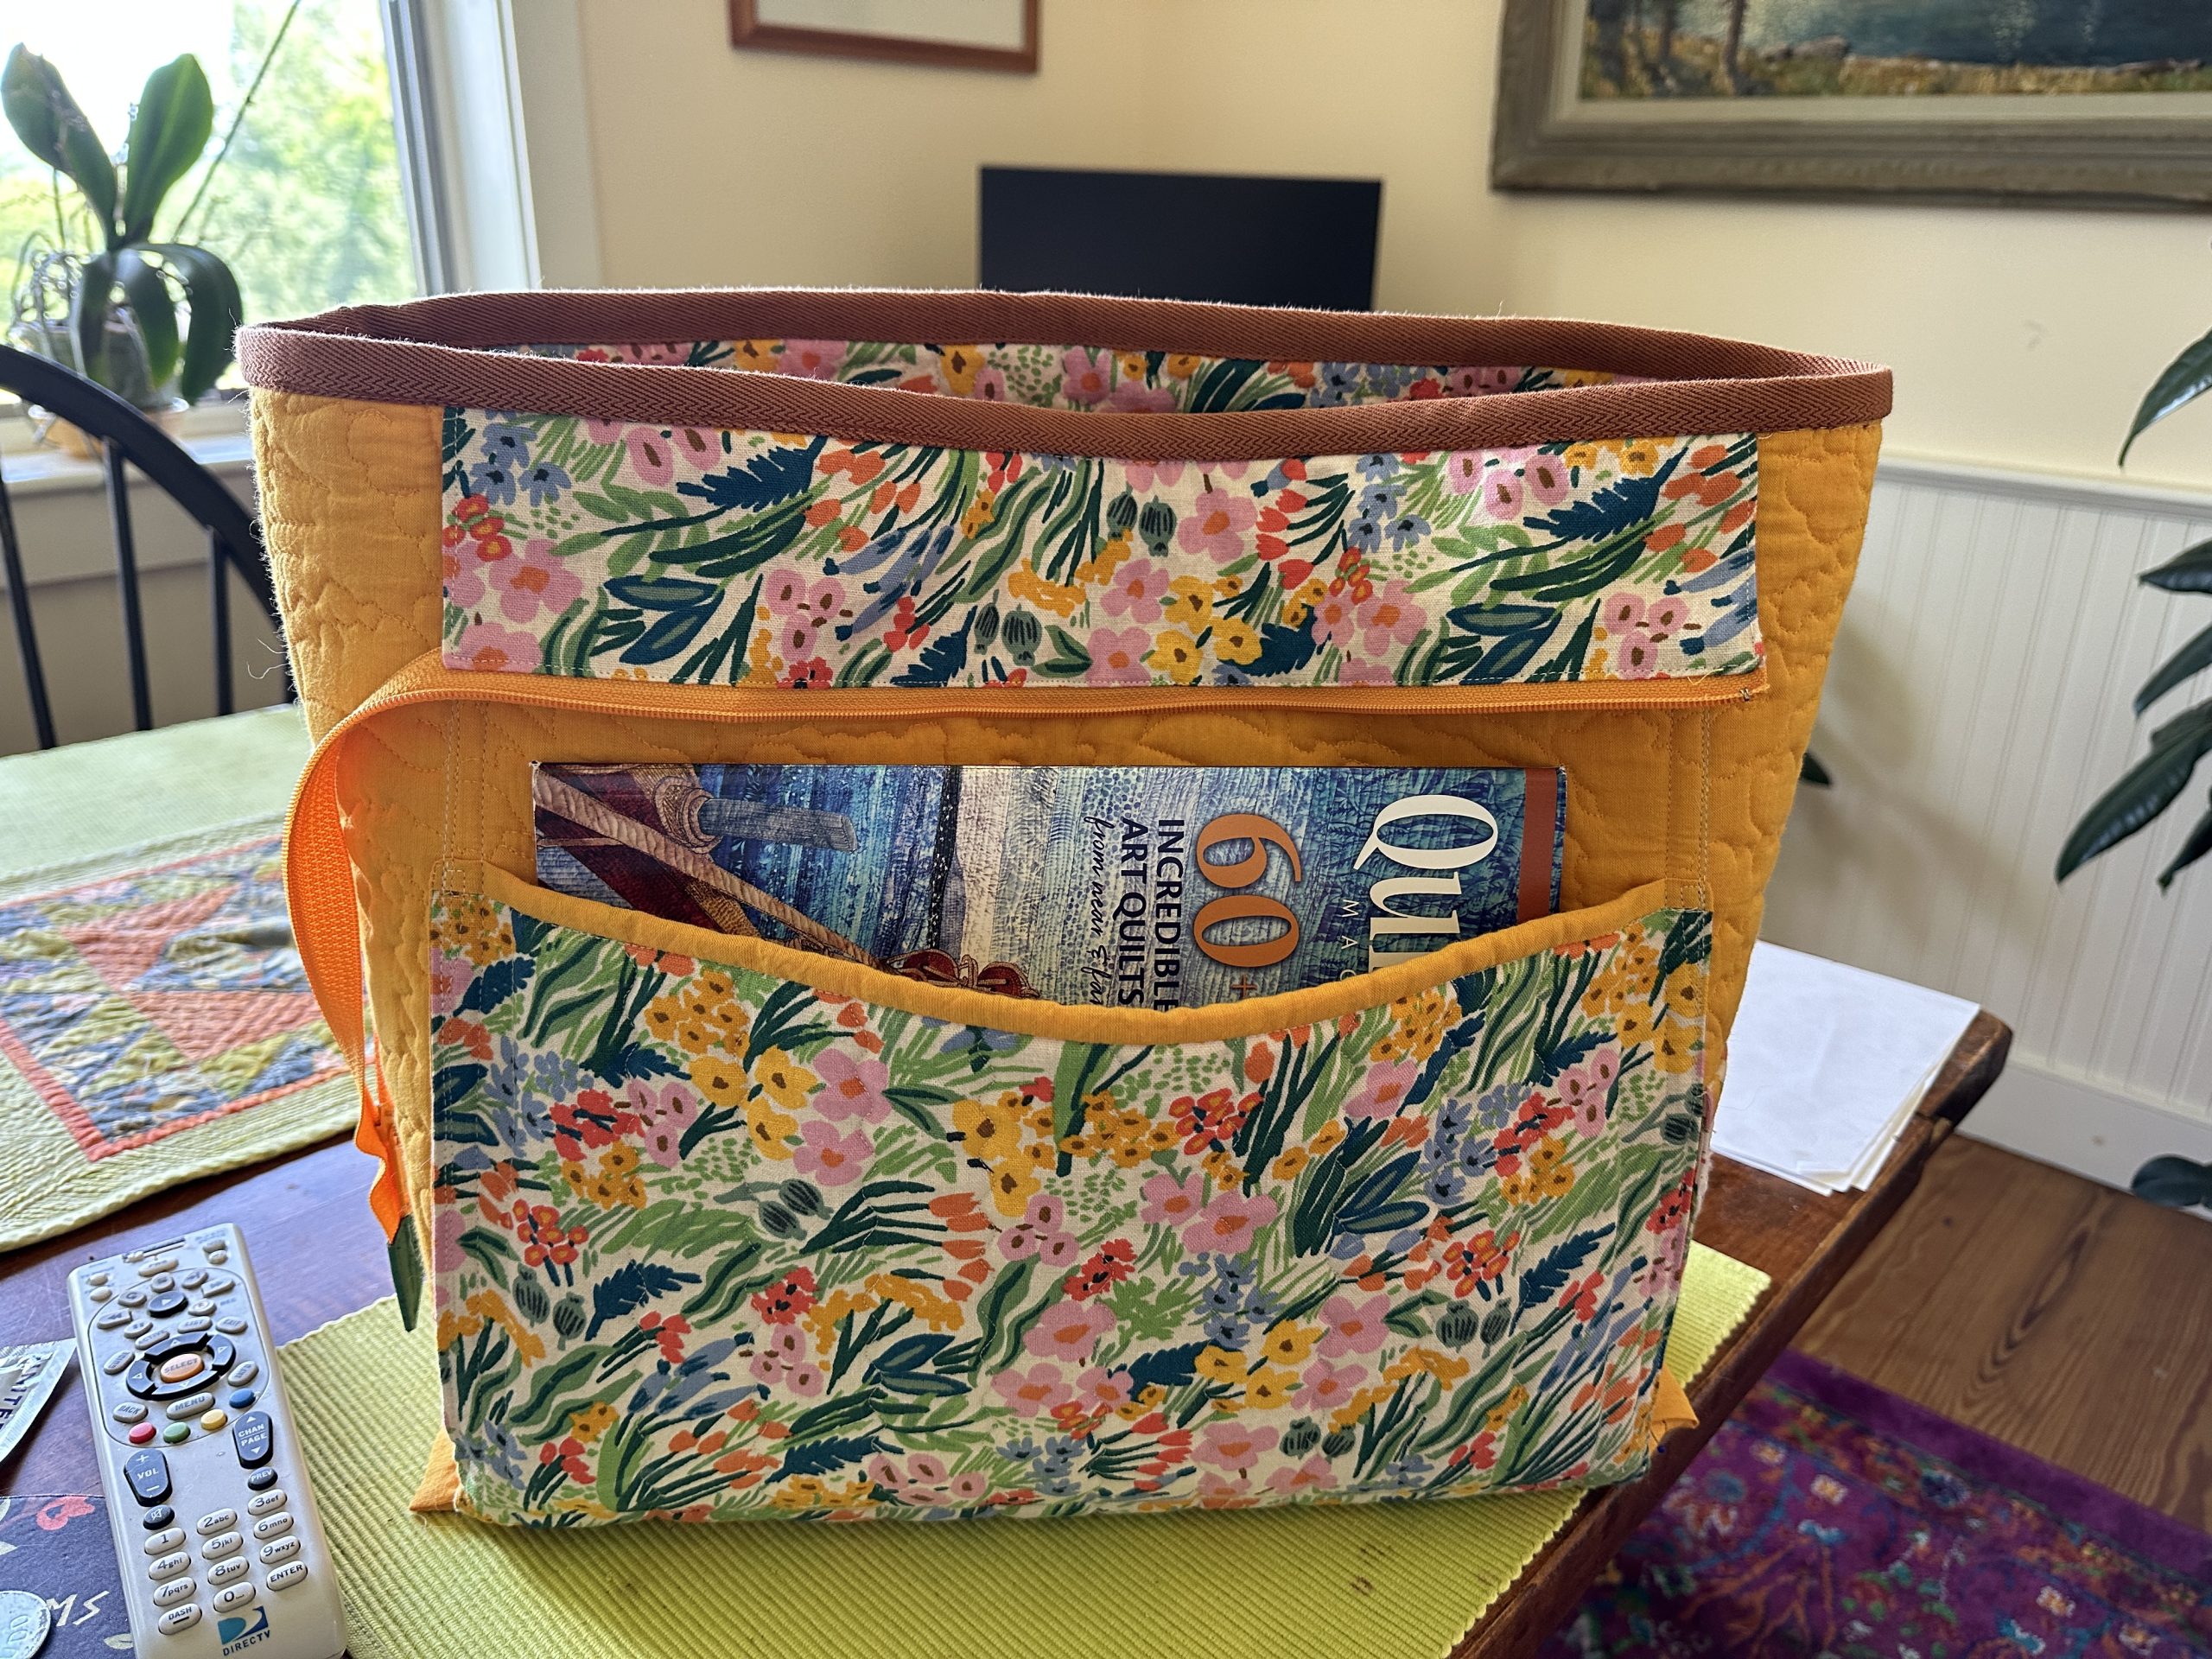
Then I added the outside pockets. The Tula flower pocket was sewn on so that the stitching created divisions in the interior pocket. Here’s what it looked like when done.
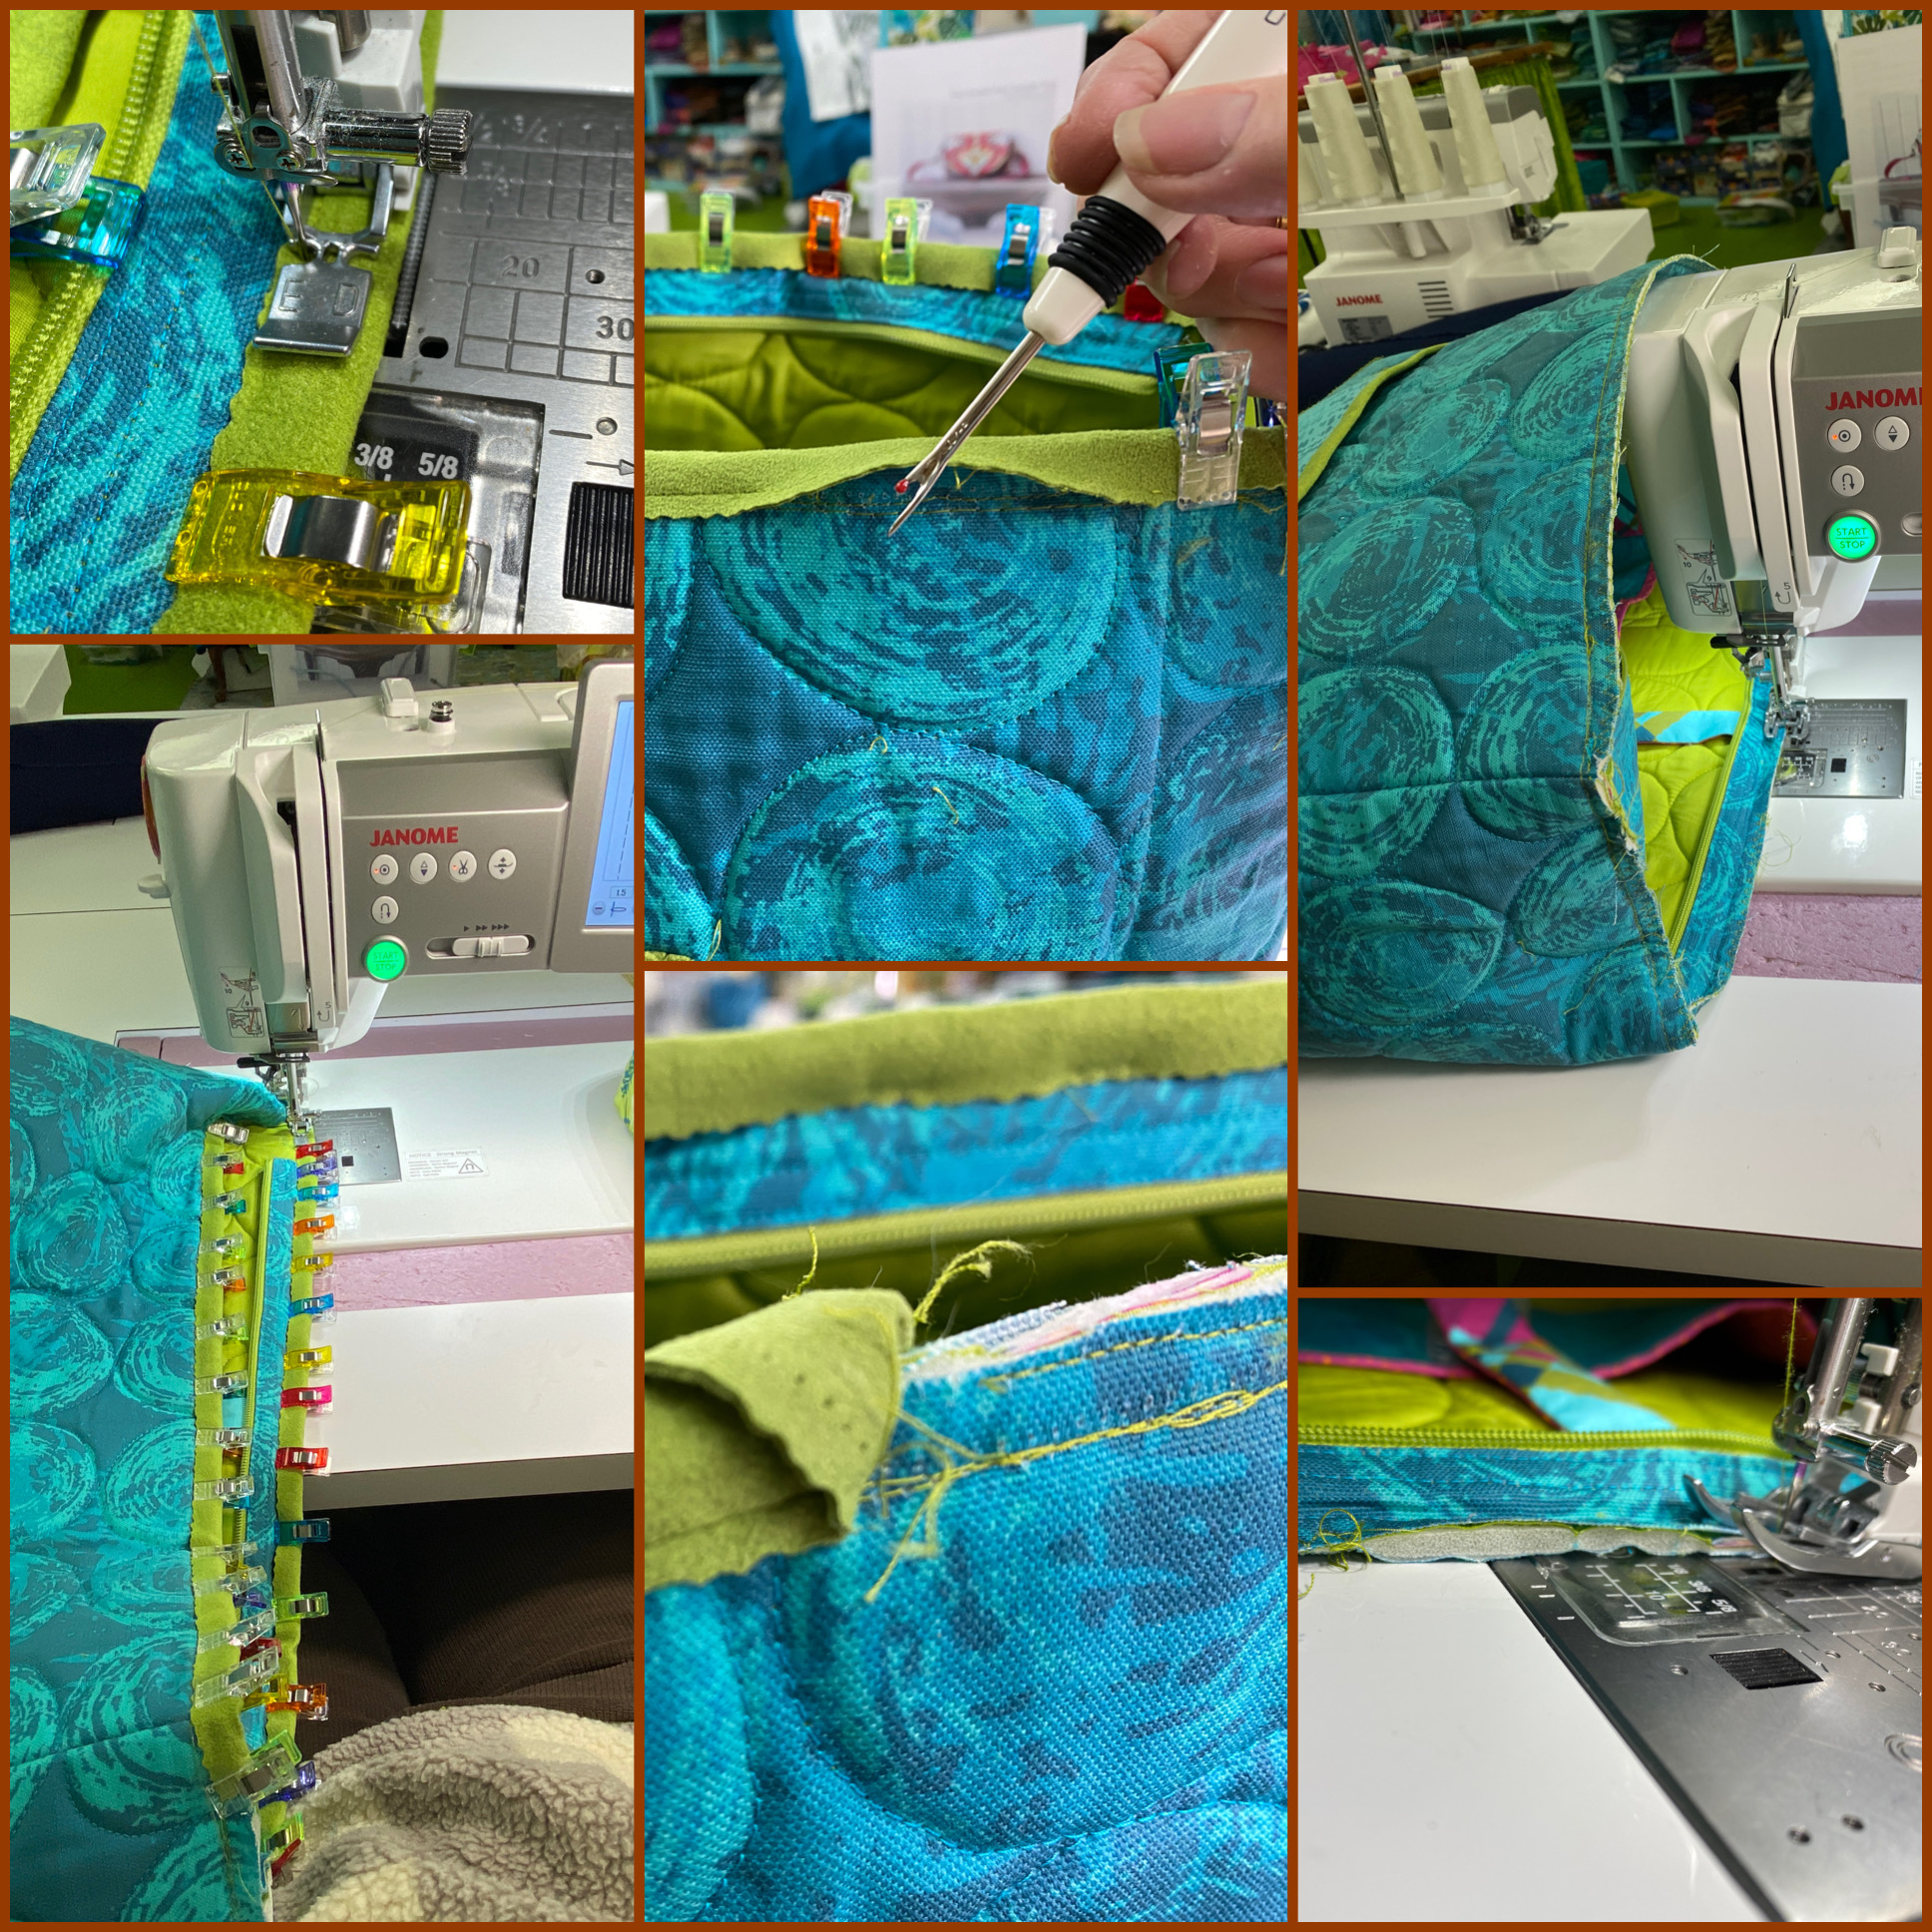
Once the pockets were sewn it was time to add the cork on the outside/base and close up the bottom.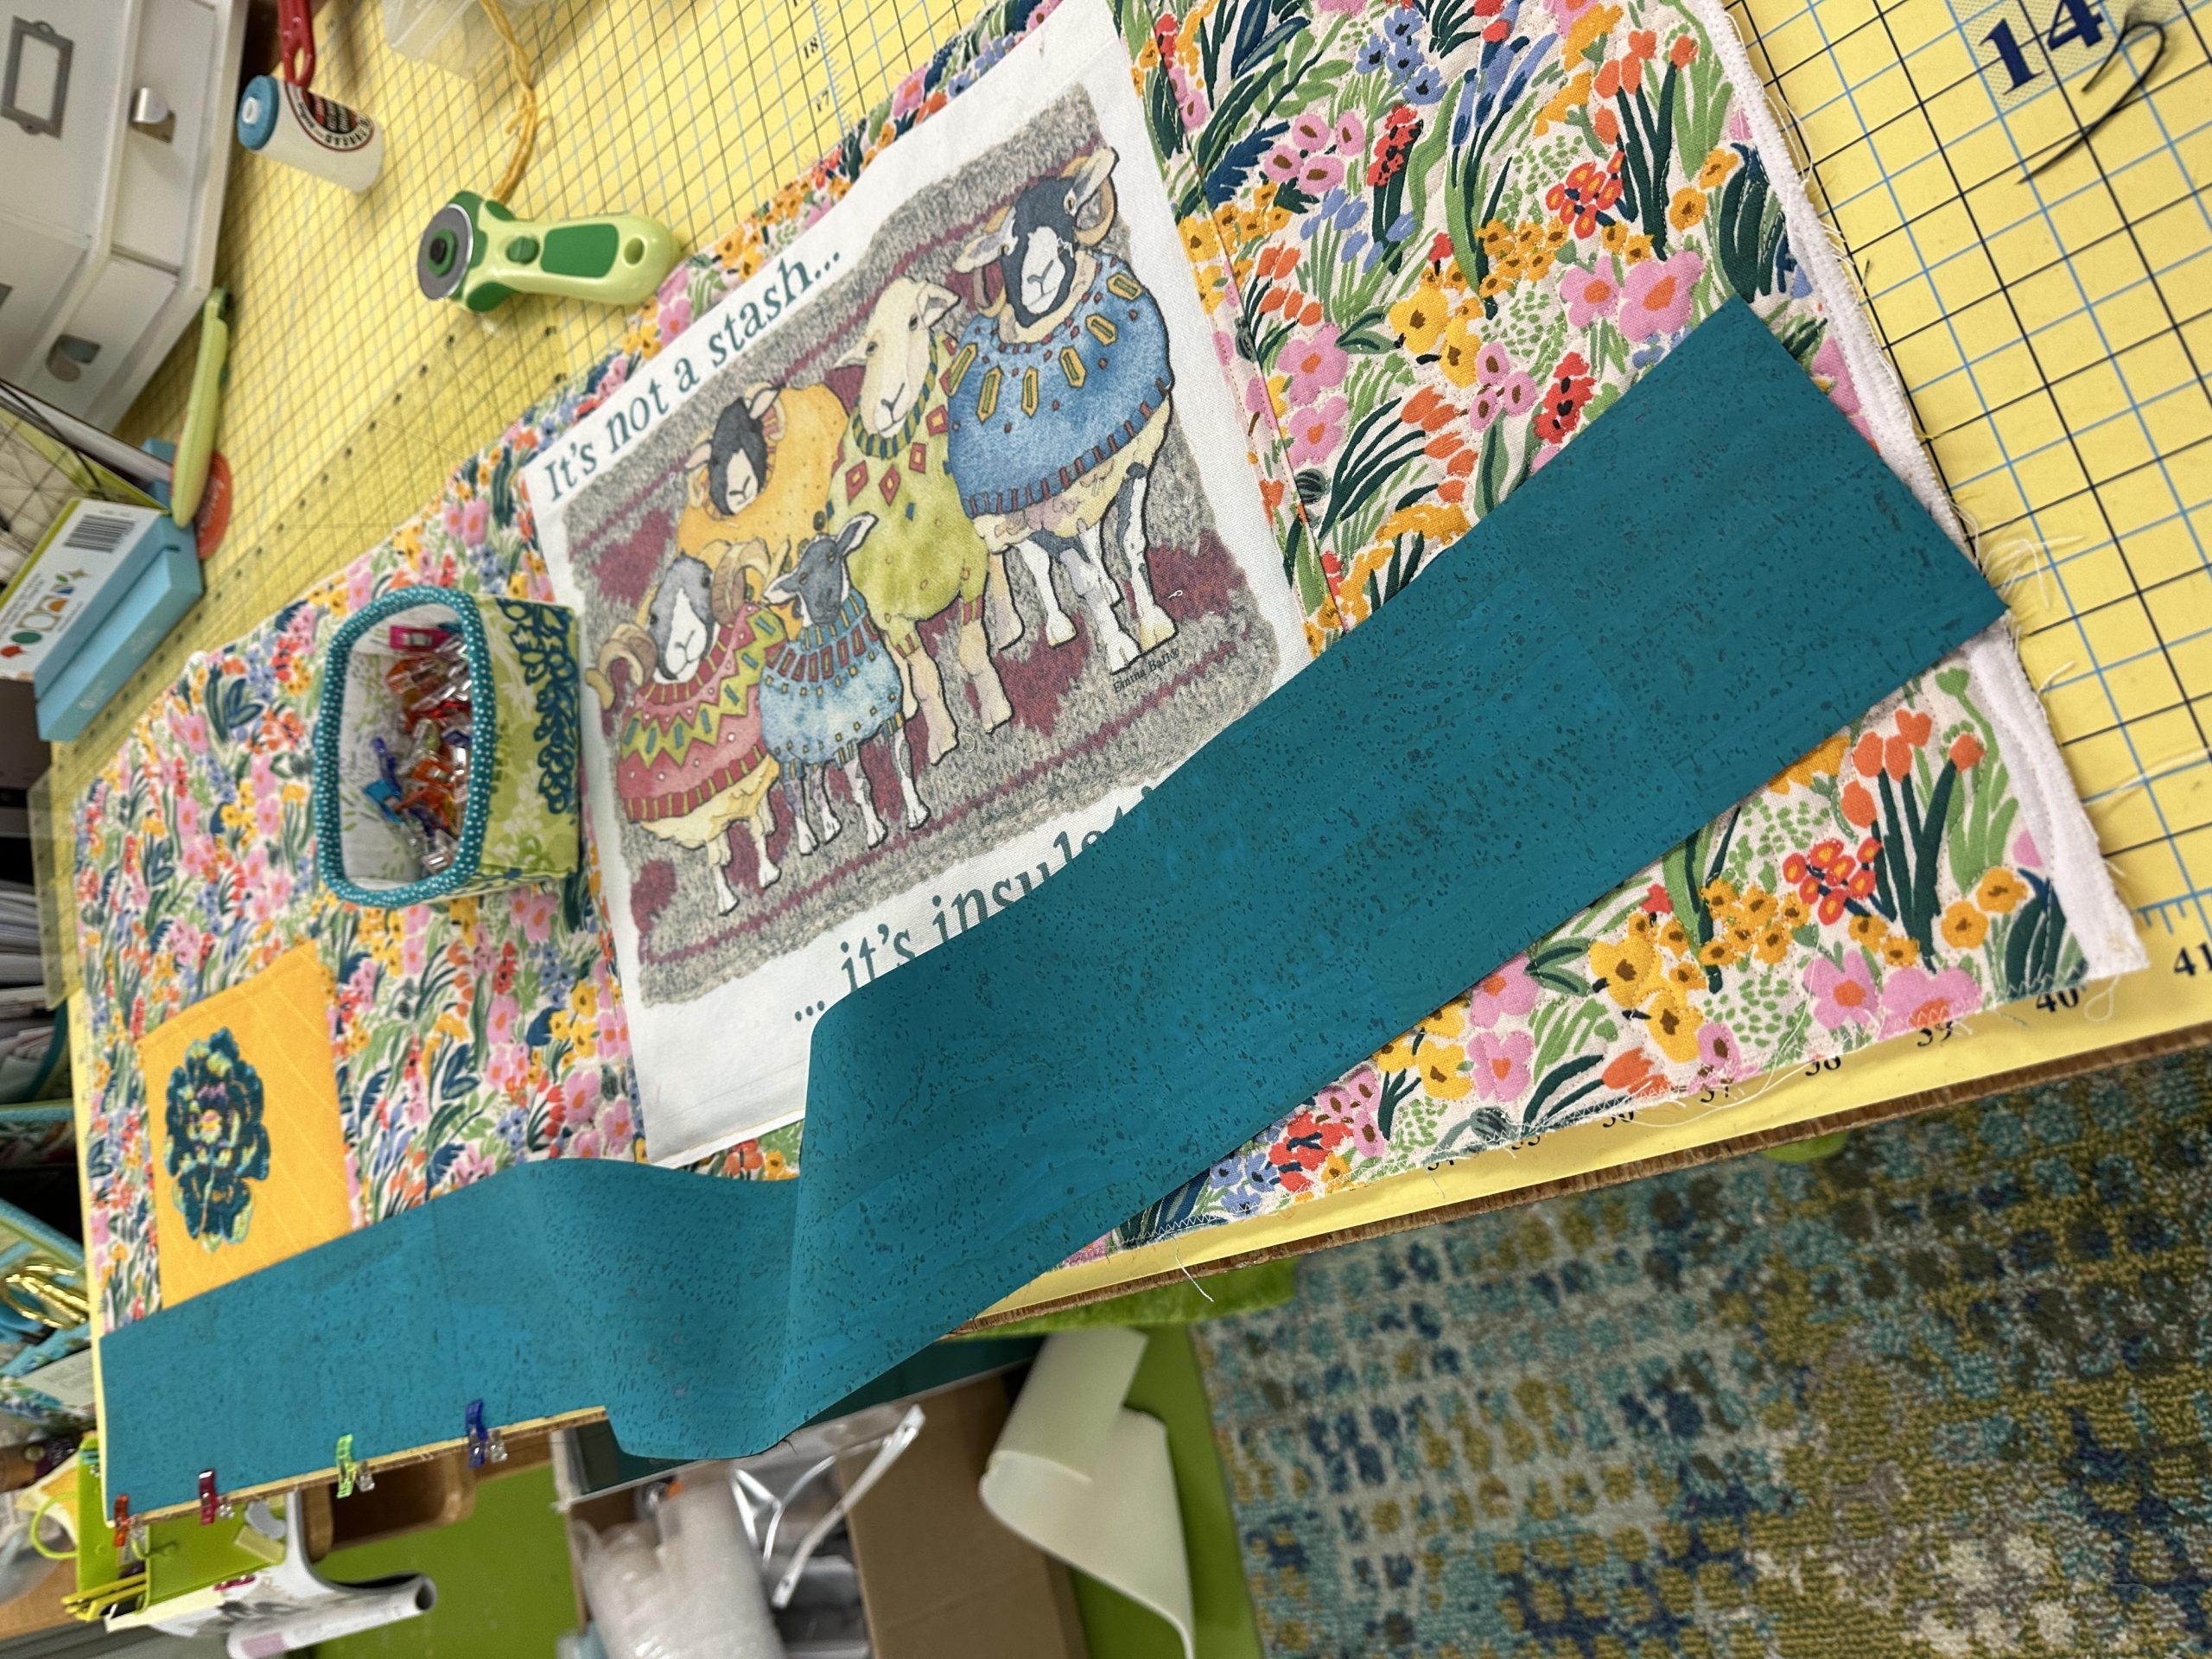
All these layers on the bottom made an extremely thick base, but a good sturdy machine like the HD9 from Janome (does only straight stitch, reasonably priced) or models like the 6600, M7 and so on, are all plenty strong enough. See some caveats below though for safe sewing!

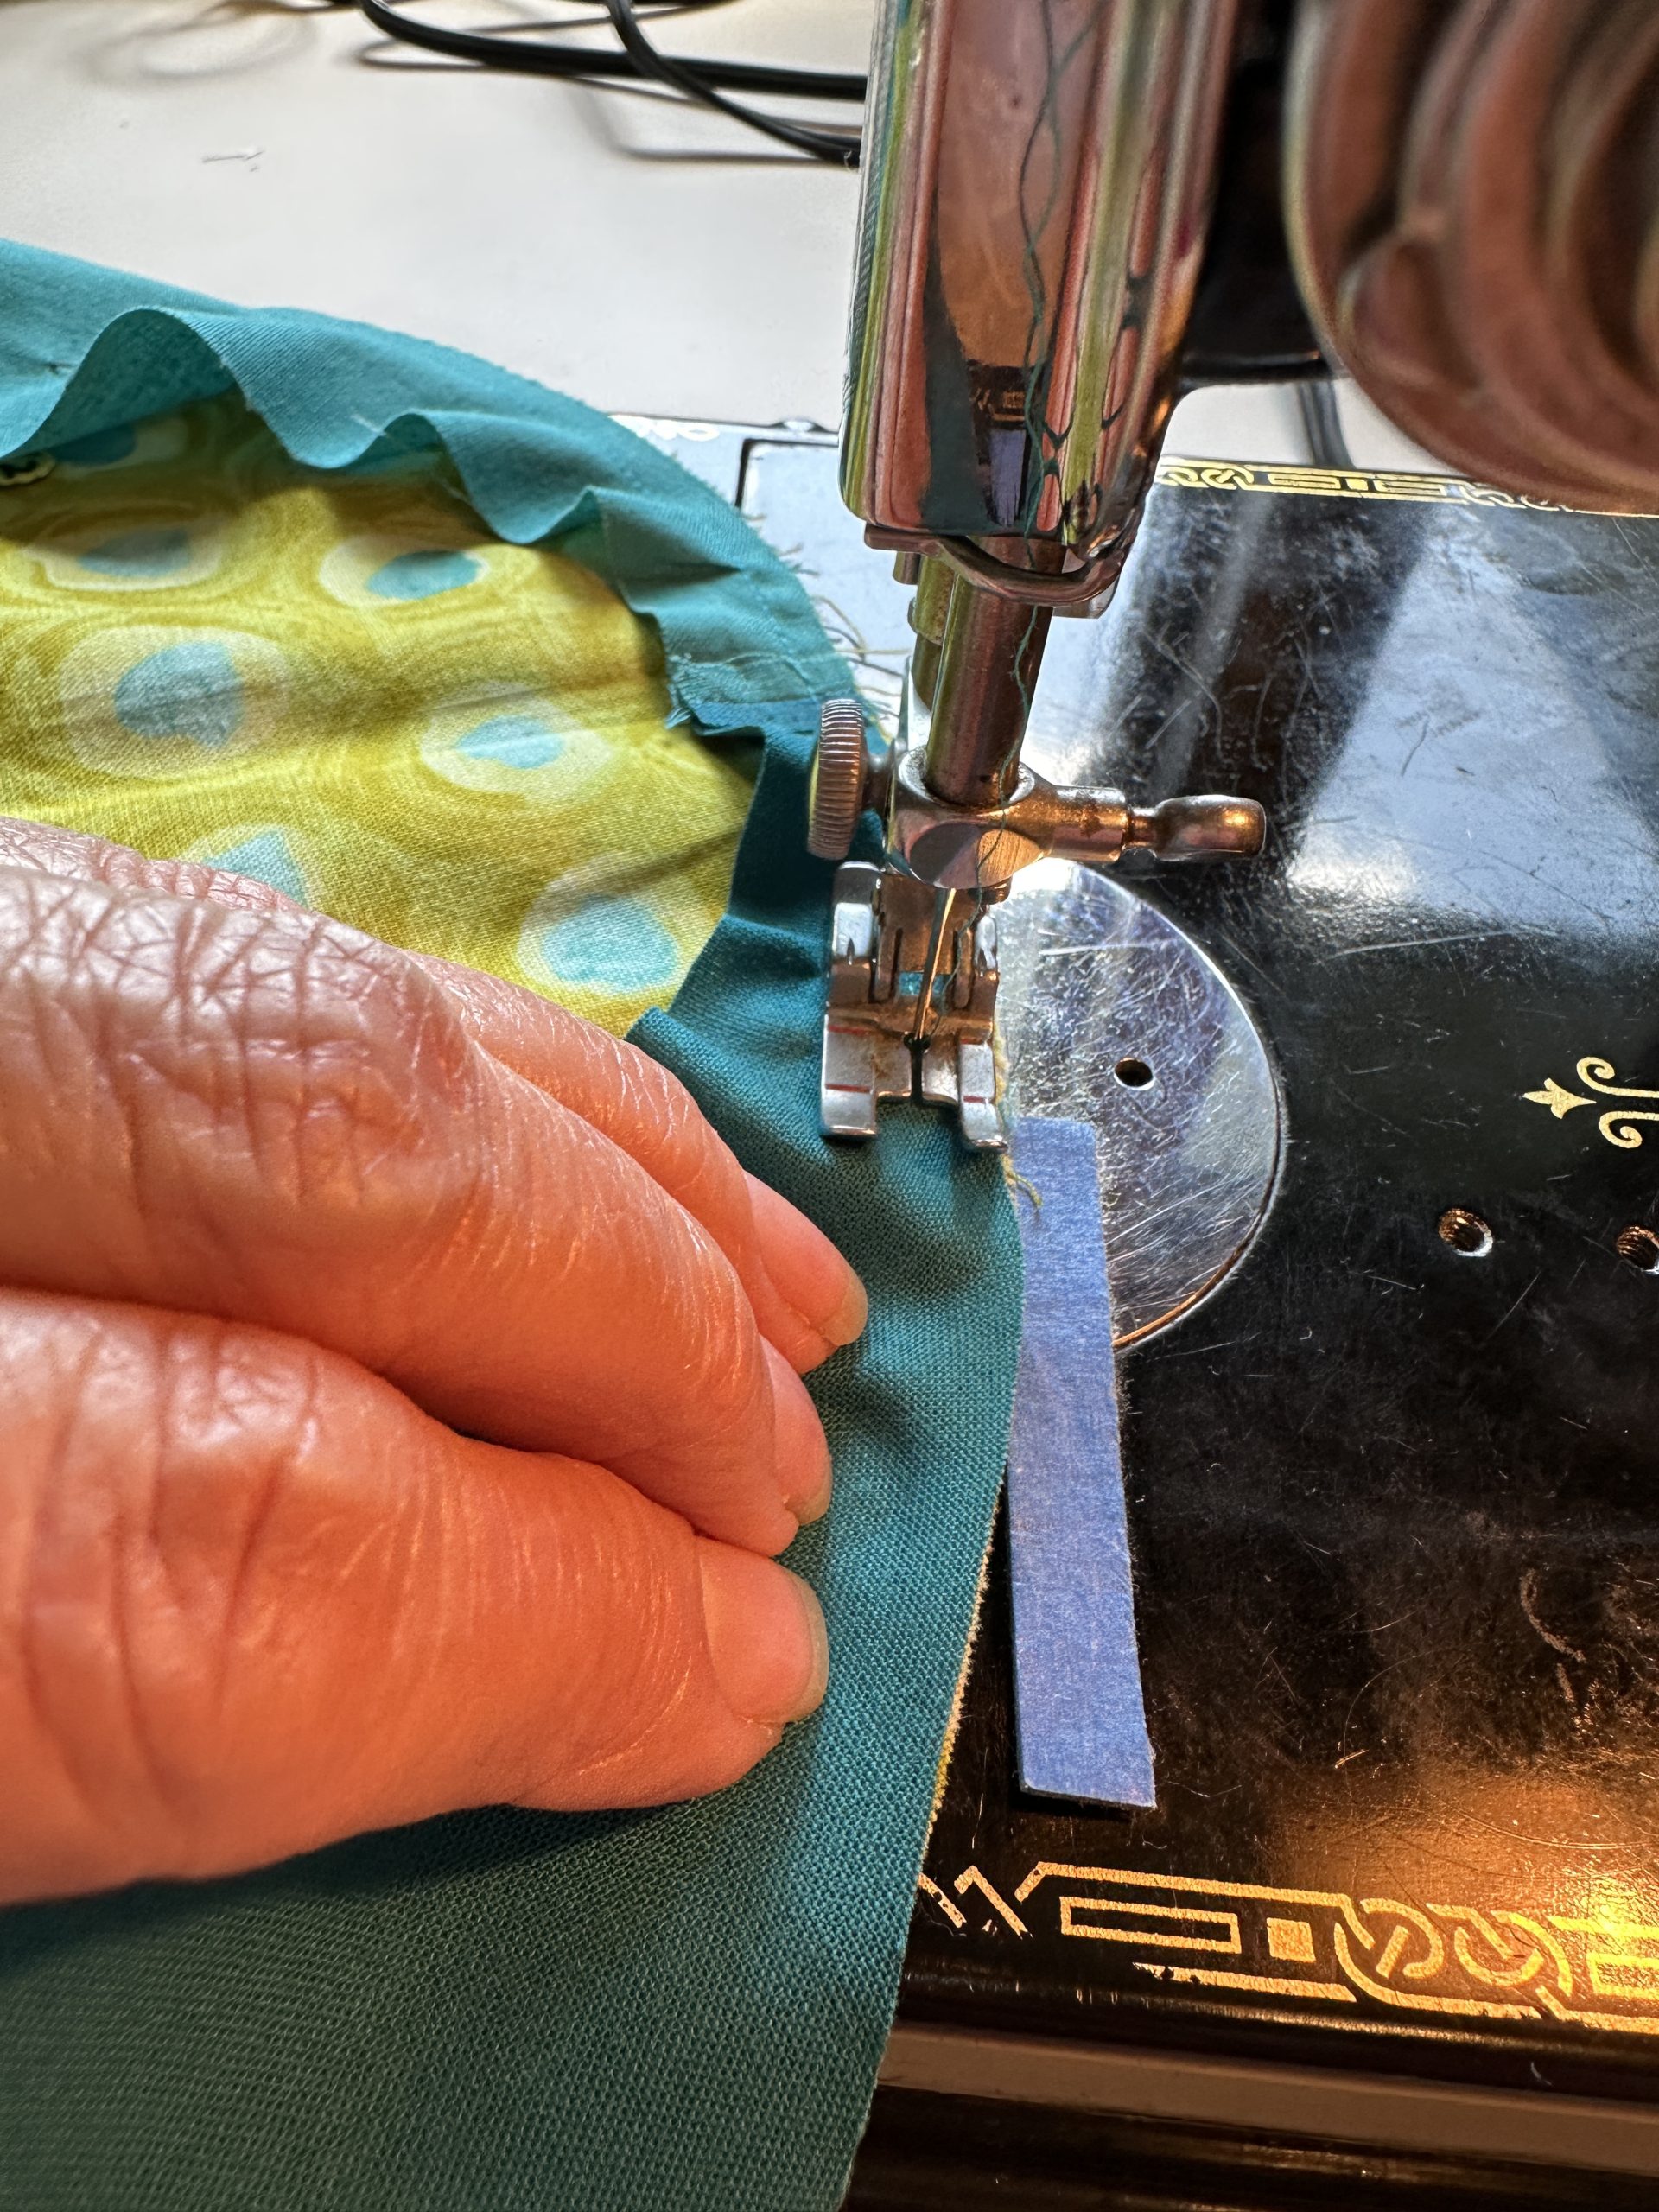
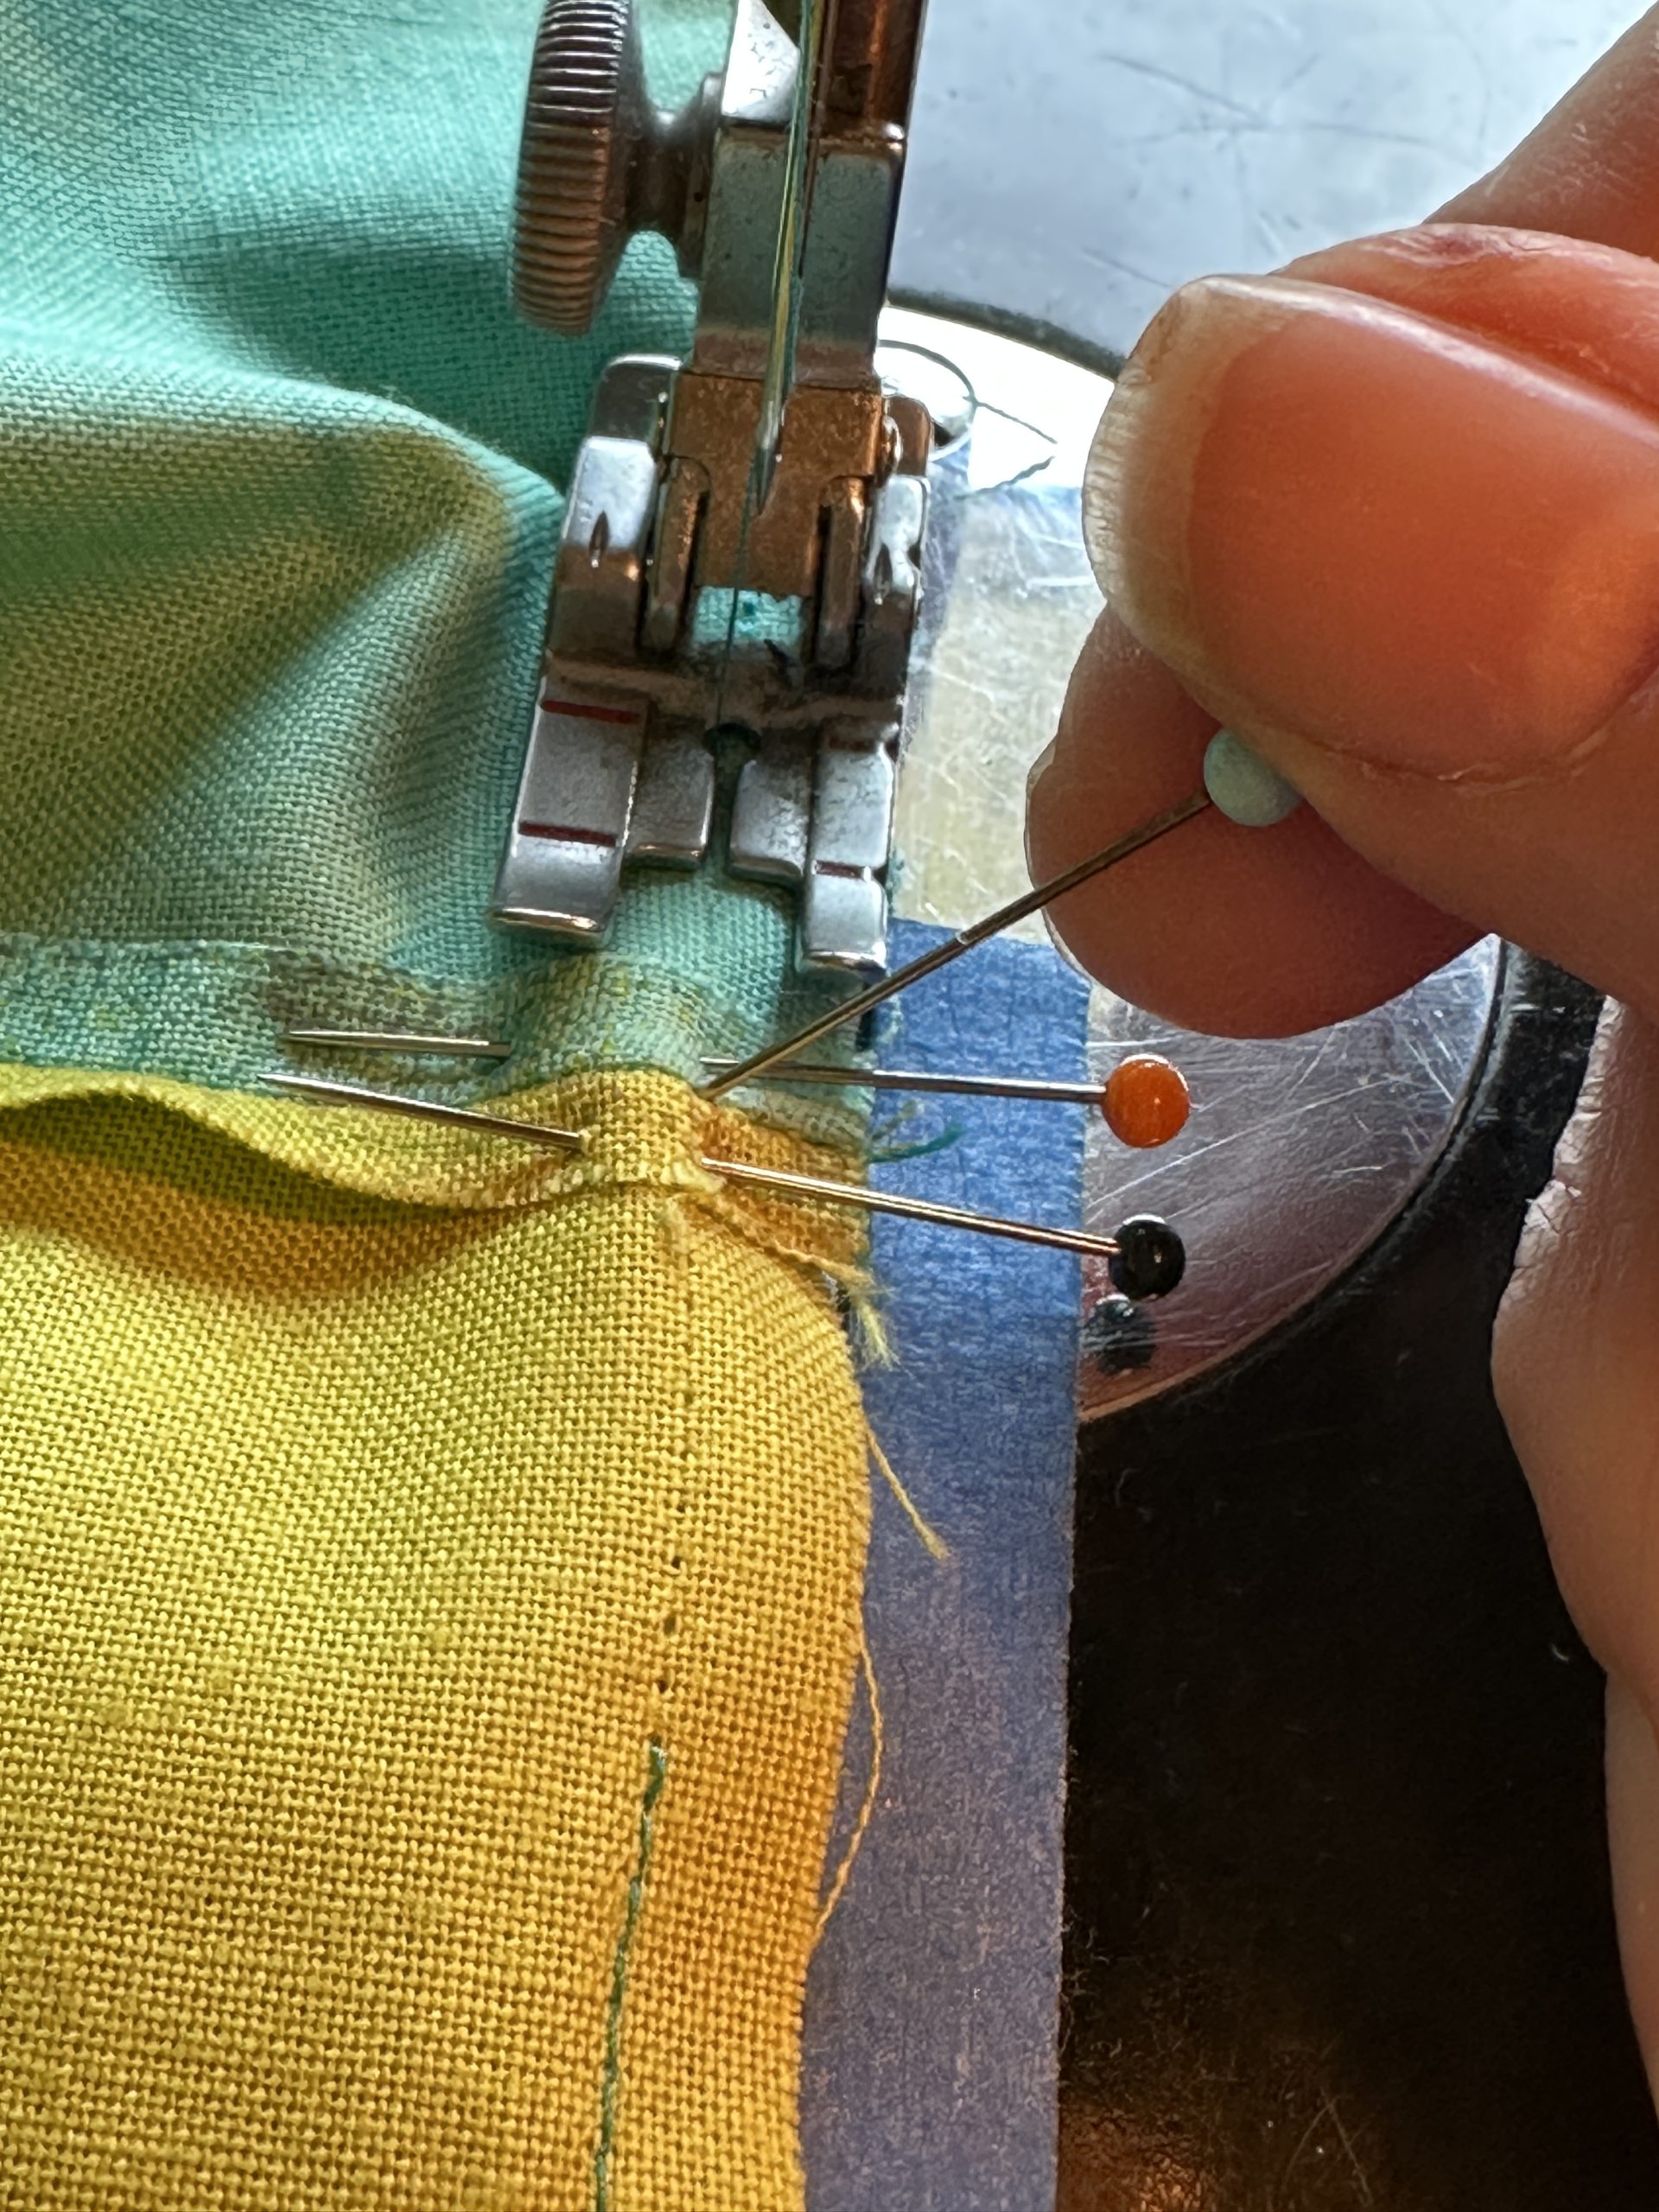
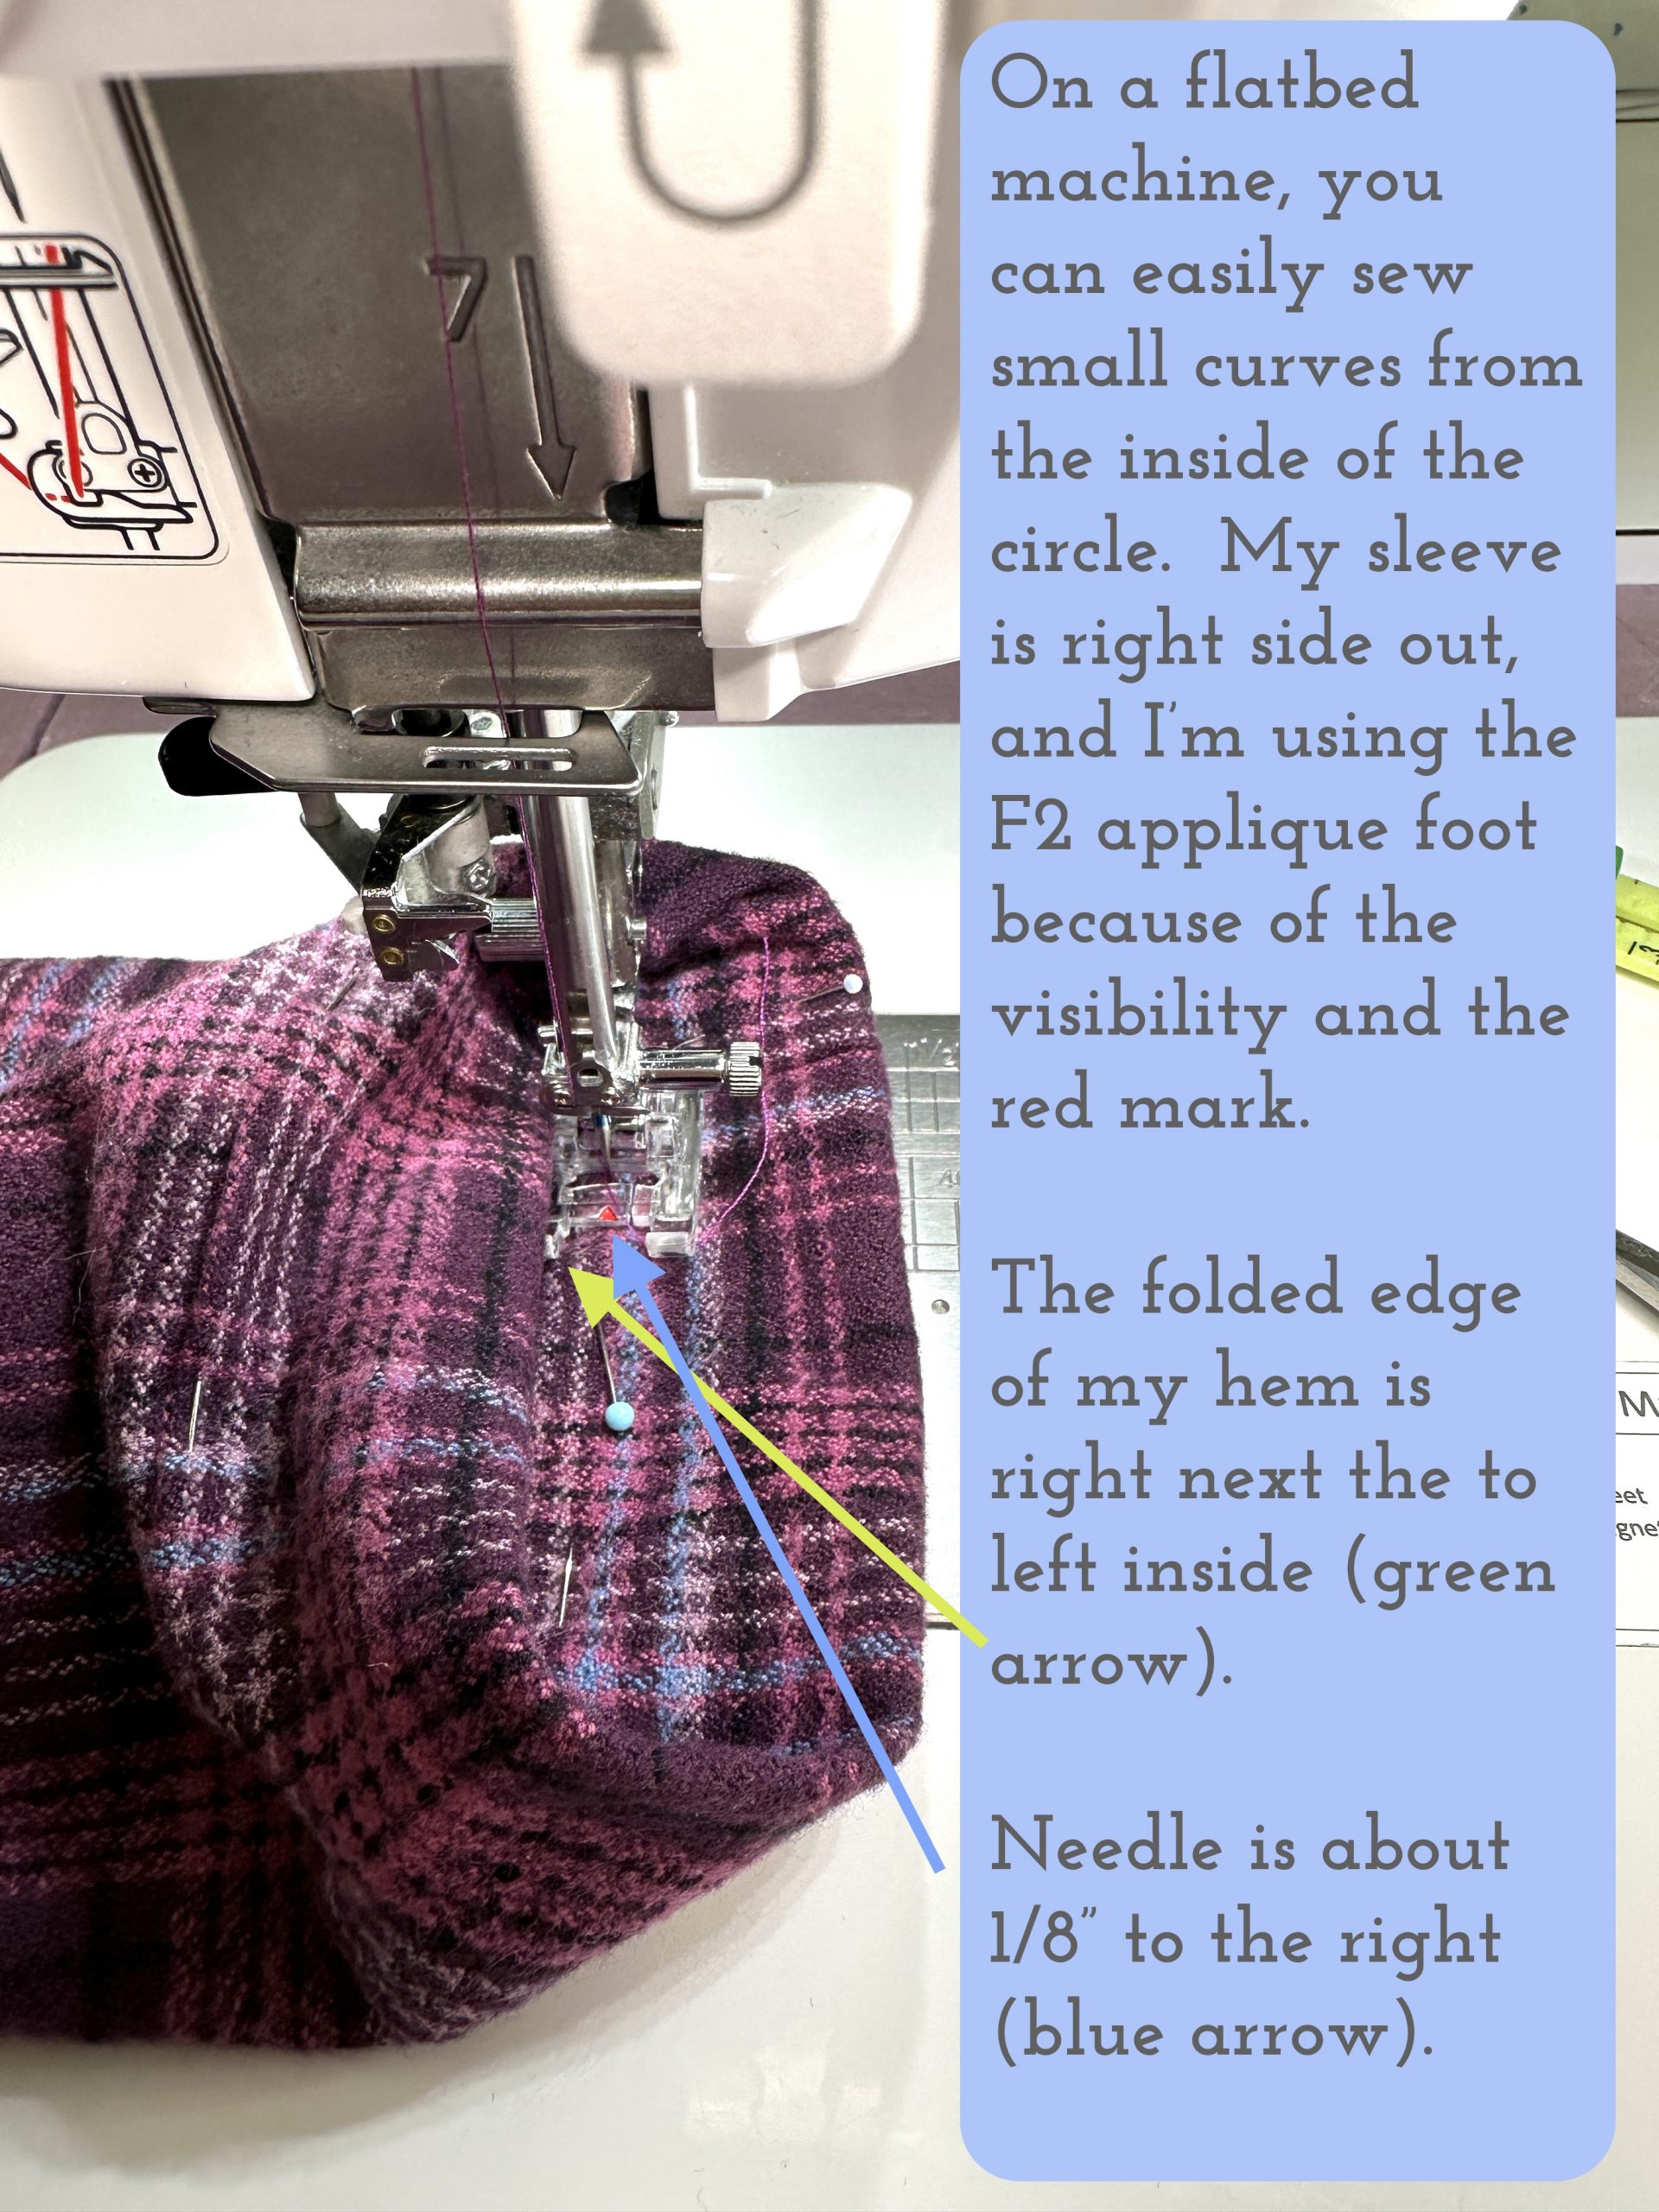
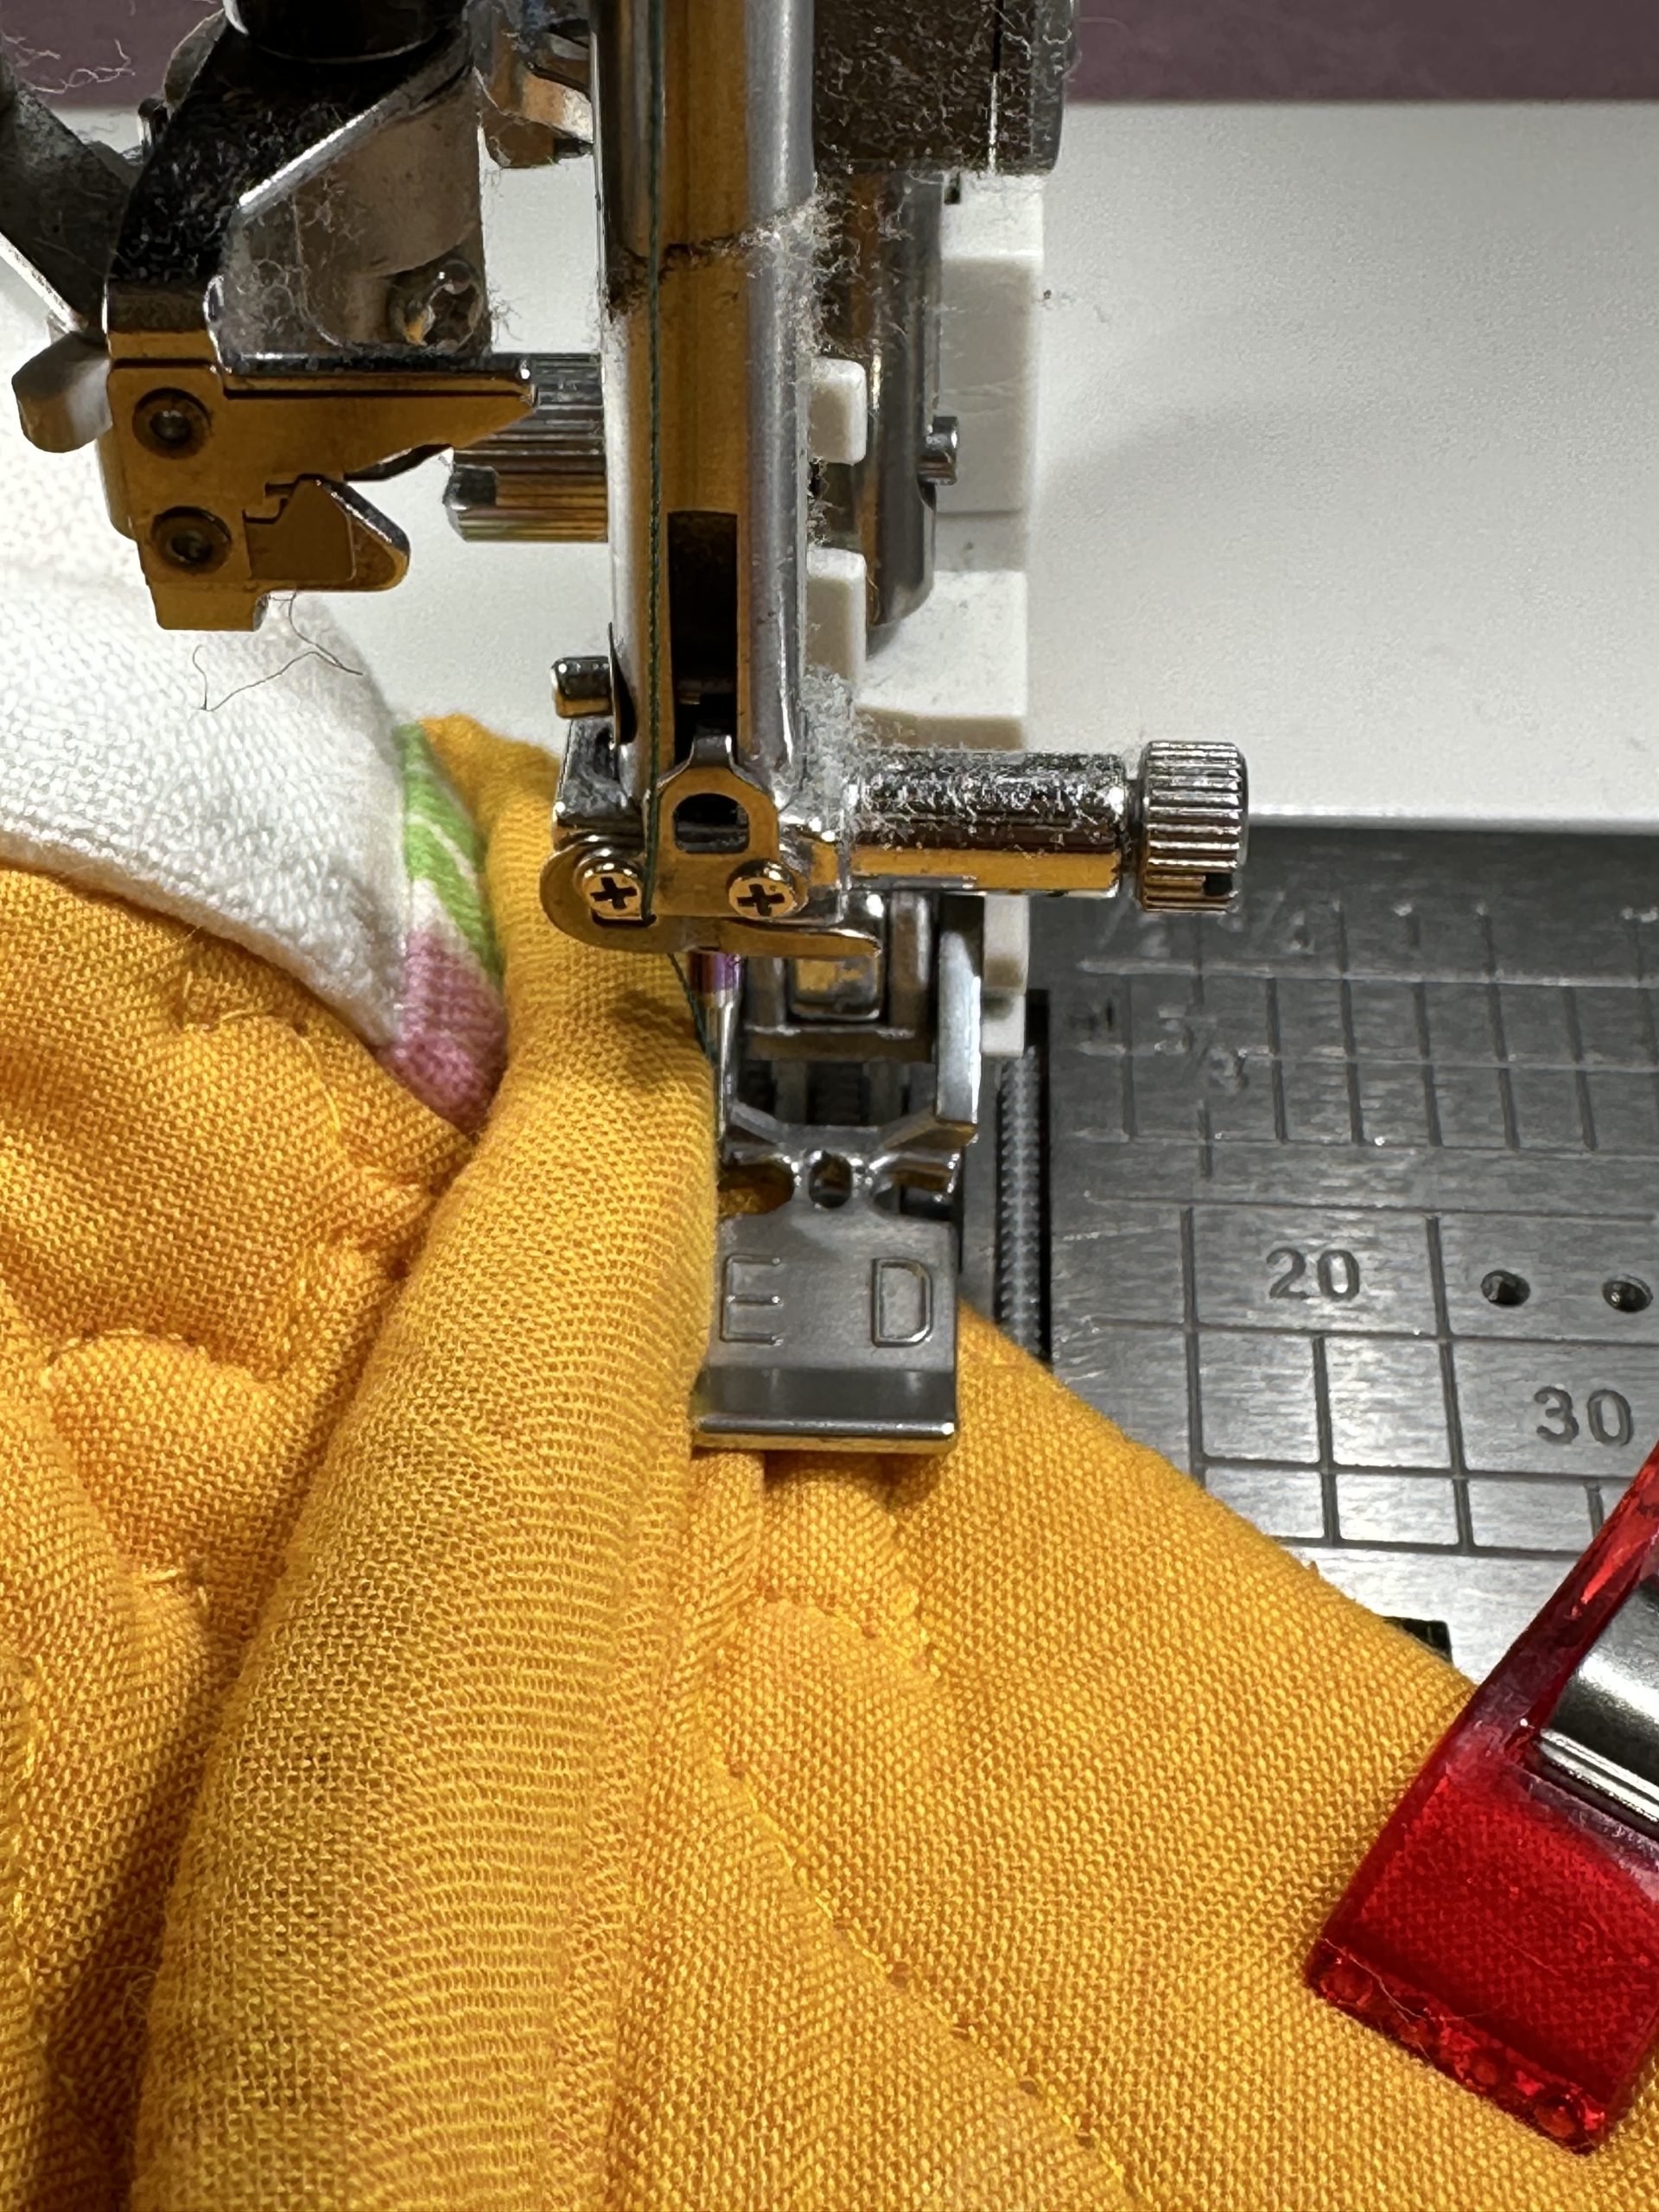
When sewing on cork, use a longer stitch. If you use a short stitch, it can perforate the fabric and it will tear like paper in a spiral notebook! I think I used 3.5 length. Notice that the right side of the Acufeed (Janome’s integrated dual-feed “walking” foot) is just OFF the cork. I am using the inside edge of the foot and the precise positioning possible by moving the needle to one of the 19 positions to get perfect stitching alignment along the edge of the cork.
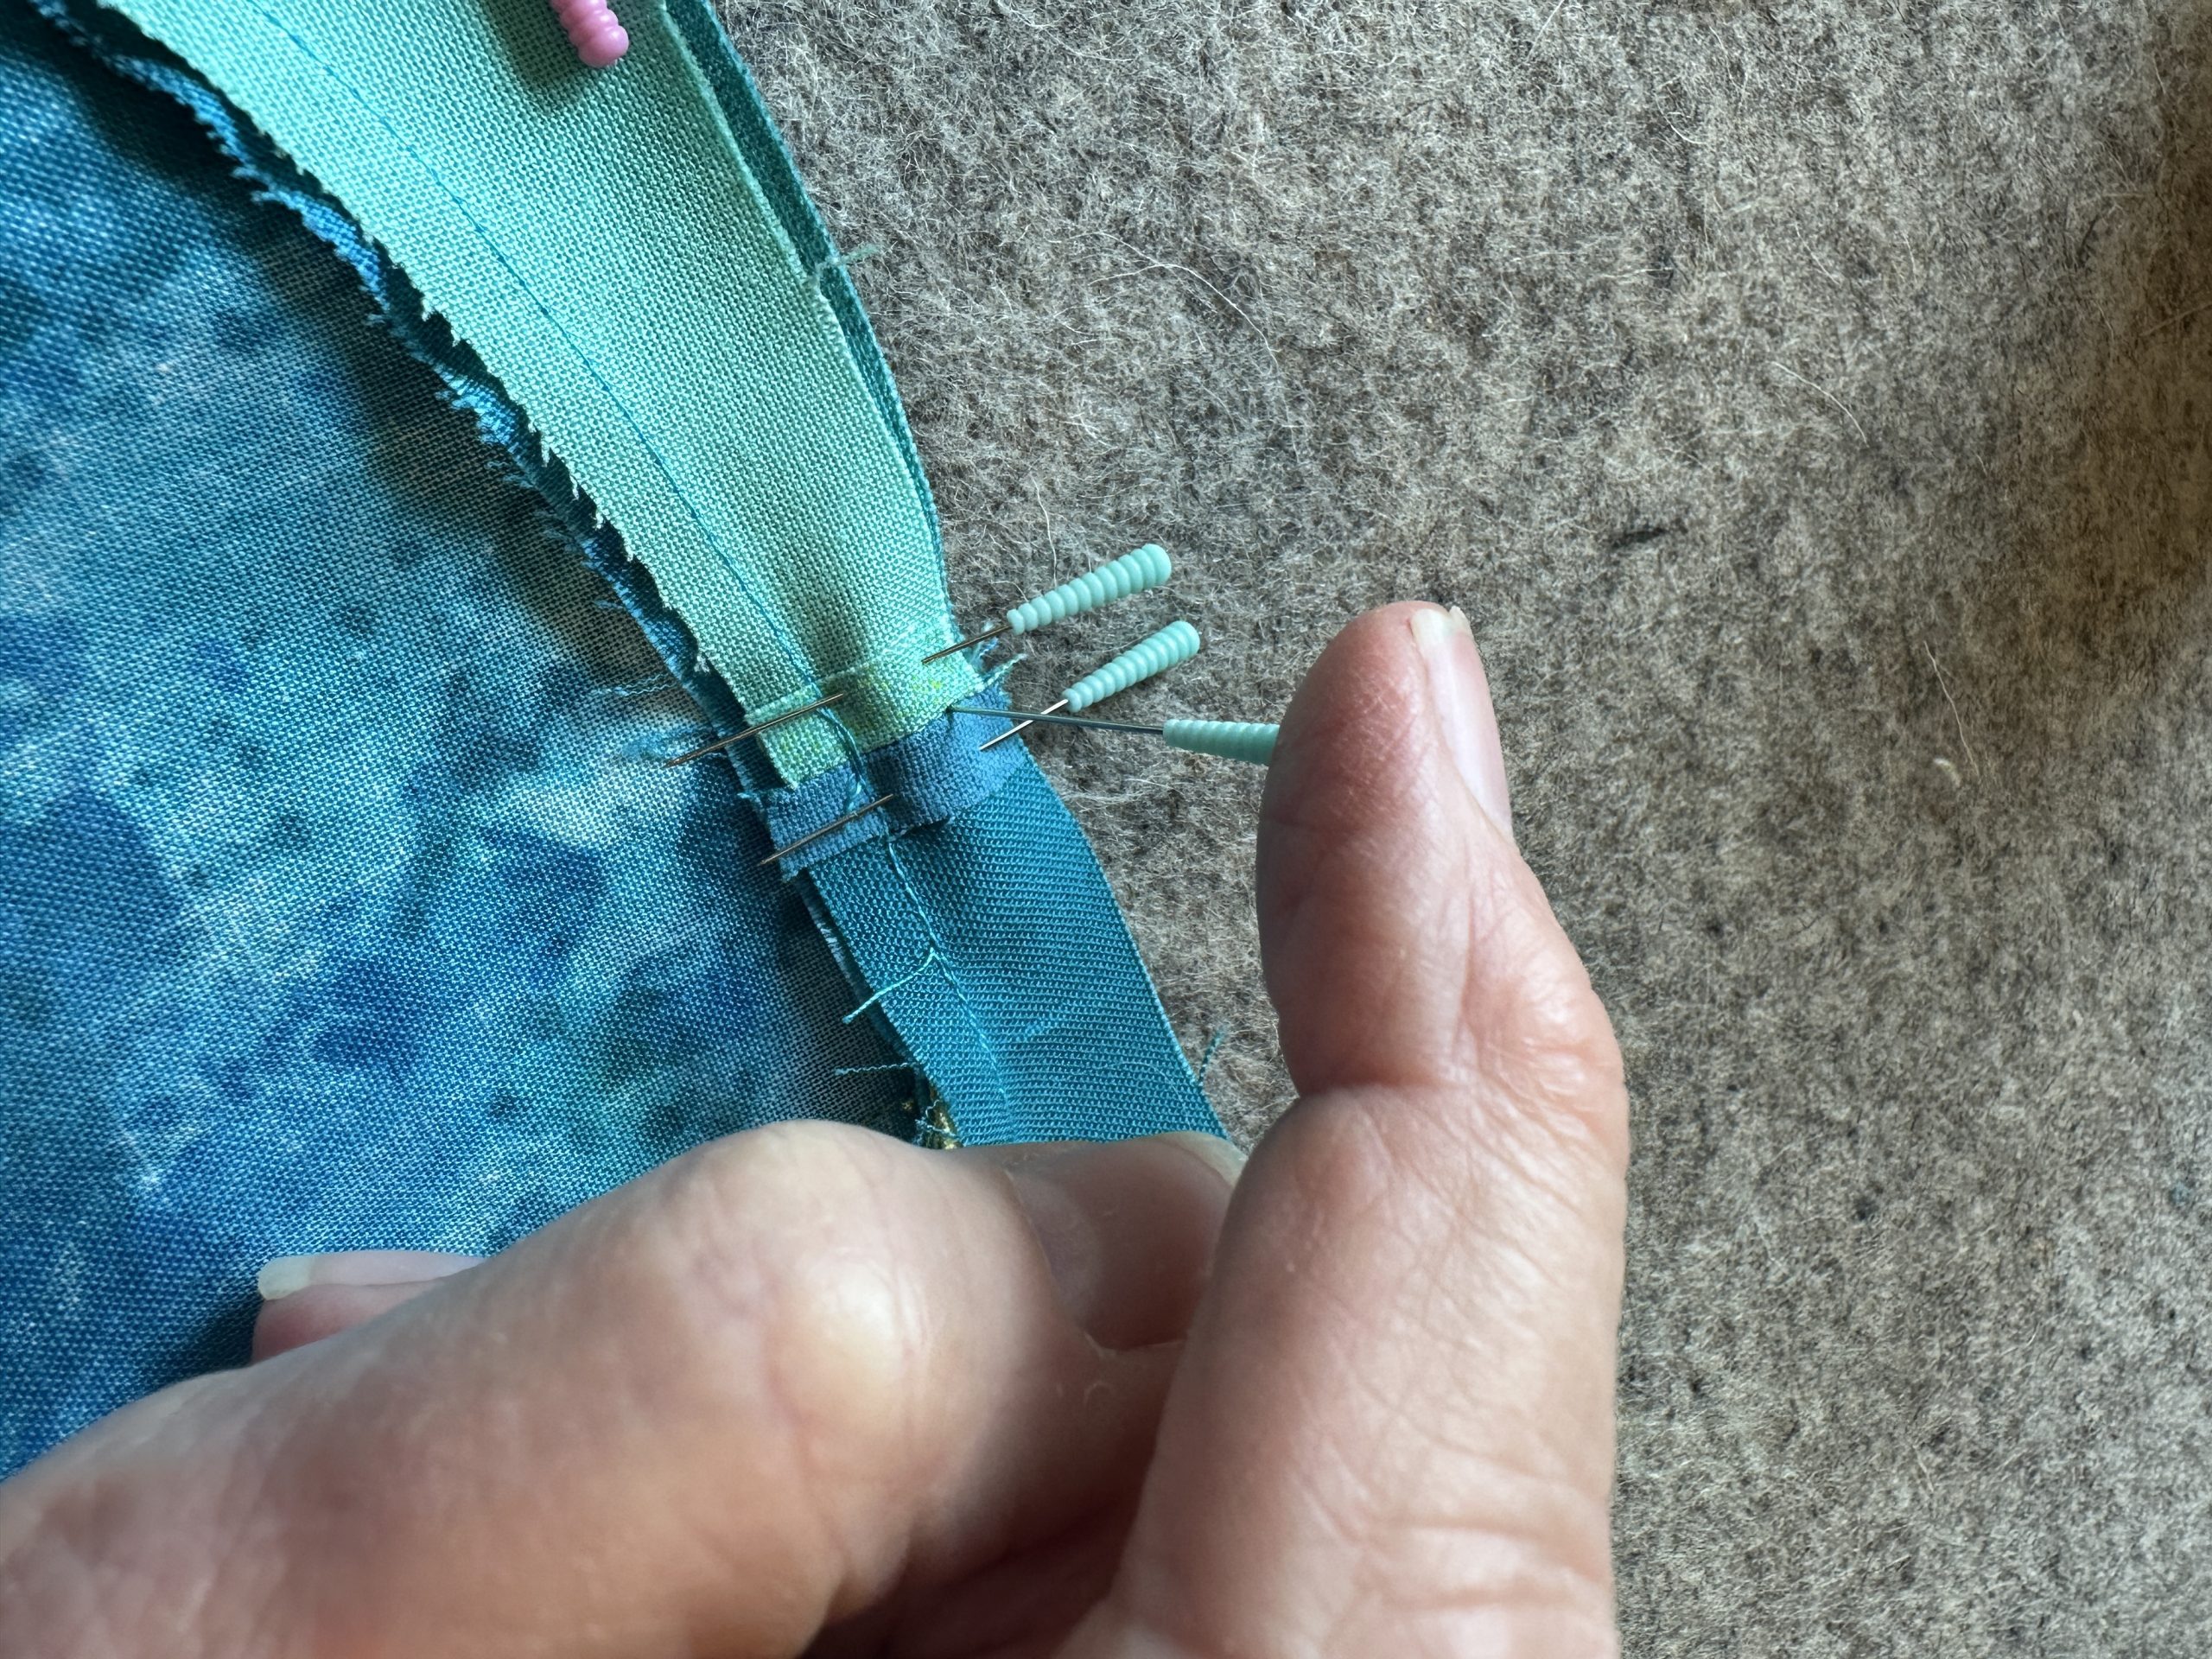
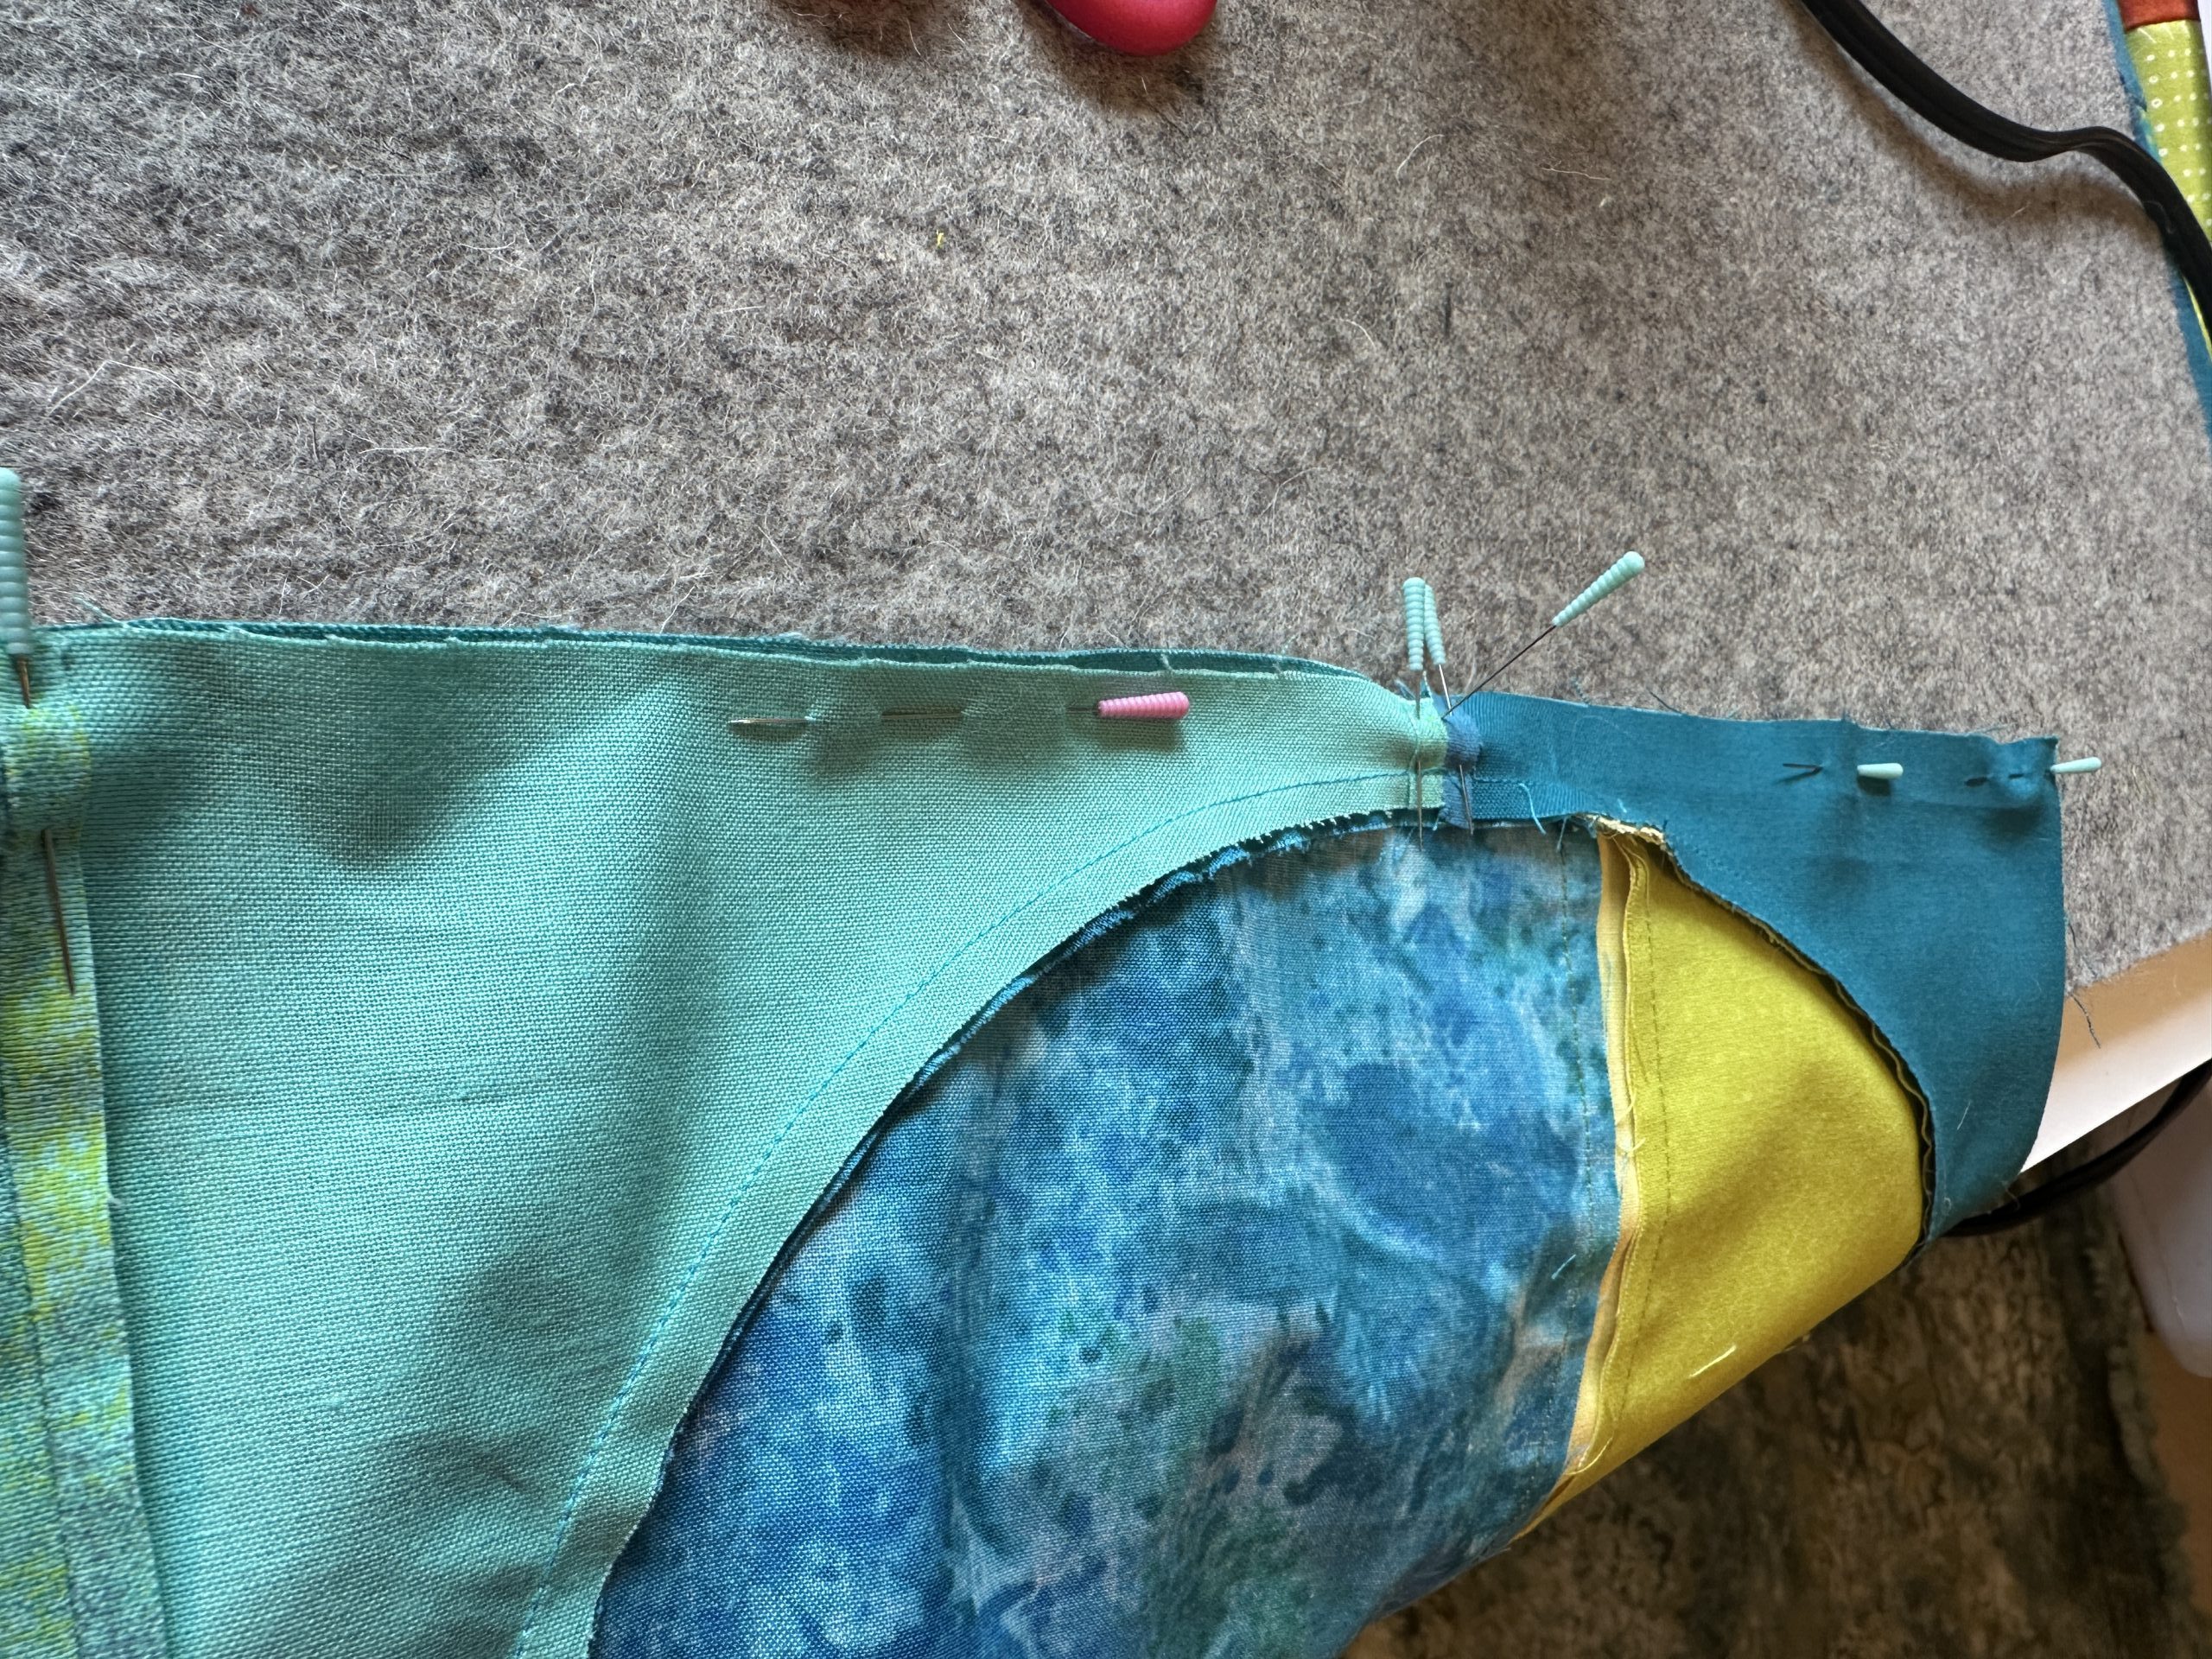
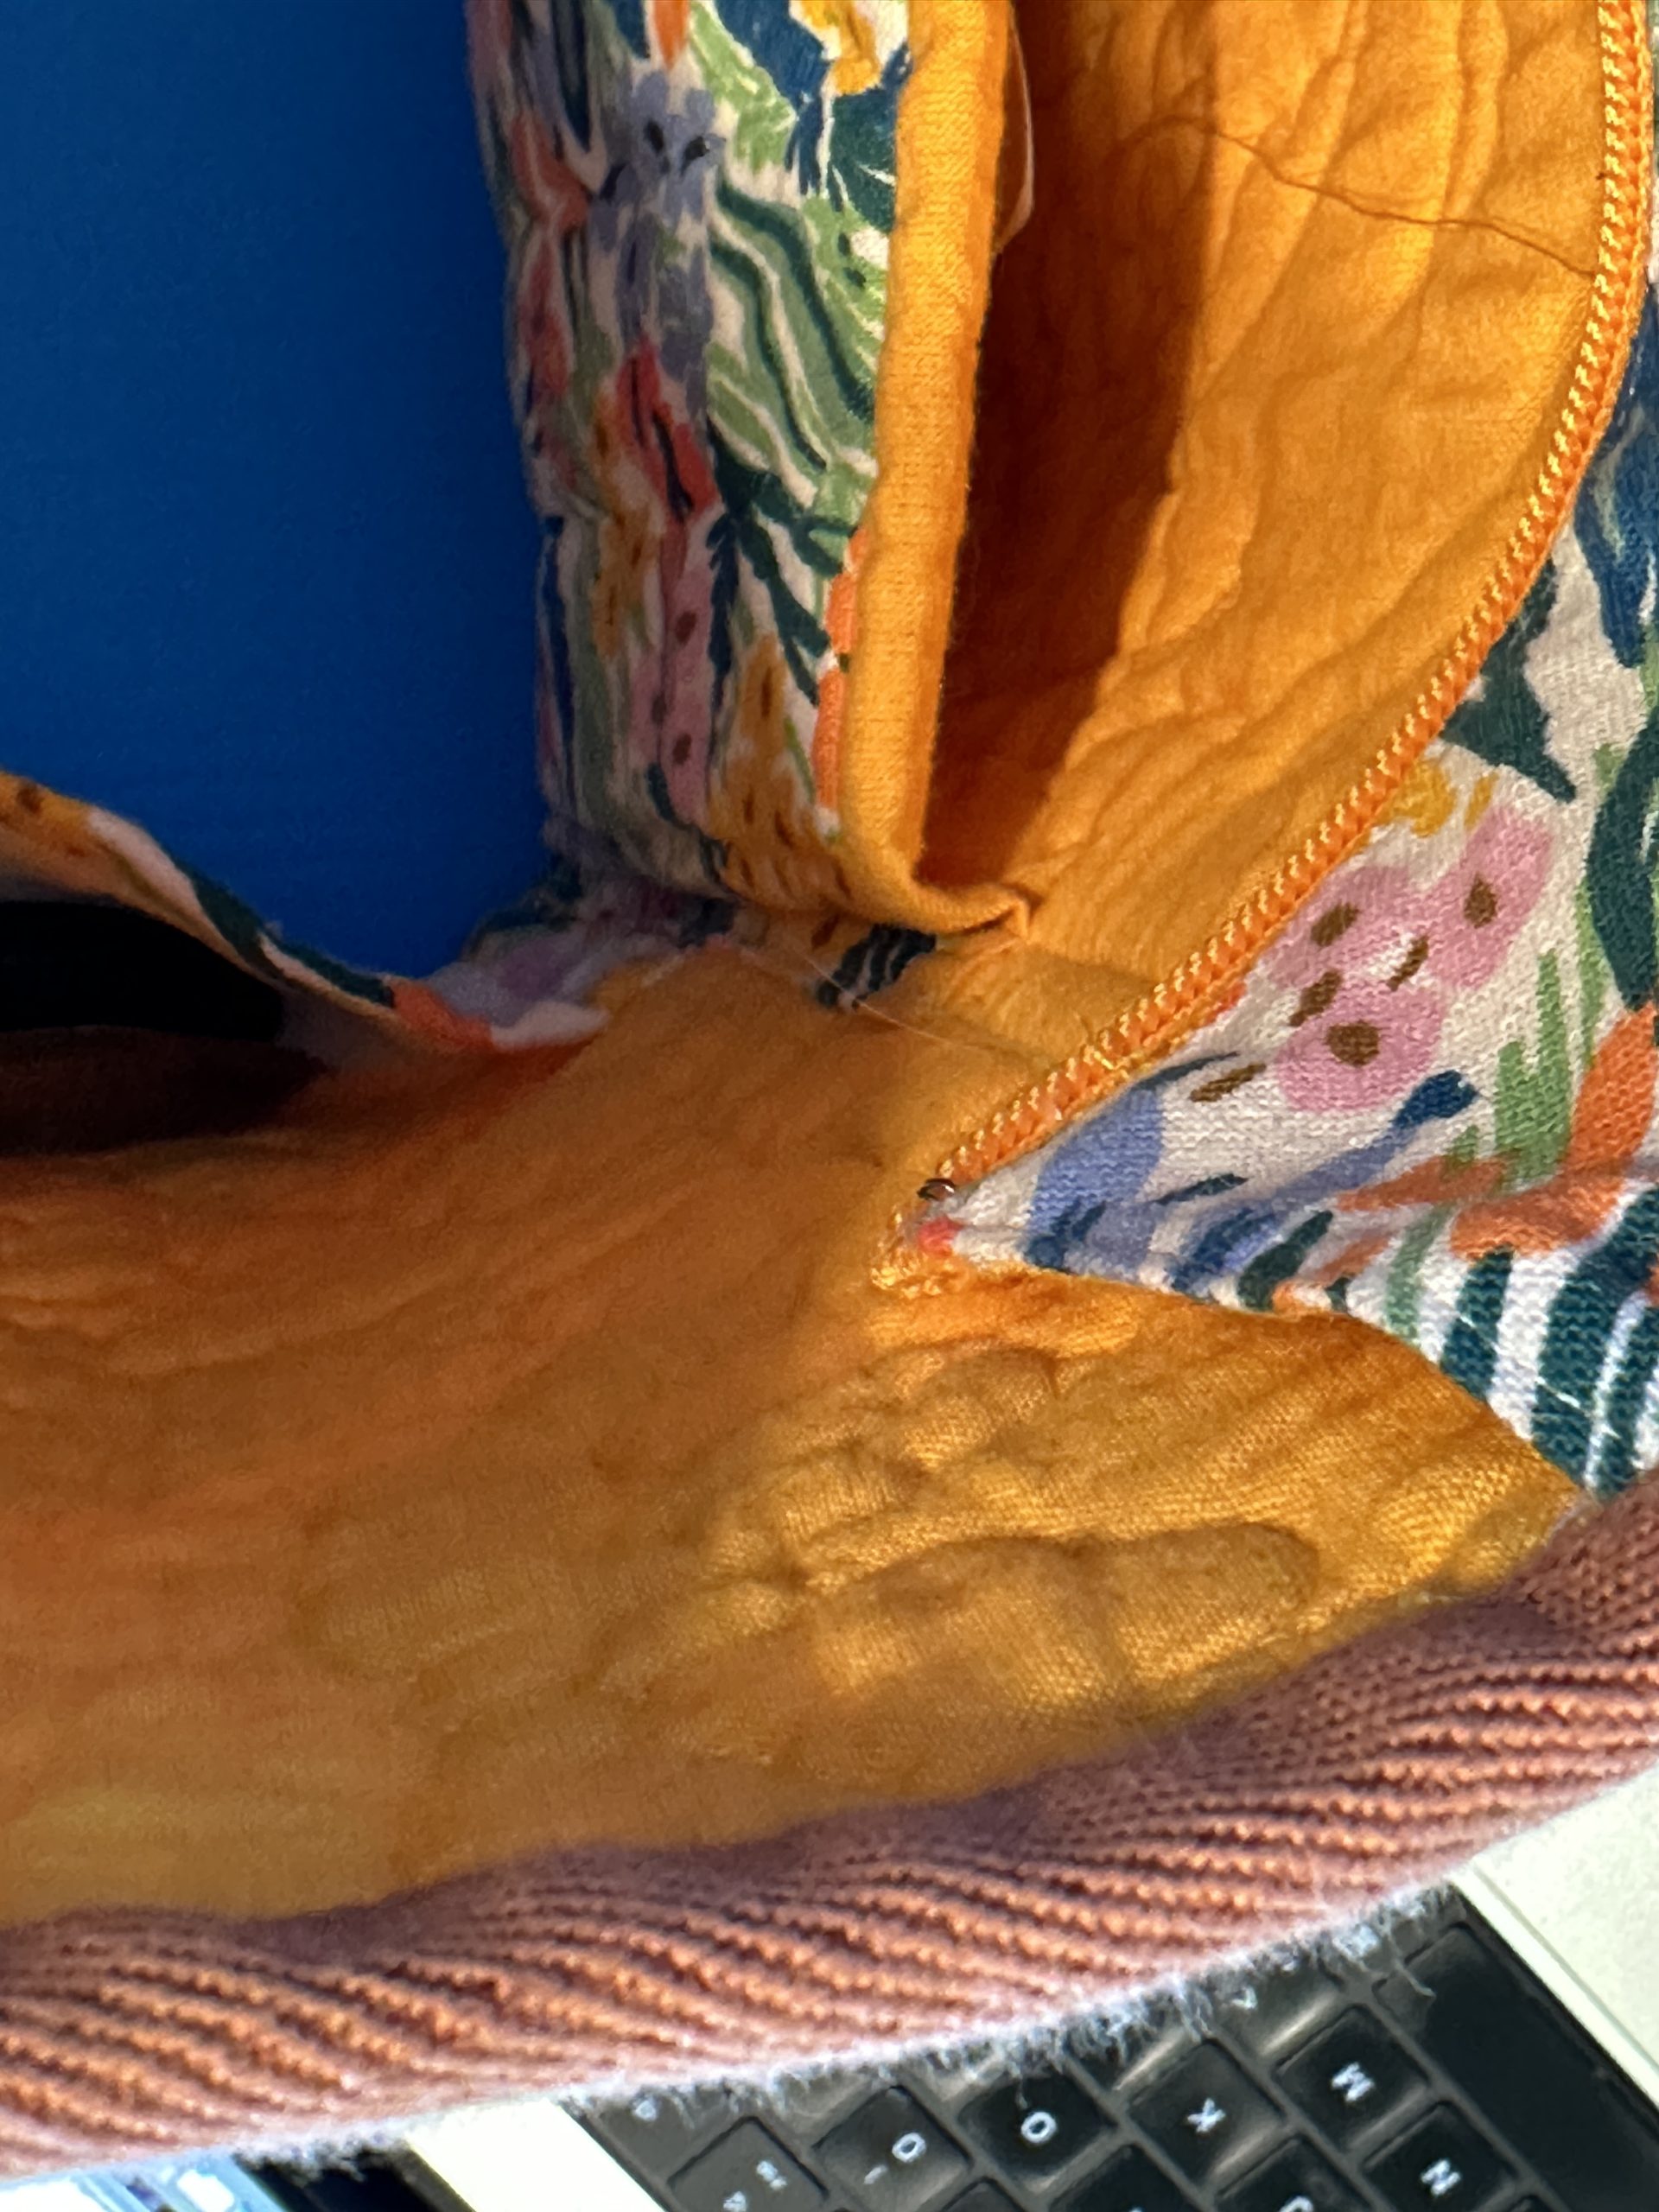
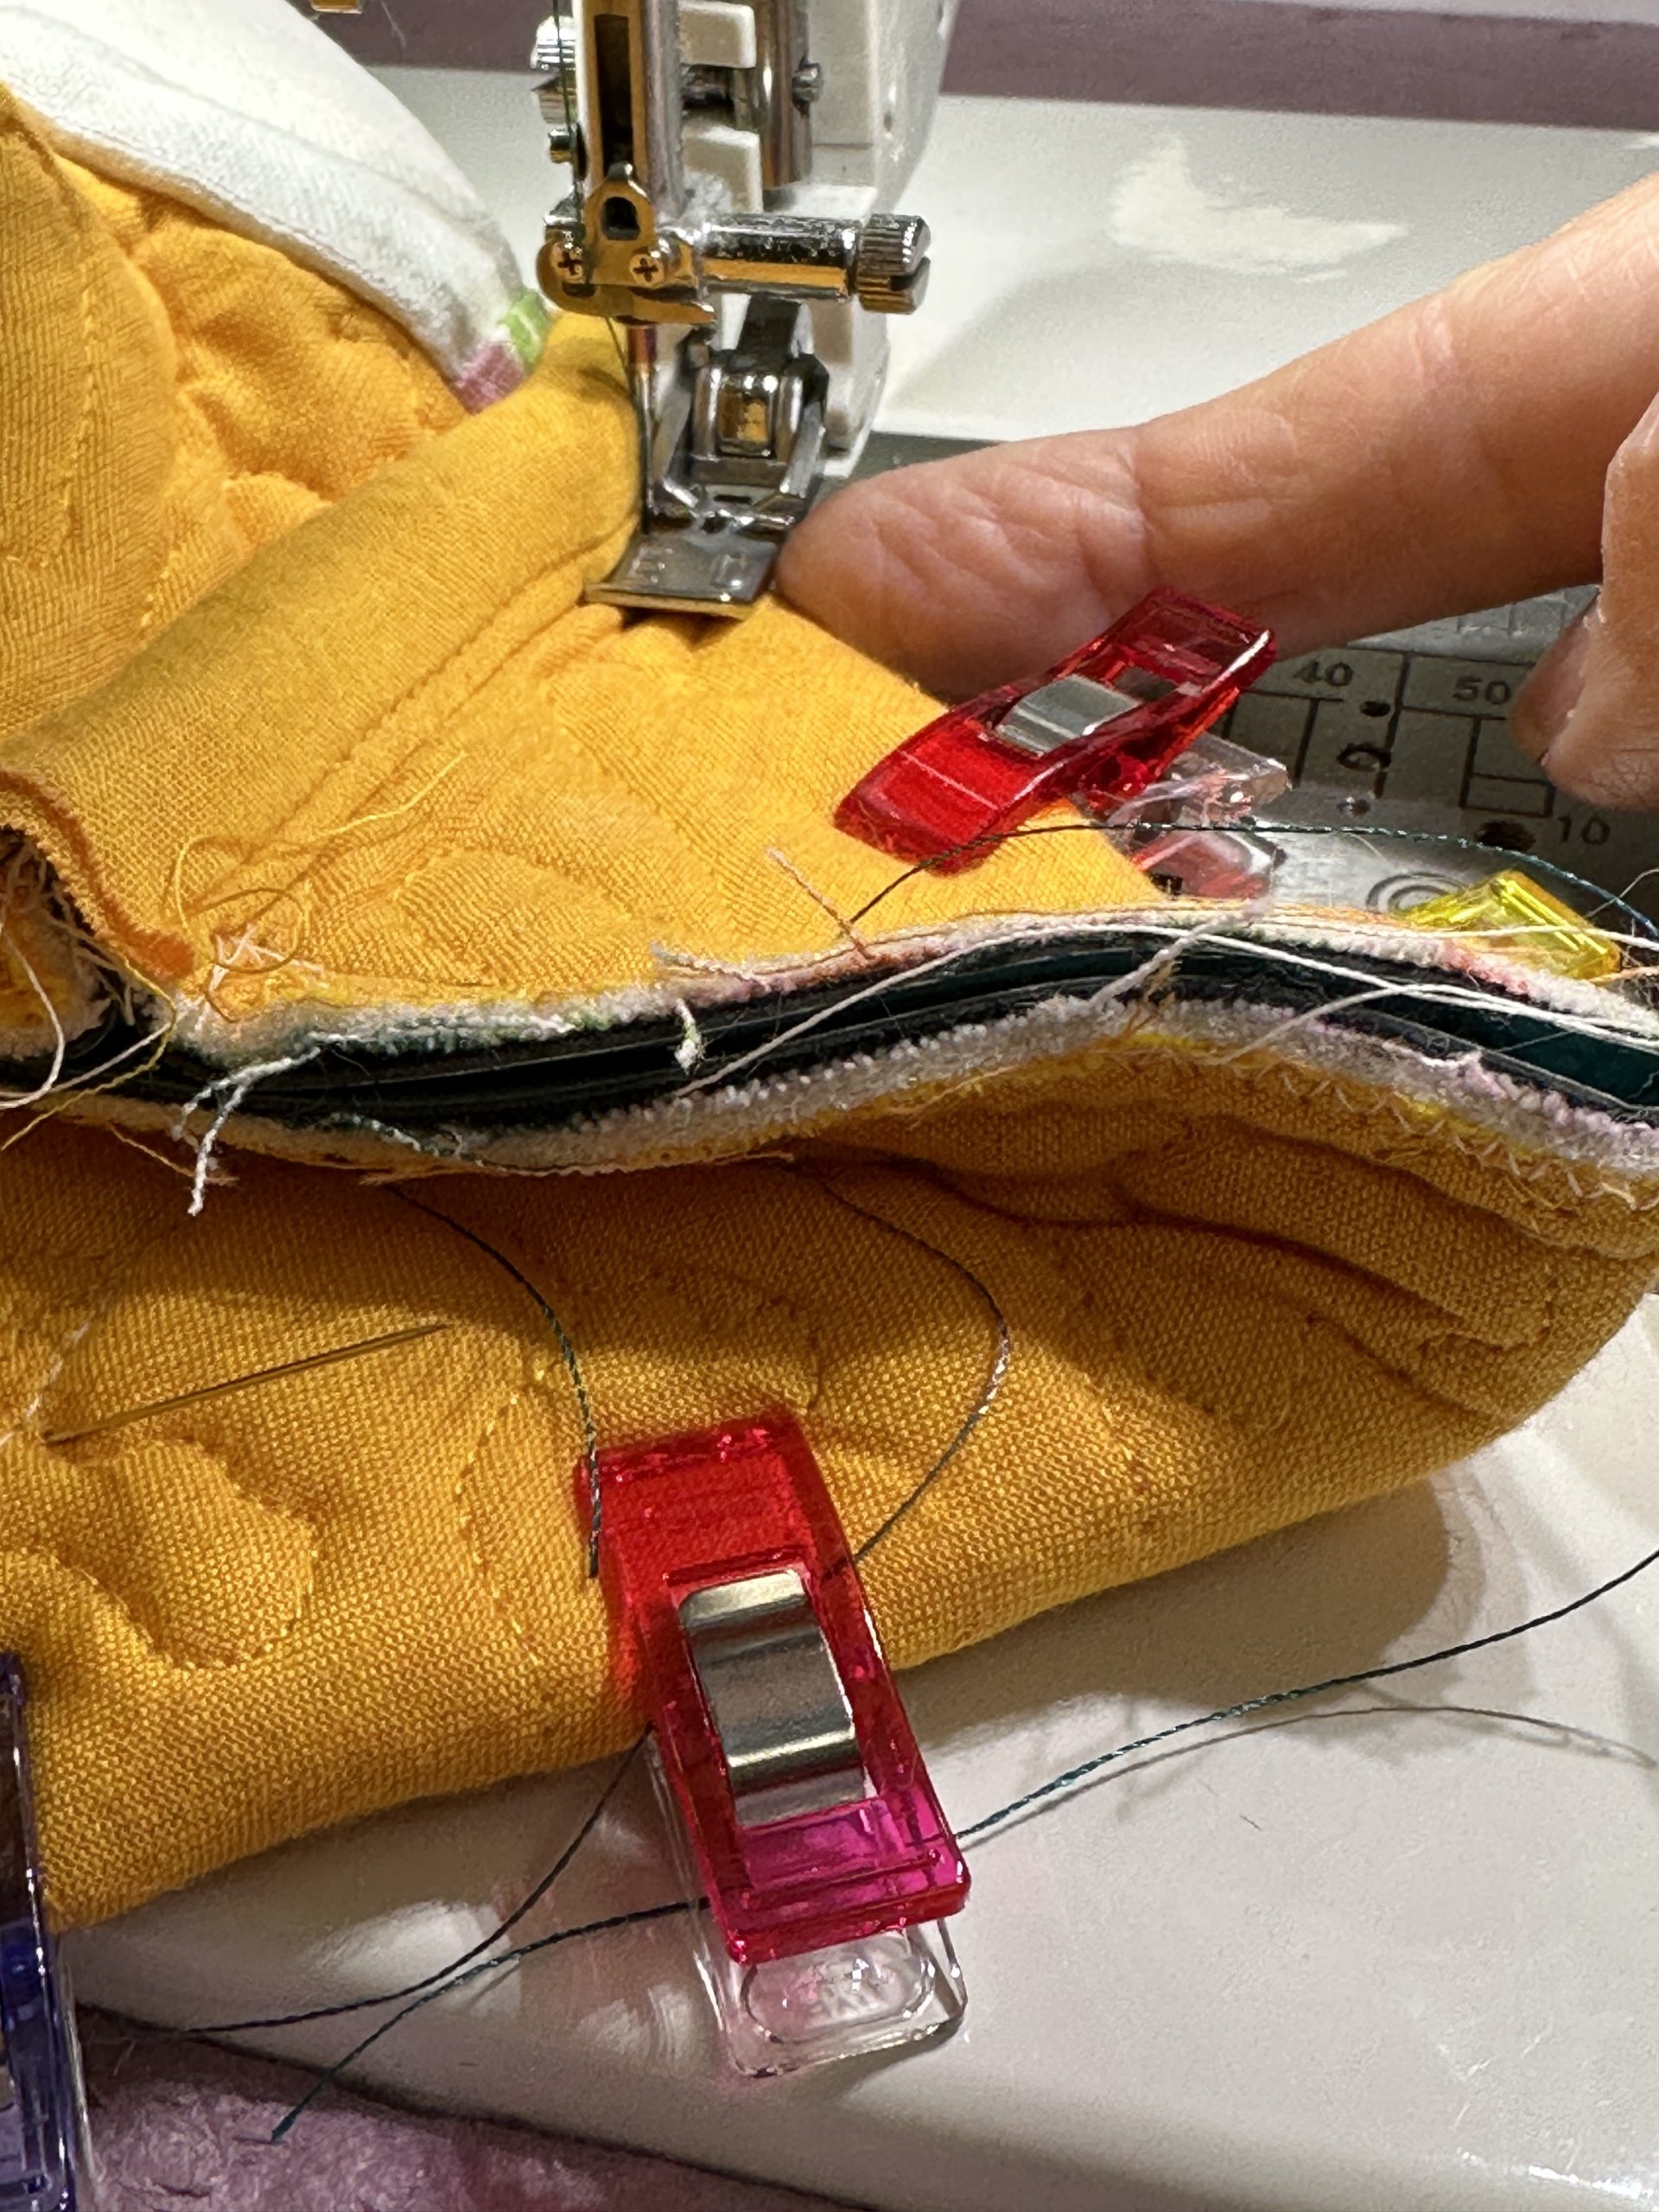
Once the cork is applied, I folded the bag so the vertical seam was in a corner. Boxing the corners is a bit of a heart-stopping effort for me. I folded the corners to “box” it, making sure everything was squared up correctly. That is a crazy thick amount of fabric on those corner triangles: two of lining, two of the Soft and Stable, two of the linen-cotton light-canvas print, two of cork).
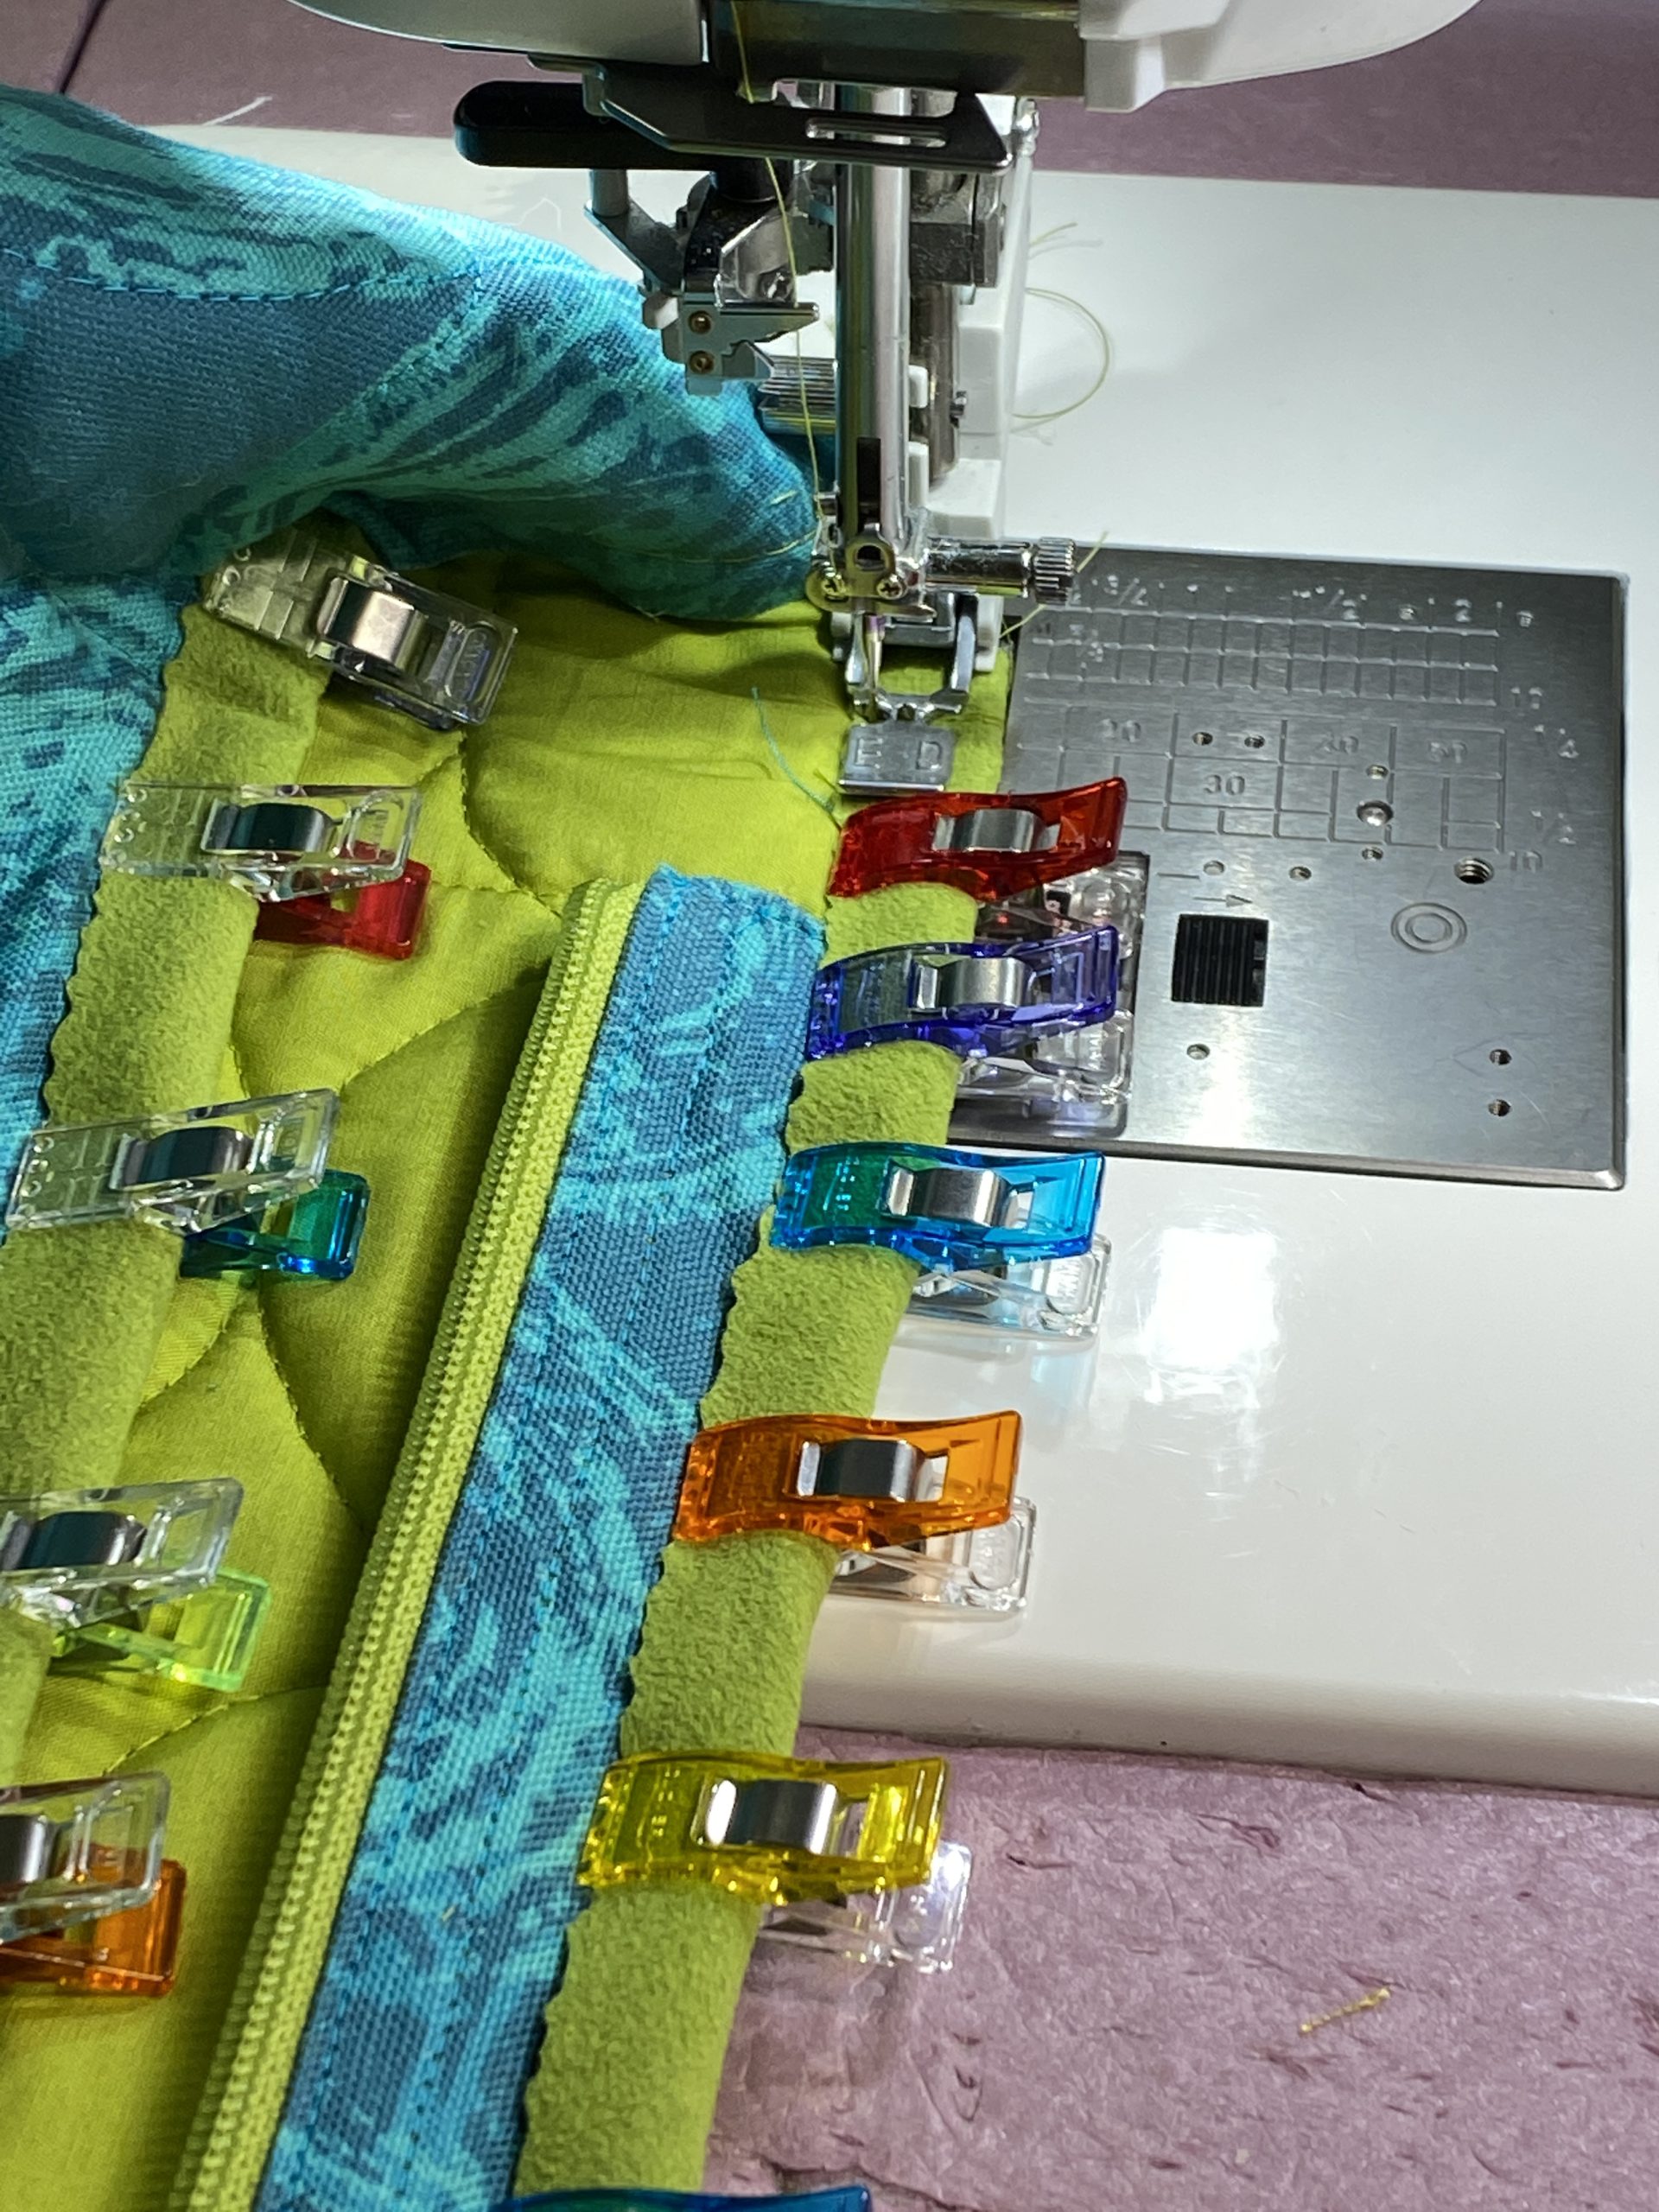
Here I am starting to sew from the outside edge to the center at the corner with the vertical seam (which extends to the center of the bottom of the bag). I like to put something like a needle case or folded fabric about where my finger is pointing to get over the thick hump. Clover Wonder Clips hold things way better than pins and don’t bend and distort. I work from the outside to the center on each side of each triangle to avoid having to sew through the impossibly thick center seam. Just sew up to the seam, HAND WALKING THE NEEDLE as you approach the center seam. The machine is plenty strong enough to send the needle through, but needles are actually flexible and can BEND and “deflect” (get pushed sideways) just going through all those layers. If that happens, then they hit the throat plate, break, yada yada–you don’t want that to happen! So just hand walk those last stitches, then push reverse and hand walk going backwards.
PHEW… always exhale when this part is done.
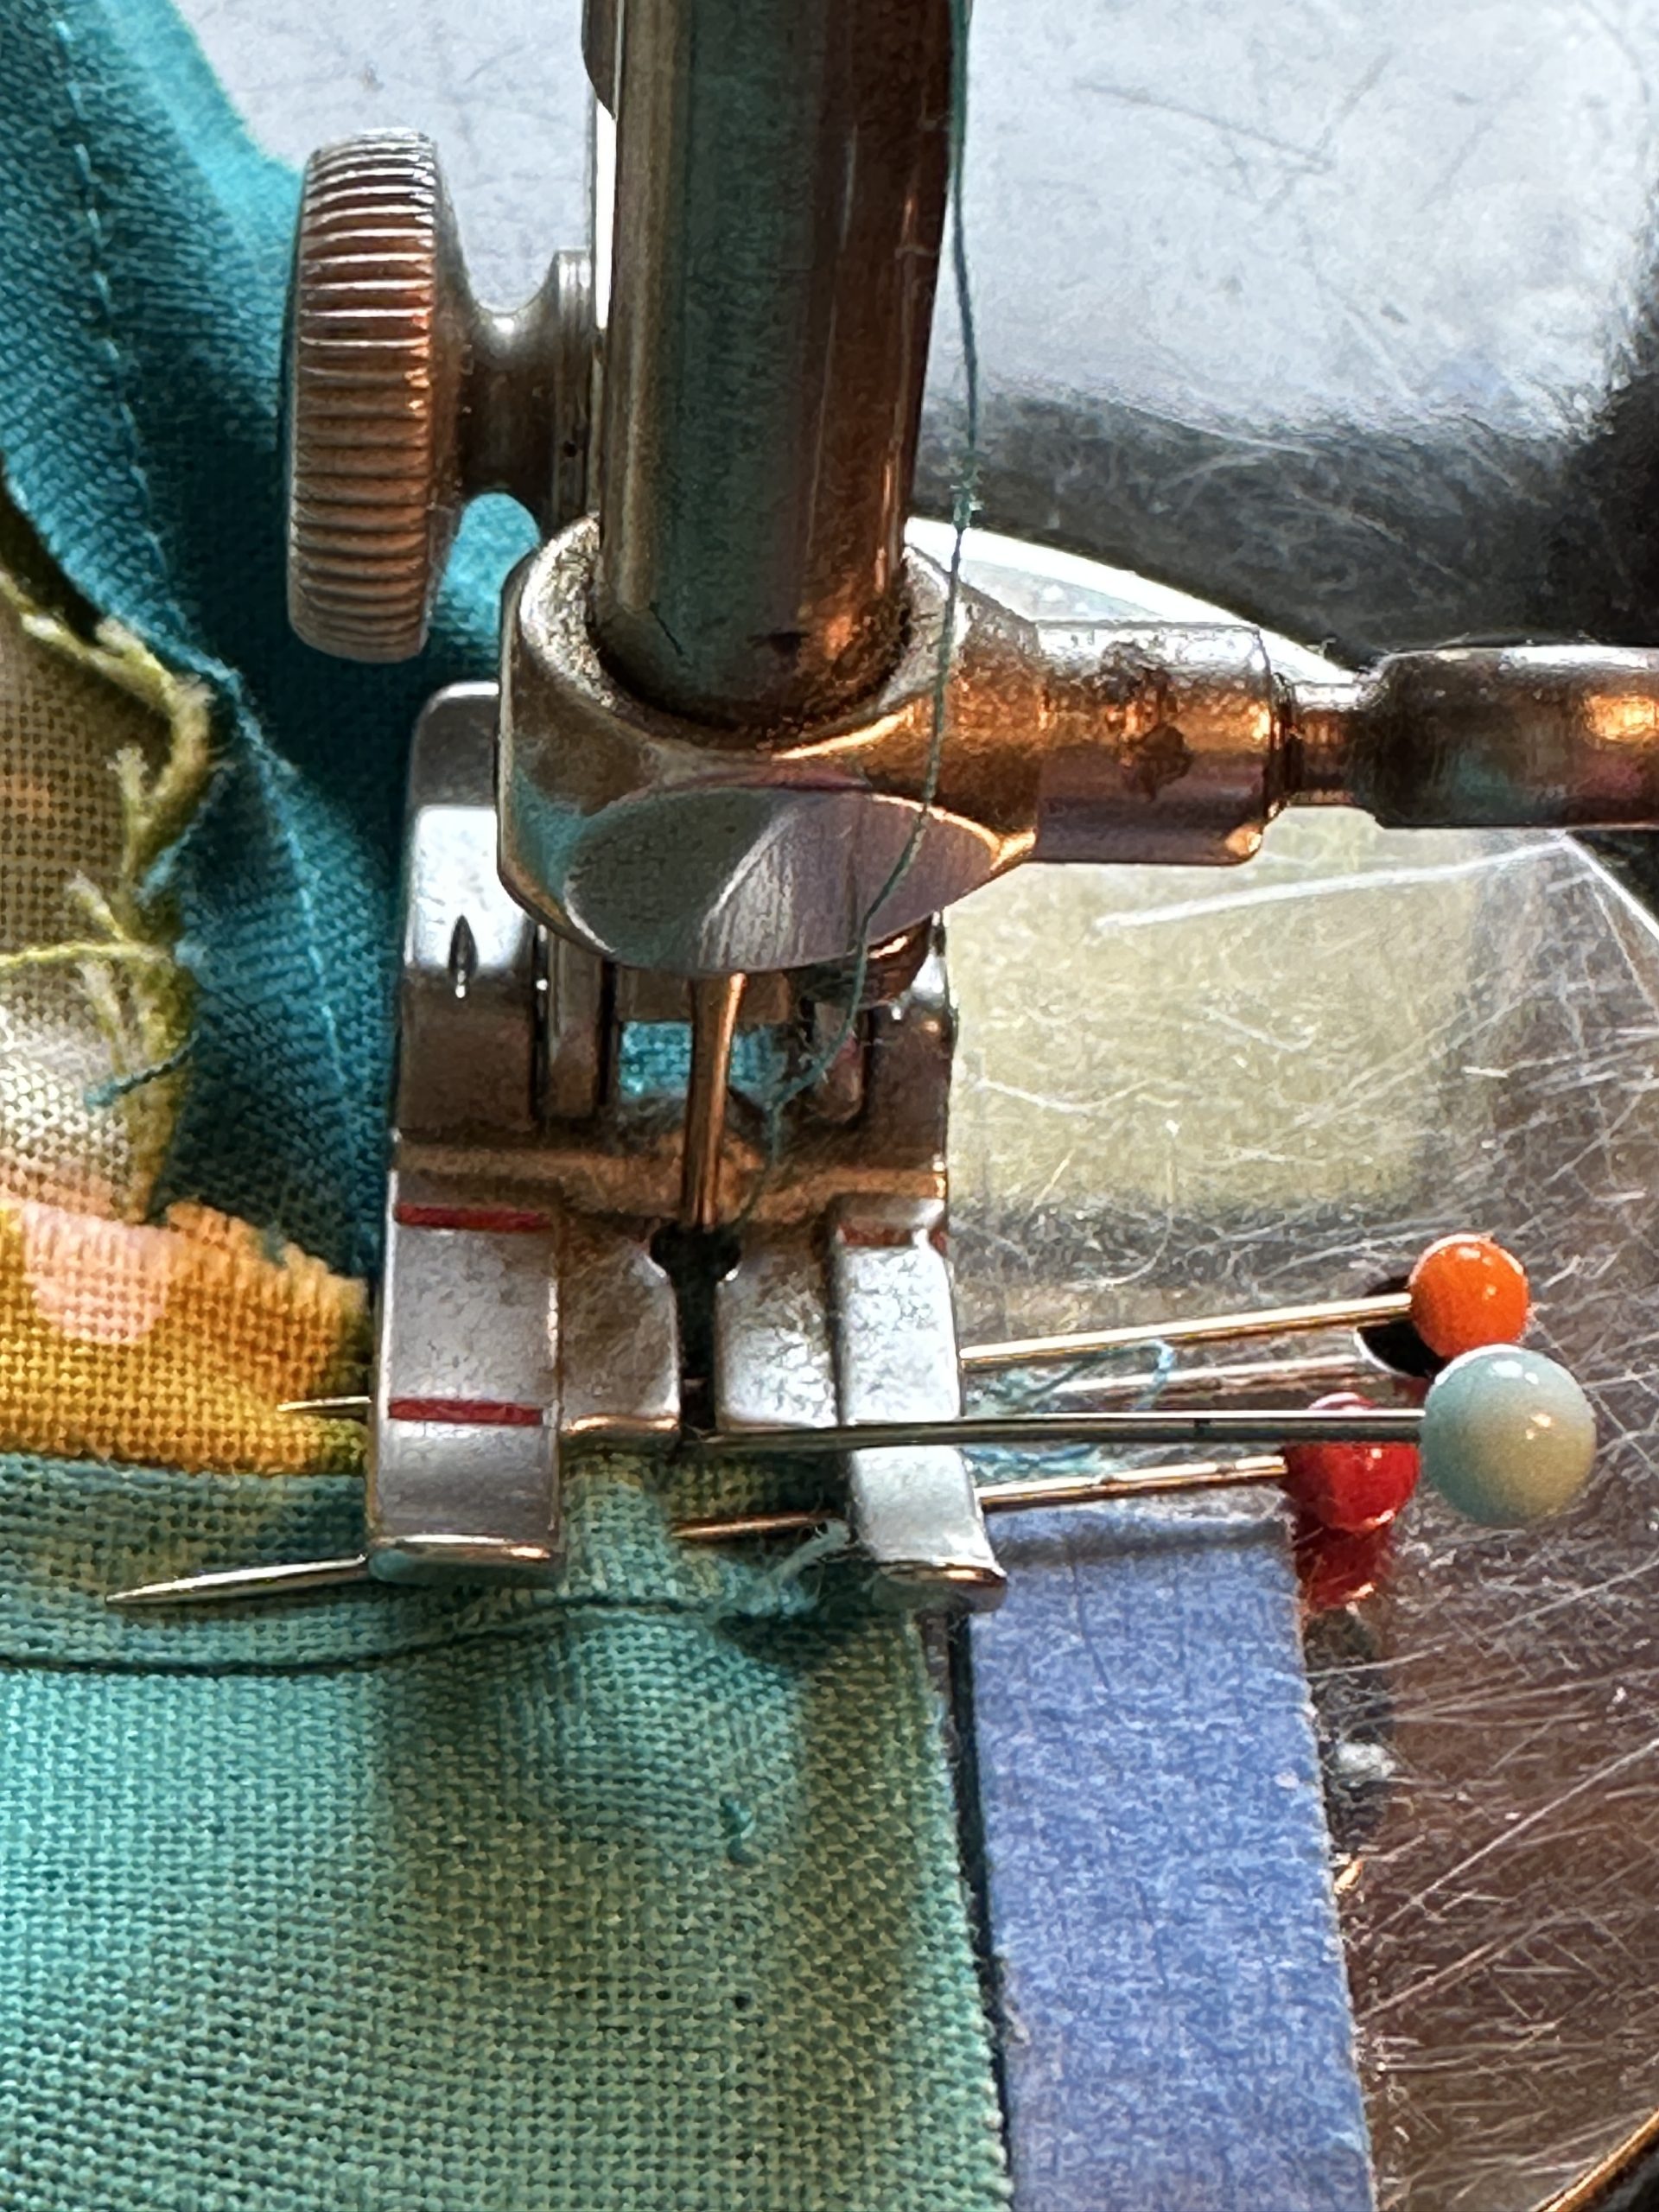
A close up to show how snugly I have the foot up against the seam. Gulp. Onward to finishing!
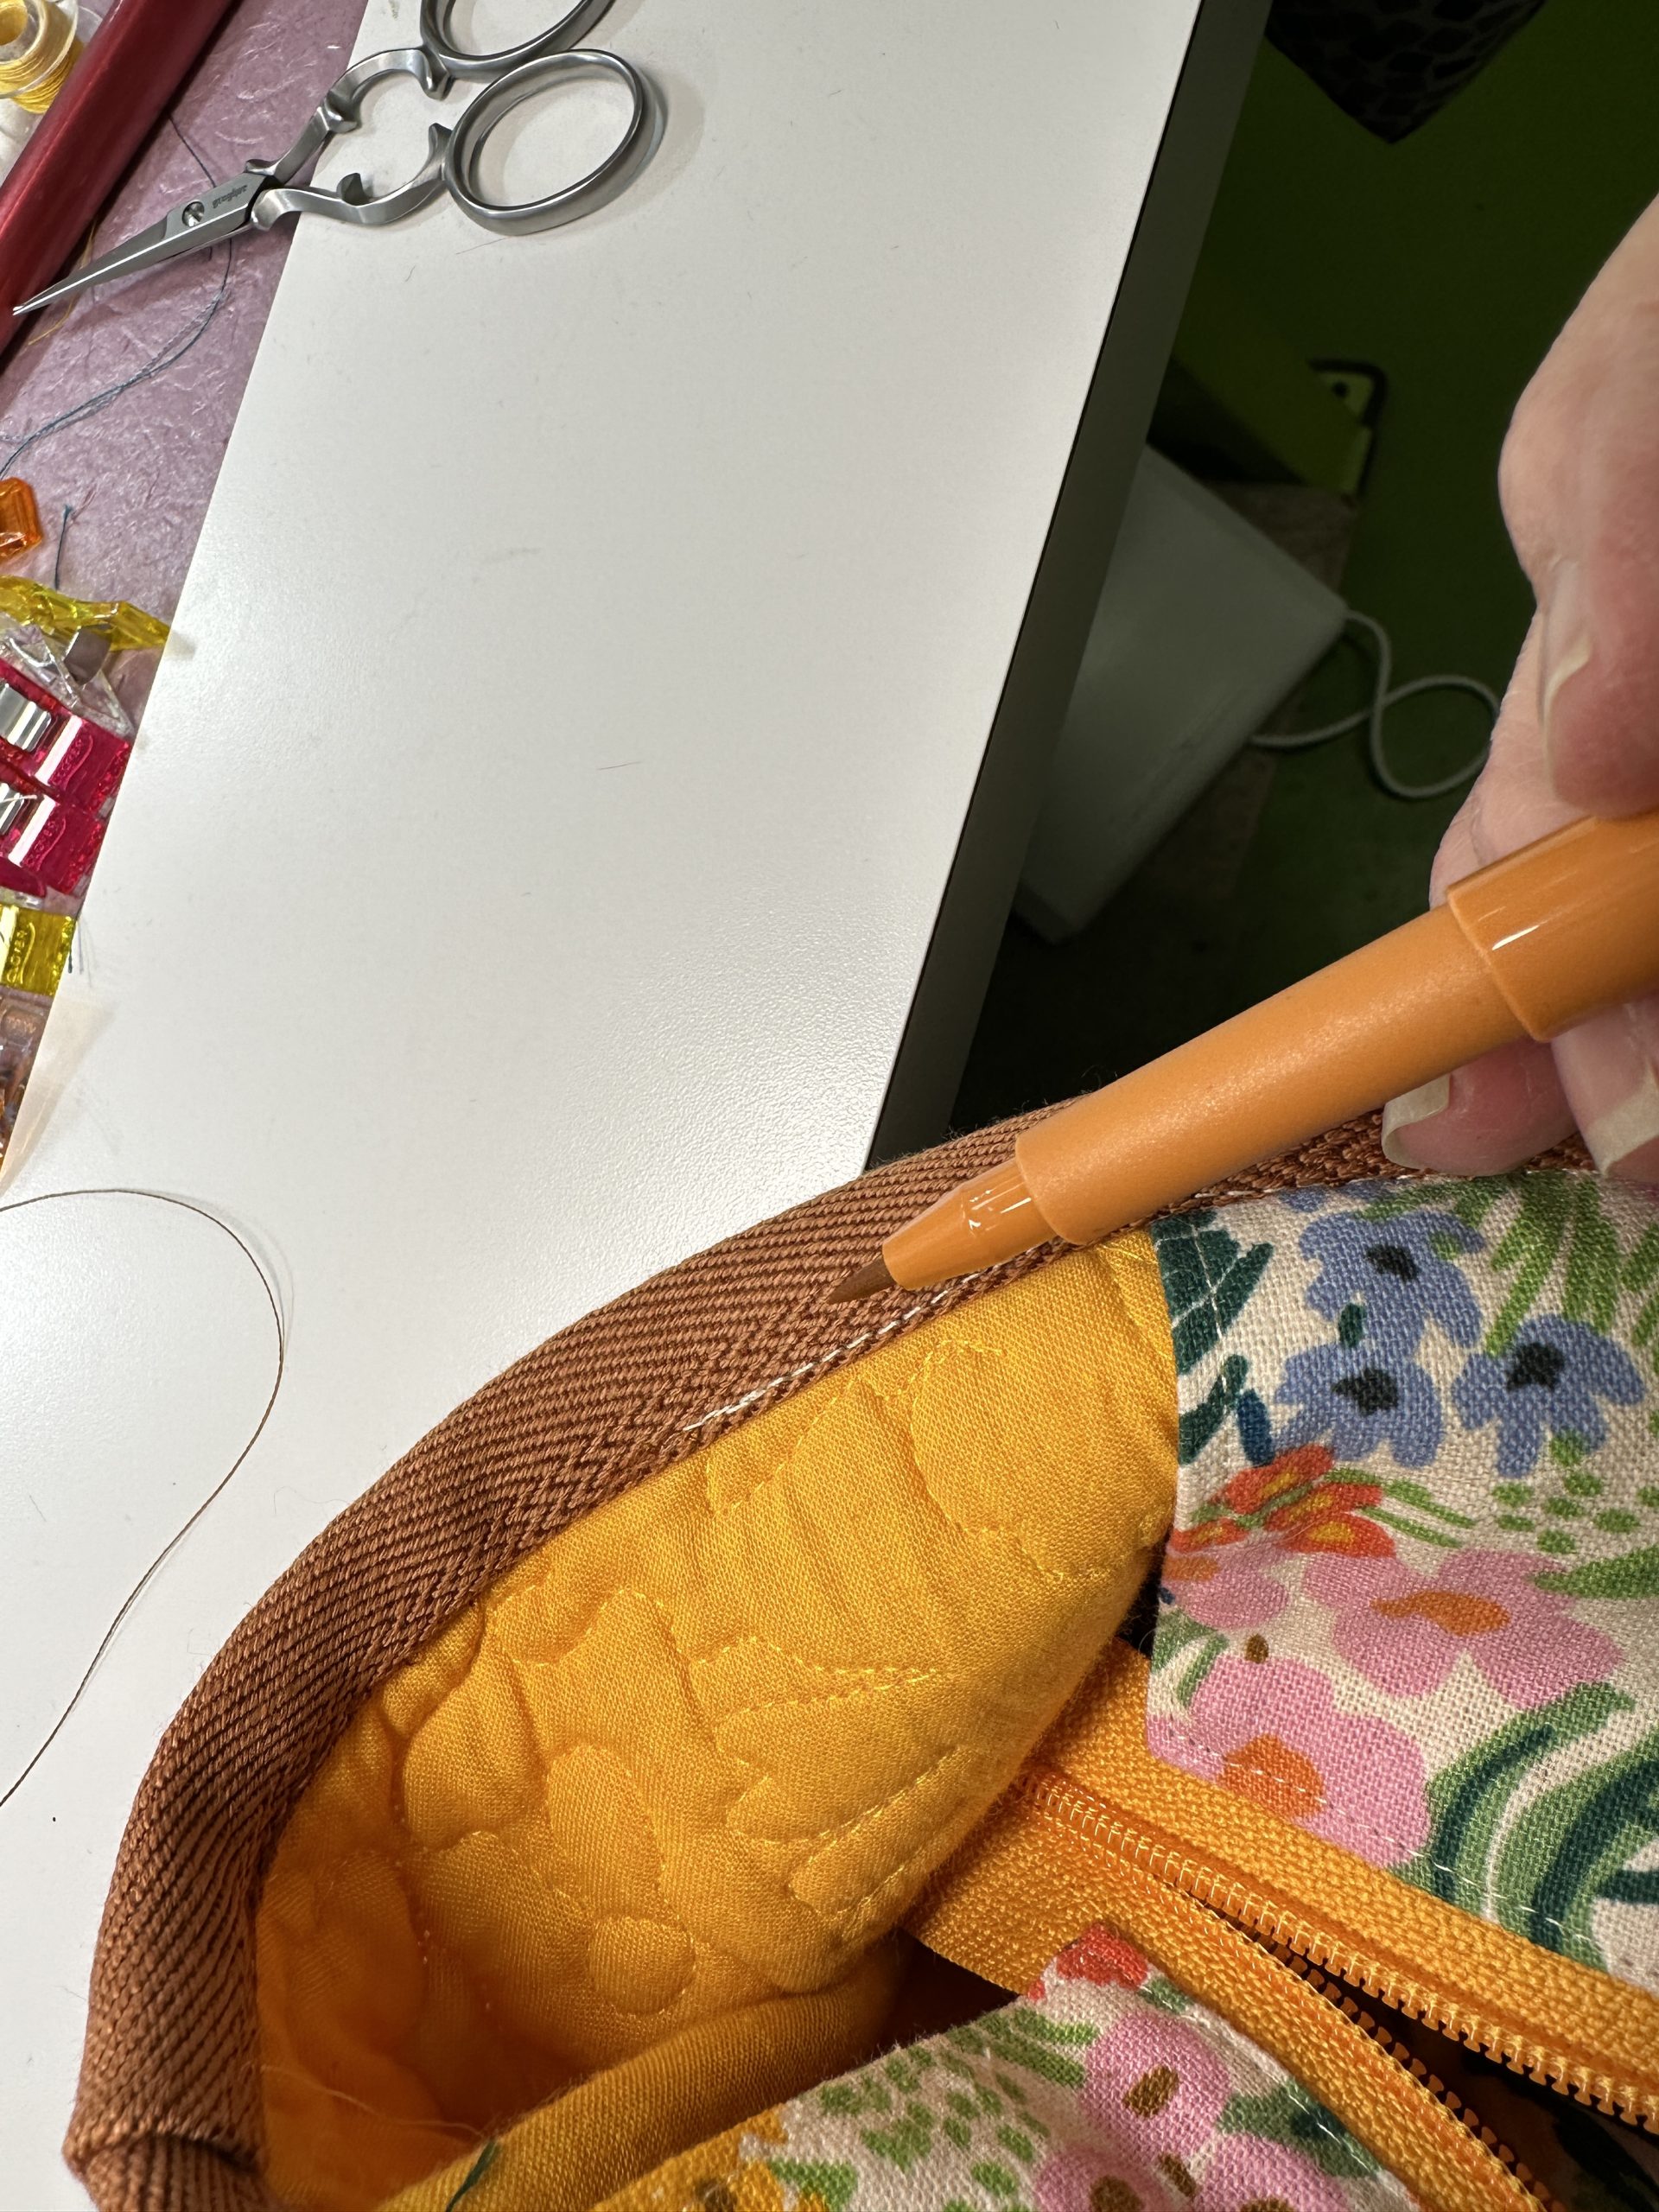
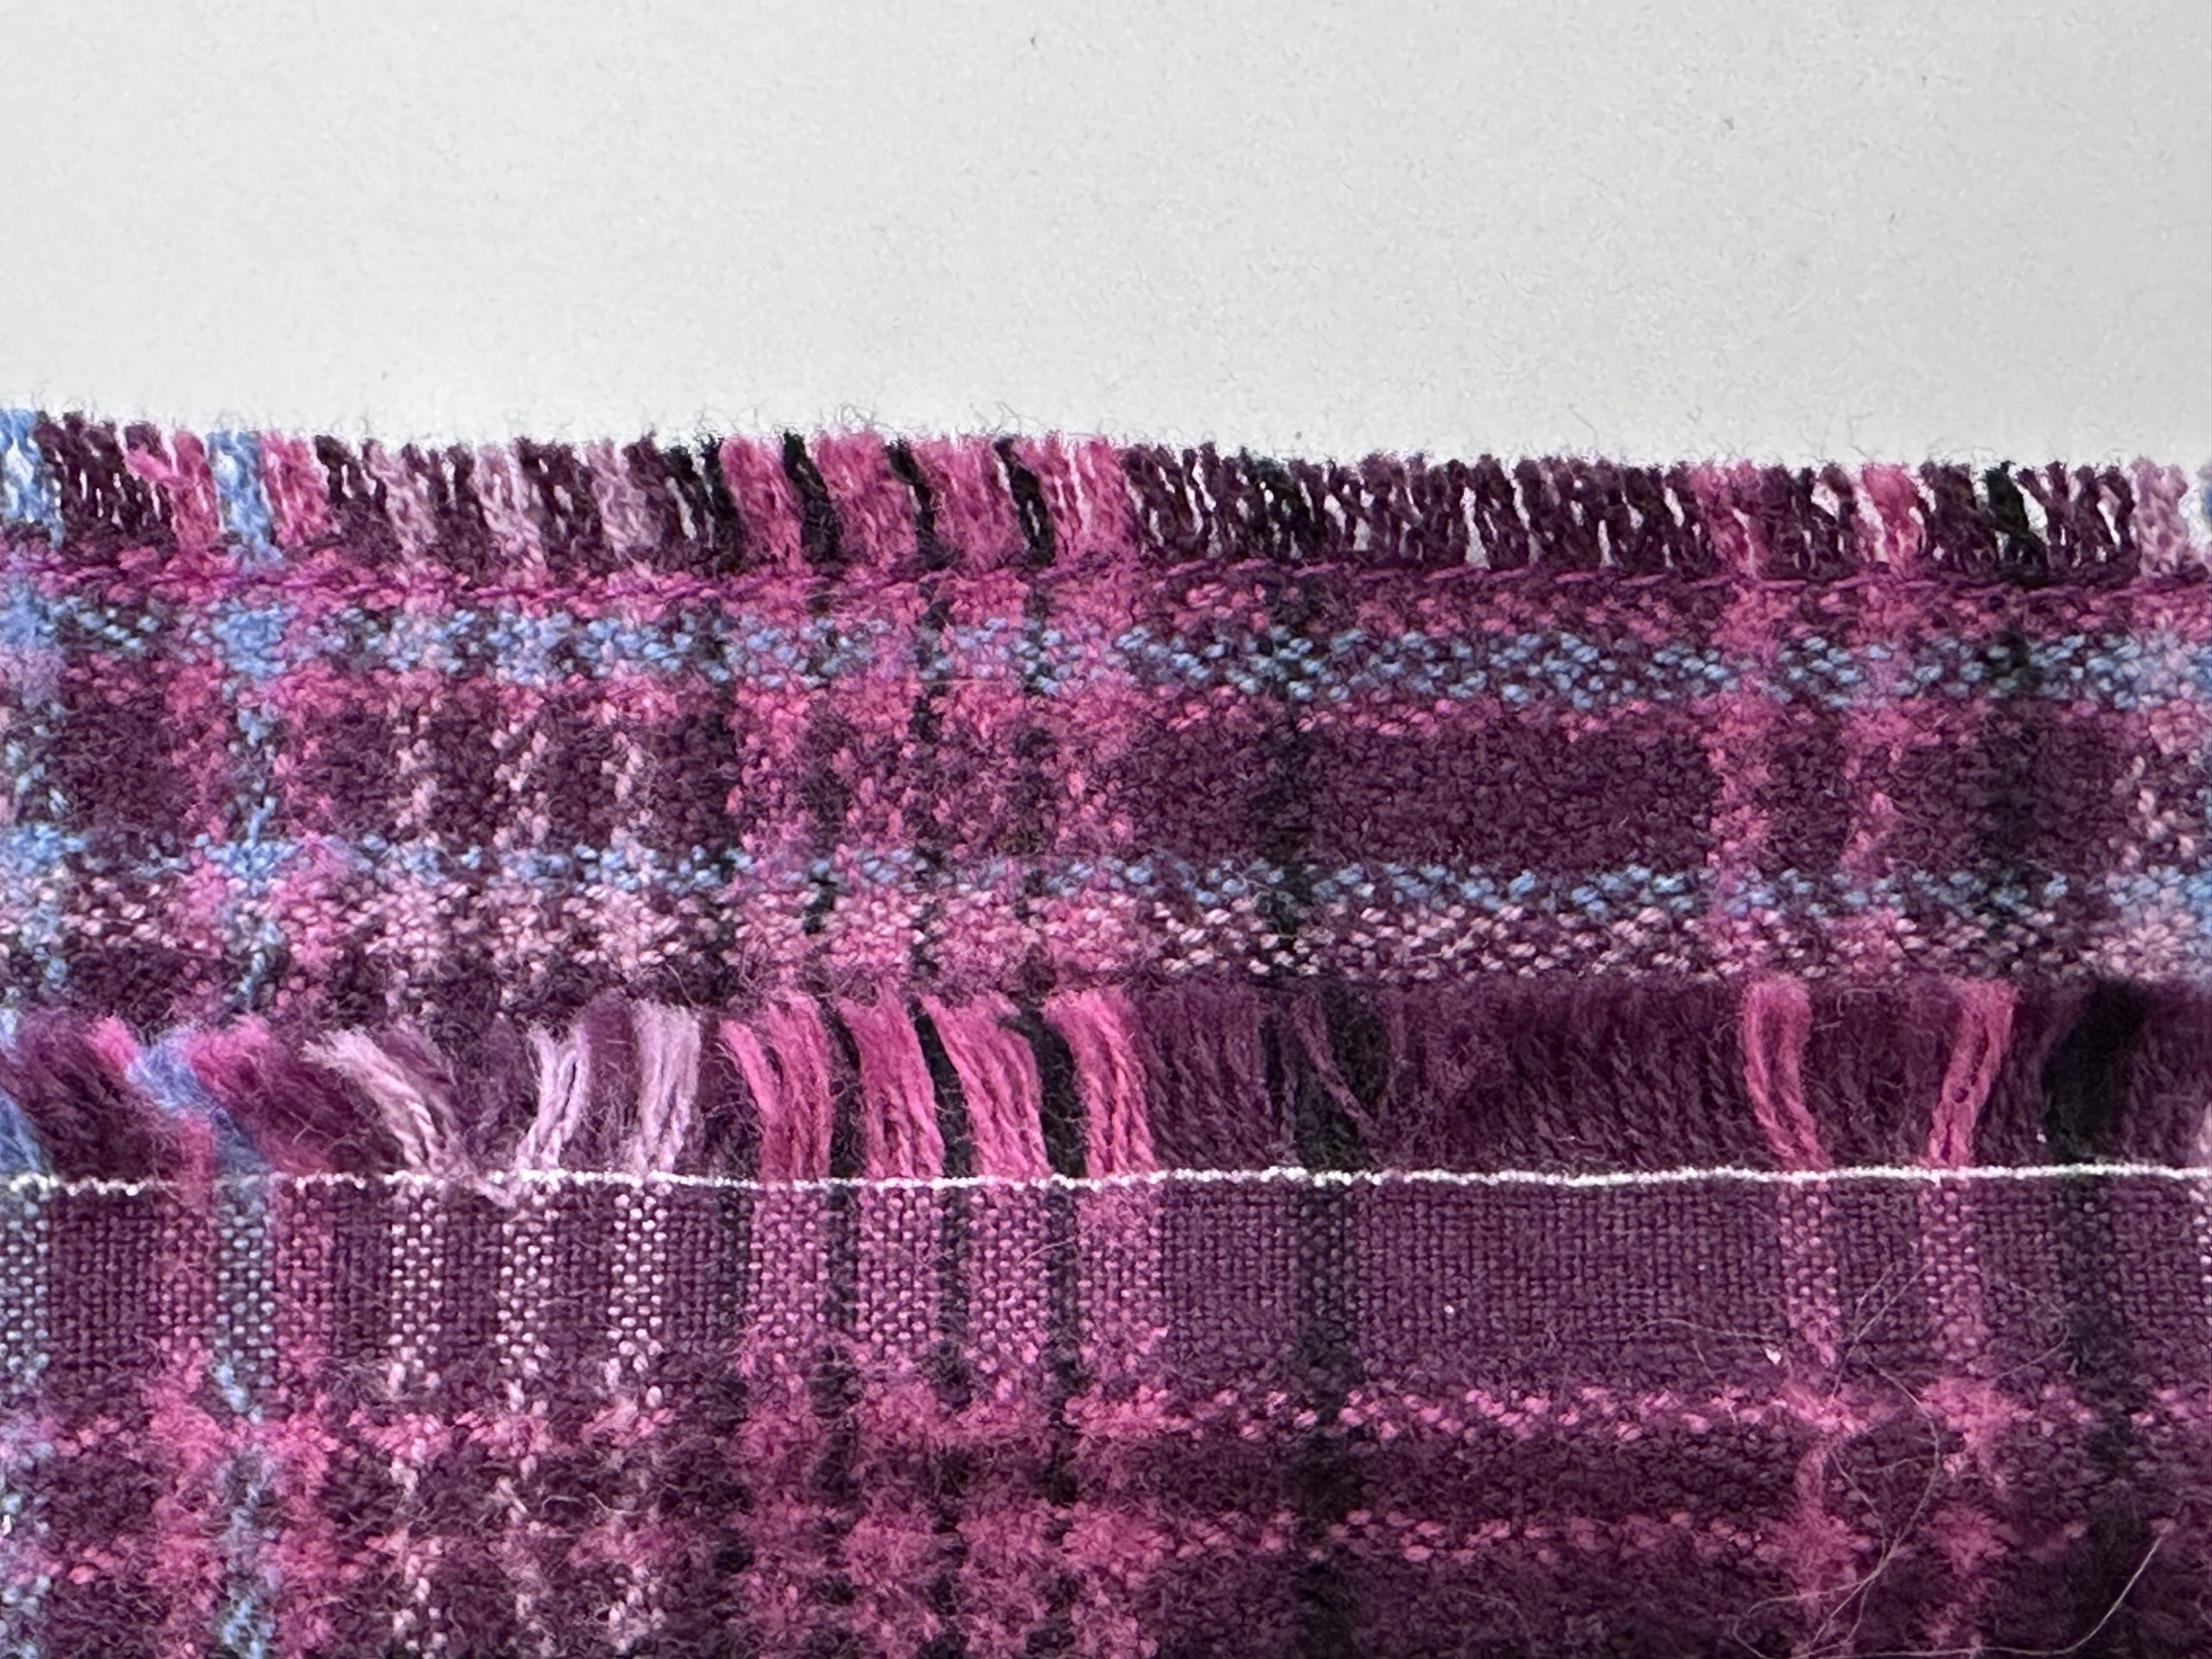
I trimmed away about 1/4″ of the carpet binding tape and put that raw edge next to the top of the bag on the inside and stitched it in place. I turned the tape to the outside and sewed it down using a cream colored thread which matched the zipper flaps. But looked awful elsewhere. Pitt Artist Pens (like Pigma but more colors–I get mine at Dick Blick online or at Fiddlehead) to the rescue!
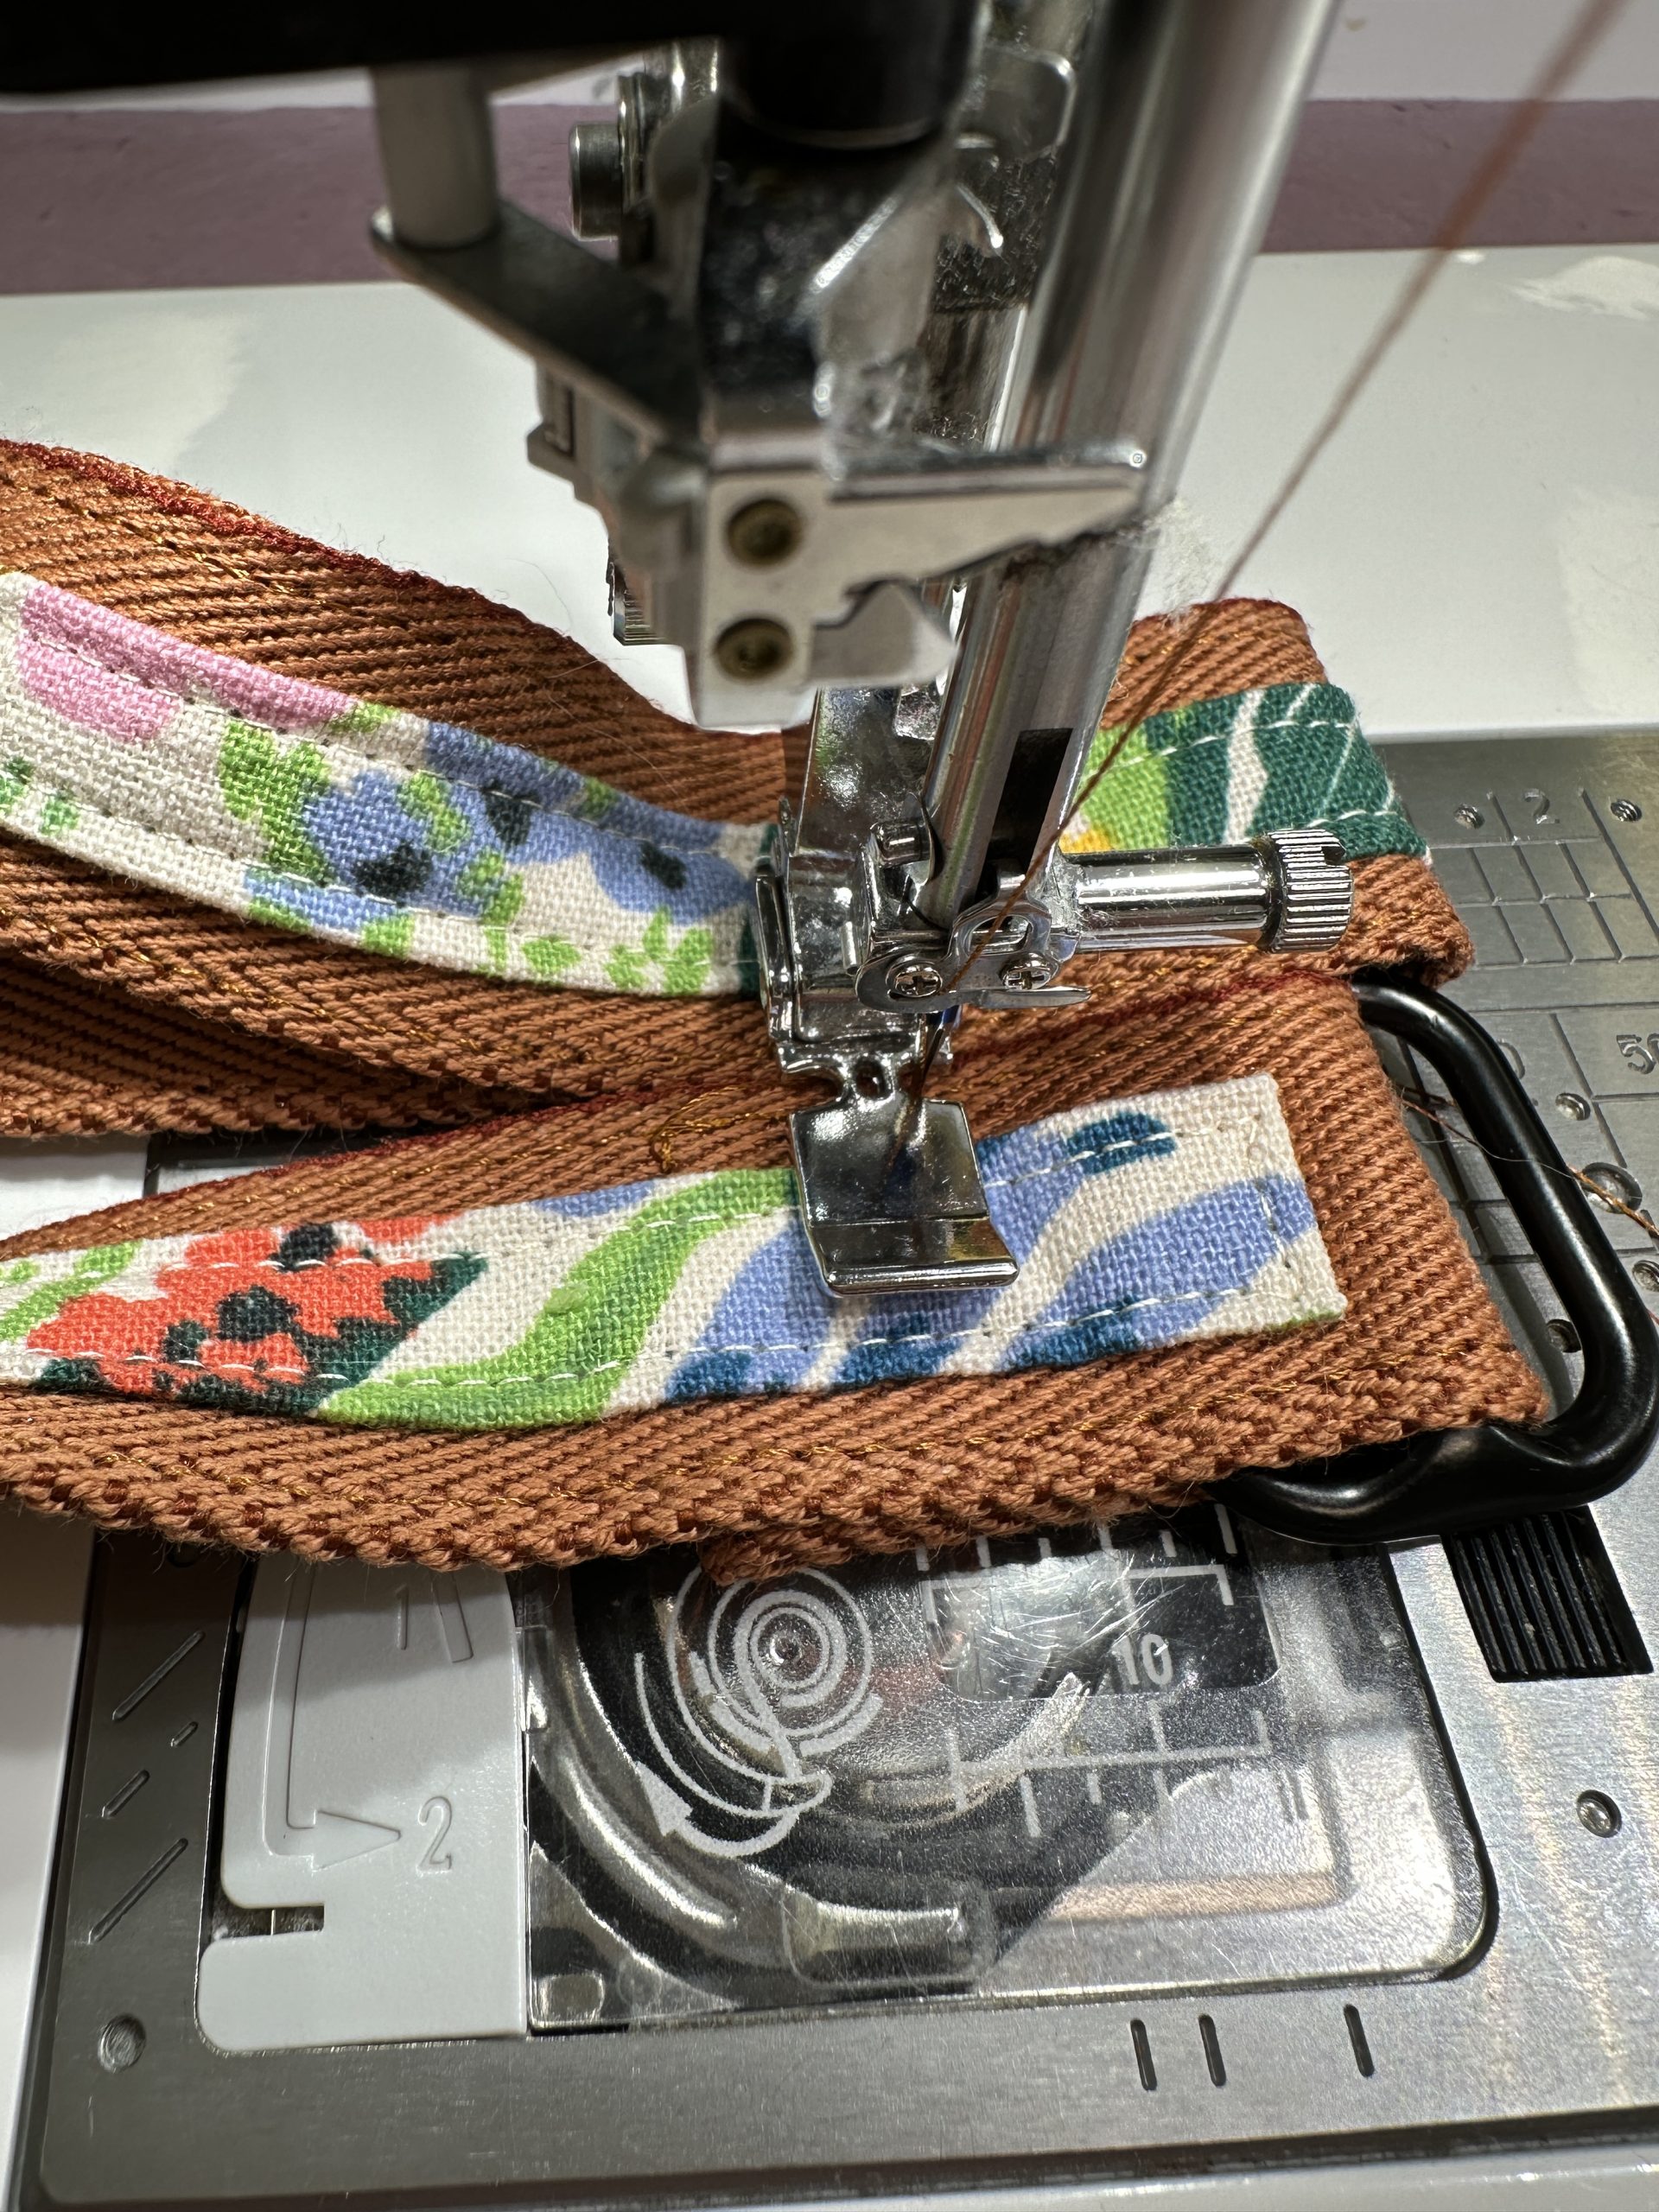
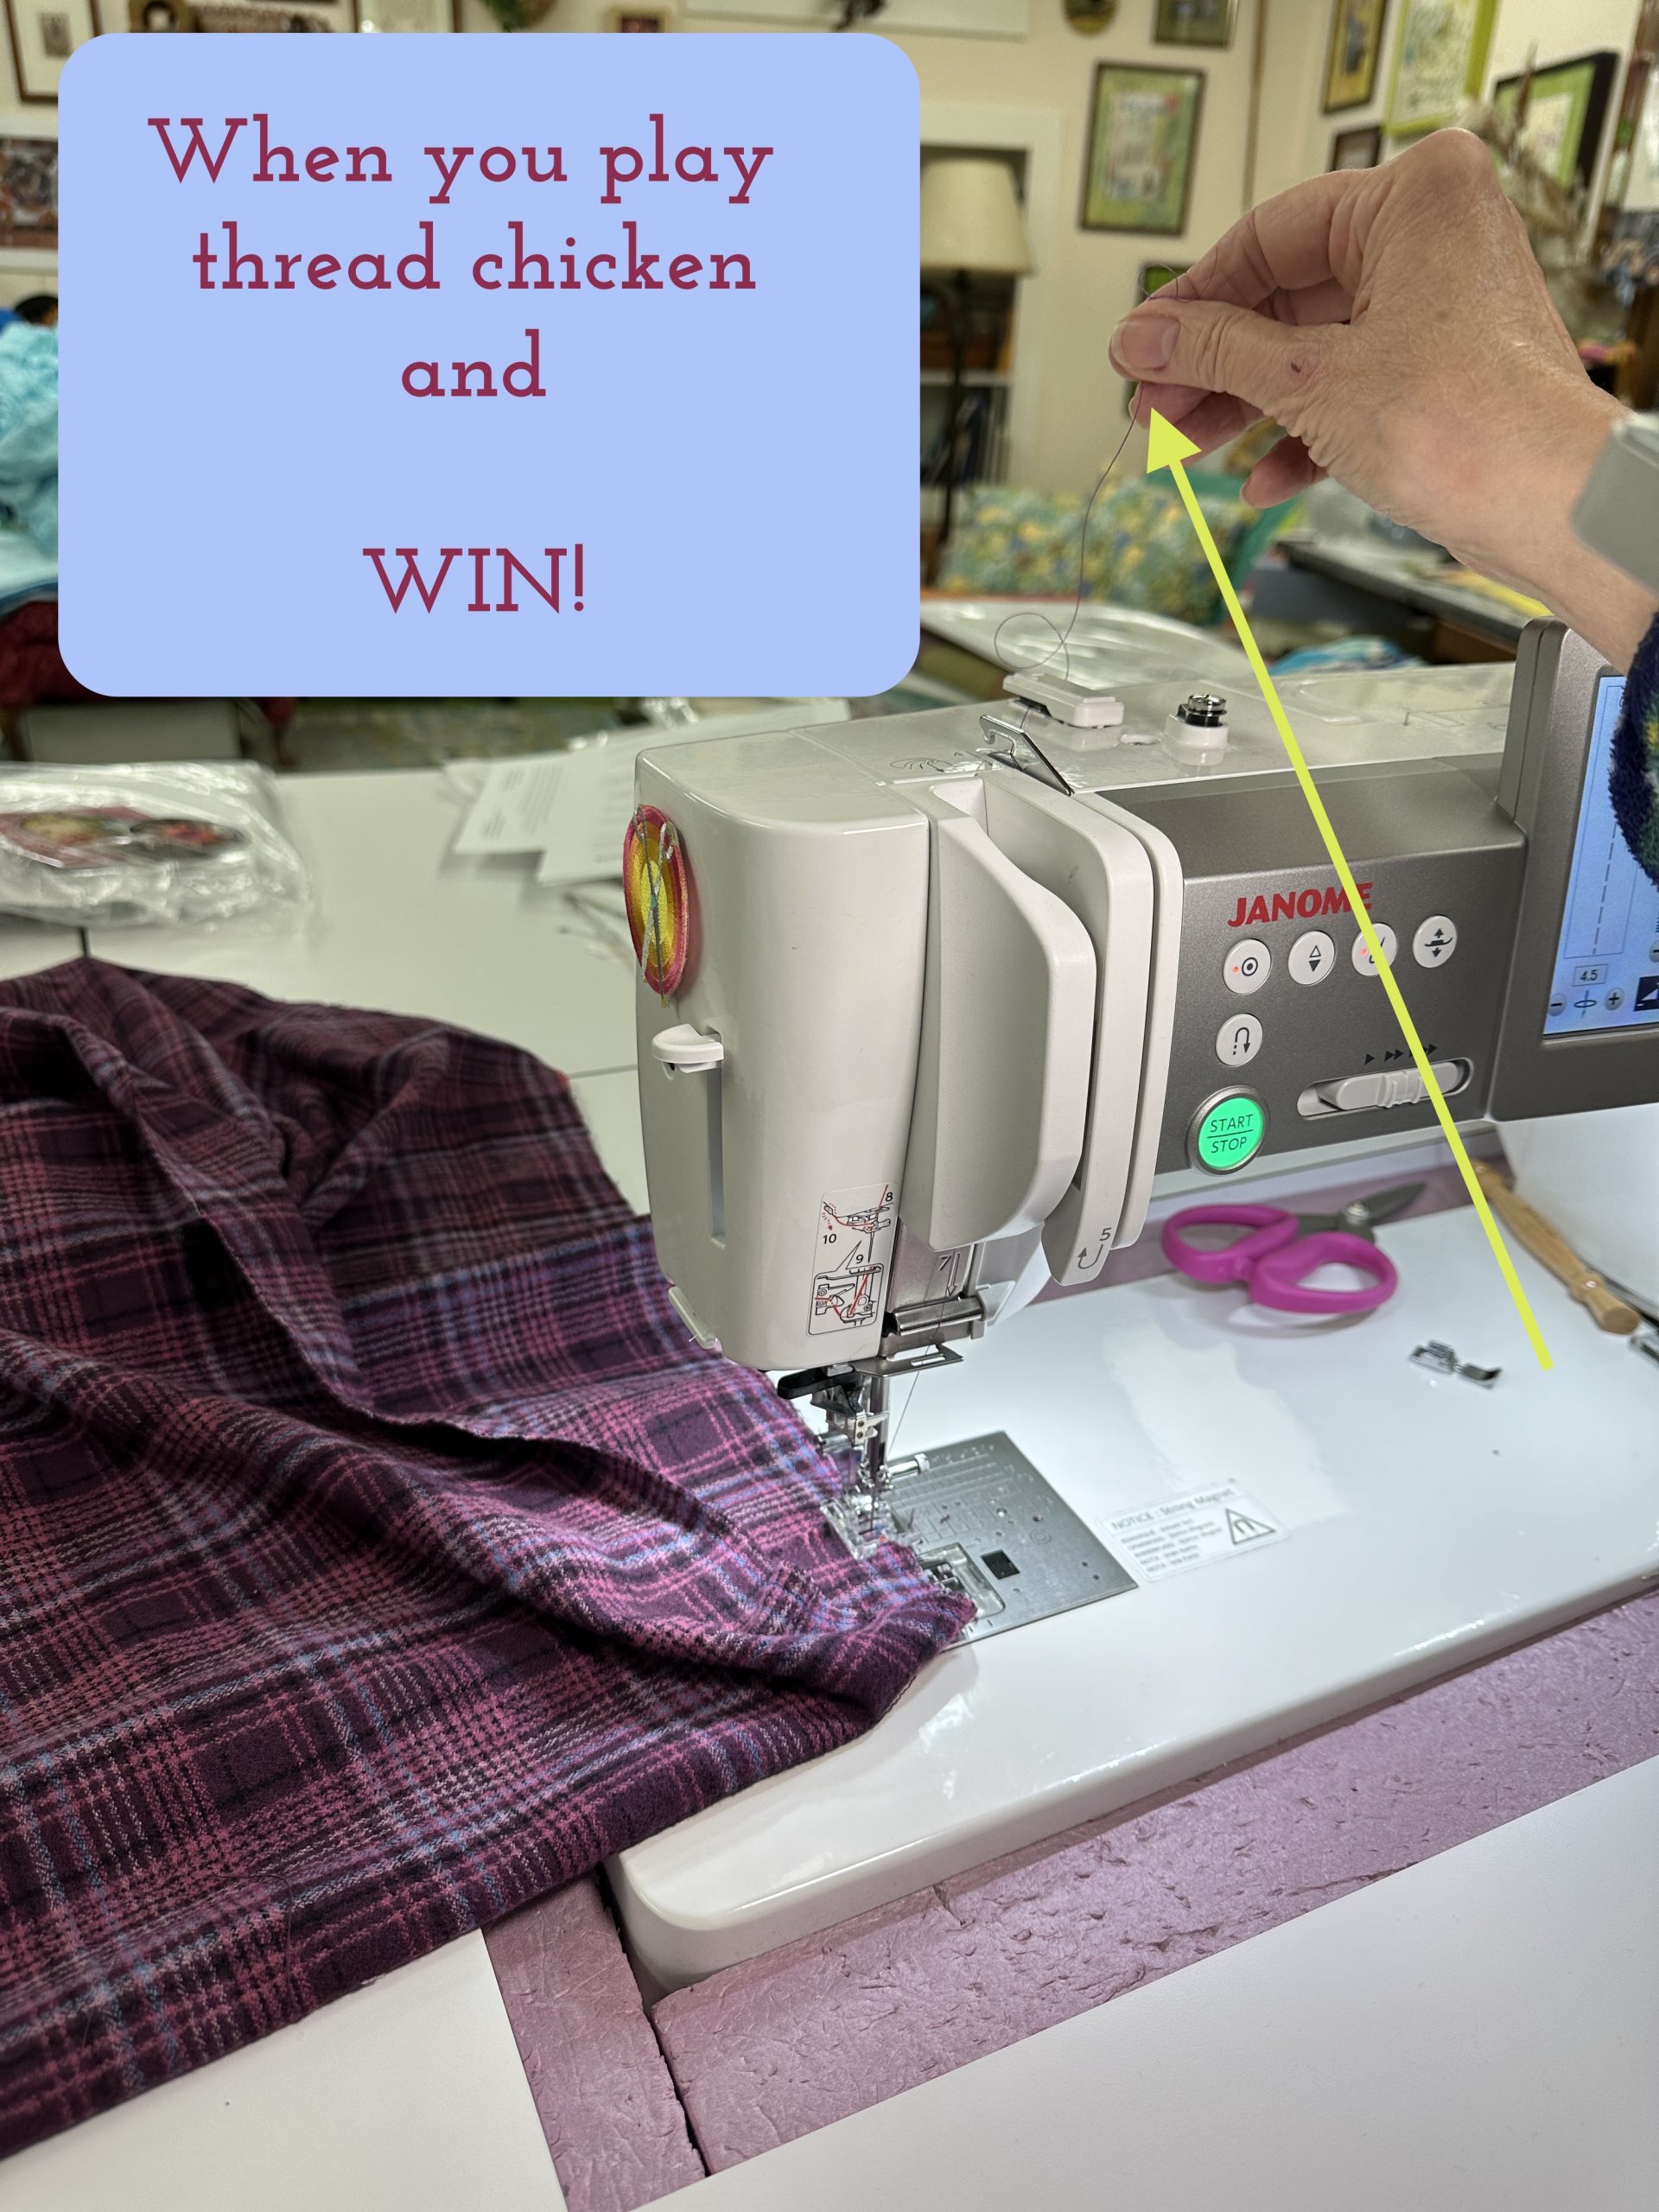
Once again I used that carpet binding tape (think for rug hookers and such) as the straps. I had the fun idea to use a strip of the print, just as I had used to appliqué the pockets in place, down the center of the handles, which otherwise were very brown and kinda overwhelmed the bag (no other color available at the time worked as well). I LOVE the final look of them. I stopped the strip up above the hardware to make it easier to sew. In the photo above, I am using the other end of the handle to hold up the back of the presser foot and level it out, making it easier to sew to the very edges of the straps. I used folded print fabric to make the tab that holds the hardware in place. I could have sewn the straps directly to the bag, but if anything is going to wear out, it would be the handles. This way I can replace the straps easily. AND they hang down nice and flat by being attached with hardware instead of being sewn directly to the bag–that may not matter to you. Do what works for you!
And Sorry this is SO LONG–want to get it all into ONE post.
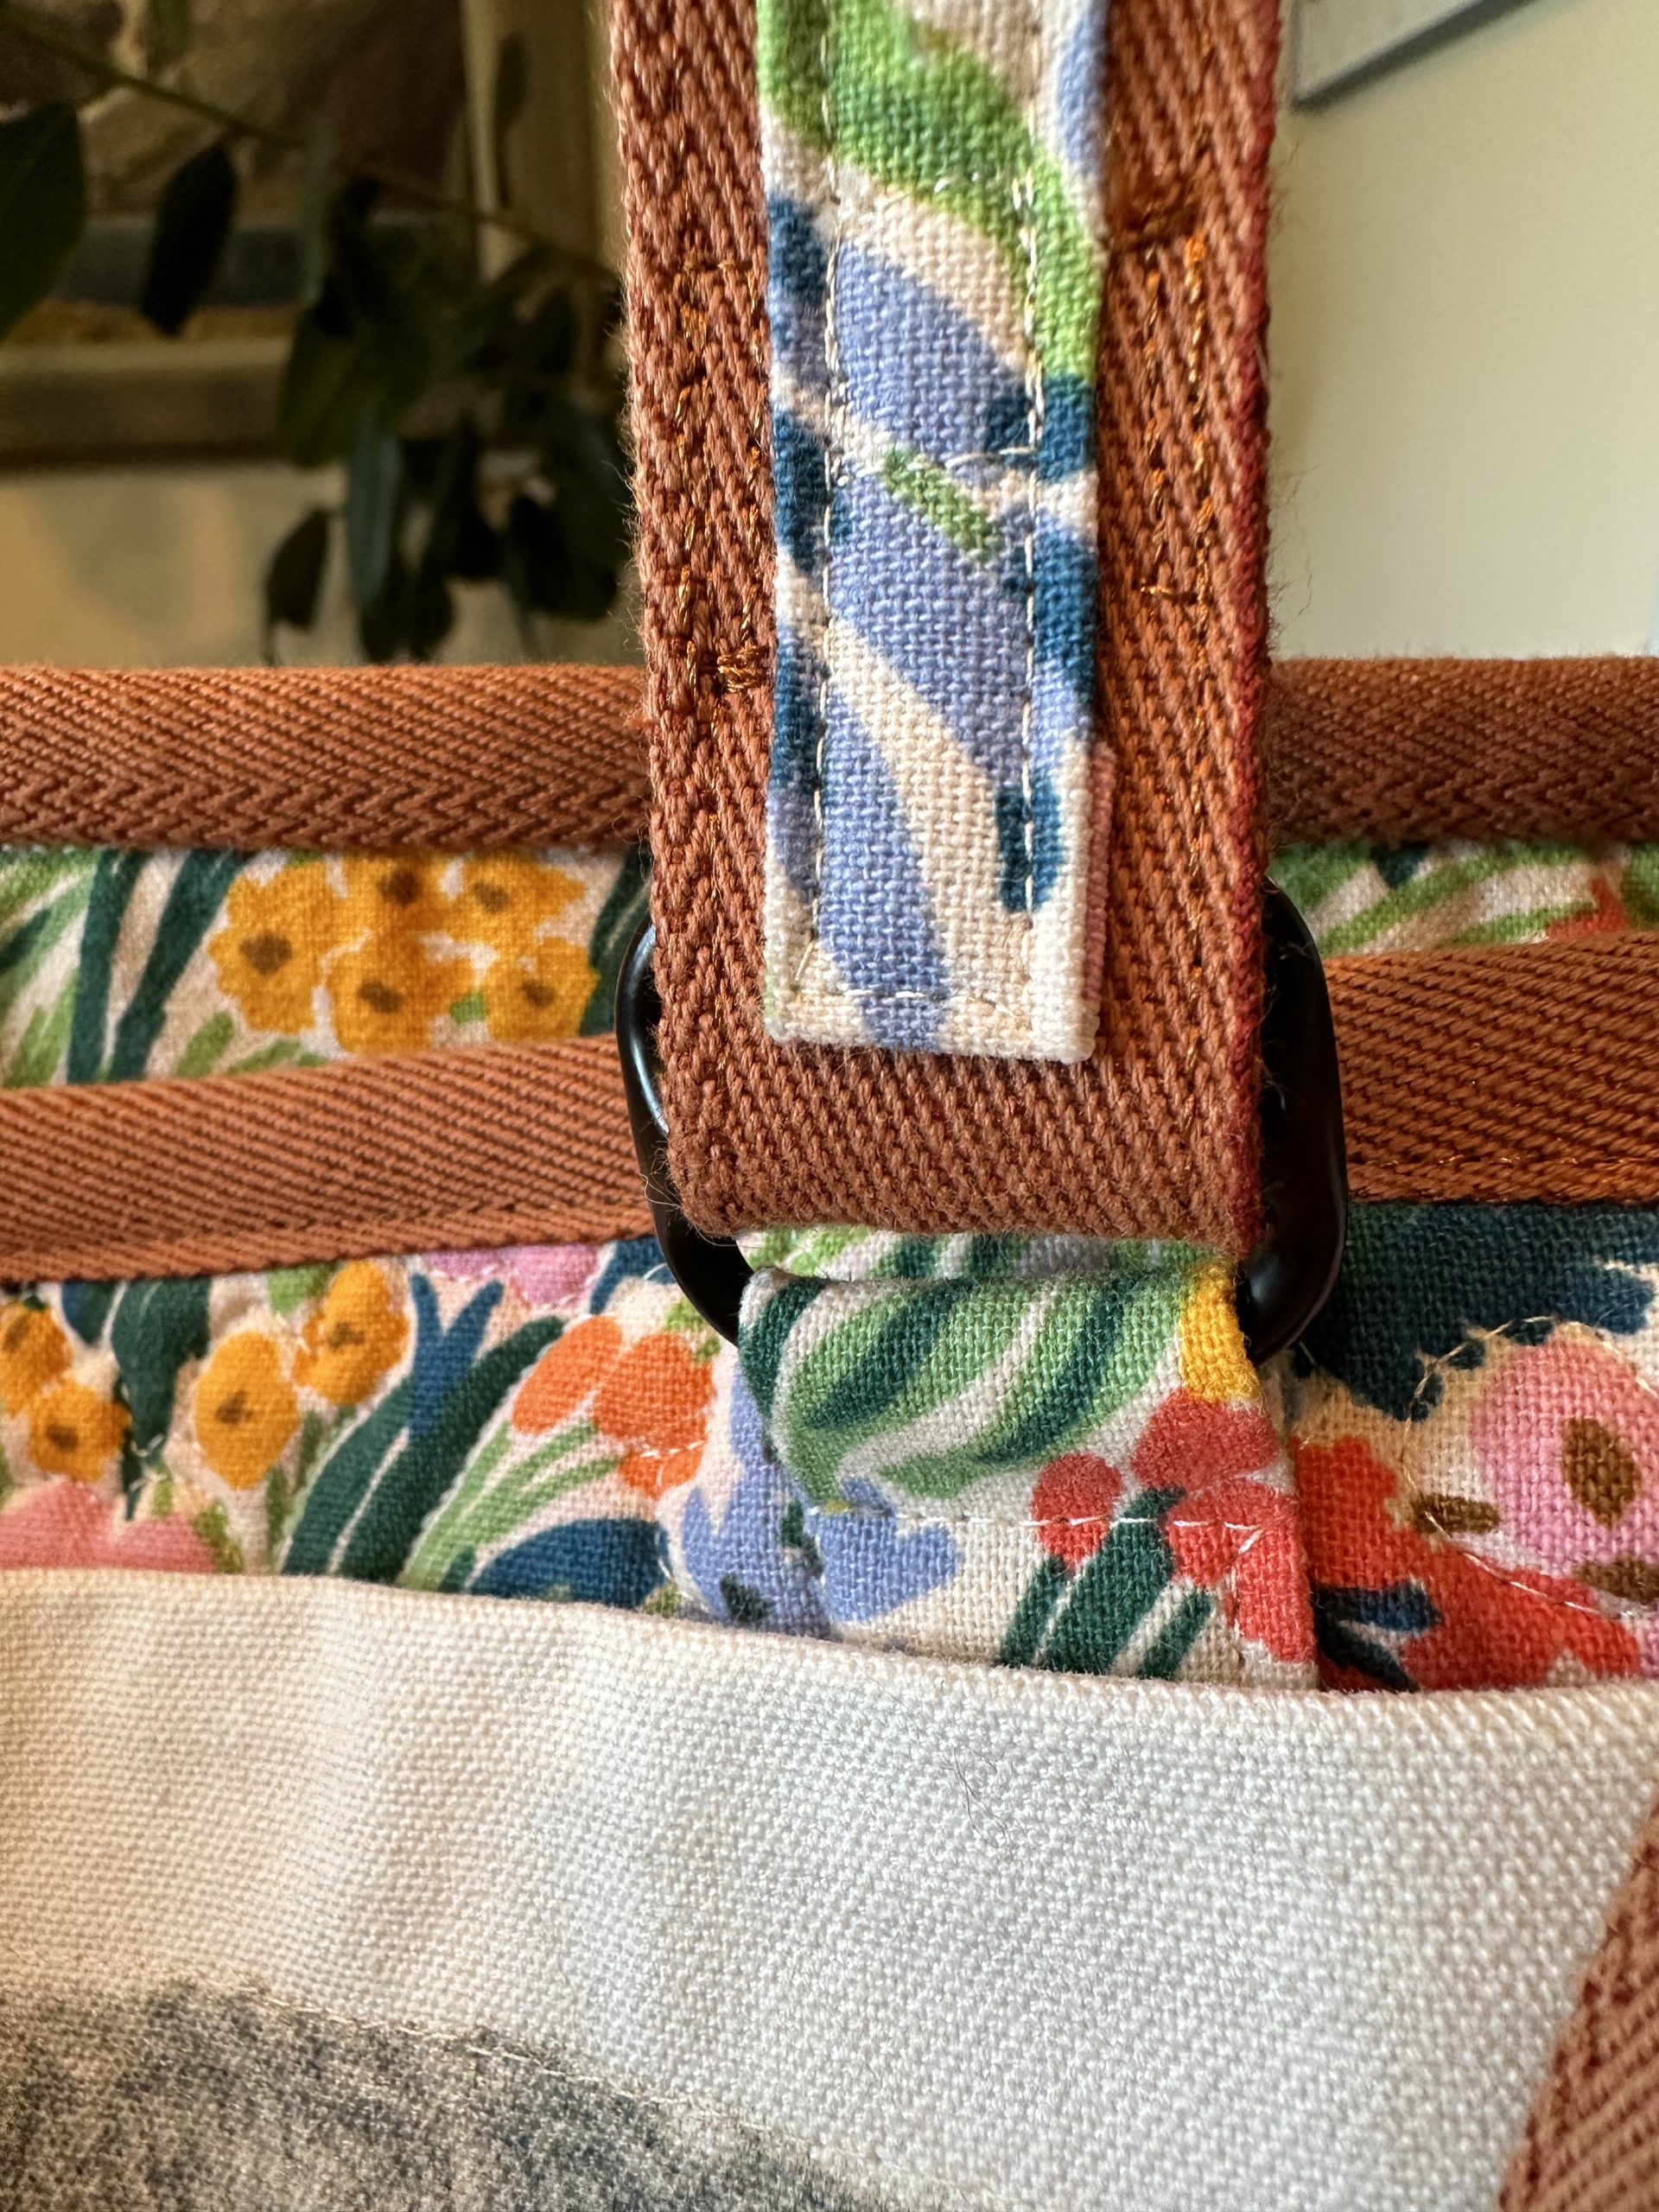
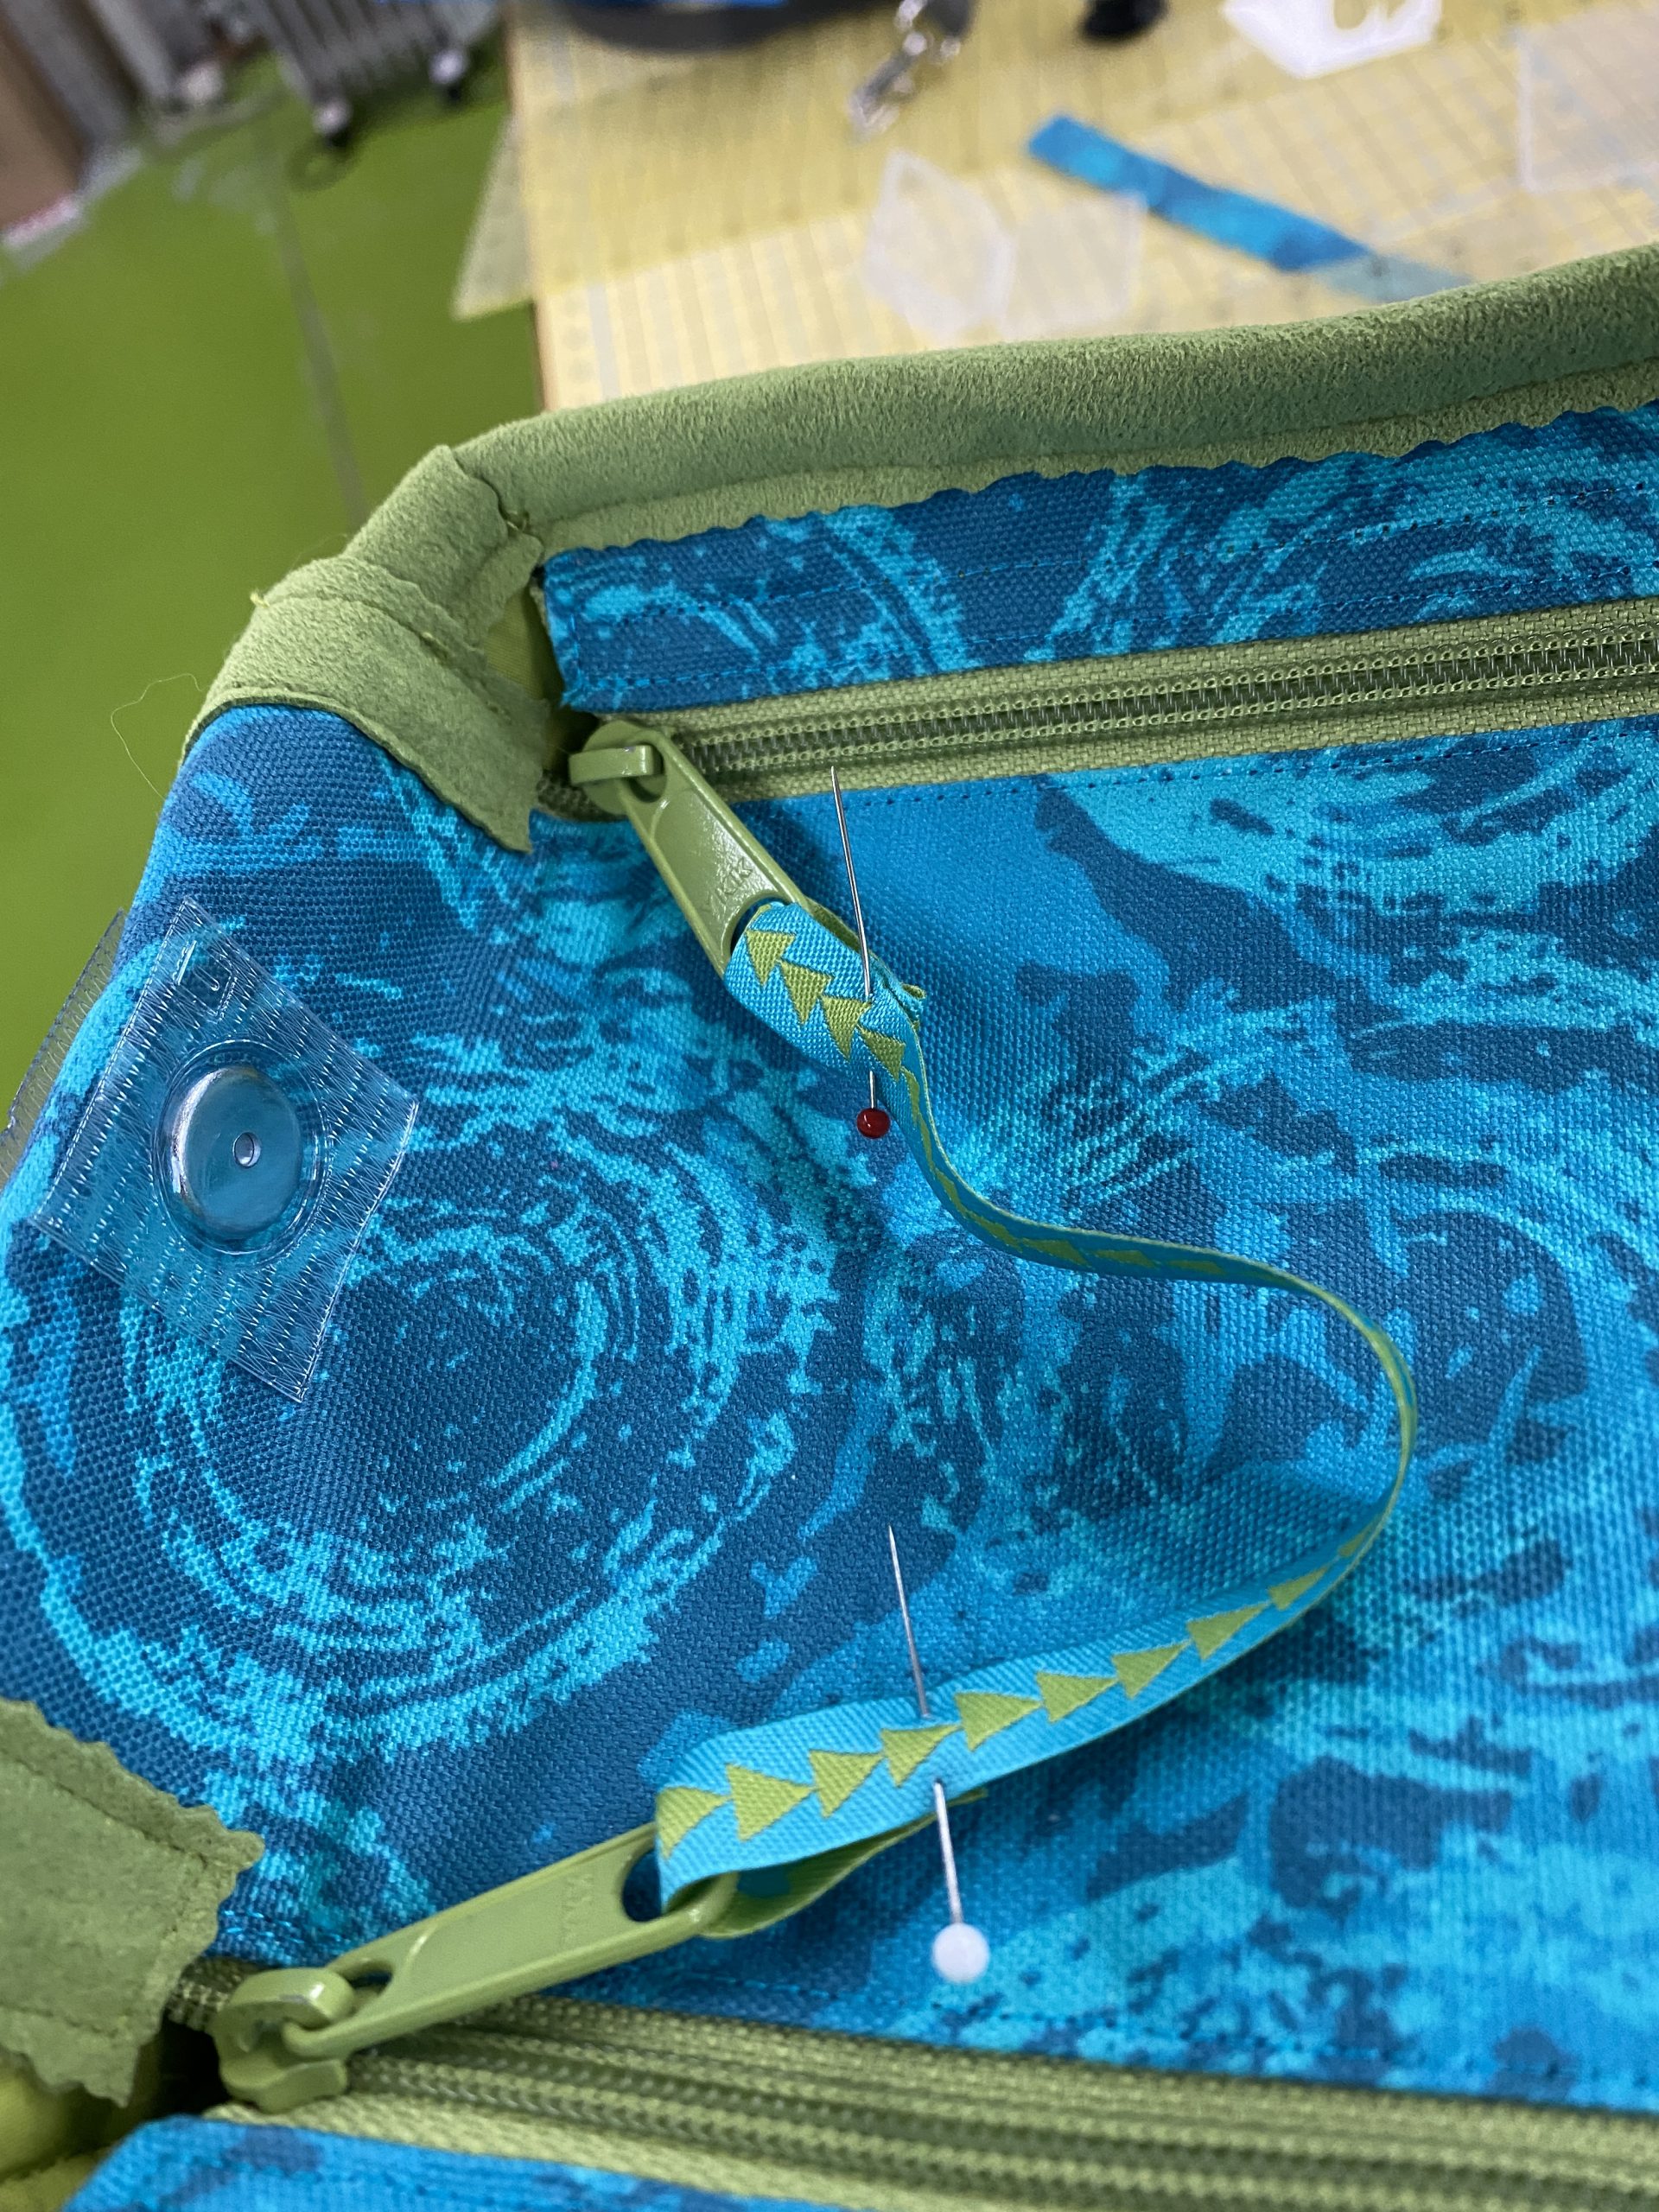
You can see how I stitched the handle to the hardware, and the hardware to the cloth tab to the bag. The cloth tab is partly hidden by the large outside pocket. The top of the pocket gapped, so I used magnets again just at the center top of the bag.
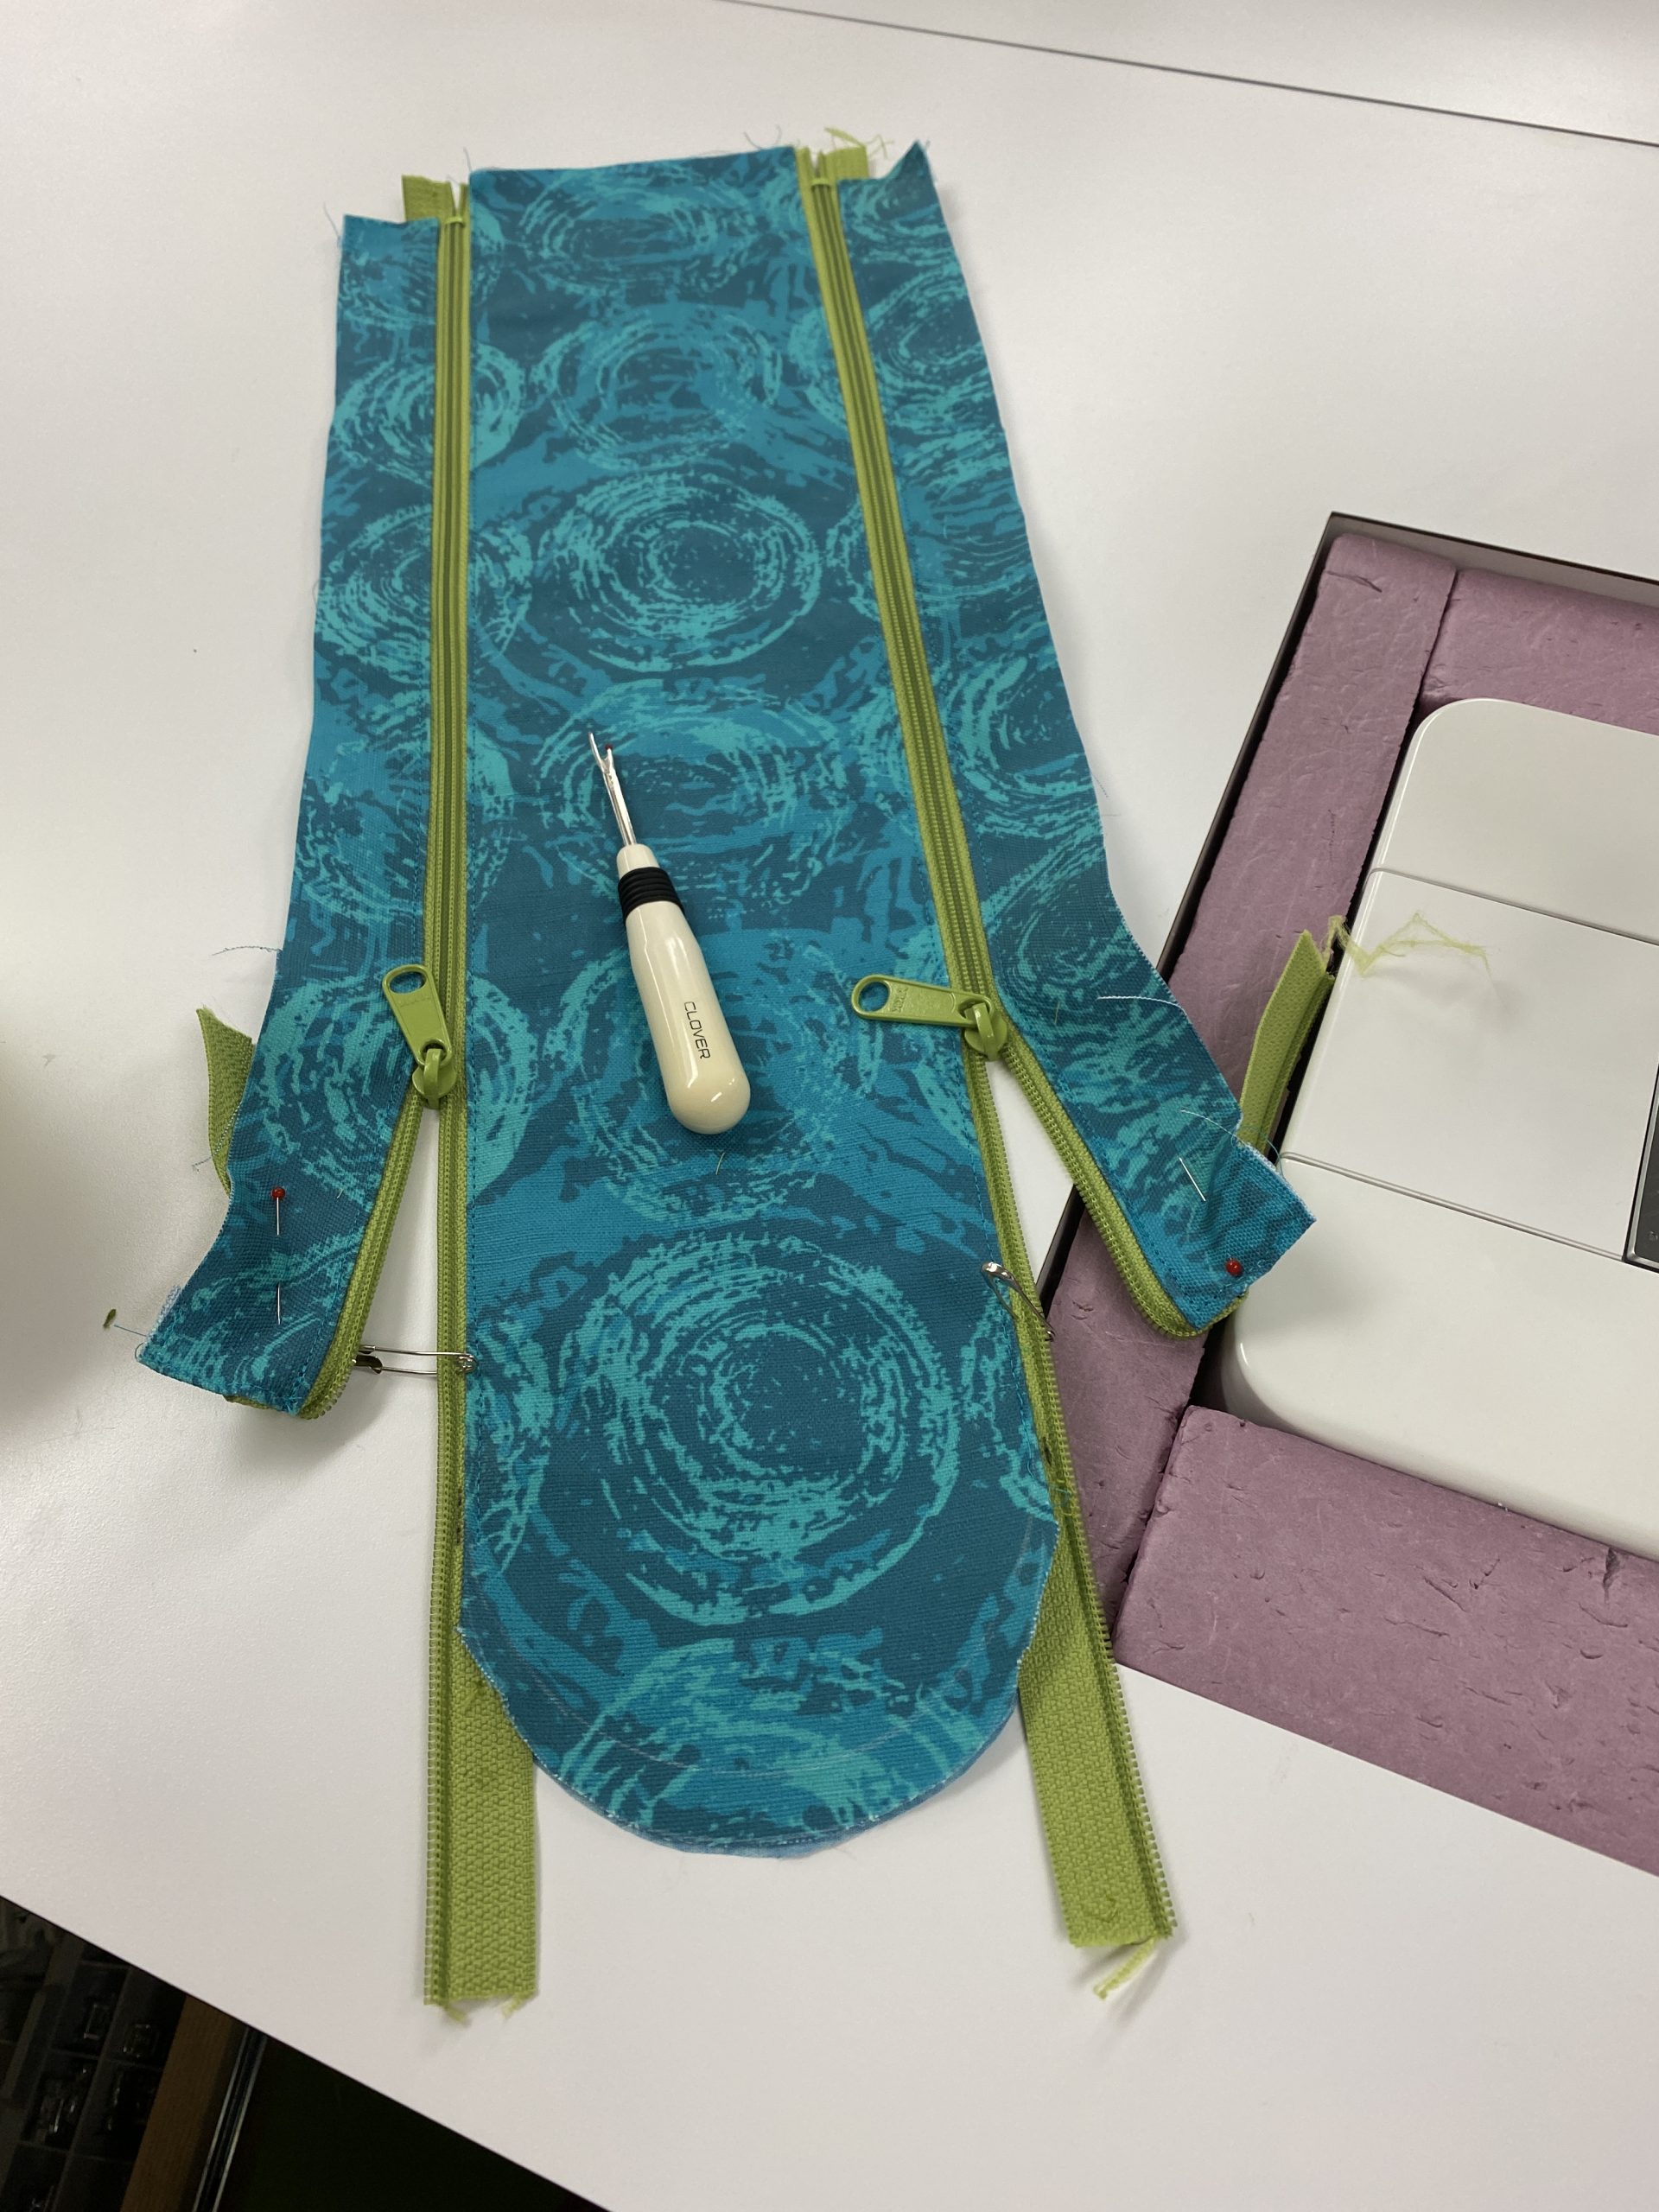
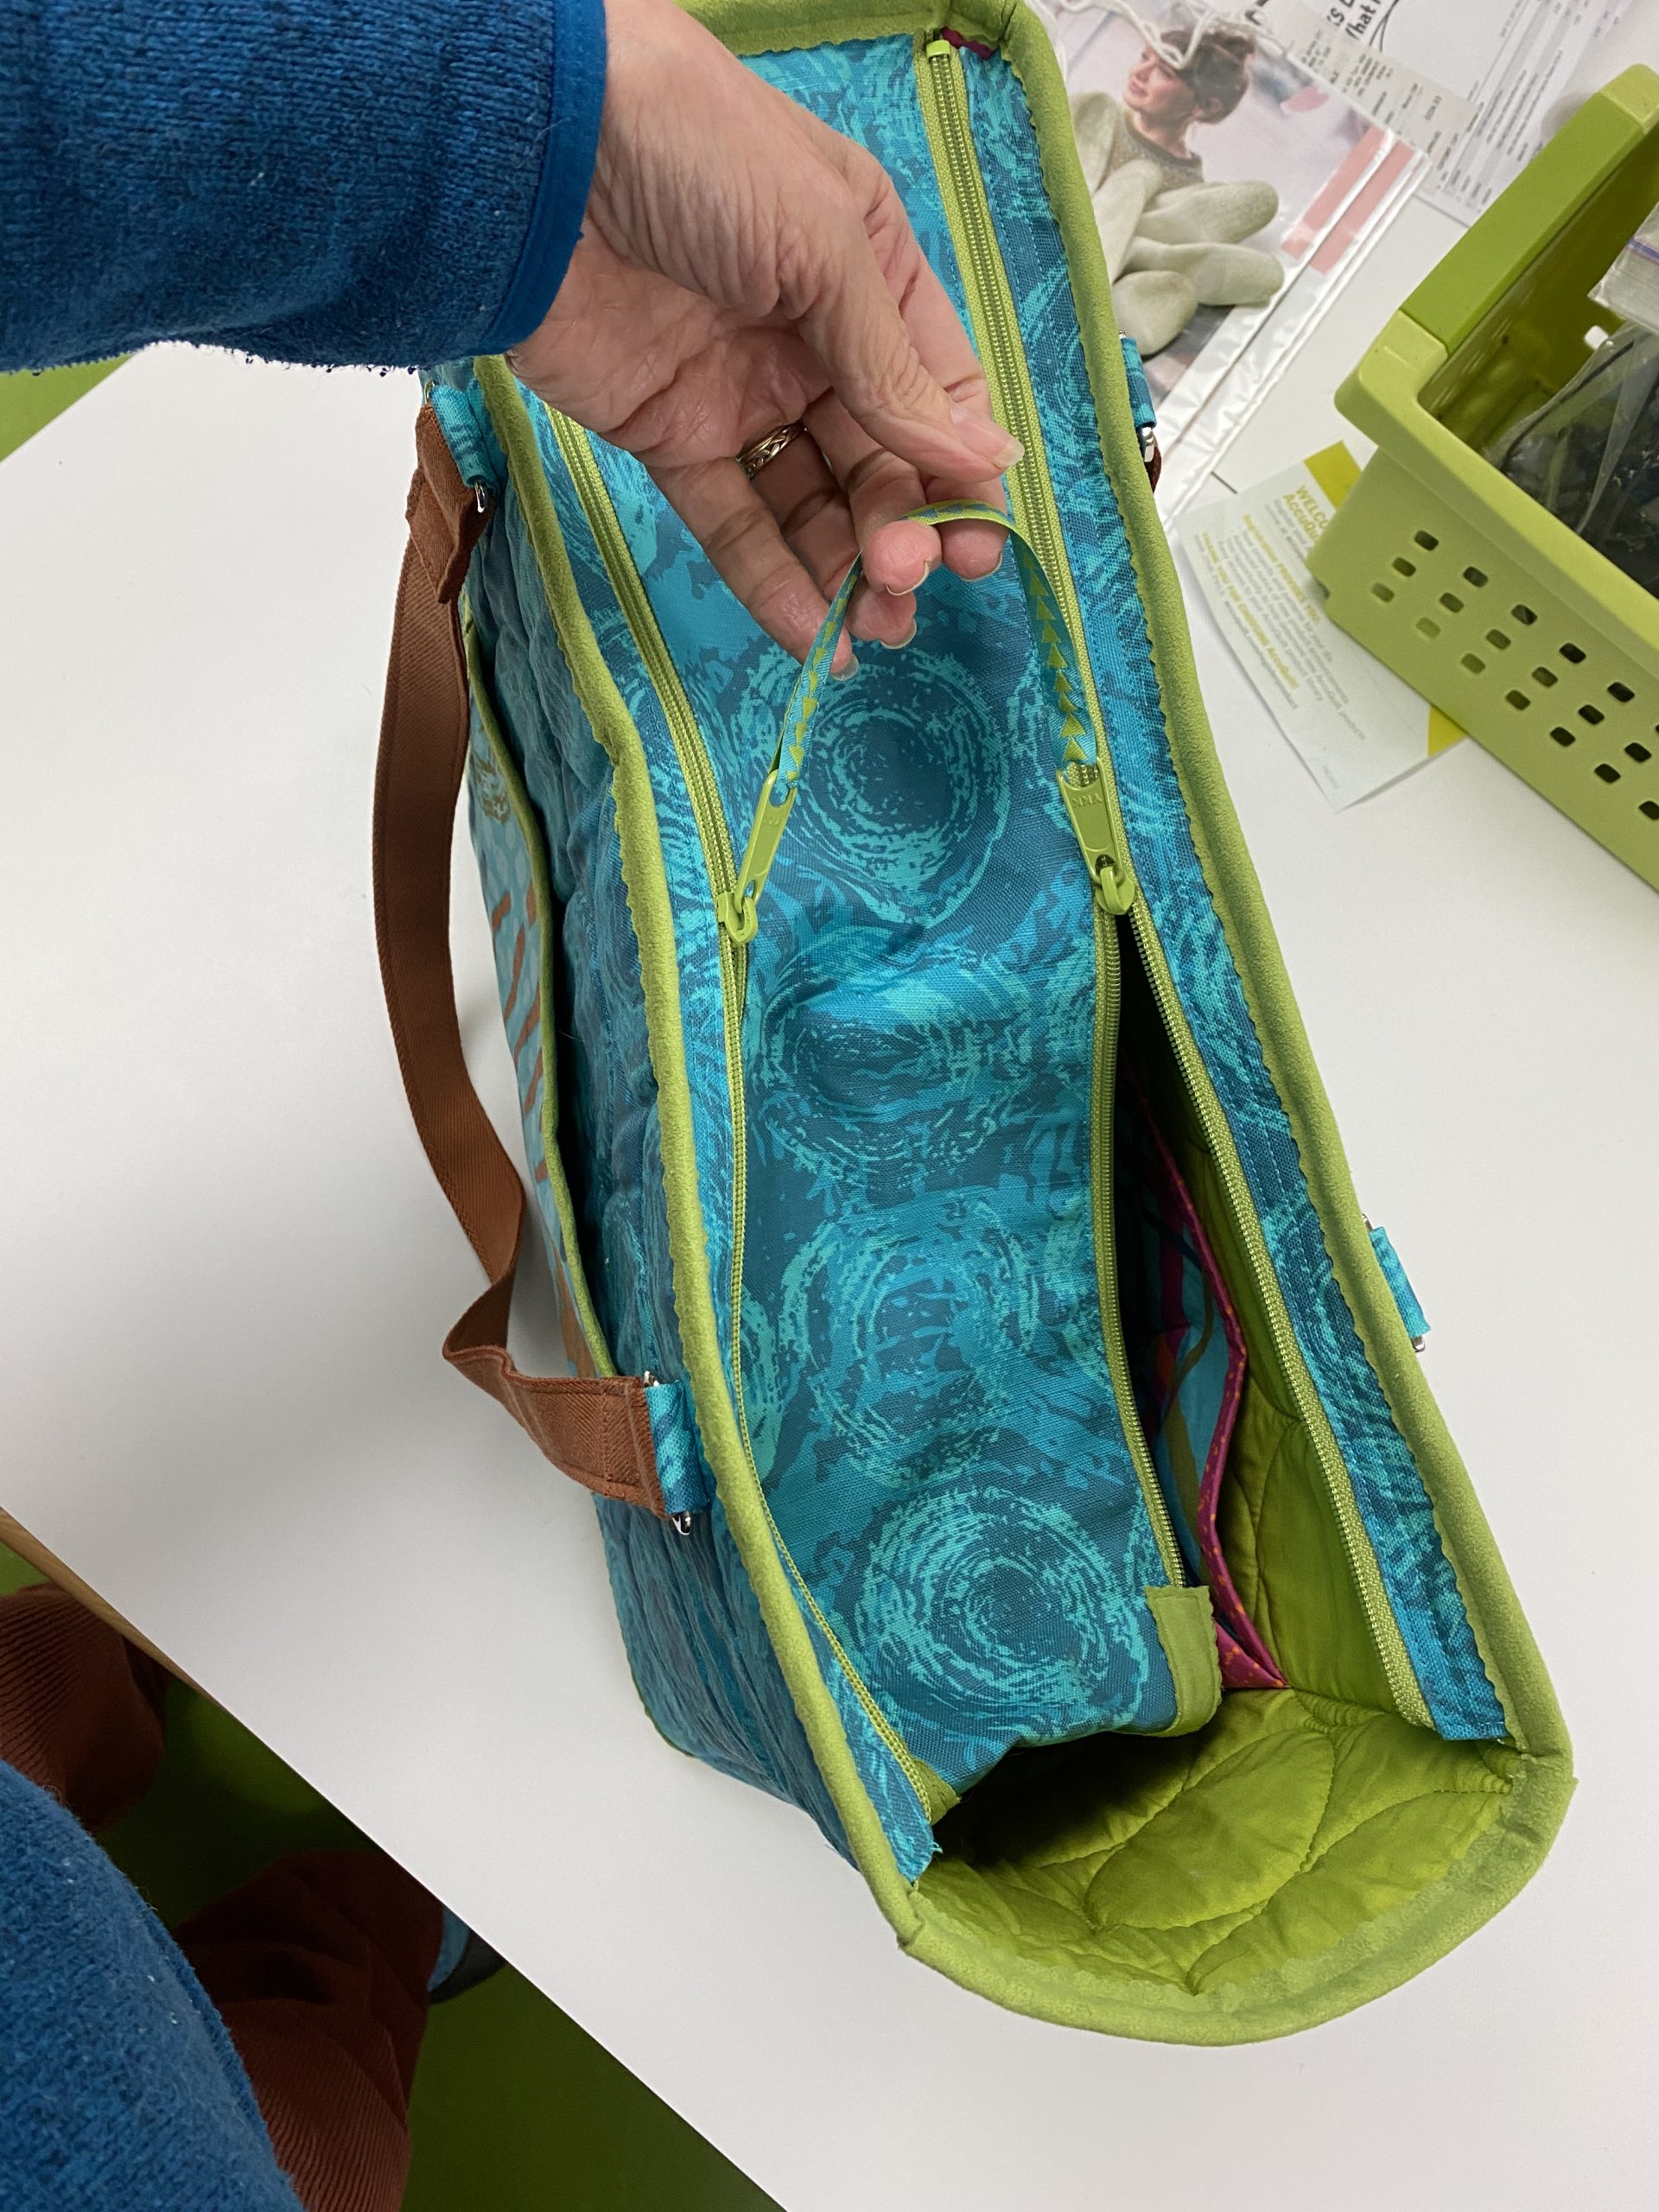
For the closure I only had one yellow zipper and wanted to finish the bag in time for a trip, so instead of the double-zip I opted for this:
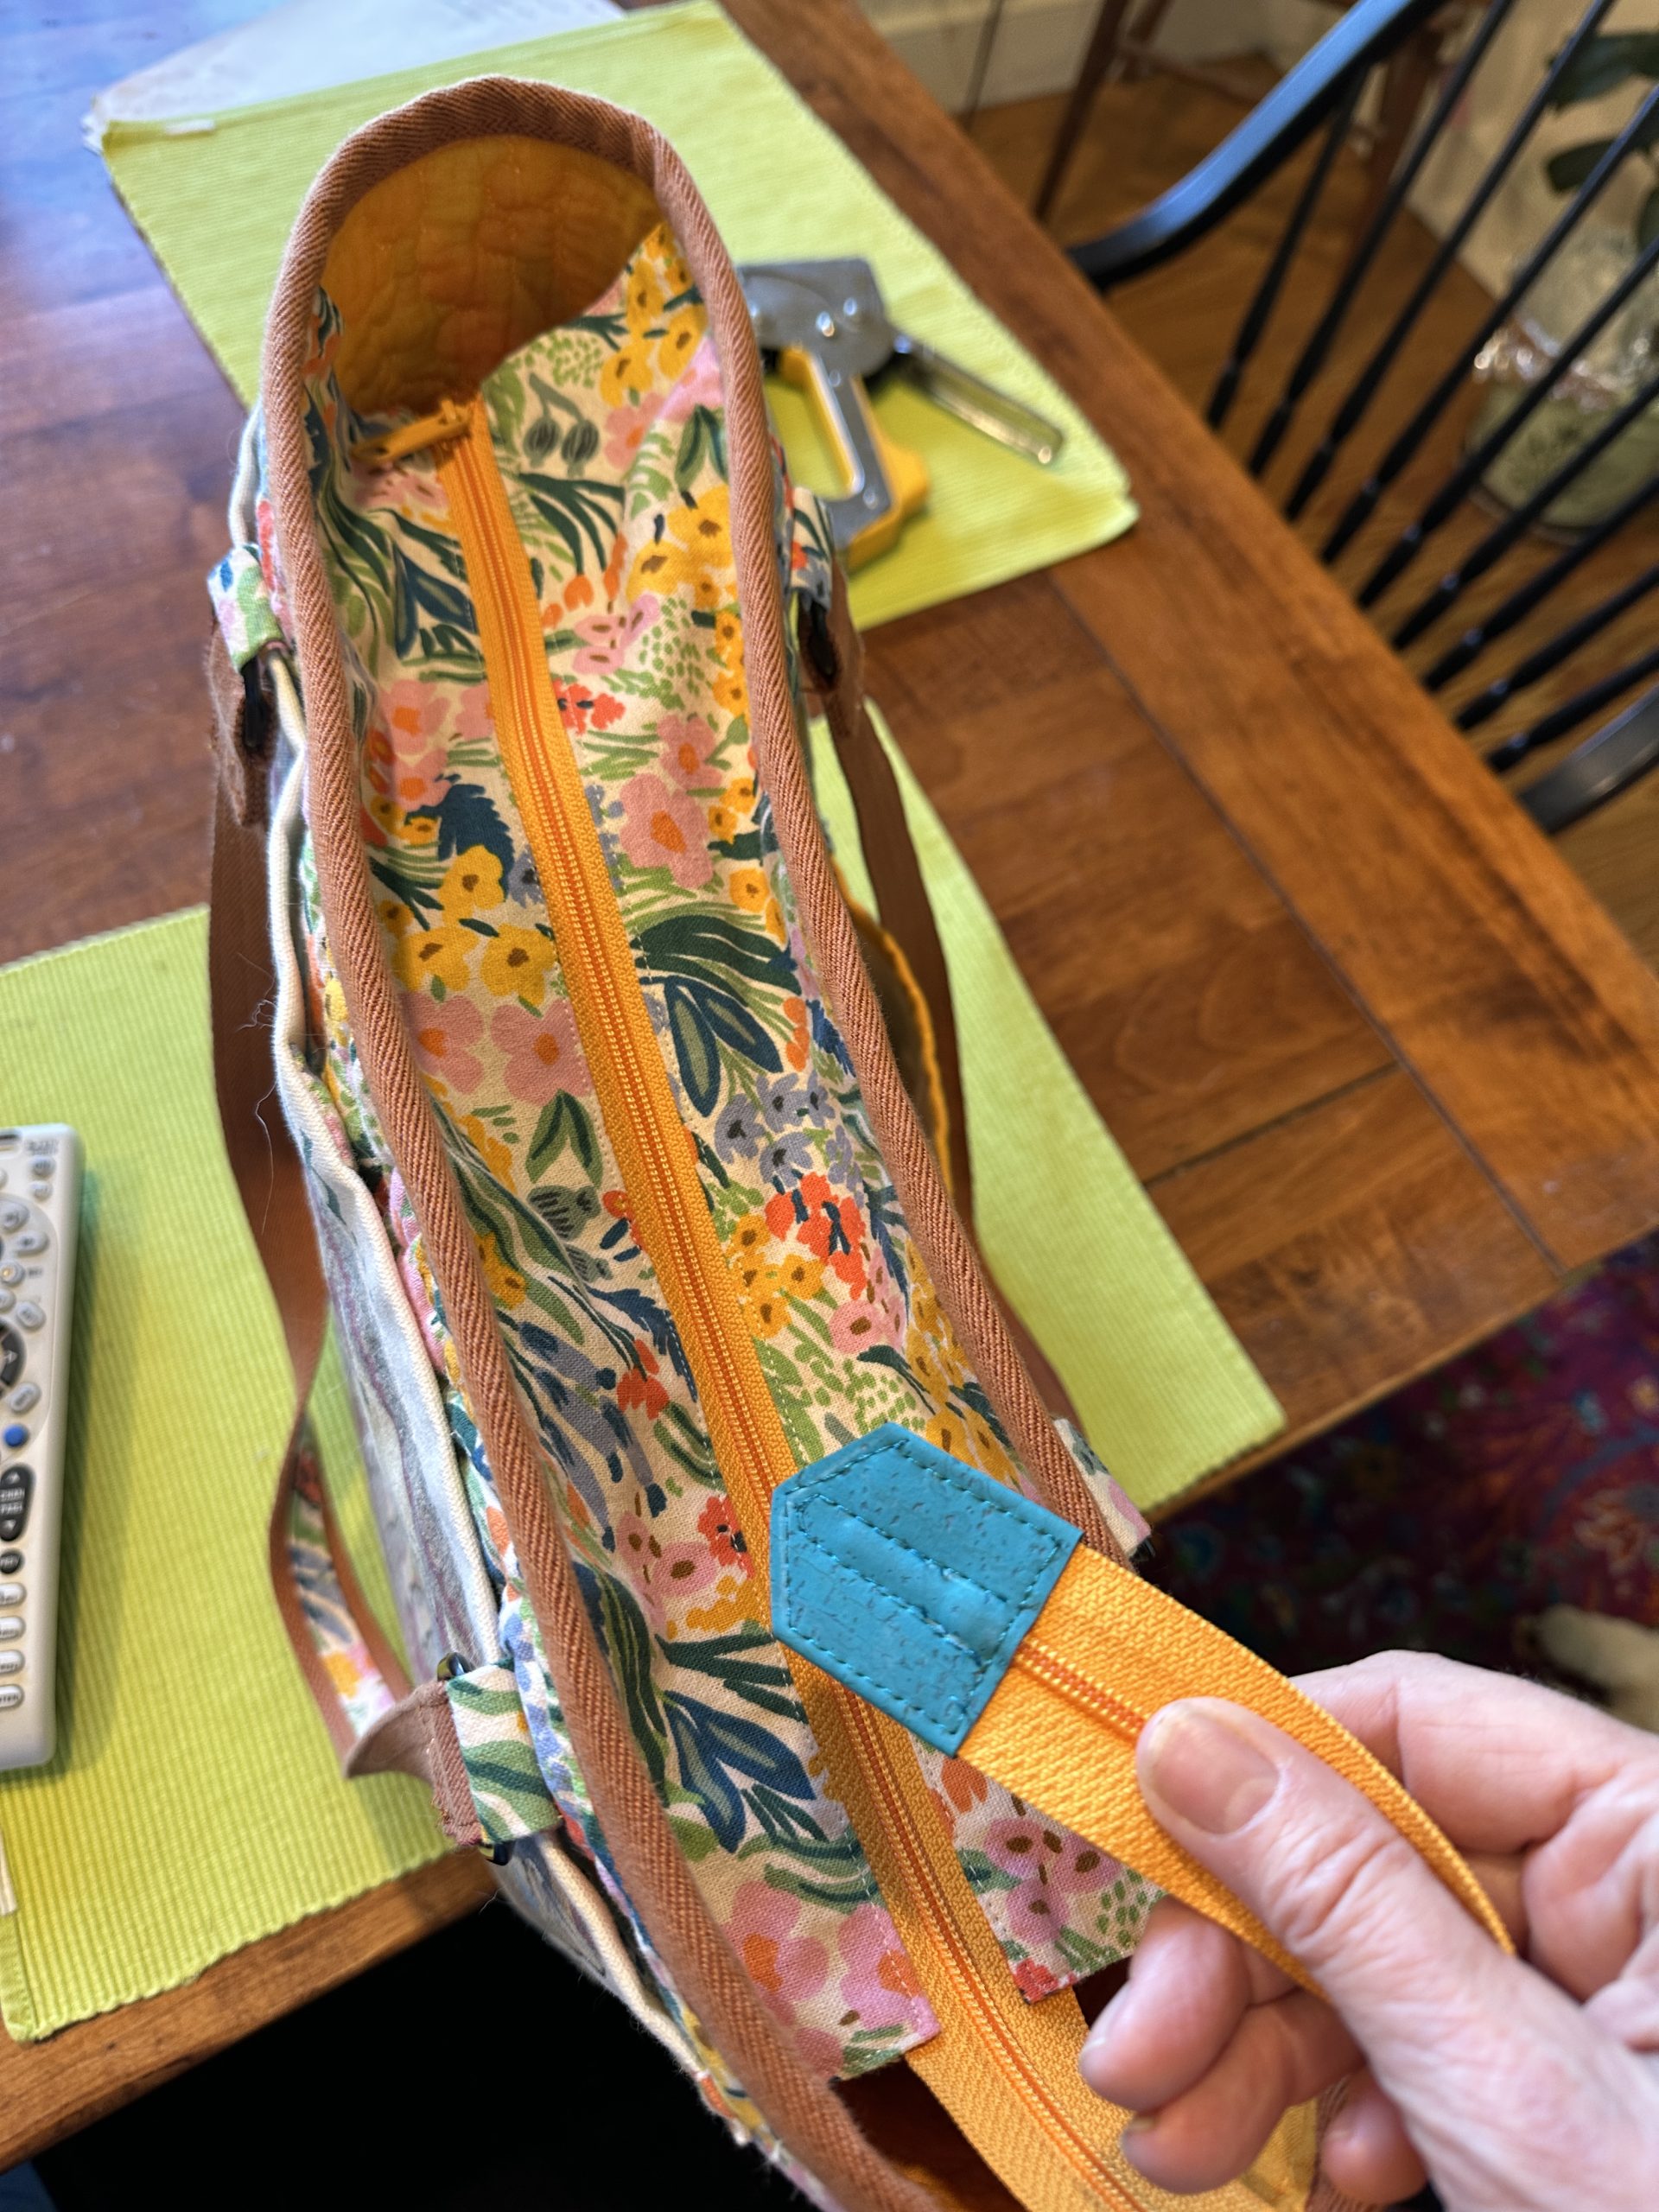
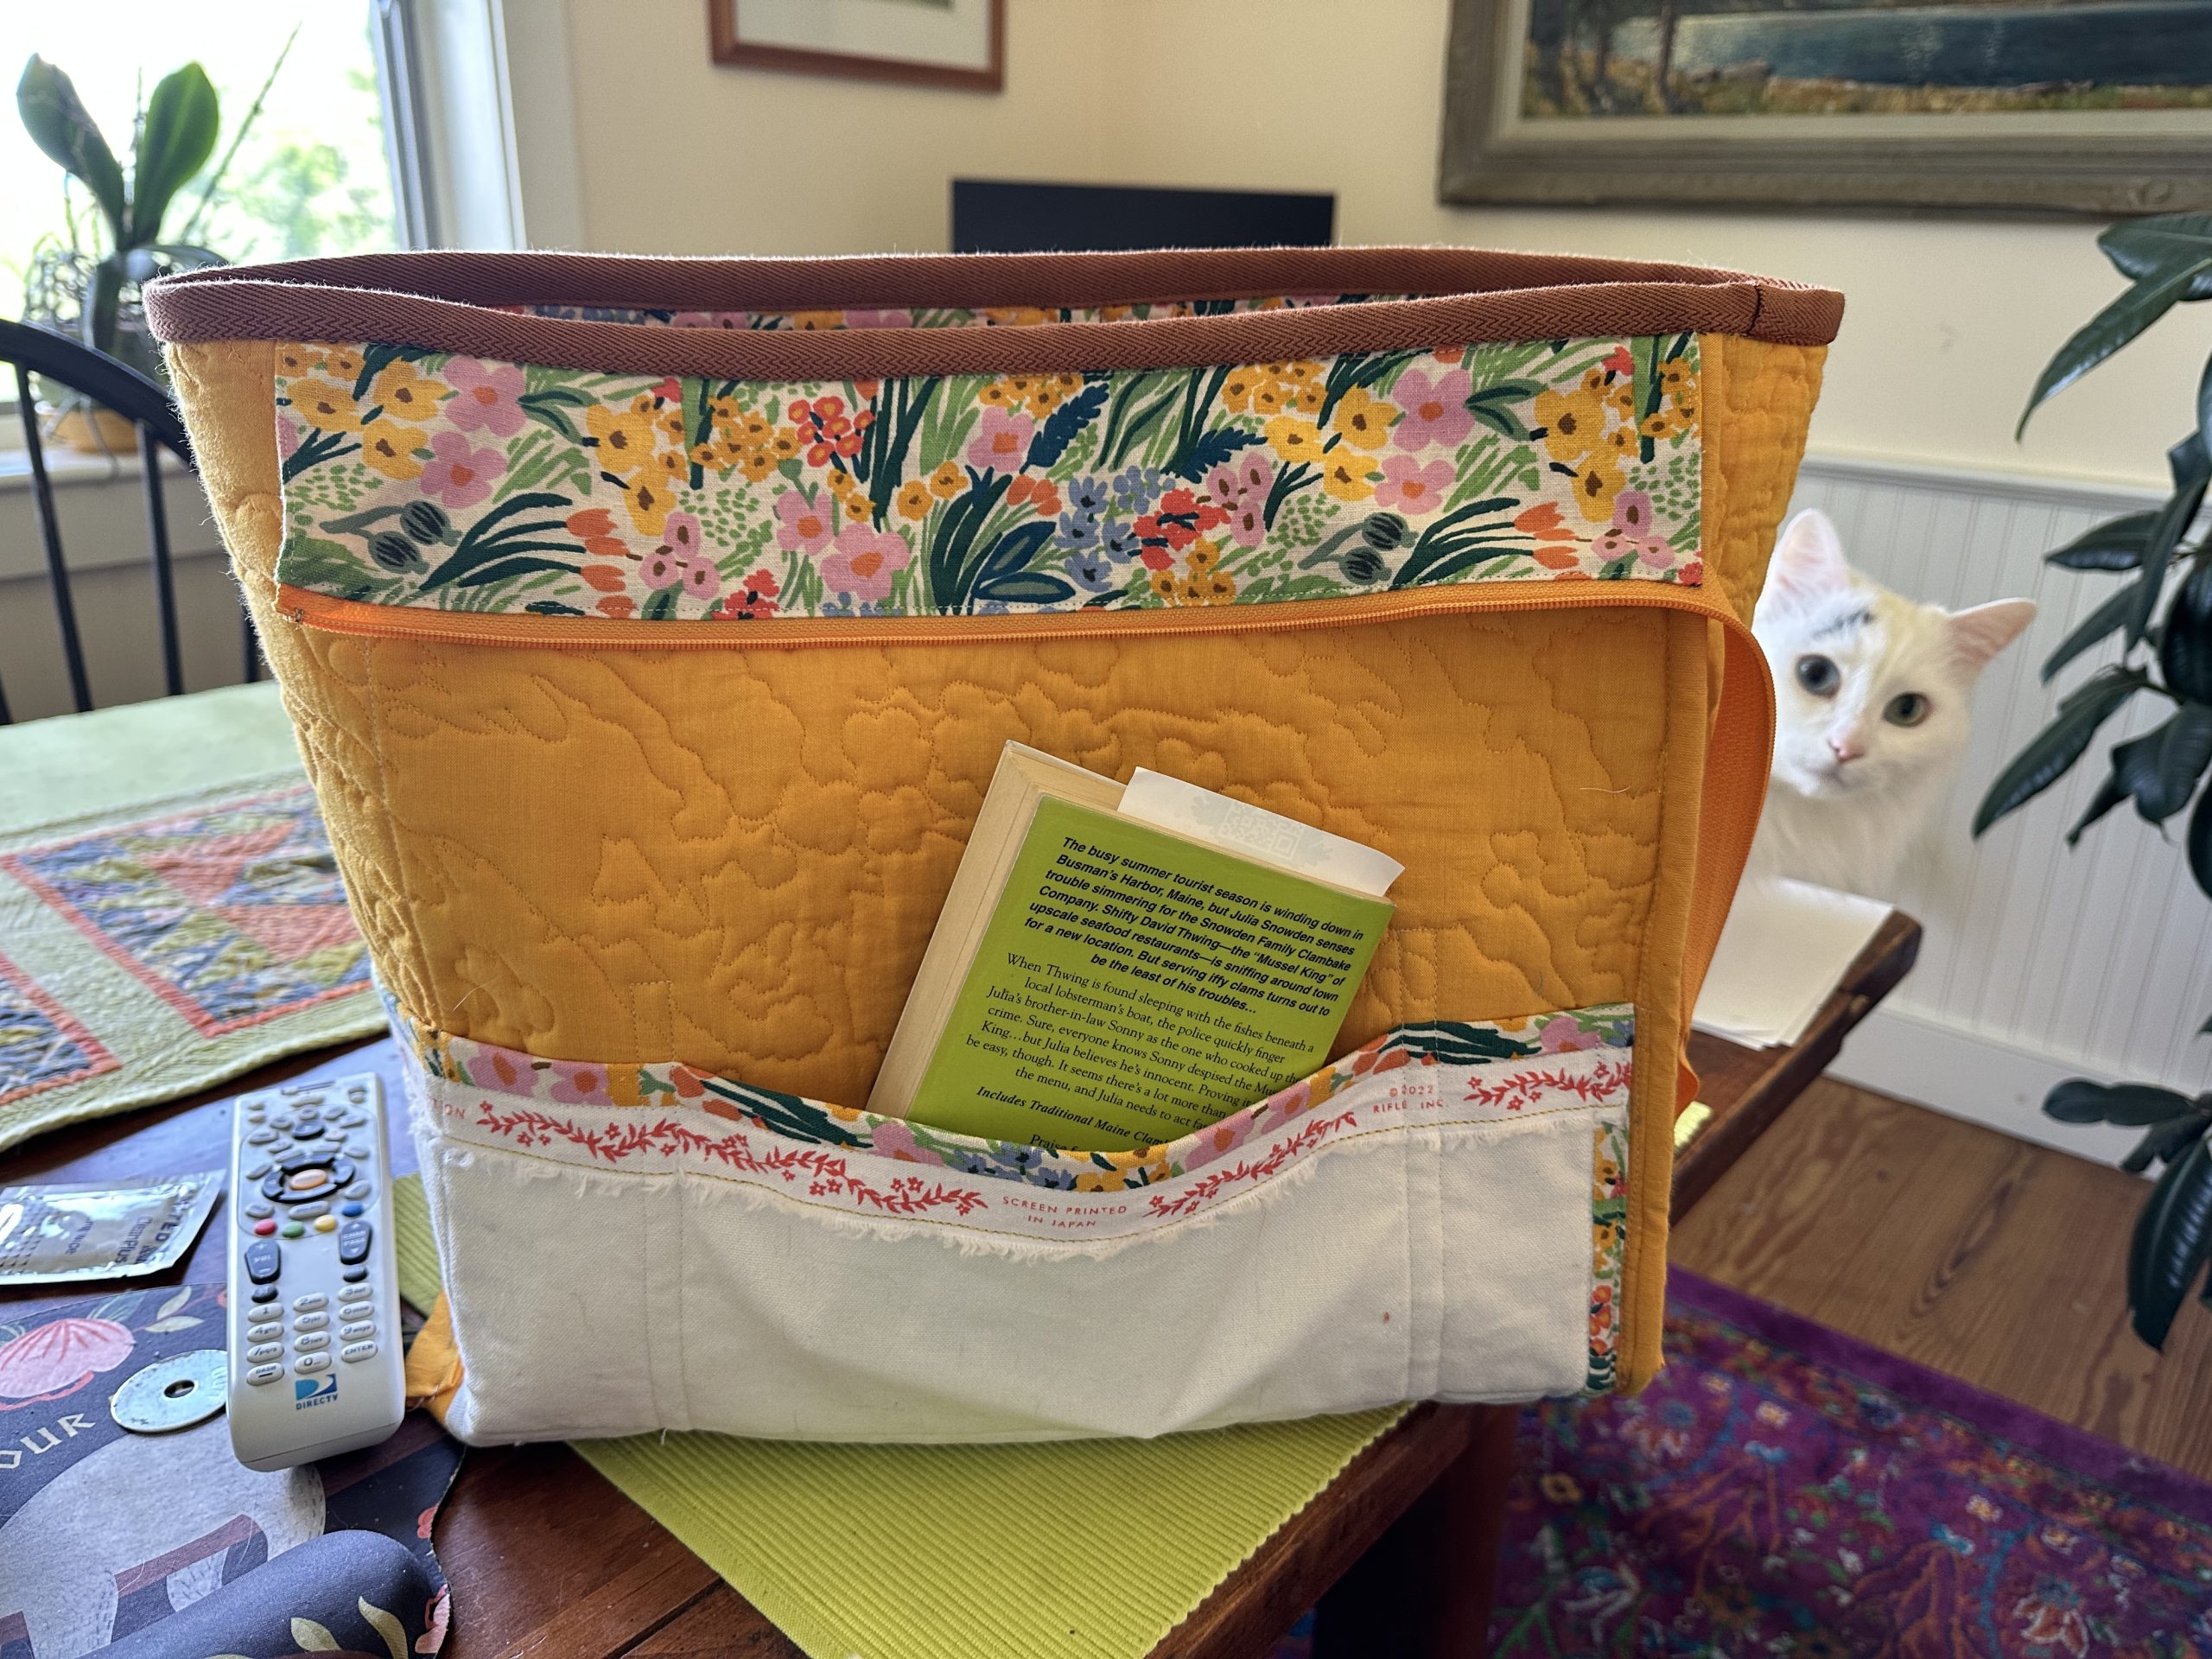
The ends, unlike the turquoise bag, are open. I left the zipper tail LONG so that when full unzipped the flaps fold flat inside the bag and the tail hangs down out of the way (look at the pocket photos above). I used a scrap of the cork to cover the end of the zipper. Lesson: it is good to have a stash of zippers on hand! Time to order more from byAnnie— by the way Annie Unrein is one of my favorite people in the industry. I love her patterns and the quality of the items she sells is top notch.
Final thoughts: I still prefer the East-West orientation of the turquoise tote–the overall size and shape I like better. But this tote size was dictated by the fabric and original tote, and it works also. I LOVE the variation on the pockets on the sheep-in-sweaters totebag and will definitely use that un-padded edge trick again. I prefer the two-zipper closing because …well… CATS chewing yarn is not fun. Or healthy for them. But for most folks the simple version I used on the sheep tote is just fine and dandy.
THANK YOU if you actually read all of this marathon of a post. I hope you got some good ideas! If you design your own tote, do send me pictures!
SUPPLIES AND LINKS:
I used the following supplies–note, you can find hotlinks to some of these products on Amazon by going here:
- Fabric from Rifle Paper Company and purchased totebag
- Cork fabric for the base from Funhouse Fabrics
- byAnnie Soft and Stable for the “batting”–it is a foam with a peached (softly fuzzed) fabric that looks like nylon tricot but soft and grippy
- Polyester and cotton threads
- Carpet binding tape–I folded this in half, sewed at the edge and presto, nearly perfect handles that are soft, sturdy and comfortable. Purchased at Fiddlehead Artisan Supply but not on their website alas.
- Bag rings/rectangles–I bought mine from byAnnie but Sallie Tomato also has a good selection
- Zippers from byAnnie –these zippers have wider tape and sturdy teeth that are perfect for bag-making
- Magnets from byAnnie
- OESD Tula Pink Moon Garden Flower 3
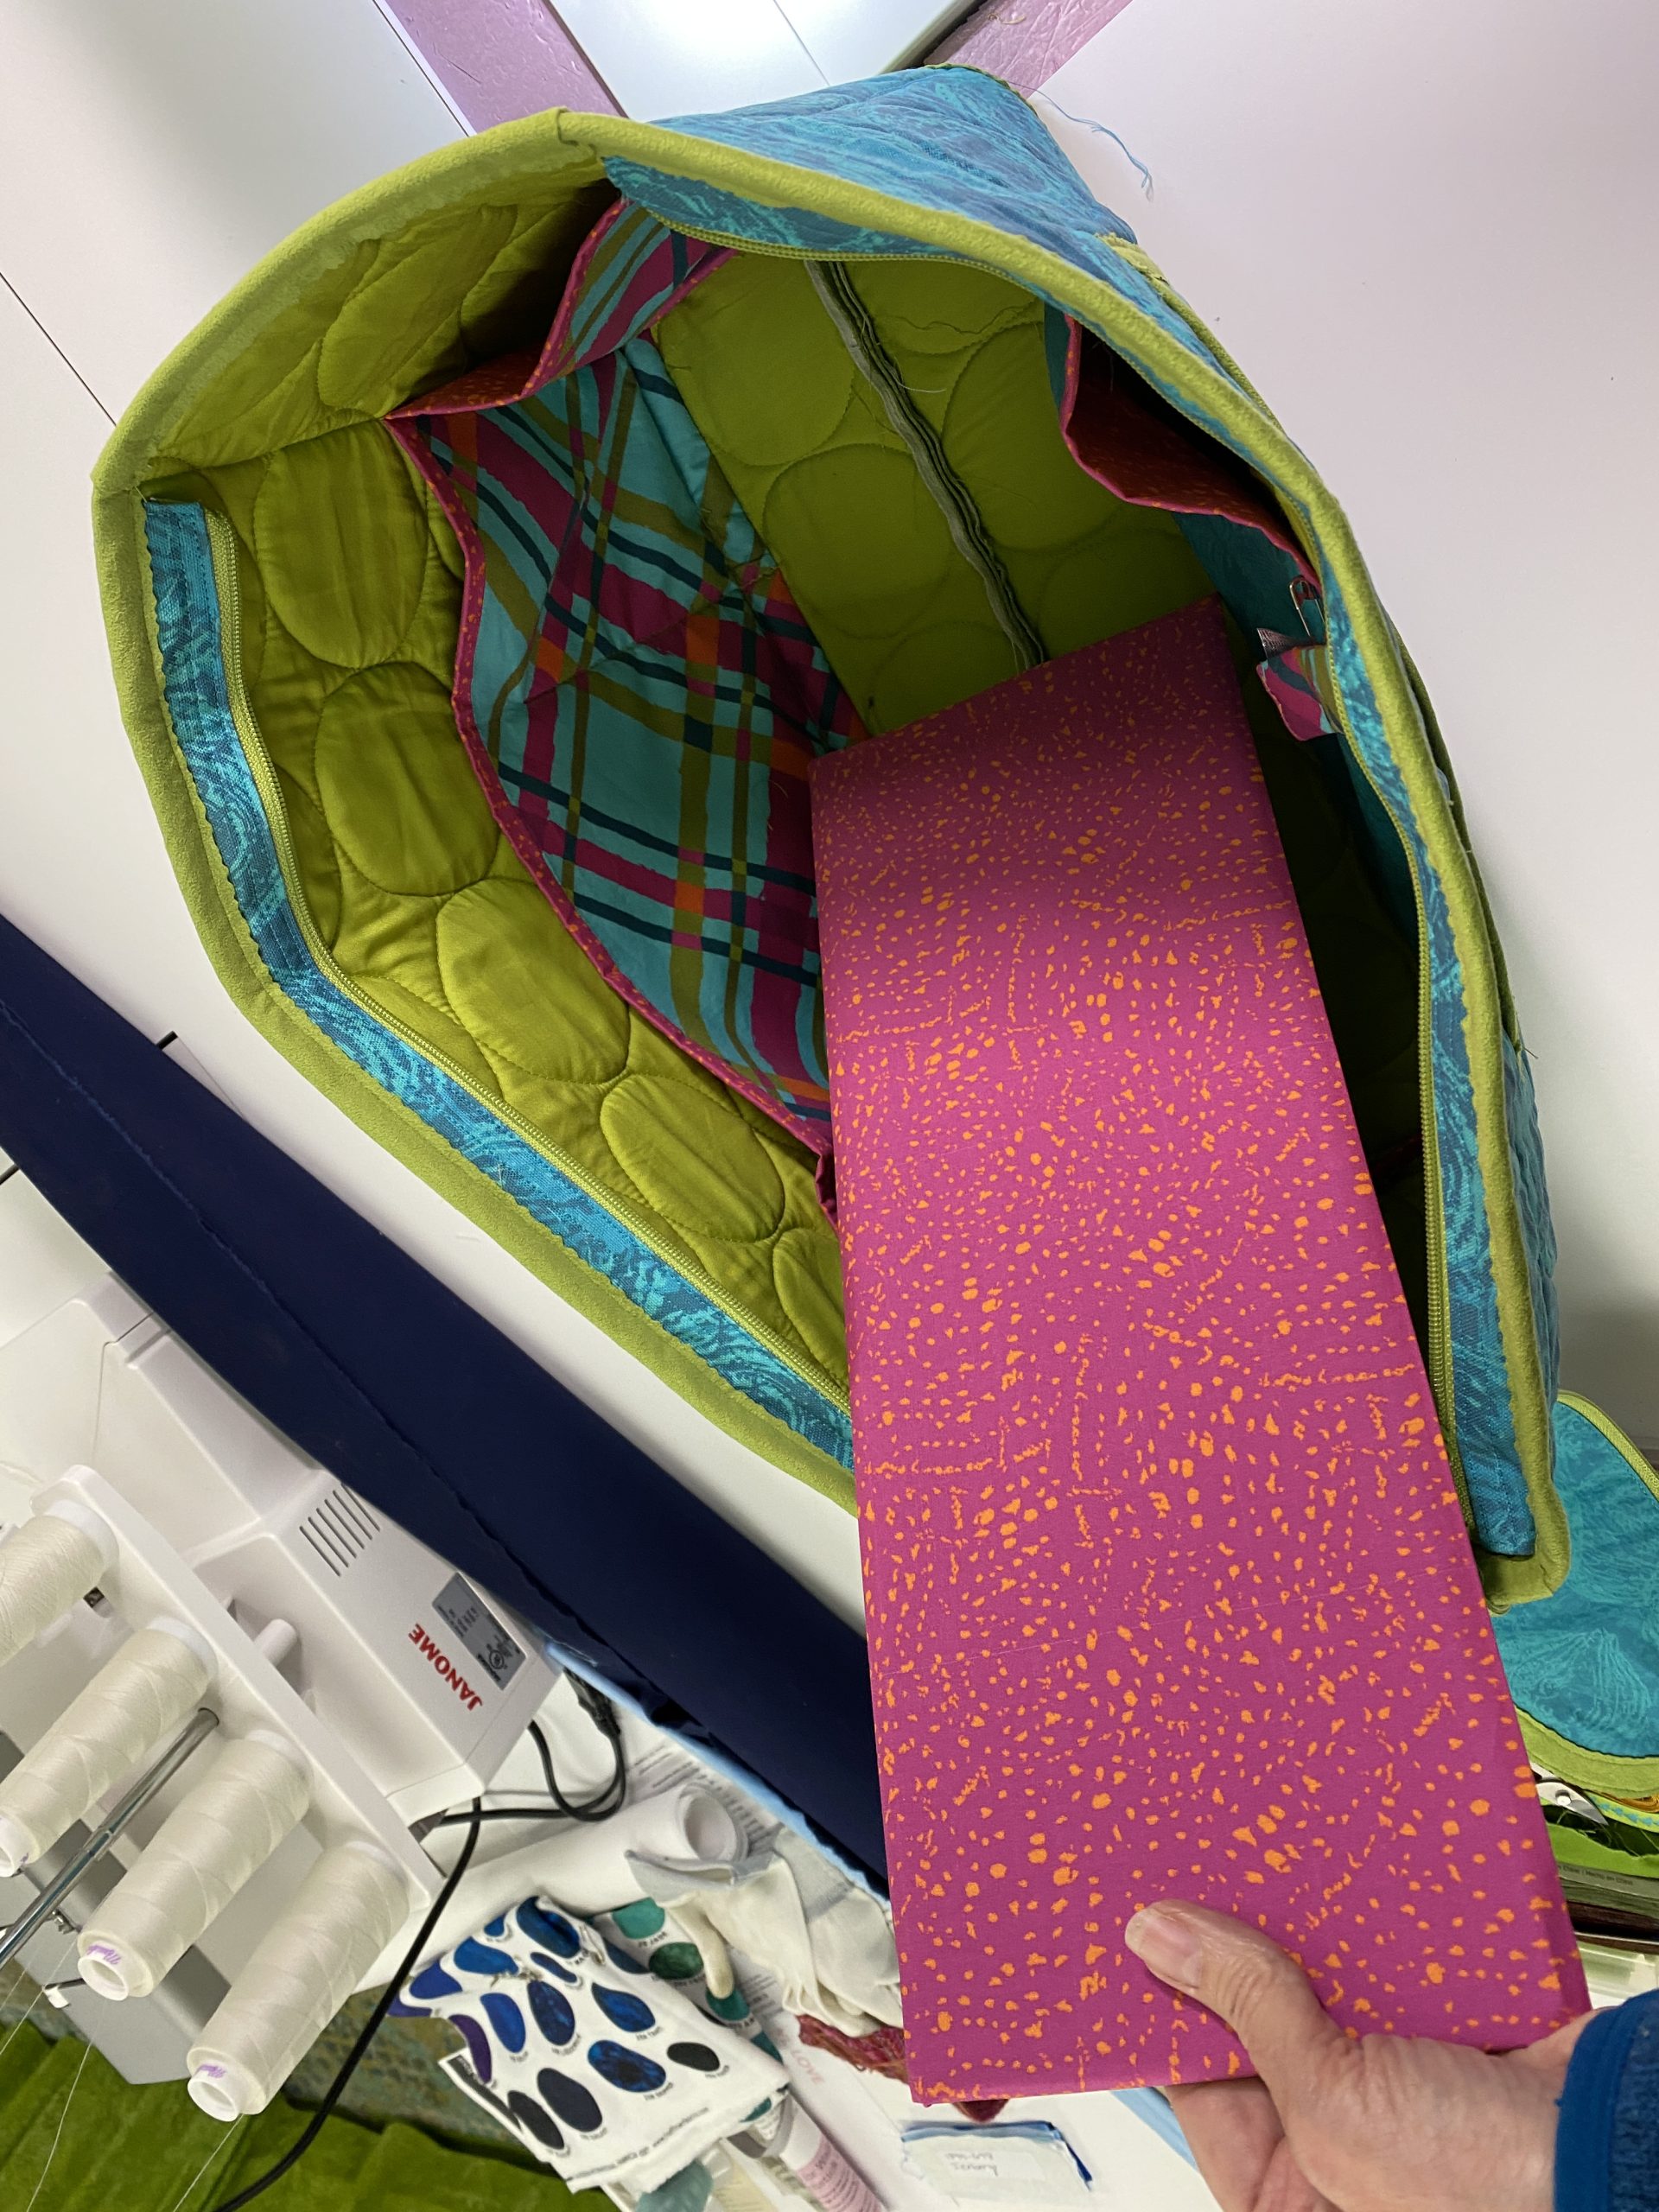
- Corrugated plastic: looks like cardboard but made of plastic, available at art and/or craft stores. Cut to size to make a base for the bag. Cover in a tube of fabric or leave as is. Fabric is nicer, but…..life happens and sometimes that tube happens later! Makes a fairly sturdy base, inexpensive, easily found. You could also use cardboard or mat board, but they are more likely to bend eventually.