Free and quick Shannon Cuddle Fleece Hat pattern!
Hi everyone…is anyone else madly trying to figure out what to do for Christmas gifts? Here’s a FREE pattern by me, with major thanks to Shannon Fabrics for the Cuddle fleece. Literally you can make a couple of these in an hour or so–give yourself three hours and a yard and you can make half a dozen in production-line mode!
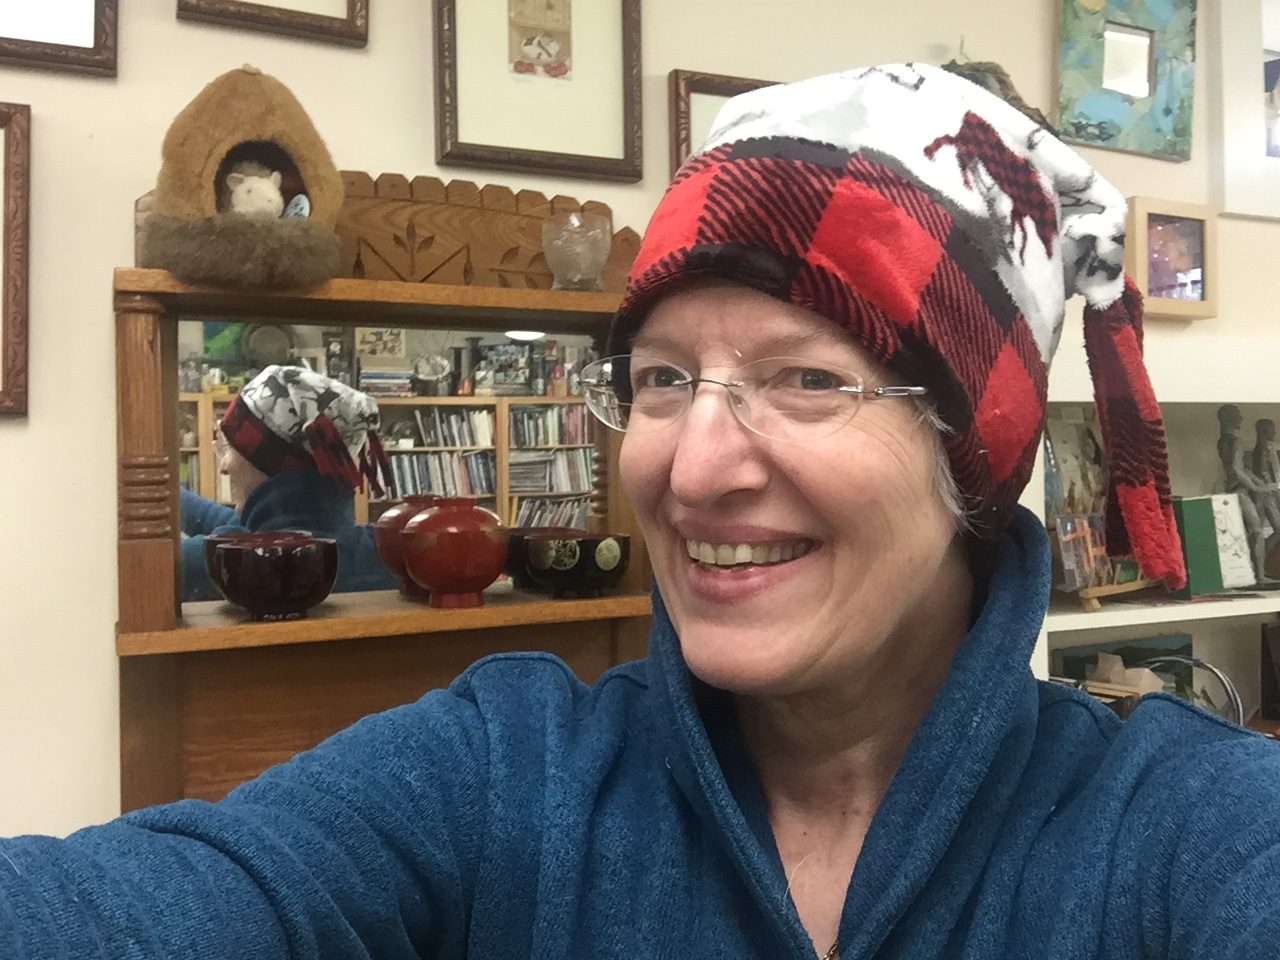
How many selfies do you need to take to eliminate many chins or no chin? LOL! I love my soft hat!
And here is what the hat looks like, flat:
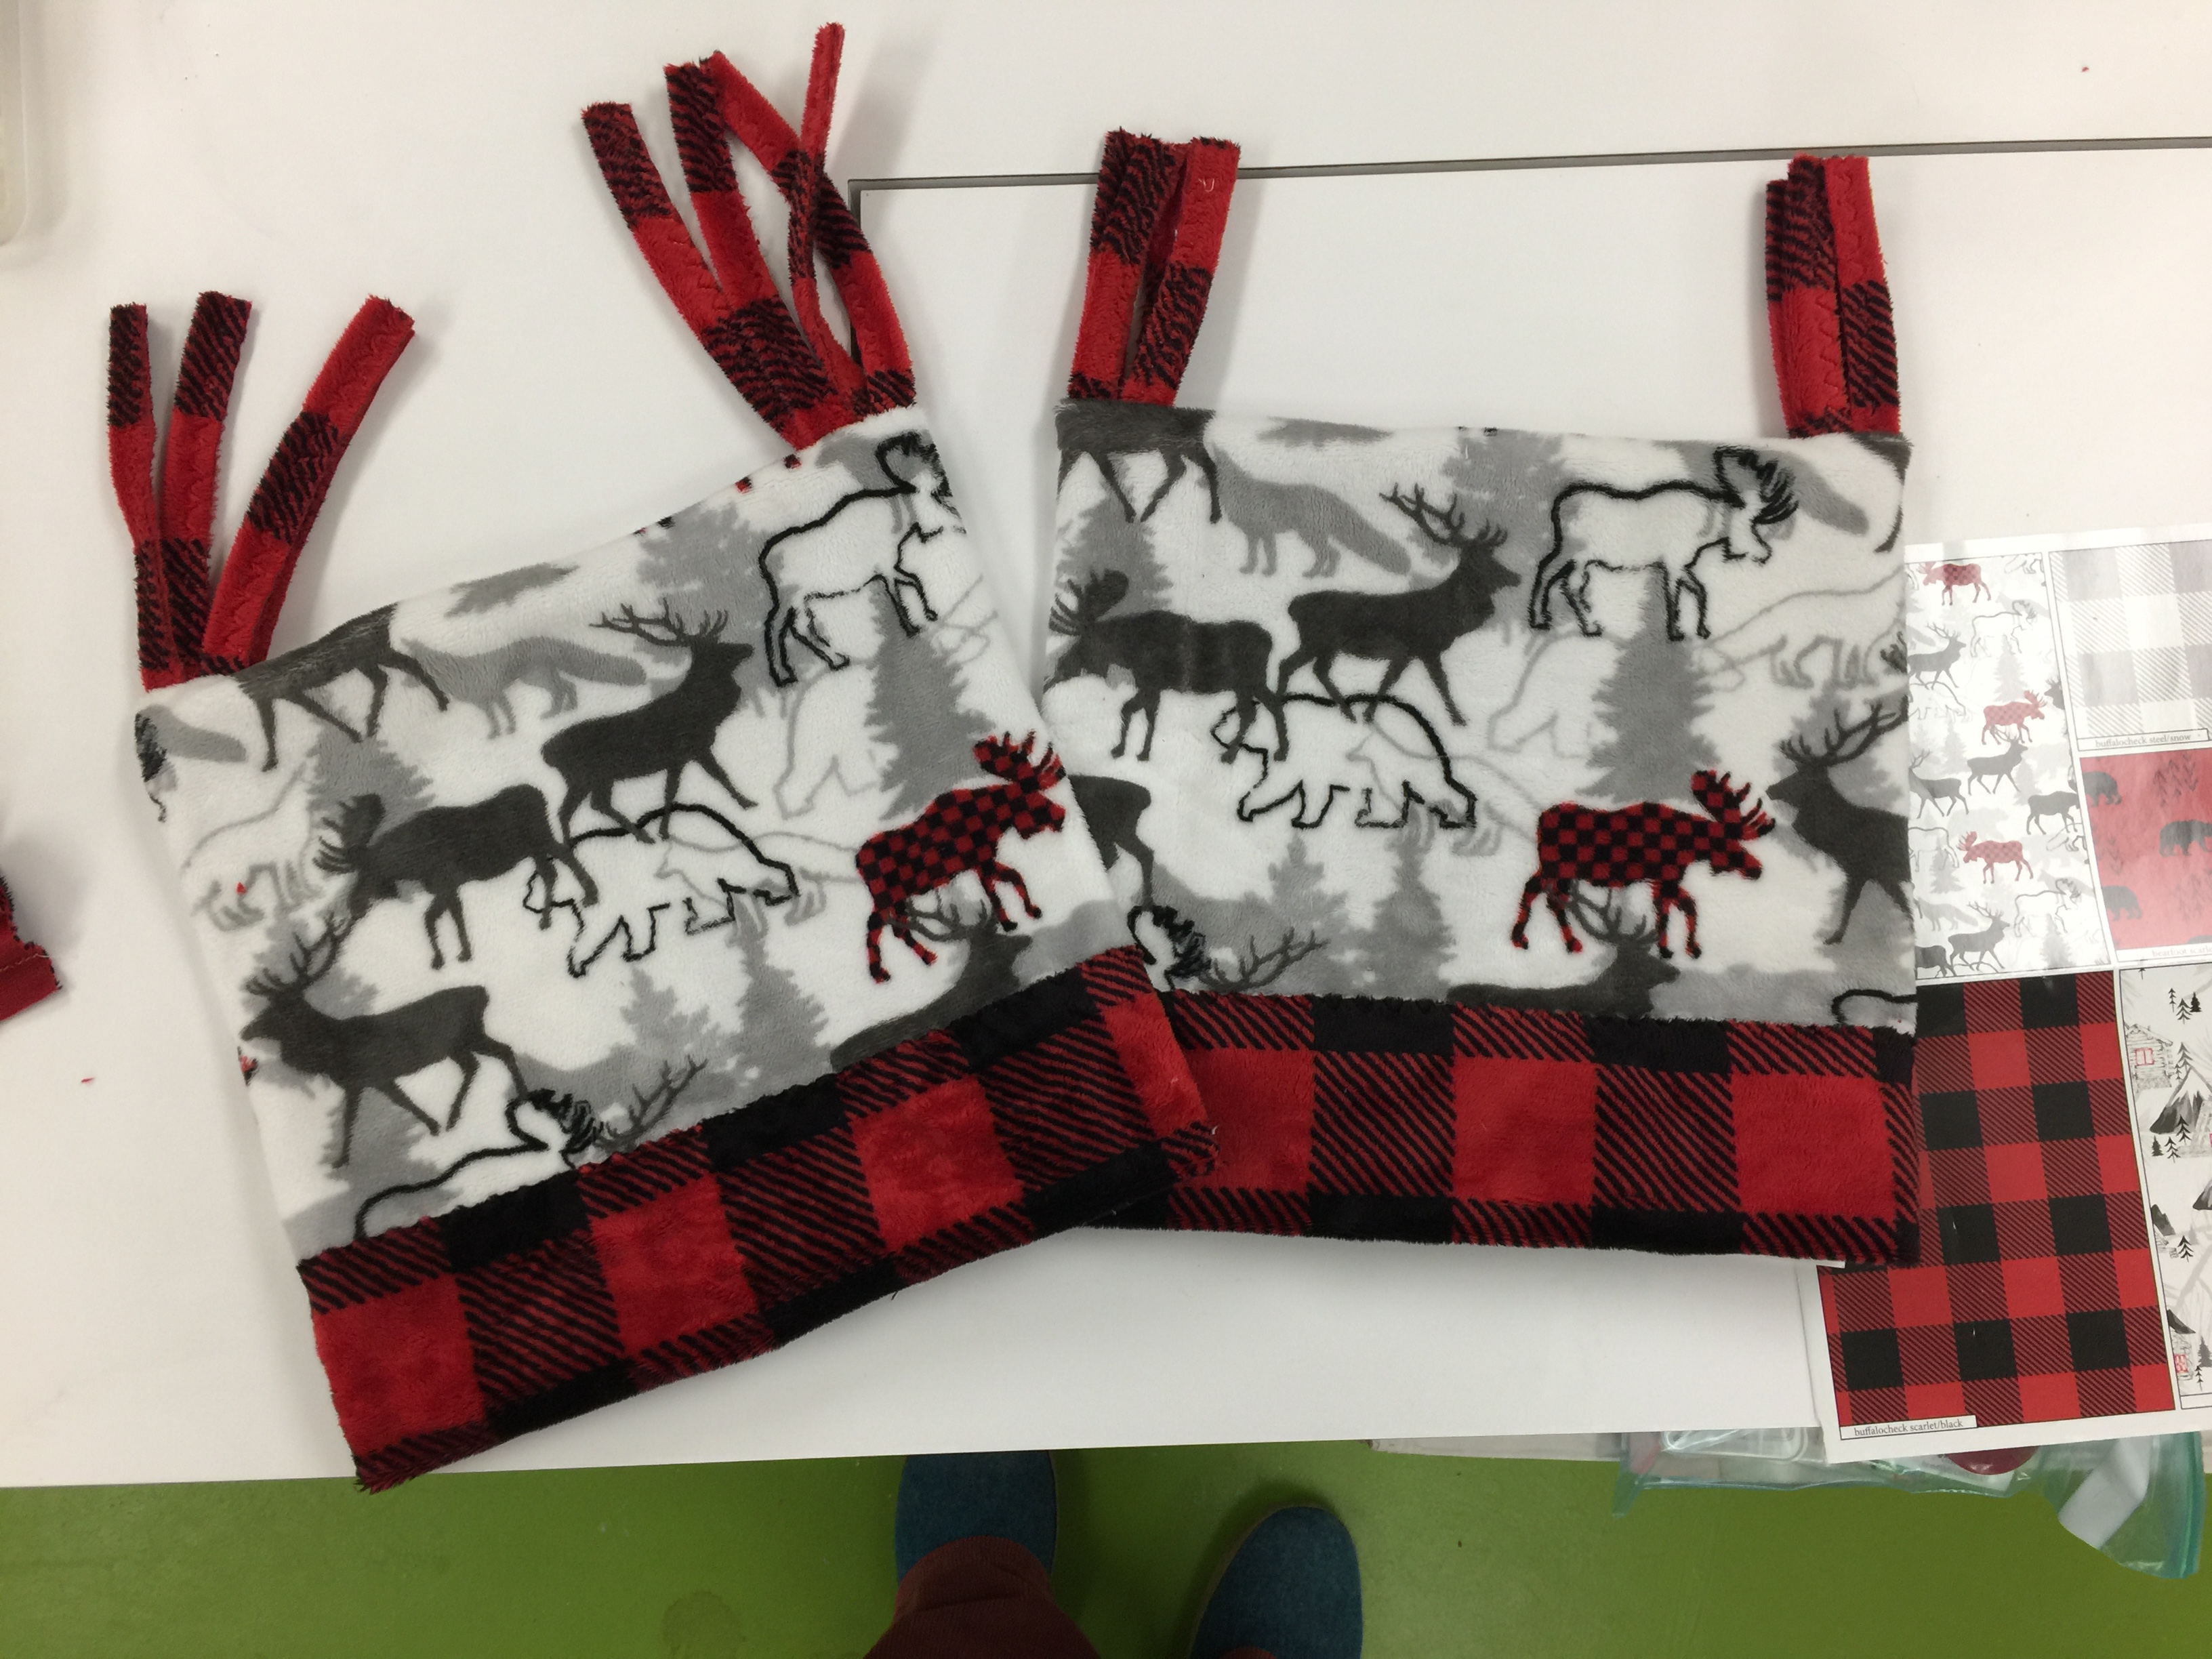
Two hats…I mean I used up EVERY LAST BIT of scraps! One hat for me, one to send to Shannon for them to use as they wish!
Here’s the pattern in PDF form…and typed out below:
Shannon Fabrics Cuddle Hat in an Hour
You’ll need:
¼ yard (about 8 ½ lengthwise grain by 22-23 inches) fleece for main fabric
5” by 22-23 inches for contrast
Scraps or yarn for hat tassels
How to:
- Measure your head around the forehead: ______ + 1 “ = ________ cutting width
Tip: In my case, my head measures 22 ½”. I found that I wanted my hat to be snug so it would stay on in the wind, so I used a larger seam allowance. My hat **finishes** at 21 ½” or one inch smaller than my head circumference. Depending on what you find comfortable, you may find that a cutting width exactly the same as your head circumference is just perfect.
- Cut main body fleece 8 ½” high by cutting width. Make certain that the lengthwise (not-stretchy) grainline runs vertically and that the stretchy cross-grain is what goes around your head!
- Cut hat band fleece 4 ½” by cutting width (if folding under) or 3 ½” by cutting width (if using raw edge).
Option: vary the width of your band depending on how warm you want it to be and the pattern (if any) of your fleece. My main fabric is not fuzzy on the inside and I wanted soft, so I have 1 ¼” of the red checked fleece on the inside and about 1” folded under on the outside edge so that there are two layers of fleece to keep my ears warm on a windy winter’s day.
- Pin seam and test the fit: now is the time make adjustments to snug it up if needed.
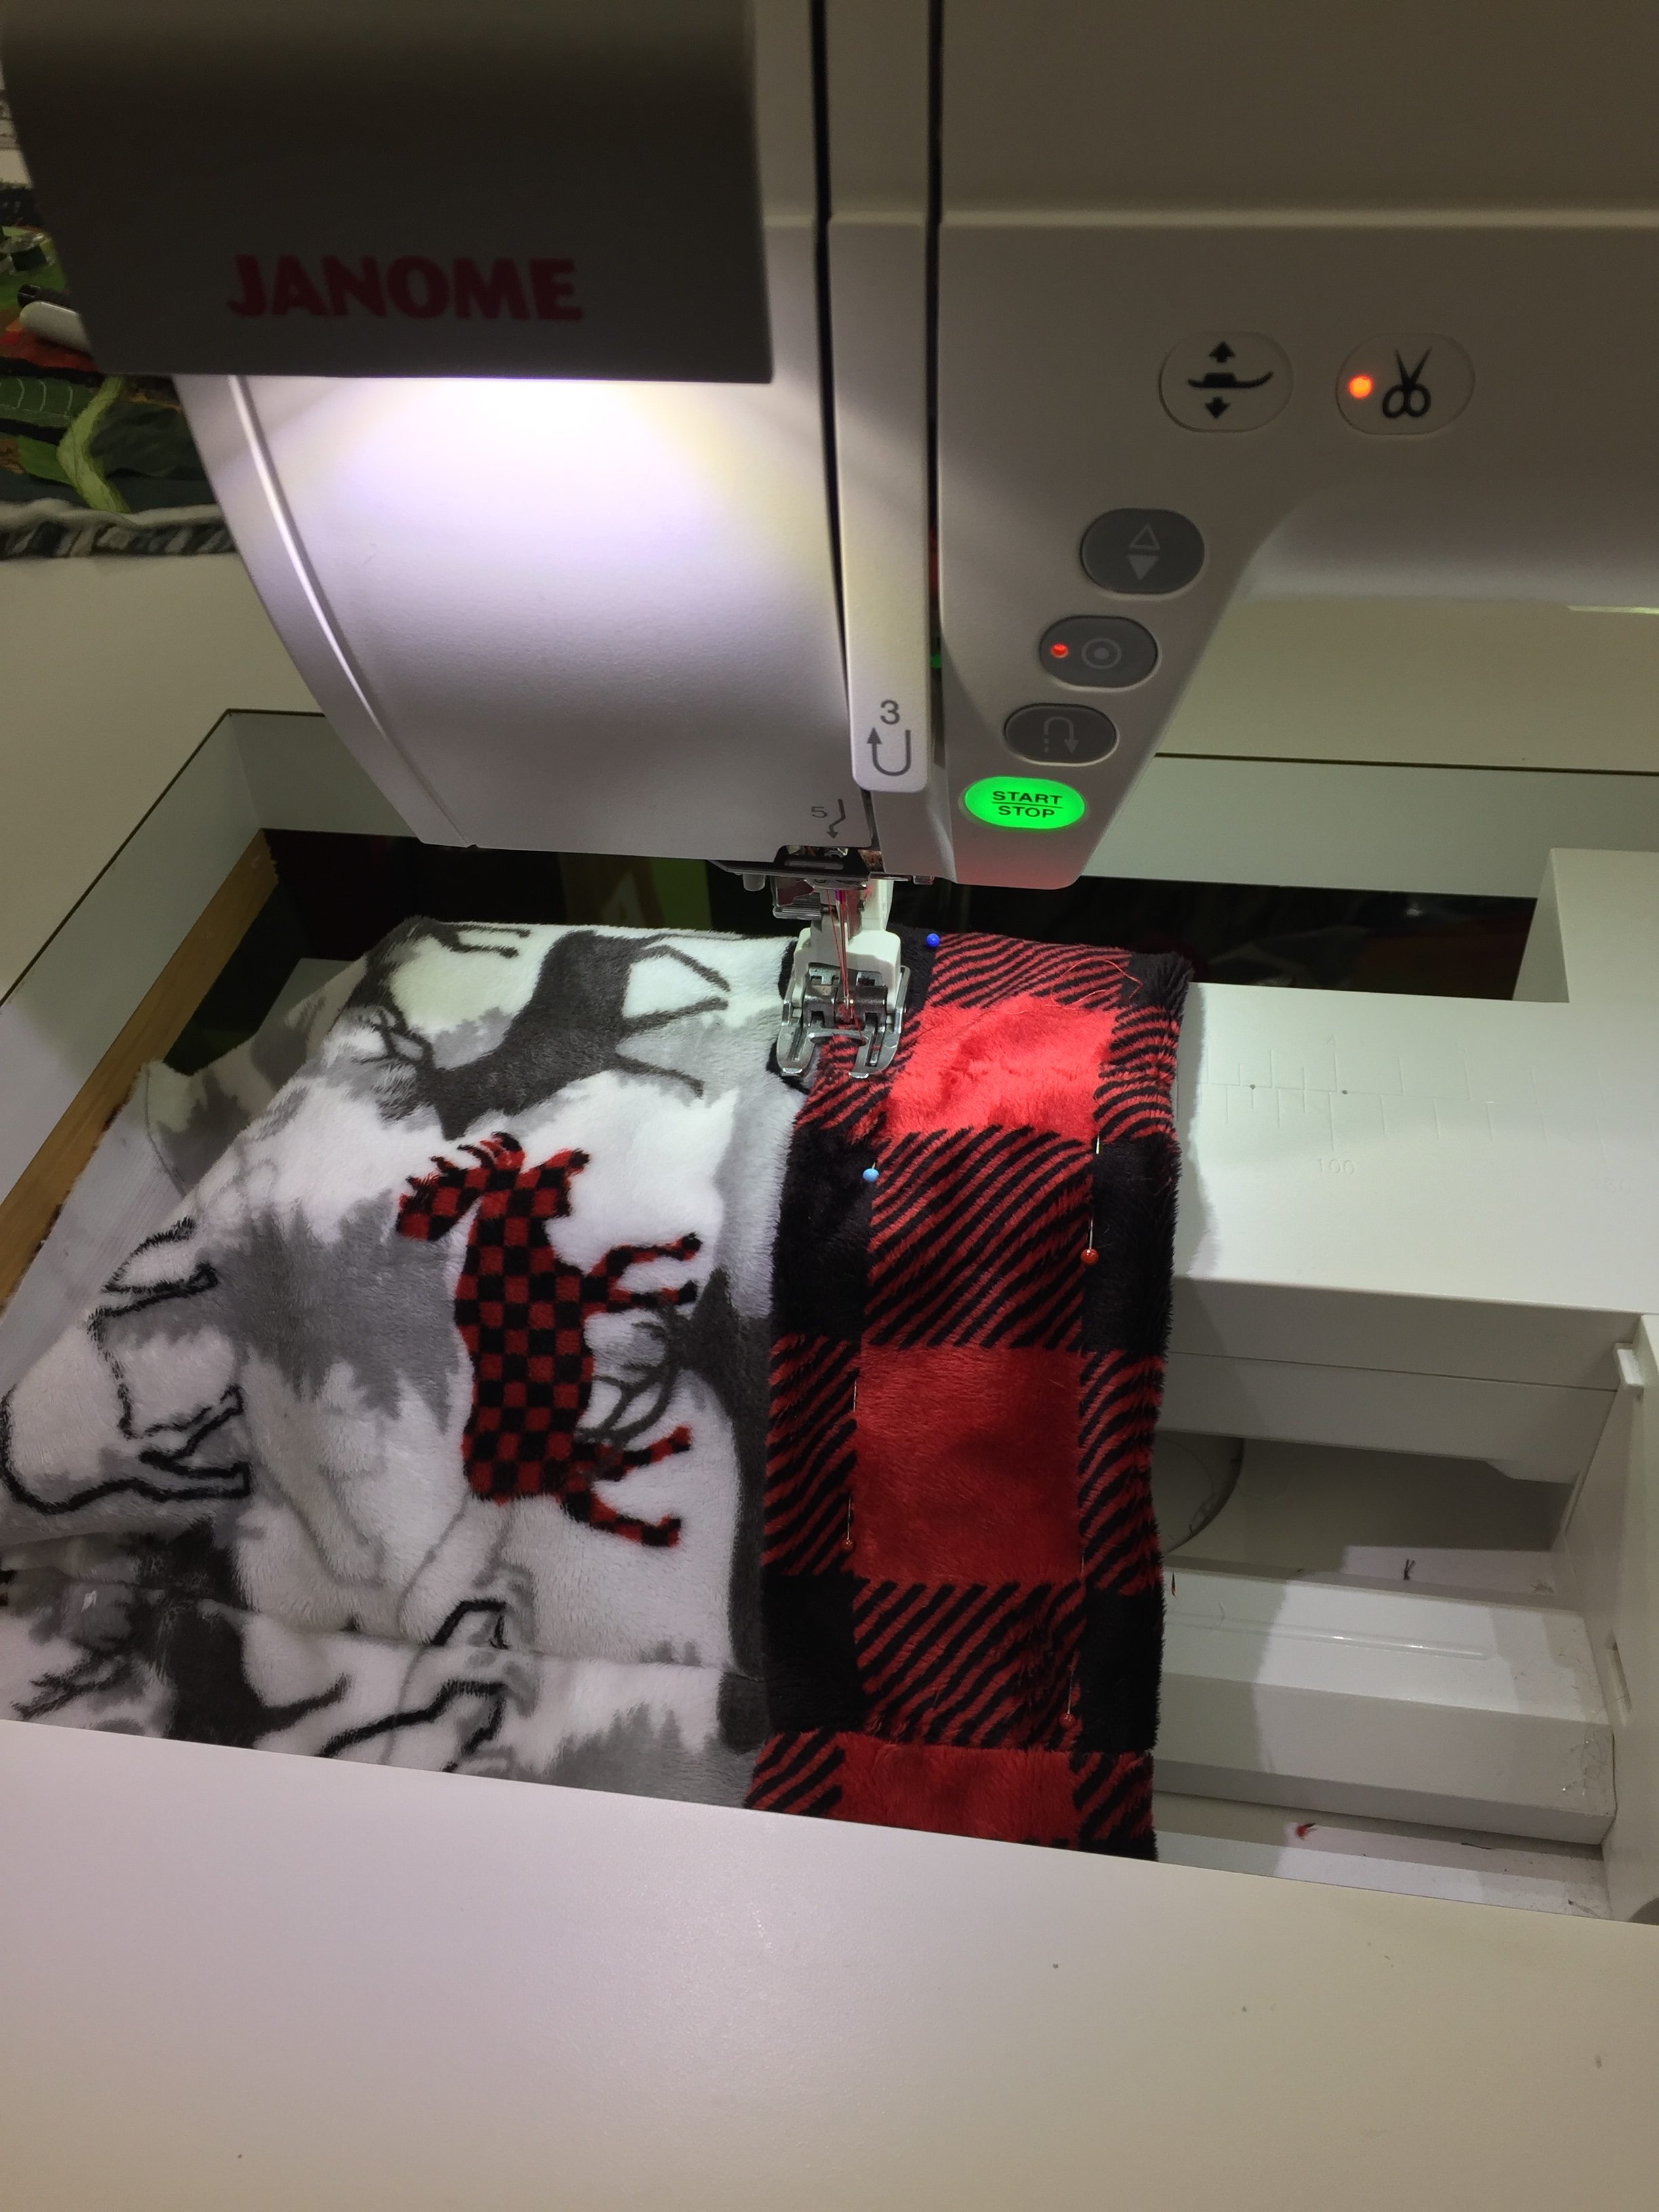
- Sew seams on hat body and hat band using a narrow zigzag, about 1.0 width and 3.0 length.
- Pin the seams open.
- Place the hat band and hat body WRONG sides together, matching the seams and overlapping about ½”. Stitch with a serpentine (wavy multi-stitch), 3-step zigzag or narrow zigzag to secure each raw edge. You will sew two lines of stitching, one on each side of the overlap.
-

Because the fleece is thick, and because I wanted the soft part next to my forehead, I didn’t use a typical garment seam. Instead, I overlapped the two fabrics, wrong sides together, and sewed them with a serpentine stitch. I did this twice, on either side, so I would catch both edges of the overlap.
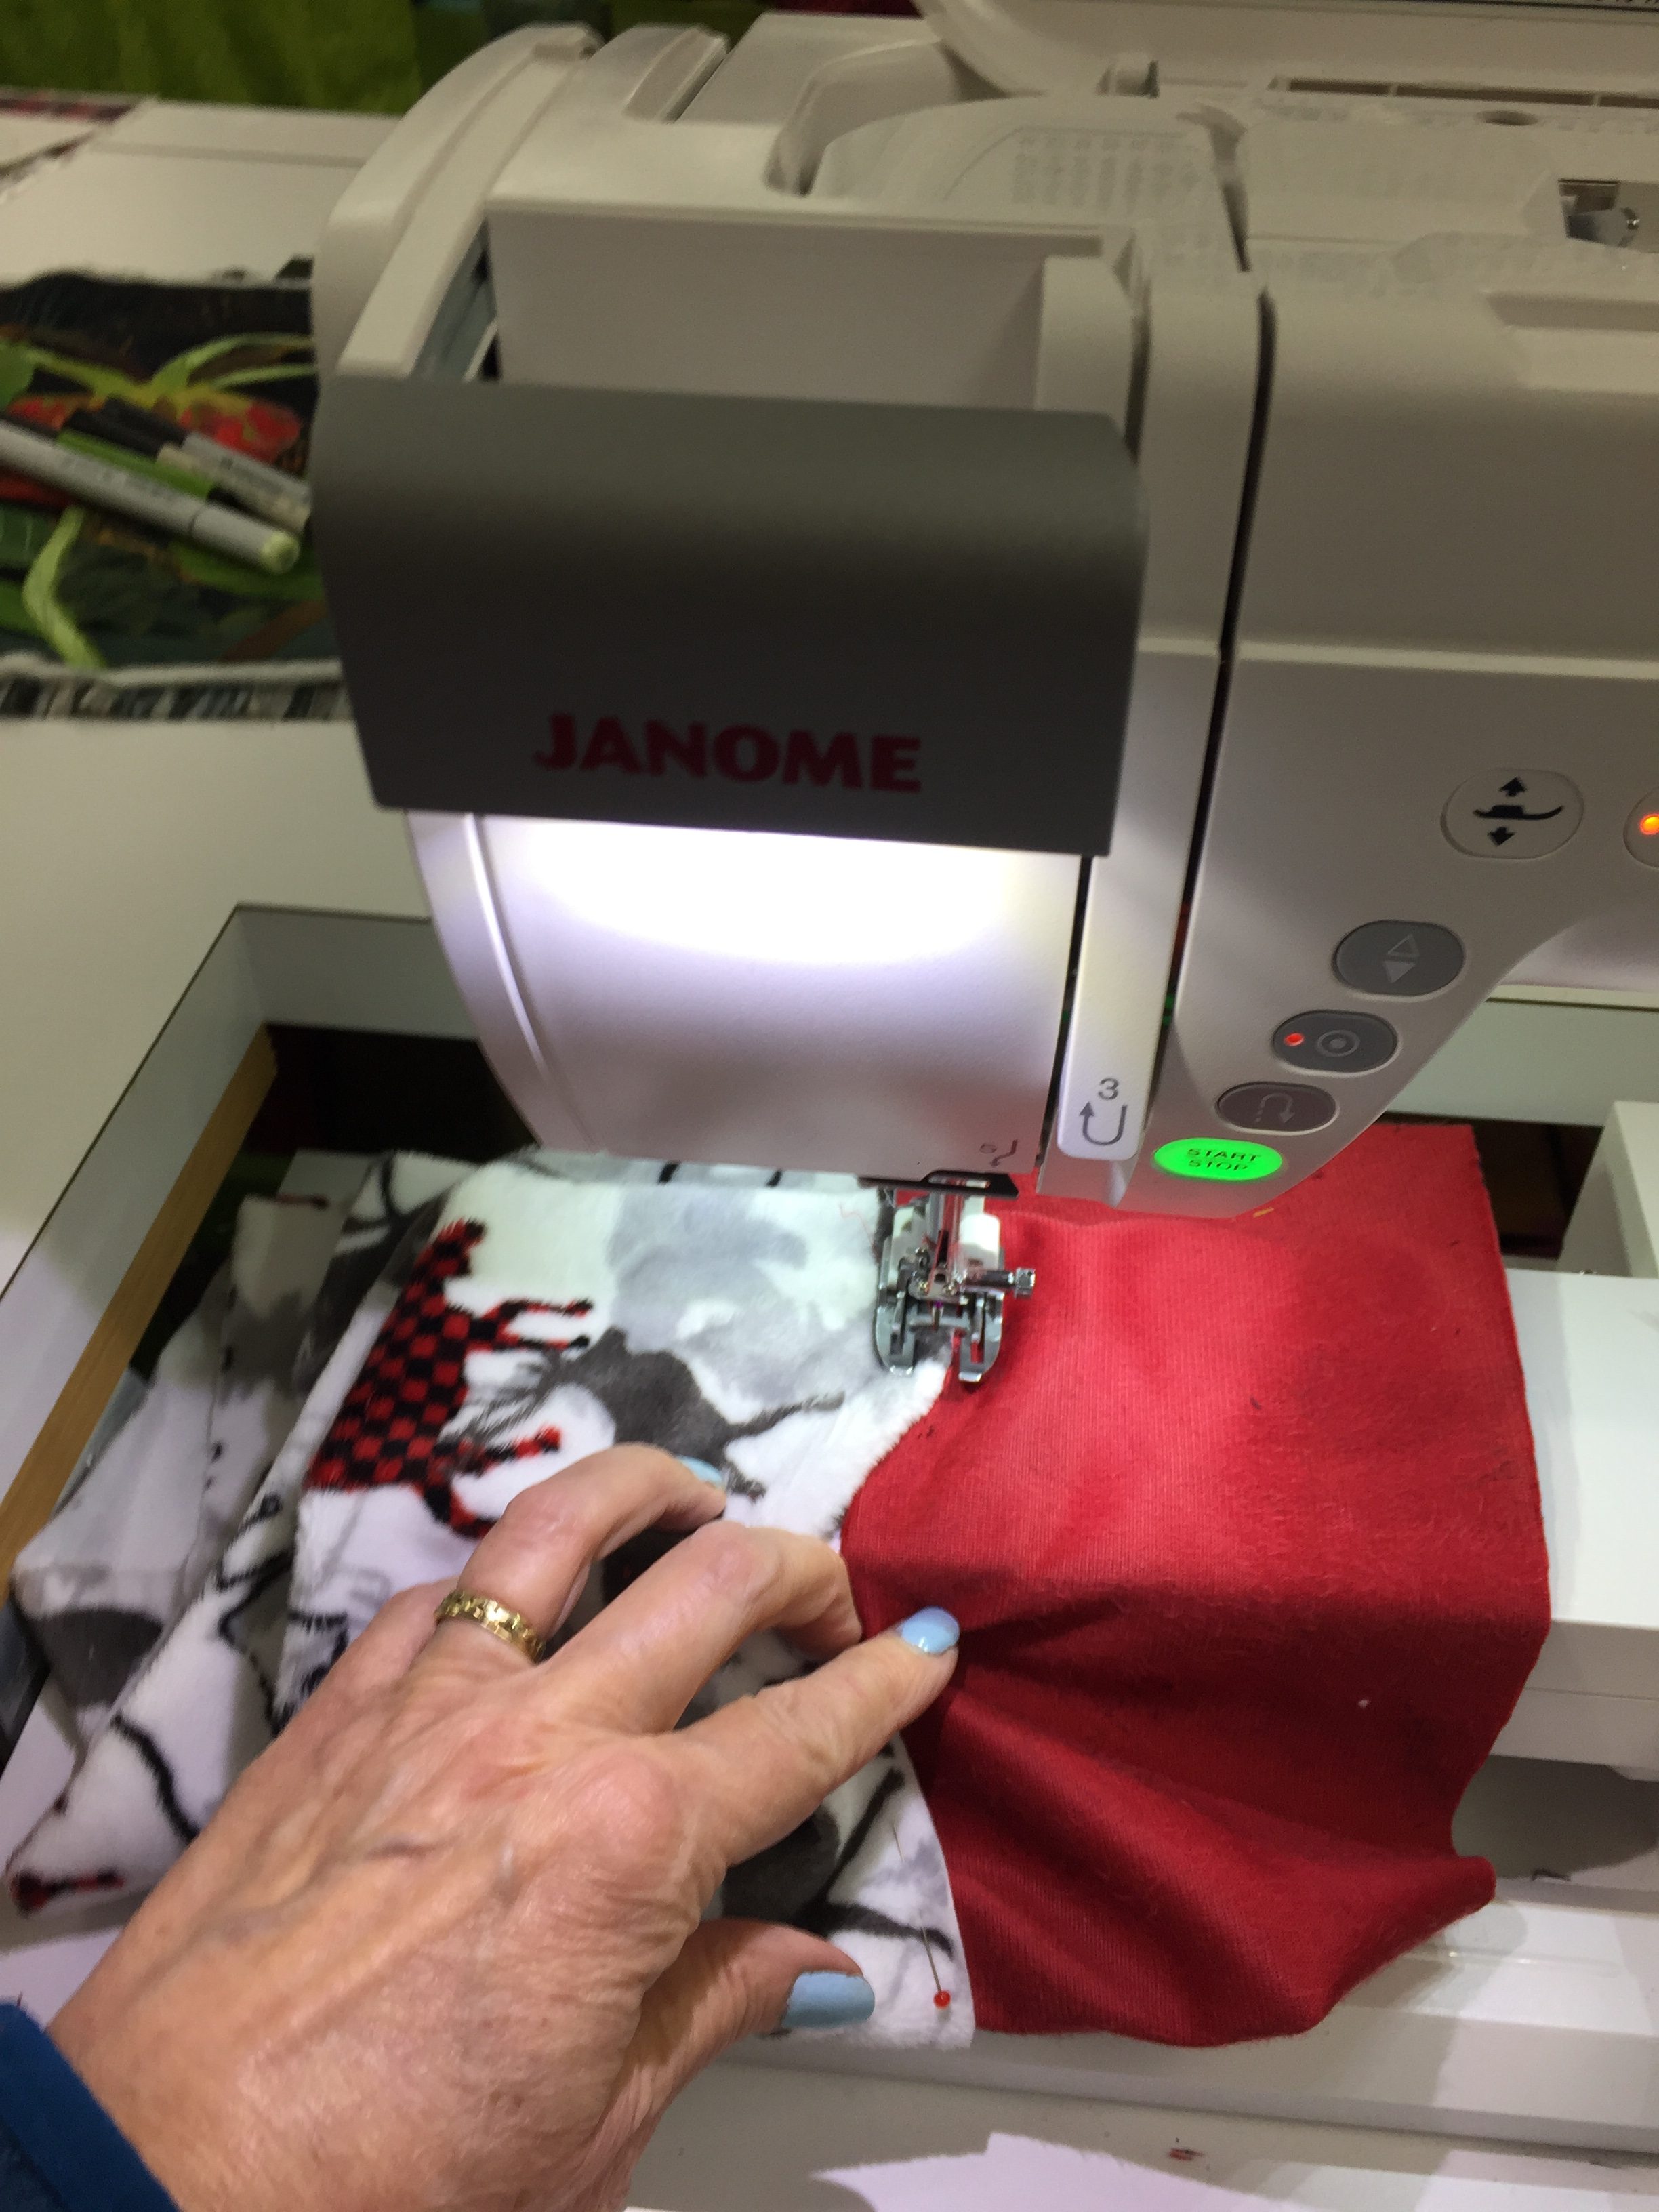
Sewing the other side of the band
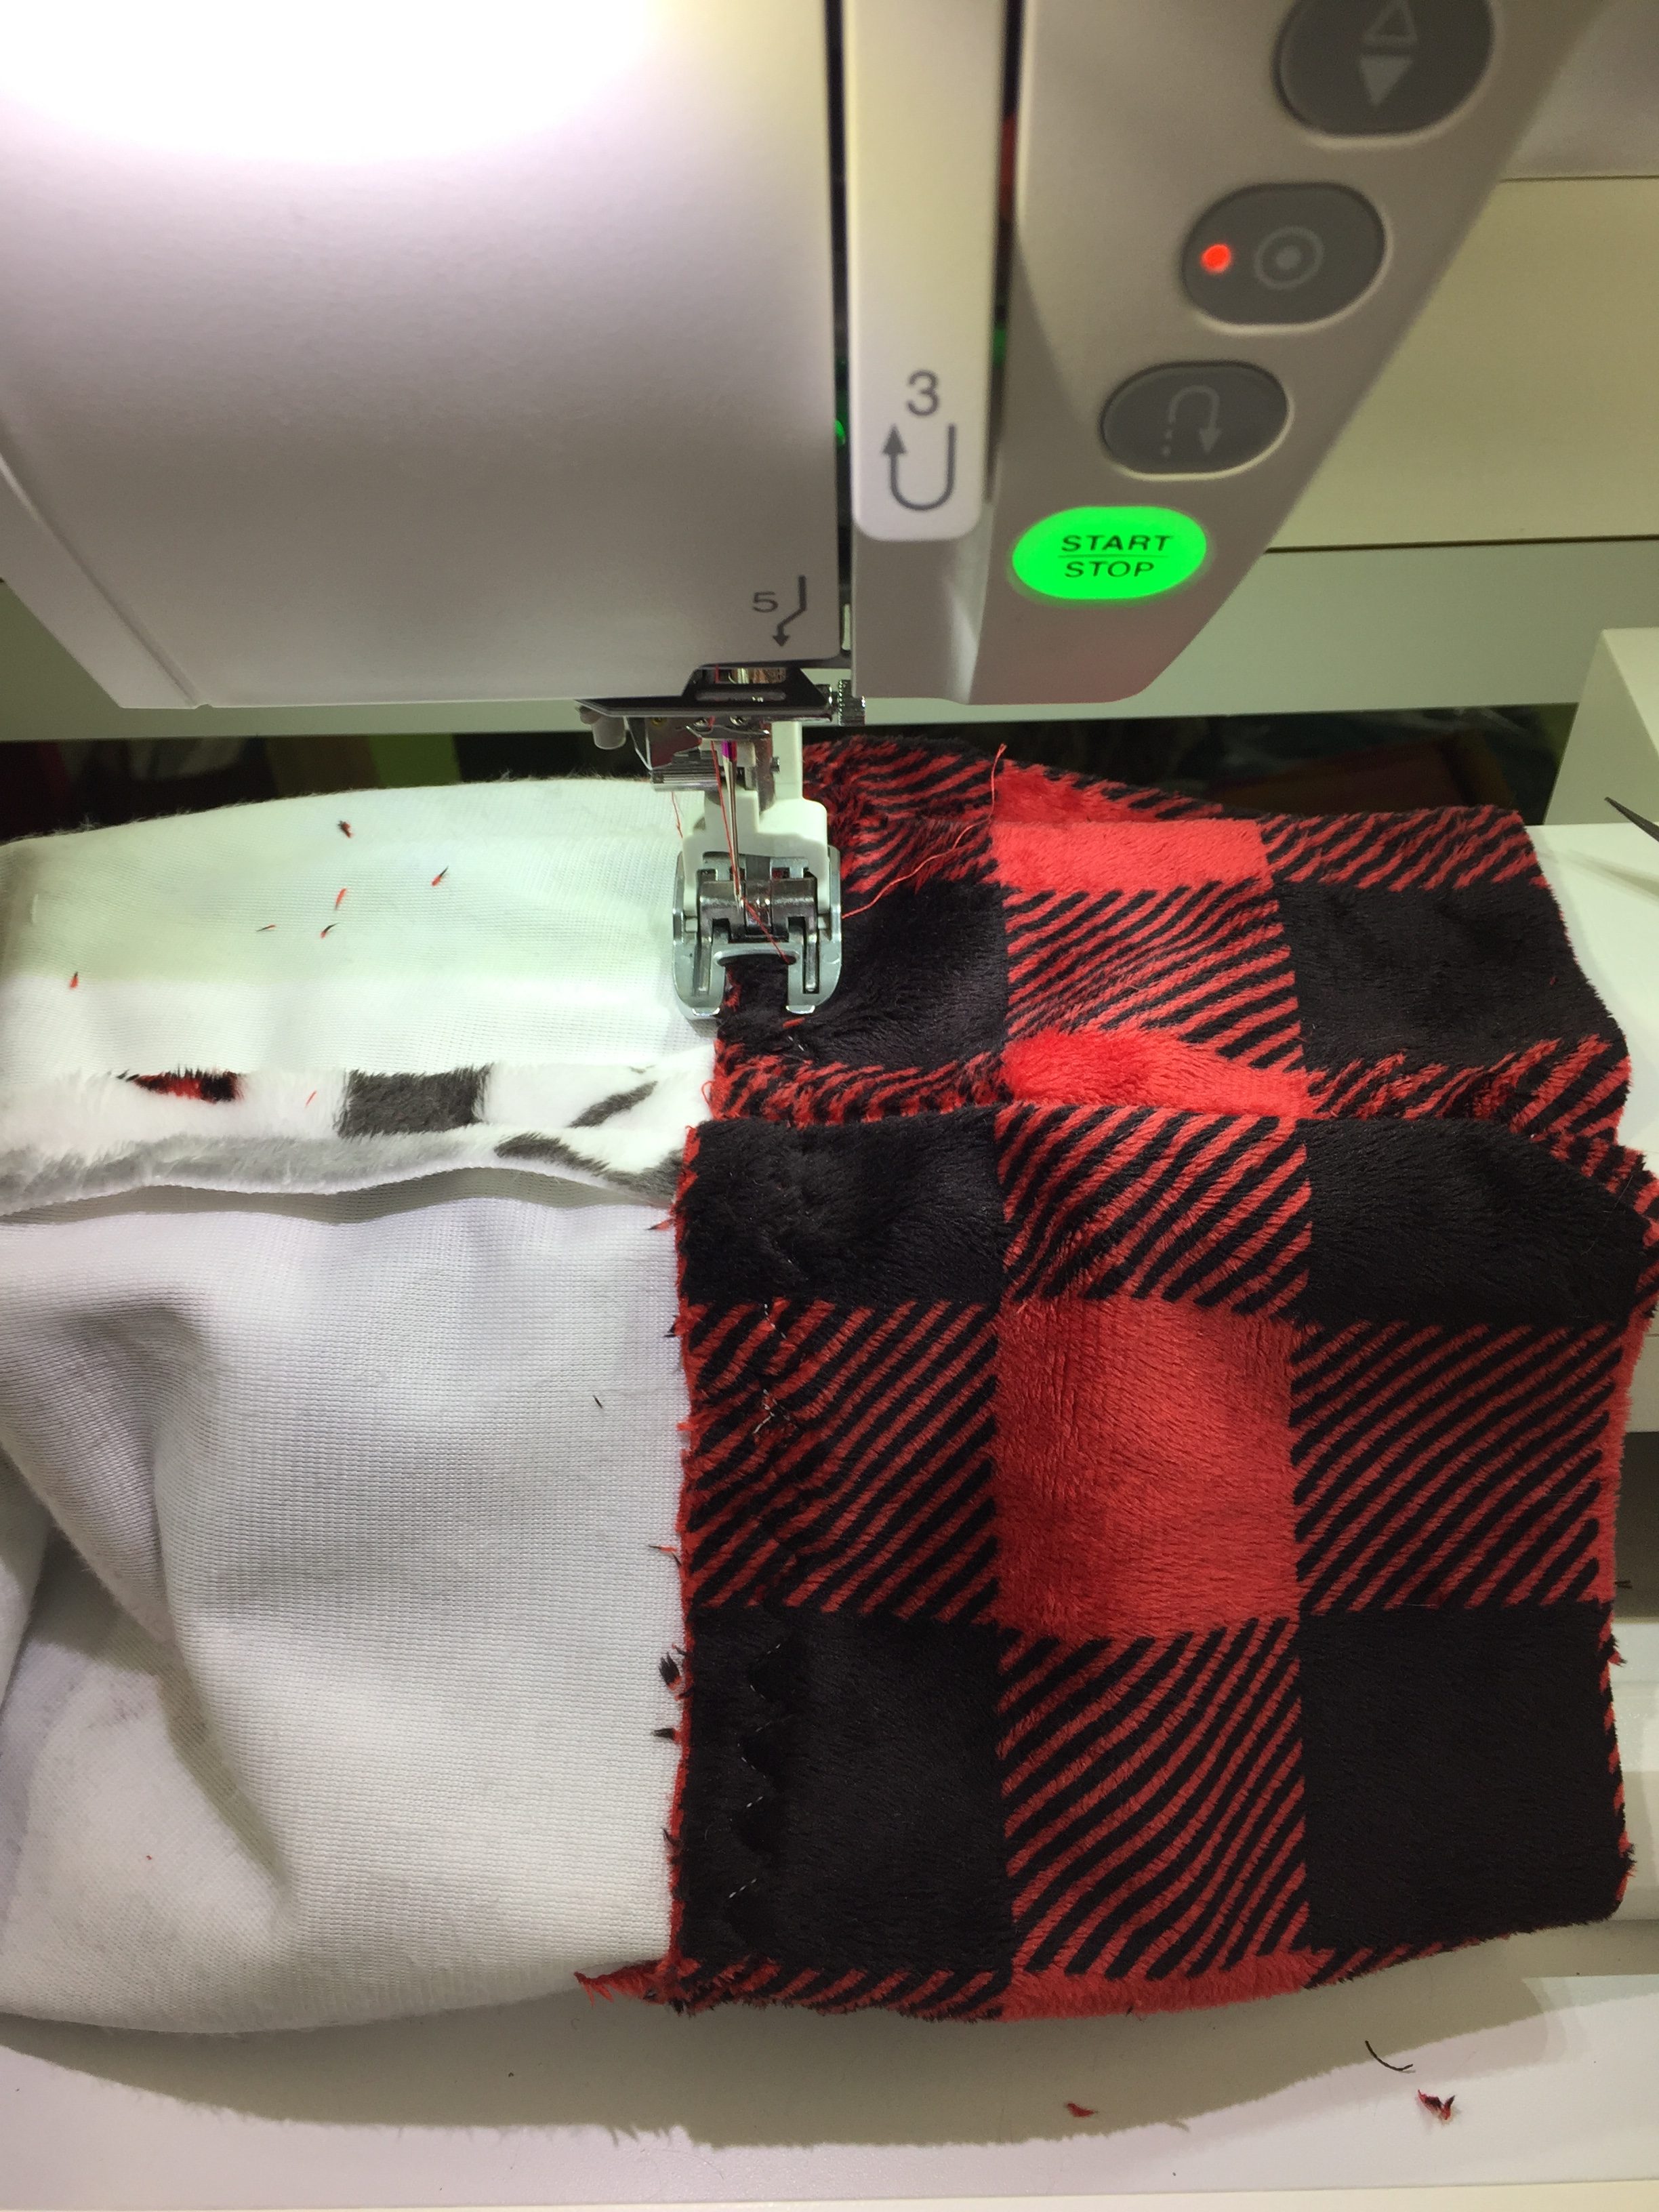
I then turned the plaid to the outside and brought it up above the seam that joins the top of the hat to the “cuff.”
- Turn the hat band to the outside of the hat body and turn up. If you are making a thicker band, turn under about an inch; if you are not making a thicker band, simply fold up. Pin the edge in place; carefully put on the hat. If you want a narrower contrasting band, now is the time to trim or fold under more.
- Sew the top edge of the contrasting band using the serpentine / 3-step zigzag / narrow zigzag stitch.
Optional: make some tassels. I used a 1” strip of fleece from the selvedge (leftover from another project) and folded it in half wrong-sides together and sewed with the serpentine stitch. Cut into 9-11” (or thereabouts) lengths. I opted for four strips which I then folded in half.
- Turn the hat inside out. Centering the seamline in the center back, pin right sides together.
- If using tassels, tuck them into the seam at the corners so that the folded edge is even with the raw edge of the seam. I placed two at each corner.
- Sew the seam using a narrow zigzag.
Tip: sew from the center to the outside edge, pivot at the end and sew back to the center about ½.” Repeat from the center to the other end. This is easier than sewing all the way across beginning at the bulky outside edge.
- Turn right side out and wear with joy!
December 3rd, 2018 at 7:43 am
How do you deal with all the static fleece creates and your hair??? (when you take the hat or jacket off????).
The static and dry winter air keep me miles away from the stuff.
December 3rd, 2018 at 7:32 pm
Interesting…I am also in dry winter air here in Maine, but I never had much trouble with static. I think there are two factors: one, my hair is coarse and thick, not fine and straight. So I don’t really get much static at all, even when it was long. Also, when I wash fleece, I will pop it in the dryer most of the time (sometimes it comes out of the washer, and HE model, nearly dry so I just hang it) for just 5-10 minutes which is more than enough to dry it. Most of my clothes are cottons or fleece, so I don’t end up with much static build-up from the dryer. Wish I had more to offer!