A donut shirt for Joshua, the M7 Continental dream
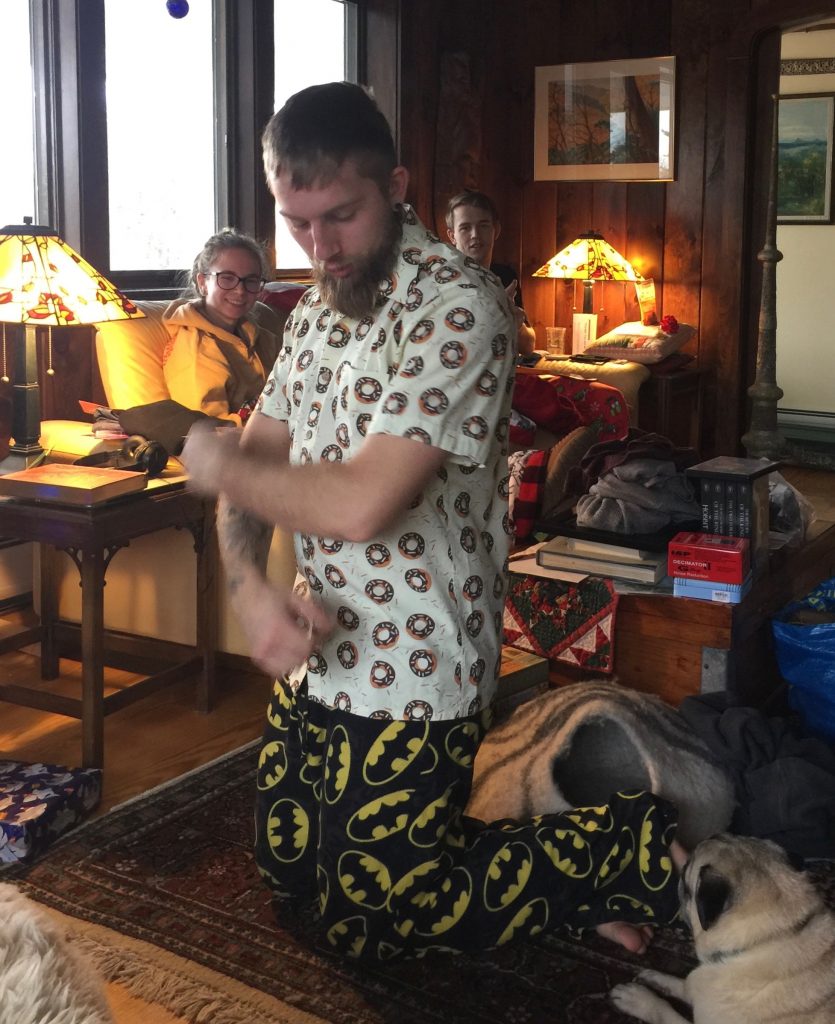
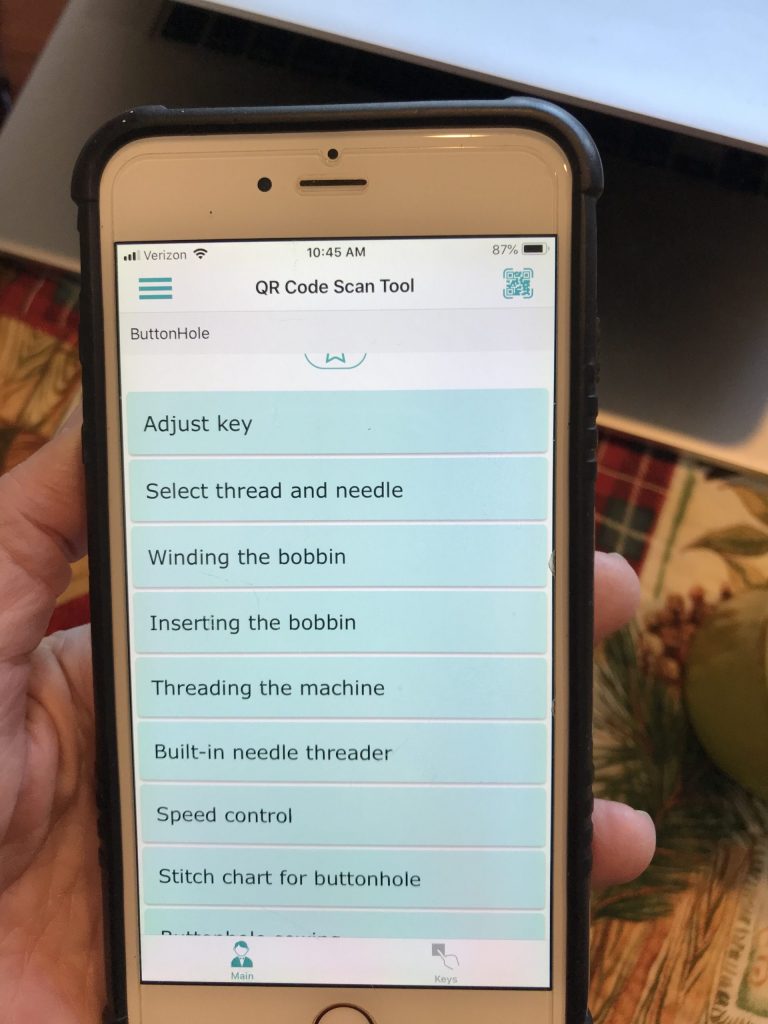
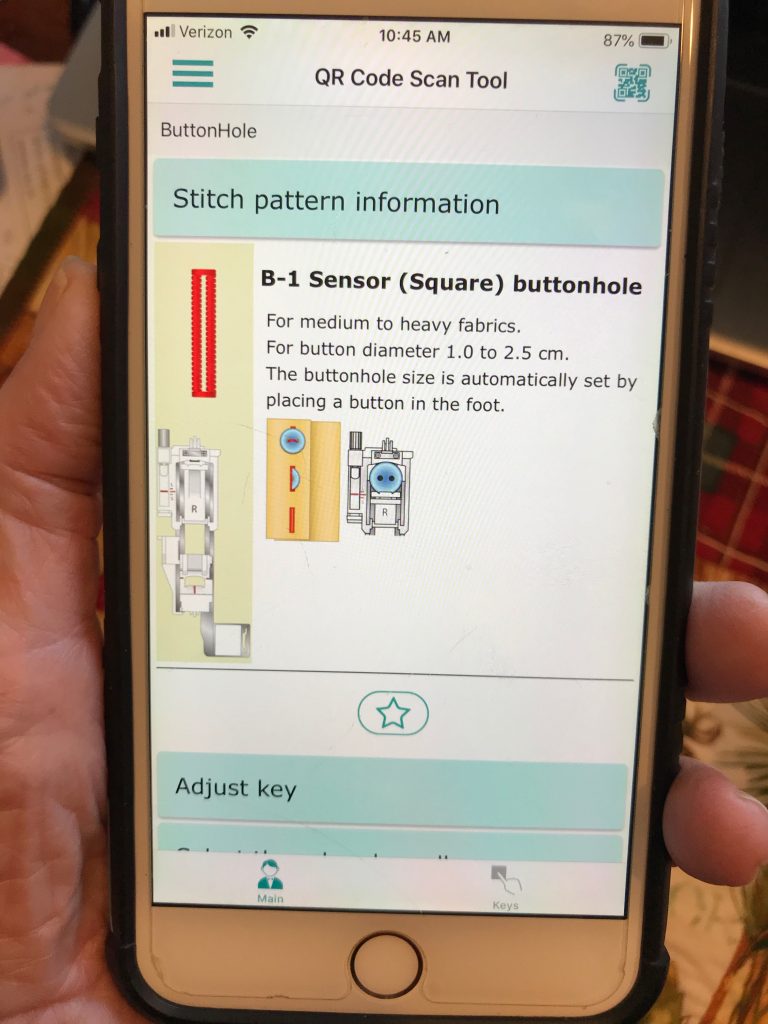
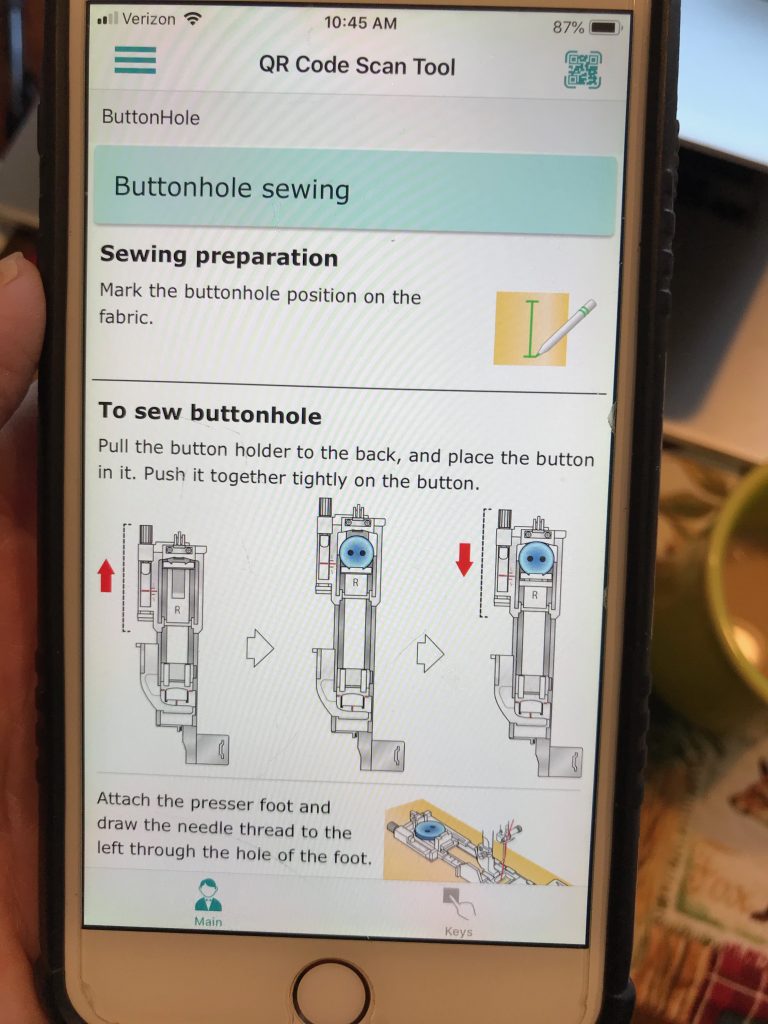
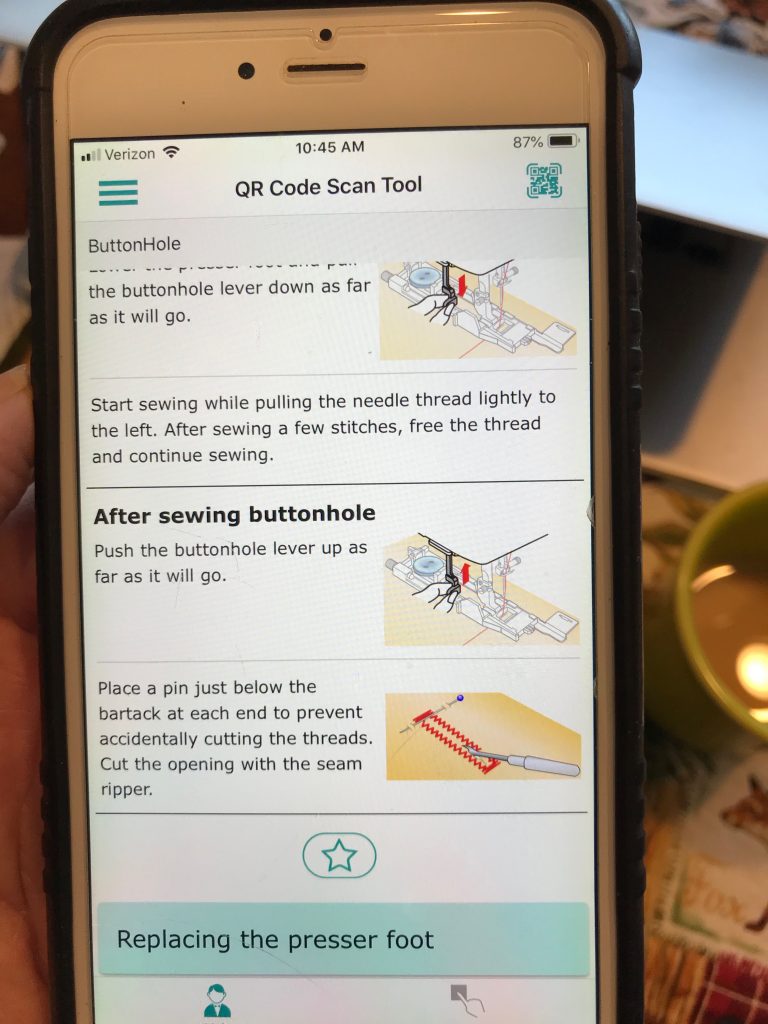
The first thing I made on the splendid new M7 Continental from Janome was something I haven’t made in decades: a button down tailored shirt! Anyone who knows Joshua knows that he is all about good food, perhaps starting with donuts. In fact, Joshua and Ashley’s wedding cake was a tower Joshua made of donut holes from Willow Bakery in Rockport! He also loves shirts with a sense of humor: sushi rolls, watermelon, lobsters. So I decided I wanted to make him a shirt for Christmas. And I succeeded beyond my wildest expectations in part due to the excellent sewing of the M7. There’s even a video below of making a buttonhole!
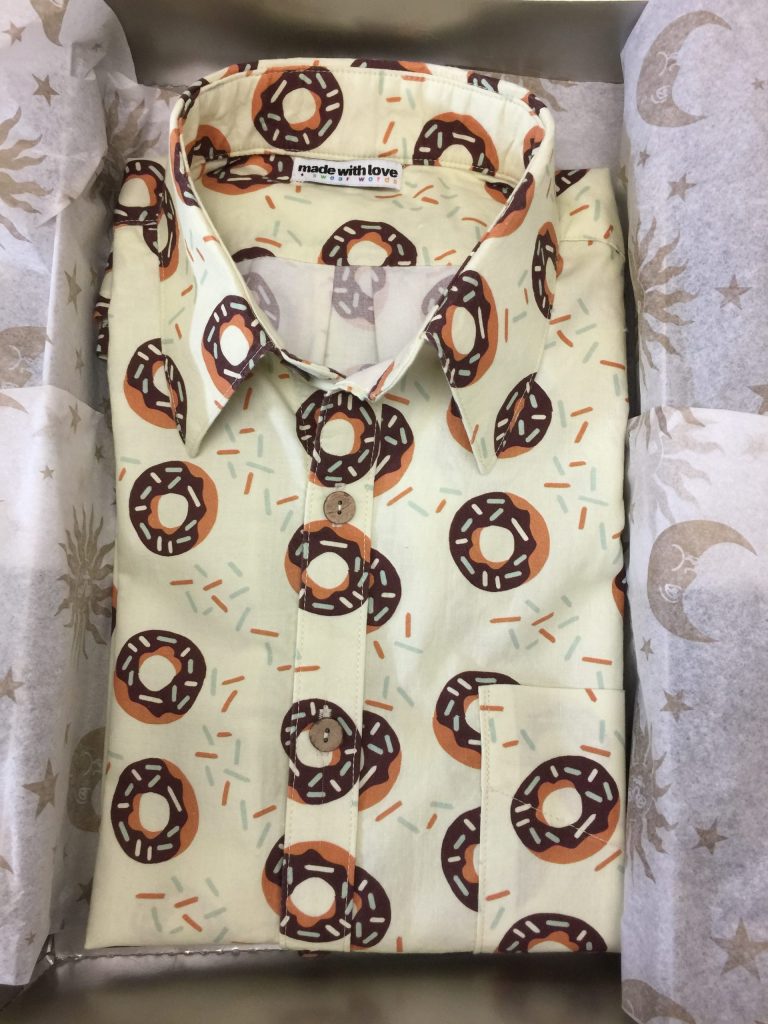
I used the Men’s All Day Shirt Pattern from Liesl + Co patterns. It was my first time using a downloadable pattern where you print and then tape together the pieces. If you download the free Adobe Acrobat software (not just your built in PDF reader) you can turn off the “all sizes” so it prints ONLY the size or sizes you want so you don’t have to navigate all those lines that end up nearly on top of each other. By measuring Joshua’s existing shirt, I was able to figure out which size would be best (Medium) but with the Large collar/neck stand. My only issue was when I combined the sizes. I should have printed the neck line of both patterns SEPARATELY (instead of on the same sheet), then traced the size large and lined it up properly. It took a while, with astounding and much appreciated personal replies from both Liesl and her husband Todd with troubleshooting suggestions, before I figured out what I was doing wrong. Kudos for the service as well as the pattern!
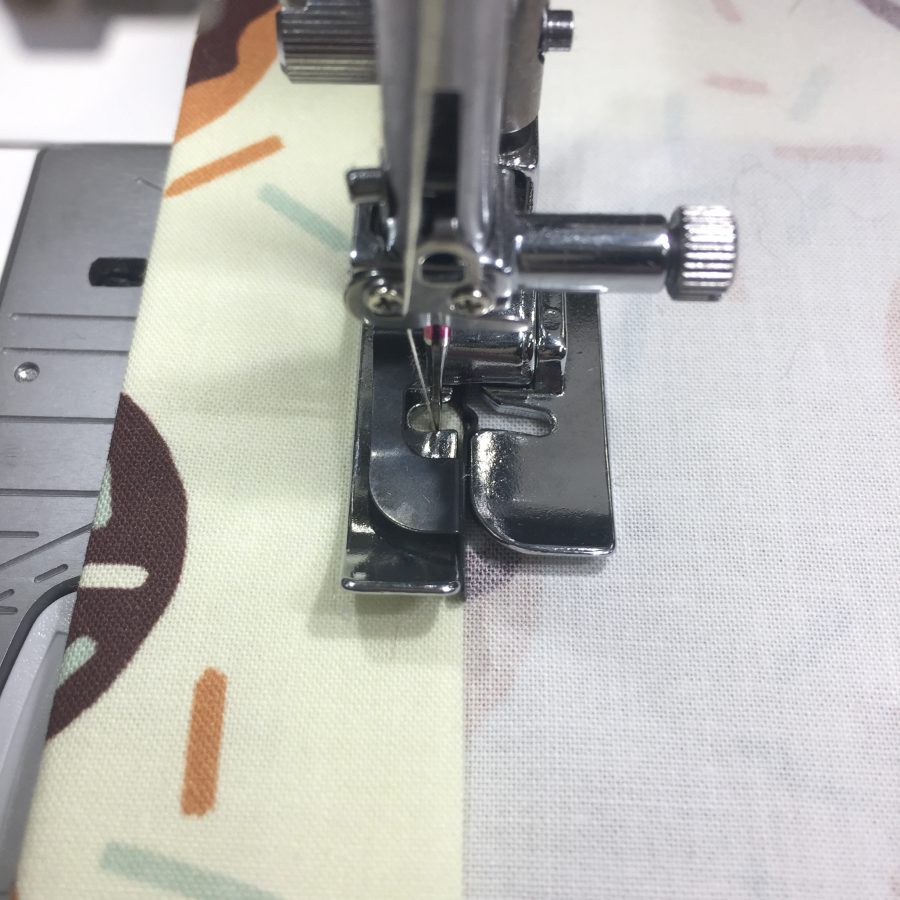
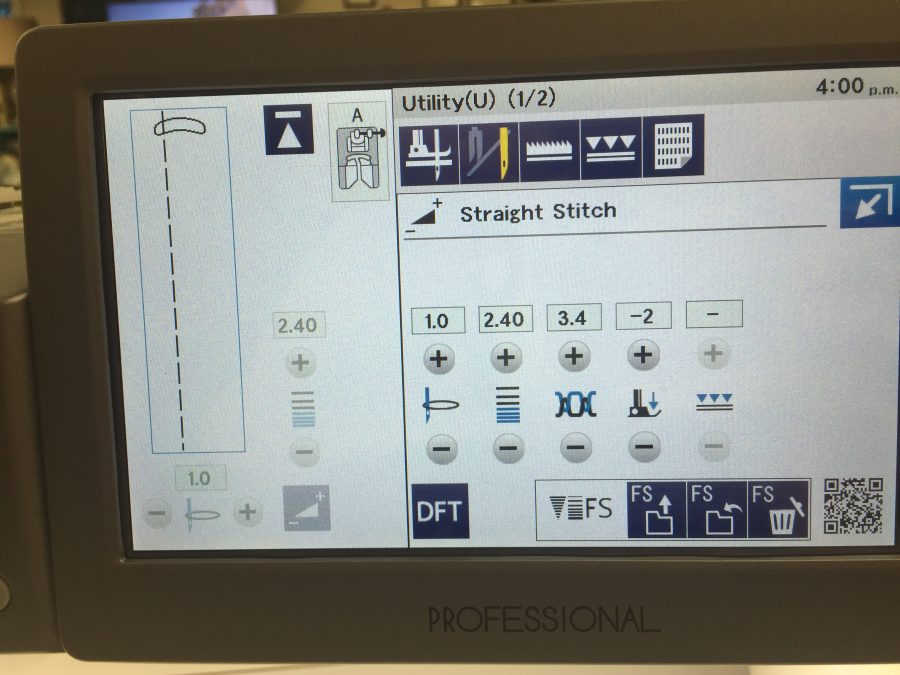
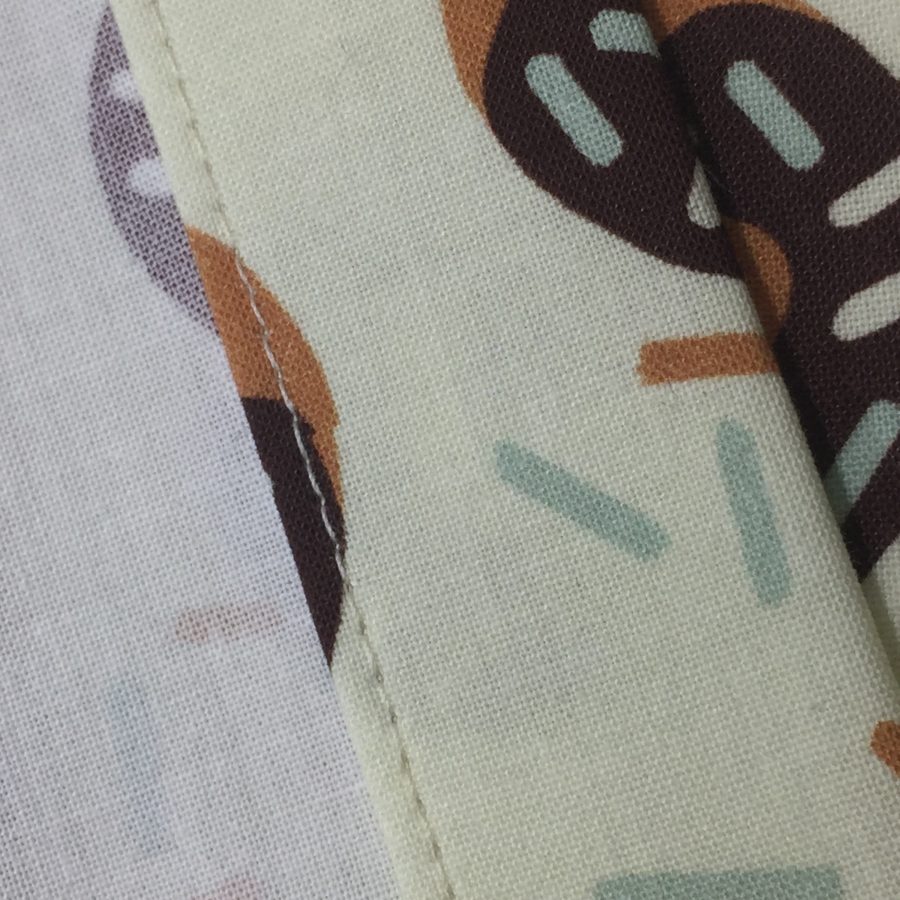
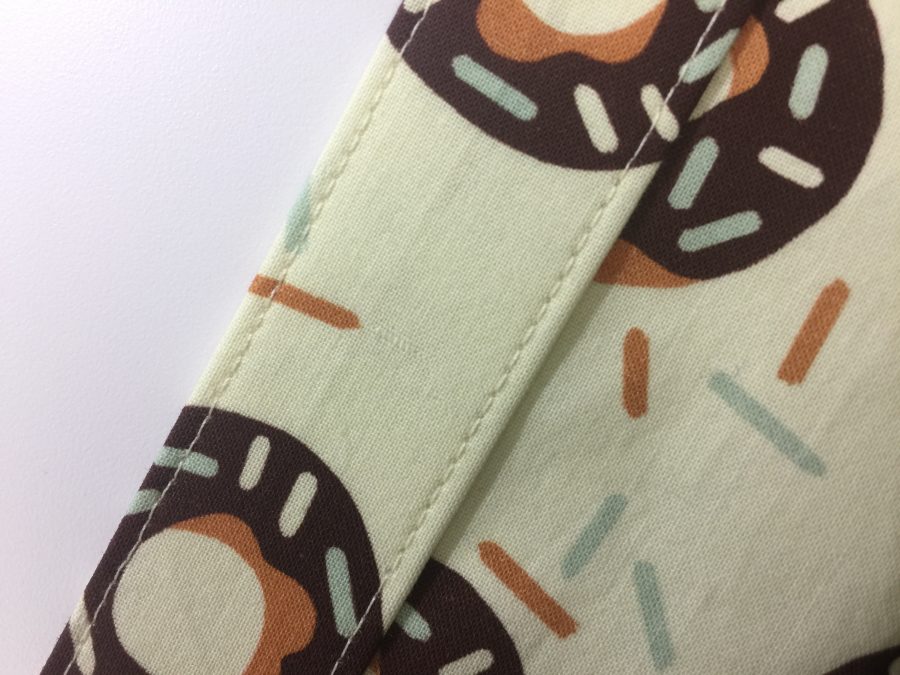
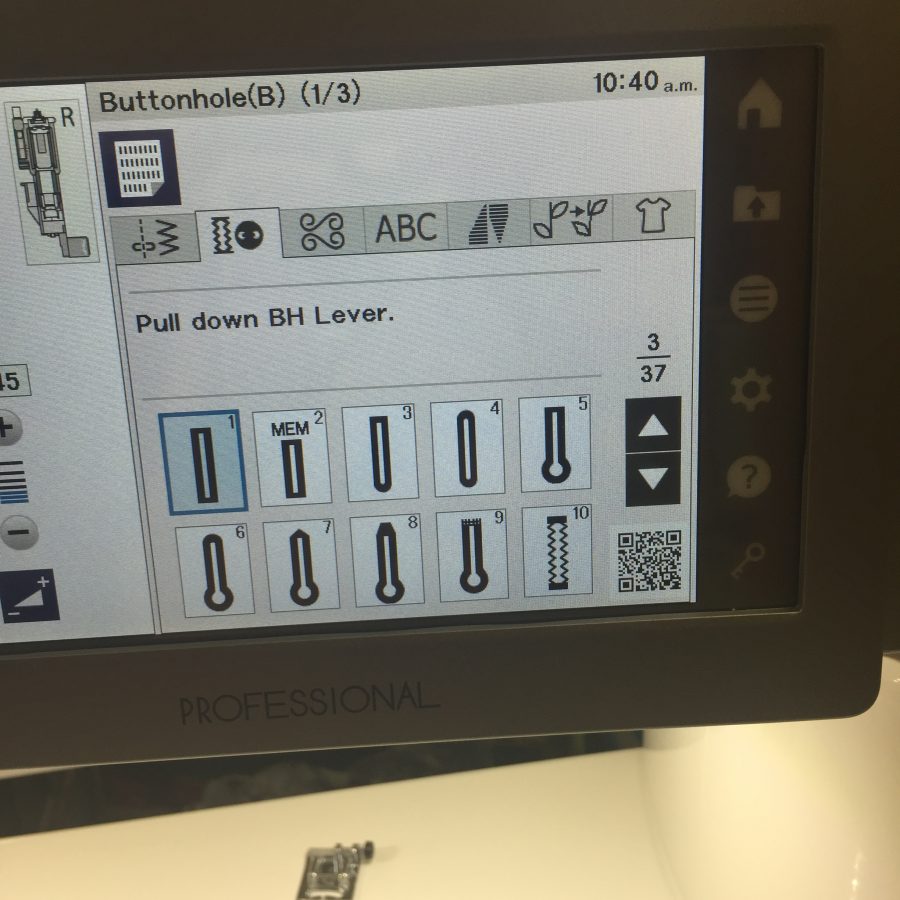
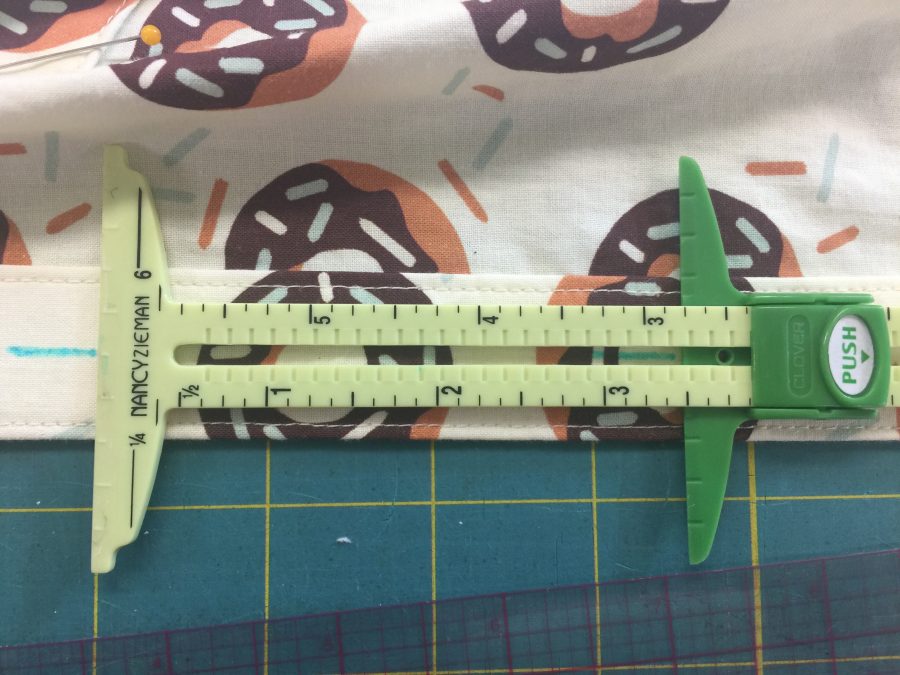
Using the included edge stitch foot, I was able to get absopositively perfect stitching. The first of the four photos above shows the underneath side of the shirt opening, using the edge stitch foot to sew down the turn-under. The second image shows the Janome M7 Continental screen (other Janome machines work similarly) with the needle set to the left. Because of the tiny increments in needle placement, I could get the stitches to form the exact distance I wanted from the edge. Third photo (top right) is a detail of that stitching. And the large image is the button band, stitched. I can’t believe it looks so good! There’s a video just below these still photos.

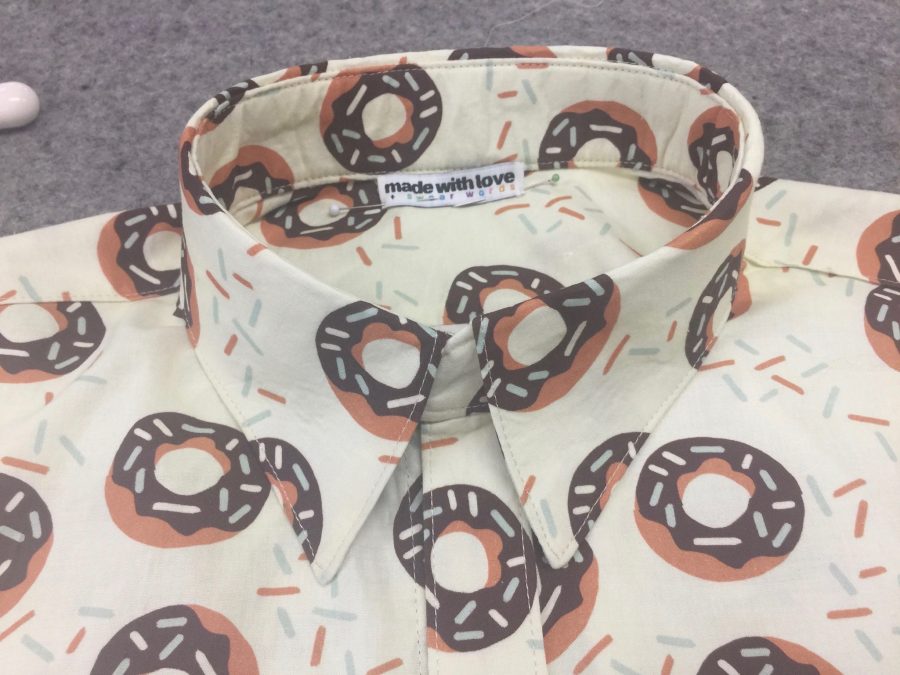
(Alert: even geekier pattern and garment sewing paragraph!) From the pattern, I also learned a new process for sequence of sewing and attaching the collar and collar stand. Instead of sewing the stand to the neckline, inserting the collar, and closing it up where the collar meets the neck band, the pattern has you sew collar and stand together, then sew the inside of the stand to the inside of the shirt and topstitch the collar to the shirt body. Ended up with absolute precision and perfection!!!!!!
So, with 50 years of sewing experience (albeit minimal garment making in the past three decades), an excellent pattern that taught this greying sew-ist a couple new things, and the incredible precision of the Janome M7 Continental machine, I am a seriously happy camper. Even better, Joshua loves his shirt!
January 15th, 2020 at 2:01 pm
Sigh………… I’m not sure it is a good thing to start the day green with envy. That is a very handsome and fun shirt, and I’m glad your ‘giftee’ is enjoying it.