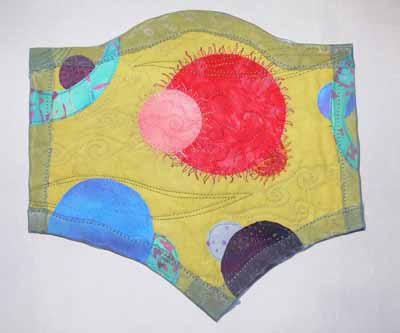
Binding with Sheer Fabrics and ribbons
Today’s tutorial will add a bit more depth to the section of the Quilting Arts article on edge-finishes published in their August/September 2007 issue. Please order a copy here so you can have the whole article, then feel free to refer to this blogpost for more in-depth explanations! I hope someday to convince a publisher to let me do a book!!!!
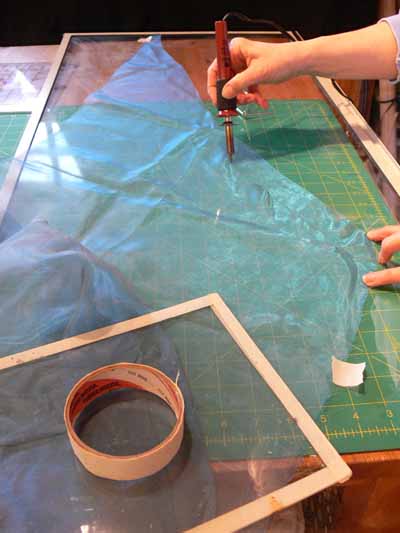
To “cut” your strips, place your synthetic sheer fabric on top of an old storm window or a piece of glass from a photo frame (tape the edges of the glass to avoid cuts). A cutting mat under the glass gives you lines to  follow. Secure the fabric with tape at each end.
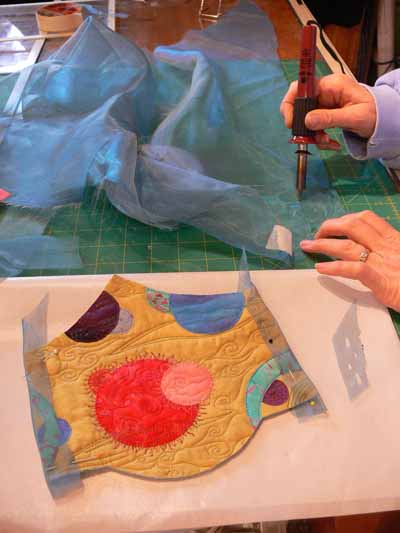
On a corner, test your heat tool to make sure it is hot enough to cut / sear the edges.
Cut your binding at least 1½ inches wider than the desired width. For a ½” edge, cut your strip 2 ½ to 3 inches.
Hints: if you sear too close to the stitching, your sheer may pull loose. Also, you might melt your threads–eeek! Practice on a scrap and on the back side of the quilt before working on the front. Keep the heat tool somewhat vertical or you may accidentally melt the binding with the hot shaft of the tool. This polka-dot look could be really fun (what if?!) on the right quilt. Here’s what not to do:
I hope these extra photos help explain how to have fun playing with sheers as a binding! If you have any questions, just ask.
Cheers, Sarah

