Conversations, Part 3: the smaller pieces and fixing it…
By the time I got to making the two small pieces, I had ONE week left, and lots of other stuff to do during that week. Can you say work fast? Under pressure? SHeesh! I really hope life slows down, because I can’t take too much more of this!
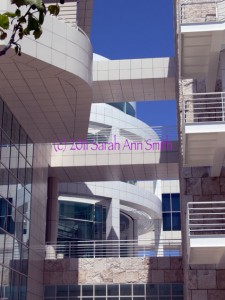
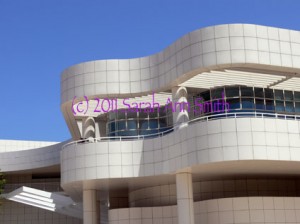
These two photos were the ones whose lines shadows most inspired me. I love the interplay between straight lines and the curved, the grid of stone and the undulating shapes, the blue sky and the white stone, and the shadows. I love how the architect used bands/lines of (metal?) whatever to create de facto louvers to shield the galleries and interior spaces from the bright sunlight, and how those bands create striped shadows on the pillars and walls.
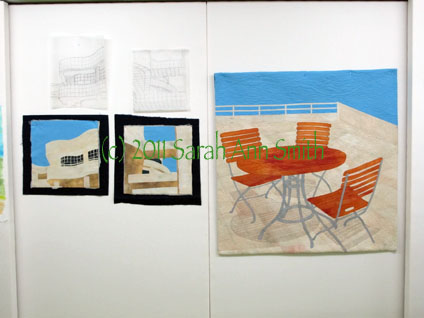
Here are the two smaller pieces, with batting and backing sticking out, and their sketches/tracings above.
Due to lack of time, I quilted both small pieces at once… I’d thread up on say ivory, quilt those areas, switch to cream and repeat, then to tan, etc. on both quilts, working my way to the dark of the windows and the sky and, finally the facings!
But I still wasn’t happy with the shadows from the table and chairs, so I went back to the now not-quite-done central piece. In the next photo you can see the two pencils plus the paintbrush.
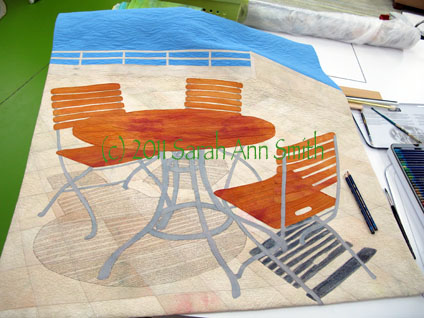
I still wasn't happy with the shadows (or lack thereof) on the main piece, which was ostensibly finished. Guess not. So I took out my Inktense by Derwent pencils (the Payne's Gray and a neutral gray) and took a deep breath
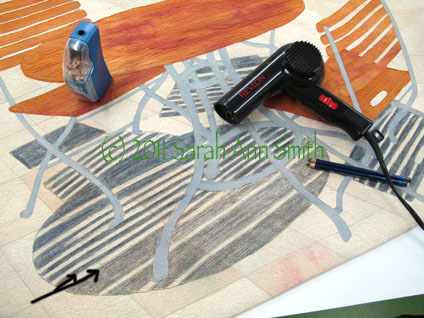
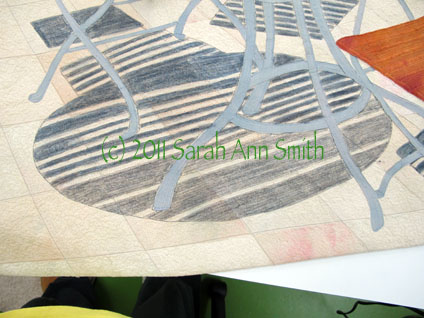
Using the pencils was a bit of a "thriller" moment: I used two colors of gray to get the shade I wanted. The lighter gray on the bottom is where I have colored over the gray quilting threads with the pencil (see black arrow marks on the photo). You can then dampen the pencil marks to create an ink and intensify the color. However, I didn't want the color to bleed into the sunny stripes that came through the slats of the table. So I took out the hair dryer! I used a damp paintbrush in my right hand to moisten the ink, and the hair dryer in my left hand to dry as I painted/wet the pencil-ink. I had very little bleeding into the sunny stripe as a result, and what I did have doesn't really impact the image much at all. PHEW...time for a nice glass of wine after that... I could have totally ruined the whole, finished thing...with just days to go before hanging the show!
The quilt was getting better and I was disliking it less. But it still wasn’t quite right to me. There was too much blue at the top. So for the show I “cropped” it by folding the top to the back… I’ll decide how much to trim off the top and re-do the facing and hanging sleeve after the show comes down. So here is a question for those of you who have slogged through these blogposts: how much should I remove from the top? Here are three VERY similar versions:
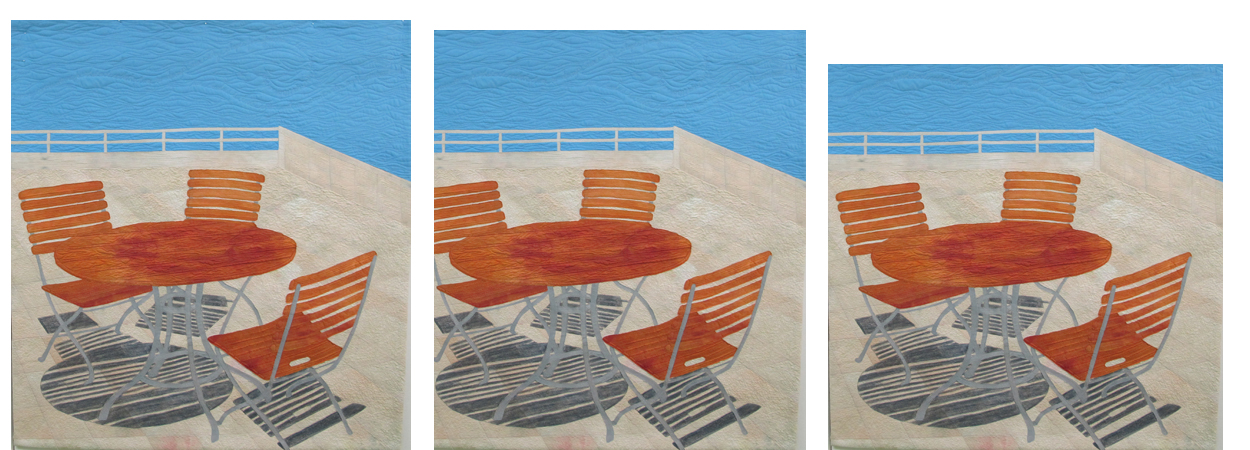
So I do I leave it alone (far left), crop a little (center) or crop a bit more (right)? Photo is clickable to see it larger...
So do I leave it alone with lots of blue, crop a tiny bit, or crop a little bit more? The photo on the far left is as made. The way it is hanging is about where I photoshopped it in the center photo, and the one on the right is close to square (think symmetry with the proportions of the two small pieces). So do I crop? How much?
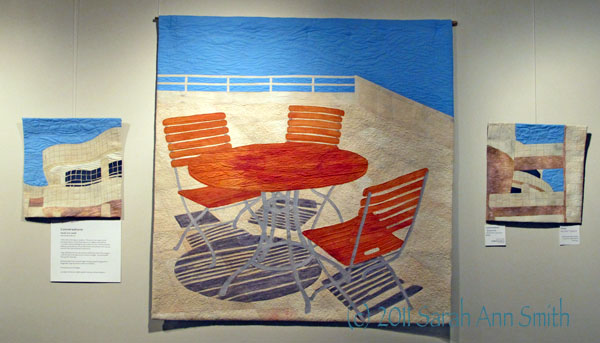
And just to remind you…here are the three pieces done and in the show:
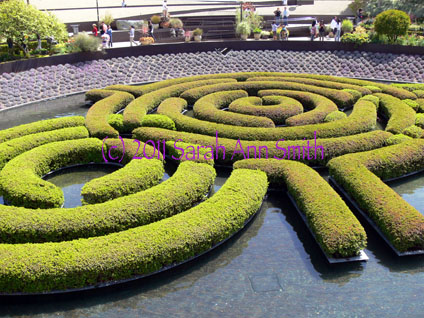
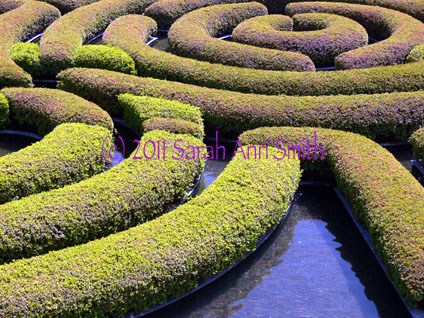
And yes….I might maybe do another quilt or two… I mean, look at this water-maze-garden-hedge… how cool is that? and the cropped version below?

August 12th, 2011 at 7:47 am
All three are pleasing to my eye. I rather like the center the best!
August 12th, 2011 at 8:31 am
Yes to the water maze hedge! Keep going with your water related quilts and you will soon have enough for a show just with them.
The tryptich looks as good as it promised to when I saw it in May. Way to go!
August 12th, 2011 at 9:01 am
The one on the right! Your pieces amaze me.
August 12th, 2011 at 1:36 pm
I like the one on the right. Love your shadow work and your sharing it with your readers.
August 12th, 2011 at 4:50 pm
A lot depends on what your feeling is about the sea/sky as to how much blue you have. However, in the context of the triptych and the importance of the shapes and shadows, then the far right version is best. Or – here’s thought that might combine two ideas – cut off the blue and hang the square piece so the blue is a separate entity above the square. Linked by ?? ribbons, chains, something that is logical to the piece. Congats on the courage to use the pencils once you had finished!
August 12th, 2011 at 5:35 pm
I prefer the one on the far left, but I always like lots of sky. For me, it is as if I were looking down on the scene from an upper deck.
August 15th, 2011 at 1:06 pm
Re chairs: Do you want it square or rectangular?
I kinda like the center one too, but you might consider, cropping the side up to the chair or even taking a corner of the chair.
And yes the water maze!