Quilt Nebraska 2011, part 3
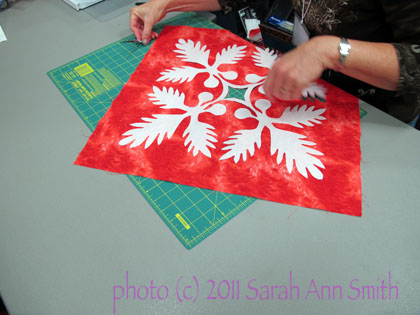
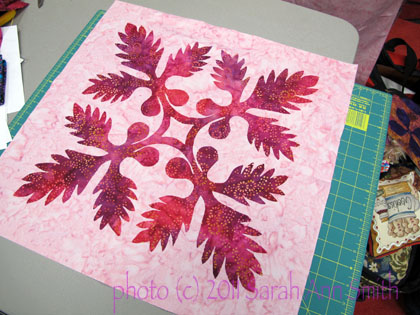
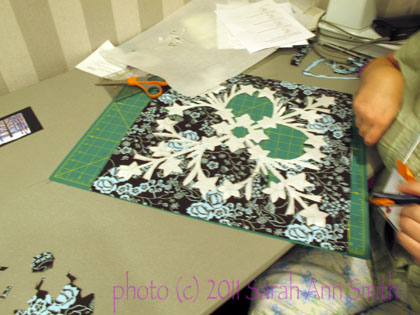
The white is the freezer paper pattern piece (the Ulu or breadfruit block), the red will be stunning!
Teaching Hawaiian style applique is always so much fun, waiting to see how the designs look in the different fabrics. I offer students a choice: dive in the deep end of the pool and begin with a block that finishes at 18-19 inches, like the one above, or give the technique a test-drive on a small 6 inch block before moving to a larger piece. Many students like the somewhat fiddly smaller pieces because they can practice on it in class, then work on their “special” full-size block at home where they are comfortable and have all their fabric stash and thread. As you can see… we had happy students…this is good!
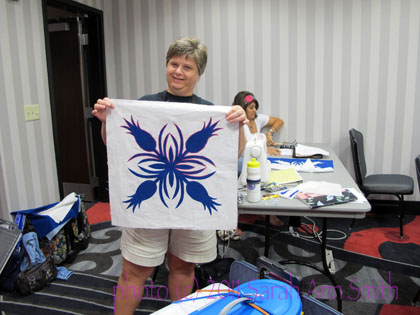
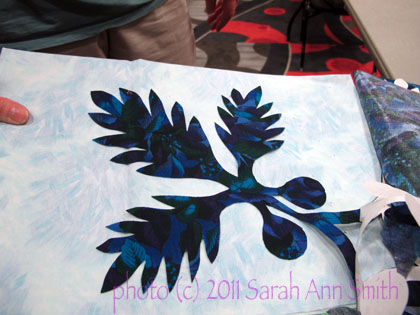
The pink thread (top half is stitched) really adds a nice dimension to the blue and white pineapple block...well done!
then
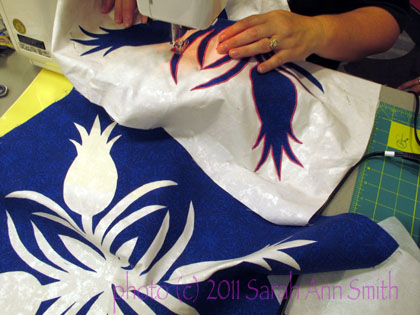
Here is the same block being stitched, plus the "negative" or "opposite" block, white pineapples with a deep blue field
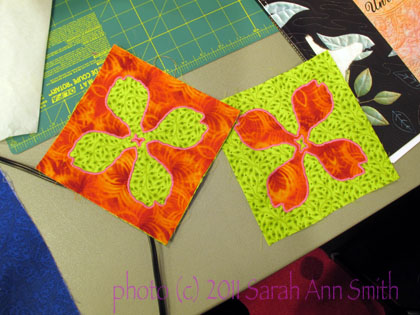
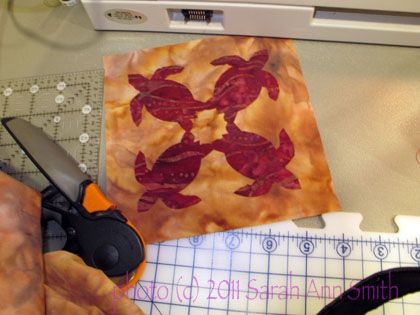
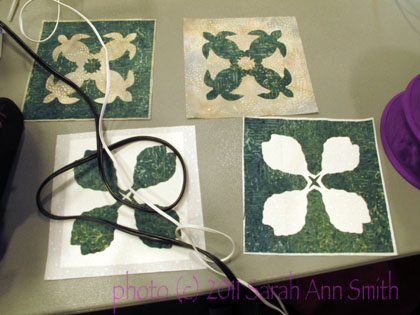
For the small blocks, students have a choice of the Taro leaf or a turtle.
Here’s a picture of the classroom:
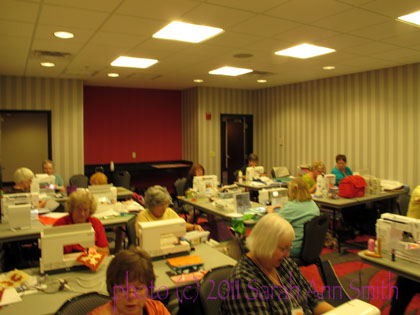
Sewing, sewing, sewing! As you'll notice, we requisitioned another table from the hallway to go down the center... the narrow tables were not roomy enough for three students each! Thanks to all the ladies for being so gracious about the cozy quarters.
And a few more of the larger squares… I just love the variety in the fabric selections!
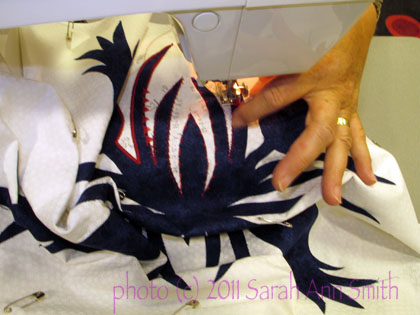
One student used her "positive" cut-out to test various decorative stitches, then wanted to work on the negative (white pineapple, dark background) at home. Great way to test...she did what I always suggest, writing notes right on the white fabric to remember which stitch, what settings. Really like that spike-y stitch!
(Oh…. tacky moment: these patterns are all from my Nourish the Body, Nourish the Soul pattern available here.)
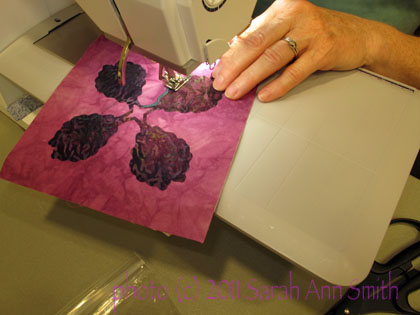
And finally, two rousing red blocks. This student looked at various threads to satin stitch, from black to white to red, and settled on an orange that will set off the edges but not scream:
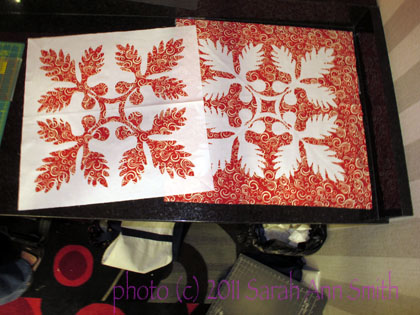
You cut one square of red (carefully) and fuse it onto two white backgrounds--two blocks for the price of one!
I had a total blast teaching in Nebraska. The students were great, the many volunteers who put this event together were great! Thanks so much for inviting me, ladies, and hope you my readers have enjoyed visiting with me!

September 25th, 2011 at 12:59 am
I think I recognize a couple of people in your pictures!!! The classes look like fun too!
September 26th, 2011 at 12:59 am
It was a great class and you were a great teacher – found my hands, a couple of my blocks and see myself way in the back of the room in your photos. Thanks for coming to Nebraska for our annual QuiltNebraska convention.
September 27th, 2011 at 7:08 am
Close quarters gives you an opportunity to chat with your neighbors! Lovely blocks all!