Dealing with the achy parts…a quick project
How to deal with aches, be thrifty and creative
So in January I was diagnosed with bursitis in my right elbow. Seemingly overnight a big bubble popped up on the outside of the elbow–like half a golf ball big. ( I hear my father saying Keep your elbows off the table! Remember that?) It didn’t really hurt, but if I leaned on the table it was annoying. For a long while I used an empty squeeze bottle (one I use for dyeing). I had first brought it up to support my wrists at the computer instead of buying an expensive do-dad for such purpose. I realized I could use the bottle to elevate my forearm so I could sit at the table as I always do, lean on my arms, but not aggravate the bubble (by the way, two months later it is pretty much finally gone). But the cat kept stealing the bottle as a toy.
I remembered those wrist supports they sell and thought “I’ll bet I could make something.” So, I did. For a whopping $1.99 for a length of foam pipe insulation (I used the kind for 1/2″ diameter copper pipe, the one with the smallest hole in the center) and scraps of cloth, fusible and batting. Here’s what and how I did it, and what I’d do differently.
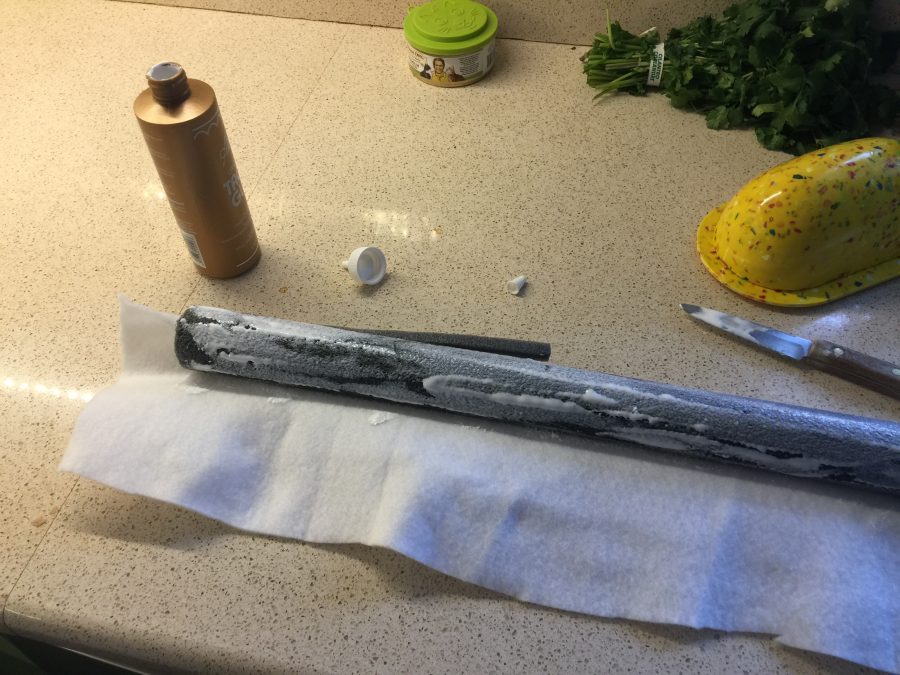
I measured how long I wanted the foam support to be, then cut a batting scrap (ya know those long skinny ones you can’t quite toss?) to fit around plus 1-1 1/2″ extra on the circumference, plus an extra 1 1/2″ on either end. Next, open up the sliced bit. Then, I used some, um…., “vintage” Aleene’s tacky glue, which meant I needed to spread it since it wouldn’t pour. Ahem.
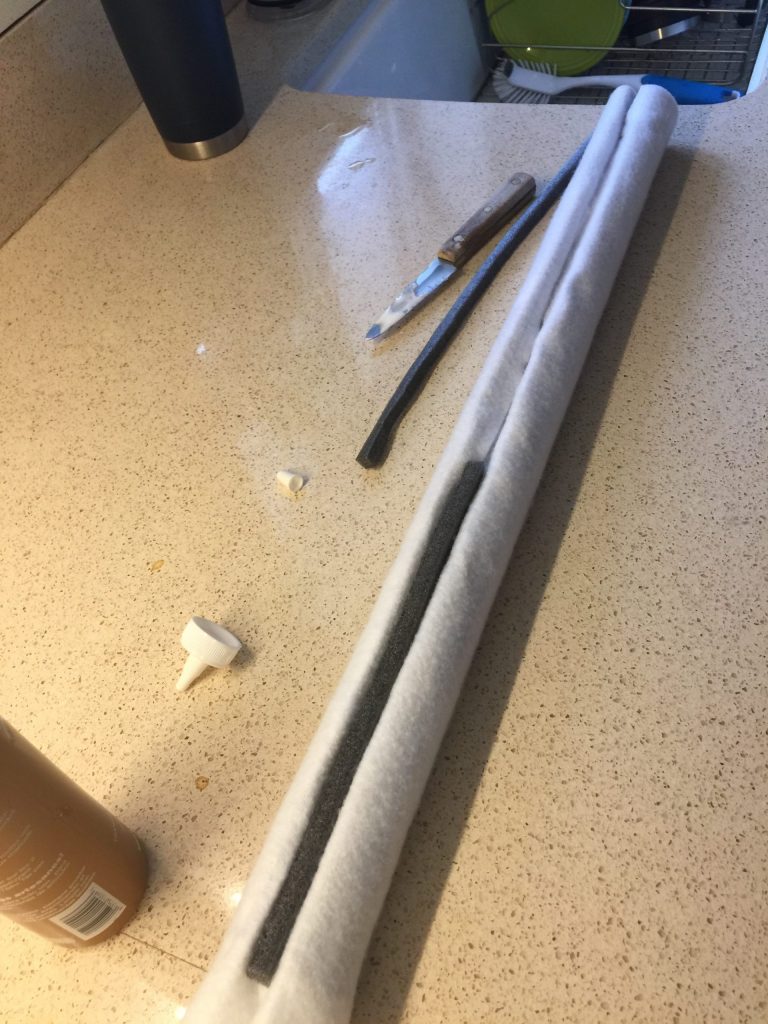
I tucked the batting inside the slot, then filled in the hole in the center with remnants trimmed for extra pipe insulation. If I leaned on the tube, it sorta collapsed, so I just stuffed it. Do NOT glue this bit! You may opt to tuck things in.
THIS IS WHERE I’D DO IT DIFFERENT:
Next time, I think I would fuse the fabric to the batting first rather than later because the outside isn’t quite as smooth as I could like.
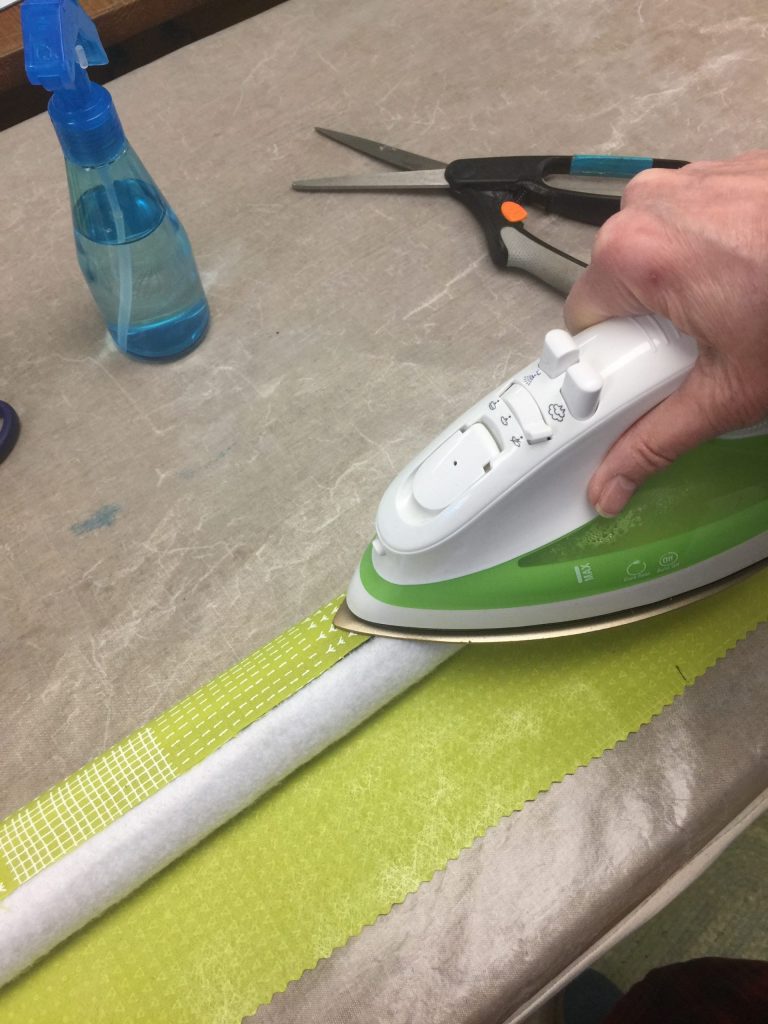
I refused my fabric (cheerful!) and fused it to the roll. If I were to make another, I’d fuse it to the batting first. I added the batting because I thought trying to fuse directly to the foam would not be successful–melted foam? No thanks.
I used a wave/pinking blade to trim the exposed edge of the fabric, overlapped the edges and fused together. Next time (if there is one), I would tuck the ends into the slice, then glue it shut.
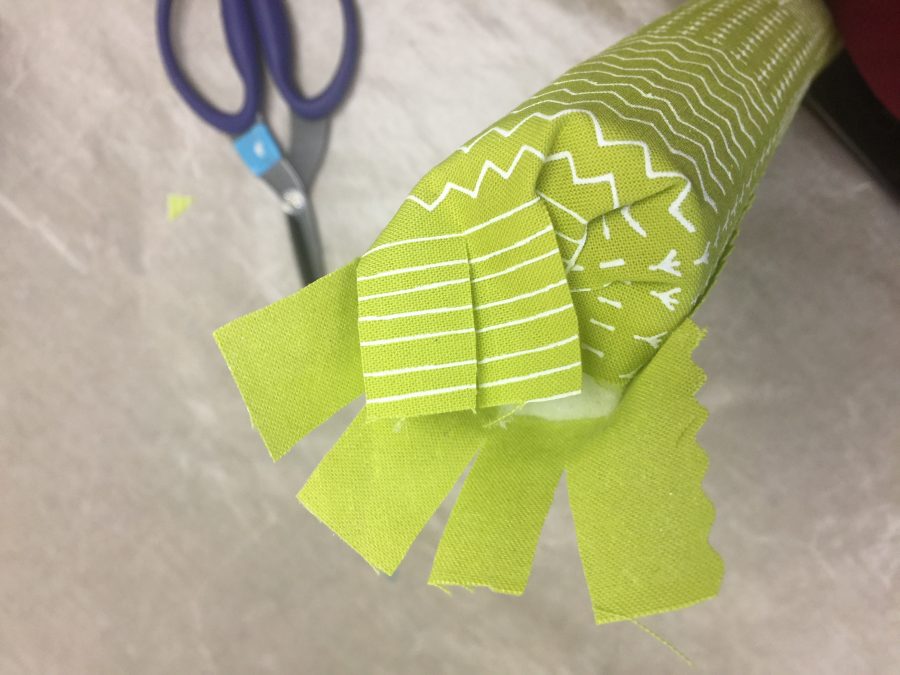
For the ends, I snipped the excess at the ends to 1/4″ away from the foam pipe. I worked my way around from the underneath edge to the overlap edge of the fabric, fusing as I went. By not cutting to the outside edge I got a neat fold that won’t ravel.
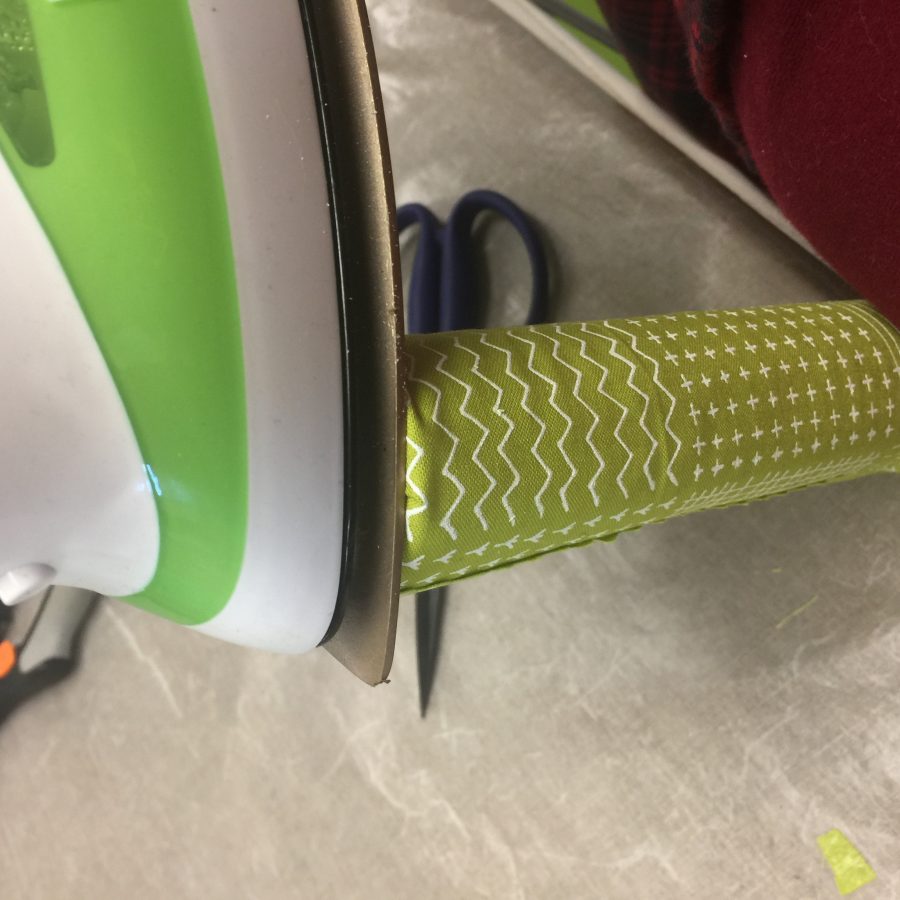
Just place your iron on the end and fuse as you work your way around. When it’s all down, hold the iron on the end for a bit extra to get it to really stick.
PS: Best fusible in the world: MISTYFUSE. Hands down. The Best!

And here’s my end.

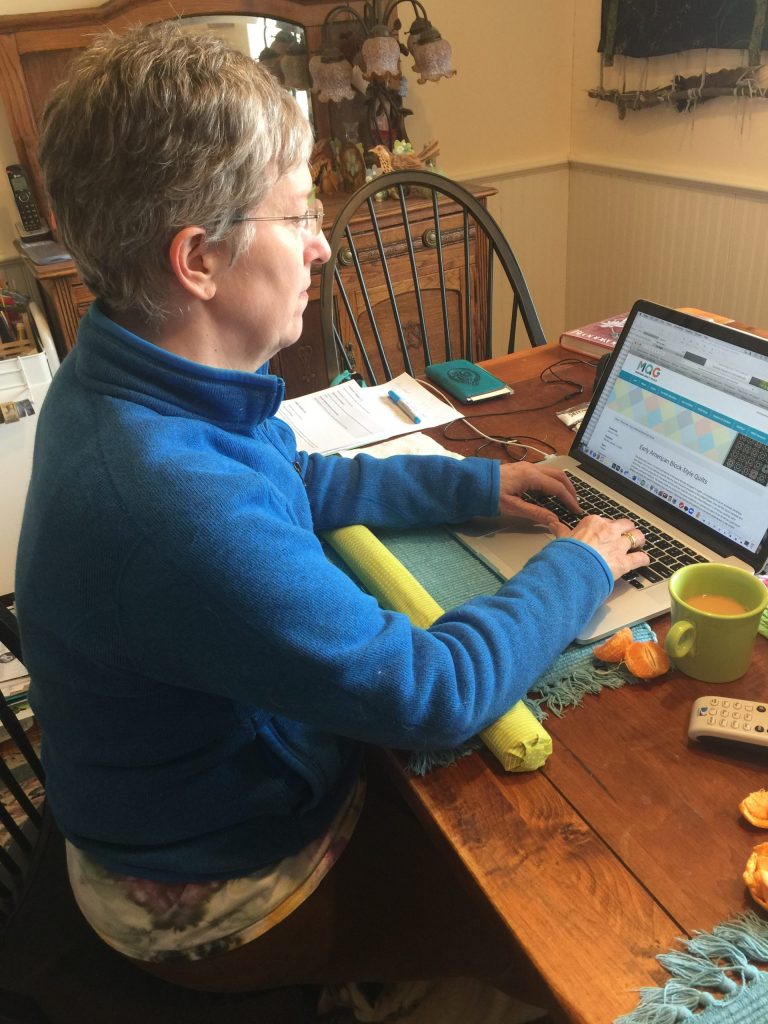
Using the roll as a support for my forearms, which keeps my wrists straight and not bent (since the arthritis in the wrists acts up when bent).
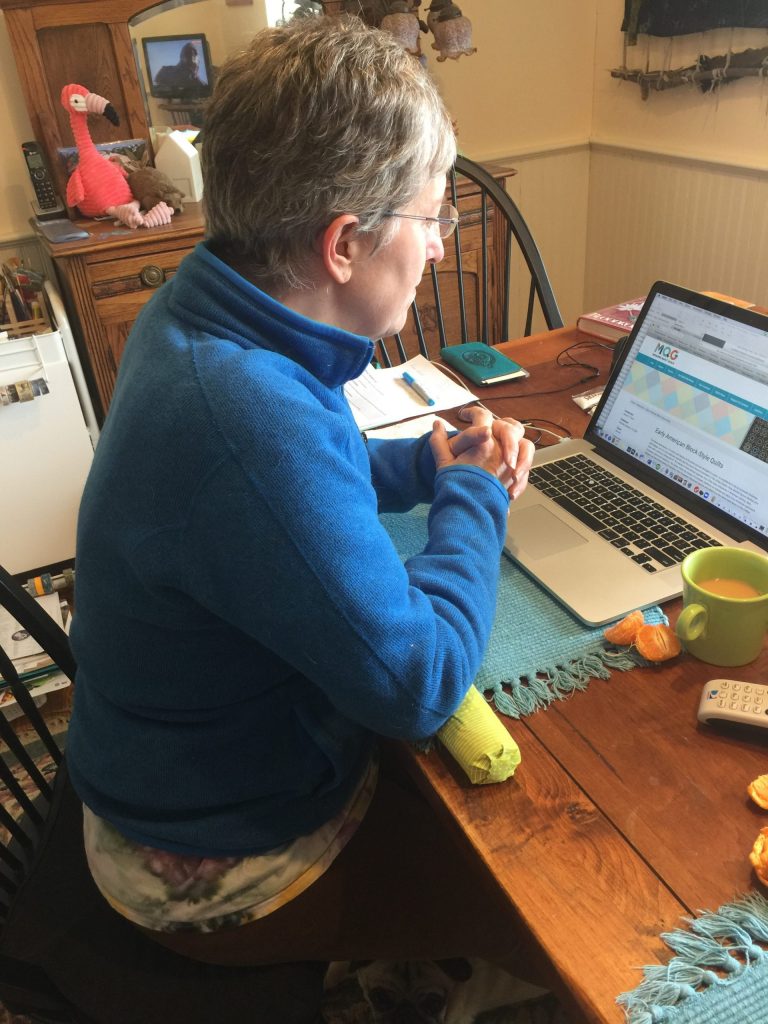
How I spend way too much of my life…at the laptop! Business and friends and internet happen!
Hope this mini tutorial will help you or someone you know. Thanks for reading!