email Youtube

Home
Galleries
Blog
Workshops & Calendar
Store
Resources
About
Contact

Author Archive

It’s going to be a White Christmas!!!!

Thursday, December 23rd, 2010

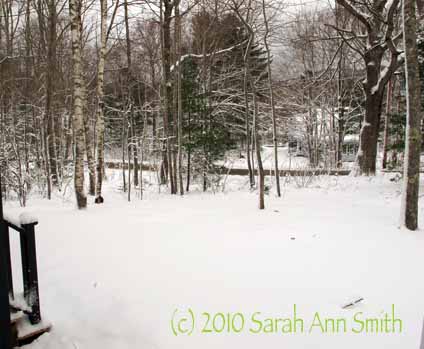
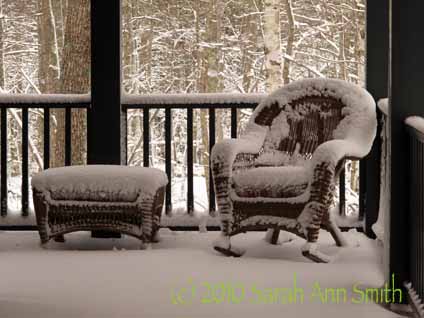
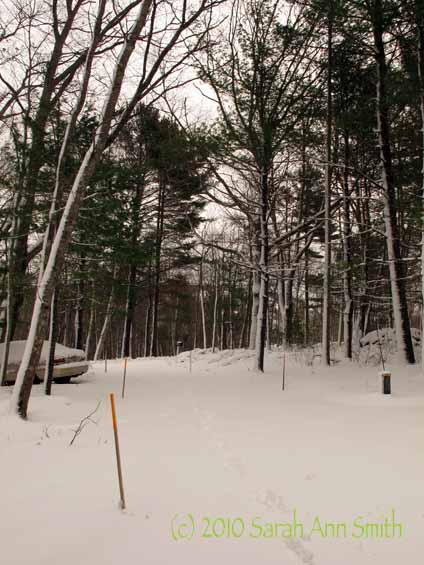
Here’s what we woke up to this morning….much more snow than anticipated…WOOOHOOO!

Looking over the front lawn to the street

The front porch...hmmm....

The driveway---or it will be once we shovel!

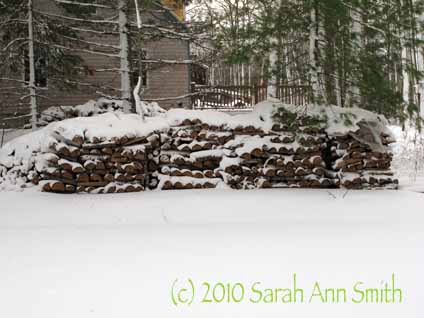
And a perennial favorite of mine, snowy woodpiles!

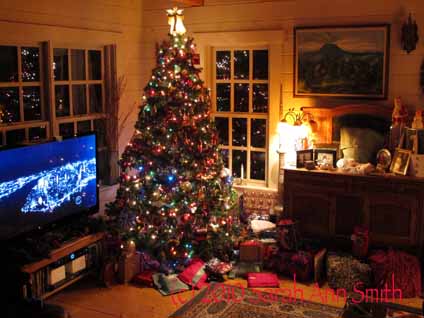
The tree is up!

Saturday, December 18th, 2010

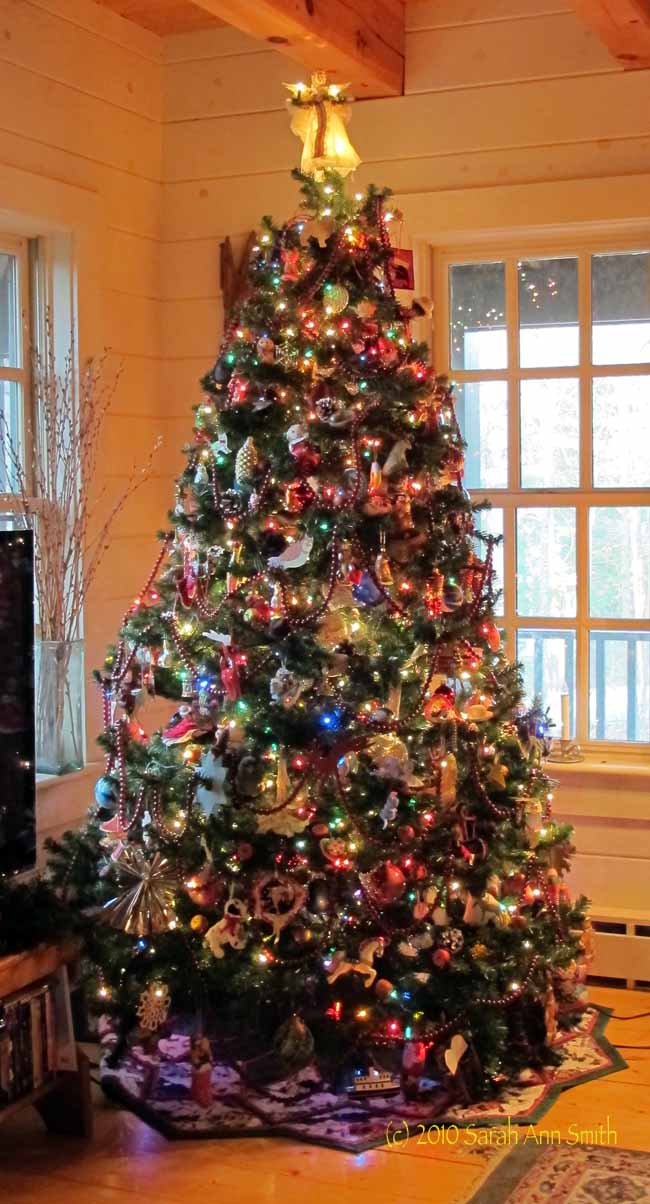
Eli helped a lot… it is so wonderful to have someone else in the family who totally “gets” the tree thing, and the tradition, and is interested in which ornaments came from where (literally all over the world!) and when…. and that would be me and Eli!   We assembled the tree (more on that in a sec) and got the lights on over the weekend, and the ornaments on yesterday!

The tree!

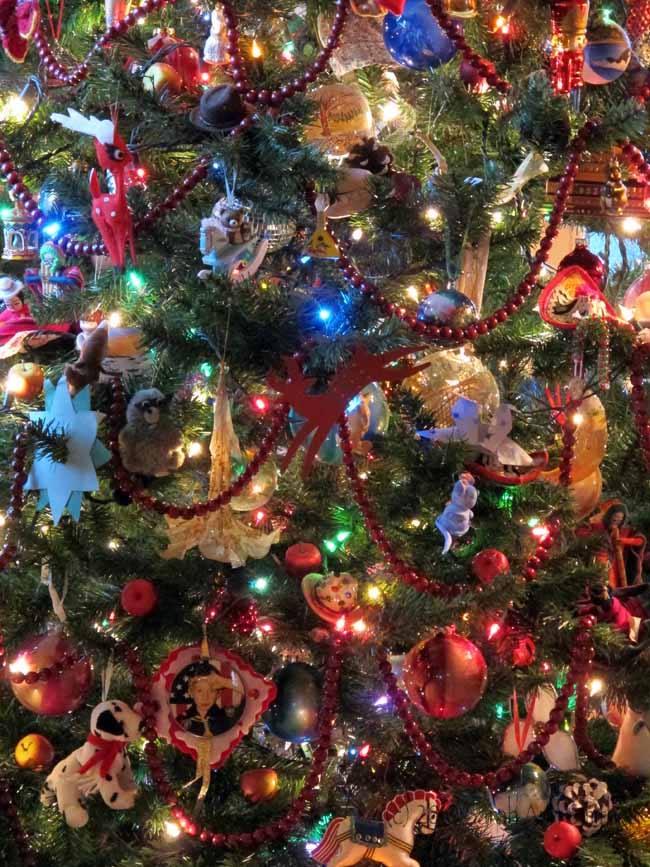
Here’s a close-up.  Even *I* will admit my ornament collecting (it was supposed to be one a year, but is usually more what with gifts from friends and my inability to stop at one of the purchased kind too….).  We’re hoping in the new house (moving locally in late January, fates willing) that the tree will be in a spot where we can reach the back side of it so we can spread out the ornaments!

LOTS of ornaments! On the center right, a chola from La Paz, Bolivia, on the center left one Eli made, the red reindeer is from when I was in about 1st grade and to his left a painted lantern from my last overseas trip with the Foreign Service to Moscow. Tthe tin reindeer is from the Waterford Craft Fair in Virginia, Top right has an orca from when we lived in Friday Harbor; the cub scout is Joshua back in first grade (and it was a Cub Scout project). There's a trillium stained glass on the lower right from my assignment to the US Consulate in Toronto (Trillium is the official Ontario flower), there are miniature Bolivian hats here and there, and in the top right a wooden US capitol purchased when we lived in DC on Capitol Hill. And sort of in the center, Eli's origami bat (made in school) and a little foamie mousie he made, too! Our life, on a tree!

As for “assembling the tree.”  You might wonder why a family that lives in the Pine Tree State would have an artificial tree.  Well, when you are in the Foreign Service and live all over the world, you had best take your Christmas goodies with you.  La Paz, Bolivia, for example, was in the barren, nearly treeless, Altiplano.  The next overseas assignment was in Gabon, in Central Africa.  LOTS of trees….jungle!….there.  But Christmas trees?  Not quite.  So we had an artificial tree that traveled all over the world with us.  And by about 1995 it looked like it had been around the world.  We donated it to a charitable auction (they decorate trees and auction them) and bought a new one on sale after Christmas.  It was also larger, to better house the growing ornament collection.

Fifteen years later, I think I need to prune what goes on the tree every year! Even the larger tree is crowded.  That’s in part because Mom sent me ALL the ornaments I had sent mom and dad over the years.  The good news is that when the boys have their own homes, I can divide up everything into three piles, and each of the boys will have  a matching set since I usually bought one for mom and dad and another of the same for me—two sets!  Good thing we didn’t have three kids!  So that’s my story…  after nearly 30 years, we’ve had two trees.  I like them. They’re part of the family tradition just like the ornaments.  Enjoy the love and the lights of the season, Sarah

Piglets are cute, even when they aren’t pink

Thursday, December 16th, 2010

OK…this was too adorable not to share!  This version is shortened because parts of the original (see link below) have songs that aren’t exactly used according to copyright.  But I’m putting this version instead of the silent, longer one since I love the animal sounds:

PS…I originally saw it at http://www.wimp.com/swimmingpiglet/ where it has a fun song track, so click on the link if you want the whole shebang.  Enjoy!

Another Free-Motion class sample

Tuesday, December 14th, 2010

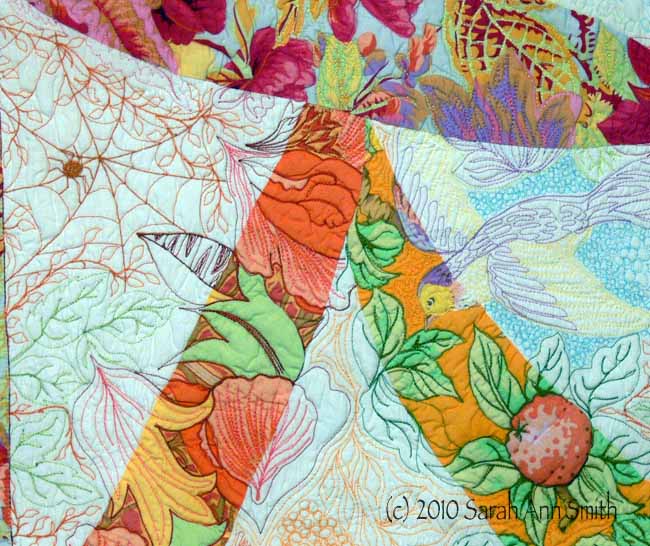
detail from the most recent free motion sampler--should be clickable for a larger view in most browsers

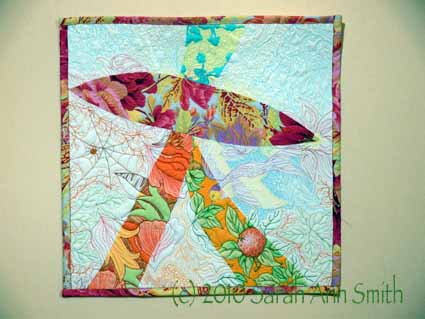
In my previous post, I shared The Ginormous Quilt (I may have to actually NAME it that!) inspired by Jenny Bowker’s quilt sampler and my variation on her theme.   I was able to see Jenny at Quilt Festival in Houston, have supper with her and Aussie friend Lisa Walton (of the gorgeous hand-dyed fabrics, here), and Jenny invited me up to her class one morning before the class began to see her other samples.  I thought I should try a few variations on the theme myself but, unlike Jenny’s samples in Houston, introduce some curves into the process.  Here’s my original variation on Jenny’s idea:

And here is the most recent one–and yes, *I* actually *pieced* that!  What’s become of me?

Free-motion sampler, before washing

Since I have the Ginormous thing, I wanted to test out various battings before spending a bundle to have it basted on a longarm.  The good news is that wool batting does not alter the whiteness of the sashing enough to be noticed, so if I want to I can use a wool or wool-blend batting. In this sample, I used Hobbs Heirloom Wool, which is quite puffy.  To use a Pamela Allen (if you’re not familiar with her work, click on her name to visit her website and prepare to spend a good long while being inspired!)  word, I like the “puffosity” of it.  The bad news is that you need to baste MORE with wool batting than with cotton or  you get some slippage and bubbling.  Ahem.  Basting is NOT my strong suit!

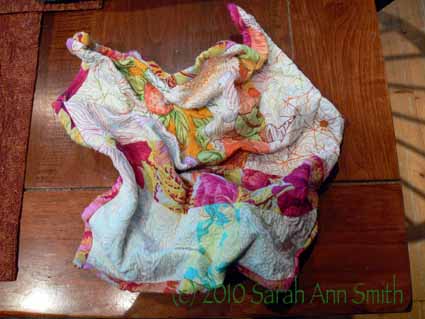
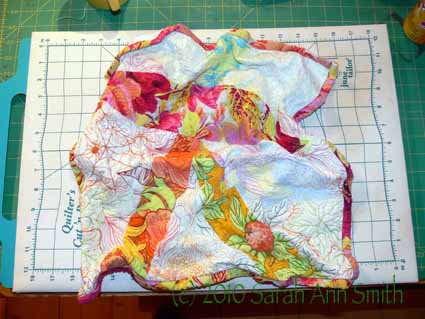
Since the Ginormous Quilt is to be a used bed quilt, with cats sleeping on top of it and getting it seriously hairy, I need something that will wash up nicely and easily without fuss.  So I tossed the sample into the washer and dryer with the regular washing.  As you might gather, I’m not a fusspot about some things.  This is what it looked like straight out of the dryer….gulp!

After machine washing and drying, wool batting (shrinkage expected!)

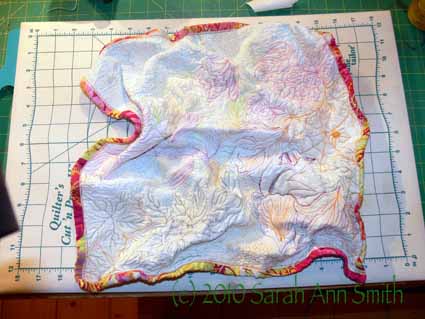
I took it upstairs, misted it with water and pulled it out a tad—here are back and front before ironing:

After machine wash and drying. Misted with water and pulled out a little.

Back view, after washing, drying, and a light mist of water prior to ironing

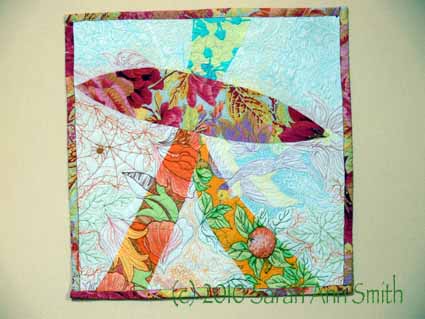
After ironing, it is much better and an inch smaller than before washing/drying:

After washing, drying, misting and ironing. Notice the ripply straight grain bindings. This is why I ALWAYS make bias! This was as a sample of why I don't like straight grain....

I REALLY dislike straight grain bindings, but given how little of the fabric I had left, I decided to do a straight grain binding.  This sampler is a perfect example of why:  ripples.  UGH.  The teaching part of this section of the quilt is “why I don’t do it this way”.  Ahem.

The bottom line:  despite the apparently horrible crumpliness of the quilt straight out of the dryer, I think this soft, light, drapeable wool batting (Hobbs) could work.  I would simply tumble dry to “damp” instead of “dry”, then let it air dry the rest of the way.  Of course, there is the question of whether or not it would fit in a home dryer! My sample was just under 18 inches before quilting.  It was, after squaring up after quilting, 17 inches with binding.  After washing, it is 16 x 16  inches.  This shrinkage was expected and planned for in constructing the top, which I made oversized so that when hubby and the cats hog the covers I will still have enough quilt  left.  Smile!

I have at least one other wool batting sample, by Pellon, and plan on also making a comparable size  with the Quilters Dream Wool and another with their cotton batting, which is one of my favorite cottons.  All samples will be machine washed and dried…I am absolutely NOT going to fussy-wash a quilt that is nine square yards huge! When I get them all done (probably in about a year…sigh…) I’ll share the final comparisons.

Quilters’ Favorite Things

Saturday, December 11th, 2010

Maria Peagler, whose book on Color Mastery is designed to help you get over your fear of playing with color, has just published this video on her blog and facebook pages.  If you’d like to vote for your favorite and win a free (my book, her book, Inklingo or fabric), take a look at the video, the surf over to Maria’s place and vote (more on that below).  Here’s the video:

Maria profiles four must-haves for quilters, starting with my book, ThreadWork  Unraveled.  Most of you who visit here have heard plenty about the book, but just in case, there is more info here plus lots of very kind reviews of the book on Amazon (and if you’d like to add your own review, please do!). Maria’s Facebook fan page is http://www.facebook.com/colormaster .  You can visit the page even if you’re not a member on Facebook.

Maria also shares Linda Franz’s Inklingo, a system for  precise piecing using any size scrap.  Linda is the author of the FANTABULOUS Quilted Diamonds, which is a diamond-variation on the theme of the Jane Stickle (Dear Jane) quilt, liberally salted with Jane Austen quotes, and which has some of the BEST hand piecing and hand applique directions you’ll find.  I treasure this book–clear, precise directions, stupendous photos…a keeper! Linda’s website is here, and more about InkLingo is here.

Third on Maria’s list is a Clothworks kit with the fabulous Laurel Burch fabrics.  As many of you know, the talented artist died not too long ago, but she spent a lot of her last years making art which her children could then turn into prints and designs for the many facets of Laurel’s work which include not just fabric, but mugs, earrings, totes, socks…..lots of fun things! You can find the kit here.

Finally, there is Maria’s own award-winning book, Color Mastery.  To learn more about her book, check it out on Maria’s website, here (scroll down to the bottom for the link to purchase Maria’s book).

To vote and have a chance to win your favorite, click here.  First it appears you need to “like” the post.  Then click on the photo of each of the items;  you can leave a comment to enter to win.  It appears, however, that you may need to be a Facebook member to actually vote.  Give it a try and see if you can vote! Update:  Linda Franz posted really good, thorough instructions on how to vote here.   Thanks Linda!

And if you’re not the lucky winner but just HAVE to have one of these items they are (what a surprise…not!) available from the maker!  I hope  YOU win!