email Youtube

Home
Galleries
Blog
Workshops & Calendar
Store
Resources
About
Contact

Author Archive

More Drawing….

Saturday, June 6th, 2009
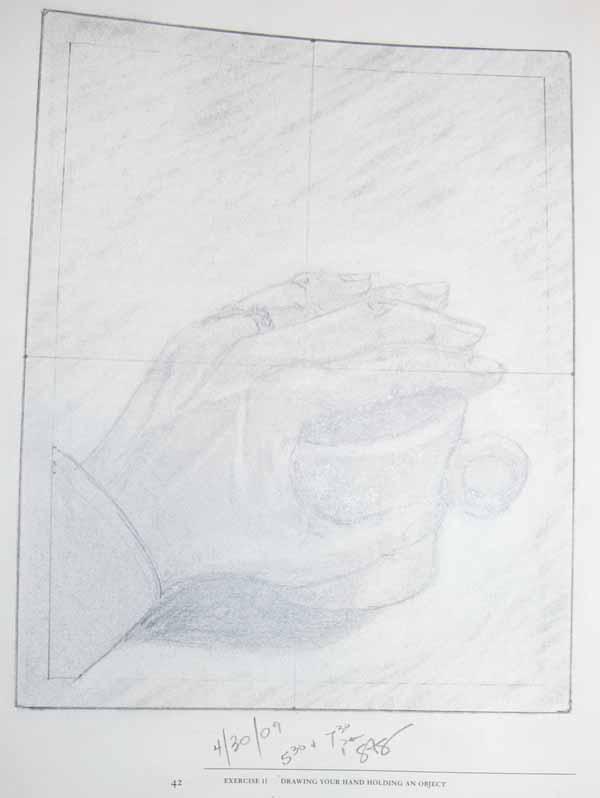
Hand on mug

Hand on mug

One of the next exercises in The New Drawing on the Right Hand Side of the Brain is to draw your own hand using the “window.” (more on this in a sec)  PS–pictures in this post are (well…should be…) clickable for a slightly larger view.

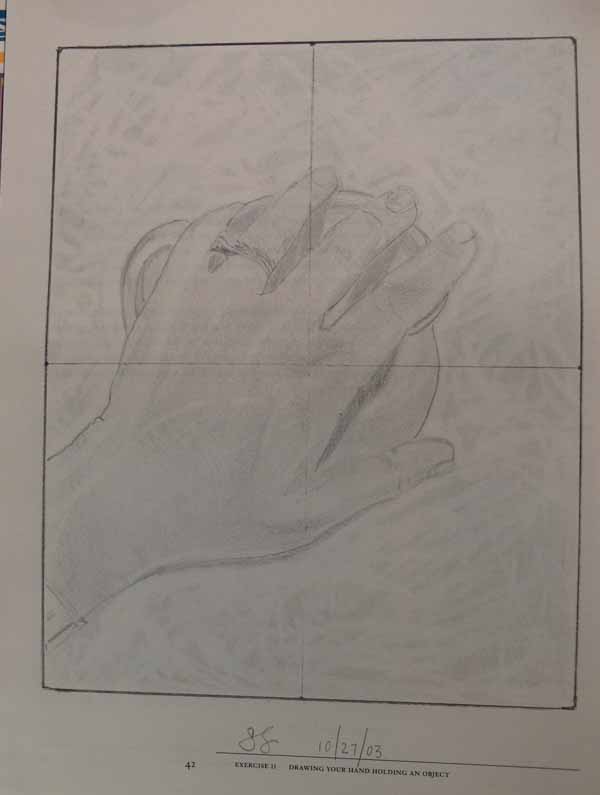
The drawing above is one I worked on about six weeks ago (and haven’t had time to do much drawing since!).  I didn’t look at my old workbook prior to doing this exercise, which wanted you to hold something in your hand.   What a hoot… here’s the first attempt from 2003 (eeks it was THAT long ago?):

200905blogdrawing010

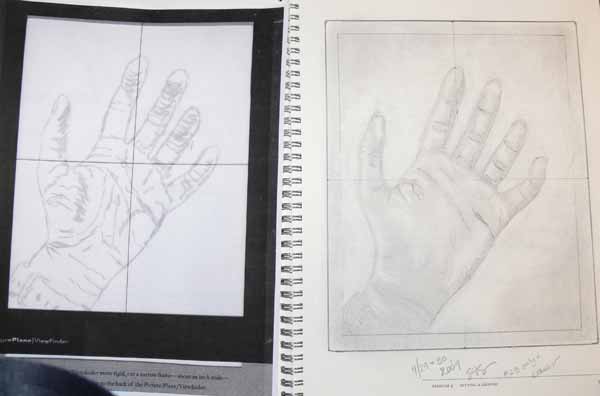
The Window is a piece of plastic with cross-hairs on it.  You make a cardboard frame to make it rigid, then look through it to divide the object being drawn into quadrants.   Doing this helps train the eye to see the foreshortened object, in this case hands.

Here is a picture of a foreshortened hand done using the window this year.  I left the wash-off pen markings on the clear plastic window, on the left side, for you to see how placing your hand underneath allows you to just trace the outlines–presto, one of the hardest thing to do (foreshortening) made easy!:

200905blogdrawing003

And here is the same exercise from 2004 ish–I used a different background technique in 2009 than this one just to see how it would look.  I like the dark background better I think…..

200905blogdrawing011

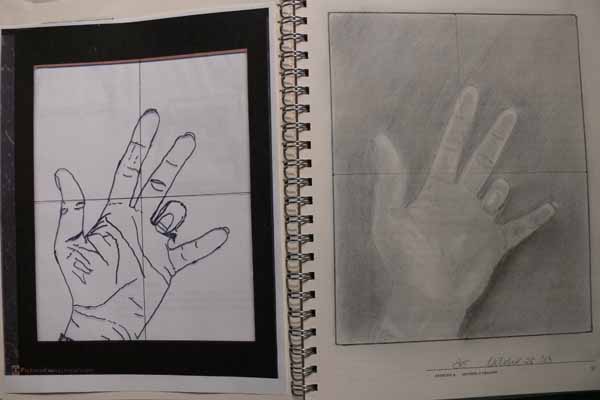
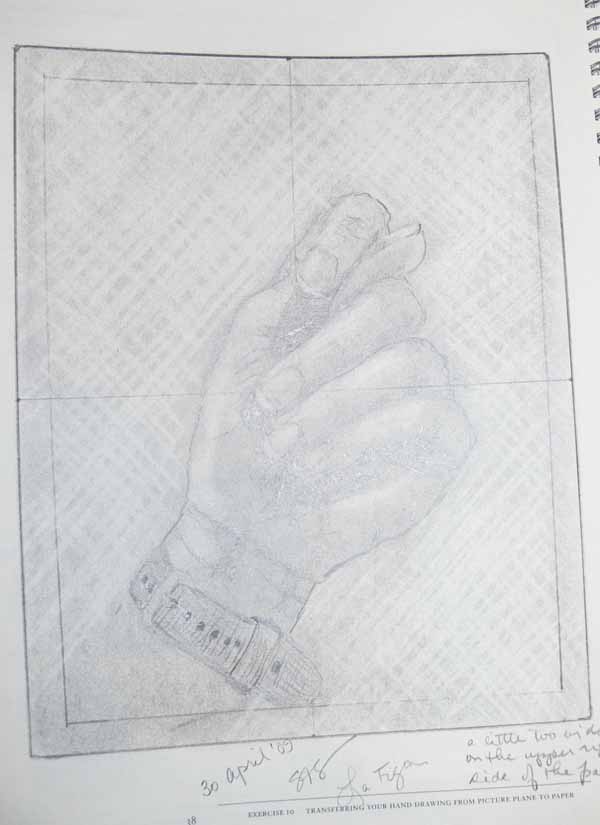
Basically, I think I just need to draw more….Here is one last exercise (I’m doing more of them this time as I KNOW I need the practice):

200905blogdrawing002

I like the cross-hatched (with eraser) background on this.  My hand is in the “figa” …with thumb tucked between the fingers.  I did this naturally as a toddler; we lived in Spain at the time and it is considered good fortune if one naturally makes the figa.  I hope so!

The Frayed Edges — May 2009, Part 1

Tuesday, June 2nd, 2009

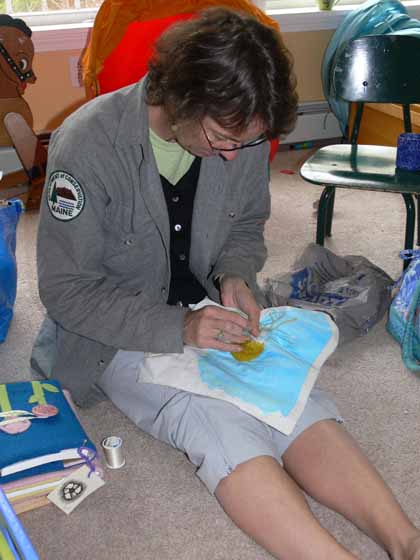
A couple Mondays ago my mini-art-quilt-group got together, this time at Hannah’s house down the Harpswell peninsula.  It was a lovely quiet day, and a much needed respite from our insane daily lives….   When we first started our group in 2005 (OMG HOW has it been so long? ), we worked on various new techniques or projects in our meetings, and we decided to do a round robin of art books. Instead of doing a round robin quilt, we would instead make pages for each other.  We were each free to pick the size of the book and theme (or lack thereof).  Deborah chose numbers, Kate chose hands, Kathy chose the sea, and I chose Isabel’s fruits (Isabel Allende wrote a book called Aphrodite:  A Memoir of the Senses, which is about supposedly aphrodisiac foods….folks could pick anything from her book, or anything they considered aphrodisiac).  Here’s a link to an older blogpost about my book.

200906blogfrayedmay006When Hannah joined us about the time Deborah was about to move to Texas (SOB, yet again) , we talked about doing another round on the books so we could get Hannah a book, too. Well, at long last we have begun to make and trade pages!  The photo above is of Kate continuing to work on one of Kathy’s pages.

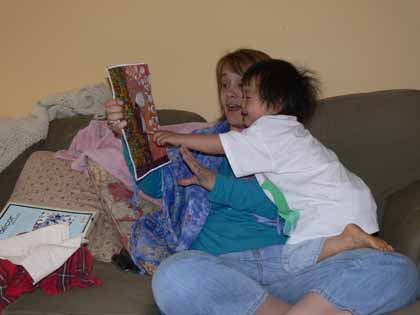
For this round, we gave ourselves the option of changing themes.  Kathy, Deborah and I kept the same ones (the sea, numbers, and Isabel’s fruits), Kate changed from hands to hearts, and Hannah selected Mothering.

Here is Hannah, being a mom with her youngest daughter, sharing her first ever page for her Mothering book:

200906blogfrayedmay003

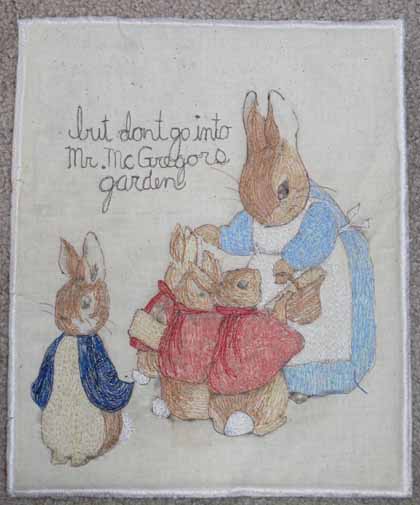
Kathy made these two pages.  The Peter Rabbit is, I believe, a transfer which Kathy free-motion stitched and decorated.

200906blogfrayedmay001

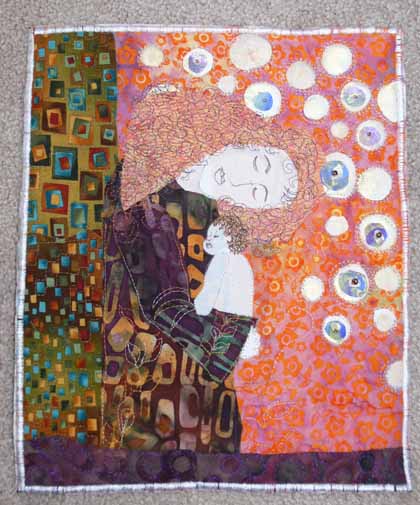
The second page is based on a painting by Gustav Klimt and is glorious:

200906blogfrayedmay002

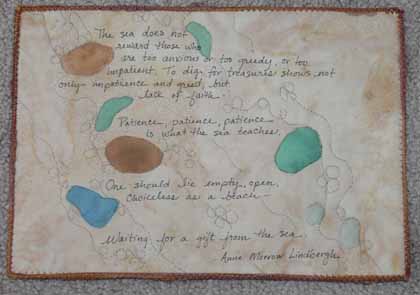
Kate worked on Sea pages for Kath, including the jellyfish one in the photo above, and this one which is a quotation from Ann Morrow Lindbergh’s Gifts from the Sea:

200906blogfrayedmay007

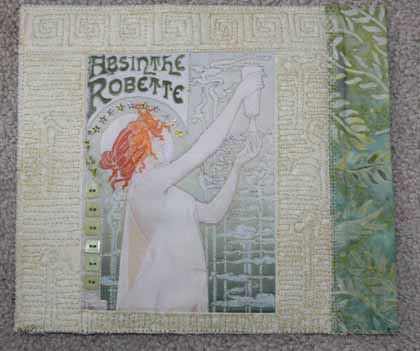
Kathy made two GLORIOUS pages for mine; both Absinthe and Lavender are on Isabel’s lists….   The absinthe page is a transfer onto silk with decorative threadwork, and I adore it… I wish the luminescence of the silk showed in the photo:

200906blogfrayedmay005

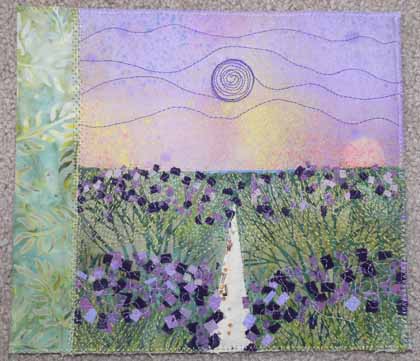
And here is the lavender; my dear late father-in-law lived in Sequim which is home to many lavender farms, plus there was one on San Juan island where we used to live, and this is exactly how they look:

200906blogfrayedmay004

Aren’t I lucky to be amongst such talented and wonderful people?  In a post soon I’ll share the pages I made for Deborah, Kathy and Kate (still working on Hannah’s).

And no post would be truly complete without the meal:

200906blogfrayedmay014

YUMMM!

Spring…yes, it is still spring in Maine

Friday, May 29th, 2009

Albeit LATE spring…..   I took some photos the past couple weeks and thought I’d share with you all:

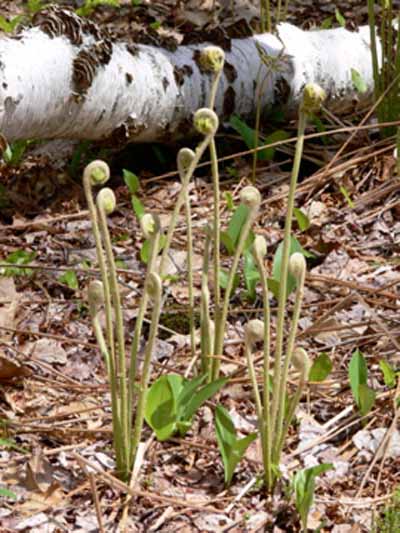
The fiddlehead ferns are the true sign that spring is well underway…this was about two to three weeks ago:

200905blogspring006

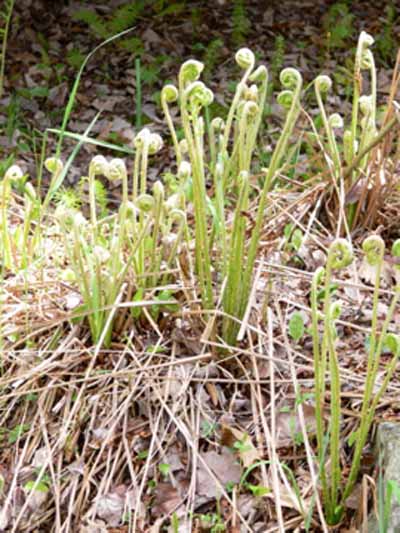
I’ve never actually eaten fiddlehead salad, which is the unfurled buds/tops with vinegar.  I am told by Mainers that it is an acquired taste, and one best acquired in childhood (presumably meaning it’s not so good later on).   And here, the wider view of the ferns–and yes, there is a fiddlehead quilt in my future…I keep thinking it would be cool to ghost a real fiddle into the background:

200905blogspring005

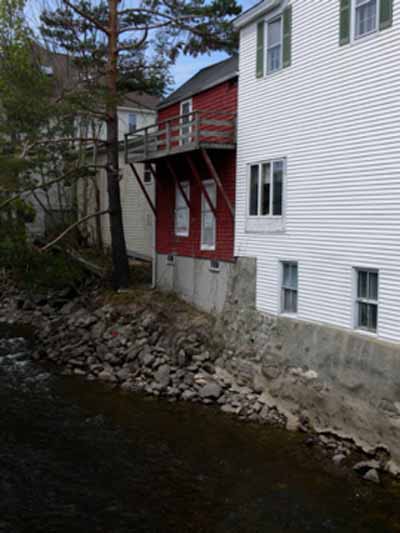
In spring, with the runoff, the small Megunticook river rises.  It literally flows under Main Street (which is one block long), under the businessess, and down the falls into the harbor.  On the up-river side of the street there is a bridge area which is lovely…. I love the angles in the siding and balcony and supports:

200905blogspring004

Here is a wider view…it’s not as good as a photo, but gives you the context for the one above:

200905blogspring003

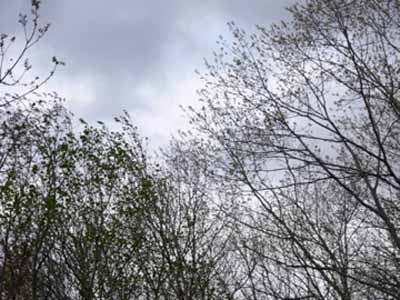
And here are the trees:

200905blogspring001

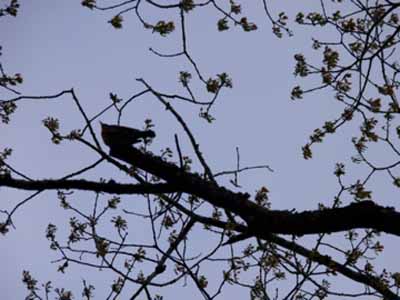
Eli took this photo, and we think it is a flicker of some sort up in the branches:

200905blogspring002

Drawing Upside Down

Tuesday, May 26th, 2009

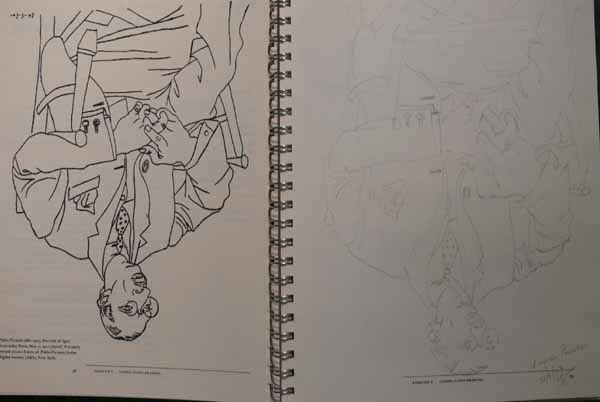
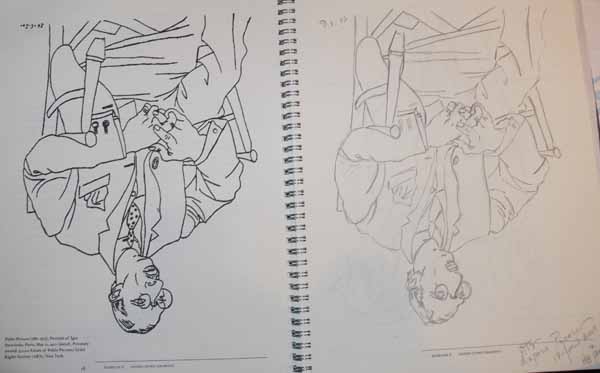
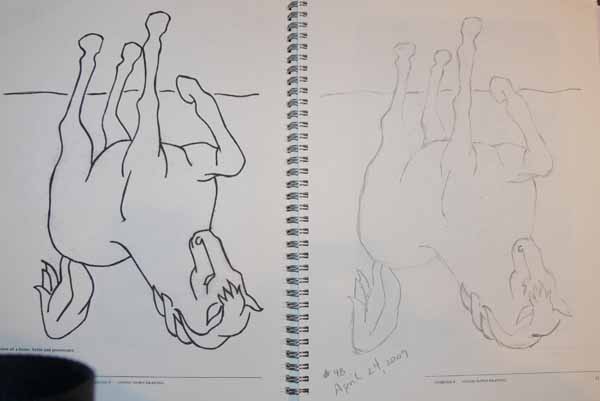
One way Betty Edwards has taught students to see what is actually there—as opposed to what they THINK they see—is to have them draw things upside down.  This skill is part of what she calls “Perception of Edges.”  (As always, these exercises come from The New Drawing on the Right Hand Side of the Brain, available at Amazon and elsewhere.  I purchased the companion notebook so I would have everything in one neat and tidy place, but you don’t need the workbook.  You can do all the exercises on your own paper.)

Here is a drawing by Pablo Picasso and my attempt to duplicate it in pencil from five years ago.  Not great…obviously it is larger than the reproduction on the facing page…sorry the sketch is so light…I tried the merge/layers thing to darken it, but my photoshop skills aren’t that advanced….

200905blogdrawing0122

Here is my 2009 version.  Better.

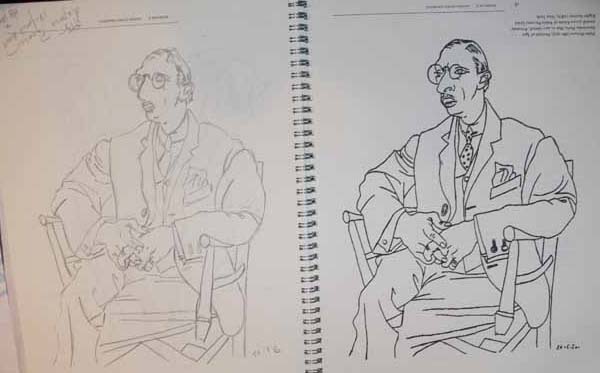
200905blogdrawing006And right side up:

200905blogdrawing006b

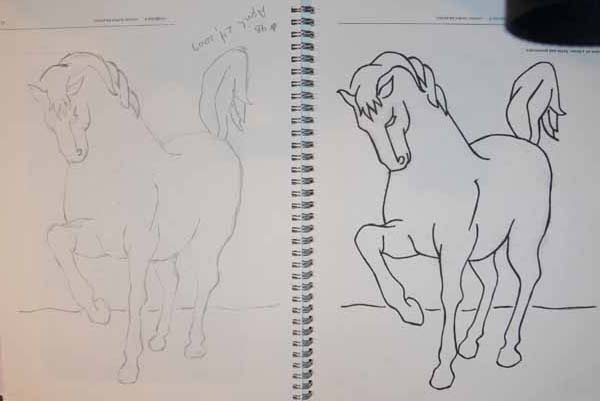
This time I decided to do all the upside down exercises (one still to go I think).  Here is a simple line drawing from a horse.   It makes me think that doing the exercise with a child’s coloring book could be useful…..

Upside down line-drawing of horse

Upside down line-drawing of horse

And right side up:

200905blogdrawing005b

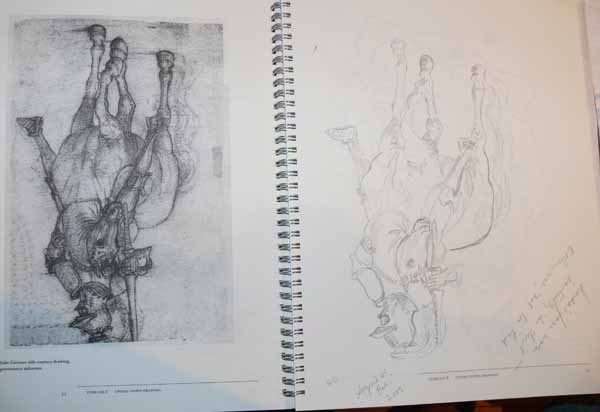
I was VERY happy with how this turned out, as it is much more complex to me.  The horse’s face was not quite right.

200905blogdrawing004

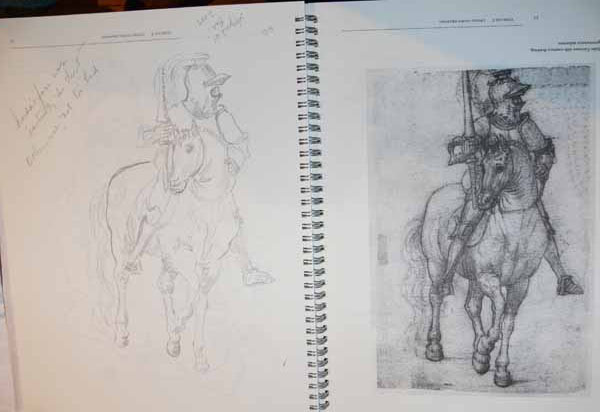
When I turned the picture right side up, I saw it instantly and was able to improve it.

200905blogdrawing004b

I don’t think I got the lance (in the knight’s left hand) quite right…. the head / helmet area might need some work, but also, life happens and I couldn’t spend all my time drawing….  good enough.  At least I’m practicing.

Sarah’s Hunter’s Star top

Sunday, May 24th, 2009

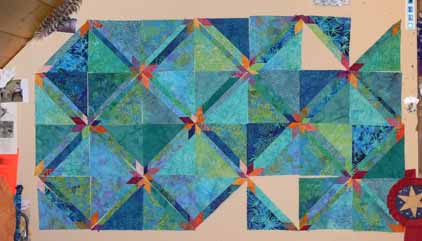
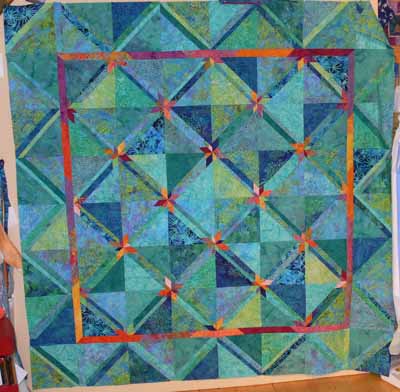
I promised that I’d share the top I began in the Jan Krentz Hunter’s Star workshop, so here you go!  Since my goal for the class was to get hints on improving my teaching, and since I haven’t made a pieced top in YEARS, I was fairly laid back about what I would do.  I selected “Caribbean” colors from my stash (yes, I have a goodly sized stash, and did serious reduction of the aquas!).  To make matters worse, since of COURSE I couldn’t do the quilt top just like the teacher said but instead had to do my own thing, I had an arithmetic hiccup while calculating, and now have enough blocks cut to make TWO 68×68 tops.

200905blogkrentz010

My blocks finish at 8 inches, so the total quilt is about 66 1/2 inches before quilting (which usually shrinks it up a couple of inches).

Before the class, Jan had sent me a jpeg of a student’s piece using two different sized diamonds.  I LOVED the motion, so decided to make FOUR different sized stars.  In the end, that proved to be too much, so I selected two of the sizes for the first top, and two for the one that will be made at some point.  Ahem.  The photo above is the blocks I made in the class up on the wall for testing at home.

And here is the completed top:

200905blogkrentz009

I’ll have to take a break now and do things I ought to be doing like writing my next article for Machine Quilting Unlimited, finishing up my Birch Pond pattern, and working on a commission quilt.  Ahem.  Nothing like taking a detour, eh?