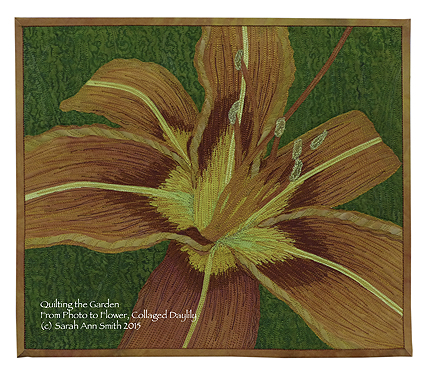
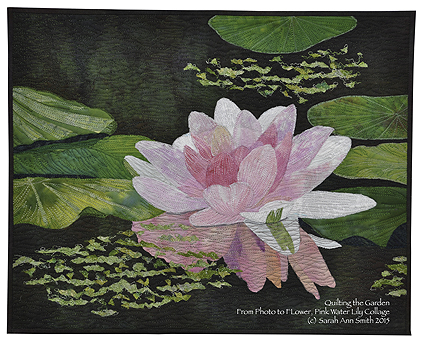
email Youtube

Home
Galleries
Blog
Workshops & Calendar
Store
Resources
About
Contact

Archive for the ‘Drawing’ Category

Cross Pollination

Saturday, February 2nd, 2019

Sometimes you need to do something else. You totally love your main “thing” (in my case it is clearly art quilting), but you need a break. And sometimes, that makes your main “thing” even better. I’ve learned over the years that good design is good design, whether it is landscape, interiors, architecture, photography, painting, sculpture, apparel, the principles are the same. So I have taken online classes in drawing and photography and been enriched.

At least ten years ago, I sat down between Christmas and New Year’s desperate to do something creative. The boys were still pretty young so time was scarce. I grabbed a pile of magazines and started tearing out words and pictures and glued them into my sketchbook. That has become an annual tradition…at least most years. This year Widgeon decided he needed to see if the collage passed inspection. Happily, it merited a wag.

I don’t know if I’ve done it every single year, and some years — like this one — it was done in (late) January instead. But I like reading what words have called me to use them and seeing where my head was in a given moment.

This year, I made sure to add information about whose artwork or photo. As with most years, a lot of my fodder comes from Down East magazine. North by East is a monthly column, and in December they featured work by Ryan T Higgins, a Maine Children’s book author. I must now go to the Library and see what they have of his. I was also stunned to see the “Sarah” quote, obviously about another Sarah. I covered up the “big” before dreams, but otherwise I really liked it.
This page got pretty dense…but I liked the quote at the top (from an ad for something). I also liked the bit on the pink, but it was too much pink, so I covered it up. Using blocks of text upside down or sideways works. And I LOVE torn edges…LOVE LOVE LOVE…that exposed white framing the image or words. I also dug out my circle punches. Have some circles and a few squares.

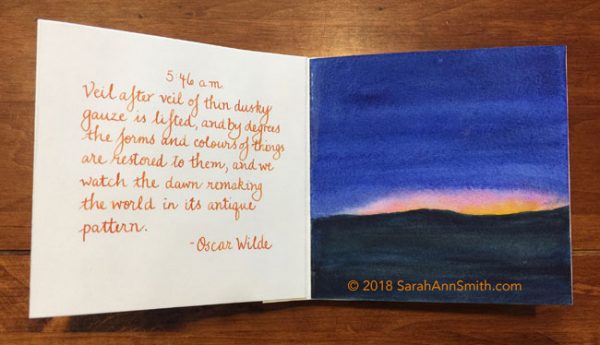
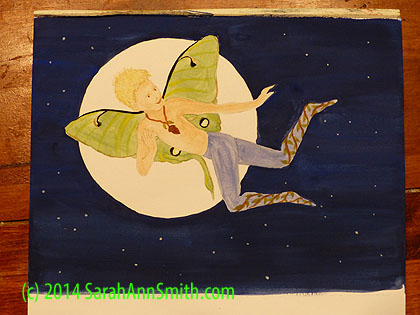
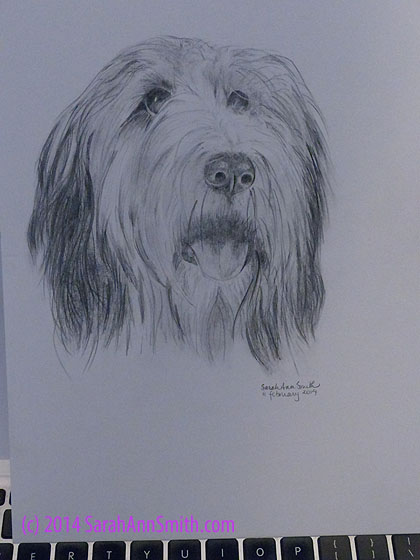
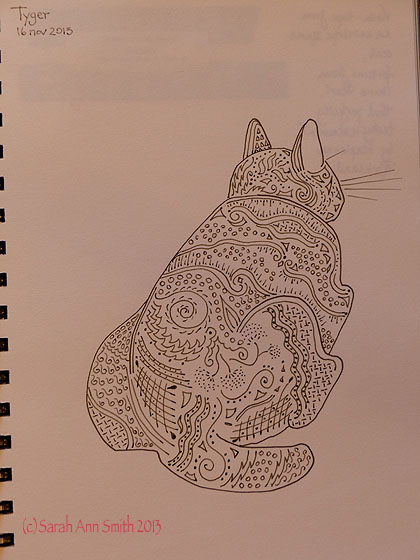
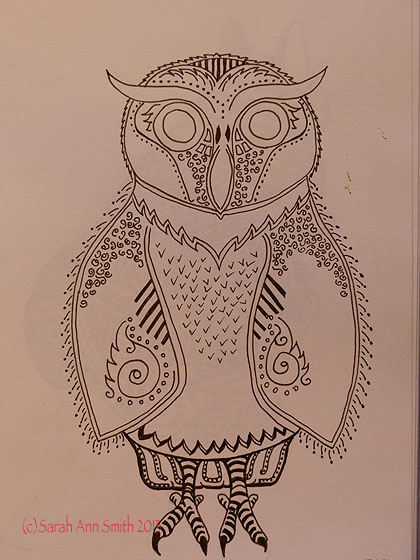
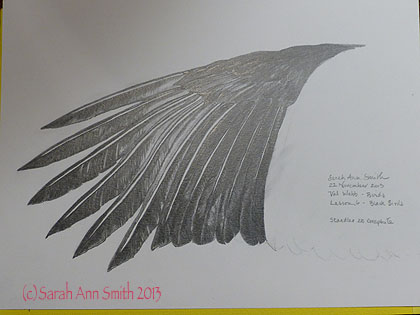
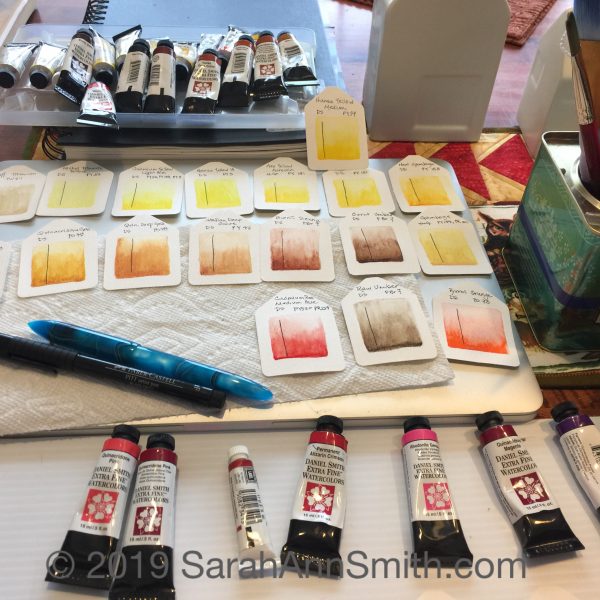
I’ve also taken a number of outstanding art classes from Val Webb over the years, ranging from birds to children to faeries to animals, using pencil, ink, watercolor, colored pencil…I learn so much, both about materials and tools but more importantly about SEEING. Observing. I’ll never want to be a colored pencil artist, but taking birds in colored pencil with Val taught me about patience and layering. I found I now do that with dyes, with paints on cloth, with thread, in my art quilts. And this year I also took a brilliant course at Sketchbook Skool, Watercolor. I always want more watercolor!

Over the past 8 years or so I have learned about the difference between student grade and artist pigments, that using quality paper makes all the difference in the world, and using pure pigments and mixing your own (just like dyeing fabric!). I decided I needed to get a bit organized and SEE the actual colors painted out from each tube. I had bought some icky (Bienfang) cheap watercolor paper that I will never use for a finished anything, not even a class practice piece. So got out my “tag” punch and did a paint out of every tube I have. Then ordered two more tubes! In search of the perfect pink…..and replacing one teeny tiny tube that is almost done. Each tag has the name, code for the manufacturer, and the universal pigment code (PV 42 for example is Permanent Violet 42). Yes, you can go wwwwwaaaaayyyyyy down the rabbit hole with this stuff!
A good mail and watercolor day. Turns out quilting templates and rulers have lots of uses, of course we all know that! I saw the clamshell cases at Jetpens.com and couldn’t resist. When I went to order, I discovered I had left that awesome washi tape in my cart, so it had to come to me also. And then there are those two tubes of watercolor and some empty half pans. That’s another thing I learned: make your OWN palettes with your favorite colors, use magnetic tape that sticks to the bottom of the pan, put inside a palette or metal tin. And then I used my quilting rulers and circles to mark a grid in my notebook/sketchbook.

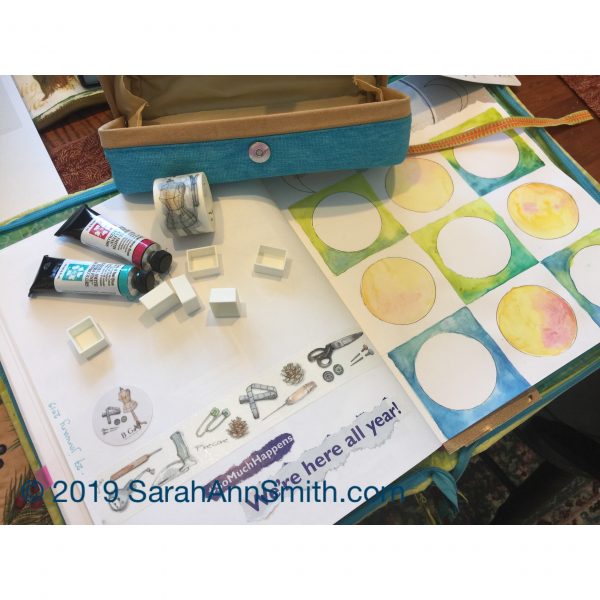
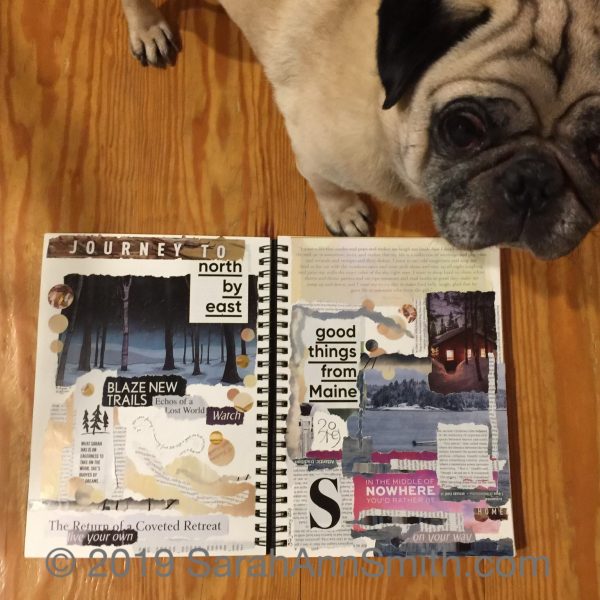
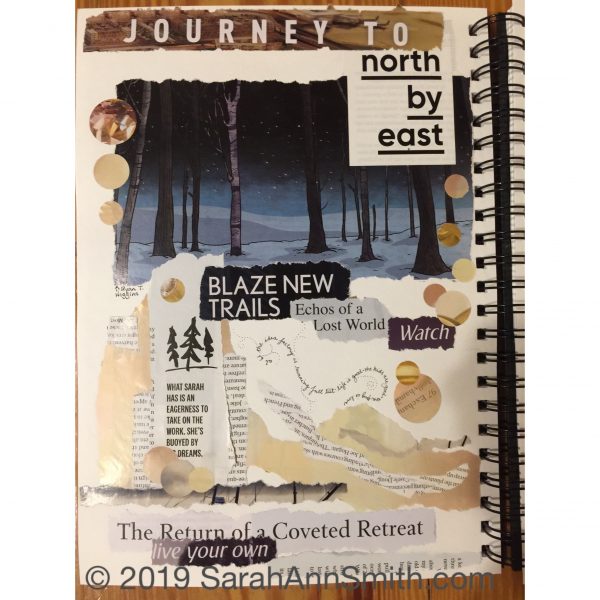
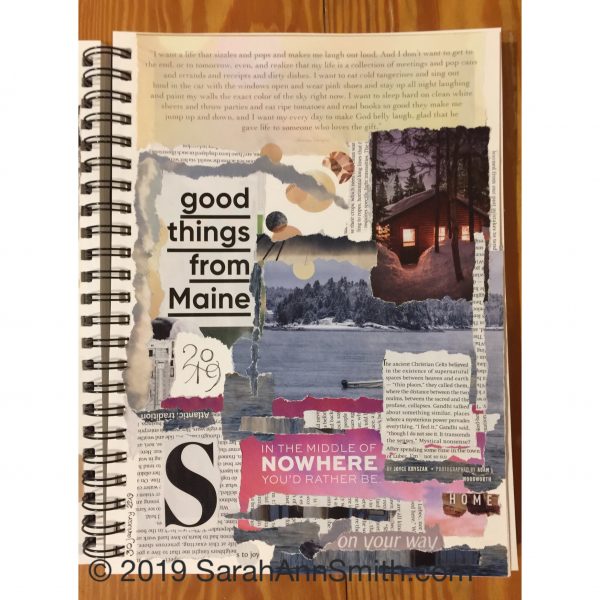
I used to have both my to-do-etc notebook and a sketchbook. I never had the one I wanted handy. So I said to heck with the cost, and bought a GOOD sketchbook and use that as my “everything” journal. I write lists, take notes at SAQA (Studio Art Quilt Associates) meetings, suss out ideas for quilts, and sometimes even sketch or paint in it! Now I will start filling in the circles with words, quotes, ideas, images/sketches, may fill the white backgrounds with ink textures…we shall see!

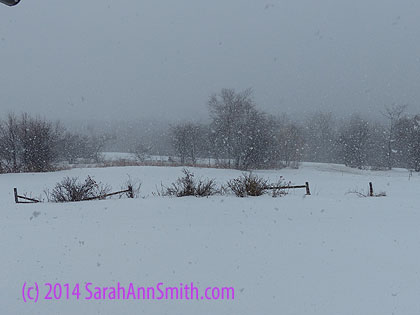
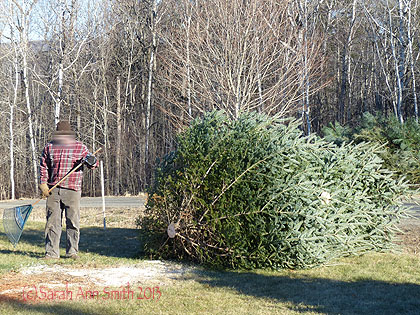
So that’s what I’ve been doing…along with quilting. What about you? And here’s an end of the day/blogpost dog walks photo from yesterday:

Sunset from the bottom of our driveway.

Moments, Hours, Days, Autumn, a Book of Hours

Sunday, December 23rd, 2018

Happy Solstice to one and all…at last the days no longer get shorter! To celebrate and as a Christmas gift (whether you celebrate it or not, it’s a gift of the season) to one and all, I thought I’d share a video I recently uploaded and just shared with those on my Newsletter List. (To sign up for the newsletter, go to my home page and fill in the blanks—about once a month I’ll pop in with this ‘n that.)

Those who follow me on Facebook (here) will recognize this pond and view which is down the driveway and onto Ludwig Road, between two neighbors’ houses.

Recently, I’ve been taking some journaling and watercolor classes. Then, the Mid Coast (Maine) Book Arts group had an exhibit at the Camden Public Library. I was inspired by a book of hours on display, so BFF Kathy D. and I decided to make our own small accordion books. Below the still photo you’ll see my a video tour of the book, which I have titled “moments hours days autumn” to chronicle my life this past Autumn.

Beginning at 3:11 a.m. through to my evening ritual of sitting in my chair near my hubby’s chair, with the dog and a pile of books. You can see still shots of each page in my new Mixed Media gallery.

The left page is a quote, some by me, most by someone else. The right page is a watercolor, 5 x 5 inches. I figured I would mess things up, so it was better to do each separately, then glue them to the accordion “base” pages. On the back, I painted a single LONG (80 inches!) view that runs from winter to spring, summer and fall, back to winter, with the sky running from night, through morning, noon and afternoon, back to night. I used a dip pen and acrylic ink to write Strider’s Poem, by J.R.R. Tolkien, which has been a favorite since high school and whose meaning goes far beyond the Lord of the Rings saga.

I used Daniel Smith Watercolors, Stonehenge Aqua 140 lb. watercolor paper, Yes! paste glue, and both acrylic and fountain pen inks and a dip pen for all the lettering. The cover is made from my own hand-dyed fabric fused to mat-board from Kathy with Mistyfuse.

Here’s to hoping you all have friends (which can include family!) and joy around you throughout your lives, not just this season. I hope you enjoy my first ever made-by-me book. I think I will do more! Let me know what you think, and what you’d like to see in my new Newsletter. (And to sound like a broken record, sorry, sign up here.) MERRY MISTLETOE!

Quilting the Garden–NEW Workshops! Photo to Flower Collage

Sunday, March 29th, 2015

I am SO excited to share with you the first of two new workshops that will debut with the Charlotte (NC) Quilters Guild next week!   The first workshop, From Photo to Flower Collage, can be a one or two-day workshop.  This time, it will be two-days (click here for more information, there are just a couple spots left).  The second workshop, ThreadColoring the Flower (click here) is booked this time as a one-day class.

Orange Daylily collage in batik, part of the Photo to Flower Collage / Quilting the Garden workshop

Orange Daylily collage in batik, part of the Photo to Flower Collage / Quilting the Garden workshop

I designed these workshops so that a guild can book what will work for their guild:  a single day or a two-day  workshop for either of the two.  With a little added content, the workshop can be expanded to a full five days allowing students to really work in depth, with one-on-one assistance, to create their own collaged and thread-colored art quilt.  I’ll post in detail about the ThreadColoring workshop in two days.

The students learn how to see value (light and dark) and how to translate the imagery in a  photo into their own working pattern.  I provide two photos, the day lily (taken by the roadside near my home) and the water lily (taken by me at the Maine Botanical Gardens in Boothbay Harbor) for the Day 1 class project, which will finish about  9 x 12 inches:

The water lily photo for the workshop. Photo (c) SarahAnnSmith

The water lily photo for the workshop. Photo (c) SarahAnnSmith

The Close up of the wild Day Lily, also used in the workshop. (c) Sarah Ann Smith.  PS:  Sorry about all the watermarking and copyright notices--after the incident where someone created derivative copies of my work, I'm being even more  diligent about marking stuff.  So sad to have to do this!

The Close up of the wild Day Lily, also used in the workshop. (c) Sarah Ann Smith. PS: Sorry about all the watermarking and copyright notices–after the incident where someone created derivative copies of my work, I’m being even more diligent about marking stuff. So sad to have to do this!

When I created the class sample, I wanted to do one in fabrics students can get, such as the batiks in the example above.  However, I also wanted to try the image using only hand-dyes.  This next sample is just that.  I used one of my thermofax screens, Squiggles (available here at Fiber on a Whim) and textile paint to create the green on green background on my own hand-dyed fabric.

Another verion of the daylily, made exclusively with my own hand-dyes and thermofax screened hand-dye.

Another verion of the day lily, made exclusively with my own hand-dyes and thermofax screened hand-dye.

And no, I don’t know which one I like most!

Here is the water lily, made from both commercial batiks and my own hand-dyes:

Pink Water Lily (c) SarahAnnSmith

Pink Water Lily (c) SarahAnnSmith

The second day in this workshop, students will bring their own photos (or use my second photo), select one, and create their own larger art quilt.  I’m so excited to be able to teach my collage process and help folks learn to see and create their own artwork by understanding some of the basic elements and principles of design with strong composition, lighting, and fabric selection.


Gouache, Birthday Boy, Snow, and Thread

Wednesday, March 12th, 2014

Just a quickie catch-up post!   I’ll have some great news to share in a couple of weeks about what has been keeping me busier than my usual busy.   But I’ve also managed to squeeze in a few other things.  First in date order is two online classes with the delightful, talented, and superlative teacher Val Webb (website here).   This winter I had planned to relax and take two of her classes which overlap by about a month.  Despite the fact that you can really do a LOT of work (and LEARN a LOT), I decided to take both.  First one is Drawing Dogs and Cats, second one is Fairies (or as I prefer, Faeries) in Nature.

My Luna-Boy faerie in gouache, about 9 x 6 inches.

My Luna-Boy faerie in gouache, about 9 x 6 inches.

In Val’s classes, you learn not only about drawing, but also painting, as well as various media and techniques.  The lesson above is for small children as fairies, with wings, and gouache (which I have never used).  There are some technical issues; basically, I need practice with the medium!   But overall I am quite pleased with my Luna-boy.  In the next photo, we worked with graphite to sketch a dog.  His right eye is a bit off (thank you for the feedback, Val! I knew something was off but couldn’t spot it until you helped), but I’m fairly happy with this one, as well.  I attribute all good stuff with these two to the quality of Val’s teaching!

Sweet doggie, in graphite pencil.

Sweet doggie, in graphite pencil.

This week is also number 2 son’s 16th birthday.  How the child can be 16, weigh more than me (wooohooo! finally!), etc., defies comprehension.  Clearly the calendar lies.  Eli’s request for birthday dinner:  my waffles and Joshua’s parmesan fried chicken, an exact repeat of what Joshua had in early November.  As it was the beginning of the wrestling season, Eli couldn’t pig out.  This time he could and did <<grin>>!

We will NOT think about the calories involved in waffles and fried chicken.

We will NOT think about the calories involved in waffles and fried chicken.

Thanks to de facto DIL Ashley for taking pics as I brought in the birthday cake:

The calendar lies.  There is no way my youngest is 16.  I realize I am old enough to be his grandmother, but that is irrelevant LOL!   Eli, we love you to bits and are so thankful you came into our lives (even if we were and are old and tired!).

The calendar lies. There is no way my youngest is 16. I realize I am old enough to be his grandmother, but that is irrelevant LOL! Eli, we love you to bits and are so thankful you came into our lives (even if we were and are old and tired!).

She also got this great pic of Thumper the 26-toed cat.  As you can see, our cats pay us no mind.  Sigh.

Thumper.  Sigh.

Thumper. Sigh.

And guess what it is doing today.  Again.  Sigh again.

One more time.   At least it isn't sleeting a lot, as was predicted, and the temperature is now down to freezing or just below.

One more time. At least it isn’t sleeting a lot, as was predicted, and the temperature is now down to freezing or just below.

At least it is pretty–the flakes where HUGE!  We were predicted to get a lot of snow, school let out early, and we are all expecting it to be cancelled tomorrow.  Then the weather service predicted less snow, more ice and lots of sleet.  That is actually a lot worse.  But we haven’t had any sleet here in Hope, though beyond the ridge of hills on the coast is may be sleeting.  Here it has been snowing for about 7 hours.  We’ll see what the morning brings.  We will also fill buckets with water as it is likely to be heavy, wet snow and power could well go out.  Again.  Sigh.

And to end of a fun note, this fall I will be helping curate (i.e. be the behind the scenes worker bee) the new SAQA Food exhibit, open to SAQA members.  Alex Veronelli, mover and shaker at Aurifil Thread, will be the juror.  Just today I received the Quilts, Inc., eInsider newsletter, which had this profile of him.  It’s an interesting read.  Enjoy.

Now I need to go start on dinner.  Oh whee.

A busy miscellany

Friday, December 13th, 2013

As I mentioned a short while ago, I’ve been ridiculously busy.   Between birthday (Joshua), Thanksgiving (all of us), wrestling (Eli and Paul), laundry, dog walkies, fundraising for the Cross Country and Track teams, follow-up doctor’s appointments in distant cities, it seems like the last month has evaporated.   I have managed to do some doodling (I *REFUSE* to call it zentangling, as I’ve been doing this sort of stuff since about 1973) and some sketching and visiting cool places in Portland, Maine…..  here’s a taste:

My decorated cat is my favorite new piece of noodling around.  Our cat Tyger had an unfortunate incident and ended up with a short tail as pictured here.  My friend Kathy said I should QUILT this...I'm thinking she is right!

My decorated cat is my favorite new piece of noodling around. Our cat Tyger had an unfortunate incident and ended up with a short tail as pictured here. My friend Kathy said I should QUILT this…I’m thinking she is right!

I like the owl, sort of.  The bottom tail feathers and feet are too dark compared to the rest, but I rather like his eyebrows and the blank spaces.  Initially I thought I would fill him in completely like the cat, but I like the quiet spaces.

I like the owl, sort of. The bottom tail feathers and feet are too dark compared to the rest, but I rather like his eyebrows and the blank spaces. Initially I thought I would fill him in completely like the cat, but I like the quiet spaces.

Both the cat and owl were done in my  new Stillman & Birn Epsilon sketchbook which has 100-lb “plate” (very smooth) finish paper.  I used HEAVY black ink (Pitt permanent) and there is very little show through (you can see a bit from the reverse side on the cat page).   With regular sketch paper I wouldn’t be able to do ANYthing on the back side of the paper.  TOTALLY love this sketchbook and paper.  It is heavy enough for light water media, so I think this may become my sketchbook of choice.  They also have a plate finish in heavier paper, and the journals come wirebound and hardbound, ivory or white paper.  Nice!

Birds in Colored Pencil with Val Webb.   Have been taking another online drawing course.  I am learning a lot, including that I am not a fan of the waxiness of colored pencil.  So for this lesson on black birds, I used graphite.  Apart from the fact that I totally forgot that the spine/rib of a bird's feather is *straight* (not rippled as I drew) I am pleased with my ability to get the proportions and value reasonably well done on this sketch.

Birds in Colored Pencil with Val Webb. Have been taking another online drawing course. I am learning a lot, including that I am not a fan of the waxiness of colored pencil. So for this lesson on black birds, I used graphite. Apart from the fact that I totally forgot that the spine/rib of a bird’s feather is *straight* (not rippled as I drew) I am pleased with my ability to get the proportions and value reasonably well done on this sketch.

And over Thanksgiving break, Max (younger brother of Eli’s wrestling coach) was home and came to chop down some trees.  Sigh.  This was a BEAUTIFUL tree.   Plopped right in the middle of the yard.   ????   Then, when we had to do some extensive ditching alongside the driveway to deal with water run-off, we discovered the previous owners planted this tree SMACK ON TOP of the power line to the house, which was about 24 inches below ground.  HELLO?   Can you say “root damage?”   Out there alone this tree could easily get toppled by a wind gust, ripping up the main power line to our house.   So down it came.  Ditto for the two trees the previous owners planted right on top of the power box and meter and the one tree right on top of the water wellhead.   WHAT were they thinking?  WERE they thinking?  They did so many things correctly (because the house is well-built and we love it) that it makes one wonder.

The 20+ foot spruce tree c omes down....

The 20+ foot spruce tree c omes down….

Since we feel like it is nearly criminal to cut down trees, we are sad.

I’ll share more about the trip to Portland in a post soon!  It involves old stuff and art!