email Youtube

Home
Galleries
Blog
Workshops & Calendar
Store
Resources
About
Contact

Author Archive

Manuscript samples

Sunday, July 13th, 2008

“S” applique

You may have noticed (or not, but I sure have) a dearth of quilty posts here the past many months. I really miss my studio and making art! Between family, exhaustion and a little working on my manuscript, I haven’t been able to create much. And the two pieces I’m working on now are for the Journal Quilt Exhibit this coming year, and can’t be shared (unless they don’t get juried in, or if they do get in, not until the show opens in Houston in late October–the hotlink is to the 2007 journal quilts… you can see mine on my website and on page 9 at the hotlink). BUT, I think I can share a little bit of the book samples I’ve been slaving over for my manuscript for Unraveling Threadwork (tentative title).

(Earlier blogposts about the book, in reverse chronological order, are here and here and here.)

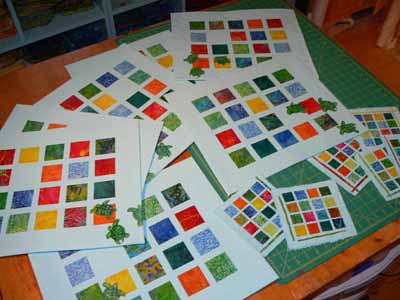
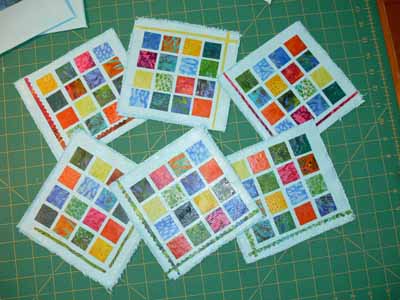
Anyway, the book is about using thread on the surface of a quilt, so that covers applique, decorative stitching, free-motion stitching (at the quilt top stage) and quilting. Here I’m making samples of various ways to applique, including illustrating the need to reverse somethings …here’s the “reversed” S shape:
Back side of “S” appliques

Here’s a mock up of the photo I’d like in the book on how to dampen the stitching to make removing freezer paper easier:

Removing freezer paper

One thing I didn’t realize, but which makes sense, is that if you want the book to come out the way YOU want, you need to give the publishing company real guidance on the photos by doing mock ups. Of course, this is a LOT of work… you don’t just make the sample, but in my case put the camera on the tripod, set up the photography lighting, take several shots , select the worst and delete the extras, re-size the photos, then (when inserting into manuscript) relabeling all the dang things, and making sure the labels and numbers and whatnot correspond! Talk about time consuming…. so I’m only nearly a year late due to life etc.

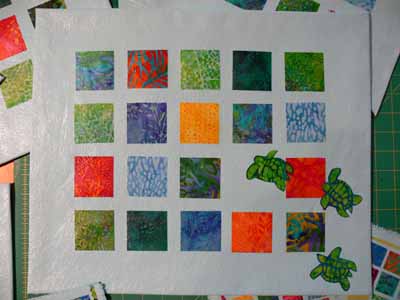
Another pretty photo is to illustrate visual texture in cloth, from plain (nearly solid) on the far right, to LOTS of visual texture (on the far left…larger designs, lots of contrast in both line and value).

fabric range of texture

And on that note, I’m gonna sign off, do some reading, and hopefully get back to work!

Eli’s ropes, or The Spinster in action…

Thursday, July 10th, 2008

While working on some samples for my manuscript the other day, Eli–already bored with summer and having read a book a day for nearly a week–wandered in to my studio. Poking about he asked, “What’s this?”

The Spinster

Well known to a select few and a mystery to others… it is a cord winder! After a bit of internet surfing I found it here (please note, I have never ordered from this store… it’s just the first place that popped up on the google search) and it is, apparently, called “The Spinster” (yuk yuk…not!).

There are several approaches. If you want a cord of all the same color, make a loop of a yarn or, as Eli did in these samples, knot two equal lengths of two different yarns (or more!!!) . Slip one end around something stationary like a doorknob or bedpost–it has to be something you can pull against. Slip the other end of the loop over the hook (on the right in the photo below). Then, you just wind in the reel, like on a fishing rod. This action twists the cord. When it is as tight as you would like, stop. The cord shortens as you wind.

The next step is easiest if you have someone to help you, especially if the cord is LONG. Figure out the midpoint and have your helper hold it and move away from the doorknob (or whatever) as you take the hook end toward the knob. Hold the two ends together and have your helper release the midpoint. The cord will instantly twist up into a rope.Eli’s cords

Eli’s lower sample was made from a thick purple chenille and a thin gold yarn (about as thick as string). The second string is made of a sport-weight cotton yarn (the turquoise skein pictured) and a decorative / fancy yarn, the green. Isn’t that awesome? As a matter of fact, it perfectly matches some fabrics I’ve sorted out to make a totebag and some other goodies. Doesn’t it look delectable?

Eli’s cord on batiks

And, in the process of trying to find a website with the Spinster, I came across this fascinating site about making reproduction 16th and 17th century garments… I can see getting lost on that site for more than a few hours… I just love learning that kind of stuff! Happy surfing!

Let there be berries, and JAM!

Monday, July 7th, 2008

If it is late June / early July in Maine, that means it is strawberry time!
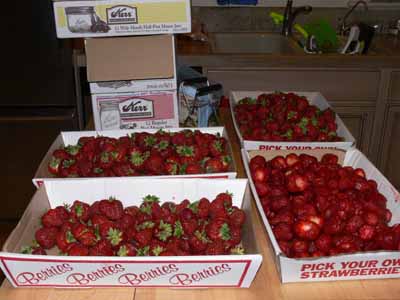
Let there be berries

That is 35 pounds of berries… less than last year. Since Joshua is now insisting on only school lunches, and not eating PB&J (peanut butter and jelly/jam sandwiches for those not living in the US…this is a staple of every school child’s diet… peanuts are also called groundnuts, or in French cacahuete or arachides and are ground into a spread) our annual strawberry jam consumption has dropped. Of these berries, we (ok, *I*) decided to indulge and keep about 5 pounds just to eat, eat, EAT! By the way, they are very good with vanilla ice cream and hot fudge sauce. But I digress. And have gained a pound. Ahem.

First I had to wash and hull (remove the stems) from the berries. Then they are supposed to be smashed. Well… in the past I have sliced. This year, I decided to try something a bit different…and faster! I took the Tupperware plastic cake carrier lid and turned it upside down to use as a bowl (do this for potluck salads a lot). Then I smooshed the berries in my exceptionally well-cleaned hands. Messy but effective, and way faster and simpler than slicing. Like fingerpainting with your food {grin}.
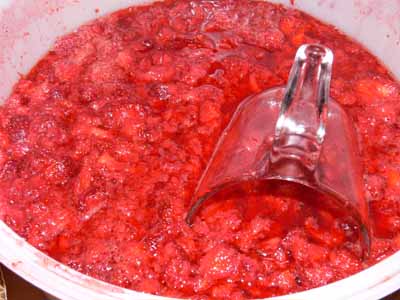
Smooshed berries

Next you start cooking the jam. I break the rules (what a shock!) and make a double batch. If you cook too large a batch the pectin available for home cooks doesn’t work properly; I like to use Pomona’s Universal Pectin (think there is a picture somewhere on the blog from last year or the year before). It is available in health food / organic stores and you can make low-sugar jam using barely half the sugar / sweetener required by regular (even ostensibly low-sugar) pectins.
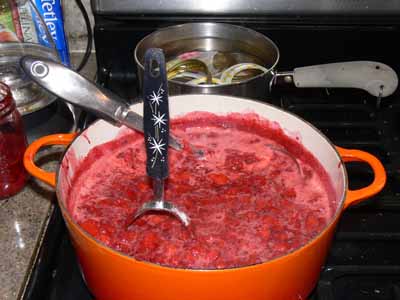
upright masher in pot
One of my favorite jam tools is my mom’s old 1950s vintage potato masher (note the classy phenolic handle with stars… talk about RETRO vintage!). It smashes and stirs well, the handle stays cold, and due to the flat bottom (next picture) it stands upright in the pan!
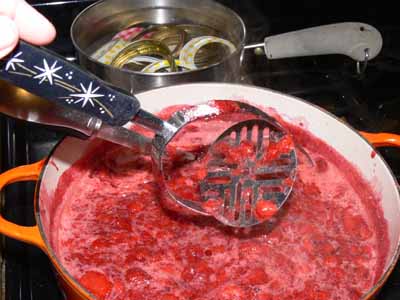
The potato masher

Here’s what the chaos in the kitchen looks like mid-stream:
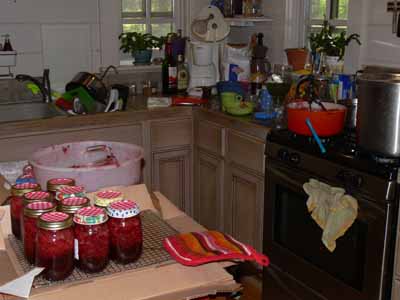
mid-stream of making jam

When the batch of jam is done, there is… if it is strawberry … a lot of foam (blech) on the top. One way (never told or shared in the cookbooks, passed along by word of mouth amongst jam-makers) to tame the foam is to add some dollops of butter…just little bits… around the edge:
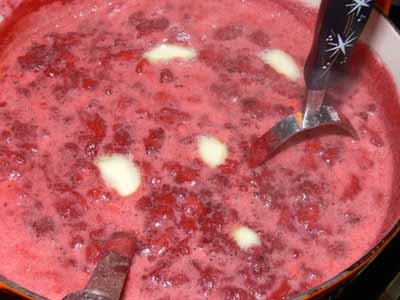
Butter to cut foam

Then you get to do the canning. This year I gave myself a doozie of a steam burn lifting the lid off the canning pot…it turned into a blister almost the size of a dime on my thumb…OUCH! Anyway, then you end up with lots of beautiful jam (where the fruit ALWAYS floats to the top during canning and you have to stir it when you open the jars):
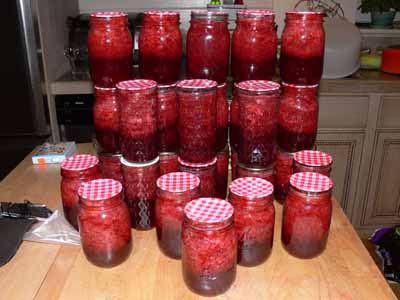
Finished jars

When I lived on San Juan Island (Washington), I always volunteered at the country fair, and particularly enjoyed helping at the judges table for Food Preservation (canned fruits, veggies, meats/fish, beers, wines, vinegars, etc).  There I learned from the certified judges that you should always store your home-canned jams with the rings OFF.  That way, if the vacuum seal (created by heating the jam with the new lids in the hot water bath) breaks, the loose lid will be readily apparent.  This is important because if ANY air gets in, nasty stuff can happen, like invisible bacteria that makes you really sick can grow.  If the rings are on, then you don’t know if the lid is lose because you bumped it removing the ring, or because it has been loose a long time  and yucky stuff is growing.

And finally, the birds’ eye view of a day’s labor:
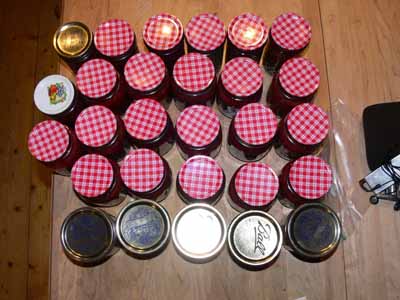
Jars, birdseye view

8th Grade Graduation

Tuesday, July 1st, 2008

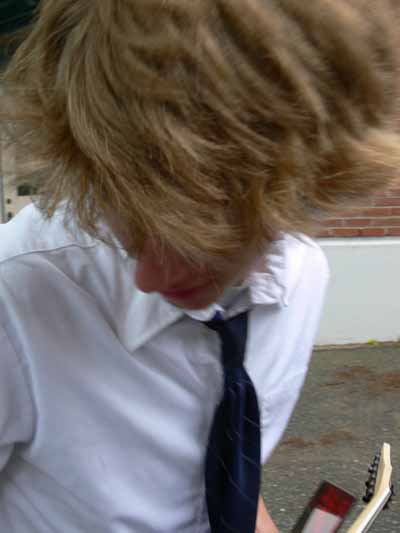
Joshua close up

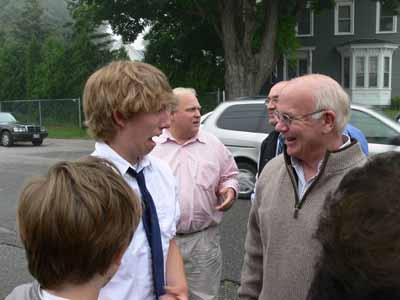
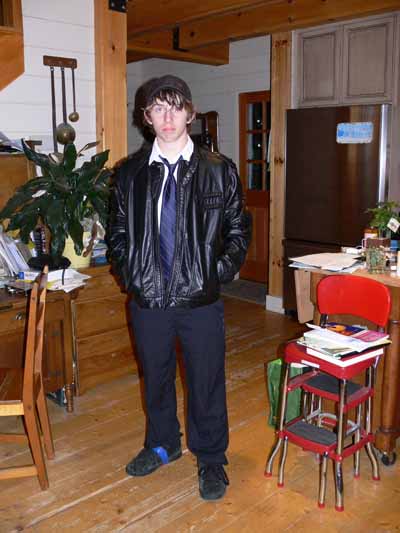
EGADS… he shaves and he’s in high school, officially! I’m about to get dizzy time is whizzing by so fast (somebody PLEASE slow down this merry go round! It’s goin’ too fast!). Yes, my first-born son is now an 8th grade graduate, and has the certificate to prove it! Mom came with us (tho it was a bit noisy for her), and we collected Eli for a couple hours away from his last day of 4th grade so he could attend. Even tho the photo above is a bit out of focus, I love it, and it is becoming one of my favorite pictures of him… he loves to look cool, play guitar, and that hair that is just like mine was……and he’s always on the move!

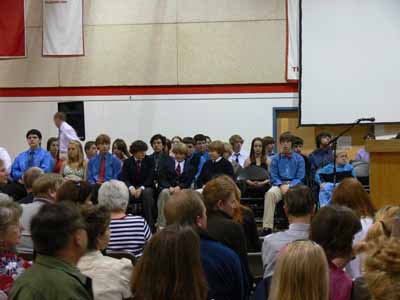
The kids sat in alphabetical order, so Joshua is in the back row…just to the right of center, in the white shirt and dark tie:

Joshua on stage at graduation

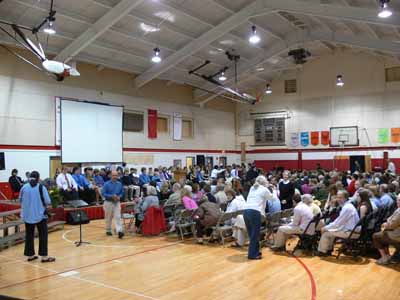
And a wide angle of the graduates and about half of the audience:

Wide angle view

They had a WONDERFUL photo montage of the 8th grade year, which is why the large screen. My compliments to the photographers!

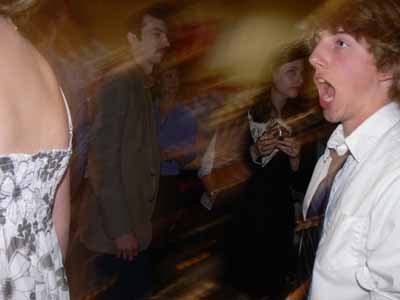
Here’s Joshua on the way out of the gym…. I’m SO bummed… I got great photos of a couple of his friends receiving diplomas, but not one of Joshua! The camera decided to be balky with the long zoom and lighting….sigh……and again, tho it is blurry, it perfectly conveys the sense of the moment:

Joshua at end of graduation

Here’s Joshua and Paul outside, after the ceremony:

Joshua and Paul

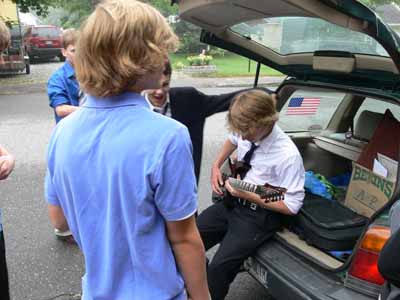
Joshua has been lusting after this guitar (first spotted it on the internet) and then, voila!, it appeared at the local music store, Northern Kingdom. He’d ask to stop just to go in and play the guitars, and it was always his favorite. Mom wanted to give him a gift, and we did too, especially since he had finally (for the first time!) really worked hard to improve his grades these past two months. He did outstandingly well once he decided he wanted to do so! So, mom and we split the cost of this awesome new guitar:

on the tailgate

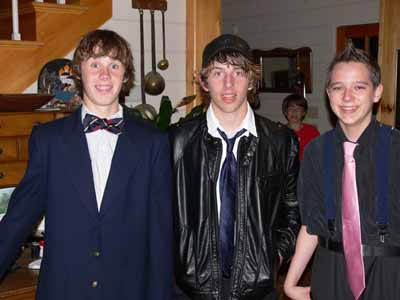
and with his friends…they went into town for lunch on their own after the ceremony ended at 11:

Joshua and friends at the tailgate

Floorcloth becomes placemats

Sunday, June 29th, 2008

Hunh? you say?

Single placemat

Well, it started last fall when fellow Frayed Edge Kate Cutko wanted to make floor cloths to sell at a holiday craft bazaar. Rhea Daiute at Alewives Fabrics in Damariscotta Mills had some on display last year at Maine Quilts (the annual show of the Pine Tree Quilt Guild) and sold out on her kits! And On Board Fabrics in Edgecomb, where Kate used to work, carries the canvas in varying widths. So, on our Frayed Edges field trip to the Botanical Gardens (see here1, here2, here3 and here4 for those posts).

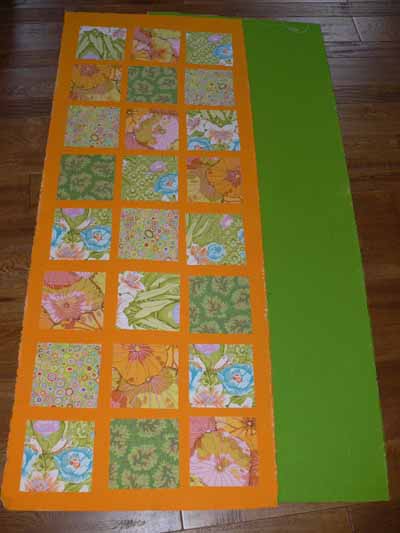
Unlike me, Kate actually got things done. Here is a picture of one cloth she began and another (the green) Painted canvas underneath ready for the fabric–wouldn’t that mango one be glorious as a kitchen runner?

Kate’s floorcloths

Kathy made several as Christmas gifts (why the heck don’t I have PHOTOS of their finished ones???????)… while surfing around for links to Alewives and my blogposts, I discovered Rhea has a blog, and she even blogged about a floorcloth workshop, here. Well, I figured the last thing we need in our house (with, at the time, two boys, two dogs one of whom was 150+ pounds and hairy, and four cats) was one more thing to get dirty on the floor……BUT, I was wishing for some wipe-down placemats as the boys are still kinda sloppy.

So…… floorcloth becomes 8 placemats! I used the leftover paint from painting my fabric shelves (remember these?) as the base color, then picked a selection of my favorite Caribbean-ish batiks for my squares. Oh…by the way, I had to ask Kate to help me remember, but you paint the canvas first, THEN glue (if you do it the other way, we learned the hard way, the edges ripple).

Set of 8 placemats

Then there were some little leftover bits of canvas…can’t let those go to waste… Bingo! Coasters for the drippy, sweaty iced-tea glasses of summer:

Mug mats

So far, after having used THREE coats of polyurethane (semi-gloss) on them, the wiping up is working! The hard part was keeping (and failing) the floating cat hairs out of the stuff as it dried, so a few random bits of Thumper, Tyger, Hannah and Zeus appear to have become part of the mats…. Anyway, I figure wiping mats (but not submerging them) to clean can’t be much more wear and tear than a floorcloth! And some day, I may actually make a floorcloth! Rhea and Alewives Fabrics will apparently be selling more kits at Maine Quilts, so stop by the booth early..they’re sure to sell out again!  They also have this cool Non-skid stuff to paint on the backs so you don’t break your neck with the cloth skittering across the floor… check it out!