email Youtube

Home
Galleries
Blog
Workshops & Calendar
Store
Resources
About
Contact

Author Archive

World Beach Project, Project 2

Monday, February 18th, 2008

The sad news is that my lovely shells and brick project (blogged here) didn’t fit the criteria for the World Beach Project (click here to see a map of where the projects were made and here for the “lightbox”), but the note I received from the V&A staff was SO kind and thoughtful! I honestly didn’t realize the emphasis was on art made from stones. I had wanted to do more anyway, so when I was out visiting Mom, I asked if we could go to Fort Cronkhite (previous post) for one more visit. While there, Mother waited in the car while I trotted down to the beach with the goal of looking for carnelians and making another piece for the beach project.

Last minute update…the V&A has added my project to their project, here!

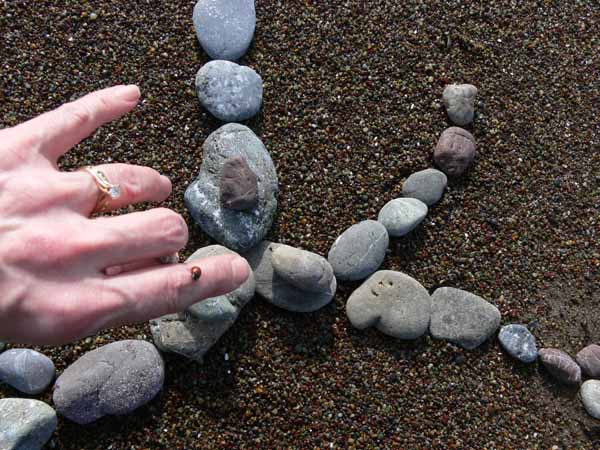
Alas, Cronkhite beach is much more nearly-sand and much less pebble-y than when I was a child, and I didn’t see a single carnelian (tho honestly I didn’t really have time to look much). I quickly set about gathering stones….. and started making swirls. There was a ladybug who flew in to check what I was doing, so I encouraged her to crawl up on my hand and help me:

Making the stone art, with ladybug

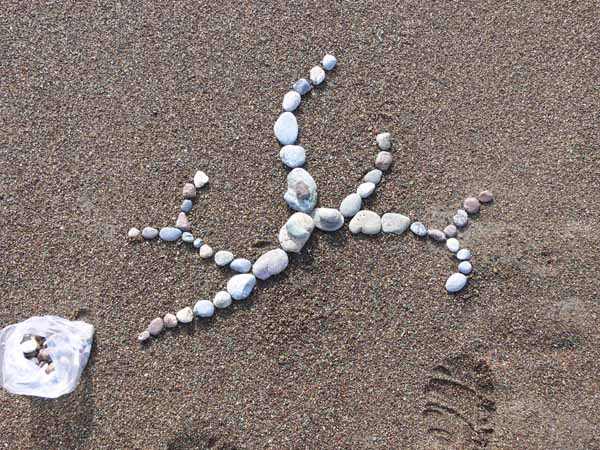
I added more, and the swirls became a tree of life.

Stone art, in progress 2

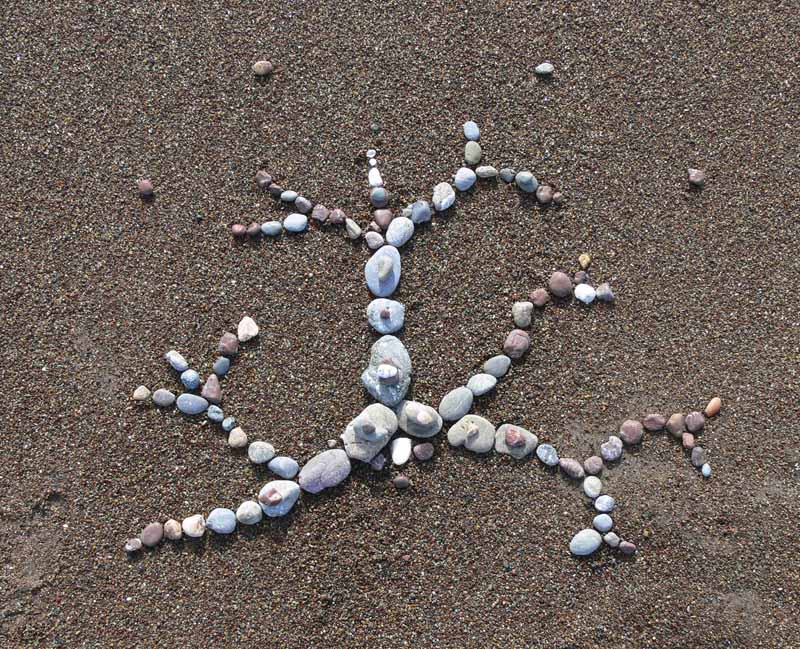
Finally, I added a single piece of beachglass to catch the light at the center-top to complete it:

Tree of Life

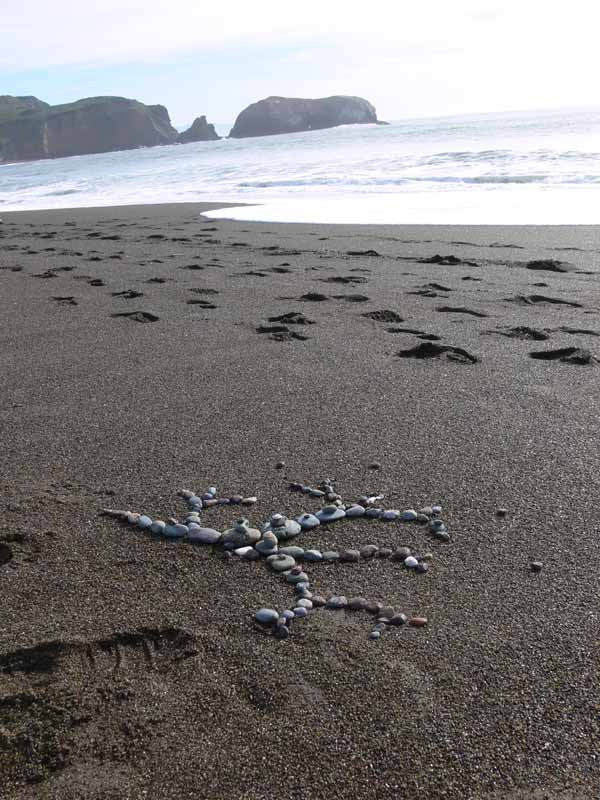
And here’s a view of the stone art looking across the beach to the south. Bird Rock and Point Bonita:

Stone art, done! view down toward Point Bonita

Fort Cronkhite

Saturday, February 16th, 2008

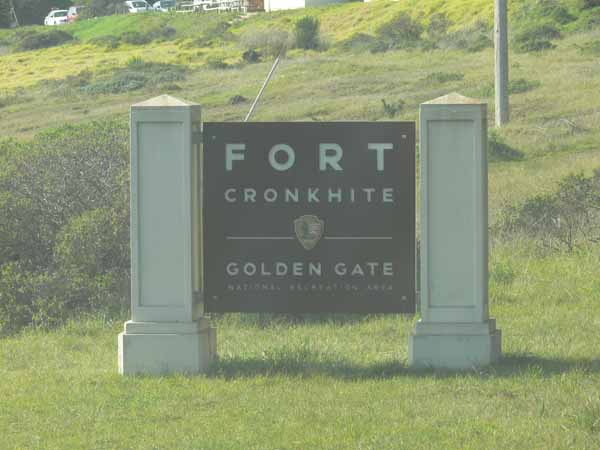
Fort Cronkhite sign

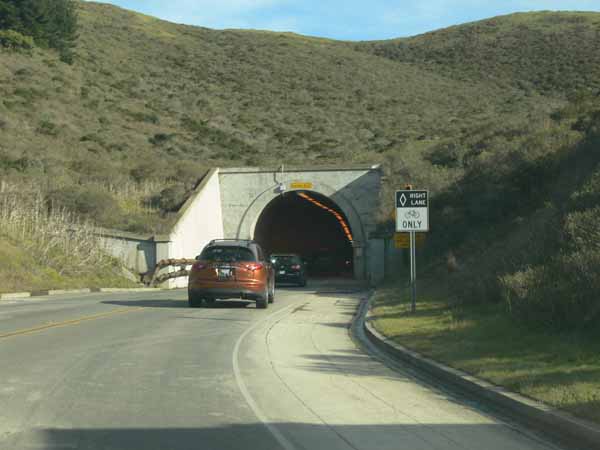
My mom lives still (for a few more weeks–she should be here in Camden, Maine by mid-March) in the county where I grew up: Marin County, California, at the north end of the Golden Gate Bridge. I was out there the past ten days to help her prepare to move. We moved to Marin in January 1964, shortly after President Kennedy was assassinated (we were in Buenos Aires, Argentina, when he was shot but moved back to the US a week or few later). I attended first and second grades at Bayside Elementary School in Sausalito, California, where we lived (it’s the first town on the north side of the bridge). Daddy didn’t always know what to do with me after school, so he used to take me to the beach at Fort Cronkhite. (PS…all photos in this post can be right-clicked to open up larger in a separate window or tab.) The old one-lane tunnel (thankfully retro-fitted to better withstand being smack dab on top of the San Andreas fault) is still there, and is one of two ways to get to the beach:

The tunnel

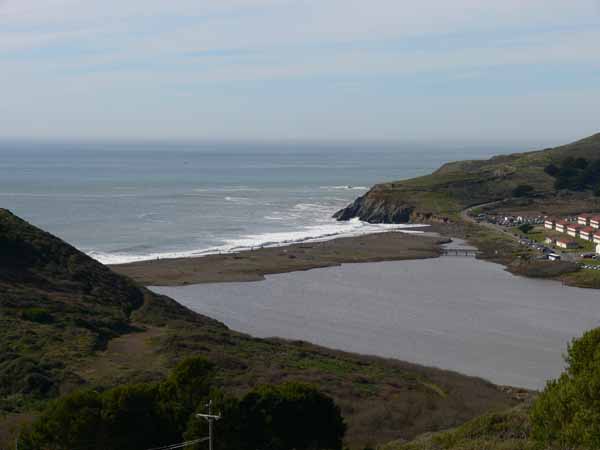
At the time, it was still an active military base (along with Fort Barry, just inside the bridge, and Fort Baker, between the bridge and Cronkhite on the outside). I can remember sometimes seeing the Nike missiles pointed skyward for periodic tests. The picture below is from the crest of the hills to the south of the beach.

Cronkhite from the hilltop

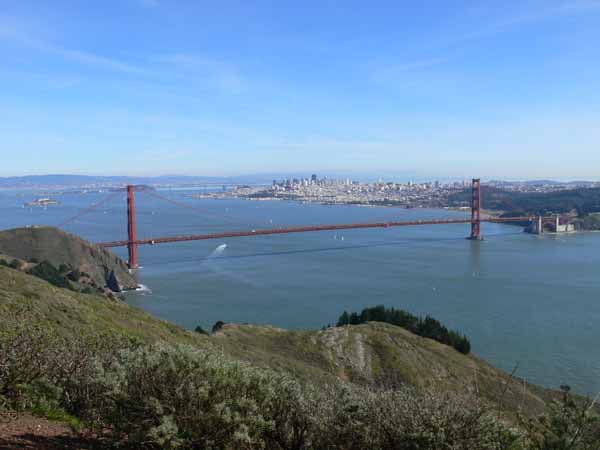
You know all those car commercials with San Francisco (aka “the City”) in the background? They are taken from the road that skirts the coast, sometimes from a dizzying height and drop-off. This photo was taken from one of the few pull-outs. I don’t think there is a finer view of the city from anywhere:

Looking back toward San Francisco

Since I was a kid, the entire Marin Headlands area has become part of the Golden Gate National Recreation Area, the first such “park” in the nation. I get goosebumps to think of the legacy Teddy Roosevelt gave to us all when he created the National Park system, and that this area which I have always loved so much is now a part of it. I love the red-wing blackbirds that populate the marshes and lagoon! Until I was in my 30s I never new that most red-wing blackbirds have yellow on the wings, as the ones at Cronkhite are a small subset with red only (others have red+yellow or red+white). One of these days there will be a redwing art quilt!

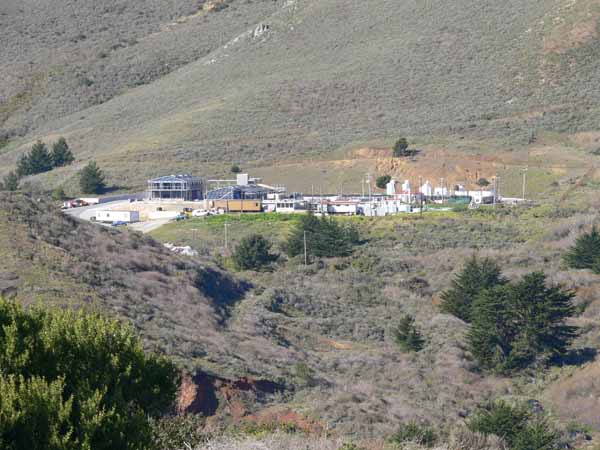
When the military bases were decommissioned, the area became even more accessible to the public. Eventually, the California Marine Mammal Center opened to help rescue stranded and injured pinnipeds (and I think the occasional small cetacean)–seals, sea lions, and also otters I think. After a few years the privately funded and volunteer-staffed center dropped the “California” to help folks understand they didn’t get state funding. They are now building a new facility (no more gift shop in a second-hand single-wide!), and I’m proud to say that Paul and I have given a modest yearly donation for 19 years now! Here’s a photo of the new facilities from across the valley.

The Marine Mammal Center

I’ll share two more posts about this glorious area… come on back! And thanks for surfing in today!

Working on texture when dyeing

Thursday, February 14th, 2008

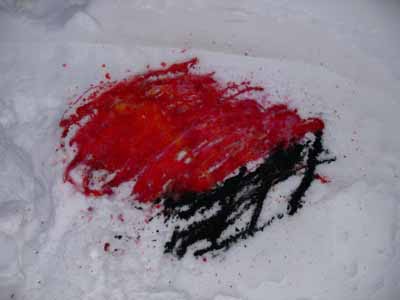
Dye on snow

Happy Valentine’s day everyone… in celebration of the day, I bring you reds and roses….and to find out why there is dye in the snow, keep reading!

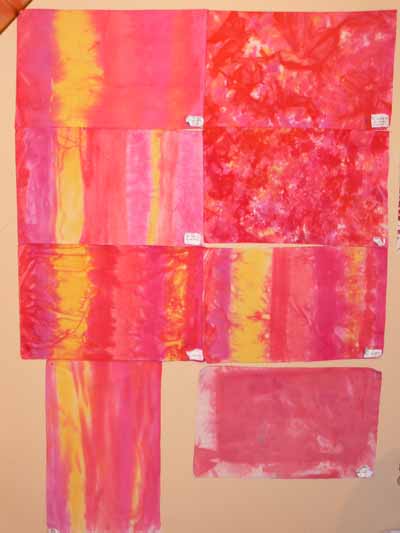
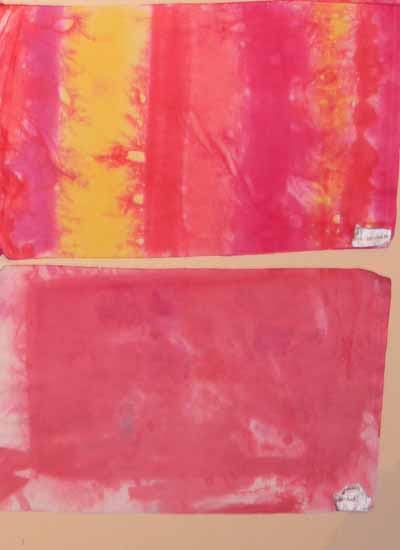
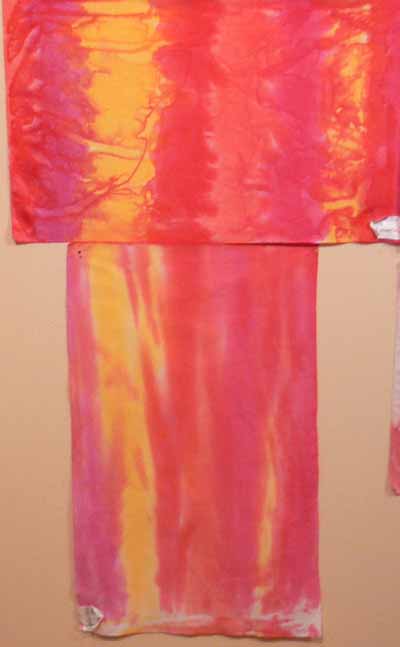
One of the things that has frustrated me is getting the visual texture I want in my dyed cloth. I know how to get intense scrunch and markings, but a lot of the time, fabric like that is too visually busy for the way I work and make quilts. I want a softer, more subtle color shift. So, over Christmas (yes, that long ago), I did an experiment using four different red dyes and one yellow on a 12×21 inch piece of fabric. Where the fabric is striped, the dyes were painted on in the same sequence across the cloth (even the vertical piece…the stripes are just skinnier)

Here is the whole bunch:

Texture study samples

The techniques I used are as follows….. in the next photo,

–top sample is dry cloth, set flat, with dye painted on, left for 30 minutes, then soda ash solution painted on

–lower sample is dry cloth, set flat, using activated print paste mix (in other words, mix up print paste, add soda-ash-solution and dye) painted on with a sponge brush

Texture studies 1 and 2
In the next pair,

–the top sample is fabric soaked in soda ash solution, placed flat on the table, and dye painted on; note the sharper patterning than in the painted-on version above

–the lower sample is “snow dyed.” Good thing I did this in December as it has been warmer in January than in December! Anyway, you are supposed to pour dye on snow, let it freeze, pick up the chunks of dyed snow and place them on your cloth. Bleach. This is a candidate for the rag bag… an interesting concept but boring results I think…

Texture studies 7 and 8

In the next photo,

–top sample is dry cloth placed (sorta bunched) in tub, dye poured on, set about 30 minutes, soda ash solution added

–lower sample is cloth soaked in soda ash solution, scrunched, and dye dribbled on (note a sharper pattern of crystals)

Texture studies 3 and 4

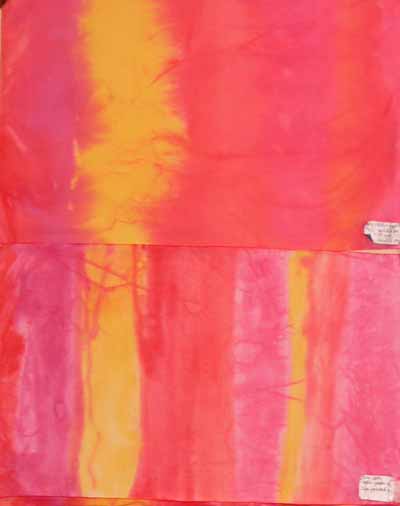
Saving the best for last…..

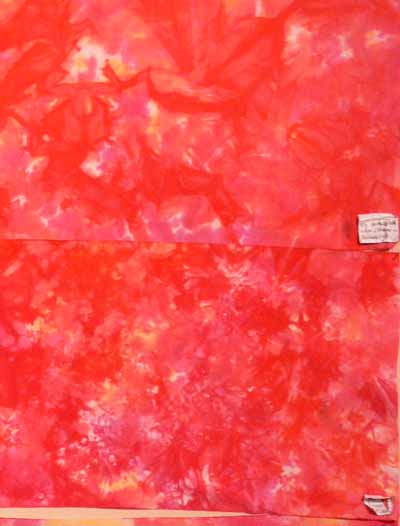
–the upper photo is fabric that was soaked in soda ash solution, then allowed to dry completely. Then it was laid flat on the table and dye was painted on.

–the lower photo uses Robbi Eklow‘s drip-dye method, featured in her book Free Expression (available here at Quilting Arts) in one of the most useful appendices to a quilt book in a long time (and great stuff on my favorite, quilting, in the rest of the book!).

Texture studies 5 and 6

I really like smooth transitions and soft color, so it is no surprise that the first piece and the last are my favorites (in the overall photo at the top of this LONG post, the top and bottom pieces on the left side). I also rather liked the texturing from painting on soda-soaked-and-dryed.

Caribbean color, part tres OR, what to do with leftover dye

Monday, February 11th, 2008

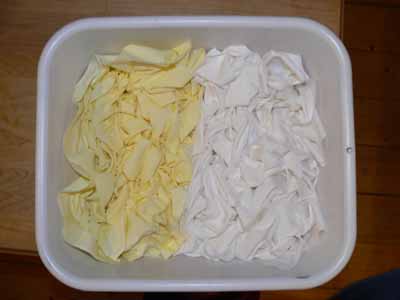
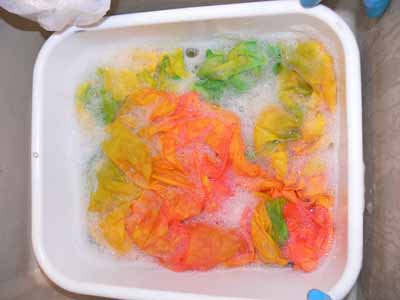
You can’t just throw out extra dye, you have to use it… it’s an immutable law of nature. So I grabbed a yard of pure white PFD (Prepared for dyeing) fabric and a near-yard of lemon yellow fabric someone gave me, which I wanted to overdye as it was a plain old solid. Here’s how they looked to start:

yellow and white in tub

Then I added dye…. yellow all over (a warm yellow) and let it set and soak for a while. Then I dribbled a blue on one long side and a red on the other long side and let them work their way towards the center. I placed two small pieces of cloth flat on the top, too, to wick up the color. After batching for a while, I poured off the excess dye and added the soda-ask-solution to “fix” the dye. I poured off the excess dye first because I didn’t want it to “float” and homogenize the color. Finally, I washed them out…. here they are in a synthrapol wash in the sink:

washing out the yardage

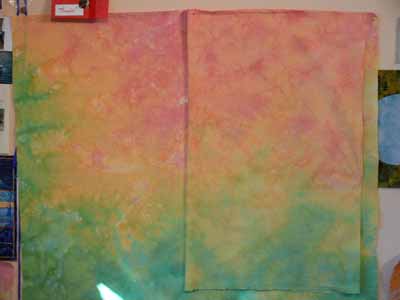
After rinsing and nearly drying, I ironed them up and put them up on the design wall… I’m in LOVE!
what to do with leftover dye

The fabric on the right is the one which was initially pale lemon yellow. The fabric on the left / underneath is the white fabric. From the difference in tone and shading, I’m guessing the yellow cloth wasn’t mercerized, as the colors aren’t quite as bright… I really like the subtle difference.

I liked them so much I decided I’d dye a dark purple (made from the same three primary dyes) and a pale colorwash version with more turquoise showing on the edge. There’s a quilt in this… I don’t know what or when, but it’s there…..

Caribbean color, part deux

Thursday, February 7th, 2008

OH MY… they’re even BETTER ironed and stacked….and please ignore the stacking oops on that top stack….the dark one is obviously out of order!

Stacked, dark side up

Stacked and sorted, dark end of the piles showing….

Stacked, light side up

Stacked and sorted, light side of the piles showing (the greens and browns are in the center of the piles).

Here’s what the piles look like before they are stacked:1

2?

2

3

4

6

deepest shade of yellow

Aren’t those colors heavenly…. now, where to find the money and time to buy 350+ yards of fabric, dye, auxiliaries and dye a yard of each…the make quilts!

If you want to learn how to dye like this, please don’t ask me, go to the source: Carol Soderlund. She’s a whiz a teaching and a whiz at dyeing…. a great combination! She is so good that folks literally travel from around the world to take classes from her… no one else teaches how to get consistent reproducible results like she does! In my two classes, I’ve had classmates from across the US, Australia, France, The Netherlands and France… the word has obviously spread!