Let there be LIME green!!! Or, if it’s August, it must mean house repairs!
August 9th, 2013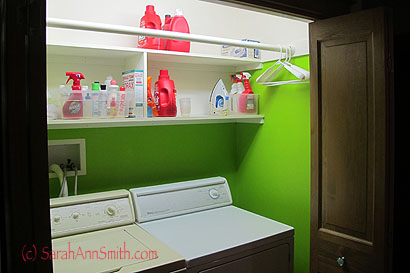
Let there be LIME green! Keep reading for more on my August so far….
Hi all…I’m back from two weeks in California, most of it teaching, a little of it travel (and several blogposts coming on that–I PROMISE there really will be quilting and art here, eventually!). But that seems distant memory because as soon as I got home and unpacked, it was “fix it” month! This seems to be my cycle: teaching starts up as soon as the snow melts, then I’m off for August and September before more teaching. This year is the same, and I’ve been crazy busy with the garden and assorted long-postponed household chores.
First on my list was PAINT THE UGLY DOORS to the house. Our house is a ranch style, with a dark green roof (just fine) and DARK chocolate brown paint and trim. UGH. Talk about a hulking presence. So eventually it will be painted a lovely dove gray with white trim like the garage we built last fall. But it doesn’t need painting, so I’m starting with the doors:
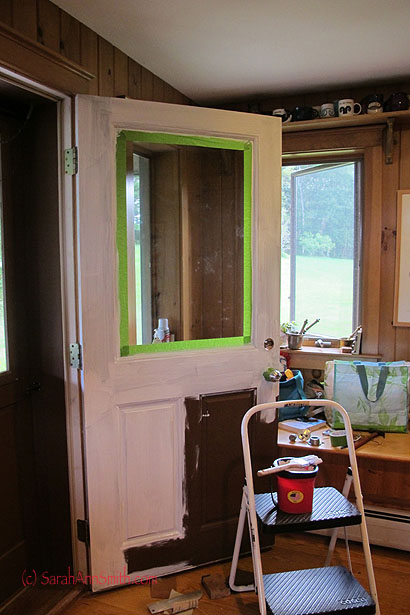
The formerly dark brown (lower right corner) door is primed and ready to be painted!
John, our carpenter/builder, is here today installing the new doorknobs–what a concept, a doorknob my arthritic hand can actually turn! As soon as he is done, I’ll show the “finished” door! The one above is to the entry/kitchen. Of course I forgot to take a photo of the dark ugly thing before I began priming, but in the lower right corner behind the stepstool, you can see the original very dark paint. Not a bad color, just not all over the house!
Then I turned my attention to the laundry closet. I loathe our machines: old, scratched, mismatched, and one is in that vile almond that I also really don’t like. Give me WHITE! But until they die, we’re stuck. The fridge died earlier this spring, so we’re hoping these last another year, then maybe…… in the meantime, I wanted to spruce up the closet. The “white” paint was a dingy, gray white and scuffed. The shelves are wood, installed by the previous owner. If he had just left them natural and put a finish on them they would’ve been nice. But like all the rest of the woodwork in this house, he mucked it up with a “Fruitwood” stain that puts this grayish pall over the wood. Sigh. Ick. (You can see the wood in the entry in the photo of the door). So here’s the closet during the priming phase:
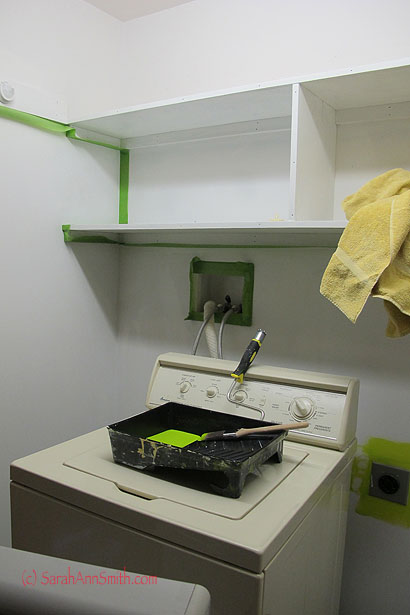
Green painters tape to seal off the areas that will remain white, Margarita/Lime green in the pan
Then partly painted (LOL…I had typed PARTY painted, that could work too):
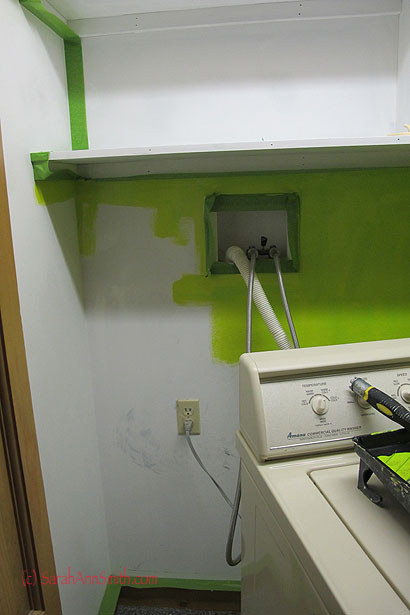
Cutting in with the green, first coat. Took THREE coats to cover. And those smudges are UNDER the primer. Have no idea what the plumber got on there when they installed the burst-proof hoses.
and, from the other angle, DONE!
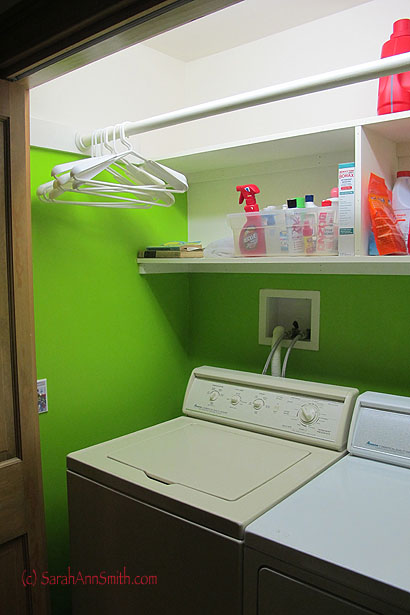
One of the first things I did when we moved in two years ago was install the closet rod over the washer and dryer. LOVE being able to pop stuff in the dryer for 10 minutes to get the wrinkles out, then hang to dry. Longer life on the clothes with less ironing. WOOT!
And some day we will have high efficiency washer and dryer where the clothes don’t feel like they need to be put in the spin cycle when they are allegedly done. And the appliances will be crisp, clean WHITE!