email Youtube

Home
Galleries
Blog
Workshops & Calendar
Store
Resources
About
Contact

Archive for the ‘Techniques’ Category

Maine Quilts 2008

Saturday, August 9th, 2008

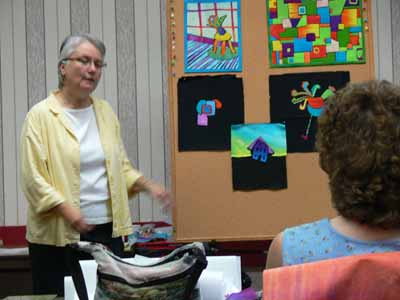
It was a good year!   I actually got to see the show this year, Joshua is well, Paul is well, and Eli is well!  After helping hang the show on Wednesday (see the post from a couple of days ago), I returned Friday morning for a class on “Woodcut Quilts with Laura Wasilowski.”  Jan and I had signed up eons ago, as soon as we could, with the idea of a “moms escape to play.” To see Laura’s work and / or buy her fabric and thread, go here.

Laura teaching

To get an idea of the type of pieces, take a look at Laura’s small quilts on the demo-board.  There were no patterns, just your imagination to run wild.  The class kit fee included two lengths of Laura’s hand-dyed fabric (it is a rainbow run of color from one selvage to the other) in bright and a narrower strip in pastel, plus some dyed-to-match perle cotton.

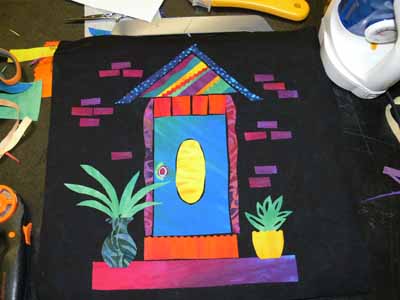
Jan’s piece

For some reason, I don’t have a picture of my piece (in progress and untouched since class…sigh…), so you’ll get to enjoy Jan’s piece, above.  I really like the bricks…not a whole raft of them, just some to suggest the wall around the door.   As usual, I was disobedient, and brought Misty Fuse instead of Wonder Under (and did just fine thankyewveddymuch), and also brought along my stash of pre-fused batiks (see the flowerpot to the left of Jan’s door!).

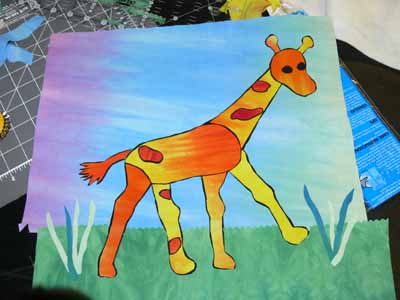
There were some awesome pieces…one lady made a giraffe for a granddaughter (sorry I don’t recall her name)….and please remember, these are all “in progress” pieces:

Giraffe

You can see the shading on the pastel hand-dyed in the sky on this piece.

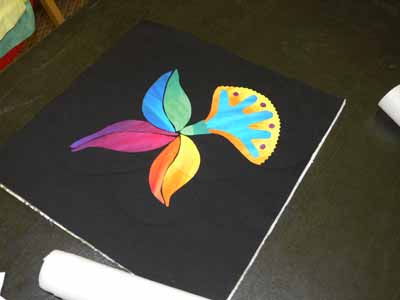
Virginia Morrell of Art Quilts Maine made this awesome and vibrant flower doing very careful fussy cutting…can’t wait to see where it goes:

Virginia’s

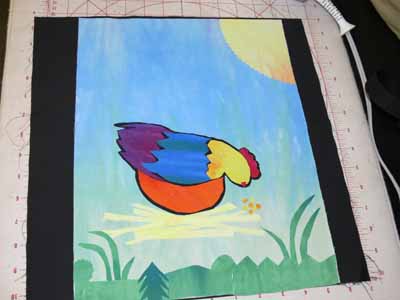
And Beth Guisely from Coastal Quilters is well on her way to achieving a rooster here:

Beth’s bird/chicken

I’ll be back in a couple of days with one more post about MQ2008!

Manuscript samples

Sunday, July 13th, 2008

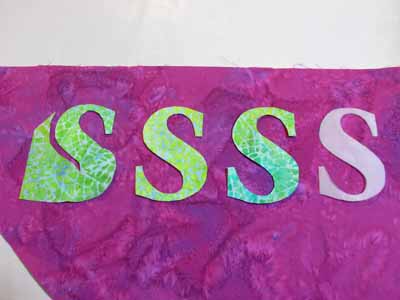
“S” applique

You may have noticed (or not, but I sure have) a dearth of quilty posts here the past many months. I really miss my studio and making art! Between family, exhaustion and a little working on my manuscript, I haven’t been able to create much. And the two pieces I’m working on now are for the Journal Quilt Exhibit this coming year, and can’t be shared (unless they don’t get juried in, or if they do get in, not until the show opens in Houston in late October–the hotlink is to the 2007 journal quilts… you can see mine on my website and on page 9 at the hotlink). BUT, I think I can share a little bit of the book samples I’ve been slaving over for my manuscript for Unraveling Threadwork (tentative title).

(Earlier blogposts about the book, in reverse chronological order, are here and here and here.)

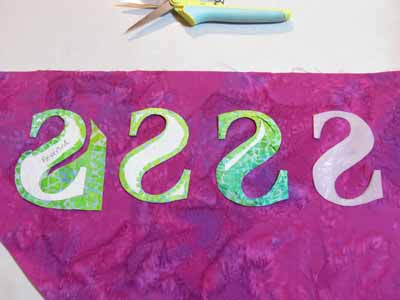
Anyway, the book is about using thread on the surface of a quilt, so that covers applique, decorative stitching, free-motion stitching (at the quilt top stage) and quilting. Here I’m making samples of various ways to applique, including illustrating the need to reverse somethings …here’s the “reversed” S shape:
Back side of “S” appliques

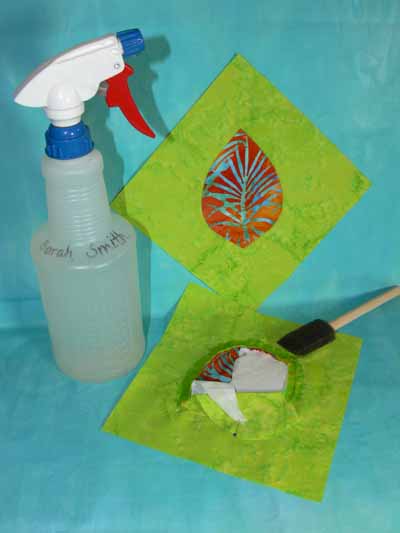
Here’s a mock up of the photo I’d like in the book on how to dampen the stitching to make removing freezer paper easier:

Removing freezer paper

One thing I didn’t realize, but which makes sense, is that if you want the book to come out the way YOU want, you need to give the publishing company real guidance on the photos by doing mock ups. Of course, this is a LOT of work… you don’t just make the sample, but in my case put the camera on the tripod, set up the photography lighting, take several shots , select the worst and delete the extras, re-size the photos, then (when inserting into manuscript) relabeling all the dang things, and making sure the labels and numbers and whatnot correspond! Talk about time consuming…. so I’m only nearly a year late due to life etc.

Another pretty photo is to illustrate visual texture in cloth, from plain (nearly solid) on the far right, to LOTS of visual texture (on the far left…larger designs, lots of contrast in both line and value).

fabric range of texture

And on that note, I’m gonna sign off, do some reading, and hopefully get back to work!

Eli’s ropes, or The Spinster in action…

Thursday, July 10th, 2008

While working on some samples for my manuscript the other day, Eli–already bored with summer and having read a book a day for nearly a week–wandered in to my studio. Poking about he asked, “What’s this?”

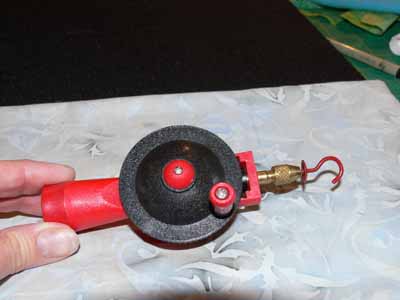
The Spinster

Well known to a select few and a mystery to others… it is a cord winder! After a bit of internet surfing I found it here (please note, I have never ordered from this store… it’s just the first place that popped up on the google search) and it is, apparently, called “The Spinster” (yuk yuk…not!).

There are several approaches. If you want a cord of all the same color, make a loop of a yarn or, as Eli did in these samples, knot two equal lengths of two different yarns (or more!!!) . Slip one end around something stationary like a doorknob or bedpost–it has to be something you can pull against. Slip the other end of the loop over the hook (on the right in the photo below). Then, you just wind in the reel, like on a fishing rod. This action twists the cord. When it is as tight as you would like, stop. The cord shortens as you wind.

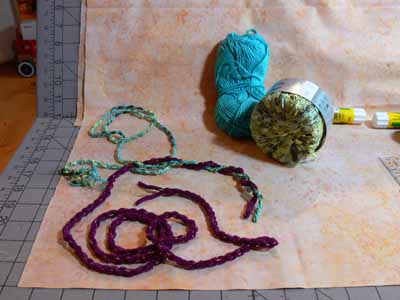
The next step is easiest if you have someone to help you, especially if the cord is LONG. Figure out the midpoint and have your helper hold it and move away from the doorknob (or whatever) as you take the hook end toward the knob. Hold the two ends together and have your helper release the midpoint. The cord will instantly twist up into a rope.Eli’s cords

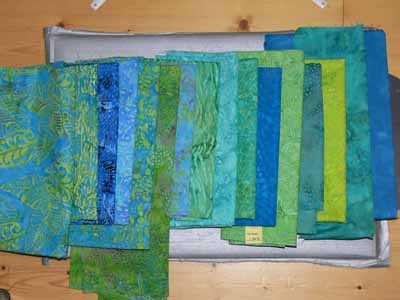
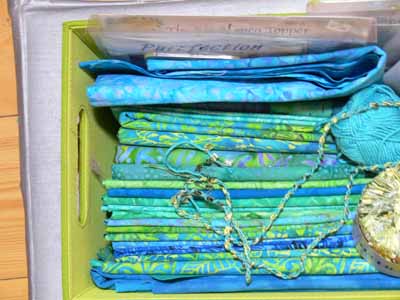
Eli’s lower sample was made from a thick purple chenille and a thin gold yarn (about as thick as string). The second string is made of a sport-weight cotton yarn (the turquoise skein pictured) and a decorative / fancy yarn, the green. Isn’t that awesome? As a matter of fact, it perfectly matches some fabrics I’ve sorted out to make a totebag and some other goodies. Doesn’t it look delectable?

Eli’s cord on batiks

And, in the process of trying to find a website with the Spinster, I came across this fascinating site about making reproduction 16th and 17th century garments… I can see getting lost on that site for more than a few hours… I just love learning that kind of stuff! Happy surfing!

Joshua’s quilt and PLA batting

Sunday, June 22nd, 2008

Say what you ask? PLA batting? It is being sold as an EcoCraft Eco-Friendly batting (made by the folks who created Mountain Mist…here) . More on that in a sec…
Basting in progress 2

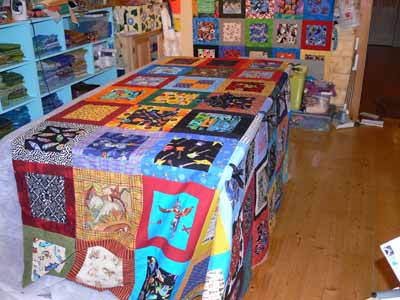
Last summer when Joshua was hurt, Sue Franck (whom I have met only over the internet) organized a thing for folks to send Joshua blocks, which I would make into a quilt. Well, at long, long, LOOOONNNGGGGG last, I have assembled the tops. Yes, two. We had over 70, since some folks sent extras, or an extra for Eli, who also had to pay a price (and was awesome about it). I asked Joshua if he wanted borders, or sashing, to whatever, and he said (bless his sweet soul) that he just wanted as many of the blocks as possible. That meant a quilt 6×8 blocks, which is 72 by 96 inches! Eli’s quilt is a generous 5 x 5 blocks or 60 inches square (he still hasn’t decided what he wants for a backing! it’s on the design wall in the background). We used every single block!

My heartfelt thanks and hugs to Sue and every sweet soul who sent a block…we have them from all over the US, Australia, Singapore, England, Scotland, Canada… totally amazing. I will confess to feeling a whole lot of love and just a little choked up from time to time as I have quilted…..

One very generous soul from the QuiltArt list sent a Queen sized batt instead of a block! WOW! It was this batting that was new on the market as of last summer, and we were both curious. I am so grateful for her generosity, and I don’t want anyone to think that my comments about the batt in any way reflect on the fact that I SO appreciate her kindness.

Anyway, the packaging says it is made from corn fibers and—this should have been my first clue—is a batting similar to your favorite polyester batt. Hmmmm……

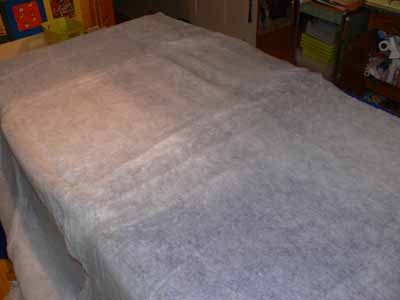
Here is what it looked like unrolled for basting. Yuck.
batting picture

It was thinner and had a bit softer drape than those awful 1970s poly batts we hated and don’t miss, but it is… I must sadly say… just as awful. Where it was folded to fit into the bag and then unrolled, it stretched and creased, and they never came out…see that distortion across the middle of the table?  It still feels kinda lumpy under the quilt. It puffs and looks awful. The edges are wavy, not straight. My hands snag on it. It has thin spots. Yuck. Did I say yuck?

We selected a Polartec 200 for the backing. I have made other quilts with a thin cotton batting (Dream Cotton) and they have been wonderful, quilted up nicely, etc. Well…… using the poly batt on top of the polartec was not a good decision. I kept hoping that as I quilted it would get better. The back does look good however…. the quilting isn’t done so I’ll show it when I’m done. My machine had finally had it and decided it needed a tune-up, tho, so I am at a temporary standstill.

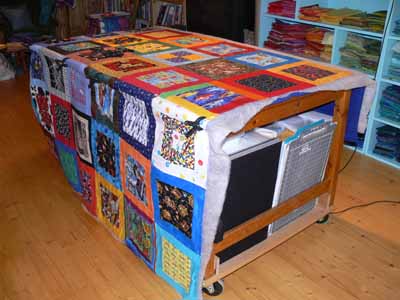
Here’s a picture of how I baste in sections on my worktable:
Basting in progress 1

I did want to share this info tho and say DO NOT BUY THIS BATTING unless you liked the look, feel, and handling of the 1970s polyester batts. I have two Mariner’s compasses blocks someone sent which I will make into pillows (one for each son), and I was going to use the leftovers. I can’t do it…. I just can’t. Sigh. The compass blocks are gorgeous, and deserve an nice cotton batt, and they shall get it!

Only a bit more to quilt on Joshua’s…. Unless I decide it is so hideously puffy that it needs a lot more quilting, which is entirely likely……at least I made a smart decision to do really simple walking-foot quilting, not my usual freemotion. That is helping a lot with the bulk…not only is the quilt large, but with the thick polartec and the PLA batt……..anyway, I may not get it done in time for graduation from 8th grade on Friday, but Joshua understands the machine is away for a tune-up….it just about ground to a slow halt, so I immediately stopped sewing. I think it is just well overdue for a lube job. I hope that’s it….

Late update:  nope… machine in the intensive care ward all week….  hopefully soon it will come home…

Joyce’s birthday

Thursday, June 12th, 2008

I had the MOST fun last week…. my beloved sister-in-law, Joyce, was born the same day (different year) than my hubby. It makes remembering birthdates easier! And best friend Marie was born two days later… all late May. Ya think I collect Geminis? Well, I had NO idea what to get Joyce. You see, I have known her for 44 years…. since I was 6 (or thereabouts). Yet we have never lived in the same town. We have always gotten to know each other through letters (the old fashioned written kind), then after I was grown up, through occasional phone calls and now e-mail (a lot). But when you aren’t near someone, you don’t always know how they spend their days, what they have in their house, or their favorite clothes. Add to that the fact that her passions are her garden, her dog, and my late brother. Hmmm….. hard to send plants via the mail…..

Then I had a lightbulb moment! Joyce has worked for Toyota headquarters for 30 years and is contemplating retirement. And I have been having a good time delving into the several mountains of accumulated magazines and books (the last year hasn’t been a good one for staying anywhere NEAR caught up on reading). One book is The Decorated Page by Gwen Diehn (click on the title to see the book at Amazon). SO…. I thought Joyce might like a new thing to do in retirement, or at least a notebook in which to make lists…. so here’s what I made for her:

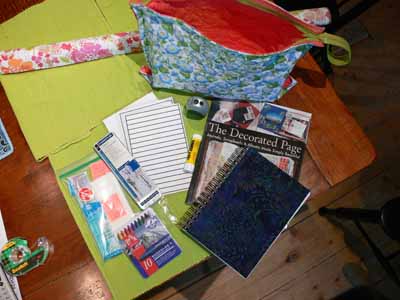
A bag of goodies

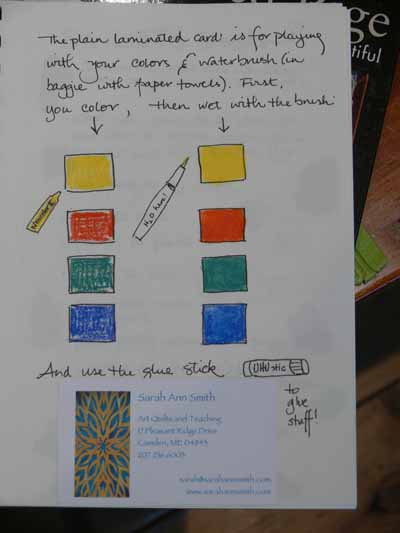
I made her the bag not quite big enough to fit the book, but you could squeeze a magazine in, and definitely big enough to hold the notebook and stuff! I sent a copy of The Decorated Page, a 5 x 8 sketchbook (with a batik fabric fused to the cover to make it prettier) into which I drew a few things, a set of sketching pencils, Neocolor II water-soluble sticks–like a pastel, nicer than a crayon, easy to use, a waterbrush (think fountain pen meets paintbrush… fill the handle with water, squeeze and it drips out the felt tip allowing you to paint), a glue stick, an eraser, and some laminated cards to use with the notebook.

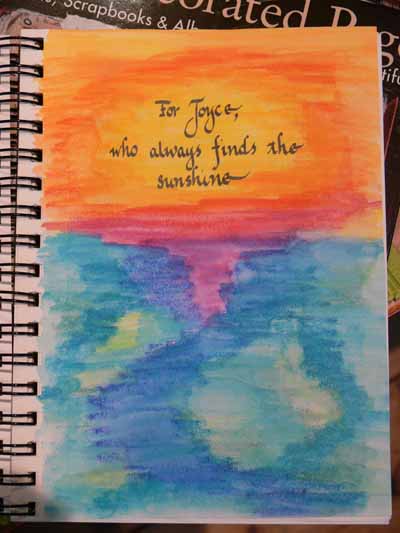
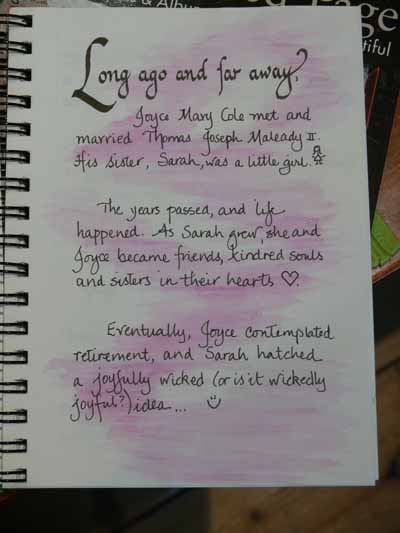
Here is what Joyce found when she opened the notebook:

Dedication page

and

First written page

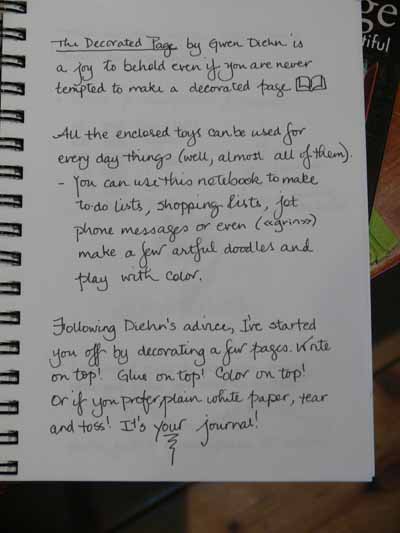
Since Joyce might never have used some of these things, I told her about the book I’d enclosed:

Gwen Diehn Page

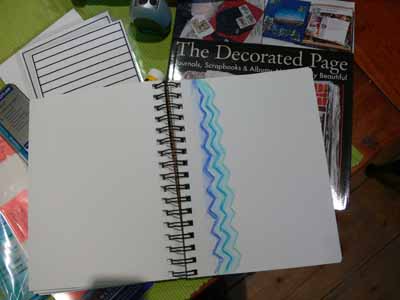
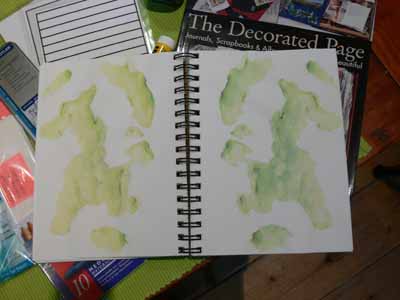
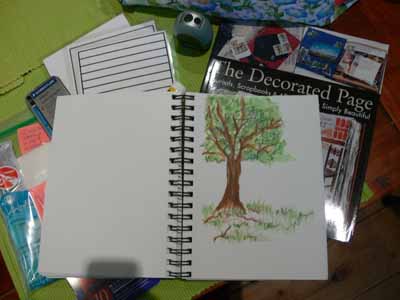
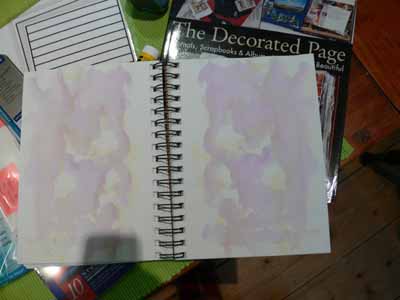
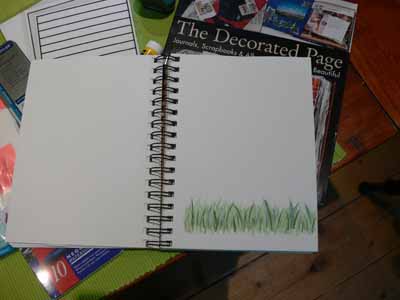
Following Diehn’s advice, it is sometimes easier to begin when the page isn’t blank, so I decorated a few for her here and there through the journal:

blue zigzags

Green wash

Tree page

Pink wash on pages

Grass

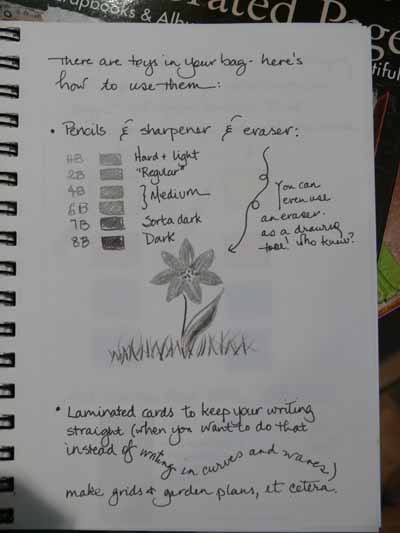
… and I showed her what each of the items does:

Using Neocolor IIs
Pencil page

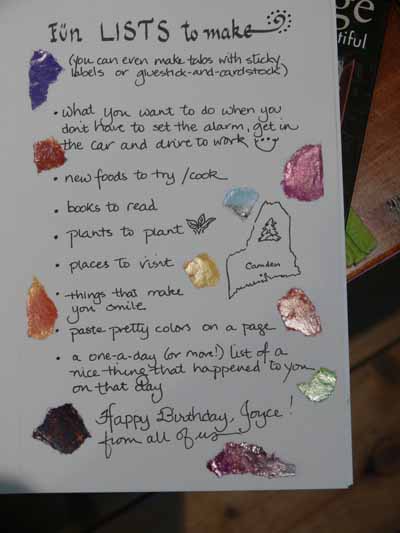
And finally, I have her a few ideas about what to do in the book…after all, all those blank white pages can be intimidating!

What to do in a journal

I can’t remember having such fun with a putting together a gift….. best of all, she really enjoyed receiving it!