Merry Mistletoe, a new free project
Wednesday, December 16th, 2015Hi all! At long last the new laptop has arrived, the nearly-deceased one is retired, and I’m scrambling to catch up. So first things first! Janome has published my freebie table runner pattern on their website and blog as part of the holiday celebrations. As always, thanks to Janome America for having me in their Artist and Teacher program for lo these many happy and productive years.
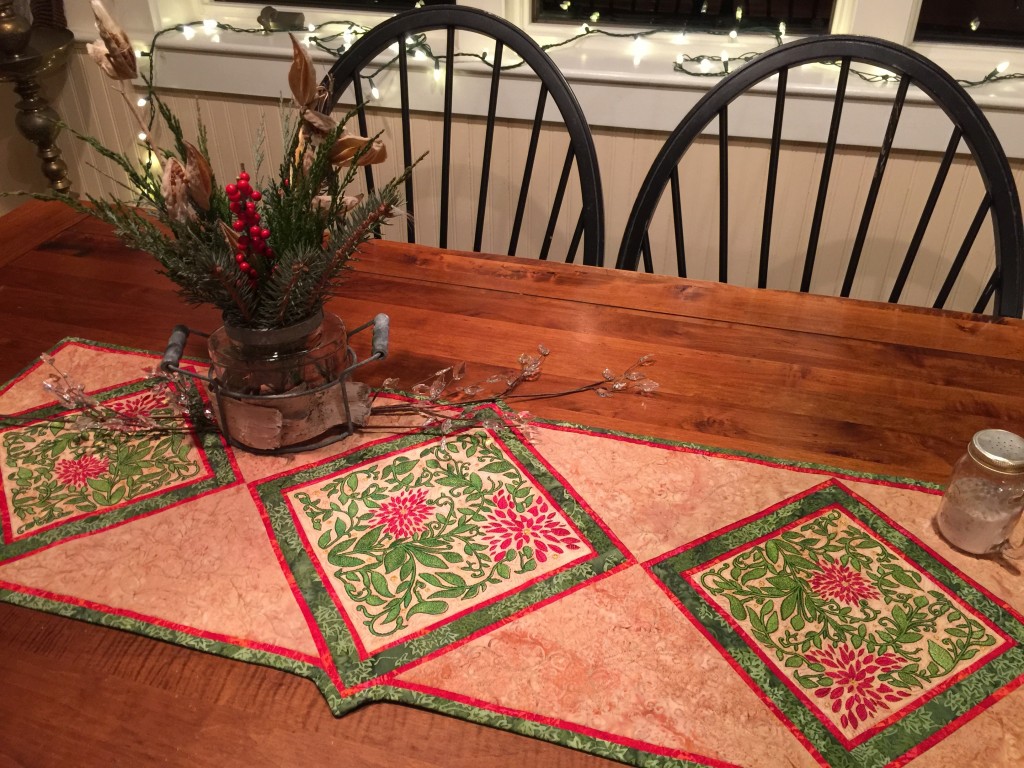
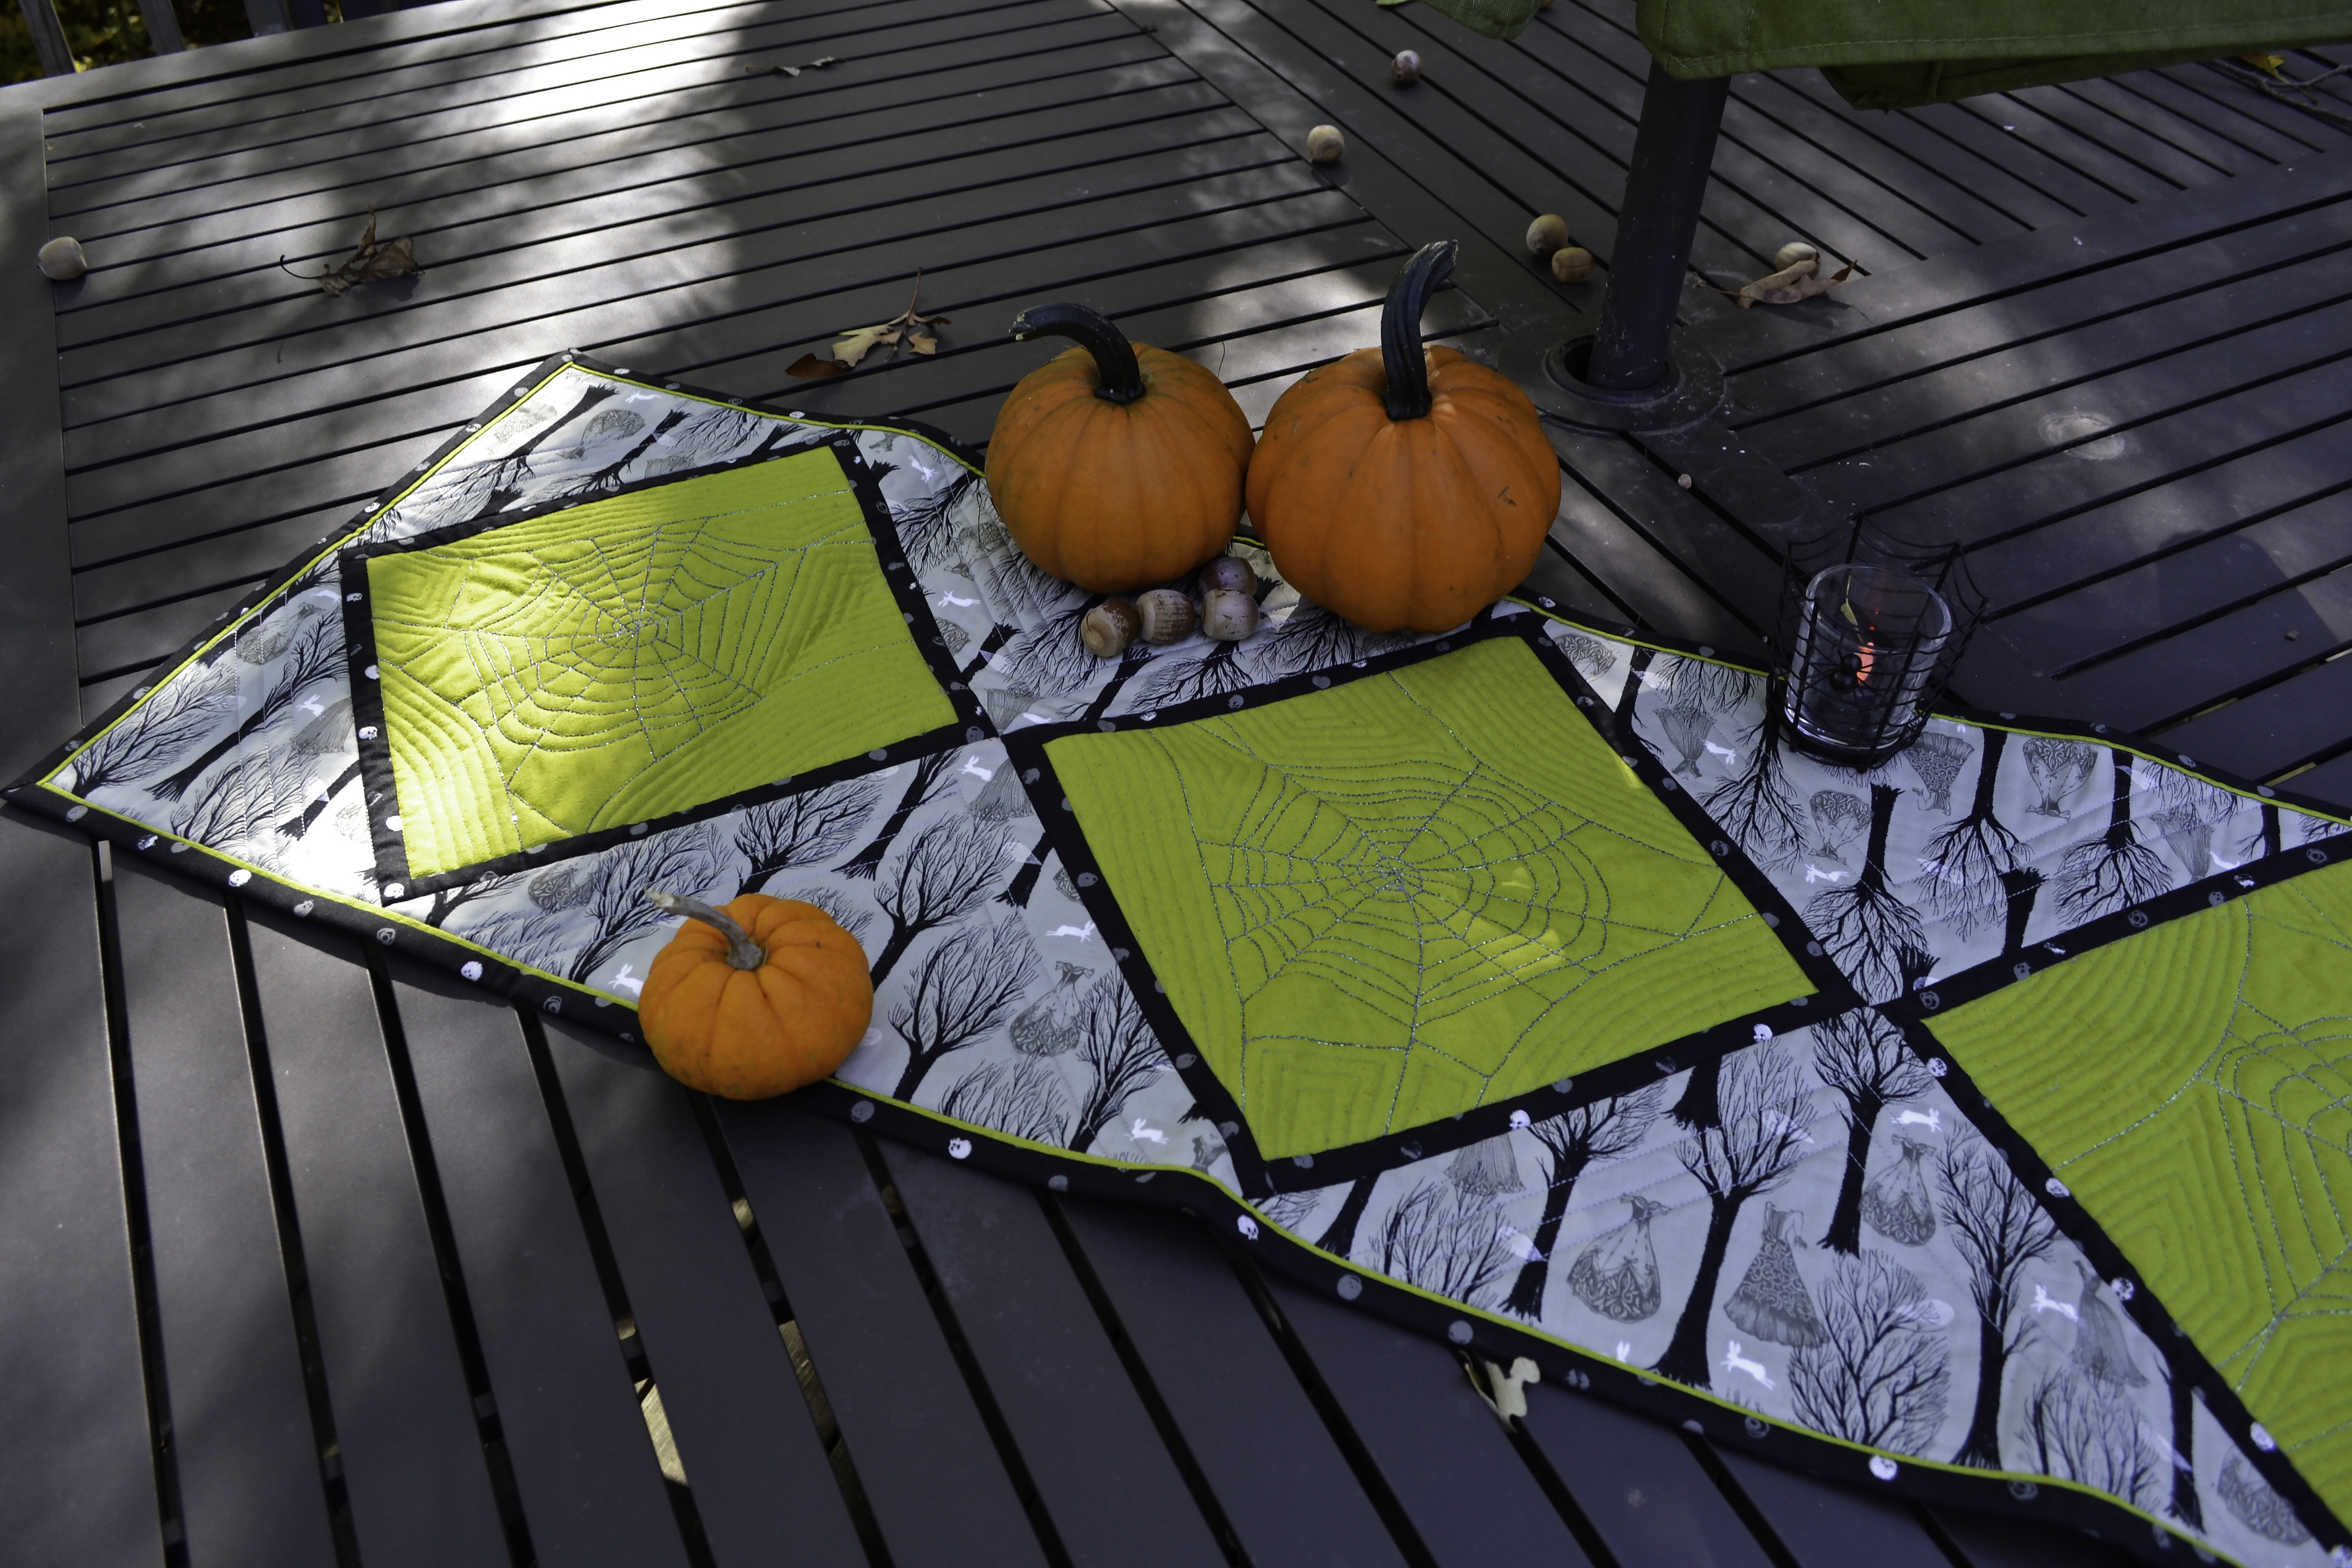
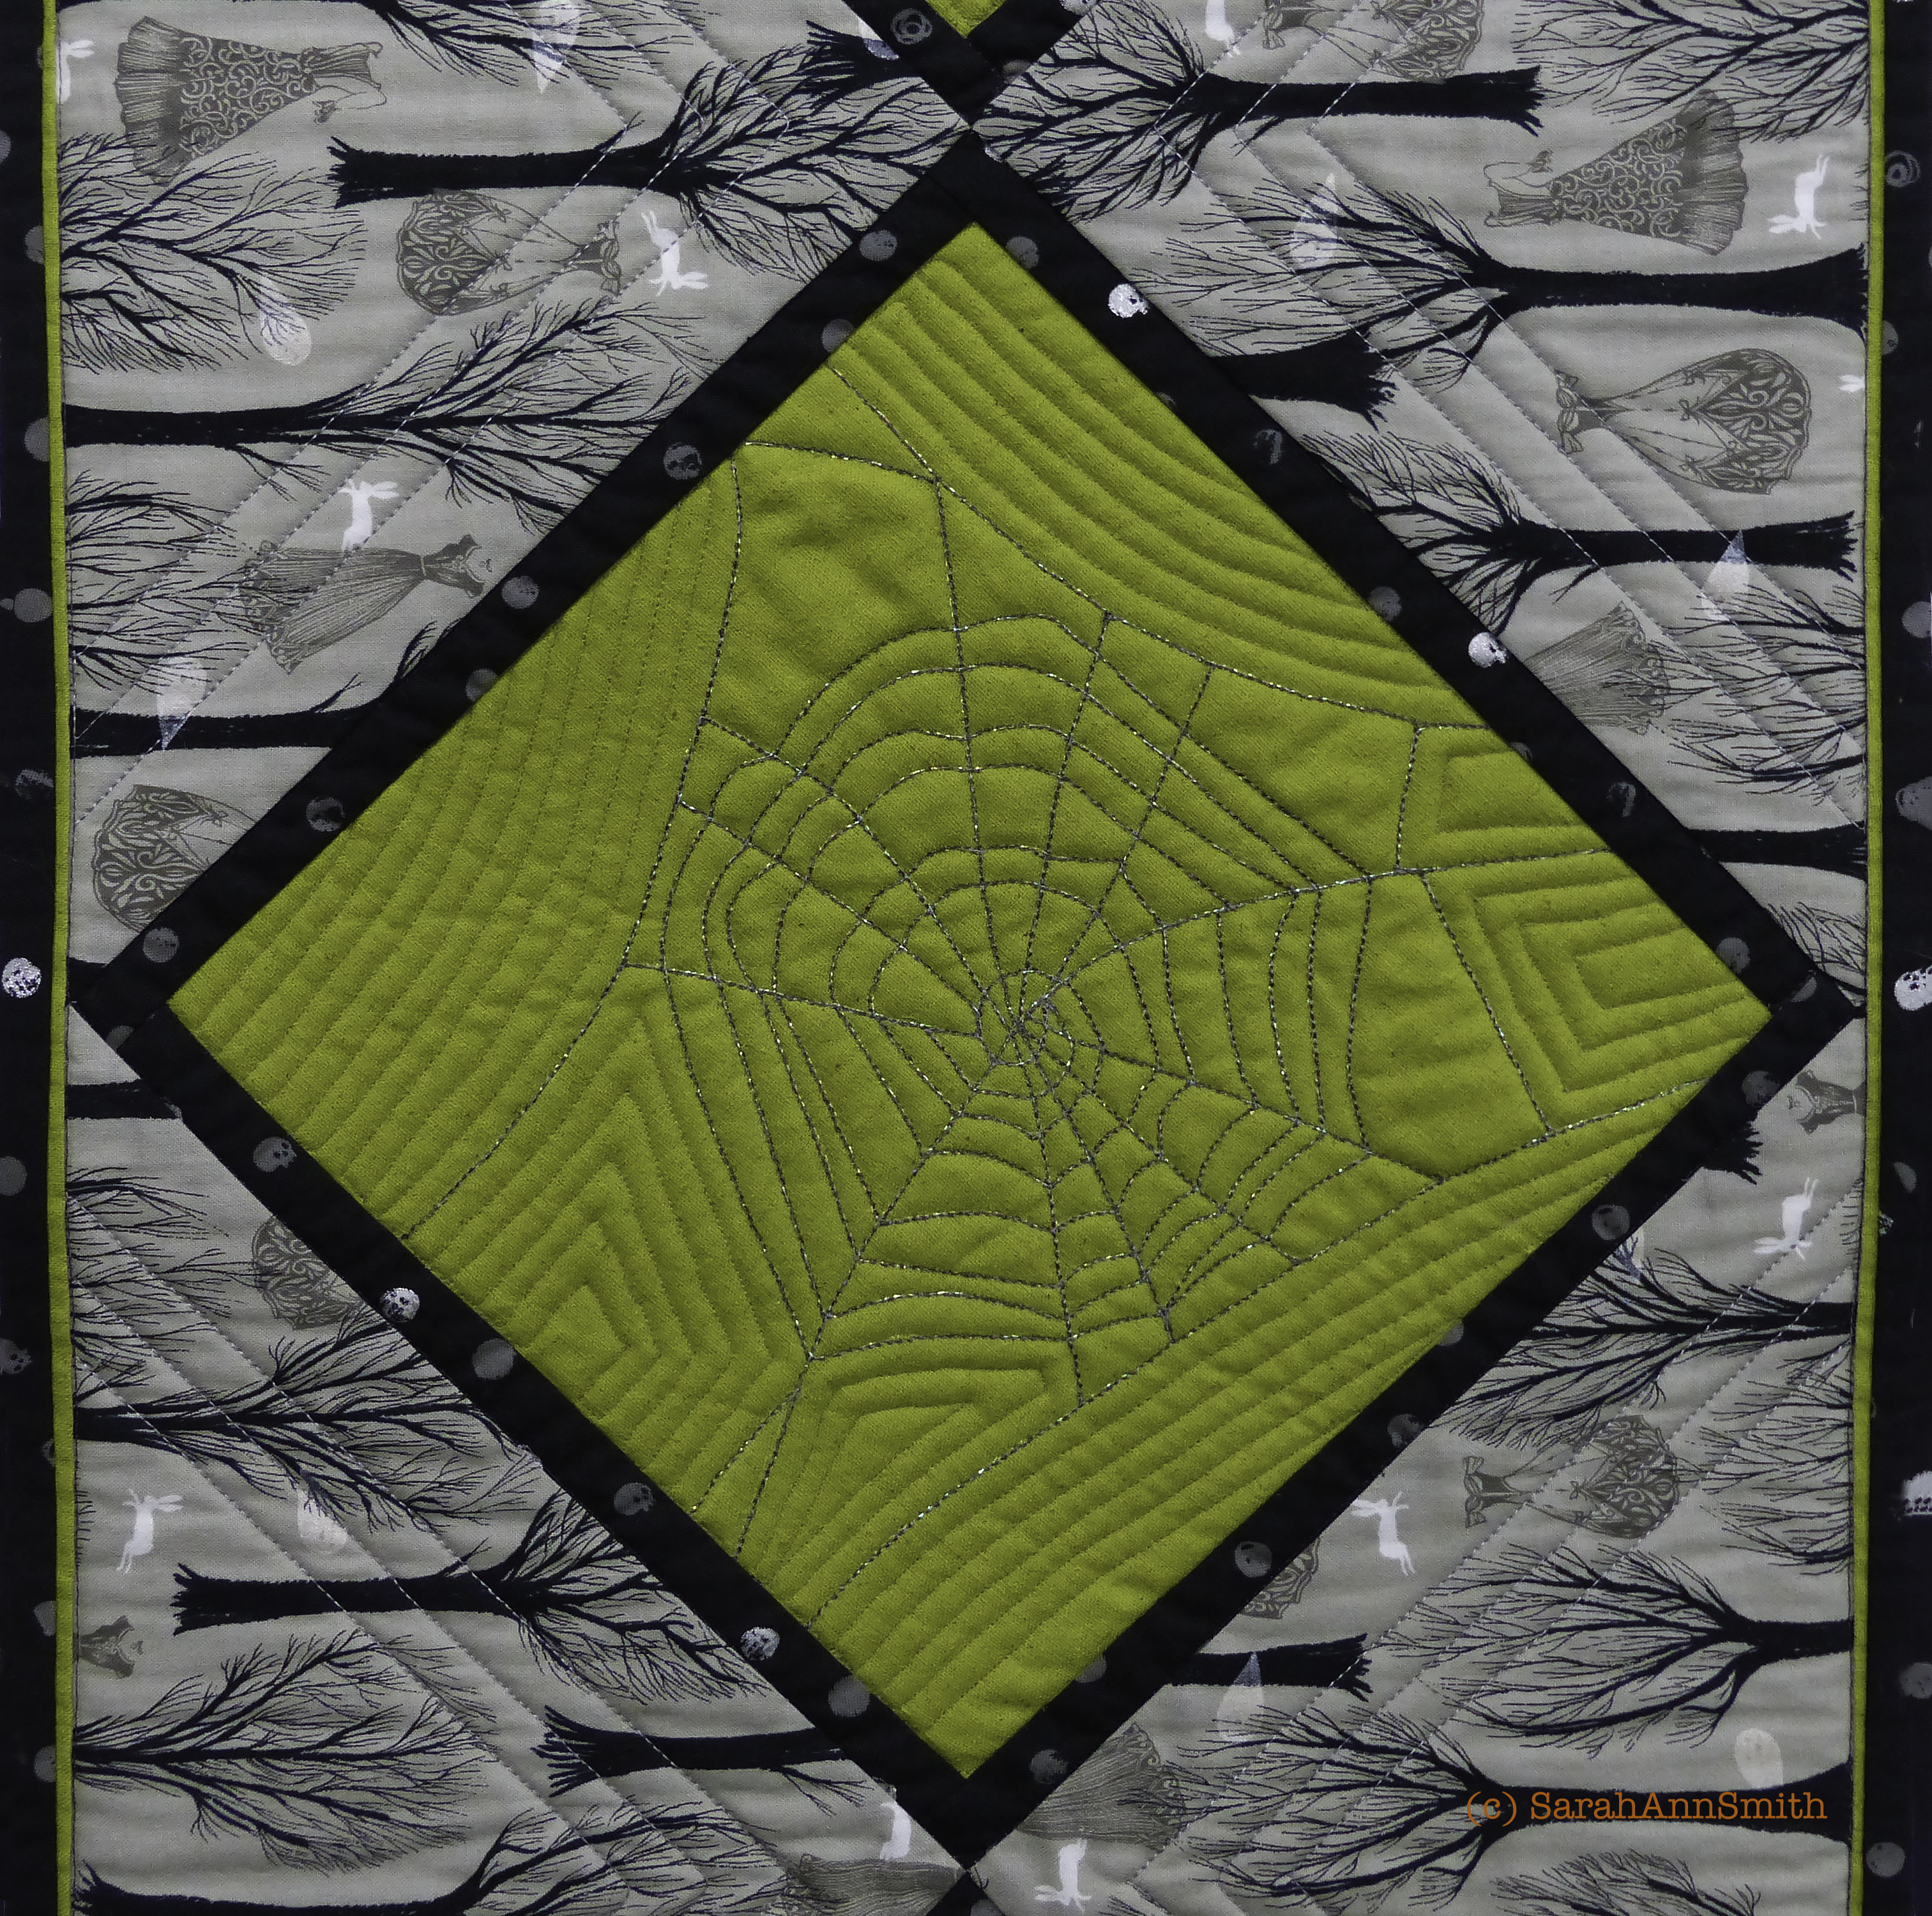
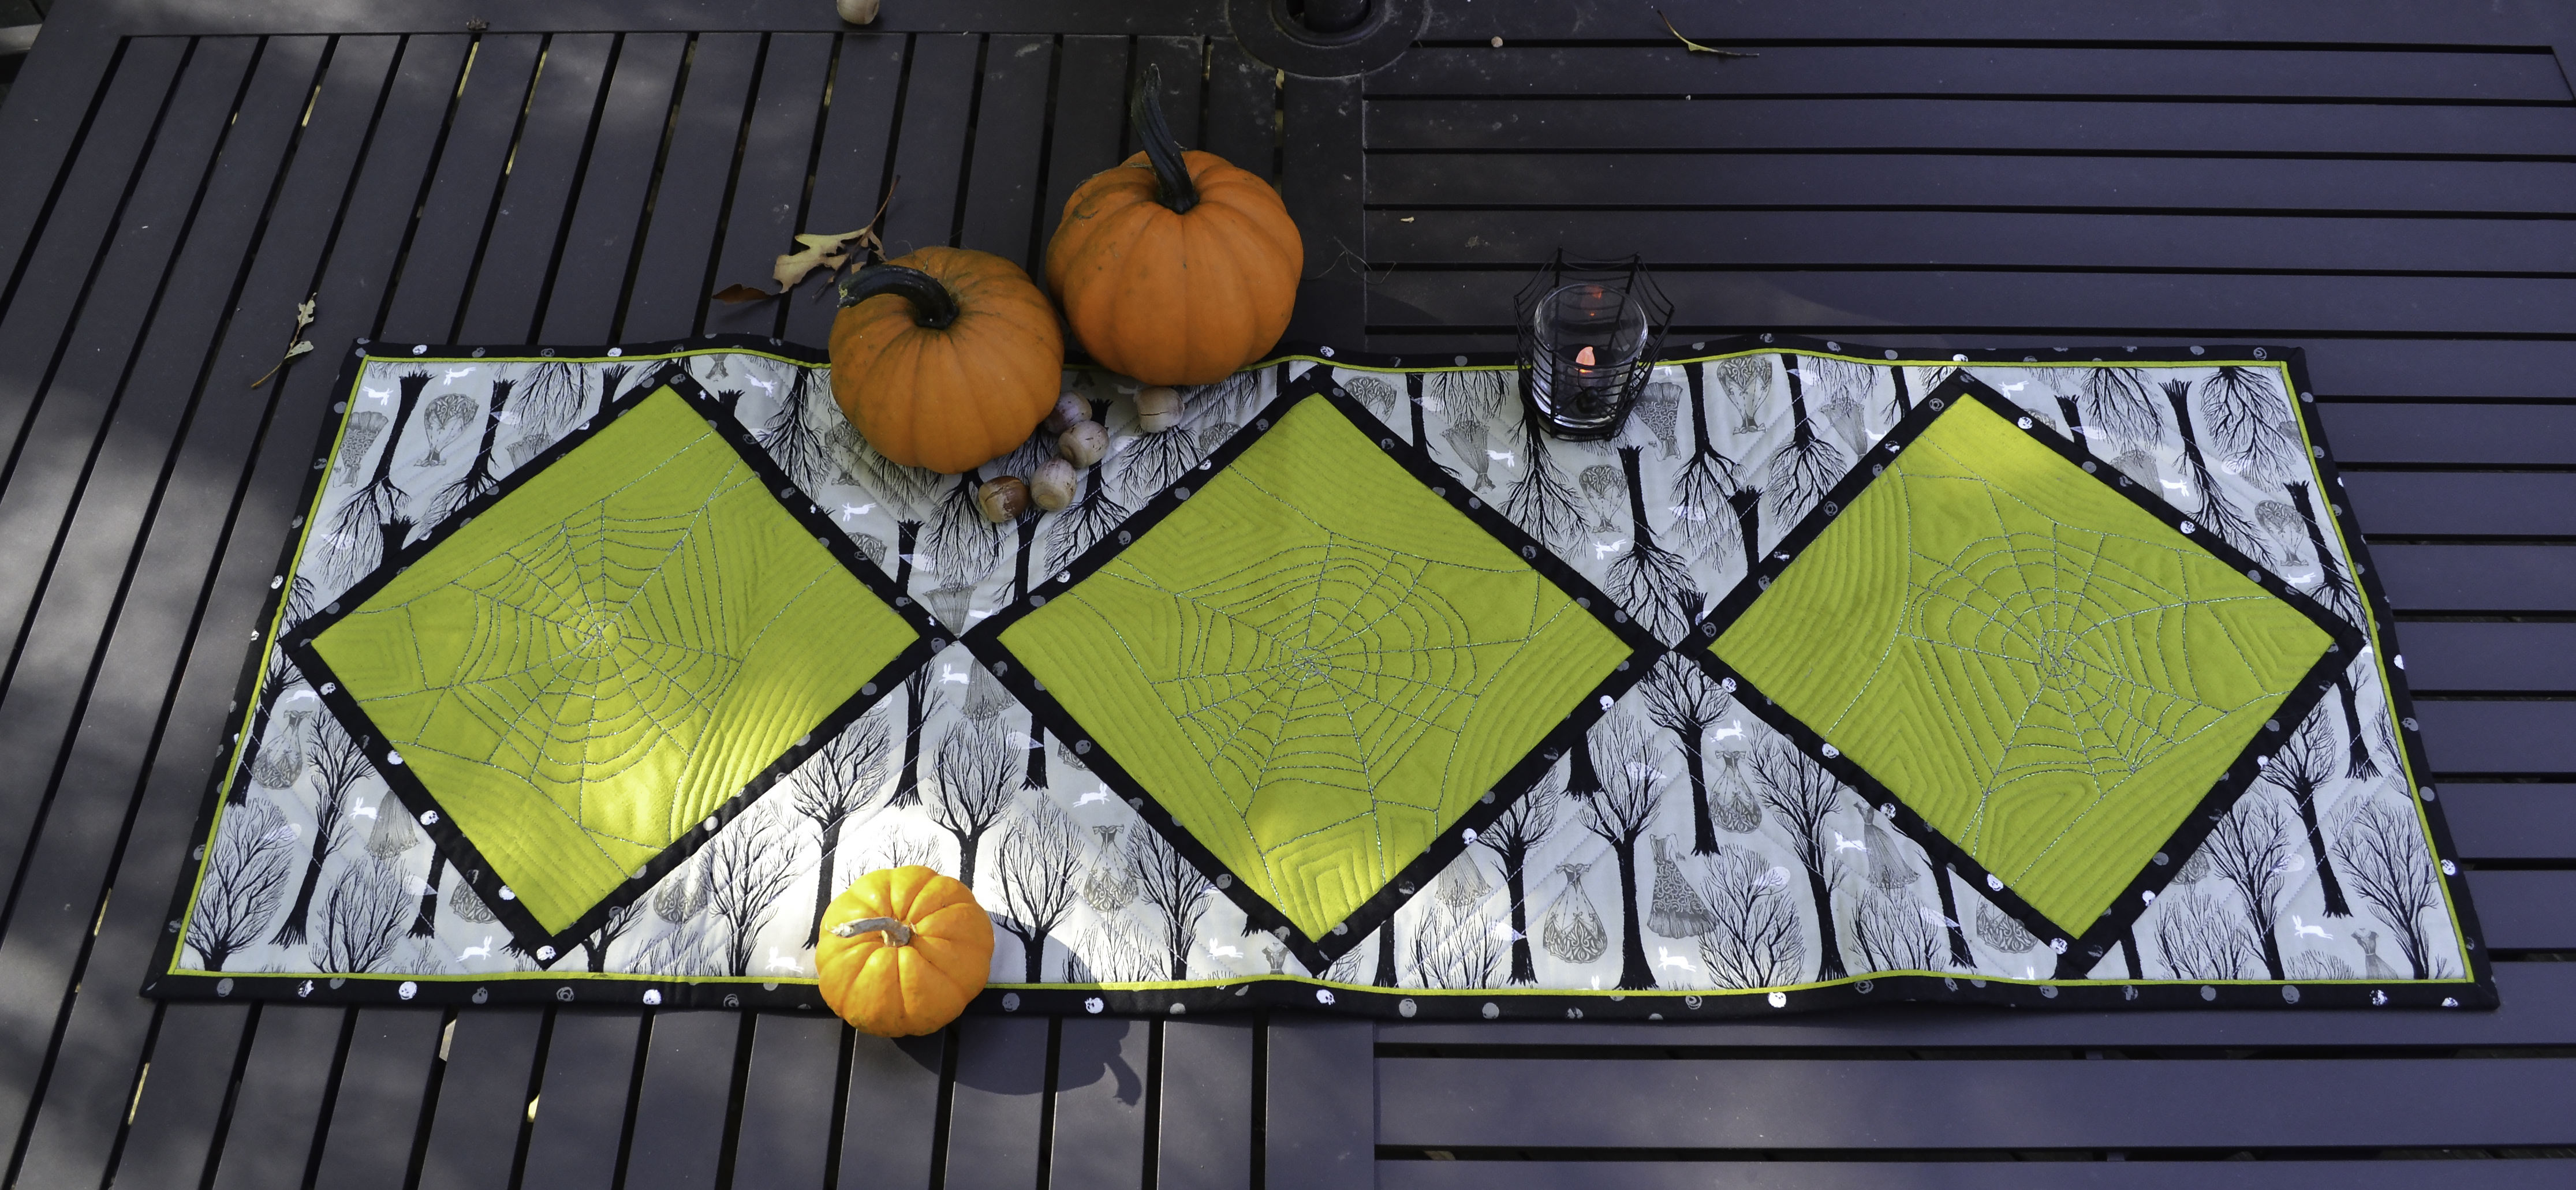
A table runner I made to feature the Janome 15000’s beautiful embroidery. And no, my table is NEVER this tidy. My laptop lives where the lower left corner is and there is always a pile of “to do” stuff!
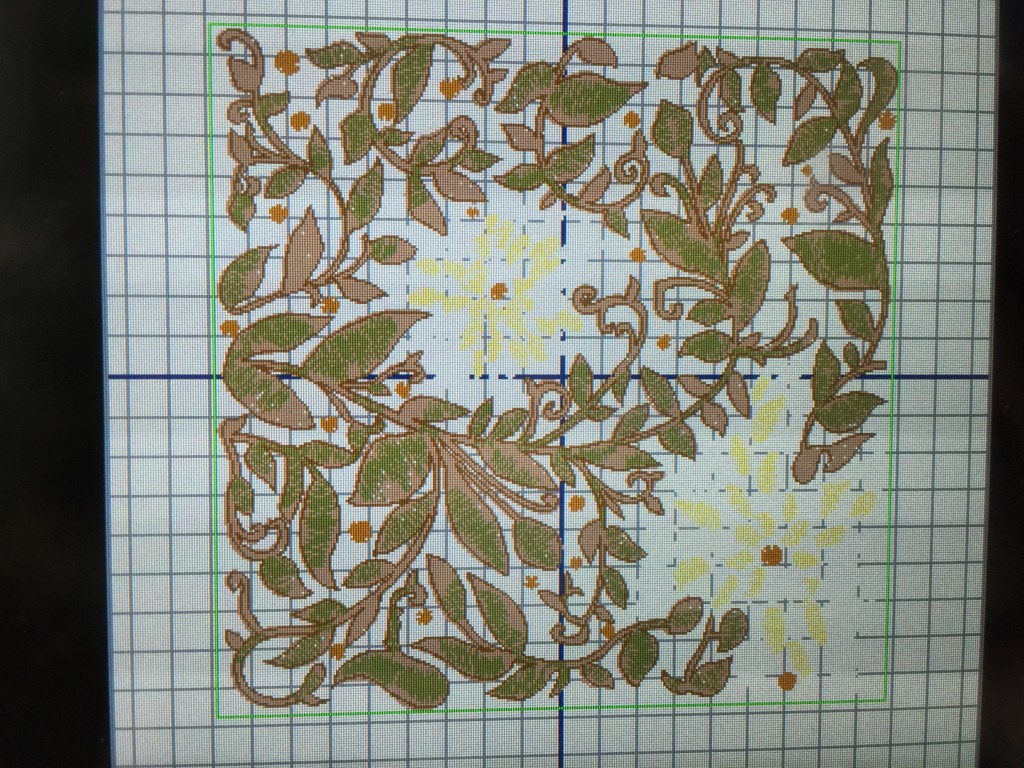
I used a Lonni Rossi embroidery design built in on the Janome 15000 I am currently using. I altered the colors of the built-in design to a wintry, holiday palette of red, green and golden tan. Honestly, I never thought I’d like machine embroidery (the wanting to do my own thing stuff), but this design is so gorgeous and even *I*, a soul who doesn’t like uber-computerized machines, was able to stitch this out nearly perfectly the first try!
To see the project on the Janome site, go here and scroll down to December 14, 2015 or go here. To download a PDF including full color photos with some neat tips for getting those skinny red strips to be perfect, go here.
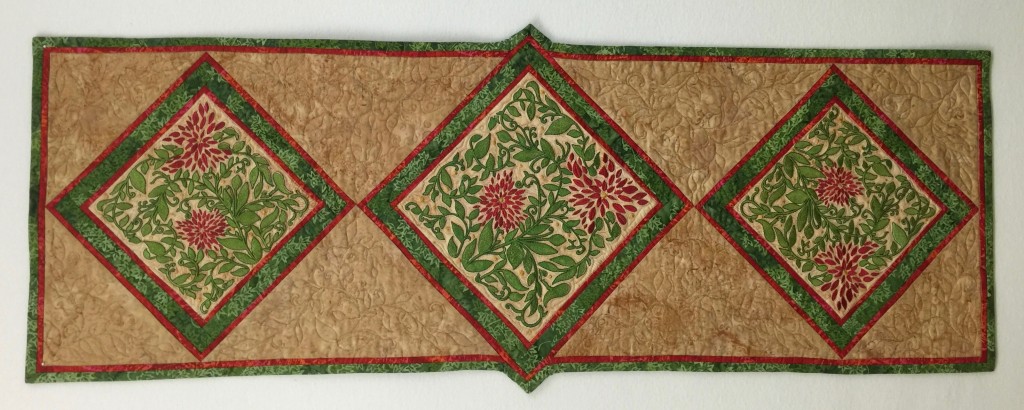
The plain old vanilla photo of the table runner.
Here’s what the project looks like in the original color selection on my 15000. Quite a difference, eh? And here is the boring, straight-on view of the table runner.
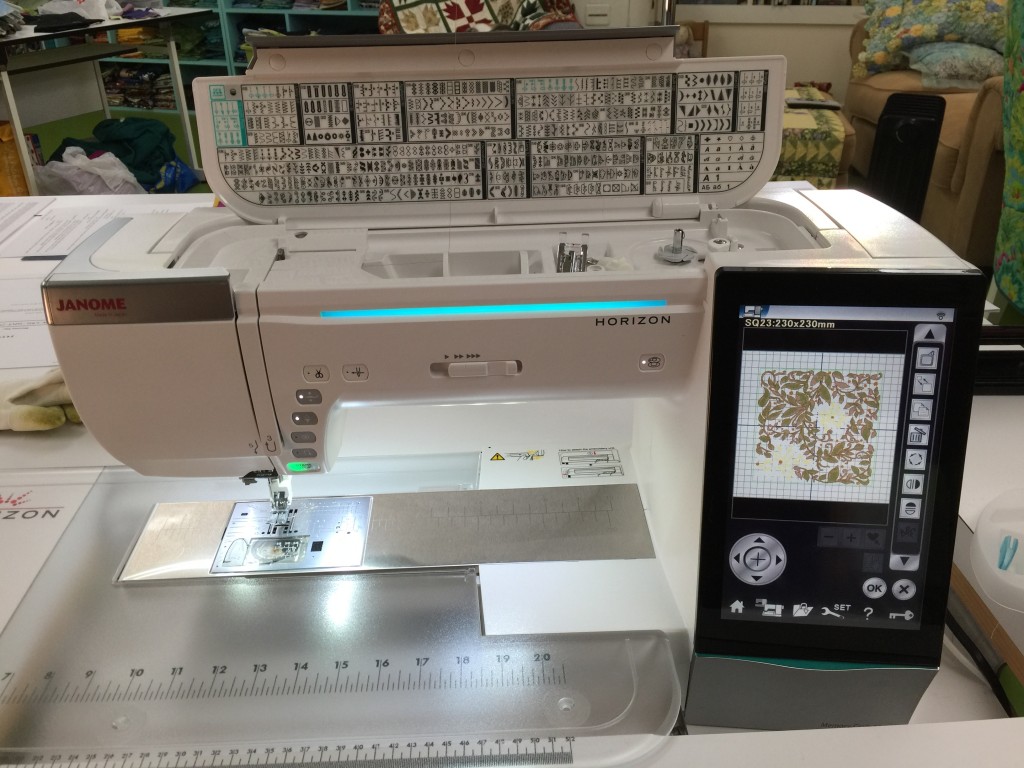
The Janome 15000 open to the Lonni Rossi block in the original colors.
Close up of the original color way on the machine.
I’ve got one more version/colorway, but it is a gift (as yet unfinished) for Christmas, so I’ll just have to share it and add it in here later!
If you don’t have this machine, never fear–you can just insert your favorite embroidery or fabric instead of doing this beautiful design.