email Youtube

Home
Galleries
Blog
Workshops & Calendar
Store
Resources
About
Contact

Archive for the ‘Janome’ Category

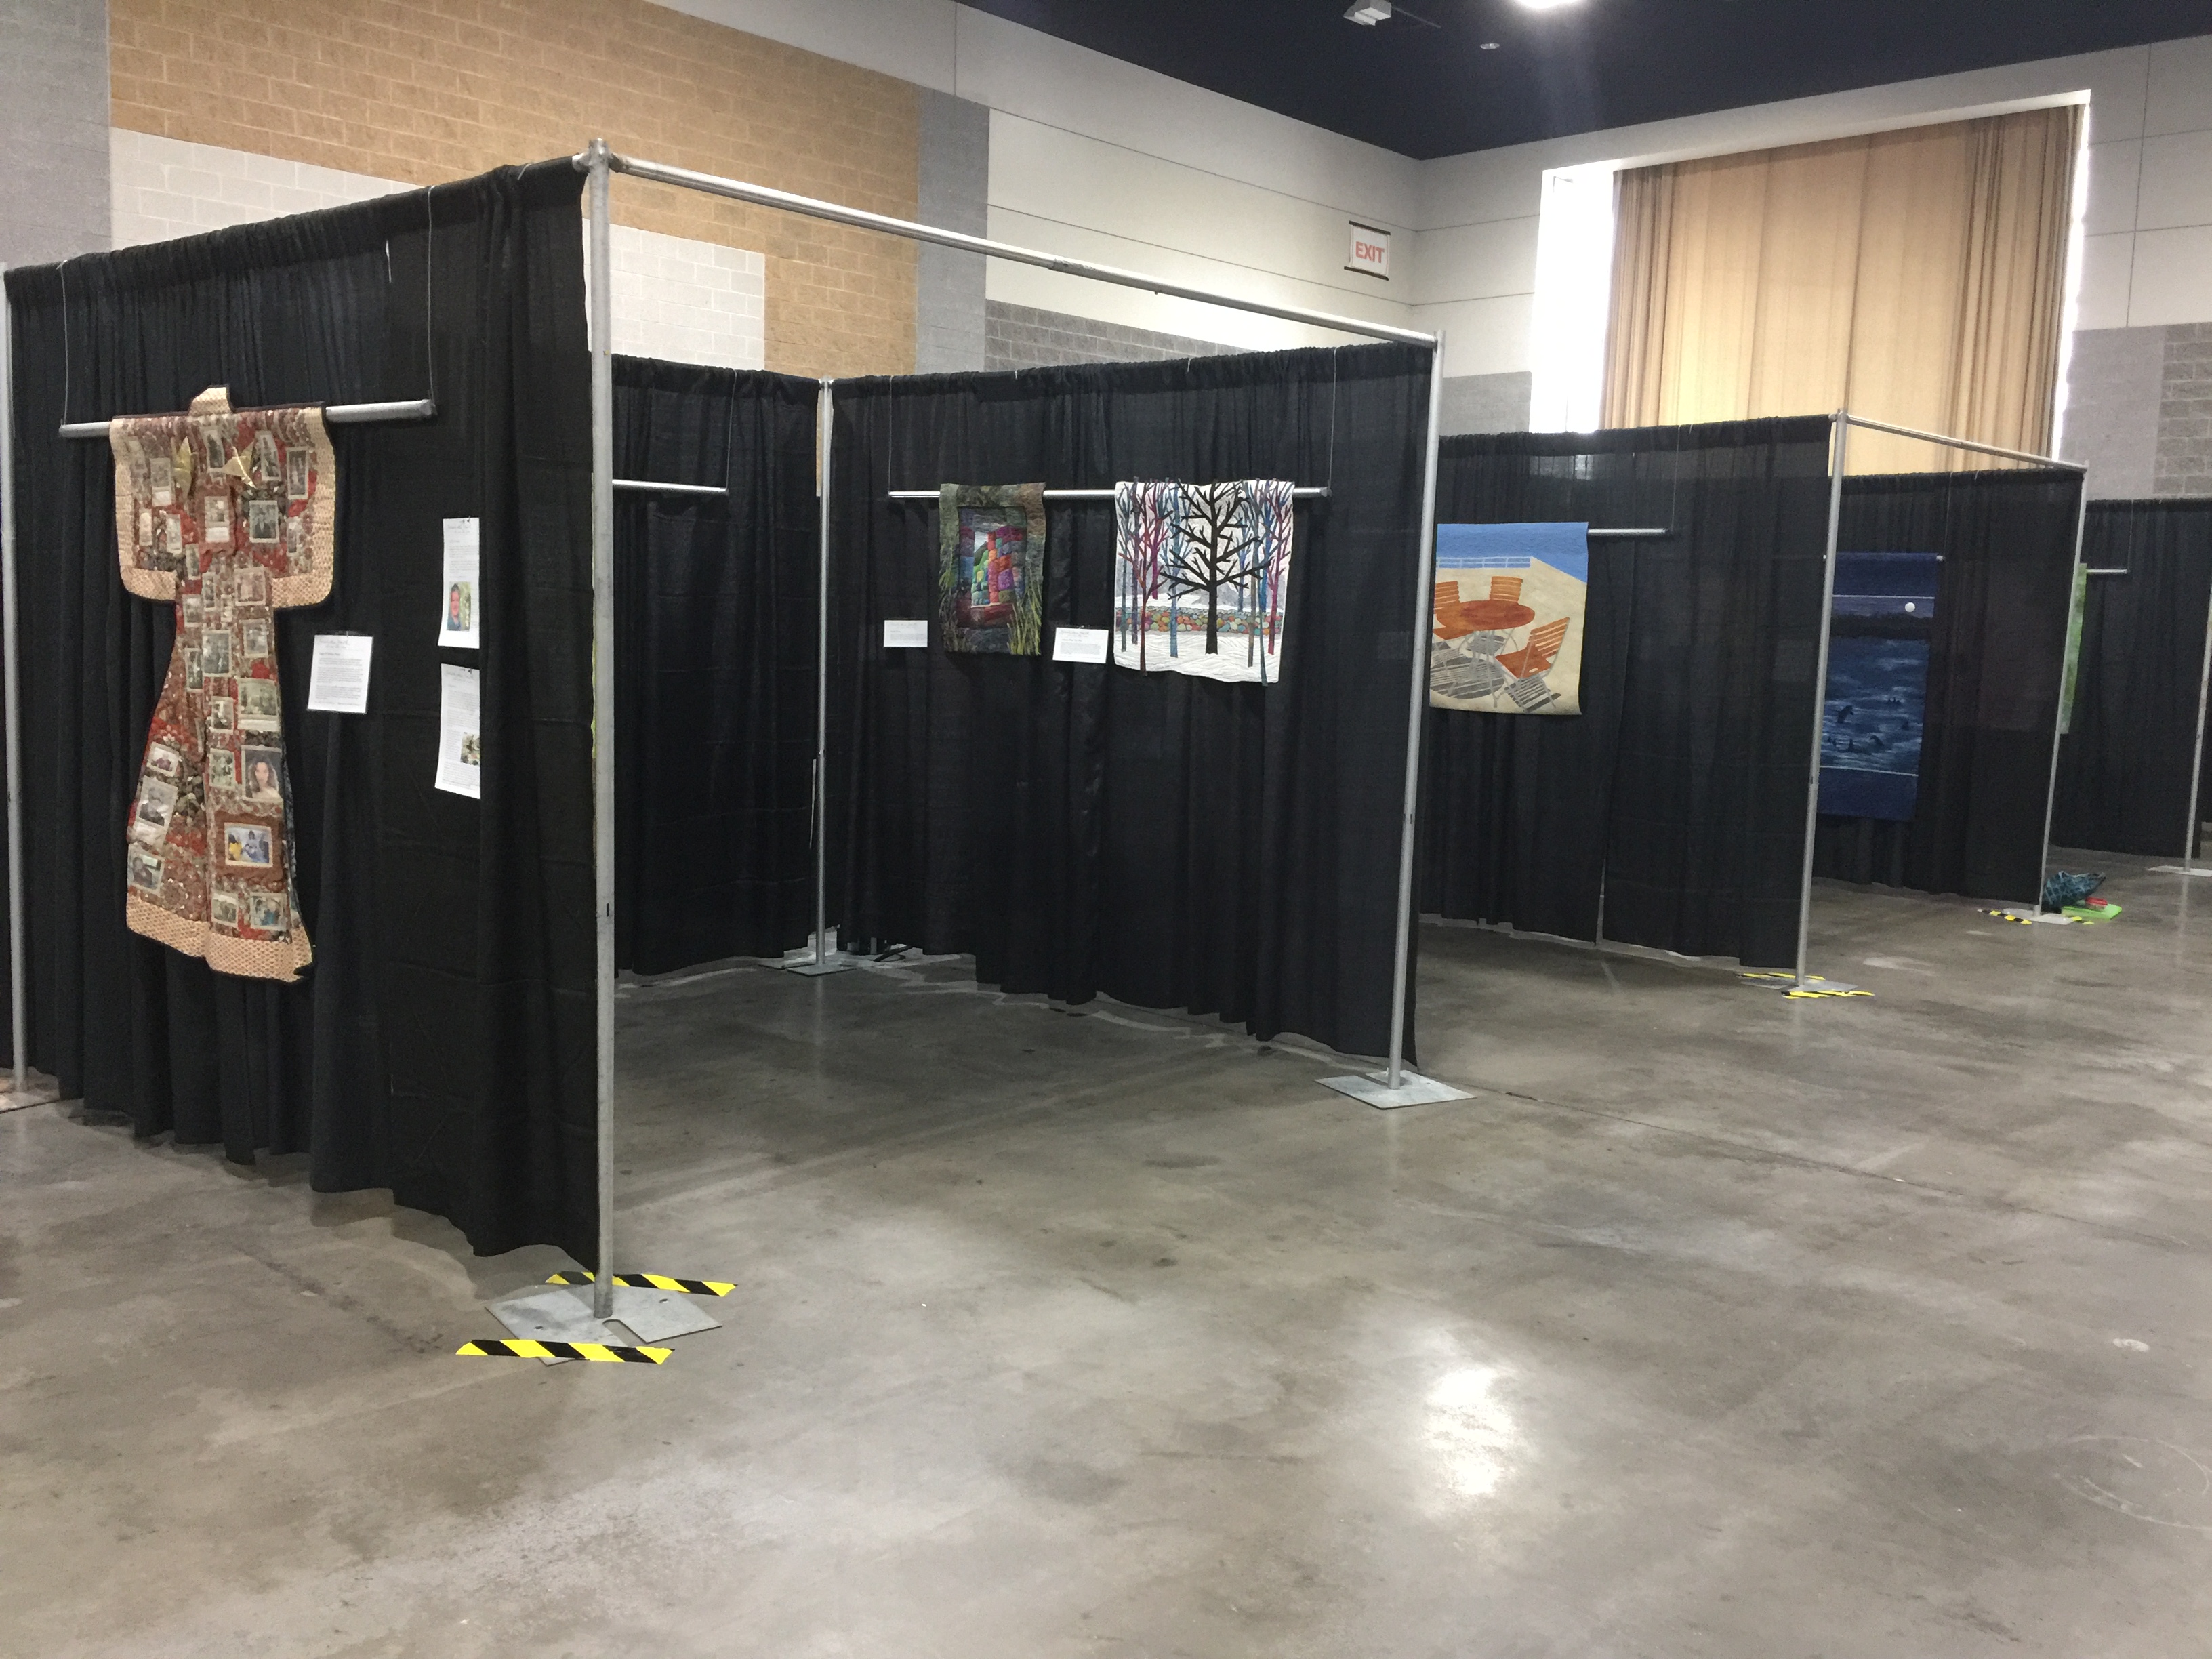
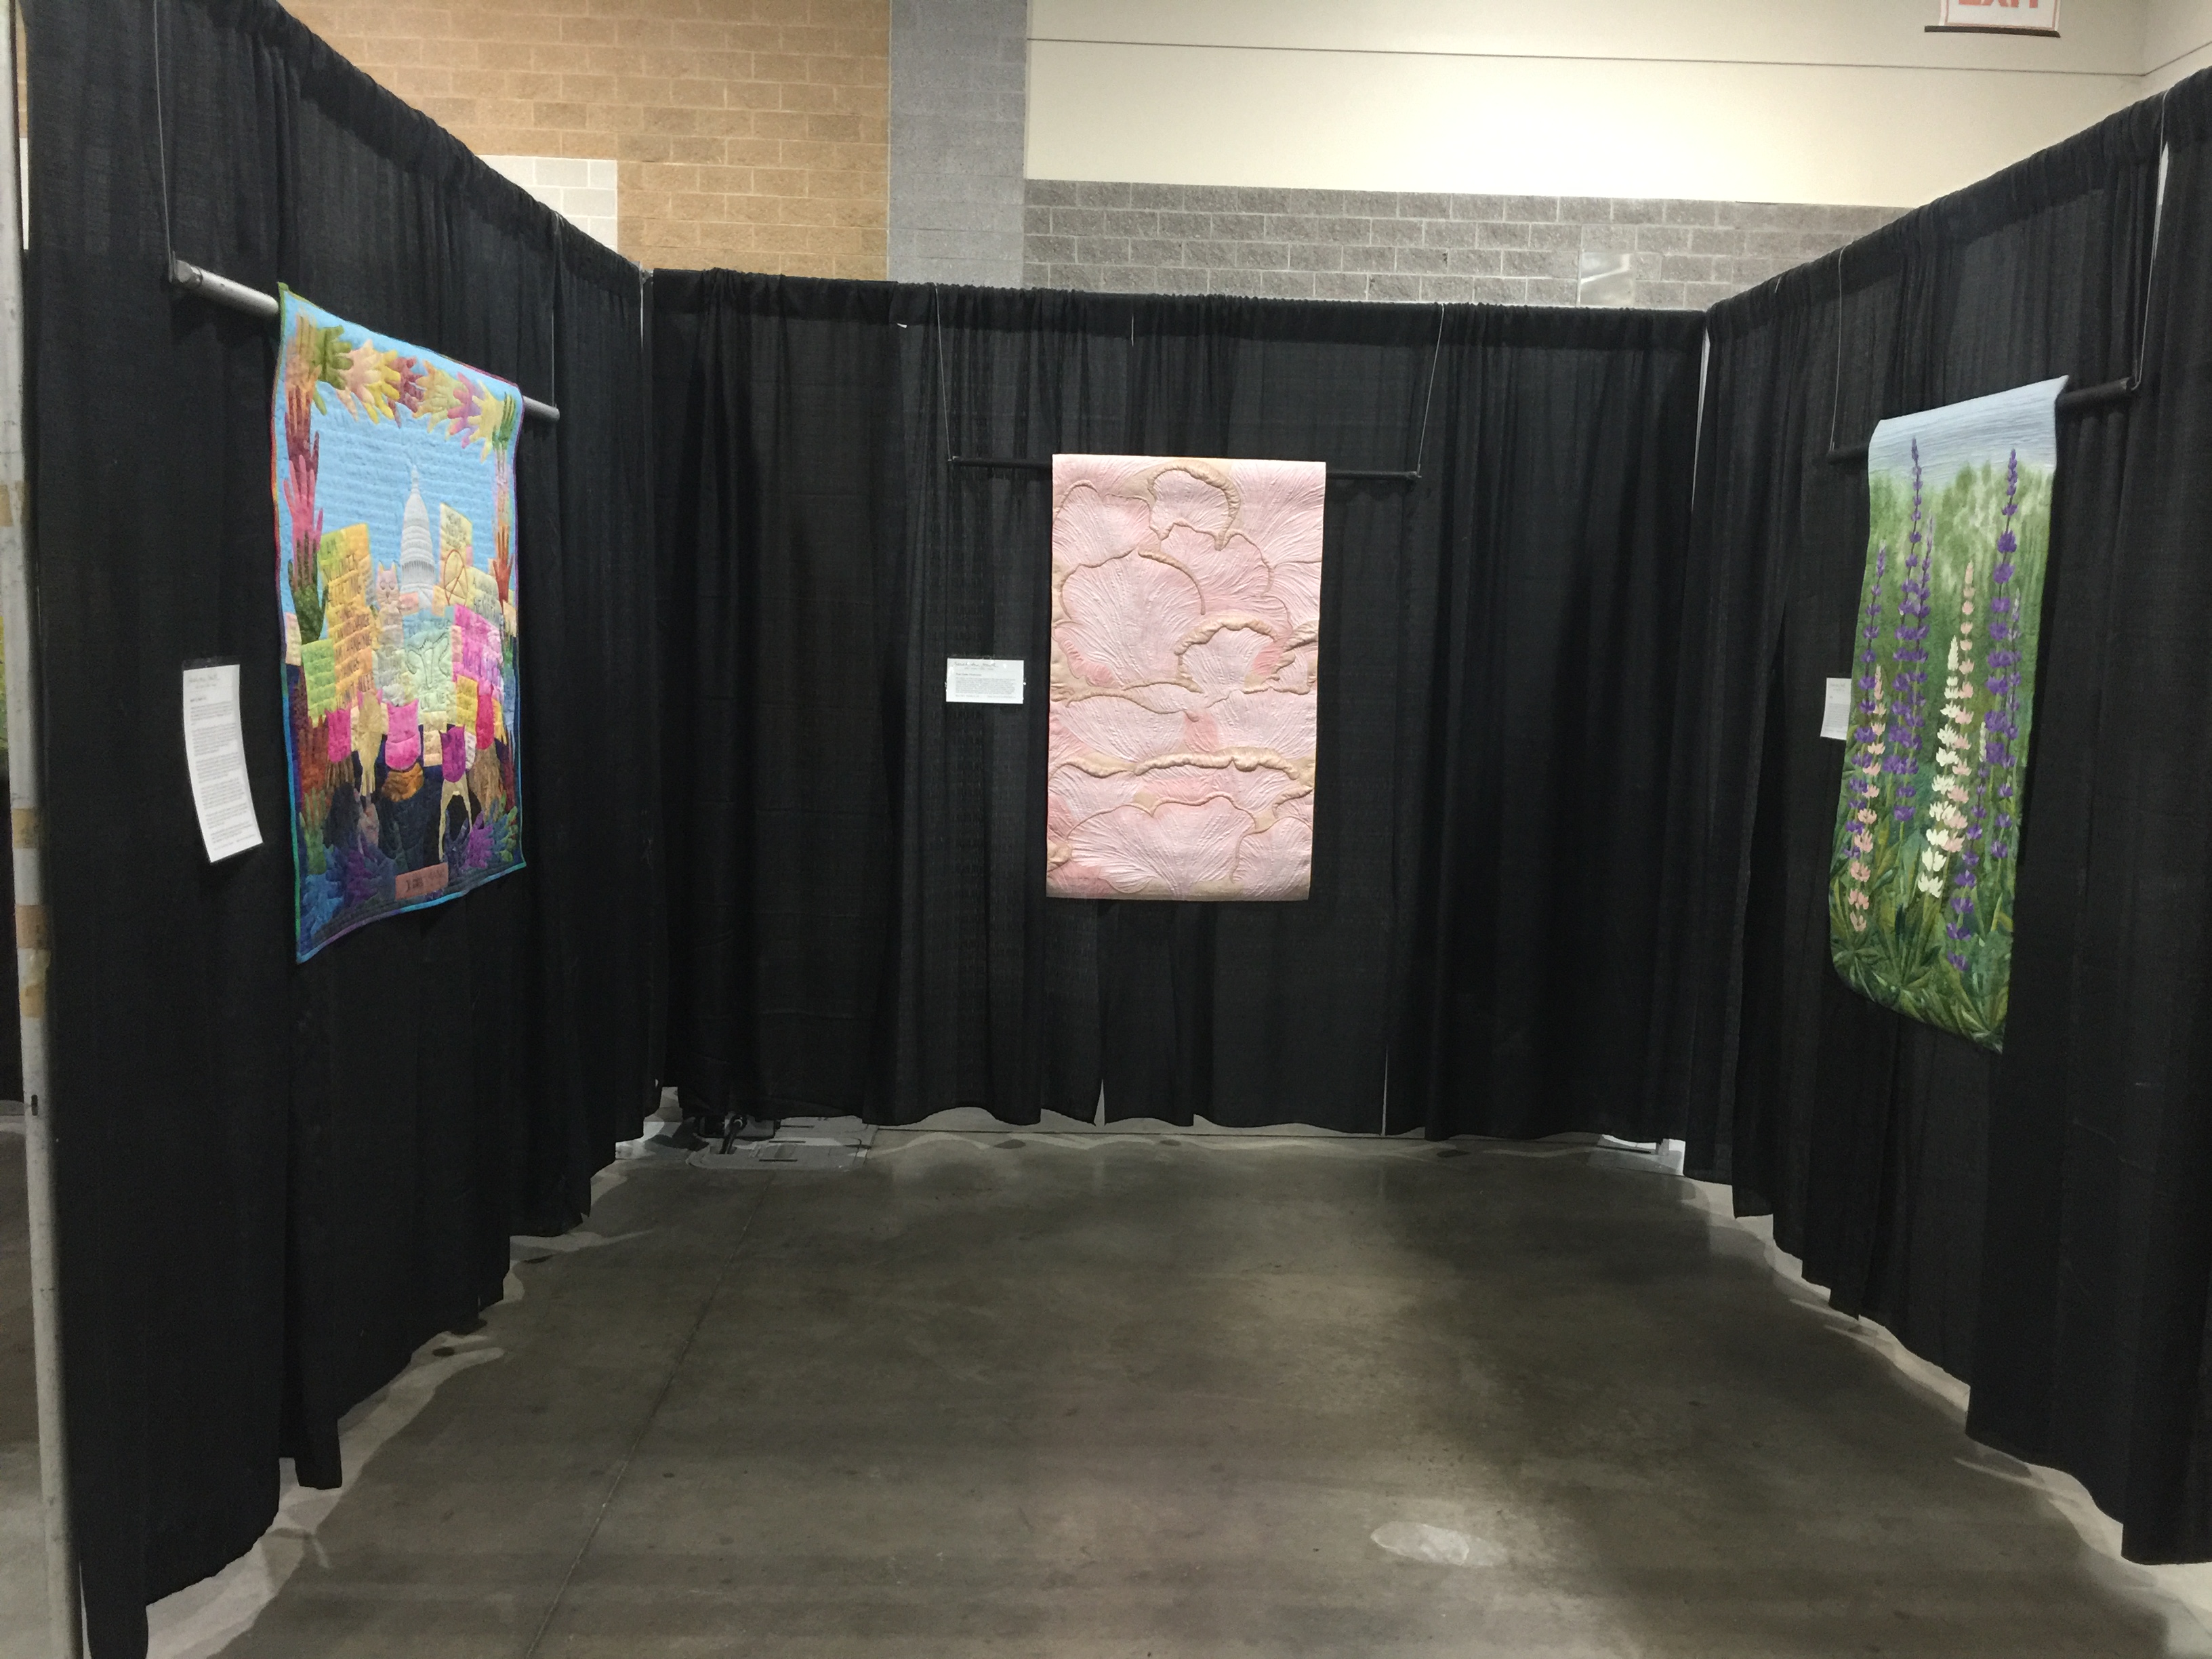
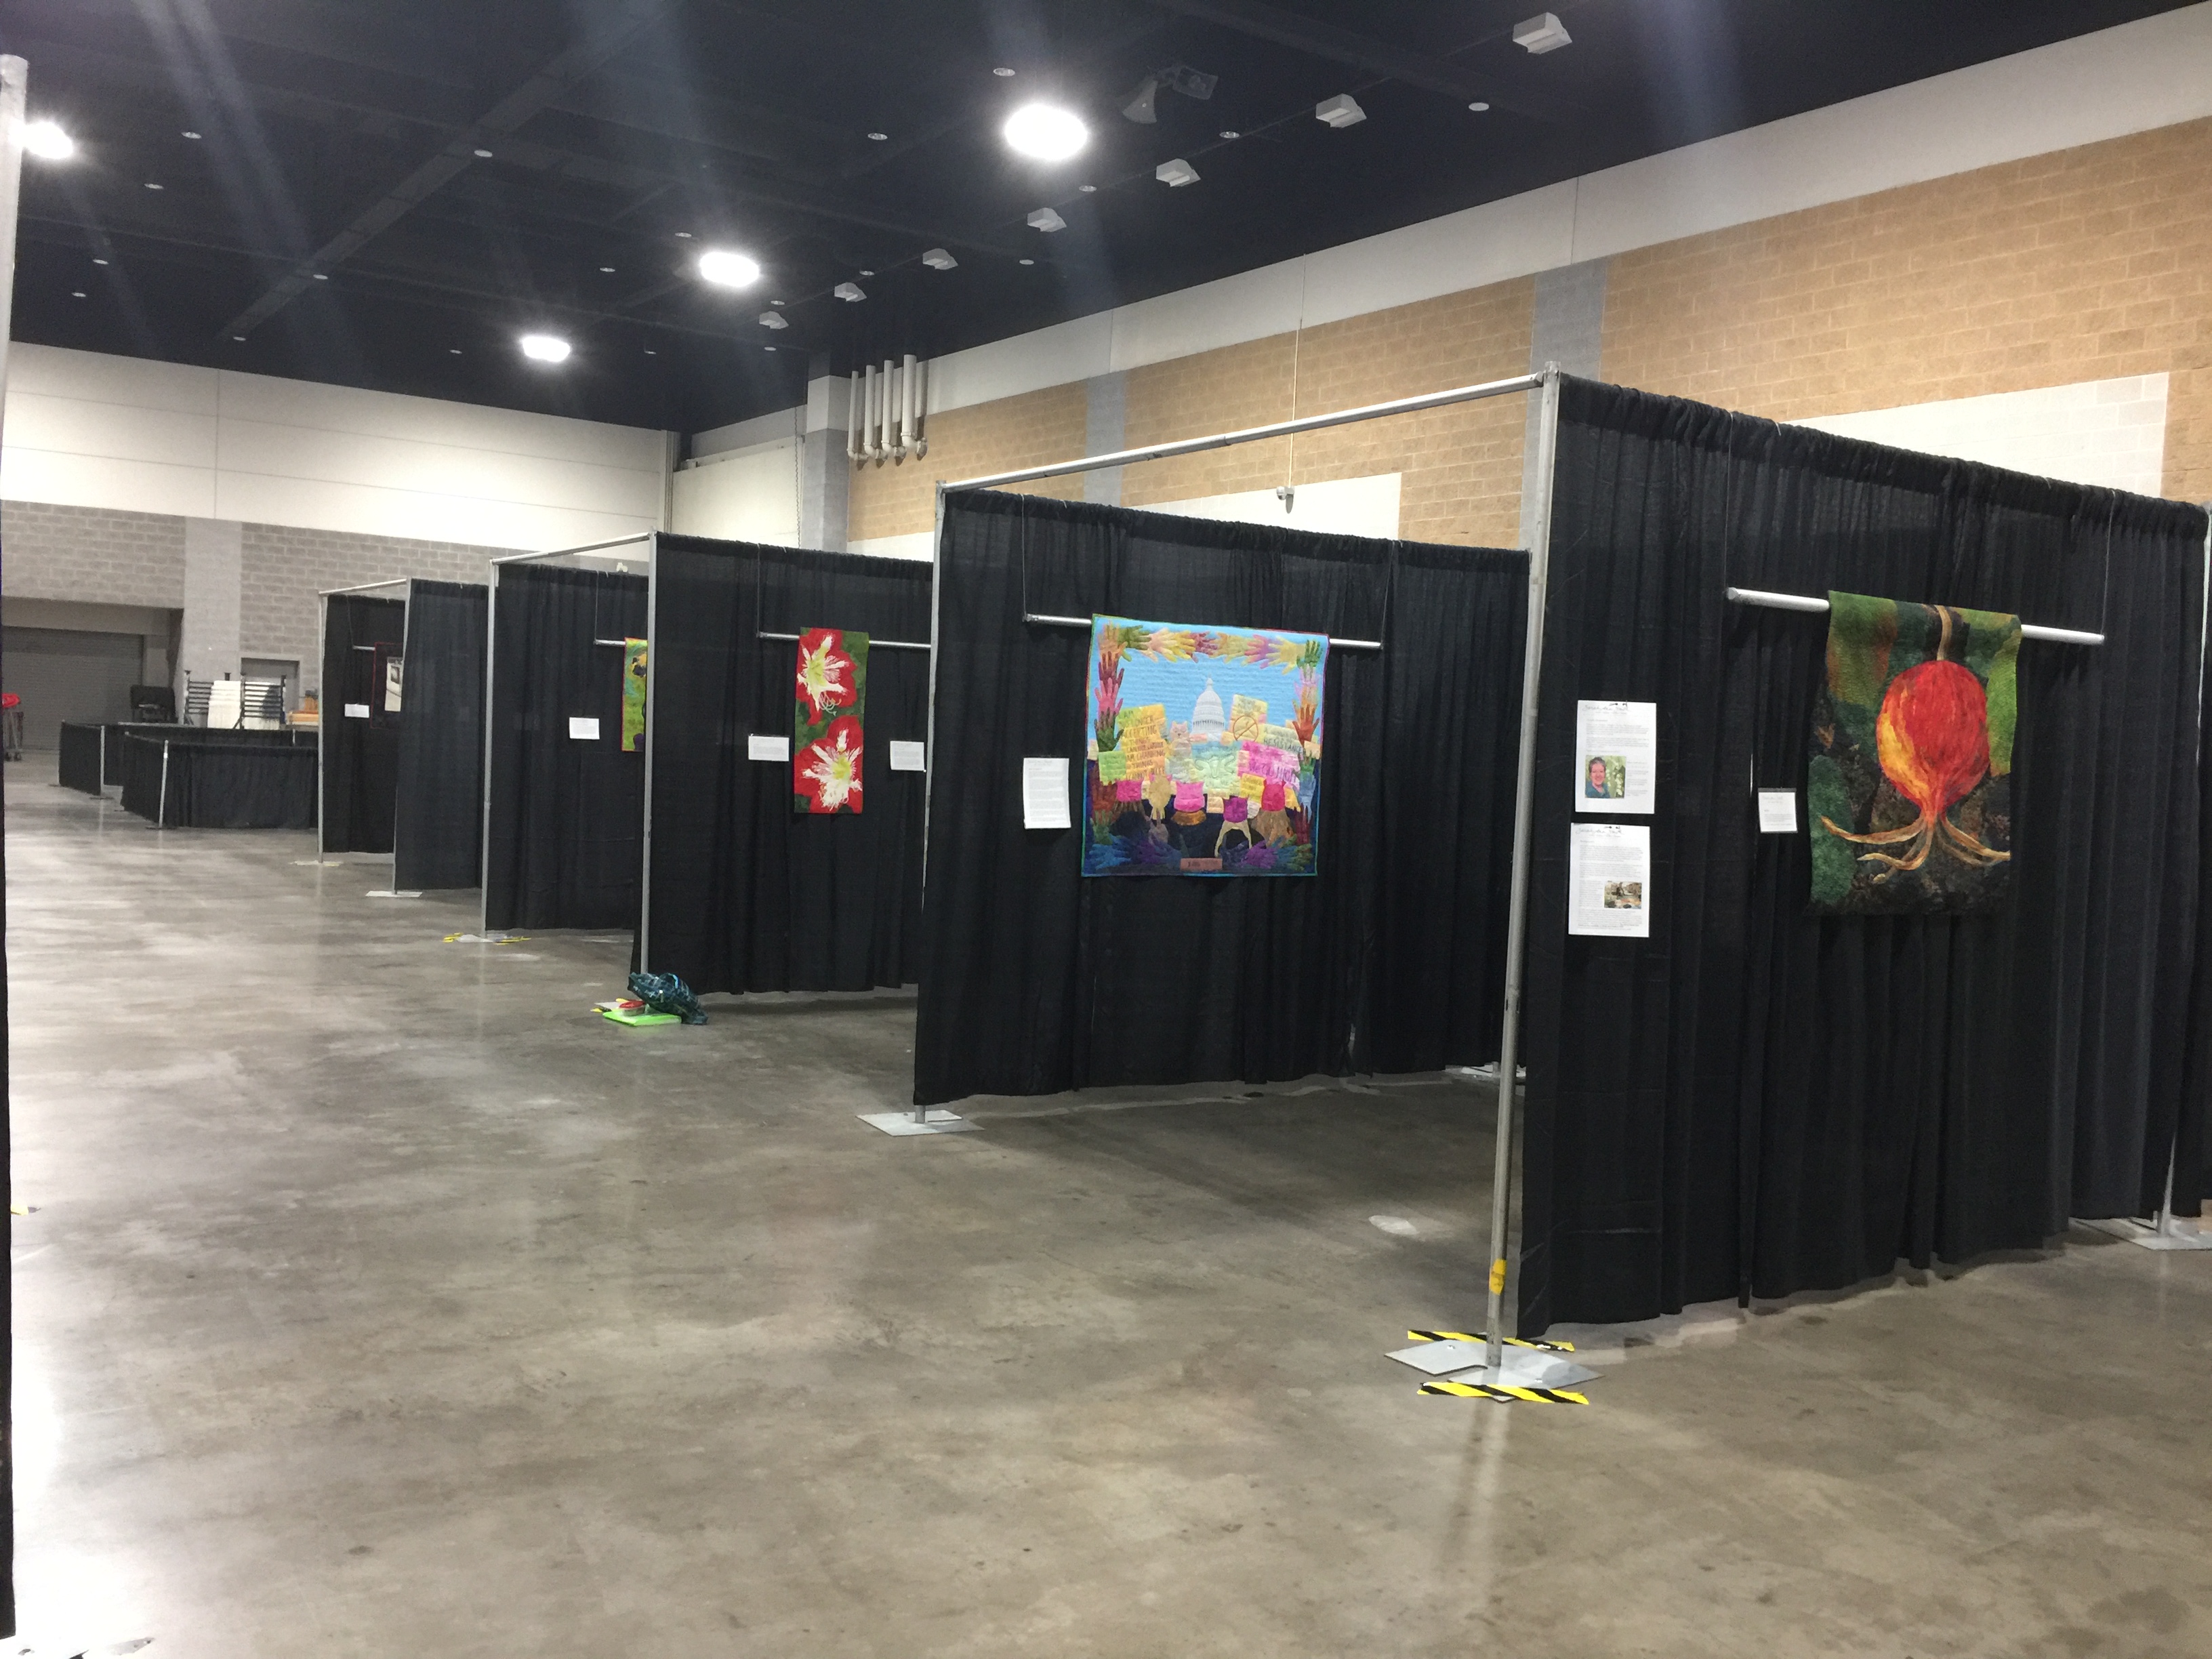
New England World Quilt Show Exhibit!

Thursday, August 15th, 2019

In a rather astonishing development last May, an earlier inquiry about teaching and exhibiting turned into an invitation to have a solo exhibit, The Art of Sarah Ann Smith … so far, at the Mancuso Brothers World Quilt New England Show tin Springfield, Massachusetts (this is the one that used to be in Manchester, NH). I hope you’ll enjoy this preview peek, if you’re in the vicinity can visit, and on Saturday I hope to post a Facebook Live or other video of the exhibit. I should arrive about noon (it’s a long drive from Maine). Click on this link to get info and directions to the show. If you can’t make the show, my book has a lot of what is there plus lots of other good stuff.

Sarah Ann Smith's solo exhibit at 2019 World Quilt New England
Sarah Ann Smith’s solo exhibit at 2019 World Quilt New England
This exhibit begins in 1998, when I made Happy 80th Birthday Mama. At that point I never thought I’d ever be published, exhibit nationally, teach nationally, have a book and all the zillion other wonderful things since I decided to “make a go of it” in art quilting in 2004. That’s why I’m so proud that this quilt was in Karey Bresenhan’s 2003 I Remember Mama exhibit and book: it taught me that I was good enough to indeed try to make it in this industry.

The exhibit has its roots in my 2017 Rising Stars exhibit at the International Quilt Festival in Houston. I had been invited to submit a proposal for a solo exhibit. Karey liked what I suggested and how I would market it to our mutual benefit, and ended up creating the Rising Stars exhibit (which recurs every year now) to showcase two or more quilters. This exhibit is slightly different, as some of those quilts sold, and this one has new work.

Alms, Kyoto 1996 is on the far left, and started with my photo (taken in 1996 on a trip with my mother) and a workshop with Hollis Chatelain to learn how to dye paint. It was my first quilt ever juried in to Festival/Houston, and it took another six YEARS before I had another quilt juried in to the judged show, though I was lucky to have work in special exhibits in Houston. I think Bijagos Warrior, on the back wall, is one of my best quilts ever. Made in 2004, , it was declined by Houston (Sob, still), but he finally got to hang in Houston in 2017 Rising Stars. It was while working on Bijagos Warrior that I realized my sewing machine wasn’t helping me; I researched and came upon Janome machines. I couldn’t afford a soda fountain cola in those days, so I approached them to see if they had a loaner program. To my utter astonishment Janome America took me on. I have since late 2003 been a part of what is now the Janome Artisan program, and I am forever grateful for their support and sponsorship. Yes, I get free loaners, but I’d say all the wonderful things about their awesome machines if I paid full MSRP!

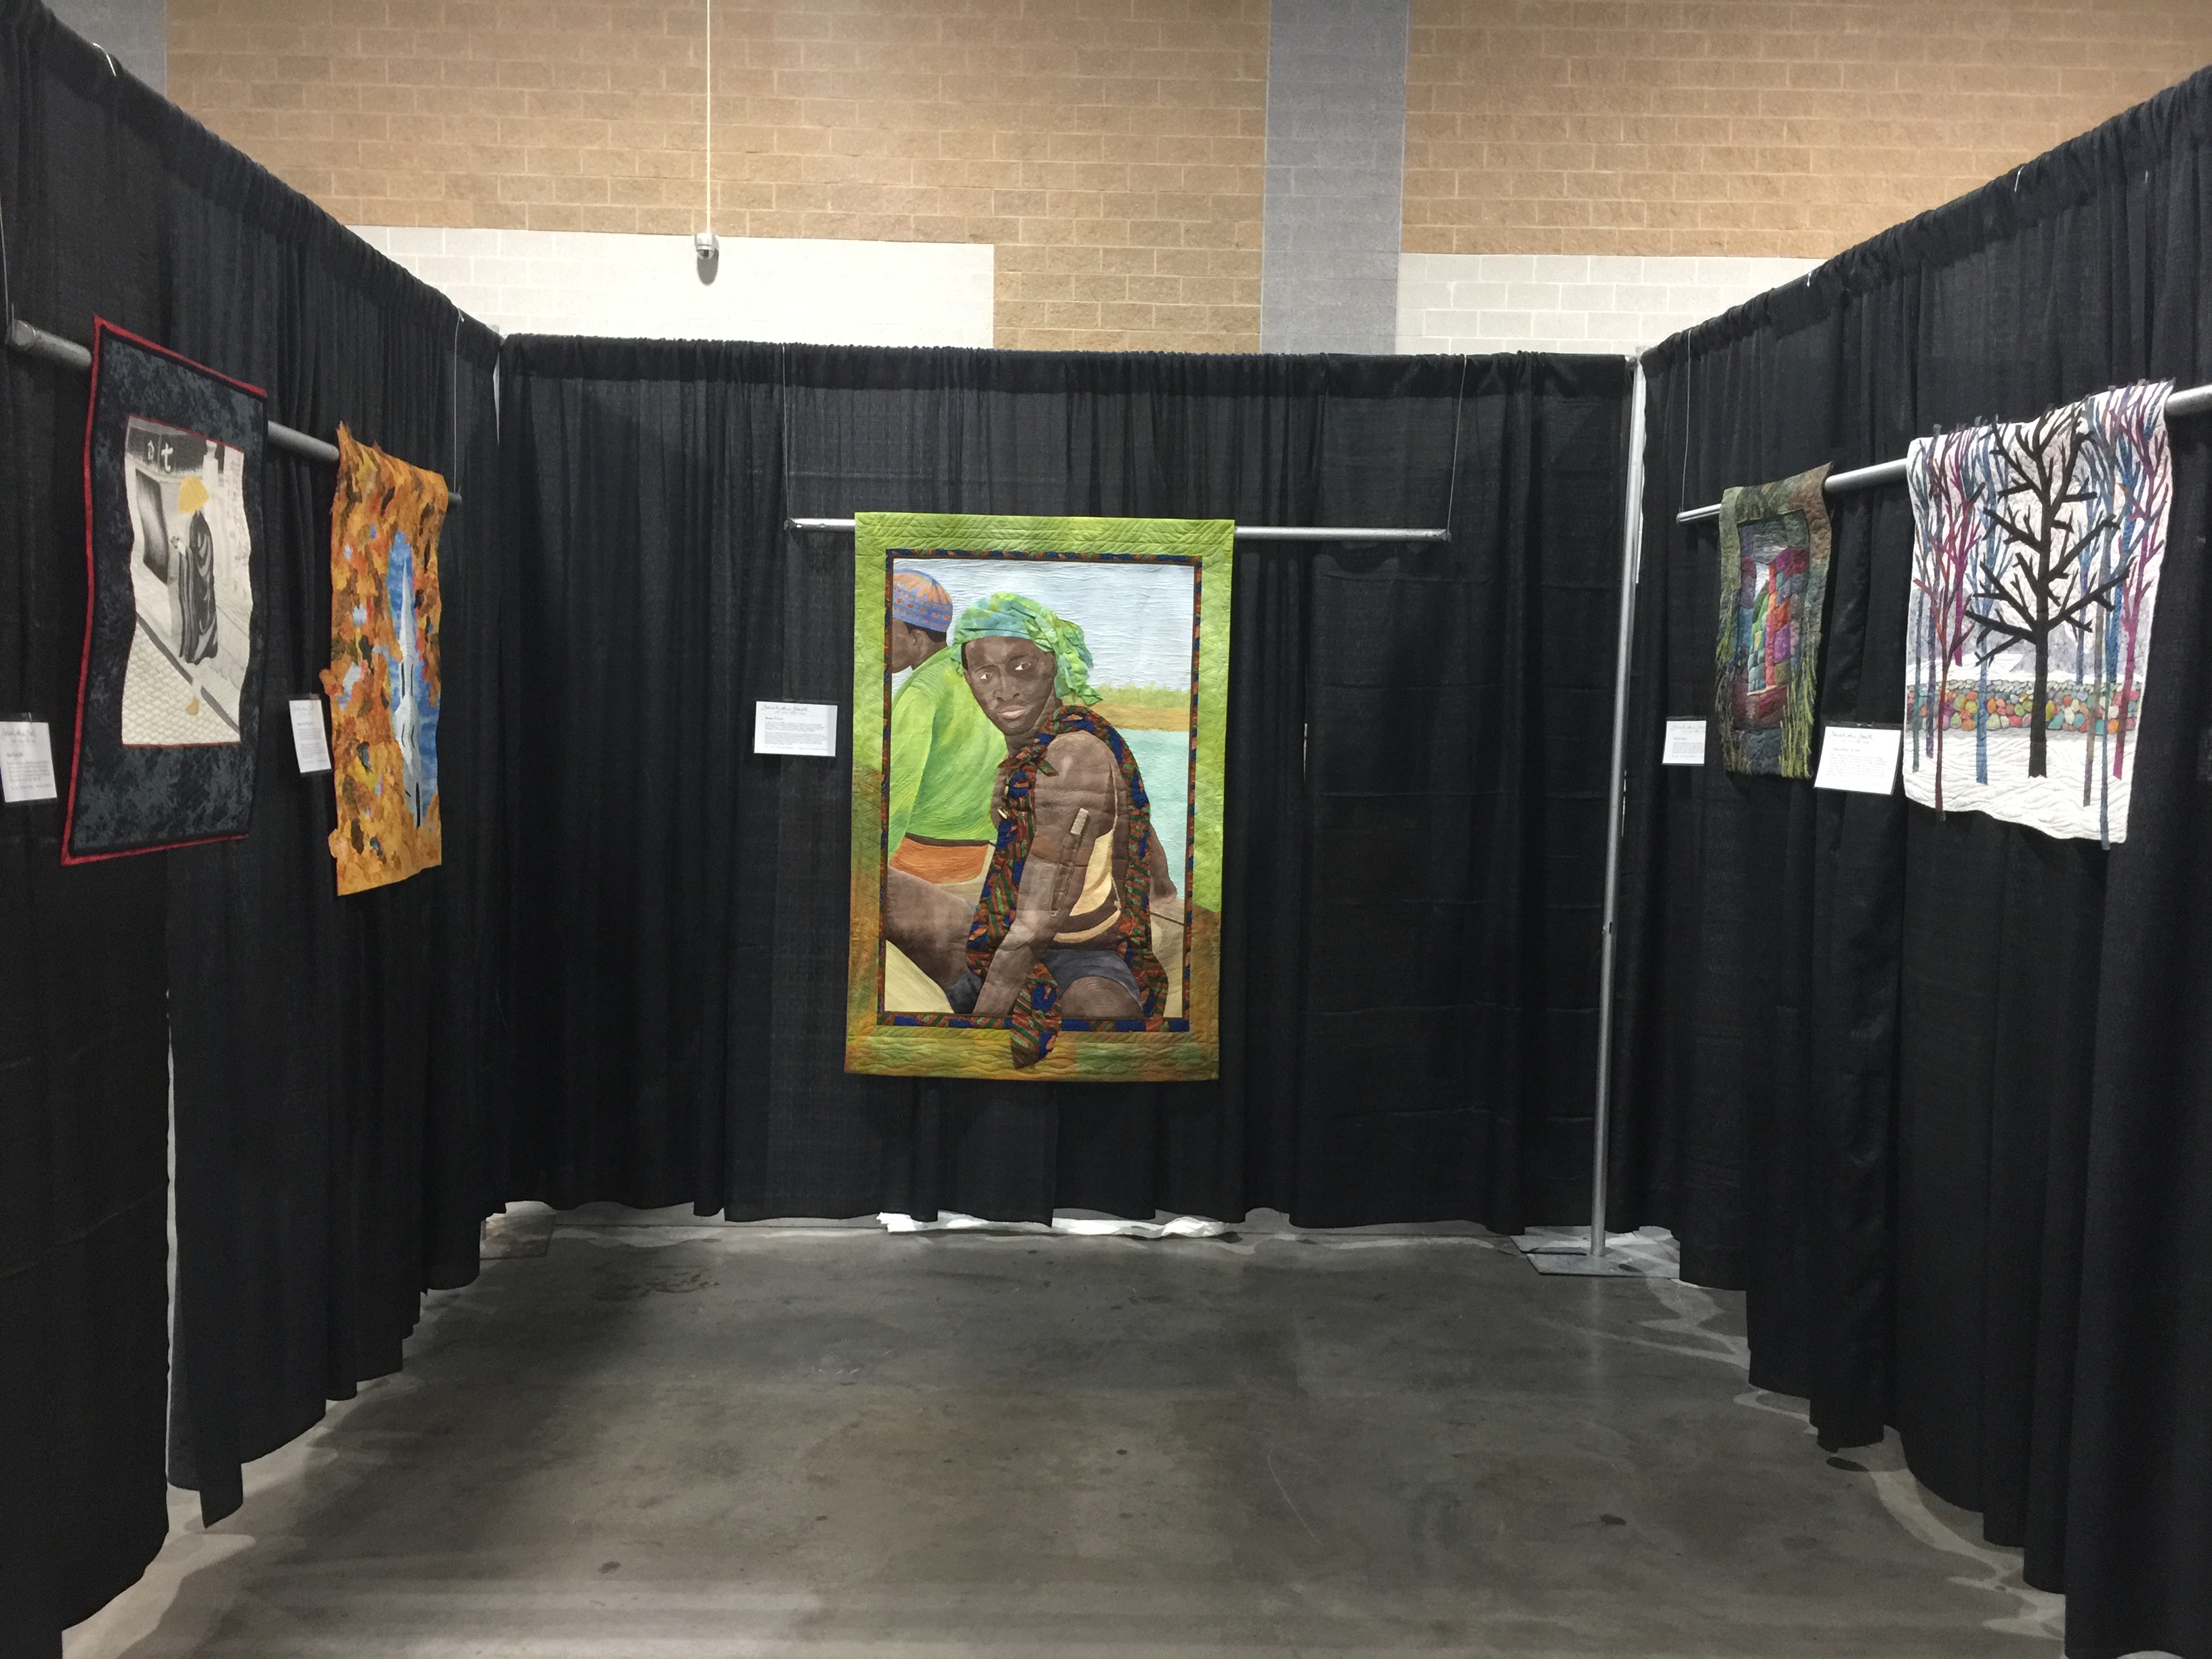
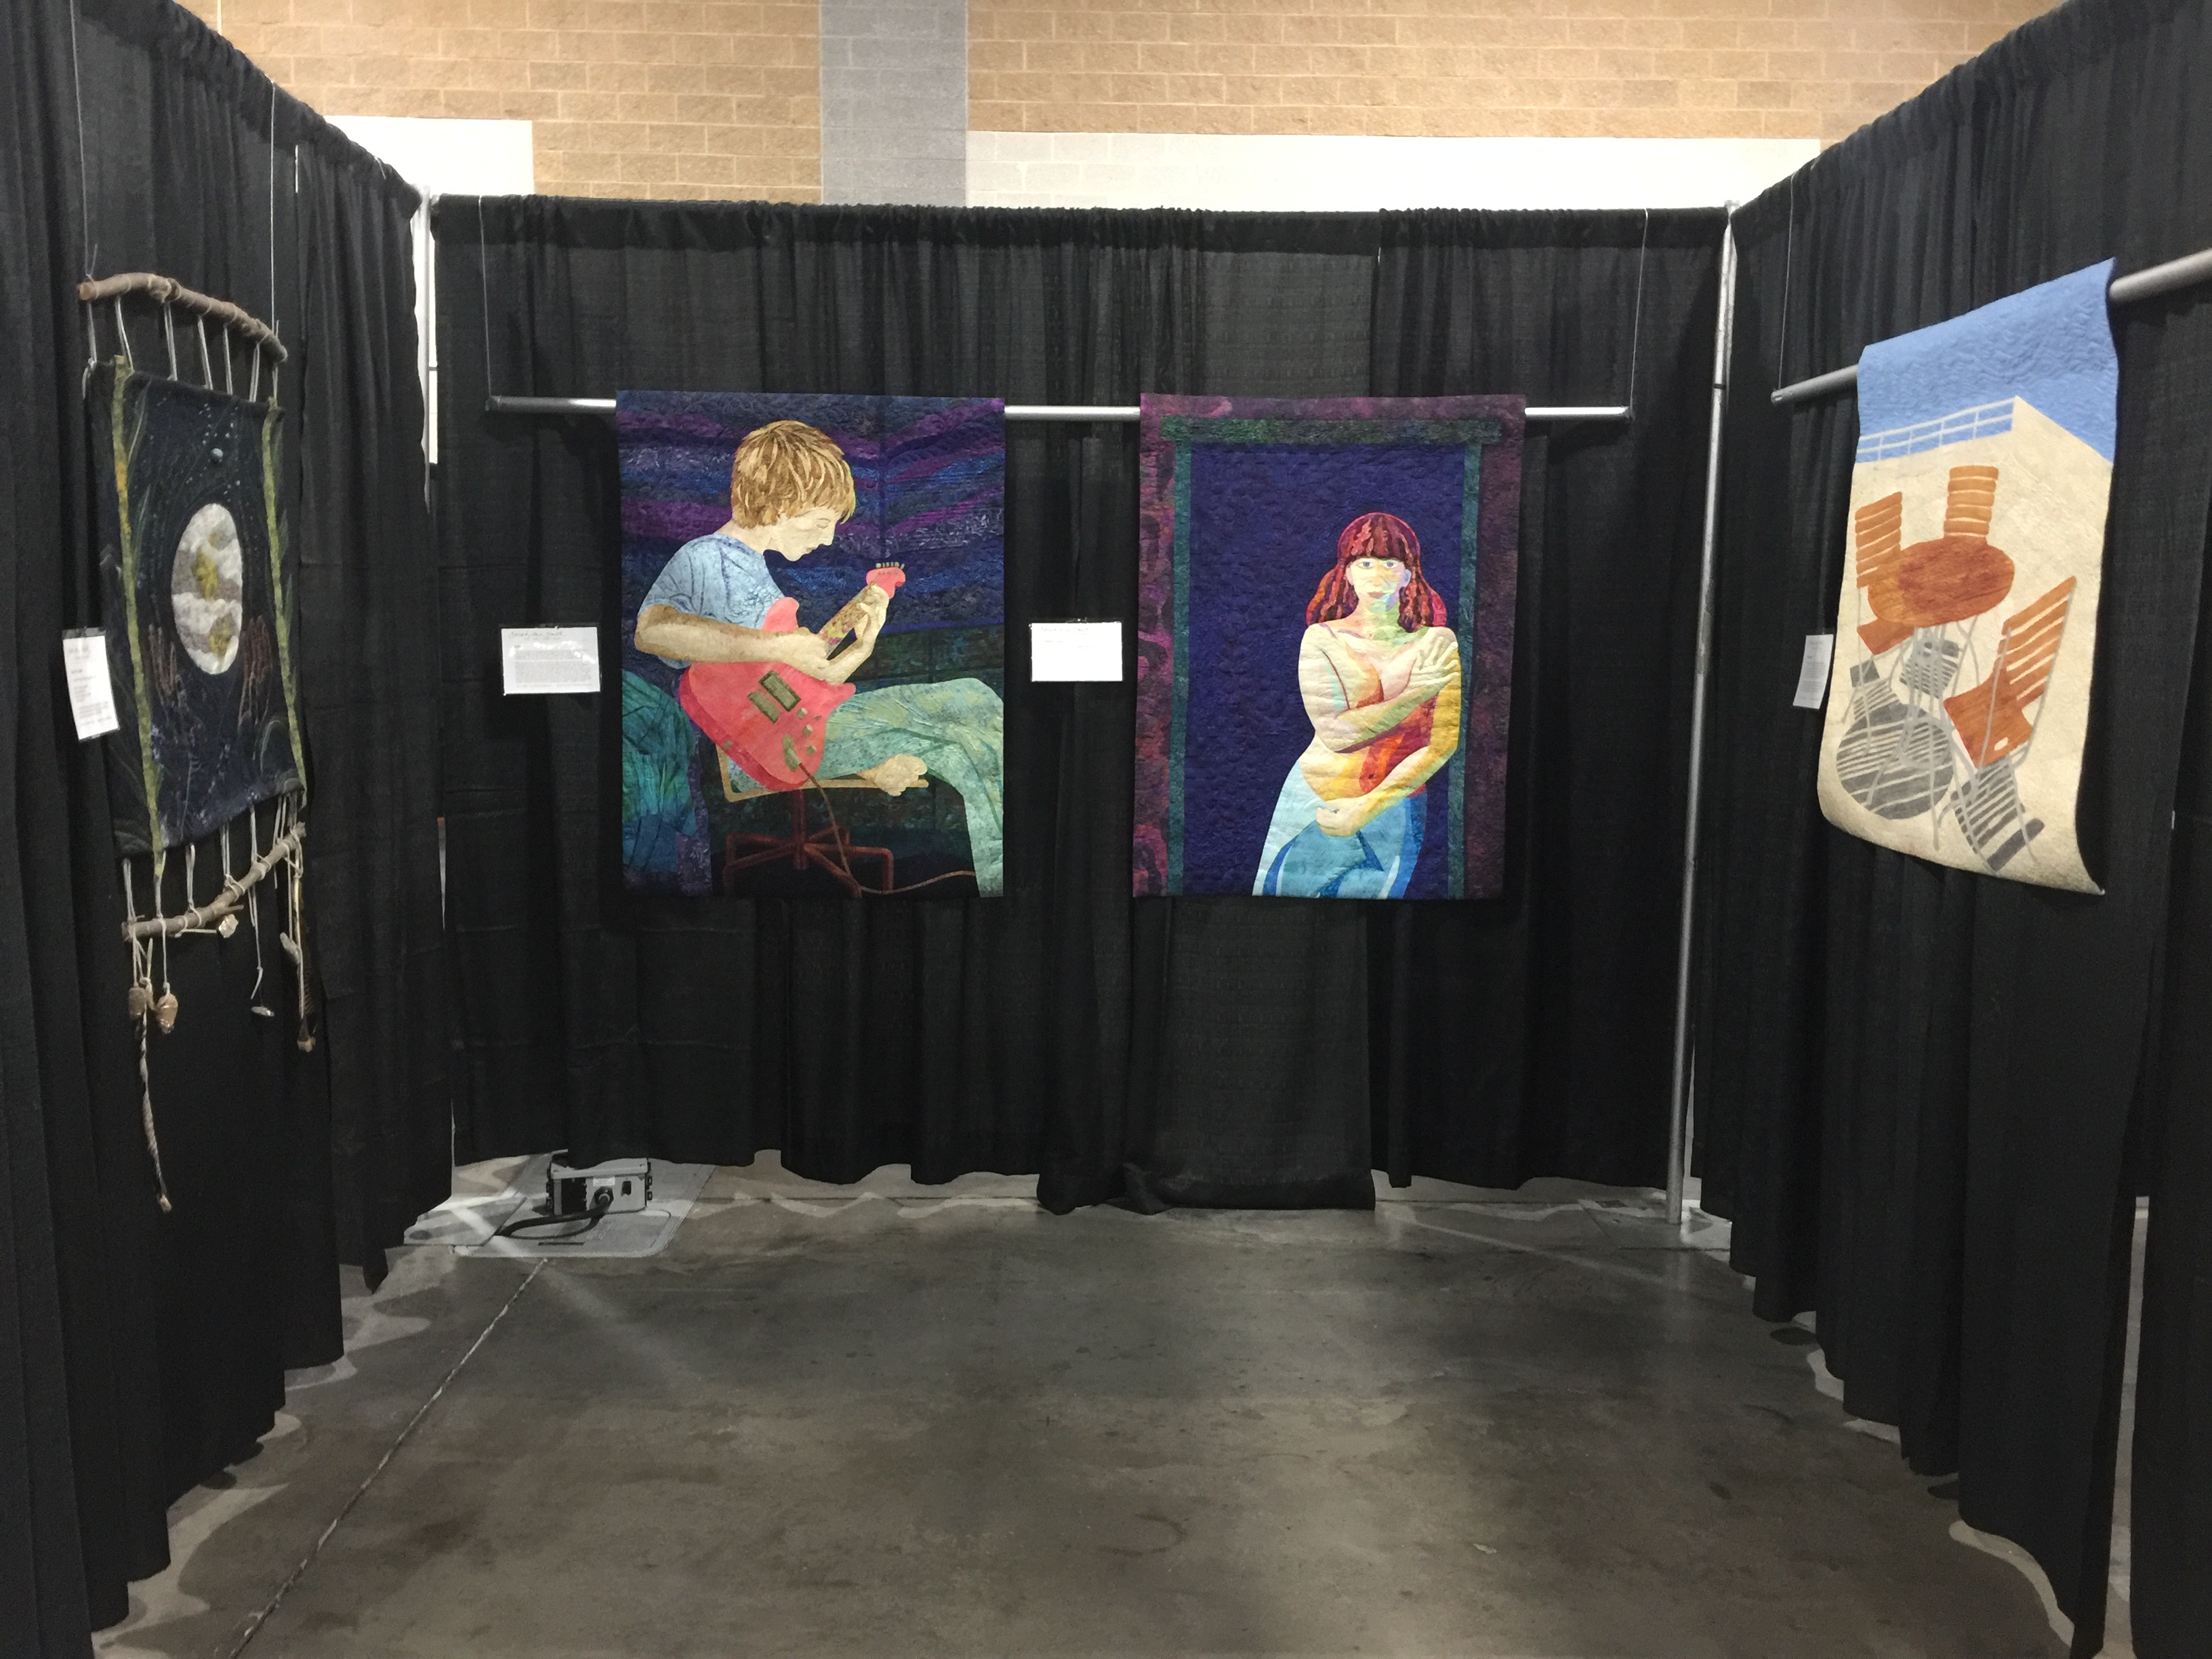
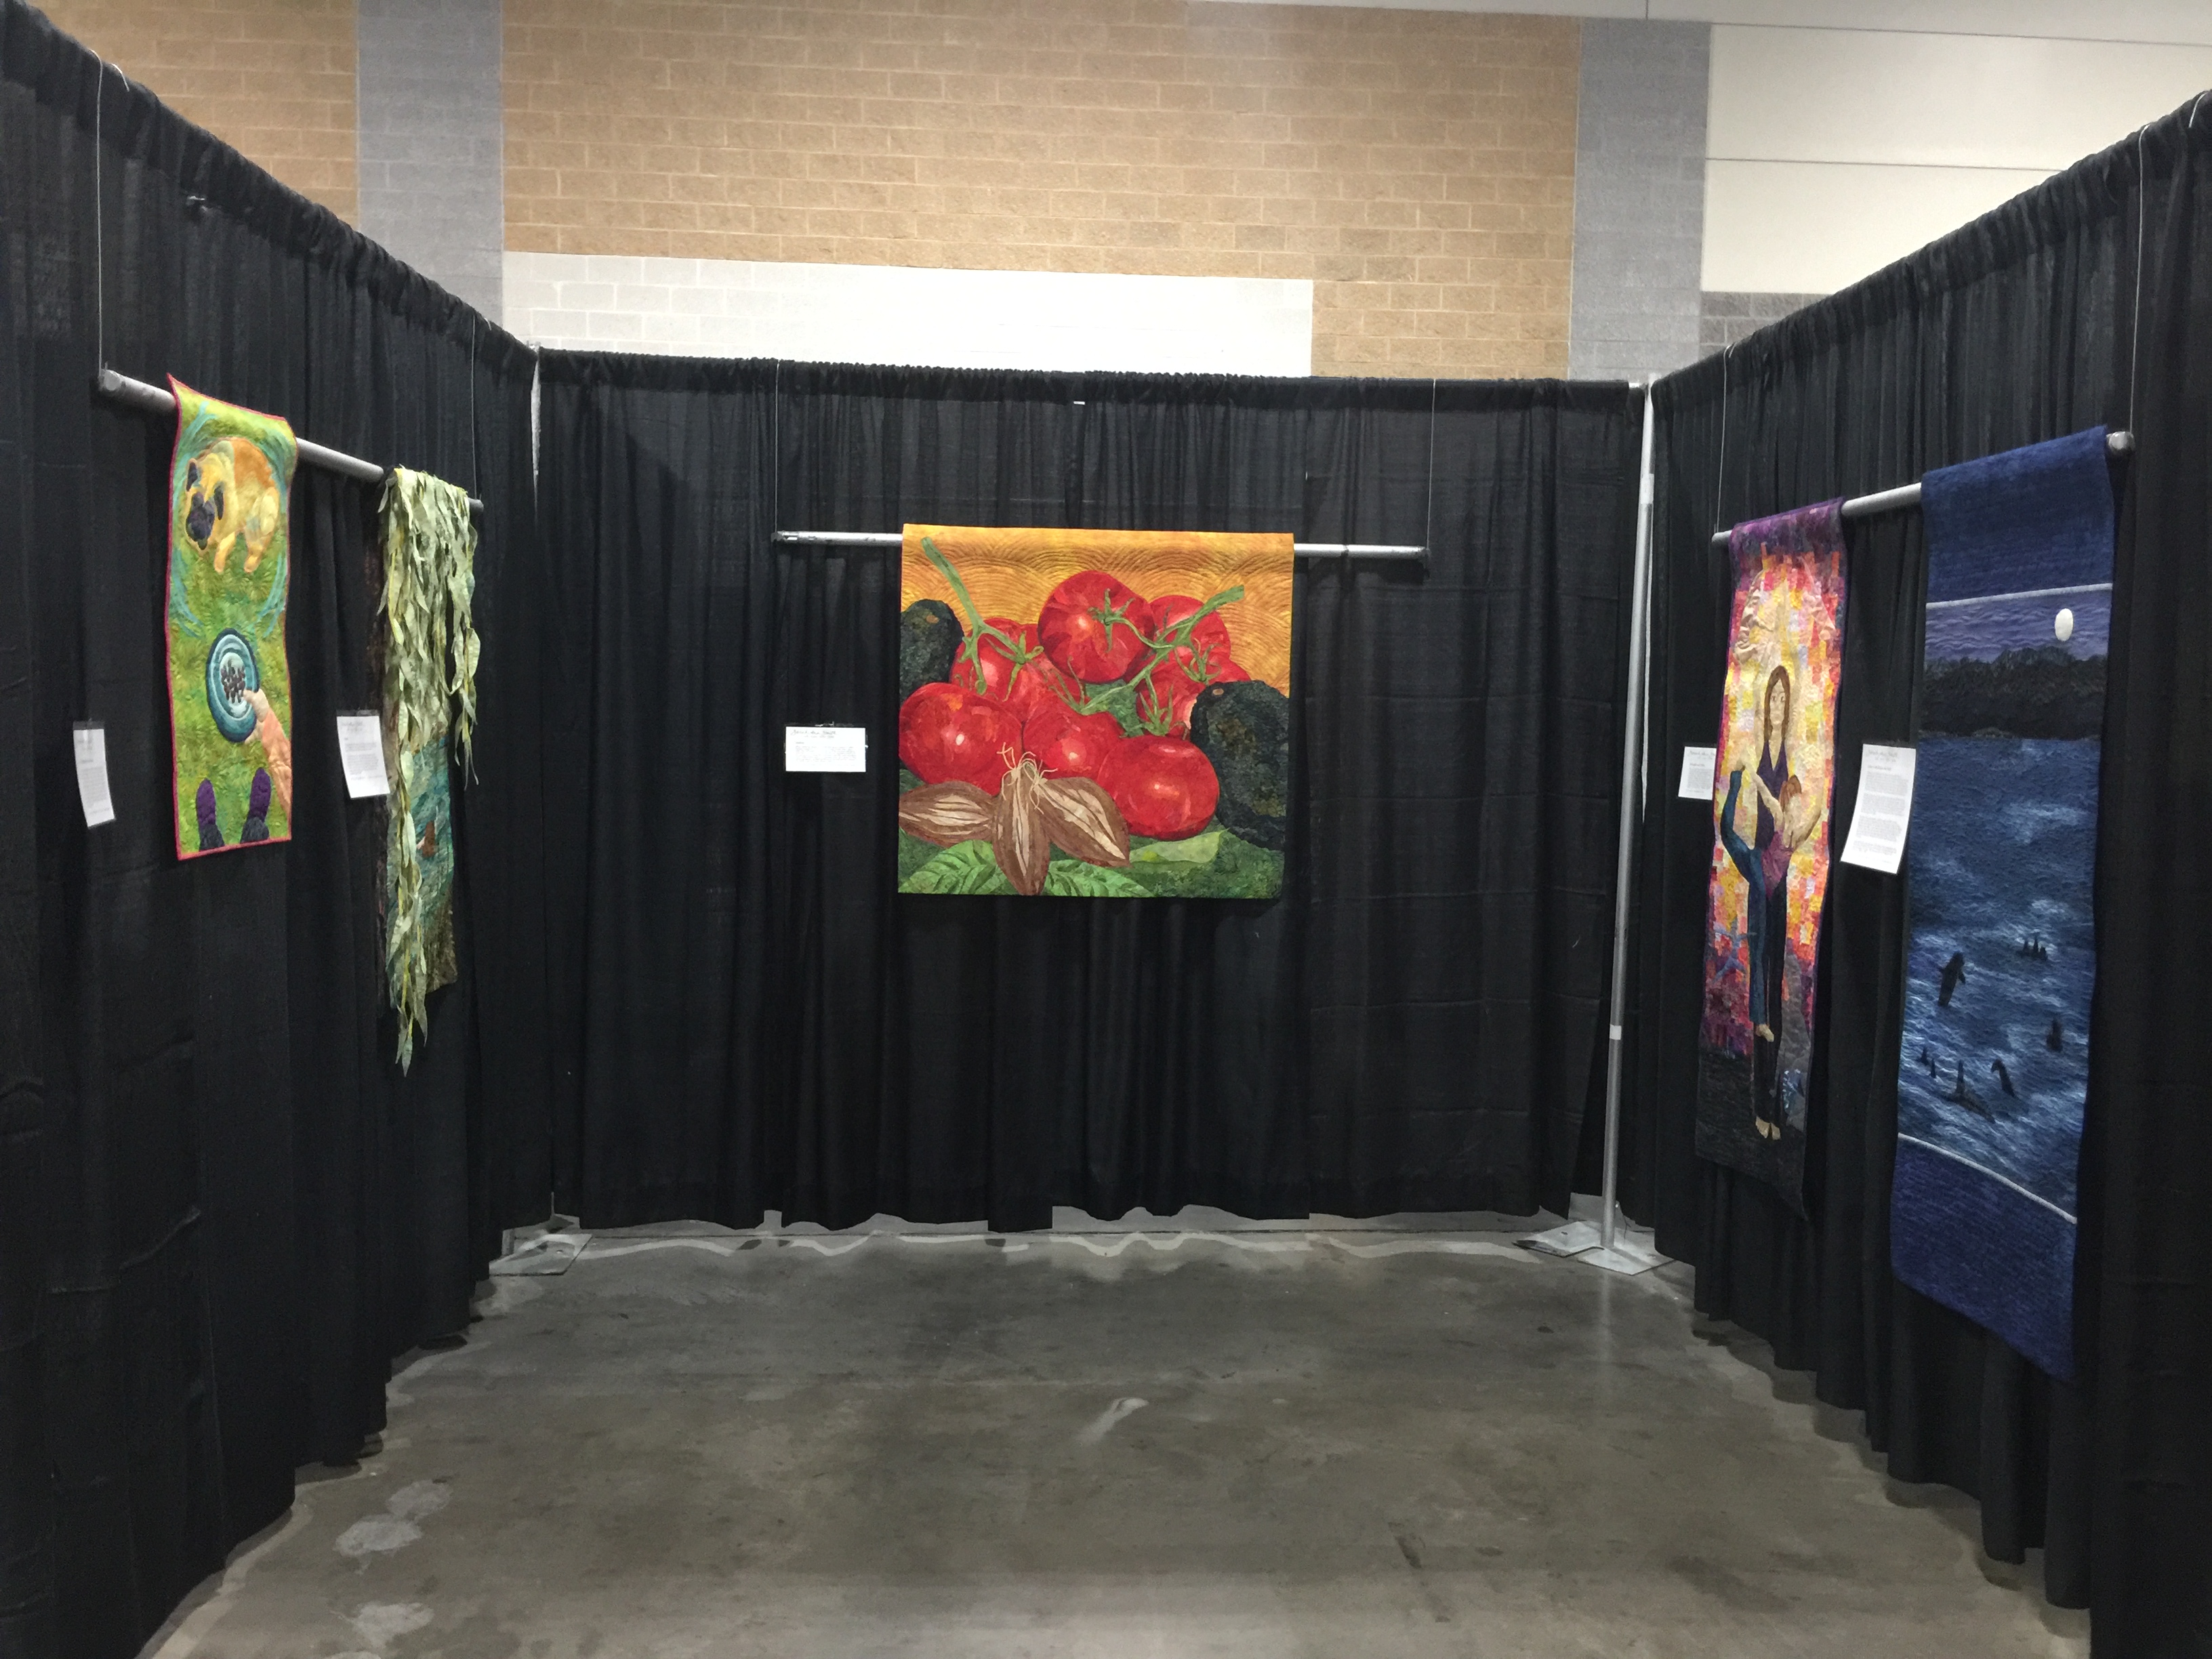
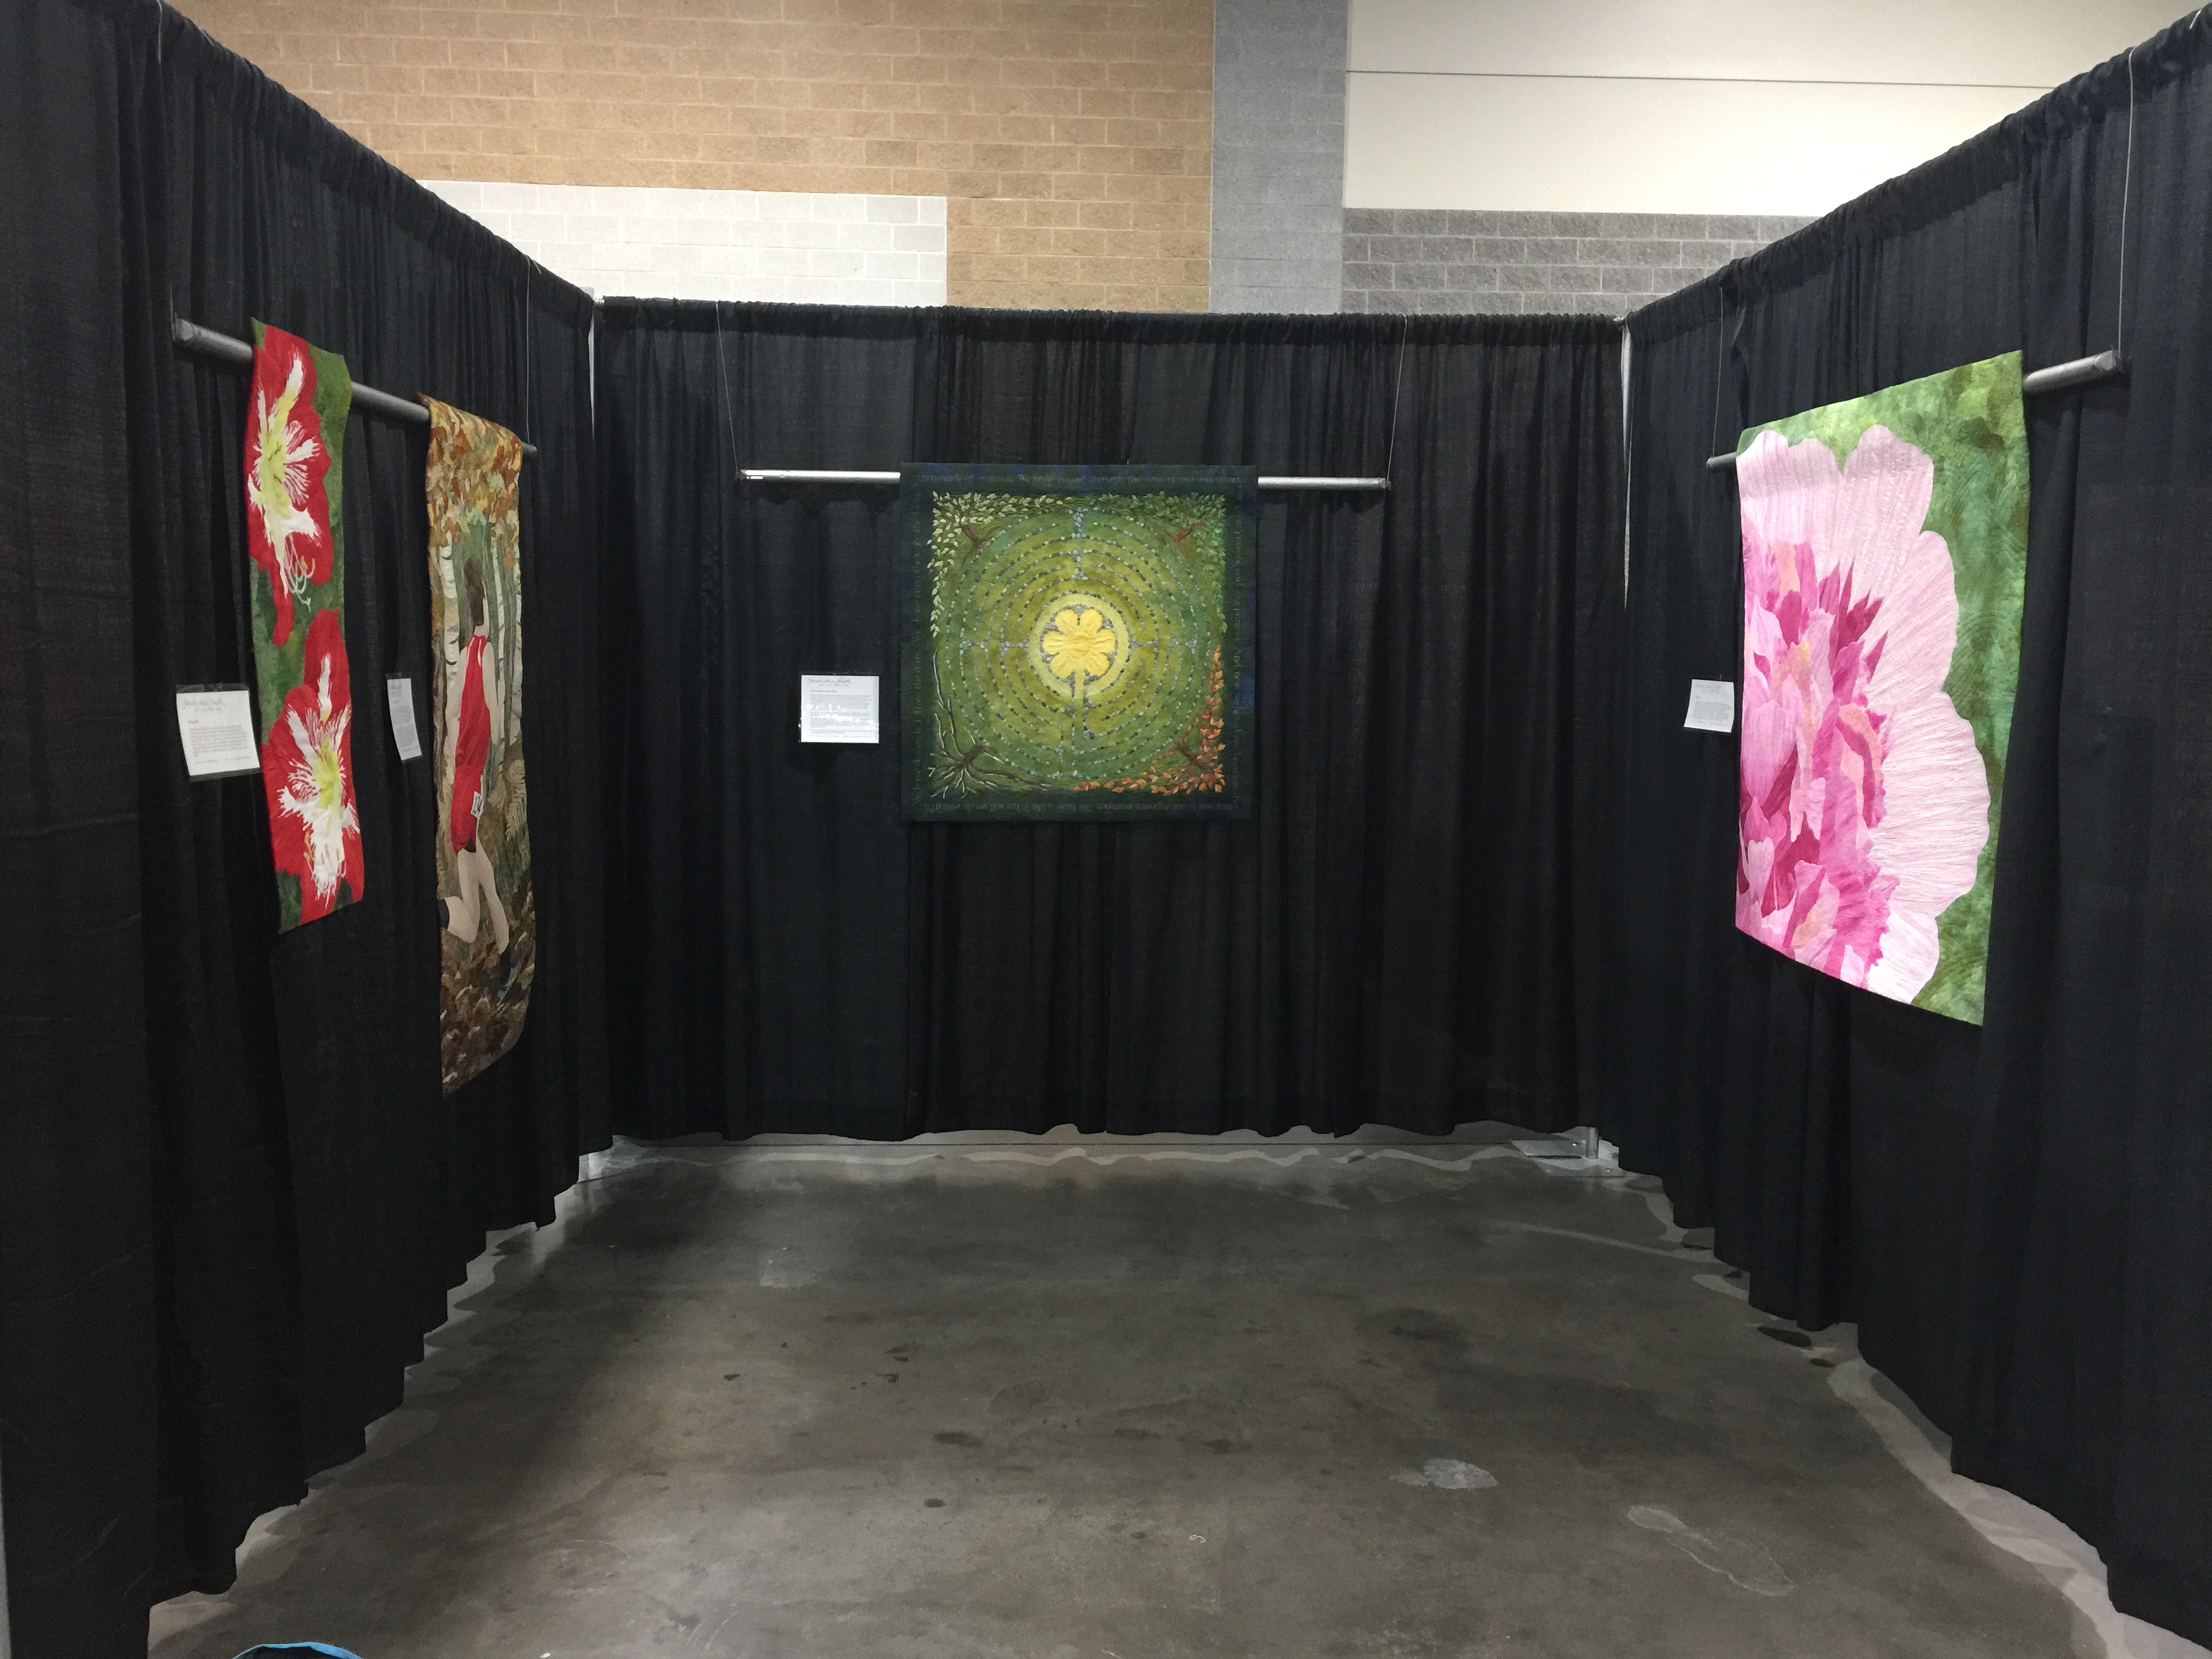
The exhibit runs in chronological order (though within a given “bay” of quilts they may be slightly out of order so we got a nicer looking display) from 1998 to 2019. Gosh….I just realized this is two DECADES of my work and evolution…and that I can now, with a bit of a gulp, call myself an artist.

The quilt on the left Earth & Turquoise, almost never travels to shows because of the sticks, stones and feathers, but since I drove to deliver and hang the quilts, it was able to go! I’m thrilled! And the back wall, let’s just call that a Mother and Child Reunion. This was the time when I was first invited to be in the Dinner@8 exhibits. See more about them below. During the middle of this century’s first decade, I was learning my craft, refining my voice, improving my technical and design skills.
These quilts range from 2013-2015 or thereabouts. Insalata, the ginormous tomatoes on the back (about the size of a beach ball) is the most recent of this batch, but otherwise these are in order.

The Dinner@8 exhibits were such a phenomenal opportunity and formative experience. For years, I have thought this 10-year run of special exhibits presented one of the best exhibits in Houston, which is saying a lot. To be able to be in them for eight years just amazes me, that I made the cut. But my best work by far was made for these exhibits. The level of excellence rose each year, and like the rising tide that floats all boats, I think ALL of us who were fortunate to be in the exhibits grew immensely in our abilities. Conceived by Jamie Fingal and Leslie Tucker Jenison, they were juried invitationals. That means you were invited to participate–it wasn’t an open call to the public. You then made a quilt to the specific theme and size, entered it, and waited to see if it was accepted. I am so grateful for the chance to be a part of this group of strong women, and feel a bit adrift that the series has come to an end with the 2018 exhibit. BUT, that meant I had to look forward and come up with my own ideas, not be dependent on Jamie and Leslie, and I’m excited to move forward with my own plans.

Amaryllis toured extensively in Australia and New Zealand in Brenda Gael Smith’s Living Colour Textiles exhibit. Eli, Cross Country 2013 is my other son and one of my favorite of his sports. Descended From the Stars on the back wall, is another favorite of my quilts because it covers so much of my life, from my high school to imagery related to my children to calligraphy and more. Peony is on the right.
2017 to 2018: I can’t say that I have achieved mastery–there will always be more to learn and explore. But I think I have finally achieved competence, and certain techniques have become integral to my art: dyeing, painting, fused collage, representational imagery. From left to right: Stand Up, Speak Out; Pink Oyster Mushrooms; Lupine. My work now focuses very much on my work–my days traveling the world as a US Foreign Service Officer (diplomat) are ancient history and I have now spent more time as a quilter and artist than I did as a diplomat!
The Art of Sarah Ann Smith...so far, a solo exhibit at the 2019 World Quilt New England show
And the view from the present to the beginning of my art quilt journey…so far! There’s more coming!

Thanks so much for sticking with me! I’ll post a few more shots after I get to see the exhibit with the show open on Saturday!

Free and quick Shannon Cuddle Fleece Hat pattern!

Saturday, December 1st, 2018

Hi everyone…is anyone else madly trying to figure out what to do for Christmas gifts?  Here’s a FREE pattern by me, with major thanks to Shannon Fabrics for the Cuddle fleece.  Literally you can make a couple of these in an hour or so–give yourself three hours and a yard and you can make half a dozen in production-line mode!

How many selfies do you need to take to eliminate many chins or no chin? LOL! I love my soft hat!

And here is what the hat looks like, flat:

Two hats…I mean I used up EVERY LAST BIT of scraps! One hat for me, one to send to Shannon for them to use as they wish!

Here’s the pattern in PDF form…and typed out below:

Shannon Fabrics Cuddle Hat in an Hour

You’ll need:

¼ yard (about 8 ½ lengthwise grain by 22-23 inches) fleece for main fabric

5” by 22-23 inches for contrast

Scraps or yarn for hat tassels

How to:

  •  Measure your head around the forehead:  ______ + 1 “ =  ________  cutting width

Tip: In my case, my head measures 22 ½”.  I found that I wanted my hat to be snug so it would stay on in the wind, so I used a larger seam allowance.  My hat **finishes** at 21 ½” or one inch smaller than my head circumference. Depending on what you find comfortable, you may find that a cutting width exactly the same as your head circumference is just perfect.   

  • Cut main body fleece 8 ½” high by cutting width.  Make certain that the lengthwise (not-stretchy) grainline runs vertically and that the stretchy cross-grain is what goes around your head!
  • Cut hat band fleece 4 ½” by cutting width (if folding under) or 3 ½” by cutting width (if using raw edge).

Option:  vary the width of your band depending on how warm you want it to be and the pattern (if any) of your fleece.  My main fabric is not fuzzy on the inside and I wanted soft, so I have 1 ¼” of the red checked fleece on the inside and about  1” folded under on the outside edge so that there are two layers of fleece to keep my ears warm on a windy winter’s day.

  • Pin seam and test the fit: now is the time make adjustments to snug it up if needed.
  • Sew seams on hat body and hat band using a narrow zigzag, about 1.0 width and 3.0 length.
  • Pin the seams open.
  • Place the hat band and hat body WRONG sides together, matching the seams and overlapping about ½”. Stitch with a serpentine (wavy multi-stitch), 3-step zigzag or narrow zigzag to secure each raw edge.  You will sew two lines of stitching, one on each side of the overlap.
  • Because the fleece is thick, and because I wanted the soft part next to my forehead, I didn’t use a typical garment seam. Instead, I overlapped the two fabrics, wrong sides together, and sewed them with a serpentine stitch. I did this twice, on either side, so I would catch both edges of the overlap.

Sewing the other side of the band

I then turned the plaid to the outside and brought it up above the seam that joins the top of the hat to the “cuff.”

  • Turn the hat band to the outside of the hat body and turn up.  If you are making a thicker band, turn under about an inch; if you are not making a thicker band, simply fold up.  Pin the edge in place; carefully put on the hat.  If you want a narrower contrasting band, now is the time to trim or fold under more.
  • Sew the top edge of the contrasting band using the serpentine  / 3-step zigzag / narrow zigzag stitch.

Optional:  make some tassels. I used a 1” strip of fleece from the selvedge (leftover from another project) and folded it in half wrong-sides together and sewed with the serpentine stitch.  Cut into 9-11” (or thereabouts) lengths.  I opted for four strips which I then folded in half. 

  • Turn the hat inside out. Centering the seamline in the center back, pin right sides together.
  • If using tassels, tuck them into the seam at the corners so that the folded edge is even with the raw edge of the seam.  I placed two at each corner.
  • Sew the seam using a narrow zigzag.

Tip:  sew from the center to the outside edge, pivot at the end and sew back to the center about ½.”  Repeat from the center to the other end.  This is easier than sewing all the way across beginning at the bulky outside edge.

  • Turn right side out and wear with joy!


A little snowman fun amidst minor panic

Friday, November 23rd, 2018

Ashley’s snowman, sewn on my trusty Janome 9400, using the buttonhole stitch and free motion stitching. 

Do ya ever have those moments when you walk into your studio / crafting space / hides hole and have a near panic attack because there are so many mid-stream projects that serious ADHD kicks in and you can’t do anything because you keep getting distracted by yet another something?  Yeah.   It was one of those days.

I’ve  added enough books and class materials (classes I’ve taken) that my shelves are too full.   So I had to find a box and remove 15+ years of Threads magazines that I never look at to clear space because I’m tired of moving the piles from place to place.  And a bunch more tidying happened.   Really…it was like a minor panic attack.


But Ashley and Joshua are visiting.  And a while back Ashley mentioned that she liked the Apple Pin I gave her, seen here, so much she’d like to do a bunch for each season and holiday.  So I found my felt and the pin backs and made this little guy in under an hour.  He’d look adorable done with real hand stitchers!  I also need to find decent quality pi backs.  These are by Beadalon from my local quilt and fabric shop and they are junk!  Last photo is for scale.

Spool of thread shown to indicate size. Pink back is under hat brim. Need to find much better quality pin backs!

The last bits of fleece make an easy peasy hat!

Thursday, November 1st, 2018

So I decided to use up the very last bits of my buffalo check fleece.  I began with 4 3/4 yards of the 58-60″ wide cloth.  The second photo shows the last bits!   These hats are SO FAST to make…including figuring out the best sewing sequence it took less than an hour for the first one.  If you wanted to make a half dozen, you could do that in an afternoon–quick and easy winter gifts!

How many selfies do you need to take to eliminate many chins or no chin? LOL! I love my soft hat!

This is all that is left of 4.75 YARDS of fabric….that is 10,260 square inches. Under 200 left! I even made some tassles/trim out of the selvages!

This hat will be a free pattern soon–not sure yet if it will be here or at Shannon’s site, but you can make one of these in well under an hour from scraps.  Truly, I used maybe 10×25 for the white part, 5 x 25 for the bottom, and a bit more for the tassles/dangly bits.   I just sewed two tubes to fit my head, one of the white print, one of the buffalo plaid.  The white print is here at Fabric.com.

Because the fleece is thick, and because I wanted the soft part next to my forehead, I didn’t use a typical garment seam. Instead, I overlapped the two fabrics, wrong sides together, and sewed them with a serpentine stitch. I did this twice, on either side, so I would catch both edges of the overlap. My finger is pulling the two pieces apart so you can see the overlap.

I then turned the plaid to the outside and brought it up above the seam that joins the top of the hat to the “cuff.”  I pinned the fabric at both edges so that I kept the amount of black that shows at the bottom even all the way around.  As I mentioned in my earlier posts about the throw and the jacket, the inside of Cuddle is slippery, so pin well. Because the fabric does not ravel, I didn’t need to turn under the upper edge of the plaid cuff.  I used the serpentine stitch to it down.

Finally, I made some dangly bits using the trimmed off selvages (they were about 1″ wide plus lengthwise grain of course):  fold in half wrong sides together and use serpentine stitch.  Cut to length, insert two, each folded in half, at either end of the seam at the top of the hat, and sew the final seam.  Because of the bulk from the dangly bits, I found it far easier to sew from the center to the ends, lock off the stitch and repeat for the other side.

Two hats…I mean I used up EVERY LAST BIT of scraps! One hat for me, one to send to Shannon for them to use as they wish!  Talk about a quick and easy Christmas gift!


THANK YOU Shannon Fabrics for this wonderful fabric and an October full of fun, fast and easy fleece projects.   I look forward to making more…I’ve got some Christmas gifts already made which I can’t share due to friends looking at my blog, and another big length of fleece to use on a snuggle quilt for winter!

Fleece Buffalo Jacket/coat!

Tuesday, October 30th, 2018

Hi everyone…preparations for teaching at International Quilt Festival Houston are nearly done, so I can return to somewhat regularly sporadic blogging!   In addition to that snuggly lap robe/blanket in Cuddle fabric, I also recently made a hooded jacket using two layers of fleece and a Simplicity pattern.

Cuddle-y two-layer fleece jacket–I may not want to take this off this winter!

As I’ve; mentioned in earlier posts, I totally fell in love with Shannon Cuddle fabric at the Janome Education Summit this past May. Here’s a link to the buffalo check (temporarily out of stock as of October 30) Shannon scarlet and black Cuddle.

Here’s the pattern I used, Simplicity D0761. I purchased 2 3/4 yards of both the ivory cuddle and the buffalo check. I would recommend an extra quarter yard of the check if you plan to match the plaid as I did at sides and sleeves.  The pattern is cool because the hood is cut with the fronts as one big piece.  The only fiddly part in the entire thing was the shoulder-back neck-shoulder seam, and even that worked a charm with careful pinning.   A confident beginner could probably tackle this.  

The pattern is designed for a two-sided fleece such as the sherpa/suede.  Instead, I made two jackets.  I cut the outer jacket perhaps 1/8″ larger than the pattern and sewed it with a 1/2″ seam allowance, not the standard 5/8″.  I sewed the ivory inner jacket at accurate size and with a generous 5/8″ seam allowance.  This allowed the fluffy Cuddle to fit inside.   HOWEVER, the back side of the Cuddle is slippery.  If I were to make this again, I think I would cut my fabric pieces slightly oversized, sew them together as if quilting (wrong sides together) along the black stripe, THEN trim to final size and sew it as if it were ONE fabric.  Currently, even though I tacked the coat at the neckline, it has a propensity to wiggle and sometimes bubble at the hem.

Hood down and open. 

The pattern doesn’t have a closure, but I have some black toggles on faux-leather and may use one.

And a side view showing the hood.

Thanks as always to Janome America…sewing this on my Janome 9400 was a DREAM.  I used the acufeed foot for pretty much everything and the serpentine or lightning stitches.  I used the lightning (a type of zigzag) for seams at 10 width and 3.0 length, which accommodates any stretching.  I used the serpentine on all the turned-over white bits.  Since the Cuddle does NOT RAVEL at ALL, you don’t need to turn under the edges so the serpentine was perfect and it hides in the pile of the fabric.

I’ll repeat the tip I gave before on the blanket:  minky type fabrics are known for shedding fluff.  To minimize the mess, cut from the back side (with a scalpel type cutter if you have one–I don’t so I just used scissors; I also cut from the front to stay on the lines!).  Carefully put everything including the scraps into a plastic bag, carry it to your dryer, and set it on air dry for maybe 5 minutes.  The fluff ends up in the lint filter, so remember to empty it out and perhaps use a damp cloth to wipe out any stray bits.  This reduces the shedding by about 90 percent!