email Youtube

Home
Galleries
Blog
Workshops & Calendar
Store
Resources
About
Contact

Archive for the ‘Favorite Products’ Category

Sketching and playing

Wednesday, June 25th, 2014
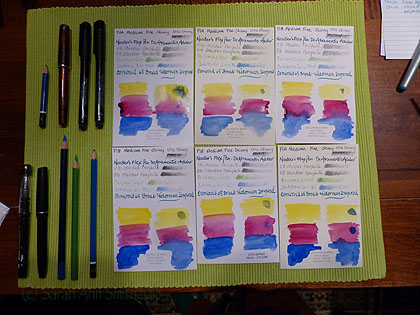
Playing with the Stillman and Birn paper samples

Playing with the Stillman and Birn paper samples.  Pens and pencils I used in my test are to the left.

First up:  my apologies–this post got REALLY LONG.  But I have a feeling I may be referring people to it so wanted ALL the info in one blogpost.  So here goes:   many moons ago, the generous folks at Stillman and Birn sent me a sample pack of their six papers because I didn’t know what to order in a sketchbook, and the sketchbooks aren’t exactly inexpensive so I didn’t want to buy six.   I decided to do a controlled test on the samples using various pens, pencils, inks and watercolors.  The paper comes in two weights:  100 lb and 180 lb, two colors: white and ivory, and three finishes:  vellum, cold press, and smooth.  Vellum is a velvety finish (not like drafting vellum which is like a heavy duty tracing paper); smooth is comparable to hot press.  Here’s the S&B information:
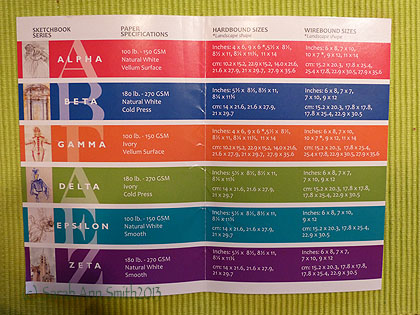
Stillman and Birn chart with the differences in the papers (alpha through Zeta).

Stillman and Birn chart with the differences in the papers (alpha through Zeta). Paper specs are on the S&B site here.

And some useful links:

  • Stillman & Birn website
  • Dick Blick offers S&B sketchbooks here and here.
  • Binders Art Supply in Atlanta carries the sketchbooks AND the paper!!!!  Awesome customer service (see below)
  • Goulet Pens has great fountain pens, a massive selection of inks, a billion instructional / informational videos and (DRUM ROLL of epic proportions please) they sell SAMPLES of the inks.  You can get about two cartridges worth out of each sample…so I have ordered and used about TWENTY samples.  But that is a separate blogpost for later.
  • Online classes with Val Webb, probably the best art teacher I’ve ever had; she helps all of her students achieve more than we could ever dream!
  • Online classes at Sketchbook Skool with Danny Gregory, Koosje Koene and various guest teachers

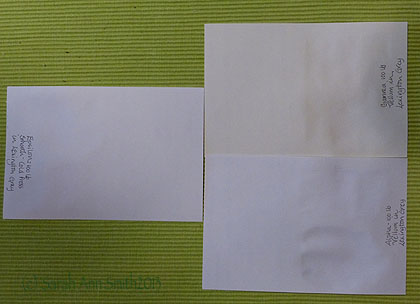
Here’s a photo of the six pieces of paper in my Stillman & Birn sample pack:
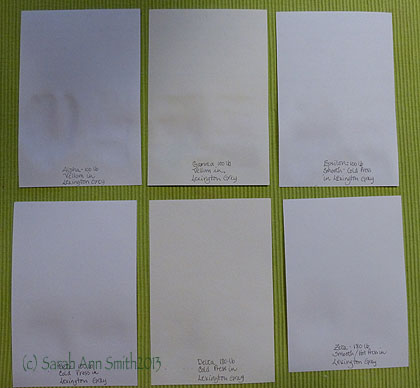
The six papers from Stillman and Birn

The six papers from Stillman and Birn.  I’ve put on the back the name of the paper, weight, finish, and the ink used (Noodler’s Lexington Grey).  Top row is 100-lb, bottom row is heavier 180-lb.
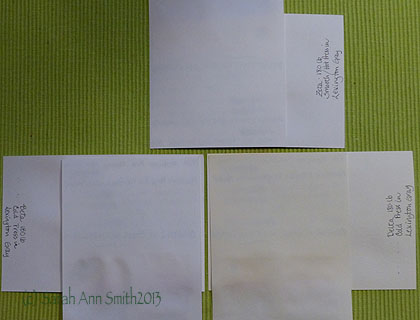
Here I've got the paper criss crossed with the 100 weight on top so you can see the effect of very wet watercolor on it and the show-through (or lack thereof)

Here I’ve got the paper criss crossed with the 100 weight on top so you can see the effect of very wet watercolor on it and the show-through (or lack thereof).  For lighter weight paper, the lack of ghosting and bleed through is good.
Another

Another view of just the 100-lb papers while still damp (the ones on the right) from watercolor

Here are close-ups of each of the six papers showing how my favorite pens and pencils behave on each offering:
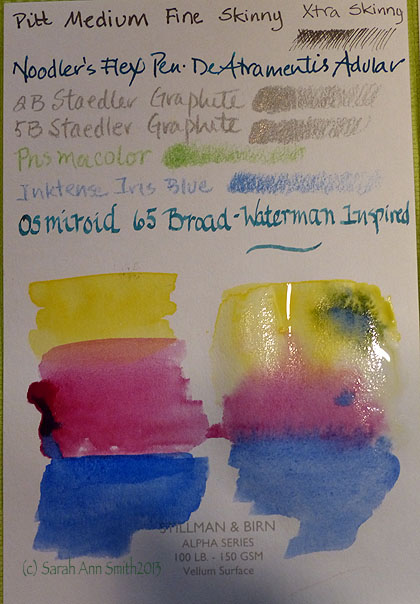
Still wet!

Still wet! Alpha series 100-lb. Vellum surface.  You can see that I did the “evil” test with LOTS of soupy watercolor to see how far you can push this paper.  The answer:  a long way!  I did find that for me the Vellum surface papers were a bit “skittery” with the extra fine Pitt Artists pens, which I didn’t enjoy.  Personally I preferred the Epsilon (below), but that is totally a matter of what each person likes.
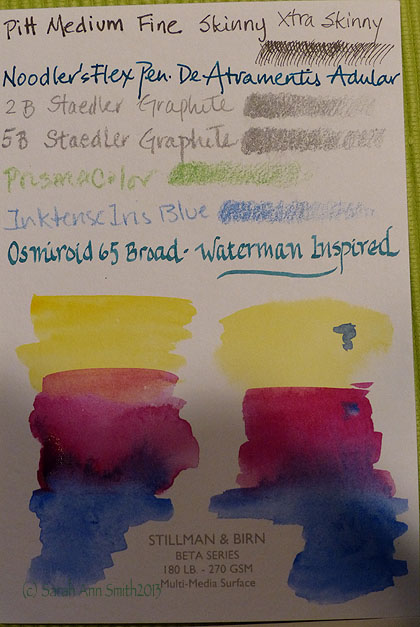
Alpah

Close-ups of the various papers.  This is the white Beta series, a cold-press finish sized for multi-media
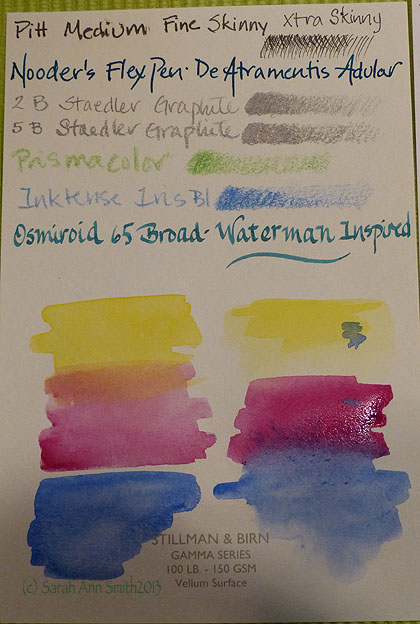
Gamma Paper, 100-lb Ivory, Vellum finish
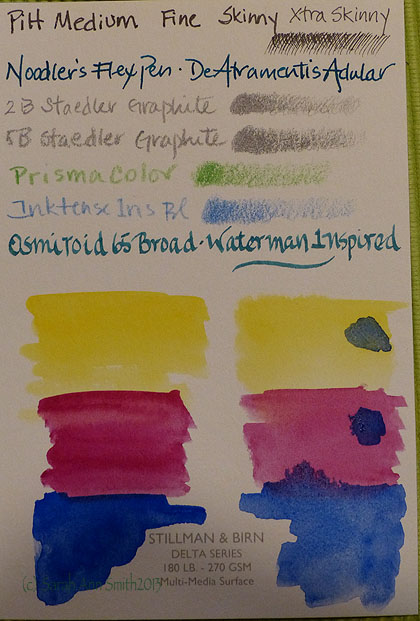
Gamma Paper, 100-lb Ivory, Vellum finish

Delta?

Delta Series, Ivory, heavier weight 180-lb paper.  Suitable for very wet media.
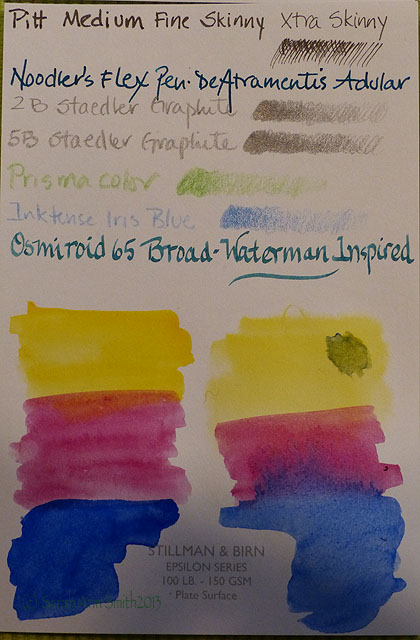
Delta?

Epsilon:  this ended up being my favorite because of both the surface and the fact that you get more pages per sketchbook.  If I were endlessly wealthy, I might (or might not) choose the Zeta.  But since many of my pages do not use heavy water, I chose Epsilon knowing full well I could end up with some buckling.
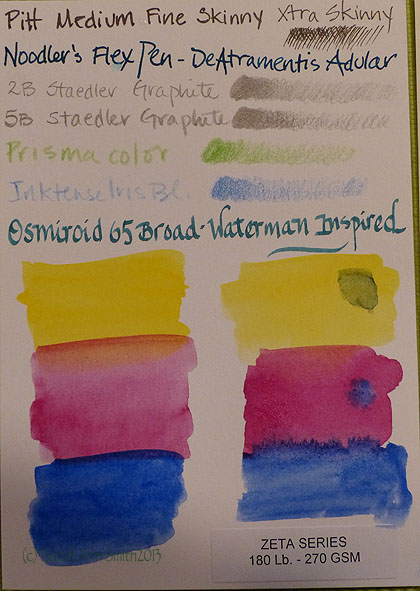
 

Delta?

Zeta paper.  White, smooth finished.  Suitable for wet media and more.

I’m just finishing up my first S&B sketchbook, an Epsilon 7 x 10 wirebound.   I LOVE IT!  So much that I ordered some individual sheets to customize my sketchbook for my trip to England.   Before that though, here are some sample pages from my Epsilon sketchbook so you can see how it handled various media.
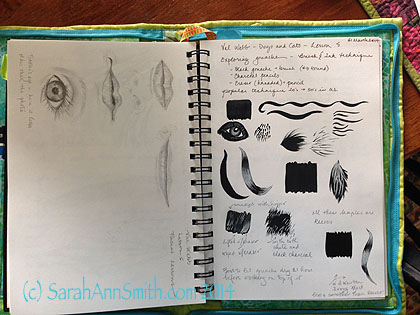
Epsilon 7 x 10 sketchbook, pencil on left page.  Charcoal and water on right page with white charcoal pencil.  Exercises from an online class with Val Webb.

Epsilon 7 x 10 sketchbook, pencil on left page. Charcoal pencil and water on right page with white charcoal pencil. Exercises from a **fantastic** online class with Val Webb.
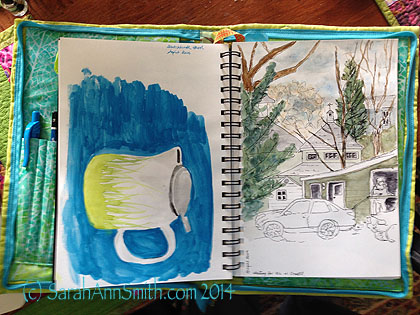
My rudimentary watercolor, form the first two lessons at Danny Gregory's Sketchbook Skool. Pen and ink with watercolor.  The heavier usage on the left ripples a bit, but I'm ok with that.  And I could, quite honestly, iron it flatter if I wanted to!

My rudimentary watercolor, from the first two lessons at Danny Gregory’s Sketchbook Skool. Pen and ink with watercolor. The heavier usage on the left ripples a bit, but I’m ok with that. And I could, quite honestly, iron it flatter if I wanted to!
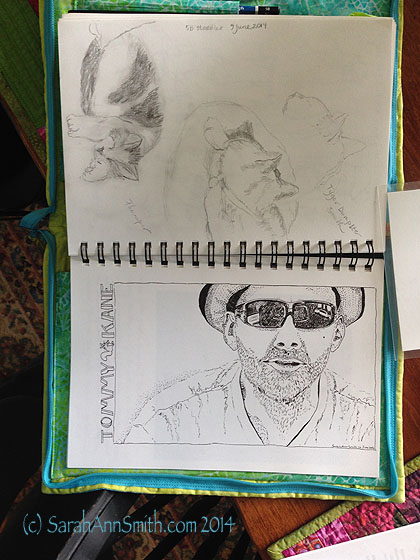
More lessons from Val Webb (cats in pencil) and a portrait of Tommy Kane from one of the videos in the Sketchbook Skool class. Done in Pitt Artists pens S and XS.  I roughed in the general shapes with pencil, inked, erased with kneaded eraser, then filled in and stippled and cross-hatched.   Excellent paper!

More lessons from Val Webb (cats in pencil) and a portrait of artist and Sketchbook Skool teacher Tommy Kane from a screen capture image from one of the videos in the Sketchbook Skool class. Done in Pitt Artists pens S and XS. I roughed in the general shapes with pencil, inked, erased with kneaded eraser, then filled in and stippled and cross-hatched. Excellent paper! 

I also got lucky:  I emailed Stillman and Birn  (they are SO responsive!) to ask if they had ever considered making a “sampler sketchbook” as the samples were small, but I didn’t want to buy six sketchbooks!   Turns out they had, but they didn’t sell well so won’t be making more of these samplers.  The guy told me that Binders in Atlanta might still have some, so I called them up a couple months ago since none of the sampler sketchbooks were listed on the website.  The nice lady at Binders (which also has OUTSTANDING customer service) went to look in the shop as the computer showed they had four left.  I bought three of them, two as gifts, one to use myself.
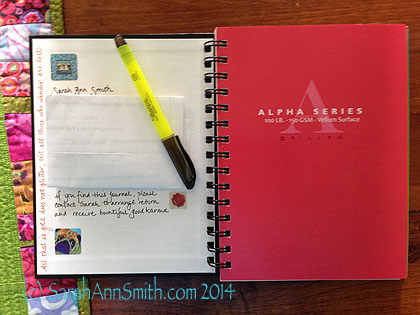
Contact info on the inside cover of my Stillman & Birn sampler sketchbook--alas these are no longer made!

Contact info on the inside cover of my Stillman & Birn sampler sketchbook–alas these are no longer made!

The sampler sketchbooks are the small size (6 x 8 ish, with 5 1/2 inches of usable width on the page) with four sheets/eight pages of each of the six papers.  Sometimes I like wide–enjoyed the format of a Moleskine accordion fold, but not that paper.  .  So I bought some of the Epsilon and Zeta paper sheets and make myself some 2-page and some  accordion fold “extensions” to tape into this journal in the sections I’ve reserved for art.  I’m not as fond of ivory paper, so I used the vellum ivory Gamma pages to write down essential information for my upcoming trip:  lodgings, emergency contact numbers for insurance, lost credit cards etc.  I’ll do some watercolor washes on the Delta cold press and may use that for both watercolor and collaging in trip ephemera.  The Alpha pages will be for my trip “calendar.” The Beta, Zeta and Epsilon pages will be for artwork.
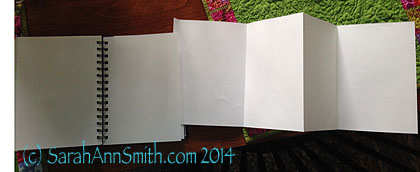
I made a few "page extensions" (the size of 2 sheets) and a few "accordion or Z-fold" extensions to add to my book should I feel the urge to do a really wide landscape or a funky train-journey thing

I made a few “page extensions” (the size of 2 sheets) and a few “accordion or Z-fold” extensions to add to my book should I feel the urge to do a really wide landscape or a funky train-journey thing.  I purchased individual sheets of both the Epsilon and Zeta paper, then cut and folded these extensions.  I’ll take some glue or tape to affix them if I decide to use them on my trip.  This is my work-around to not wanting to make a complete journal on my own and them not having the exact thing I want–just modify!

And using more of the single sheets of paper I’m going to draw a map and then illustrate it as the journey progresses.  I’ve cut it to about 11 x 14 inches so I can glue one corner to the inside cover for opening out easily.  On the last page, I’m taping in a printed-out map, also that can be folded up nicely.
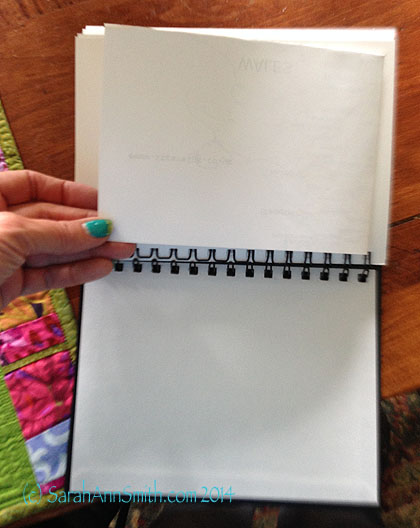
Taped in printed-out map of about half of England, folded, glued to last page in sketchbook.
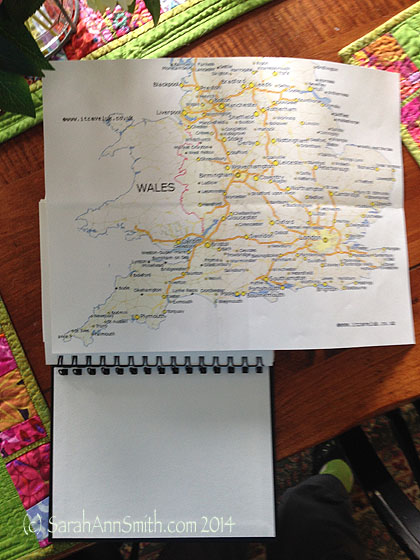
Taped in printed-out map of about half of England, folded, glued to last page in sketchbook.

Opened up printed map.

Opened up printed map.

Then my hand-drawn illustrated map will be taped/glued to the inside of the back cover.  With the wire-bound, there is enough room to add these extra pages without having the rigid covers “splay out” much if at all.

So thank you if you’ve manged to read through this massive tome!   Really loving my Stillman and Birn, as well as great classes from Val Webb and in the Sketchbook Skool, and the fabulous customer service and responsiveness from S&B, Goulet Pens and Binders.
How to choose your Quilting Presser Foot

Monday, December 23rd, 2013

Woot! The January/February 2014 issue of Machine Quilting Unlimited is just out and includes my article on machine quilting feet.  Somehow the title (I submitted it without a title..ooops!) ended up being very similar to Barbara Hollinger’s article from last October, but we cover fairly different territory.  Anyway, I am THRILLED with how the article turned out.  The layout is superb!  MQU was great to begin with, but the formatting and layout is even better–if you haven’t picked up a copy, do!  And then subscribe!

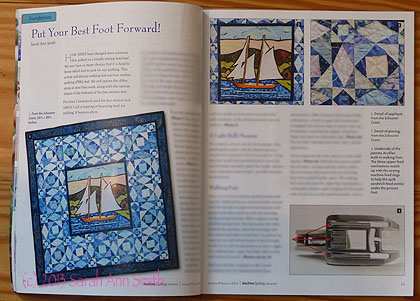
Here's the first two pages of my article, where I use one of my quilts as a teaching moment (that means I did something not so great, then explain how I could have done it differently and better since I didn't actually rip out the stitches and do it over.  Ahem.)

Here’s the first two pages of my article, where I use one of my quilts as a teaching moment (that means I did something not so great, then explain how I could have done it differently and better since I didn’t actually rip out the stitches and do it over. Ahem.)

I haven’t read the whole issue yet, but I learn from each and every issue. And if you’re looking for a copy on the newsstands, here’s the cover:

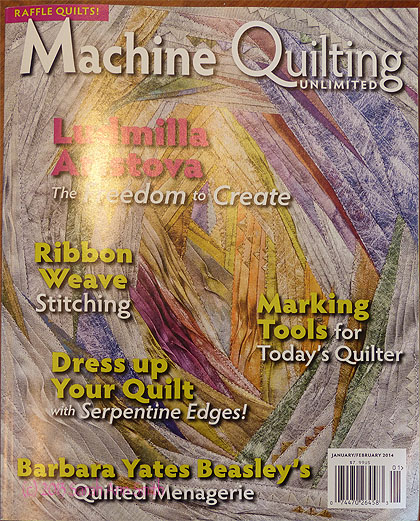
Cover of the Jan/Feb 2014 MQU magazine.

Cover of the Jan/Feb 2014 MQU magazine.

Thank you to Kit Robinson (editor) and Vicki Anderson (publisher) for inviting me to do the article and for doing such a superb job presenting it.  This may be my best article yet!

Some of my favorite things!

Sunday, September 15th, 2013
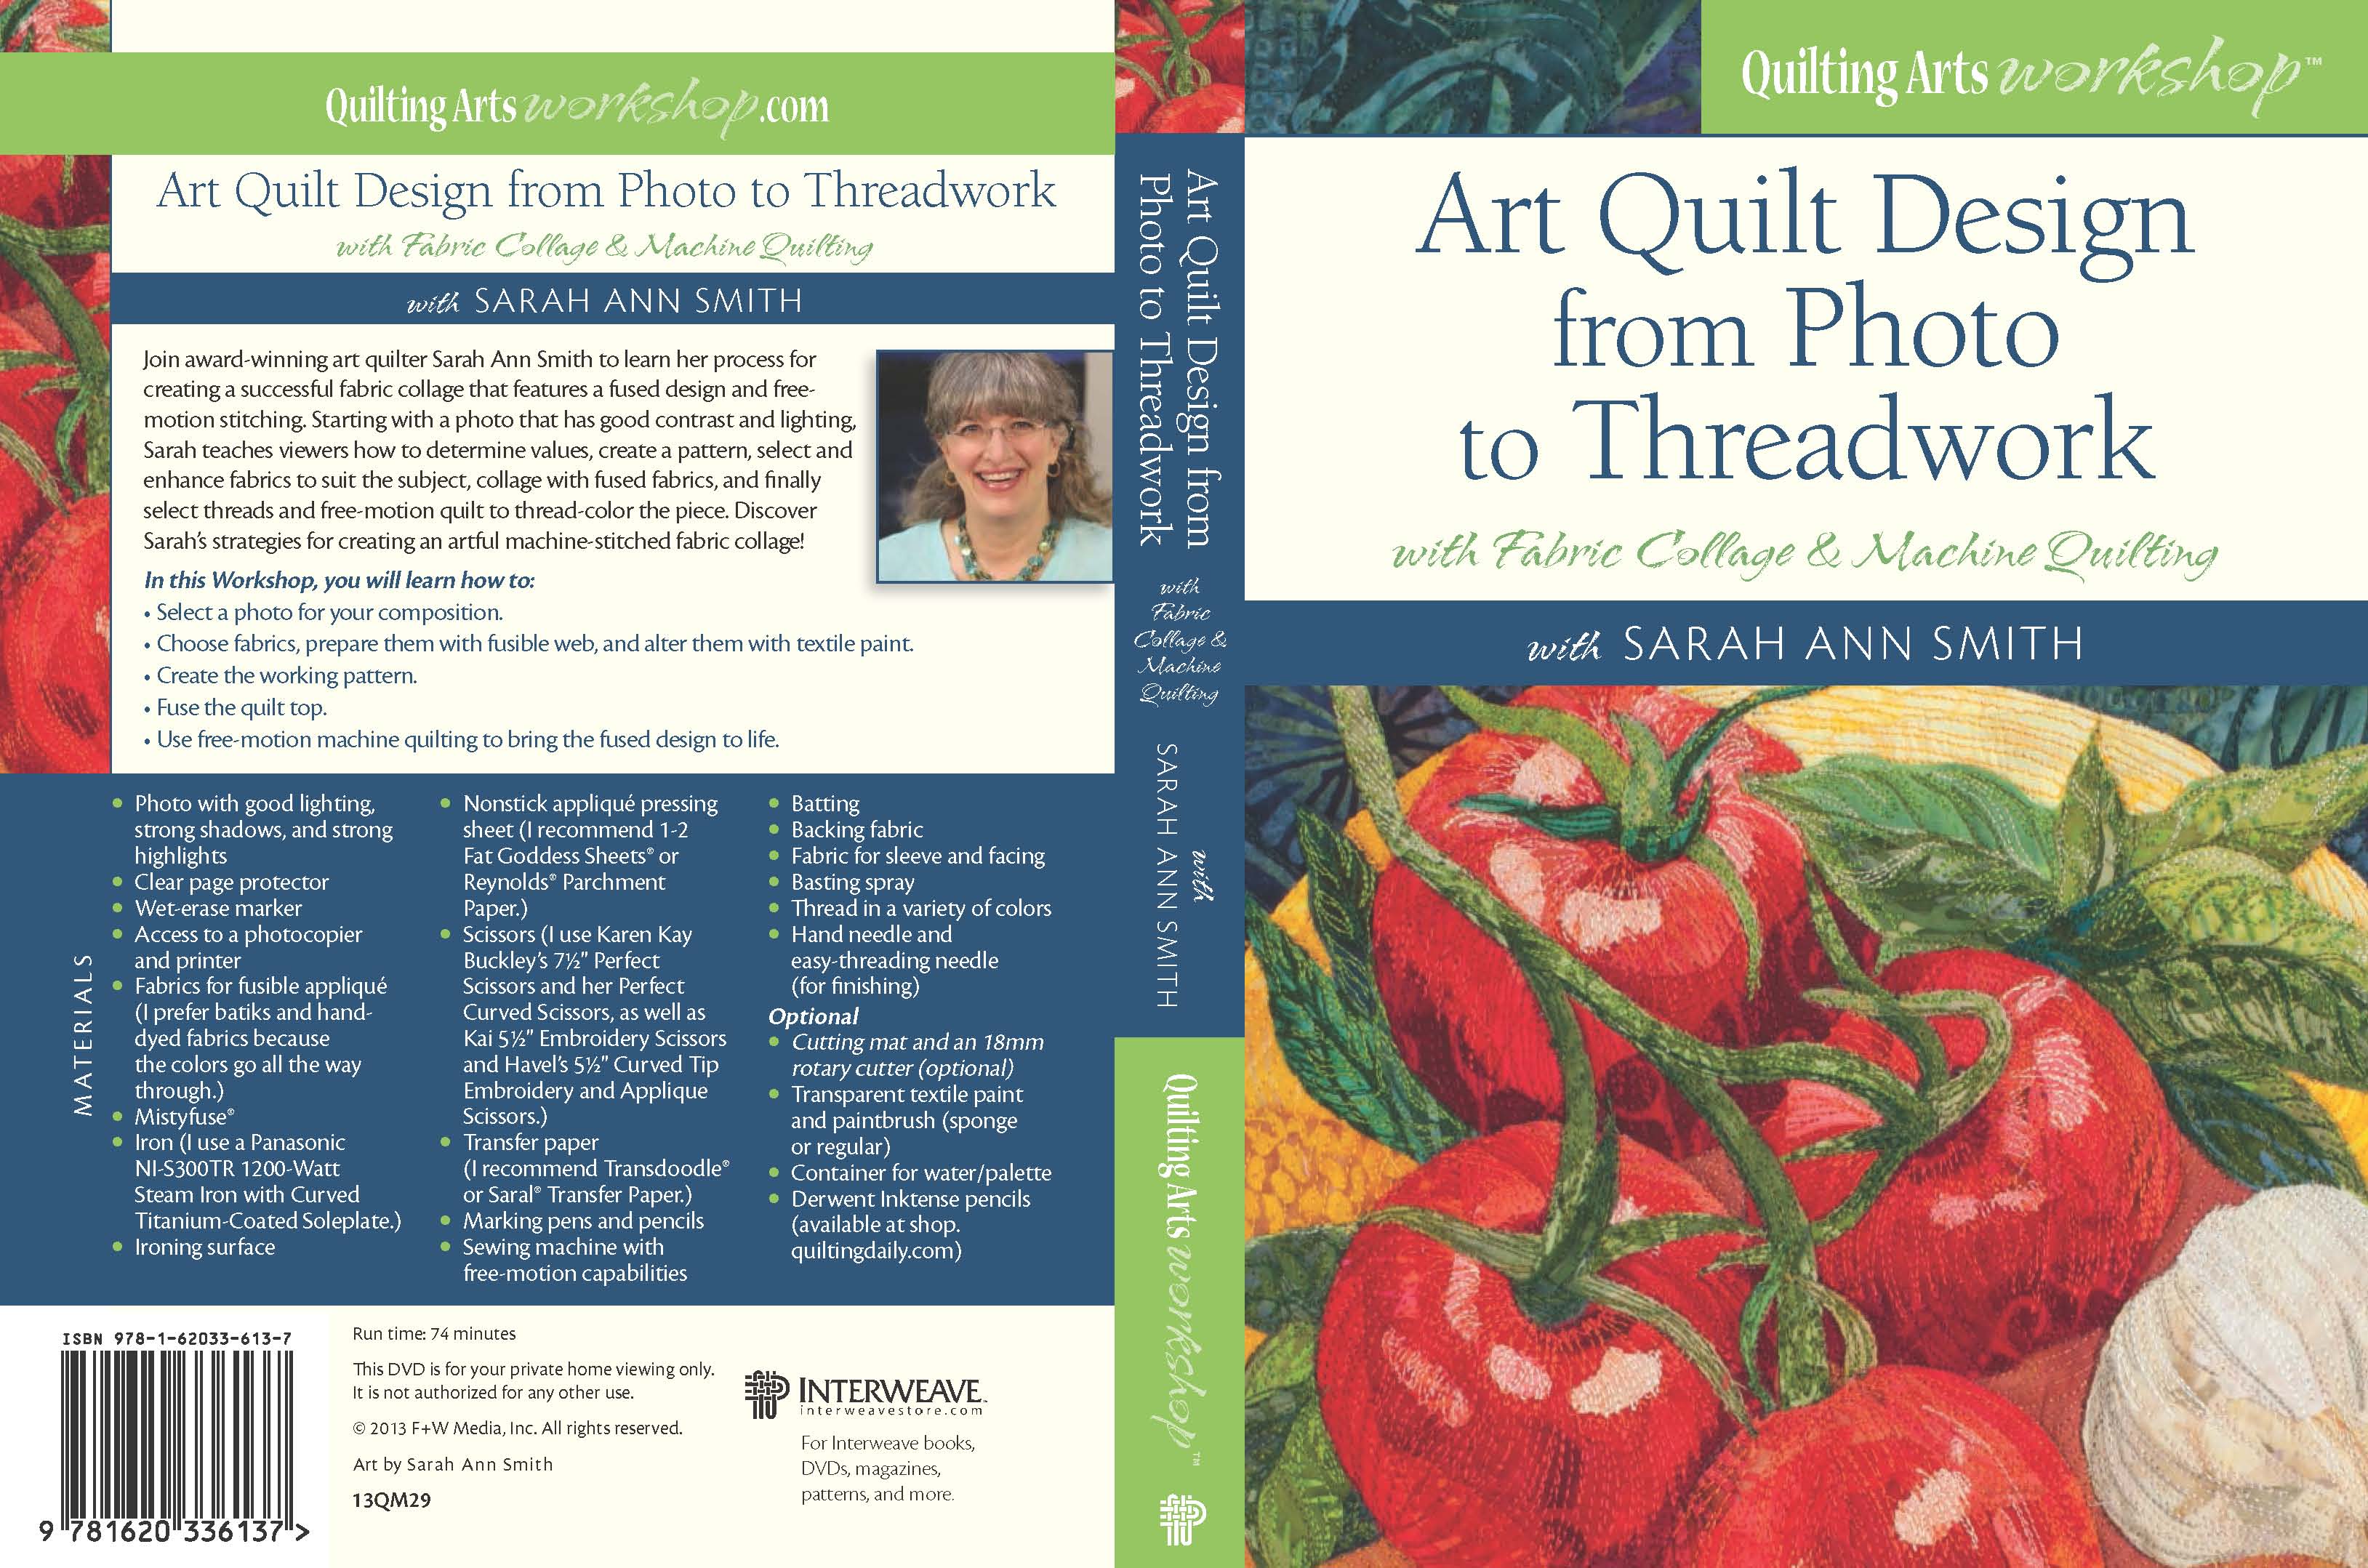
The cover (back and front) of my DVD, Art Quilt Design From Photo to Threadwork, with Fabric Collage and Machine Quilting.  Order the DVD from me here, or the download and DVD from Quilting Arts/Interweave here.

The cover (back and front) of my DVD, Art Quilt Design From Photo to Threadwork, with Fabric Collage and Machine Quilting. Order the DVD from me here, or the download and DVD from Quilting Arts/Interweave here.  Right click so you can open in a new tab and read all the bits on the left.

Today I want to share some hotlinks to some of my favorite things, products that I use and recommend in my DVD.  By having the hotlinks, you can go straight to a site to order.  I expect I’ll be referring folks to this post for a long time; if you discover a link is no longer working, please let me know by leaving a comment or using the Contact Me page and I’ll try to find a new link.   Thanks!  Since this post is quite long, here is what you’ll find below:

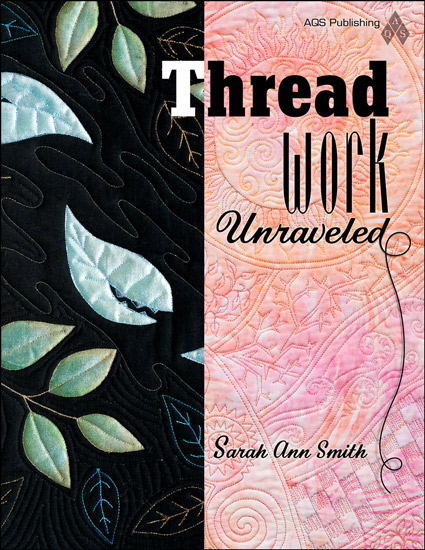
  • Threadwork Unraveled, my book about all things thread
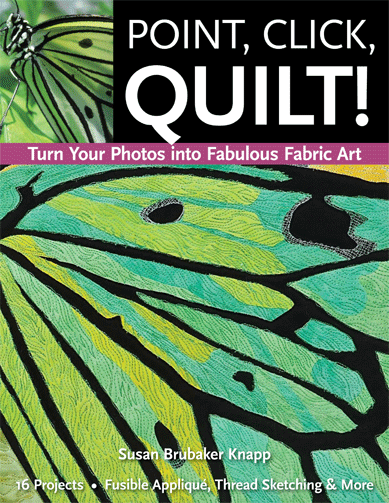
  • Point, Click, Quilt! by Susan Brubaker Knapp
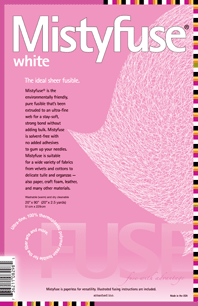
  • Mistyfuse Adhesive Web
  • Mistyfuse Goddess Sheets
  • Transdoodle from Mistyfuse
  • Karen Kay Buckley’s Scissors
  • Janome 8900 Sewing Machine
  • Havel’s Scissors
  • Panasonic Titanium non-stick Iron
  • Textile Paints and Derwent Inktense Pencils

Threadwork Unraveled by me, Sarah Ann Smith

Cover425My book is about all things thread.  You’ll learn everything you need to know about thread, from how it is made to what will make your life easier, and your quilting better!  The book is organized in three sections:  The Basics, Applique, and Quilting, and is designed to be a reference book you’ll come back to again and again.  You’ll learn how needles, tension, your workspace, sewing machine, stabilizers, and other tools all help you in using all those wonderful threads now available.  I’ll help you understand how and why certain tools and notions work best and when another option is a better choice.  Click here to read more and to order.

Point, Click, Quilt

SusansBookI met Susan Brubaker Knapp over the internet and we have become friends.  We share a similar approach to our art and quilting, and her book is fabulous.  Especially in regard to my DVD and how I work,  I would like to recommend to you the first section on taking and selecting a good photo.  Susan talks about composition, lighting and cropping, all of which are essential to a successful work.  To learn more about Susan’s book, click here.

Mistyfuse Adhesive Web

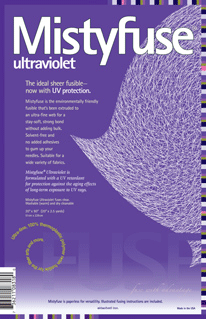
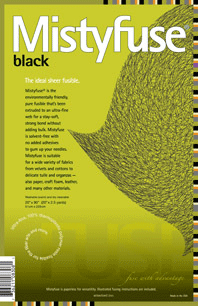
MW01-2012-Mistyfuse_WhiteMUV01-2012-Mistyfuse_UltravioletMB01-2012-Mistyfuse_BlackI am a complete fan of Mistyfuse products.  I LOVE this fusible web!  It leaves such a light, soft hand, never “expires”, doesn’t gunk up the needle EVER, and works really well.   I also like that it does NOT come packaged with release paper (which in other brands either comes loose too easily, or sticks, or whatever); you use baking parchment of a non-stick press sheet (next item) which is less wasteful than all that release paper, and once you understand how to use Mistyfuse is infinitely easier!   For most projects you would want either the white or the Ultraviolet; the latter is best for light colored fabrics.  The black has lots of fun uses…  All items are listed on one page, so just scroll down until you see what you seek!

and Mistyfuse Goddess Sheets

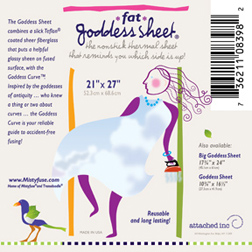
Mistyfuse Fat Goddess Sheet

Mistyfuse Fat Goddess Sheet

Goddess Sheets are non-stick press sheets.  You could use Reynolds brand Baking Parchment, but these sheets won’t wrinkle and wear out or tear like Reynolds Baking Parchmnet.  I’ve been using my press sheets for YEARS–the only wear and tear is where I accidentally sliced off a sliver with my rotary cutter!   I prefer the largest sheets, the Fat Goddess, so named because it allows you to fuse up an entire Fat Quarter (18×22 inches) of fabric without having to move the sheet.  In fact,

and Transdoodle Transfer sheets and Saral Transfer Paper in a roll

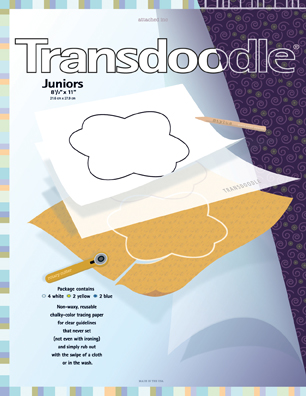
11x17_TD-Jr_11–10To transfer designs, I use Transdoodle or trace; I don’t use a light box.  Either the fabric is light enough in color that I can trace by placing the fabric over the design, OR I layer things up with the fabric on the bottom, Transdoodle Transfer paper in the middle, and the pattern on top.  These sheets last a LONG time, can be used over and over and over again.   They come in 8 1/2 x 11 inch packs with white, yellow and blue in the package.  I use mostly the white and blue.  Saral is a transfer paper available in art supply stores and online and is available in sheets like Transdoodle and in rolls.  It lasts a while, but not nearly as long as Transdoodle.  However, sometimes you just want a long roll of white for a large design or motif.  You can find Saral  here at Dick Blick among other places..  I will note one caution:  if  like me you forget to test for removability, whenever you use ANYTHING yellow, TEST!  It doesn’t like to let go of some fabrics!

Janome 8900 Sewing Machine

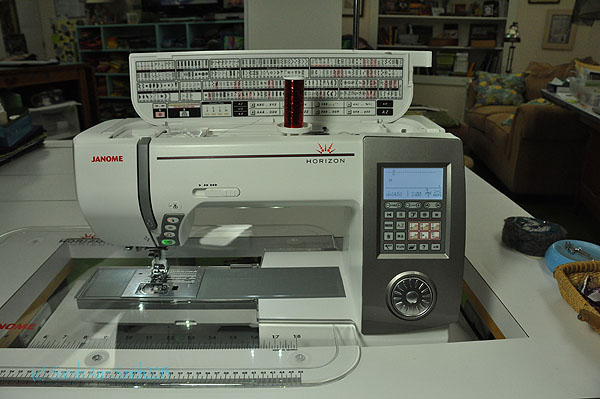
My beloved Gandalf, well OK, he's really a Janome 8900.....

My beloved Gandalf, well OK, he’s really a Janome 8900…..

For quite a good long while now I have used and loved Janome’s wide-harp sewing/quilting machines, beginning with the 6500, then the 6600, 7700 and now the 8900.  I LOVE THEM!   In 2003 I was frustrated with my then-machine’s balkiness using assorted fun threads.  I wanted to decide what threads to use, not have my machine dictate what I could use because the machine would otherwise crab at me (for example, on that other-brand-machine, it didn’t like it when I used Superior Threads 40-wt poly in the needle and 60-wt  Bottom Line in the Bobbin; ALL the Janomes I have used  handle that with ease).  When I test-drove the 6500 it handled every thread I put on it with ease, as has every machine since.  I was so in love with my 6500 I didn’t think they could make it better but with each generation they have.   A HUGE, HUGE HUGE Thank you to Janome America for their long-term support of me!  I think I’ll go hug my Janome 8900 right now!

Karen Kay Buckley’s scissors

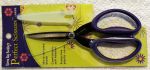
Karen Kay Buckley Large scissors, my most frequently used

Karen Kay Buckley Large scissors, my most frequently used

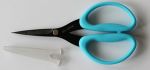
Karen Kay Buckley's Medium scissors, which may soon take over as my most-often-used scissors

Karen Kay Buckley’s Medium scissors, which may soon take over as my most-often-used scissors

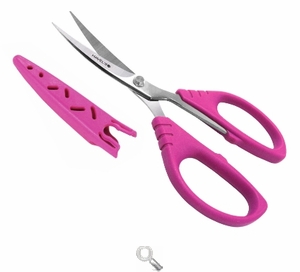
Karen Kay Buckley's curved tip scissors, great for trimming.  At first didn't think I'd use these much, so surprised at how useful I have found them.  Nice large finger holes!

Karen Kay Buckley’s curved tip scissors, great for trimming. At first didn’t think I’d use these much, so surprised at how useful I have found them. Nice large finger holes!

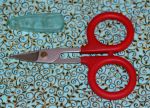
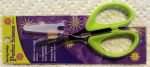
Karen Kay Buckley's Little scissors, great for detail work

Karen Kay Buckley’s Little scissors, great for detail work

Honestly, I love and use all four of them!    They are well worth the not- expensive price, and will likely soon become YOUR favorites, too. You can find all four of these scissors here on Karen Kay Buckley’s website.  Karen’s products are great; she spent a lot of time perfecting these scissors, and they are now taking off in popularity with good reason!  The Large, Medium and Small are all non-stick coated which is great for working with fusibles!

Havel’s Scissors

Havel's 5 1/2 inch curved tip embroidery scissors

Havel’s 5 1/2 inch curved tip embroidery scissors

The 5 1/2″ curved tip Embroidery scissors from Havel’s are also great.  I find I use them most at the sewing machine. I particularly like the length of the curved blades at the machine.  Thank you!!!!  to Havel’s for sponsoring various and sundry Quilting Arts TV and for sponsoring several Dinner@8 exhibits and International Quilt Festival over the past several years!  And, drum roll–Havel’s is also donating goodies for my part of the Bloghop and Giveaways to celebrate the release on my DVD (more on that on September 17, 2013; giveaways will be in September and November 2013). Thank you!

Panasonic Non-Stick Titanium Coated Iron

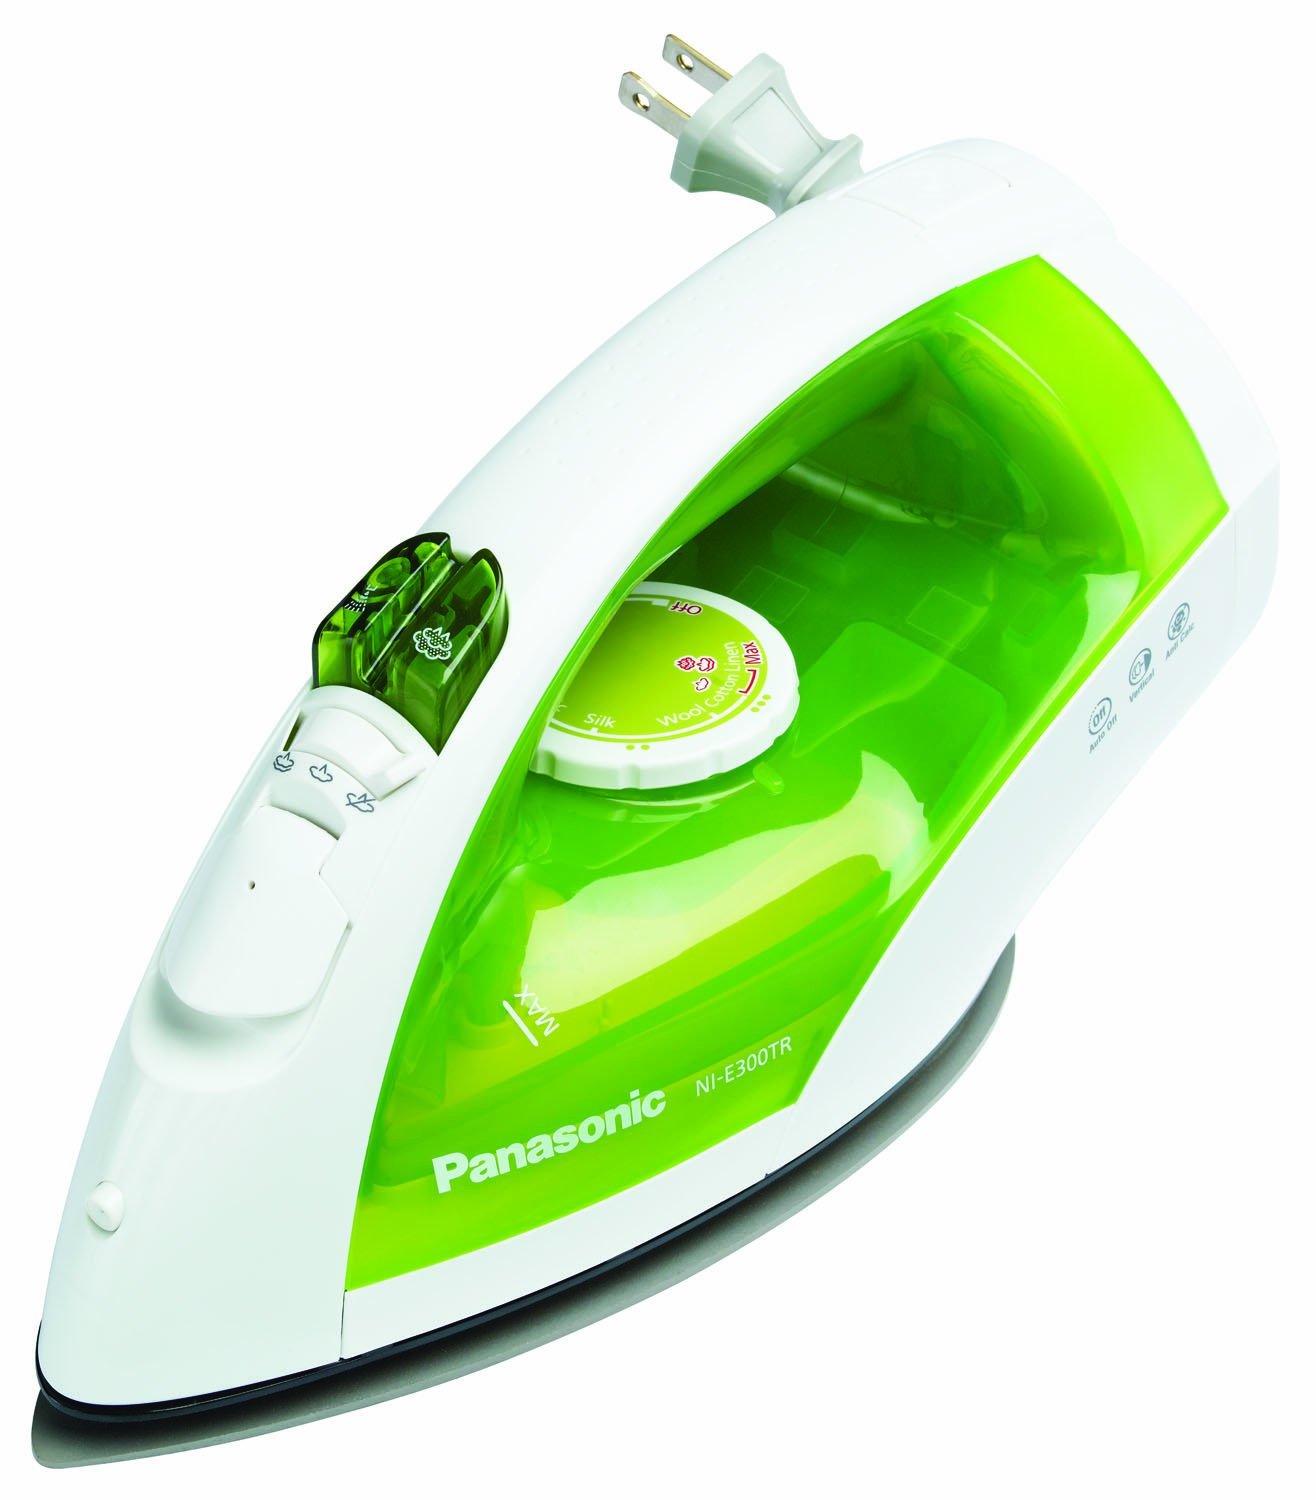
Iron61RQdN5juFL._SL1500_

Panasonic TITANIUM Non-stick iron. Titanium coating is usually a gold color. Gunk just wipes clean!

Oh how I LOVE LOVE LOVE this iron!   The key word appears to be Titanium–other non-stick irons don’t work the same way!   And of course this one is lime green–this is GOOD!   There are several models available at the moment on Amazon.  The one pictured is here.  They have other model numbers, different colors.  They key thing is the word “titanium” in the description.   You can put this iron down right on the Mistyfuse, let it melt onto the soleplate, and then wipe it clean!   No more Hot Iron Cleaner!  No more nasty fumes!  For the price of four or five tubes of iron cleaner, you get an iron you can wipe clean!   Mo’ bettah!

Superior Threads

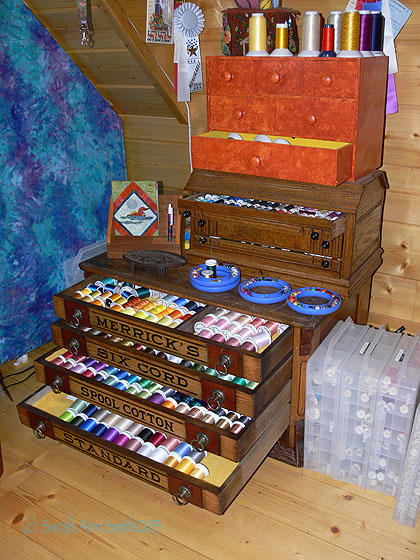
Oooh pretty colors, so many colors!   a.k.a. Sarah's thread stash!

Oooh pretty colors, so many colors! a.k.a. Sarah’s thread stash!

There are many brilliant threads out there now, that is one of the things that prompted me to write my book:  so that folks could understand how to use them.  Since I teach, I try to be fair, honest, and give all companies an equal chance.  There are a number of companies that make threads I use, respect and like:  Superior Threads, Aurifil, Madeira, Isacord and others.   But Superior is far and away the best at striving to educate the public.   I highly recommend the Education section of the Superior Threads website.   As well, they make brilliant quality threads, stand behind their products, and have great customer service.   When I switched from quilting with only cottons to using a wide range of threads (thanks to my Janome’s ability to do so without a grump), I decided to build my stash to “one of each please”–the thread equivalent of the BIG box of crayons!  I did so 10 or 12 spools at a time, and having a wide range makes it so much easier for me to do my thread-coloring.

Textile Paint and Derwent Inktense Pencils

You could spend years having fun with surface design, textile paints, drawing materials and dyes.   My DVD just mentions the use of transparent Textile Paints and Derwent Inktense pencils.   To take the easy one first, Derwent Inktense pencils look like a pencil but, when activated with water and set according to instructions, they are pretty much permanent.  The lead used is also available as blocks, but for the way I used them a pencil works better.  You can find the box of 12 colors here at the Interweave Store;  one year for Christmas I asked for and received the box of 72 (of course I wanted the BIG tin!).  We got it here, at Dick Blick.

There are many, Many, MANY types of textile paints including opaque, transparent, metallic and so on.  You’ll find different ways to use them, too.   In my DVD I used Setacolor Transparent Textile paints (here at Dick Blick , please note this link takes you to a page with opaque as well as transparent–check the instruction in the video to see what you prefer).  I also love Jacquard Lumiere paints, which are opaque, metallic and delicious (Lumiere here at Dick Blick).   Last but definitely not least, I really like the paints made by Pro Chemical and Dye, a dye house in Fall River, Massachusetts.   Click here to visit Pro Chem‘s paint page, where you can find transparent, opaque and metallic textile paints.