Hawaiian-style quilting at Lowell Quilt Festival
One of the most fun classes I taught was Hawaiian style applique by machine. Normally, this applique is done by hand using the needle-turn method. It is beautiful, meticulous, and time-consuming. Some years ago I saw a quilt made by a New Zealand quilter, Donna Ward, that was stunning… similar to Hawaiian quilts in style, and satin stitched! The stitching became a whole new design element, and I was hooked. And I must repeat… I love google! Here is a link to Donna’s quilt Jewel of the Pacific–scroll down a bit to the blue quilt.
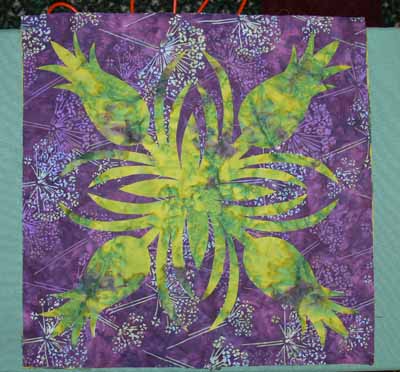
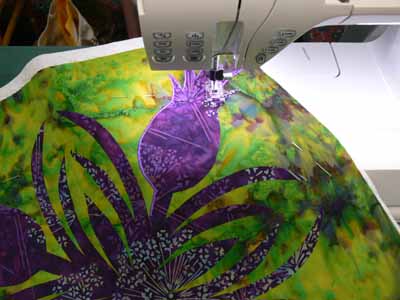
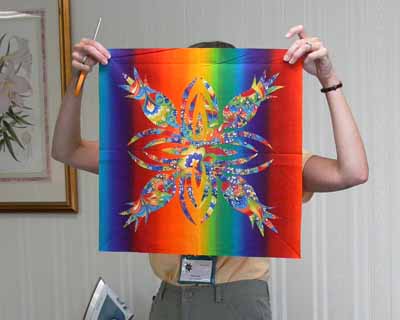
For my book, Unraveling Threadwork, (hopefully due out Fall 2009) I’ve designed a quilt with nine 18 inch blocks using five different designs, as one of the main pieces. I’ve also designed two smaller “practice” blocks, one of the taro leaf, another of the turtle. This class was the first time I offered the smaller practice blocks as an option, and it seems to have been a good decision. Sally was the one person in the class who opted to start with the large block, in her case the pineapple. Her combination of deep purple and mottled green (above and below) was wonderful. I also recognized her name from the quiltart list…way fun to meet someone you’ve “seen” on line!
A couple tricks to Hawaiian applique: high contrast in your fabrics works well! Variegated threads don’t always look so good…opt for a solid color. THEN you absolutely must:
MAKE VISUAL DECISIONS VISUALLY!
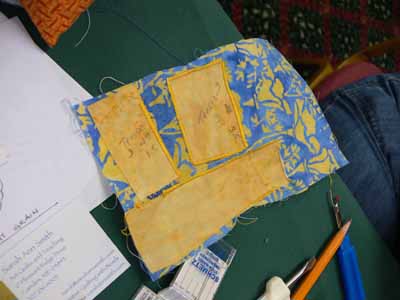
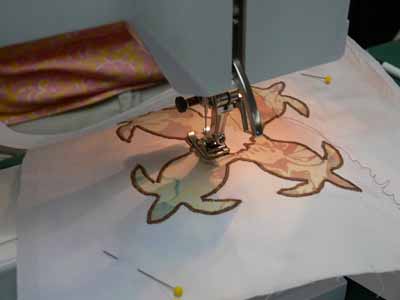
That means make a test, and try your threads to see how the look when stitched out. Try adjusting width and length to see what looks best. And if necessary (it probably will be) use a stabilizer under the background fabric to prevent unsightly puckers and uneven stitching. Here is one student’s thread stitch-out sample.
Her print fabric actually didn’t contrast a lot from the background–UNTIL she used the bright yellow thread to outline the design, at which point the subtle change in fabrics became awesome.
Sally had brought a variegated that was PERFECT for quilting her pineapple, but when satin-stitched out, it really didn’t look so great, so a classmate lent her a perfect purple.
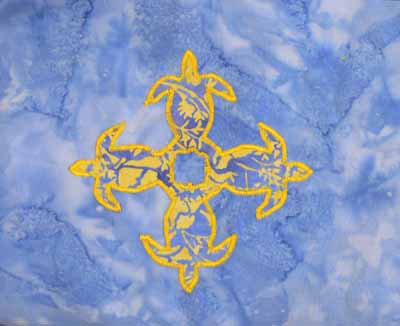
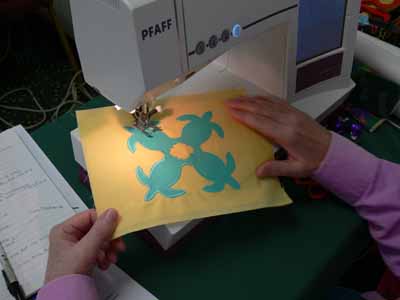
Another student opted for the traditional solid colors in very tropical aqua and yellow. This simple choice is smashing!
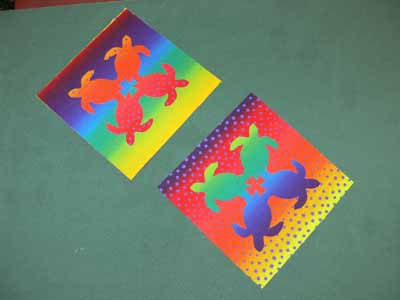
One student brought some VERY bright fabrics which had a stripe, but they worked! Here are her turtles (before stitching)
Since she hadn’t brought a varied enough thread selection, she opted to work on prepping a large block, also…talk about vibrant…wow!
When she uses a starkly contrasting thread, like a tangerine or orange-y yellow or turquoise, the bright line of satin stitching will help pop the busy fabric inside the pineapple motif…trust me, this one will work amazingly well!
Other students preferred softer colors. We were all surprised that this taupe-cocoa brown thread was such a good choice on the soft colors of the applique–sometimes the least expected selection works best:
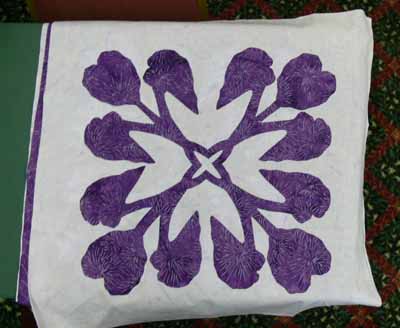
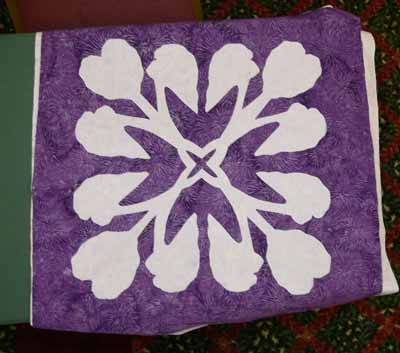
And here are her Taro blocks, in purple and soft lavender (which alas looks more white in these photos):
and the reverse applique:
Here’s what I learned from teaching my class:
- the small shapes on the turtles are a bit fiddly for beginners. I need to make another, simply-shaped design, and have both turtles and taro leaf (or whatever) stitched out for students to see.
- I should say on the supply list that variegated threads generally don’t work so well for satin stitching—be sure to bring plenty of solid colors
- Also on the supply list, I should say to bring at least twice as many colors of thread as you think you will need!
- Using the black Misty Fuse (adhesive web…a heat-activated glue for fusing fabrics) for demonstrating is perfect, since it is easy to see the bits that get left behind on the fusing sheets or baking parchment
- I need to bring more Misty Fuse to sell….I ran out!
So it’s off to update my class supply lists! Hope you enjoyed this vicarious tour around the classroom. I sure had fun seeing my blocks interpreted in so many wonderful ways. I hope the students had as much fun as I did…imagine, I get paid to do this! WOOHOO!
PS: I wanted to post a public thanks to the show organizers for the Lowell Quilt Festival. The teachers were treated like royalty…. we had rooms to ourselves (weren’t required to share with another teacher), were presented with lovely welcome boxes with some snacks, little bottled waters, an a Lowell Quilt Festival badge holder in a color just for teachers….. the hotel rooms were huge and comfortable, too. It was a particularly nice experience, so thanks to all who were involved!

