email Youtube

Home
Galleries
Blog
Workshops & Calendar
Store
Resources
About
Contact

Foto Friday, Week 43 (out of order): Halloween

October 30th, 2015

The image of a thousand edits!  I combined four images:  a photo of the moon, two different photos on my iPhone of the willows shot on a misty dog-walkies and the flash fired, and the bats are from a silhouette of my hands, seriously edited.  I’ll post more info below including a link to the orignal images in my Flickr November album.

The image of a thousand edits! I combined four images: a photo of the moon, two different photos on my iPhone of the willows shot on a misty dog-walkies and the flash fired, and the bats are from a silhouette of my hands, seriously edited. I’ll post more info below including a link to the orignal images in my Flickr November album.

Normally it doesn’t matter if I post my photo a week late, but since the theme was Halloween, and since I’ve actually done this at not-the-last-day, I’m doing week 43 today and I’ll fill in with week 42 next week!    And oh…if you haven’t been around, this is part of the year-long 52-Week Photography Challenge class I’m taking online with Ricky Tims.  This composite image was something that I would NEVER have been able to do at the start of this class! I used four photos (two of the widows, one of my hands, one of the moon).For anyone interested in how I did it, here you go (Long!)

This week’s theme was Halloween.   Apparently Ricky had planned on Hands, then changed it to Halloween.  But the “use hands” didn’t get edited out (until someone asked about it and he said typo!).  By that time I had this hare-brained idea for my weekly submission.  Our challenge was to do something creepy for Halloween (or otherwise Halloween-y) using what we’ve learned.   This may be one of those instances that Ricky refers to as “Just because you can, doesn’t mean you should.”   Oh well!  It was a fun flight of bat-ful fancy!

1. Darken photo of moon. Select to the right of the moon extending area quite a bit to the right. Use content aware fill to “reposition” the moon.

(c)2015-SarahAnnSmith.com-6148

Bottom layer. Photo of moon. NO idea why I’ve got those odd spots–the moon equivalent of a sun flare?

2. Take first of the two willows in the night mist photos (shot on iPhone, which used last and showed those cool streaks in the mist). Since the photo was square, add a layer and paste. Add another layer and paste again, so that the two images overlap. Use soft-edge eraser brush to blend the two photos. Some Dodge and Burn to even out the overlap. Flip horizontally.

First of two photos taken on my iPhone a couple months ago.

First of two photos taken on my iPhone a couple months ago.

3. Take the second of the two willows-in-the-night-mist and repeat the above process in Step 2.

Second willows photo.  The mist is going a different direction, and I like the layering that happened.

Second willows photo. The mist is going a different direction, and I like the layering that happened.  Notice I flipped the photos horizontally to have the weight of the willows balancing the brightness of the moon.

4. Reduce opacity to about 30-35 on both willows layers.
5. Merge down layers so the four willow layers end up as one (or was it two) layer(s).
MoonMist

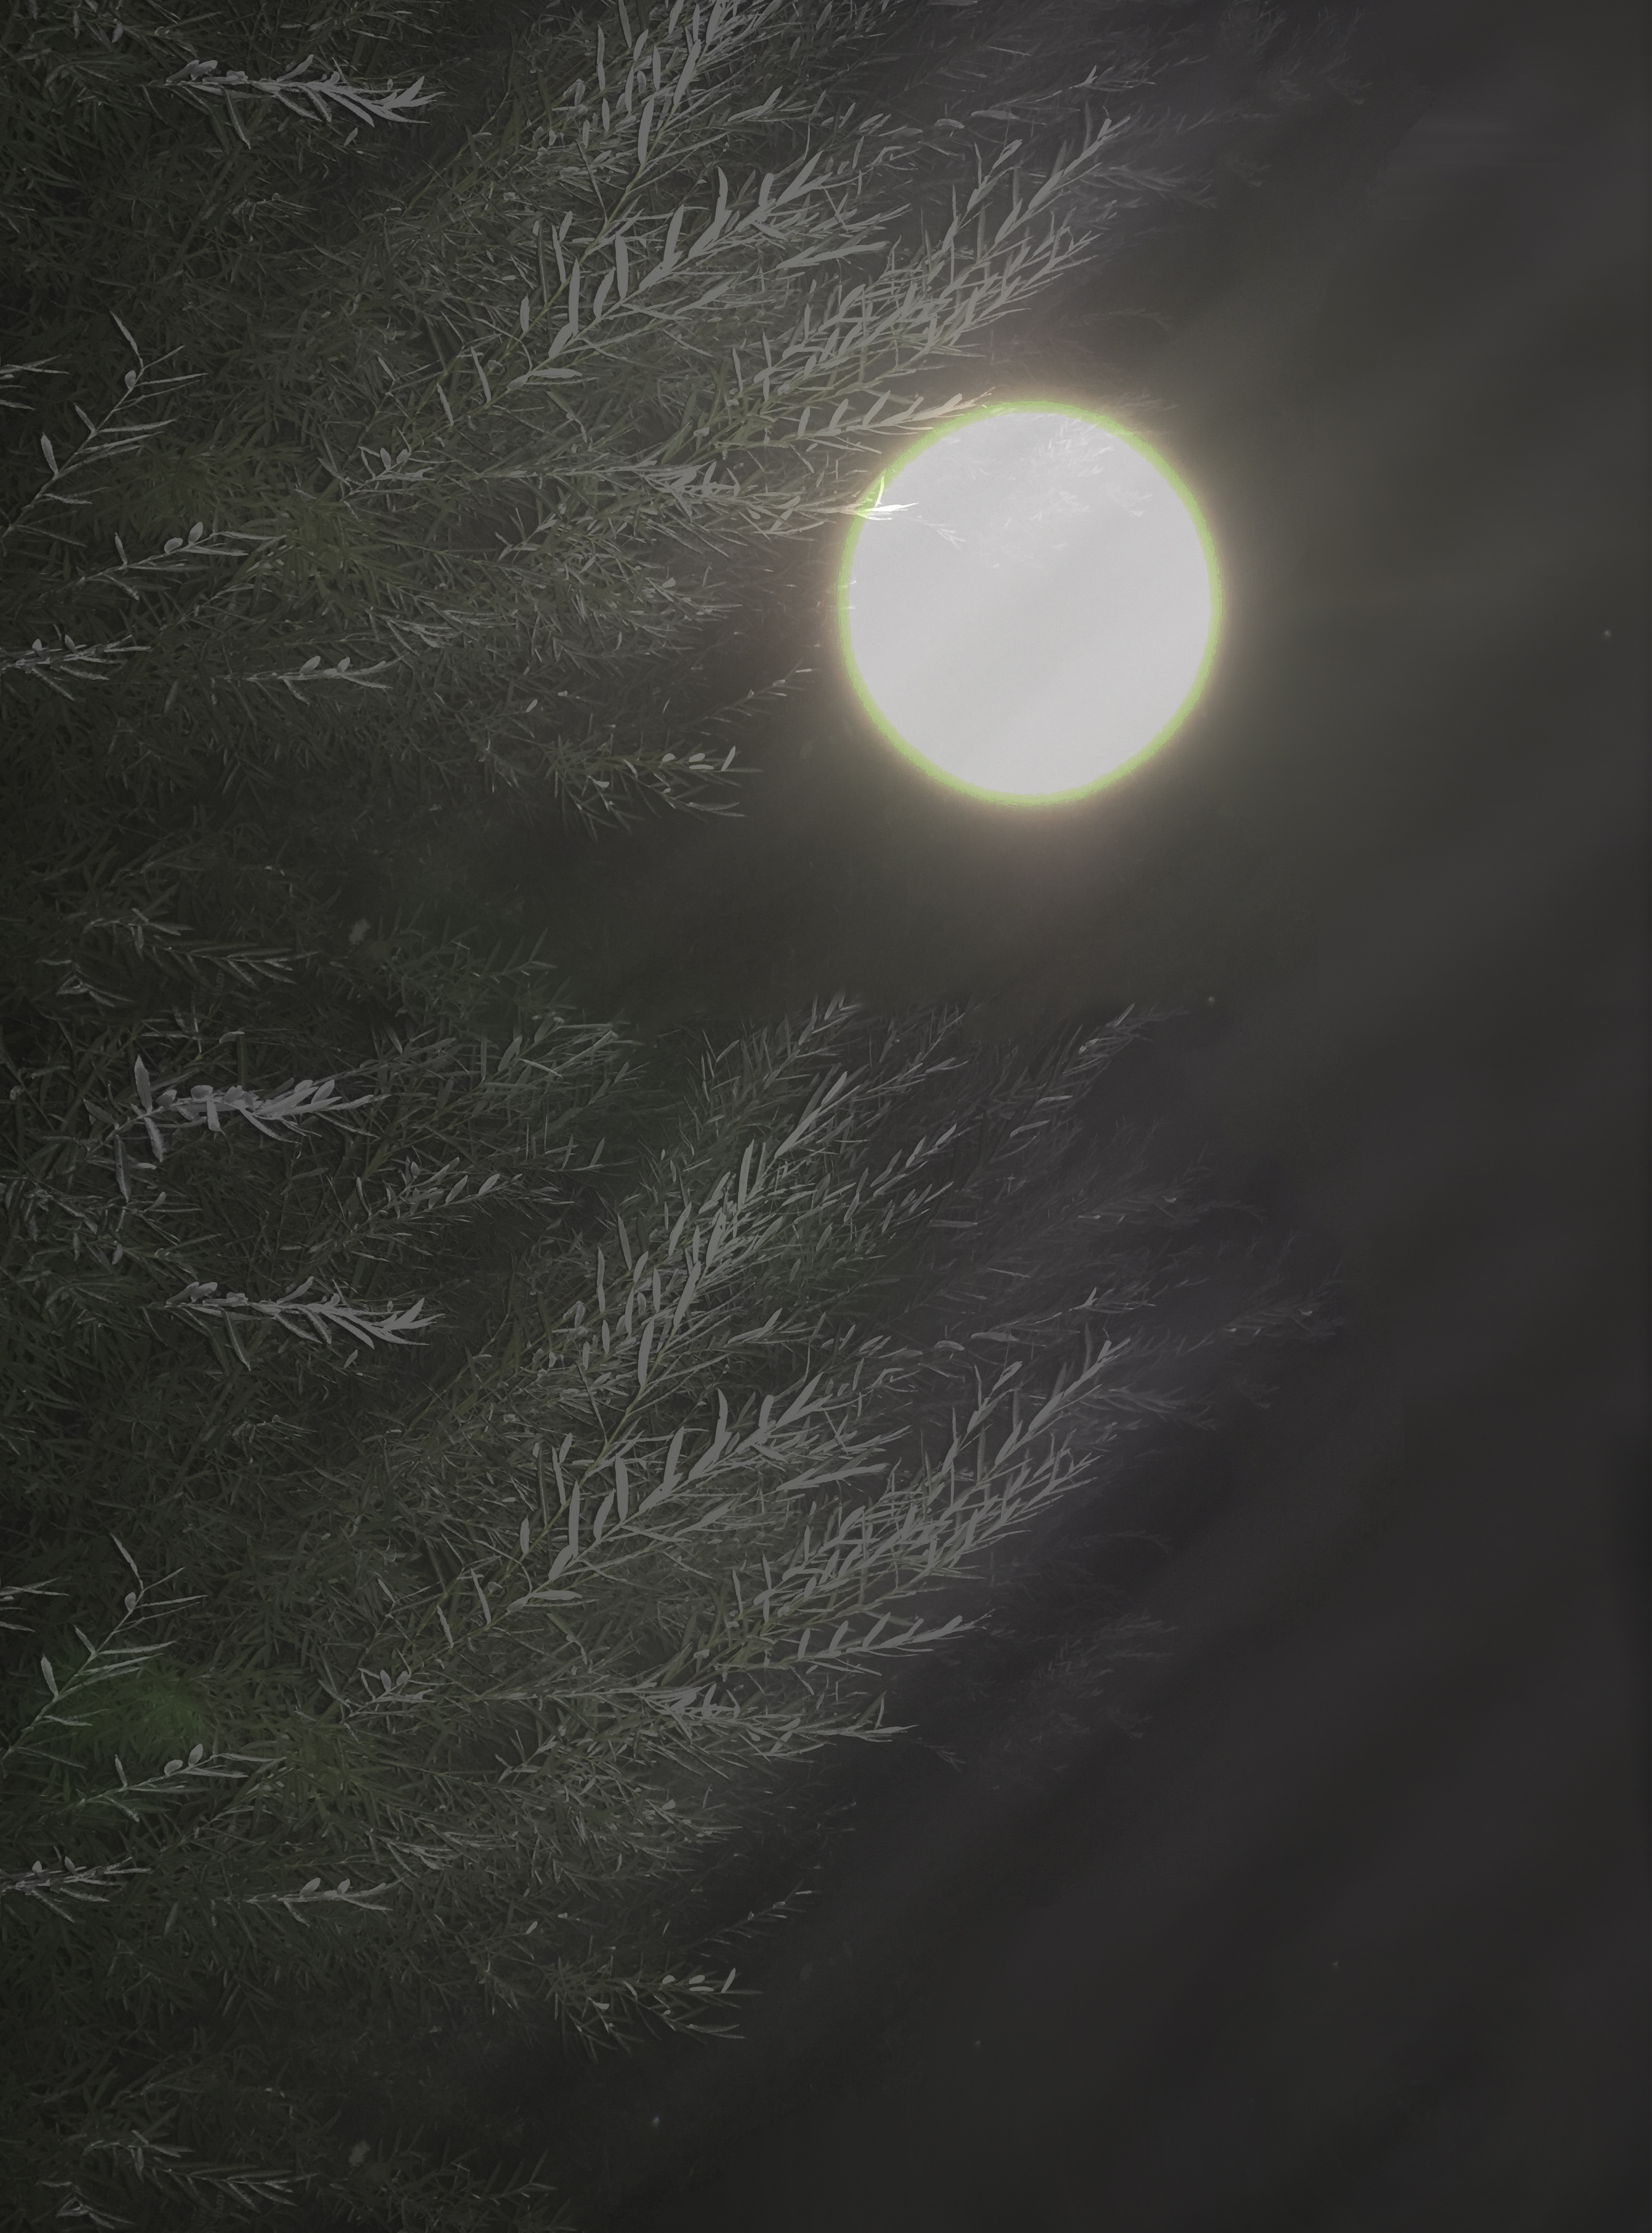
The first layer of montaged willows over the moon.

6. Spend a ridiculous amount of time trying to make assorted masks work to let the moon shine through without overlaying leaves. Give up and use an enormous, soft-edge dodge brush to lighten the layers over the moon.
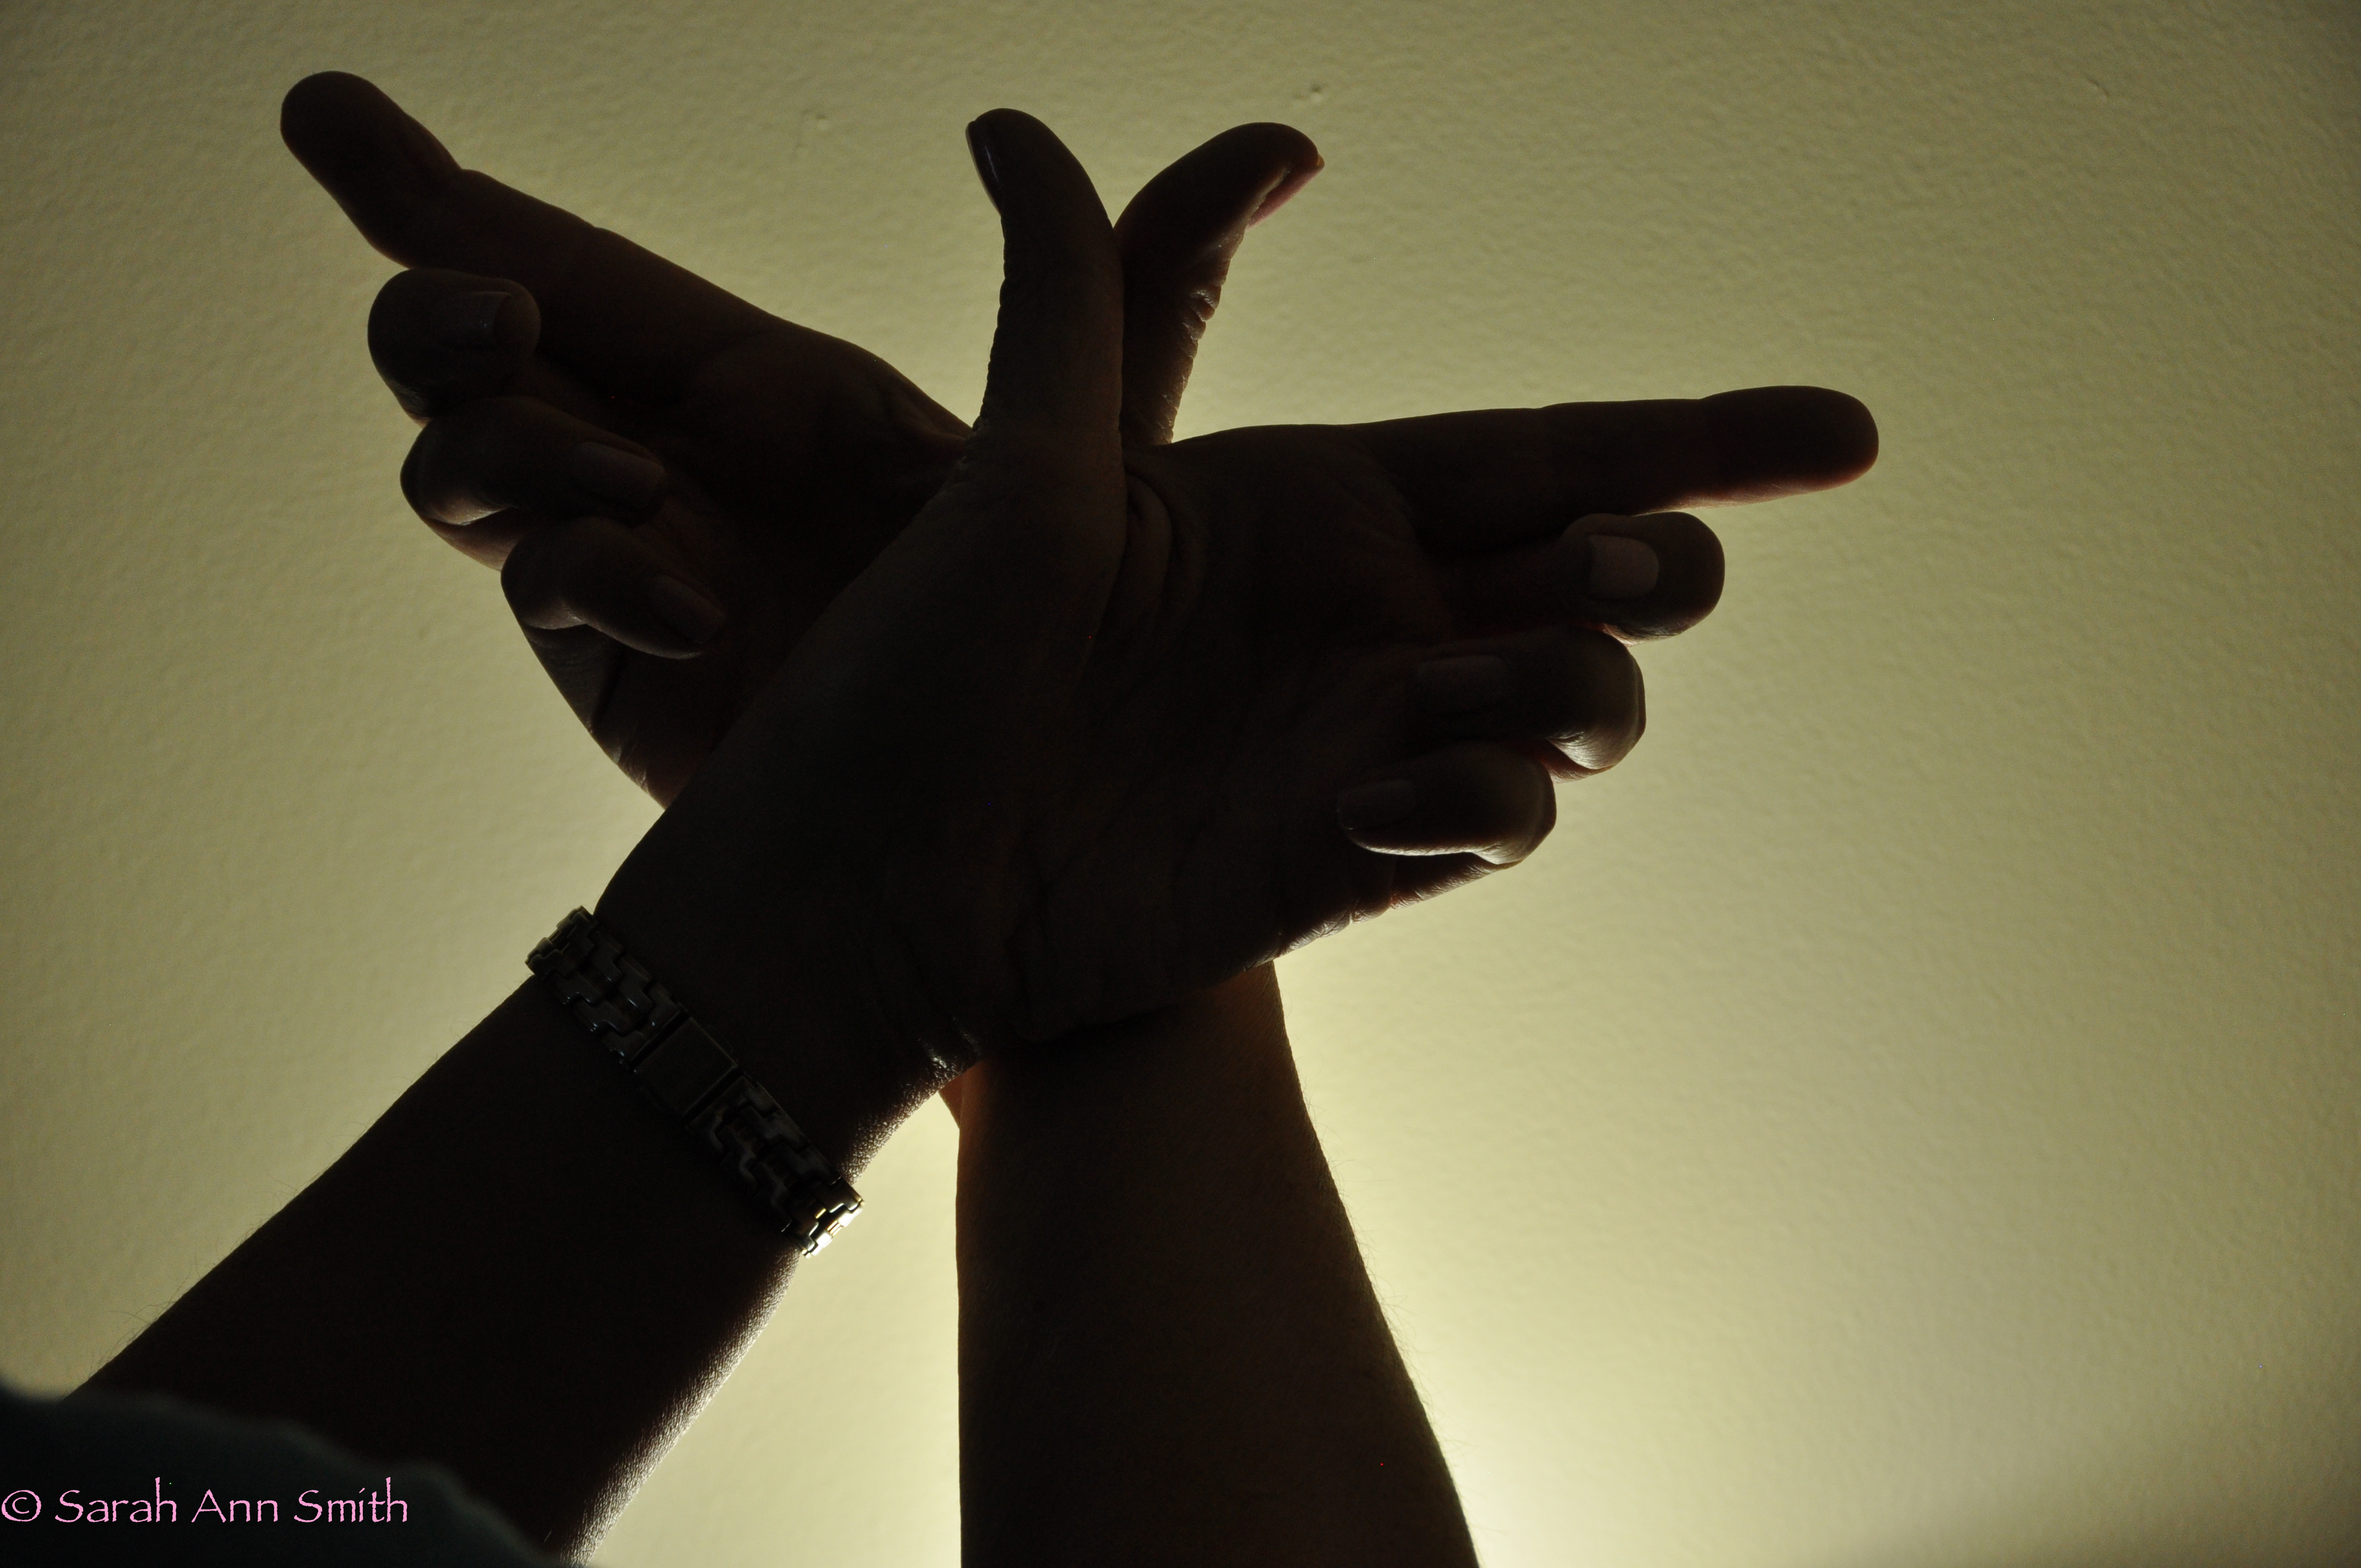
7. Dragoon hubby into taking shots of my hands as a bat (after google searching). Set up light and tripod/camera etc first.
The original photo of my hands.  Had a photography (for quilts) light shining up to get a sharp silhouette.

The original photo of my hands. Had a photography (for quilts) light shining up to get a sharp silhouette.

8. Remove background around hands. Reduce opacity, use burn tool to knock back highlights on my fingers.

Background removed.

Background removed.

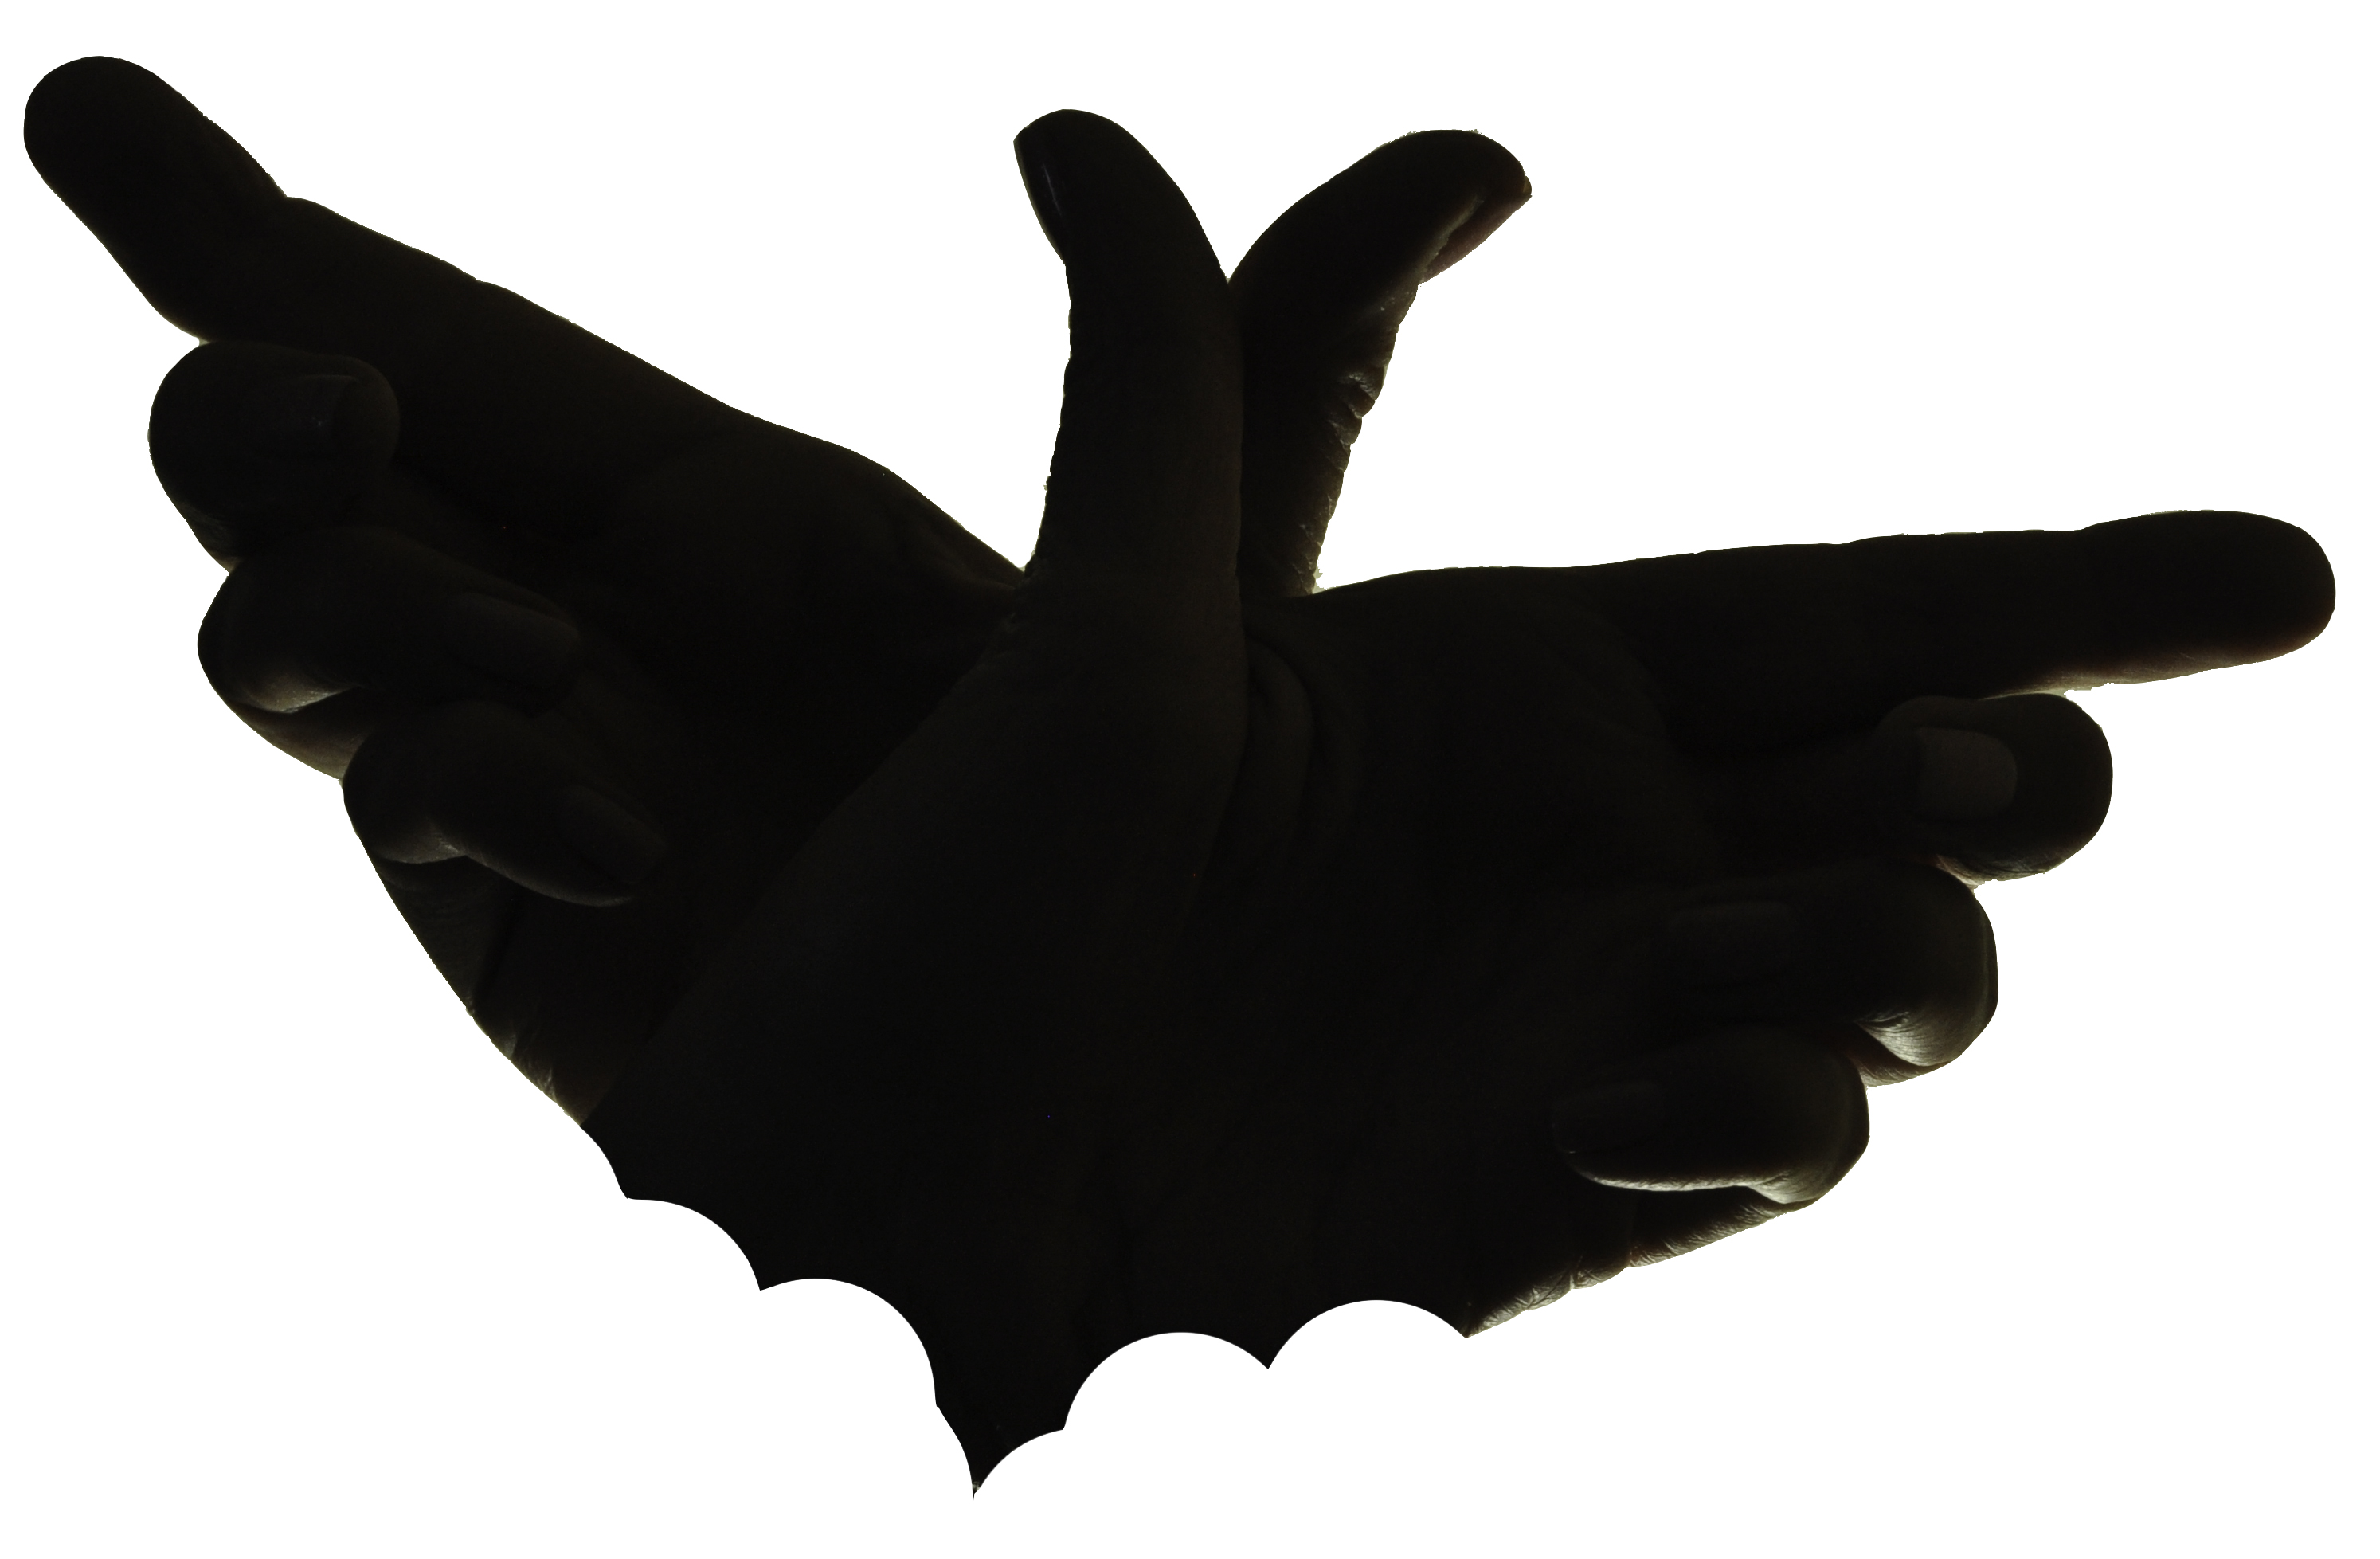
Edit out arms using a large hard-edged eraser brush to create wing scallops.
Presto chango, let there be a bat.

Presto chango, let there be a bat.

9. Create multiple layers, using “transform” to scale and rotate to edit the “bat.” Mull over whether to have one or three bats. This is seriously one of those “just because you can, doesn’t mean you should” moments. Still not sure about one versus three. But after HOURS of edits, I’m going with three!
Time for lunch and other work!

The image of a thousand edits!  I combined four images:  a photo of the moon, two different photos on my iPhone of the willows shot on a misty dog-walkies and the flash fired, and the bats are from a silhouette of my hands, seriously edited.  I’ll post more info below including a link to the orignal images in my Flickr November album.

The image of a thousand edits! I combined four images: a photo of the moon, two different photos on my iPhone of the willows shot on a misty dog-walkies and the flash fired, and the bats are from a silhouette of my hands, seriously edited. I’ll post more info below including a link to the original images in my Flickr November album.

So that’s it!  My Flickr album for November is here, and for the page with all my albums is here.
My DVD on sale!

October 30th, 2015

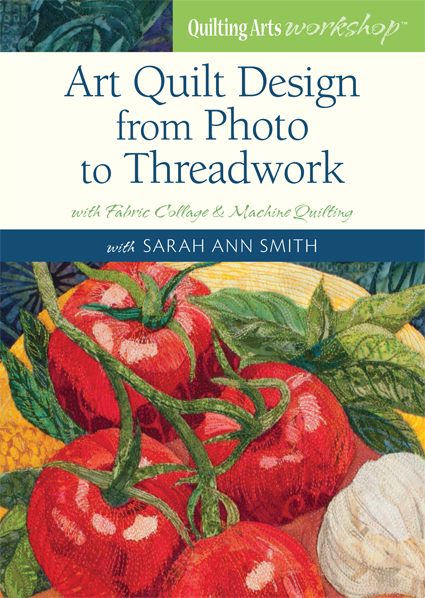
Hey, I just got a note that my DVD, Art Quilt Design From Photo to Threadwork is on sale!   Here’s the info:  This is the link to the video: https://www.craftdaily.com/courses/art-quilt-design-from-photo-to-threadwork

my video workshop that takes you from your photo to a finished art quilt

my video workshop that takes you from your photo to a finished art quilt

And if you use the code BLOGLOVE, they’ll get 20% off a subscription.

Thanks!

See my work in Houston!

October 29th, 2015

I’m thrilled to share that I have three works on display in Houston–in the juried show, the Dinner@8 Exhibit, and the National Parks exhibit.

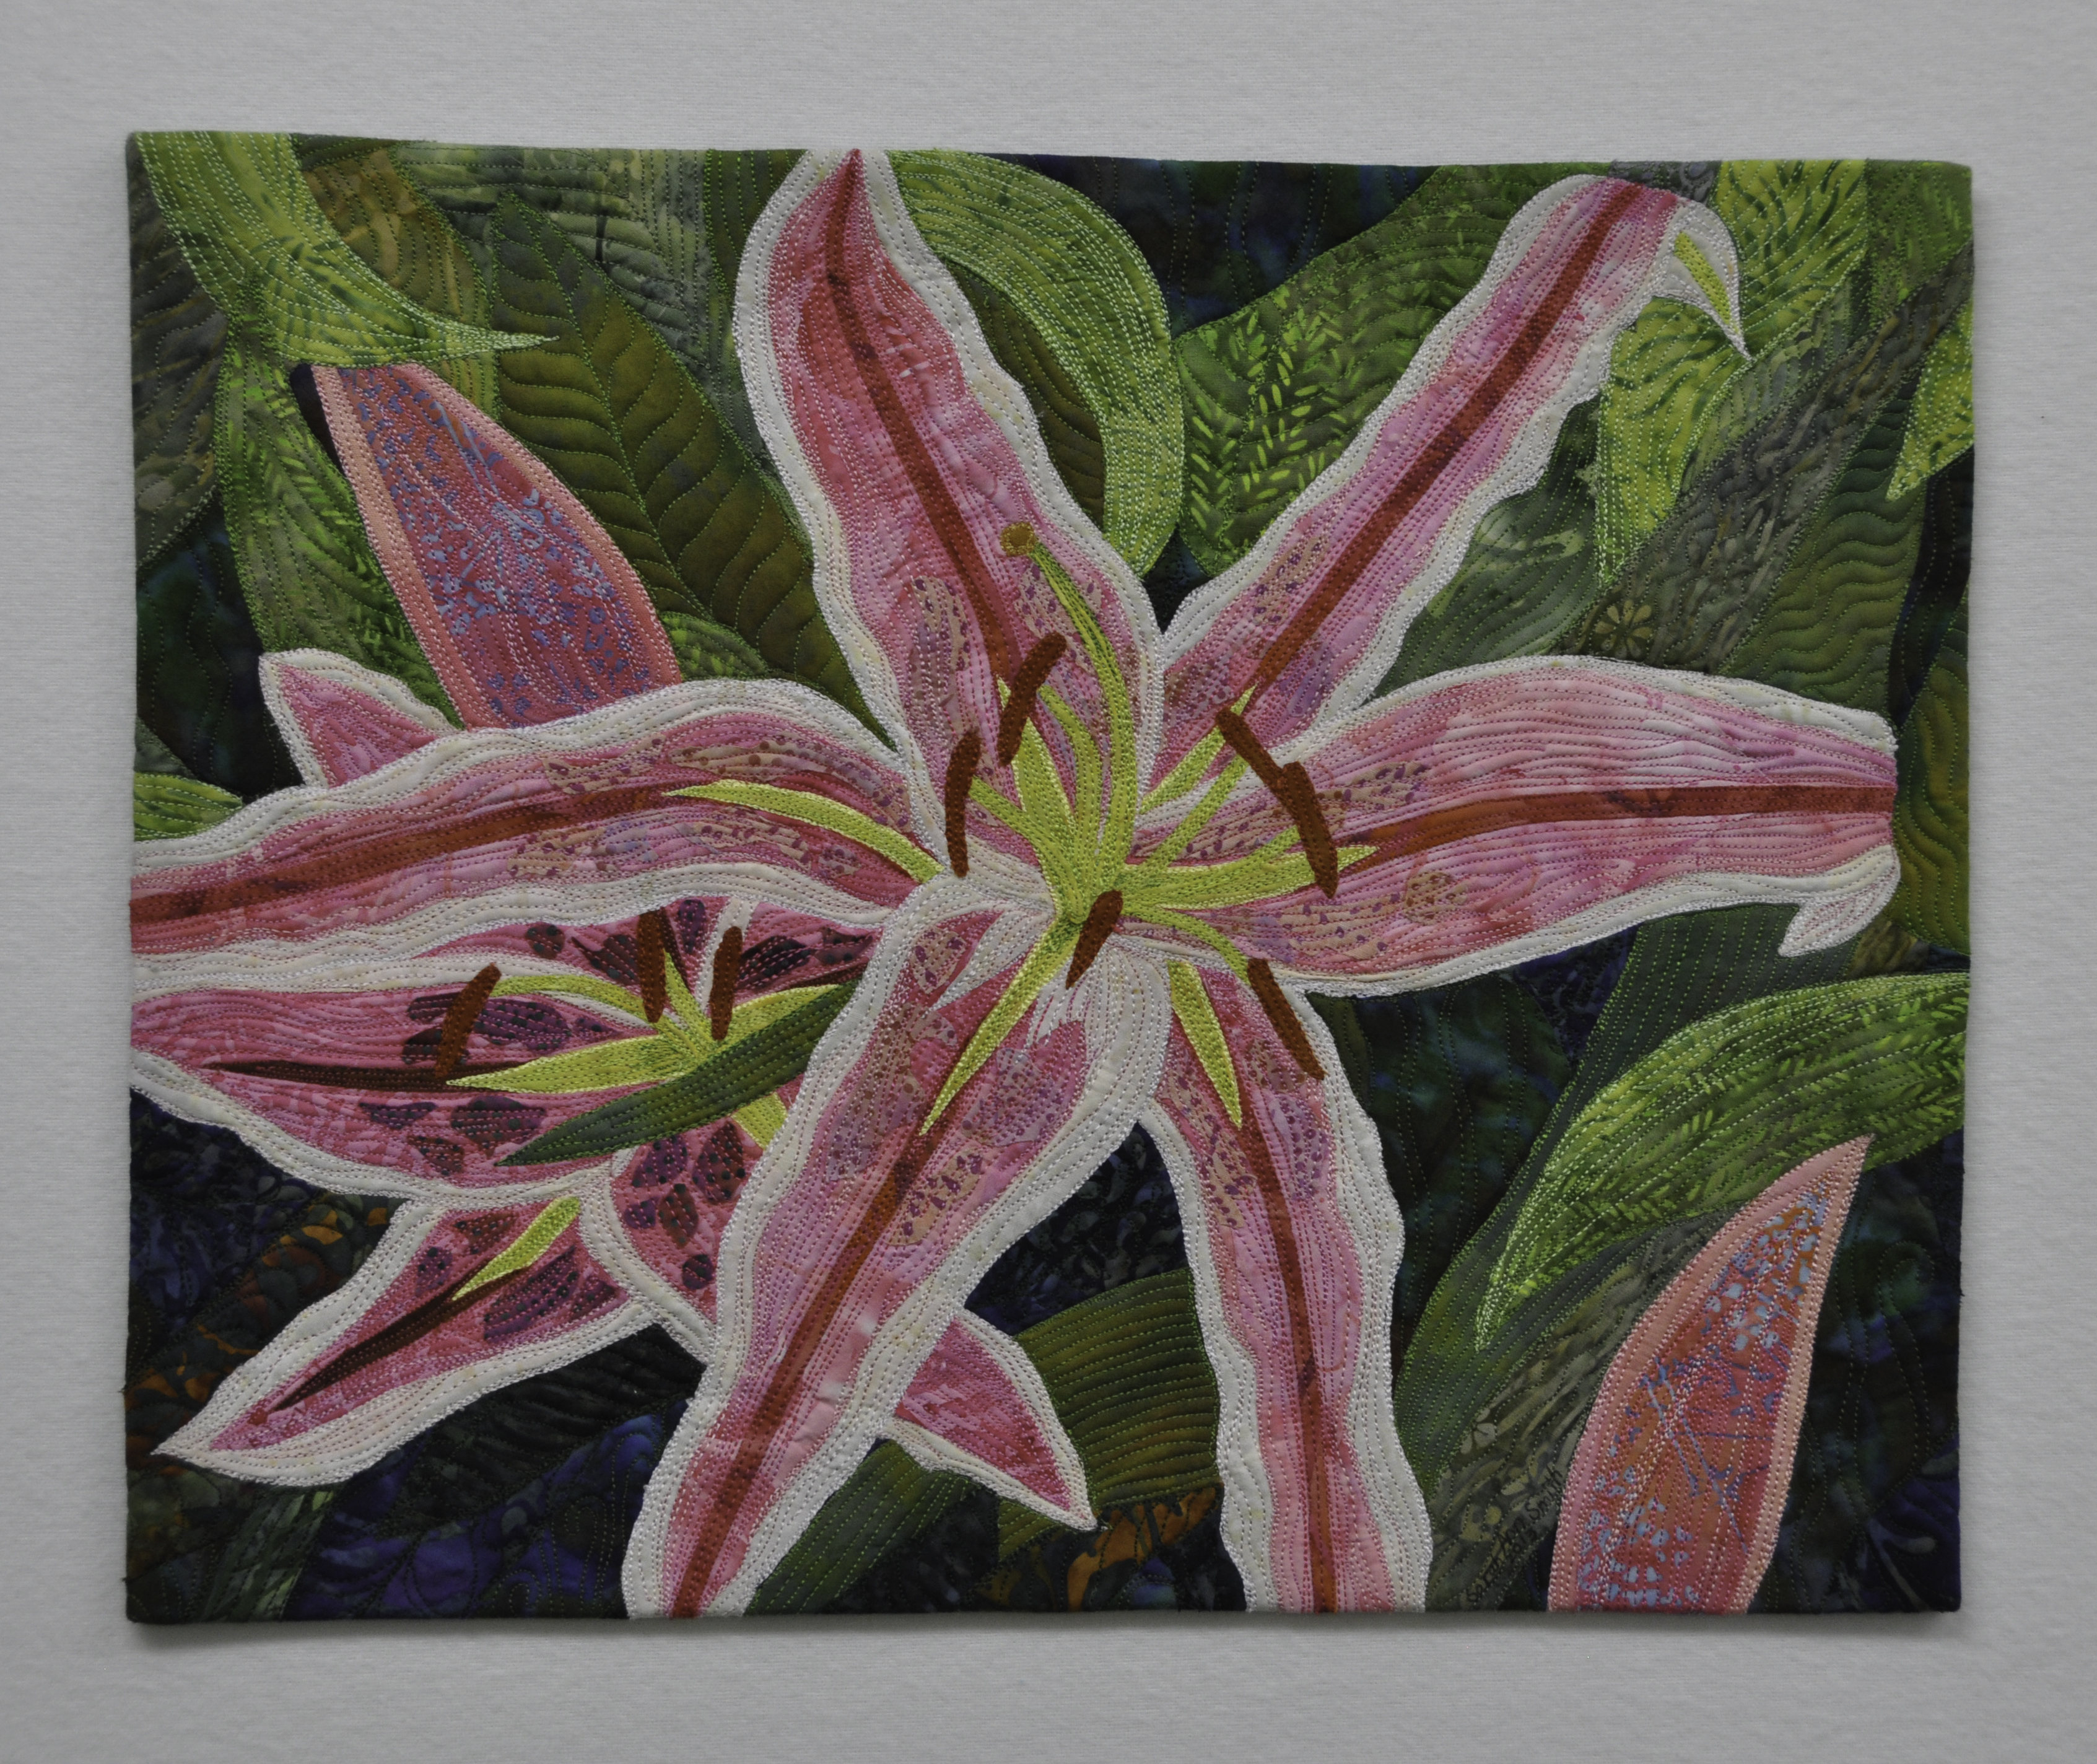
In Miniature art quilts, you’ll find my Pink Lilies (if anyone takes a photo of it…of the entire ‘neighborhood’ not just the quilt, please do share!):

SASmith.PinkLilies.Full-0842 copy

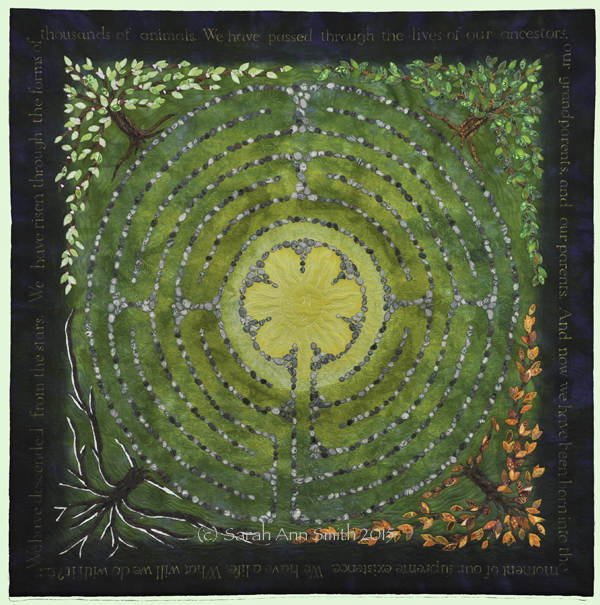
In Dinner@8’s Affinity exhibit, is Descended from the Stars, my most recent major piece:

(c)Sarah Ann Smith 2015; quote (c) Mirza Khan, used with permission

(c)Sarah Ann Smith 2015; quote (c) Mirza Khan, used with permission


And, SOB, I STILL can’t share a photo of my Snowy Owl quilt for Acadia National Park in the National Parks exhibit.  I’m so sorry about that!   The book won’t be out until next spring and even though the exhibit is on display (with no photographs allowed signage) we’ve still been asked to NOT share pictures.  I’m so sorry–but it is 20×20 and mostly white (as befits a snowy owl in winter).   But here is the photo I took on Clarry Hill ridge in Union that was my main reference photo:

P1030533cropI so miss being in Houston…. enjoy it all of you who are there!  I’ll see you next year!

Janome’s new Skyline S7 Sewing Machine

October 26th, 2015

Janome never ceases to amaze me with the quality of its machines.  The Janome Skyline S7 is a more modestly priced machine than what I have used for the past decade, but it has features straight from the top of the line 15000 (click on the link to open a new tab to Janome’s page with all the features).   If your budget or preferences don’t run to expensive machines, this machine may have all the versatility and dependability that you need with the right sticker price.  I am, quite bluntly, surprised and pleased at the wide array of features and outstanding performance of the S7.

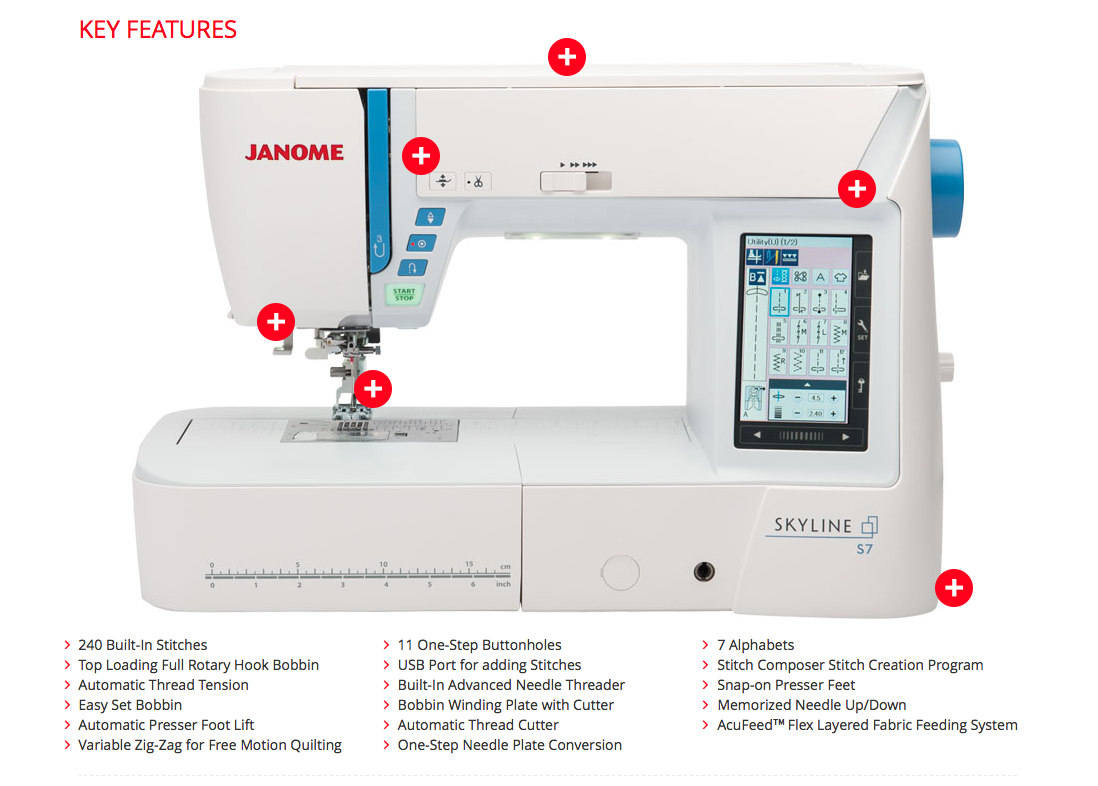
Here’s the nice photo of the S7 from Janome’s site (NOTE:  photos are mostly clickable to view larger):

A screen capture from the Janome America website. To link to the site, go here.

A screen capture from the Janome America website. To link to the site, go S7 and scroll down.

Also from the Janome site, the included parts. Pretty much everything you need for routine sewing.

Also from the Janome site, the included parts. Pretty much everything you need for routine sewing.

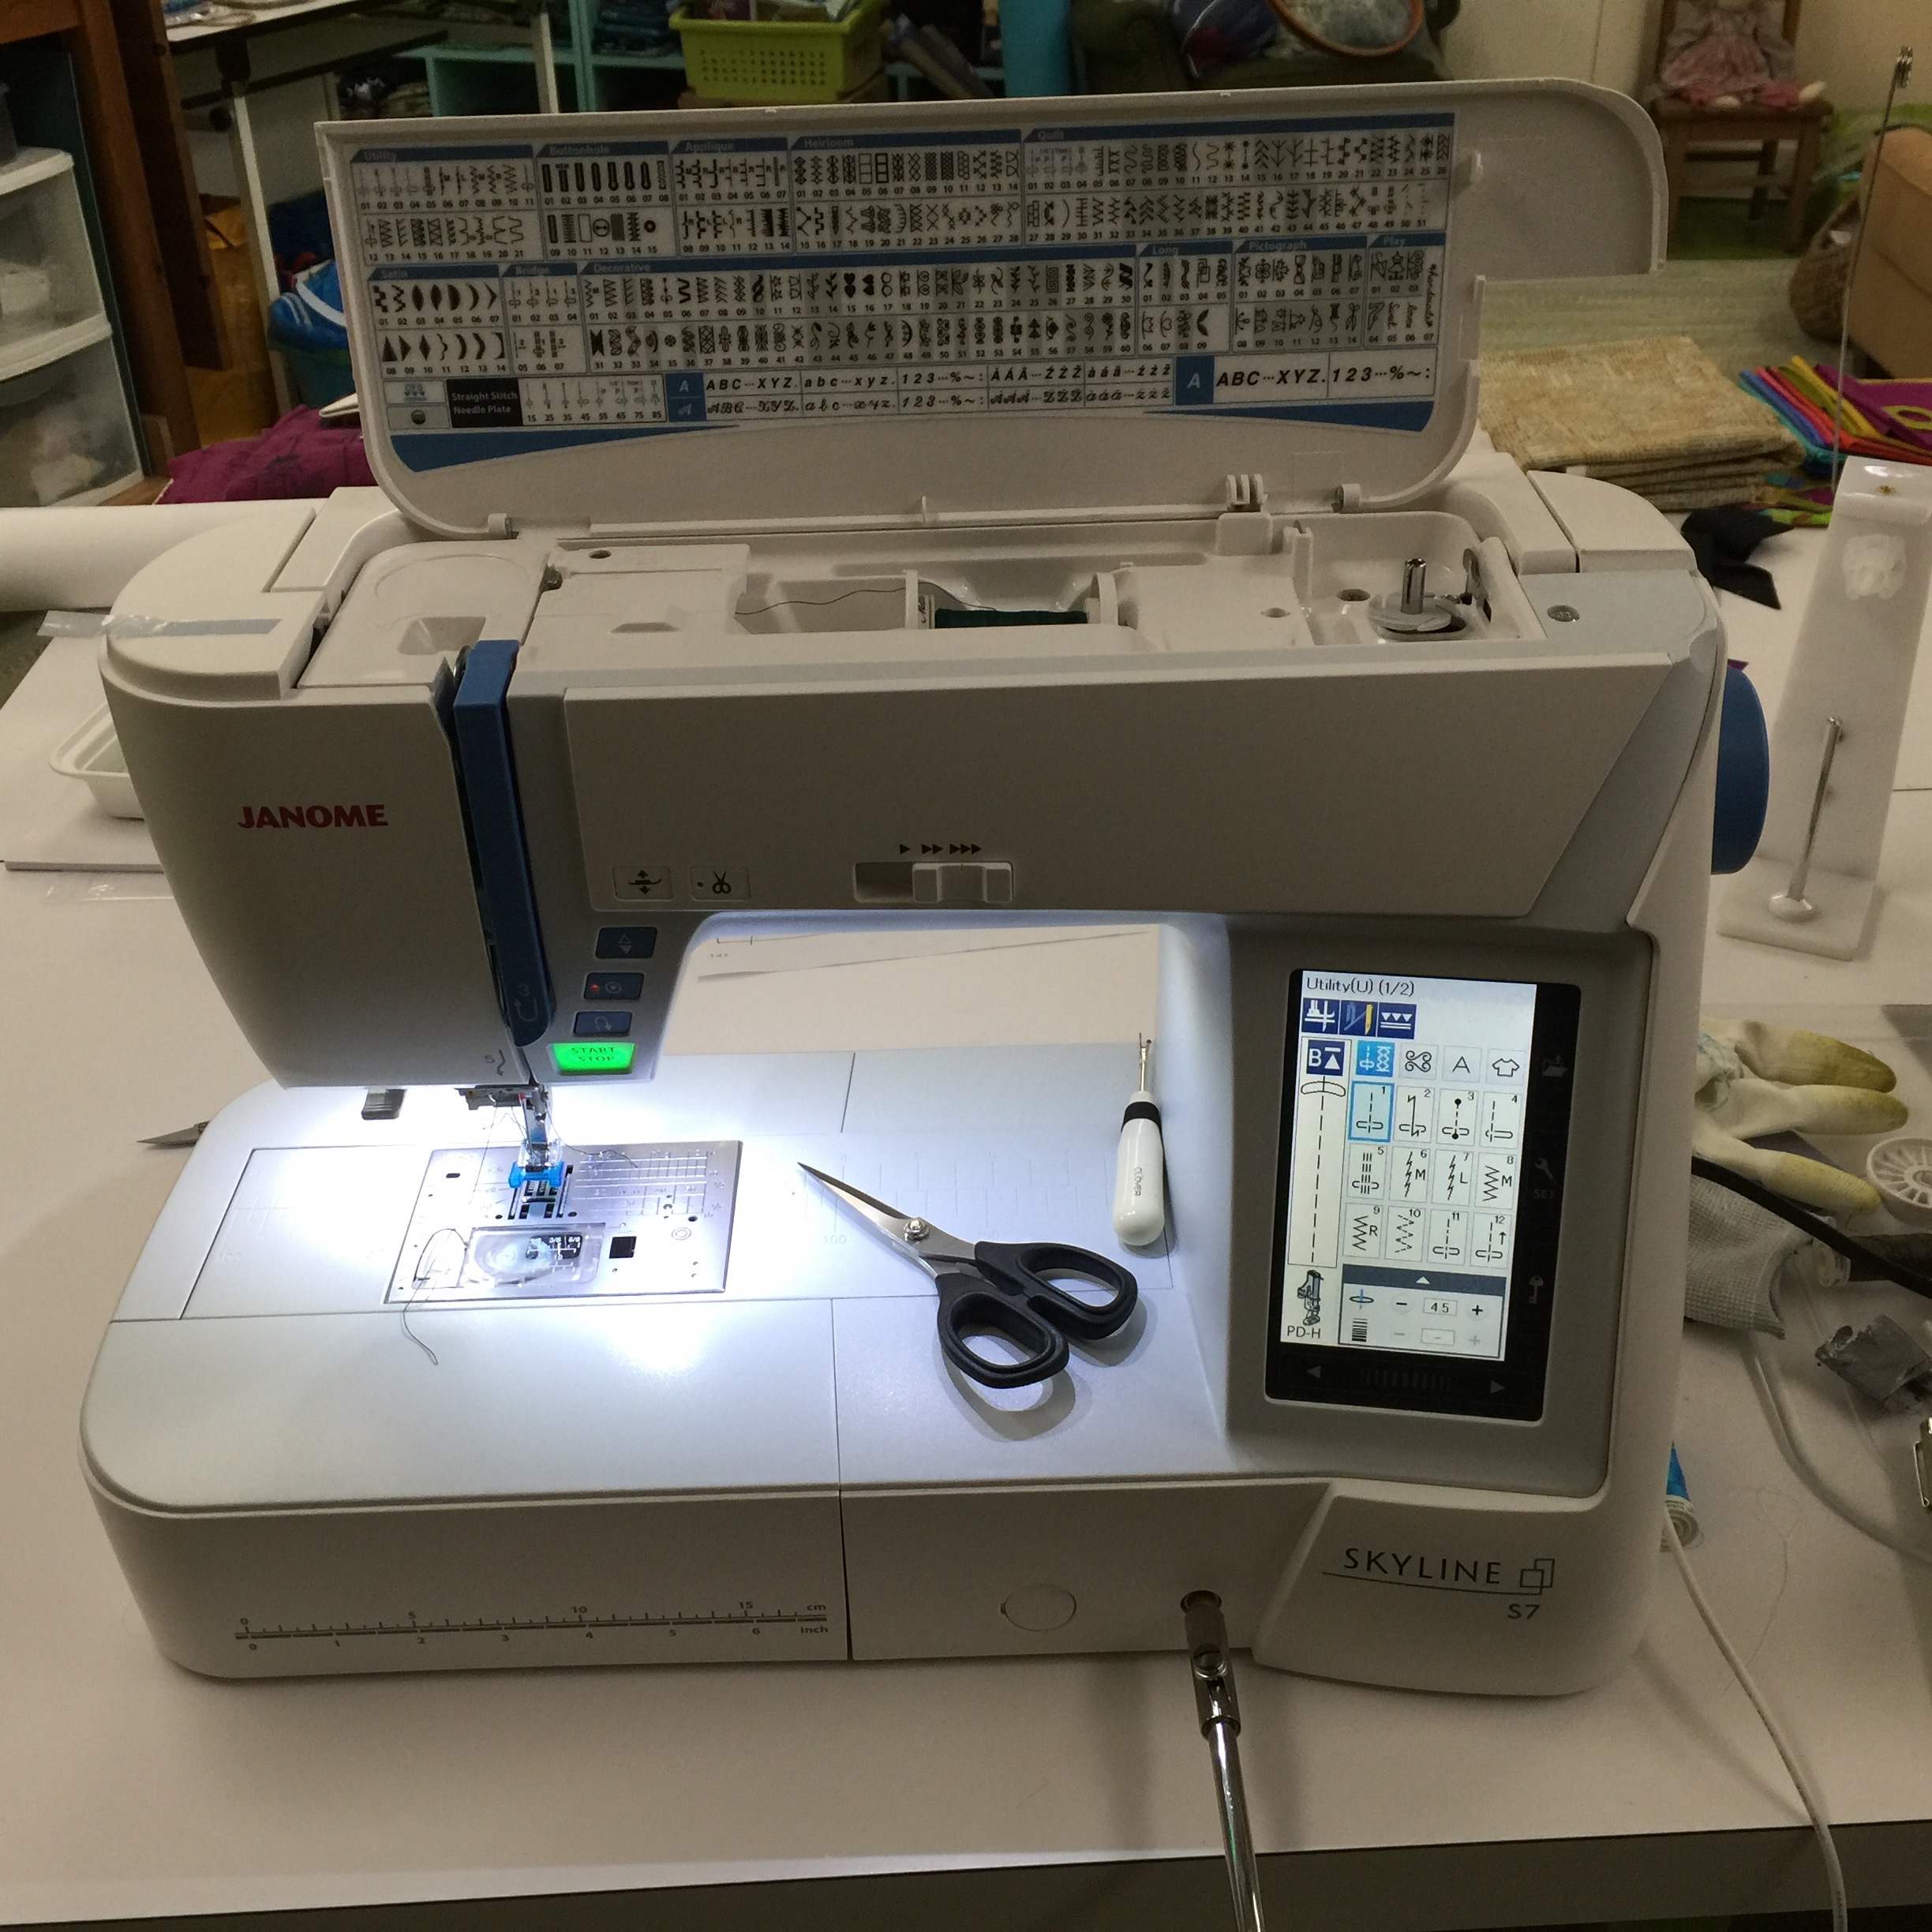
And much less fancy shot of the S7 in my studio:

The Janome Skyline S7 in my studio.

The Janome Skyline S7 in my studio.  Notice the wonderful knee-lift in place!

I prepared a variety of projects to work on during my brief loan period for the Skyline S7, which Janome introduced/debuted at Janome Institute late this August and is now arriving at Janome dealers.   I had piecing for quilting, mending and repairs, sewing a new top, free-motion quilting, and decorative stitching.  The machine handled every task like a champ.  Here’s a teaser…keep reading to find out more about this block:

IMG_6042

For free instructions on how to use the built-in stitches to create this block, see below. This block will work with Janome’s ongoing 100 blocks in 50 days project; read more about the 100-Blocks Janome 100 Blocks.

Now…back to the regular review (I just wanted to tuck the pretty block up top!)

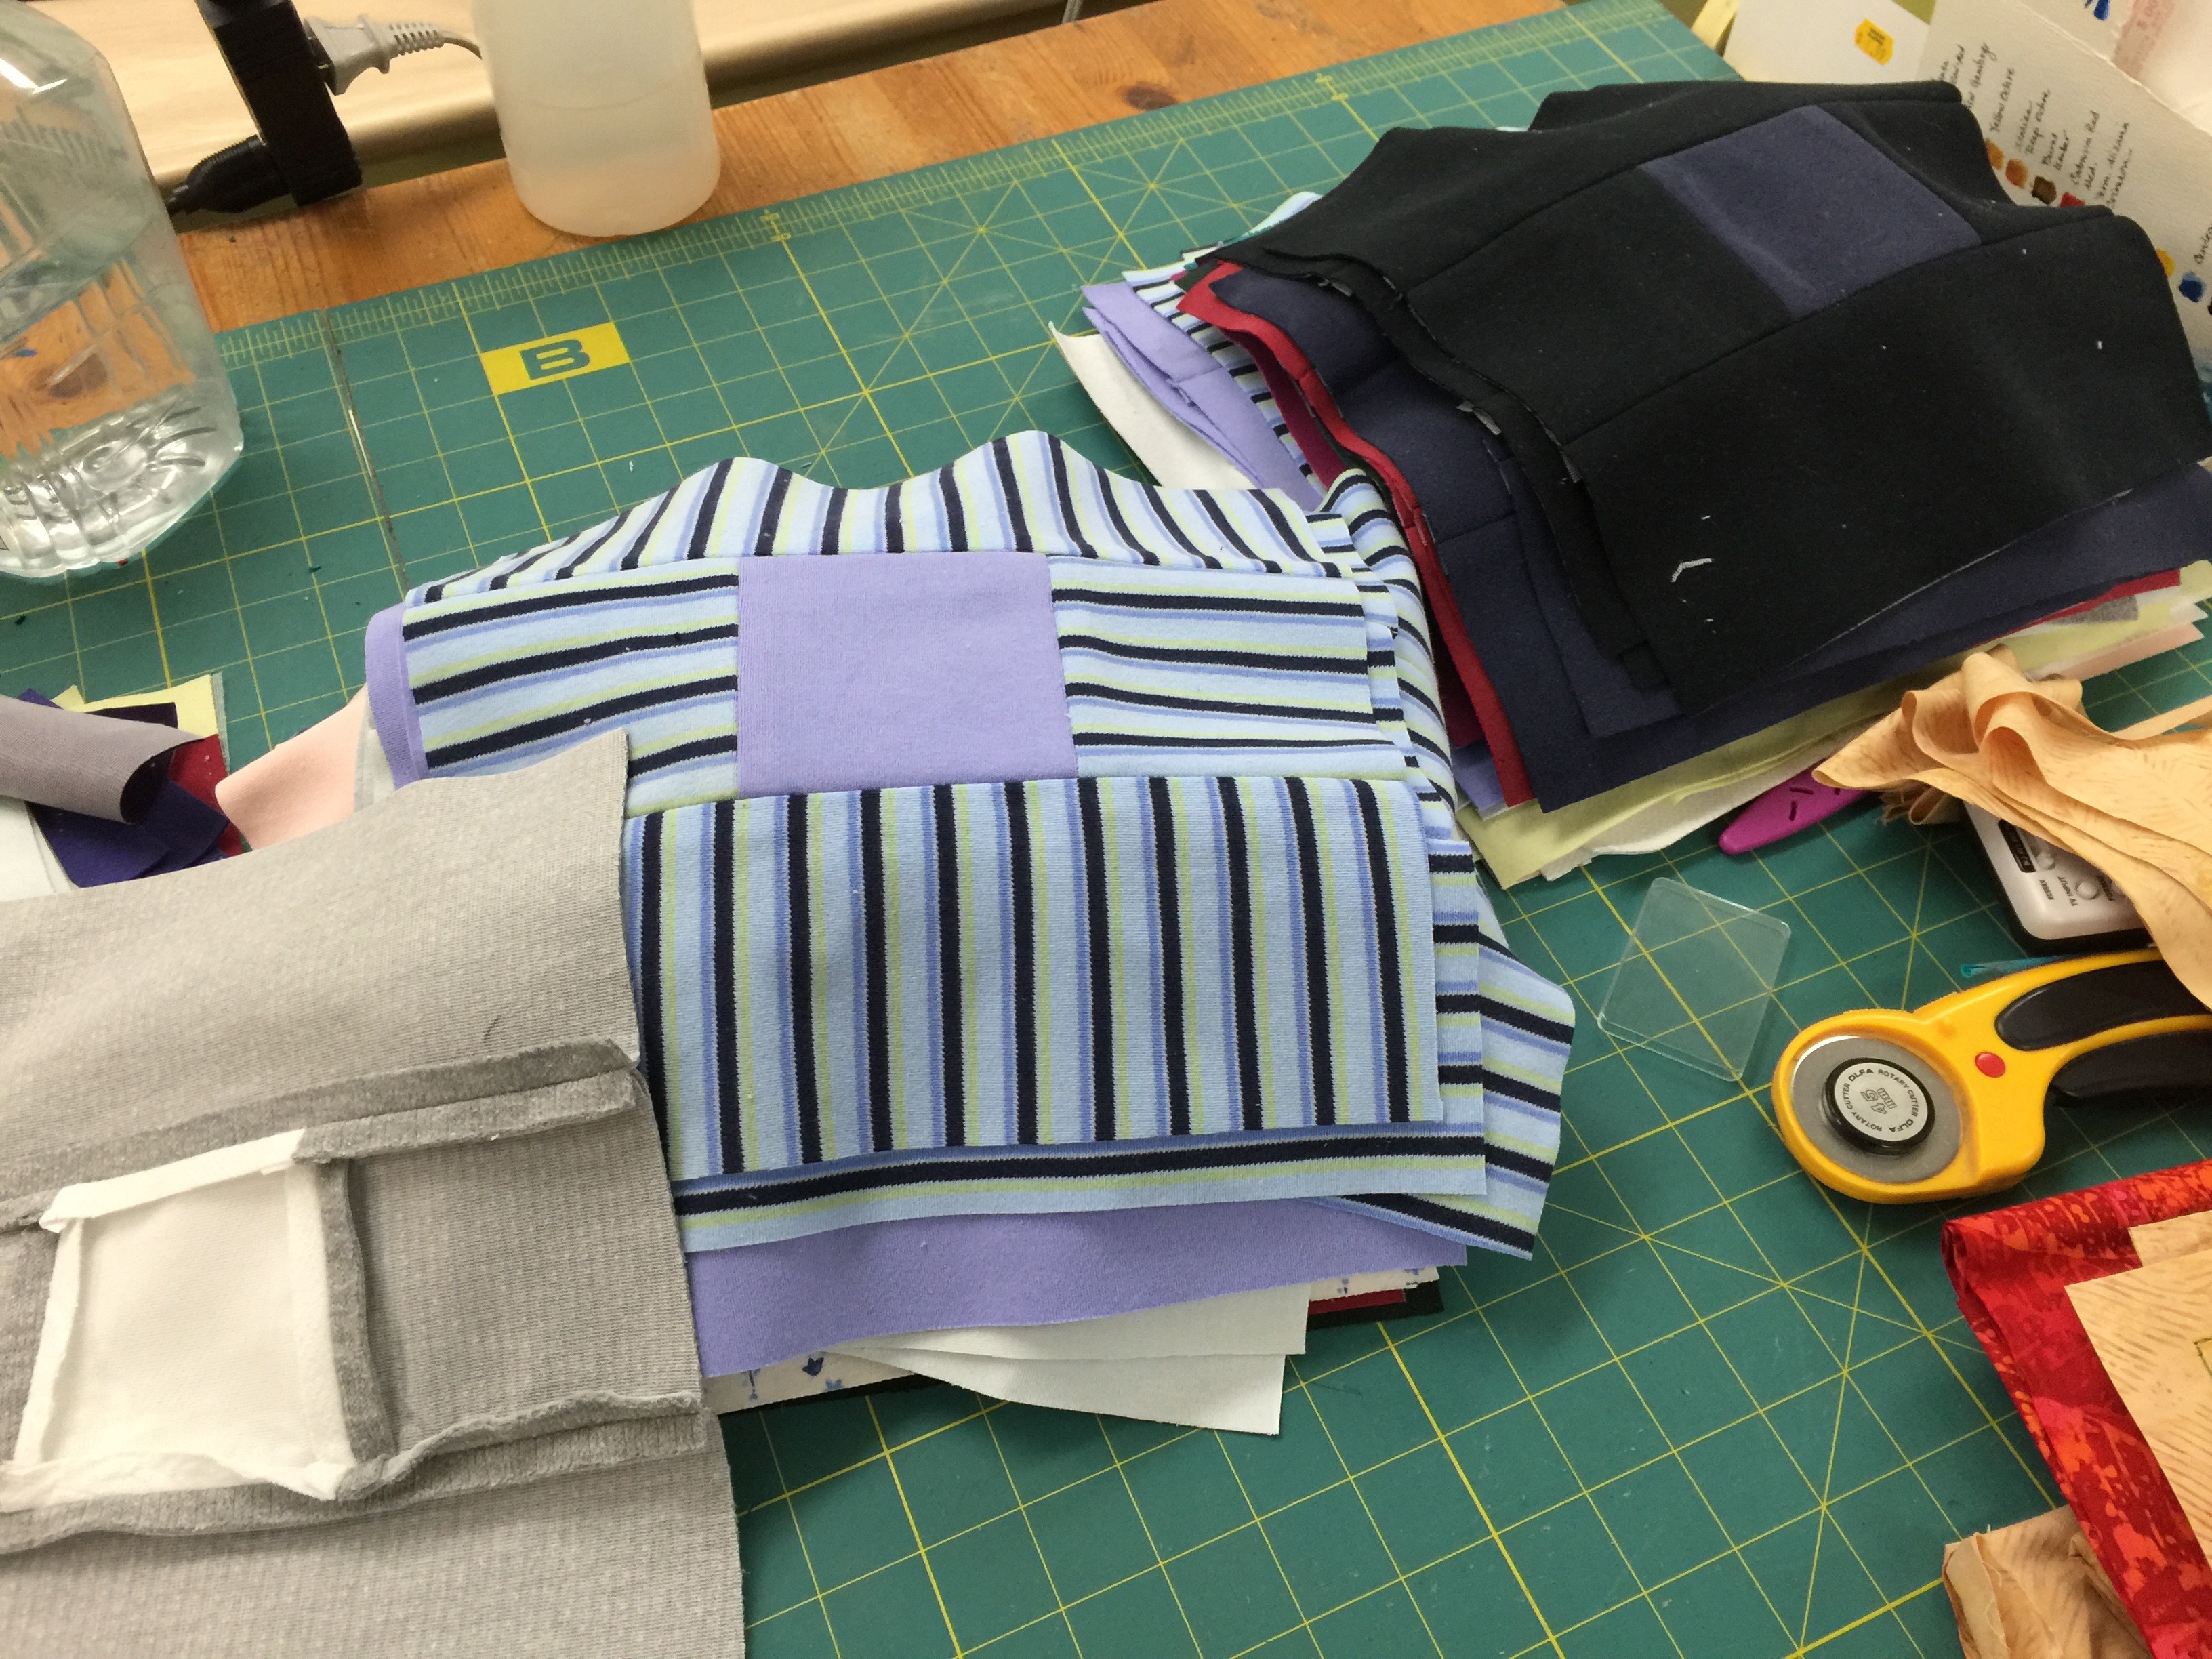
I've been piecing some blocks (who me?): made of turtleneck shirts. Eek! I had to stabilize all of them with interfacing (gray one in lower left corner). As expected, the machine breezed through without nary a burp.

I’ve been piecing some blocks (who me?): made of turtleneck shirts. Eek! I had to stabilize all of them with interfacing (gray one in lower left corner). As expected, the machine breezed through without nary a burp.  Because of the thickness of the fabric, I did find using a leader/ender so the stretchy fabric didn’t get pushed into the opening was a good thing.  Of course, I could have (and should have) used the straight stitch plate instead!

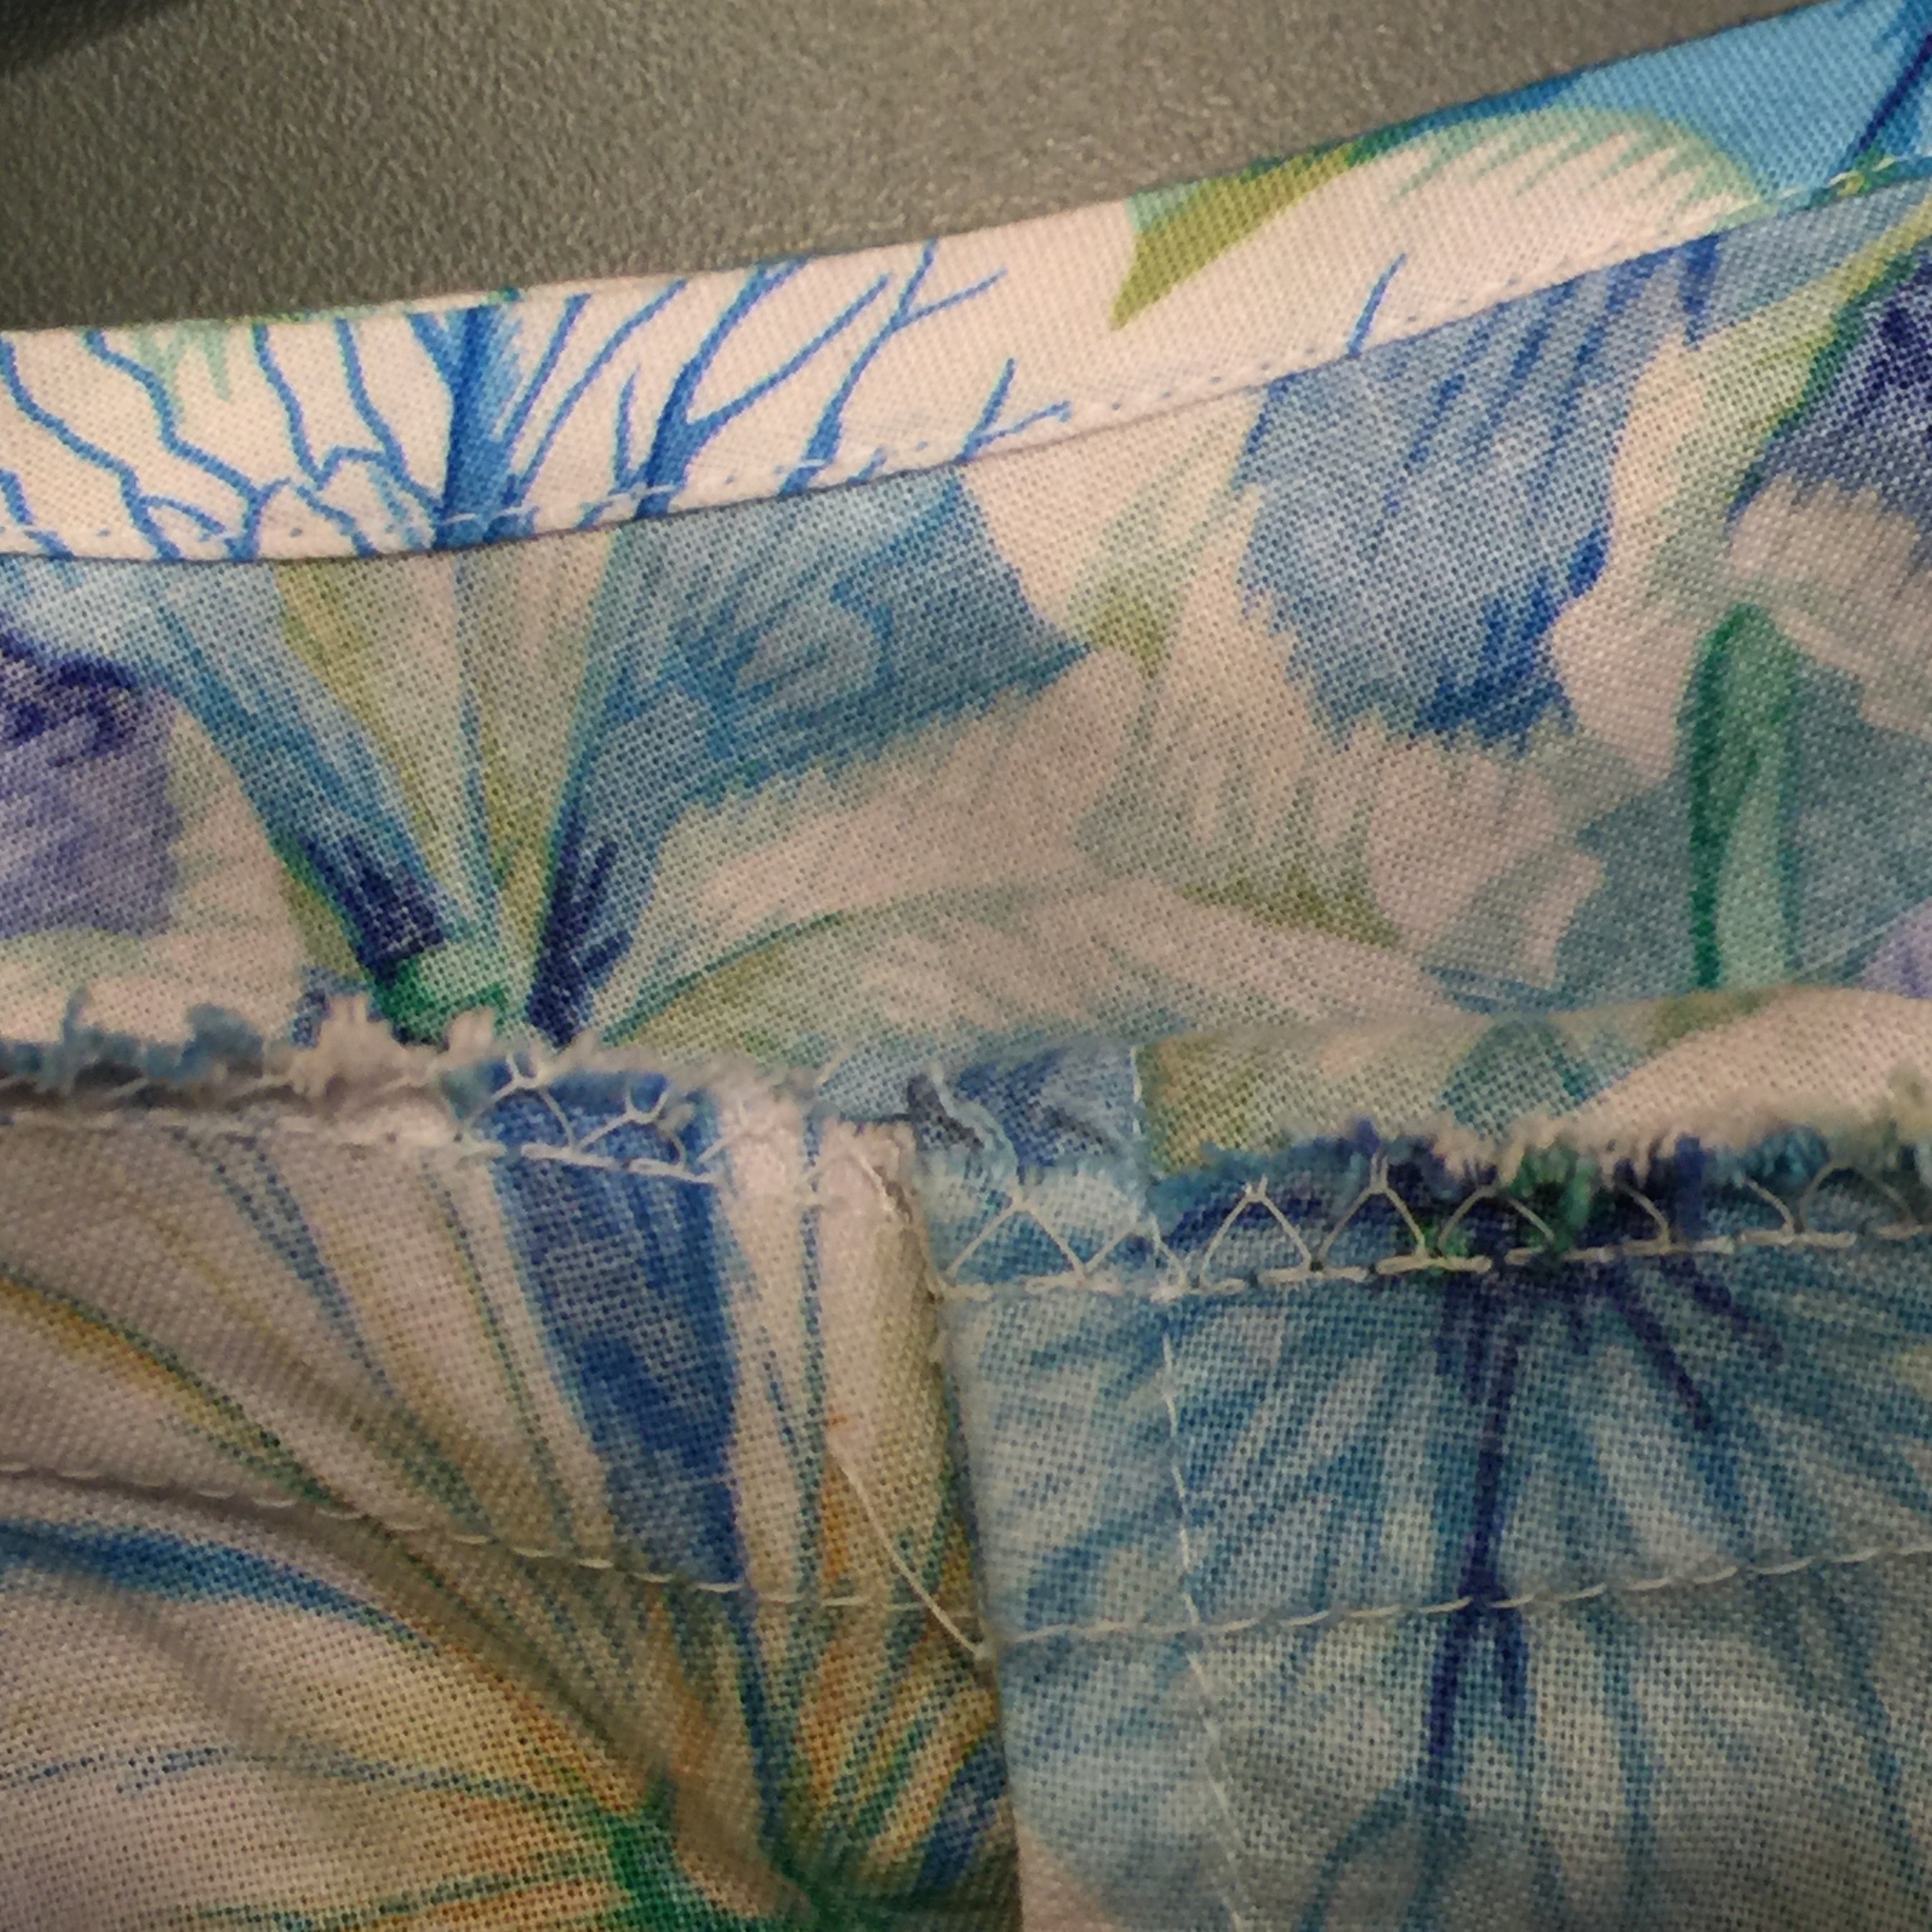
I had a tunic top cut out to make on this machine (see blogpost here or just scroll down two posts–and take a look at the review of the Janome15000 App while on your way).  I like a nice, clean finish.  So I used French seams (center vertical), overcast (using one of the utility stitches), and a bias edge as you can see in the next photo.

Seam finishes in my tunic: bias facing, on the top, overcast edge at the armscye (set in sleeve seam) and French seam (enclosed raw edges) on the side seam.

Seam finishes in my tunic: bias facing, on the top, overcast edge at the armscye (set in sleeve seam) and French seam (enclosed raw edges) on the side seam.

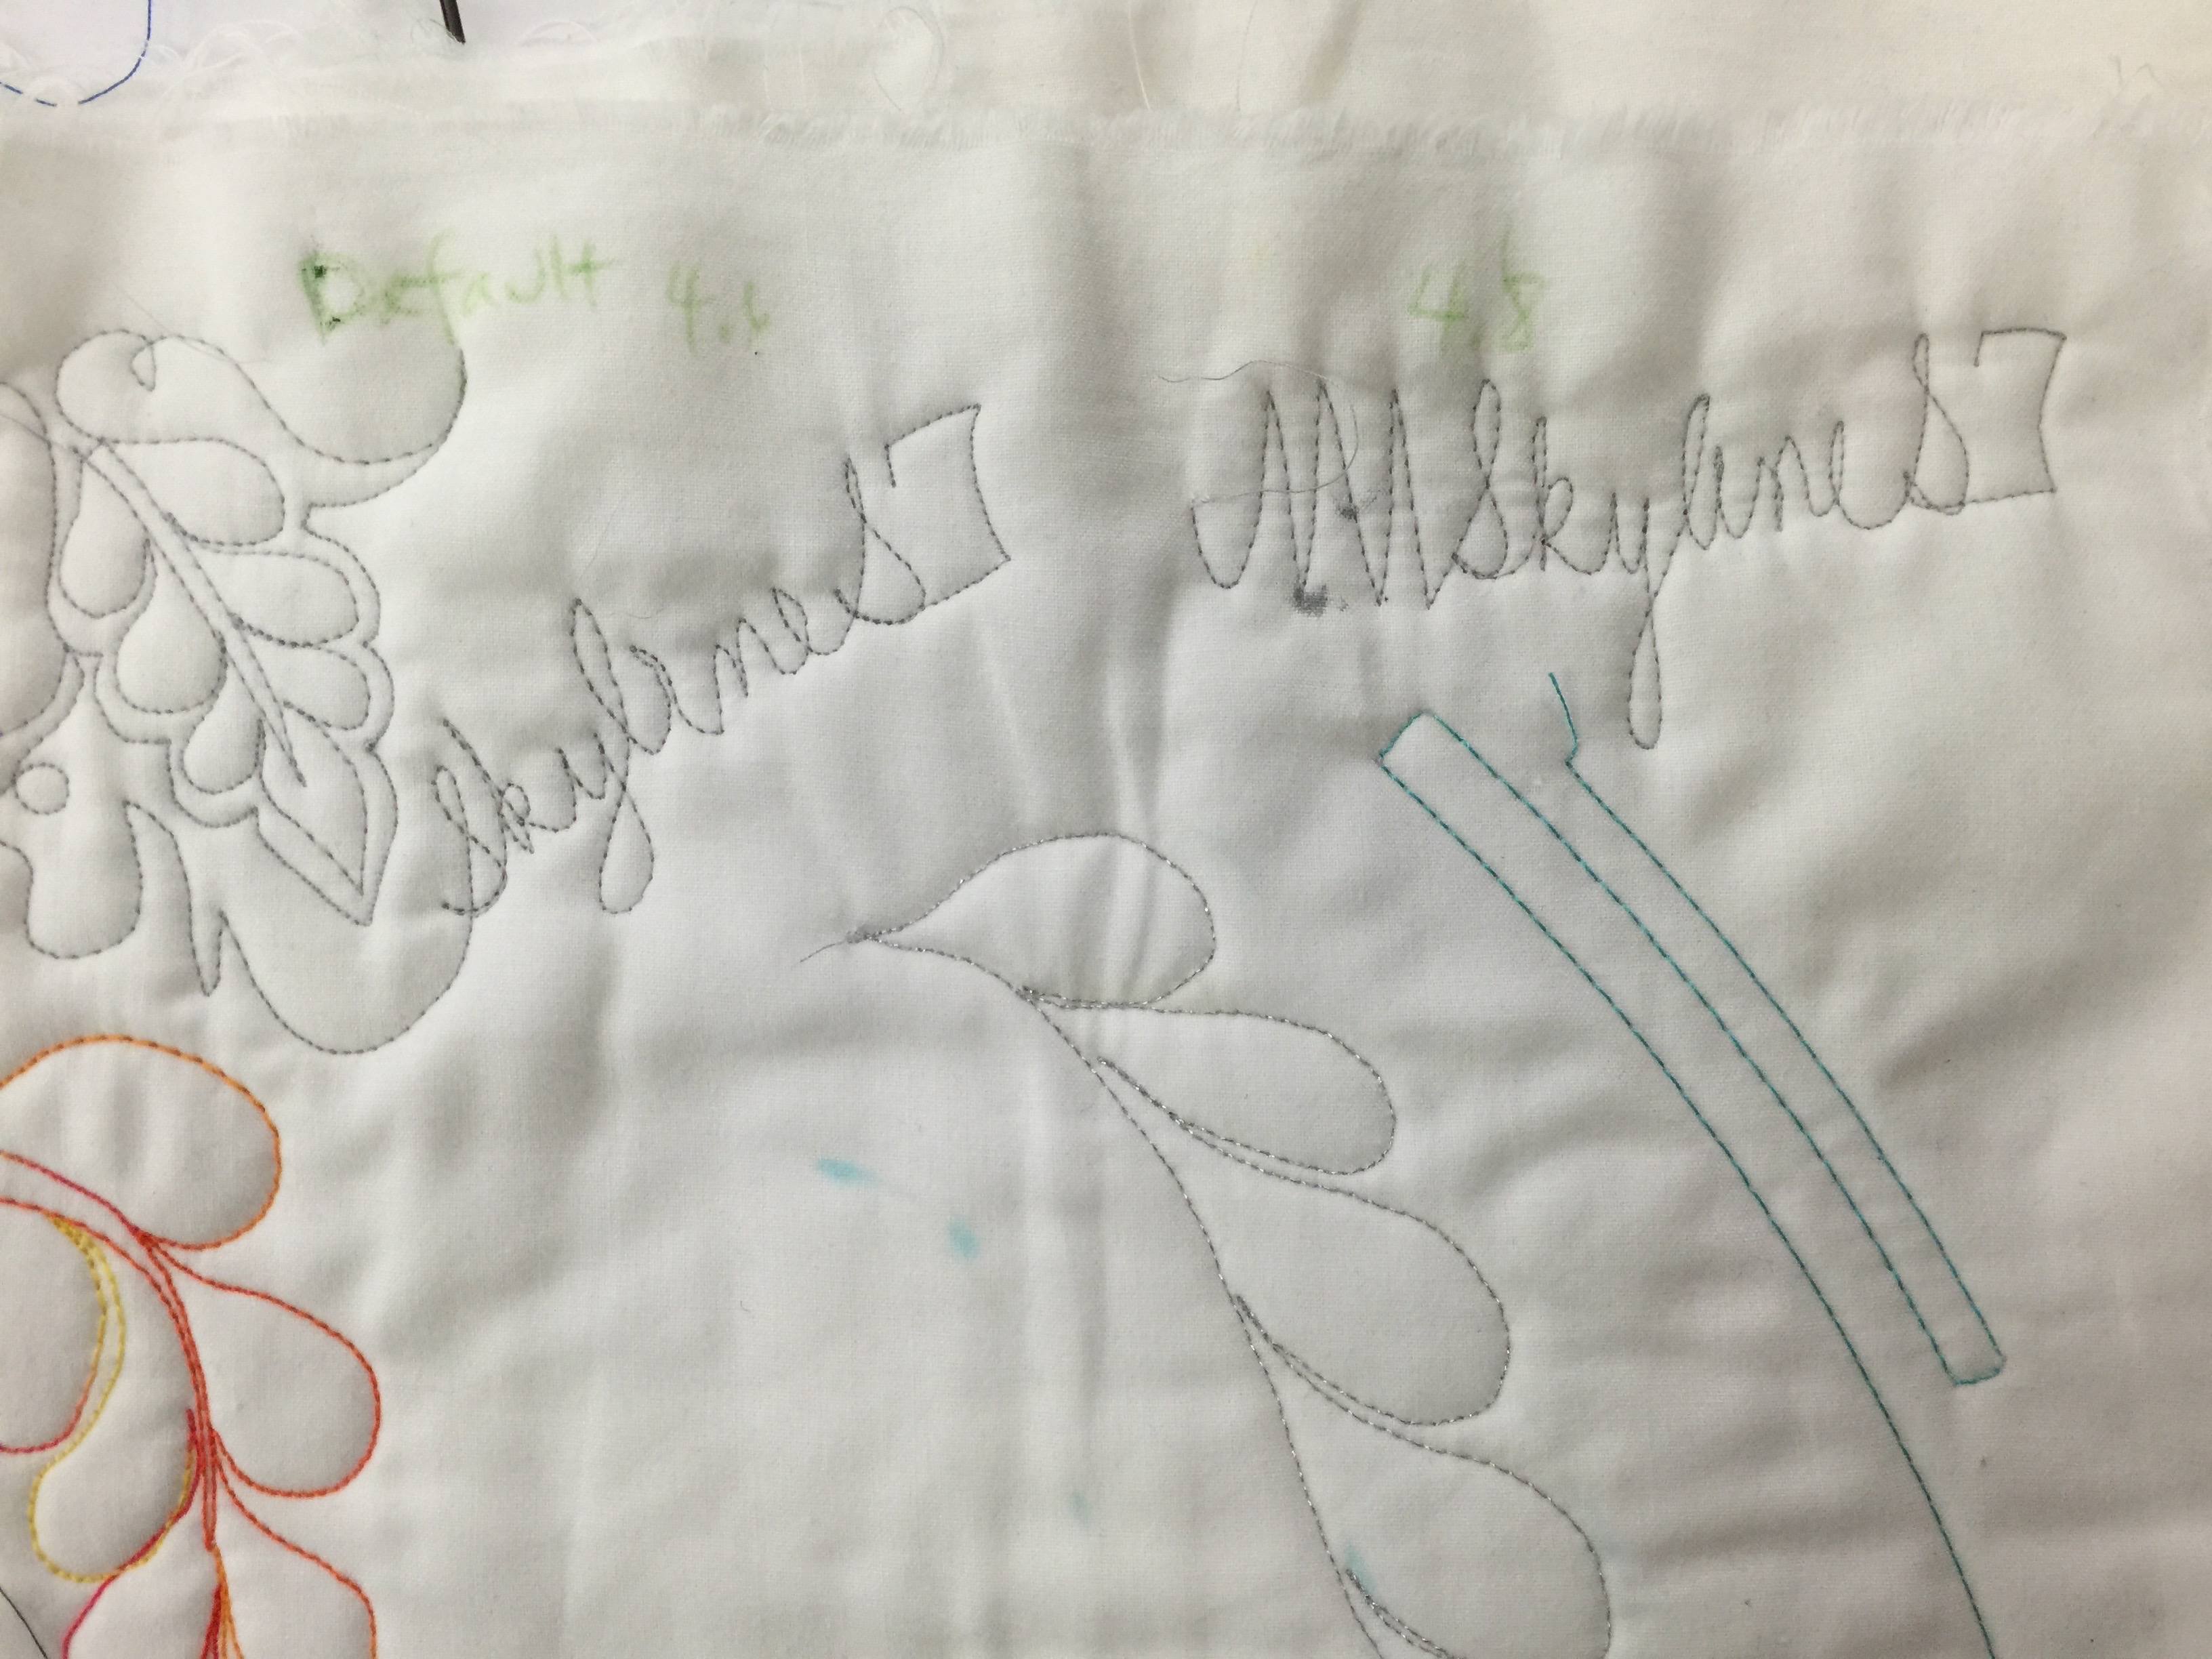
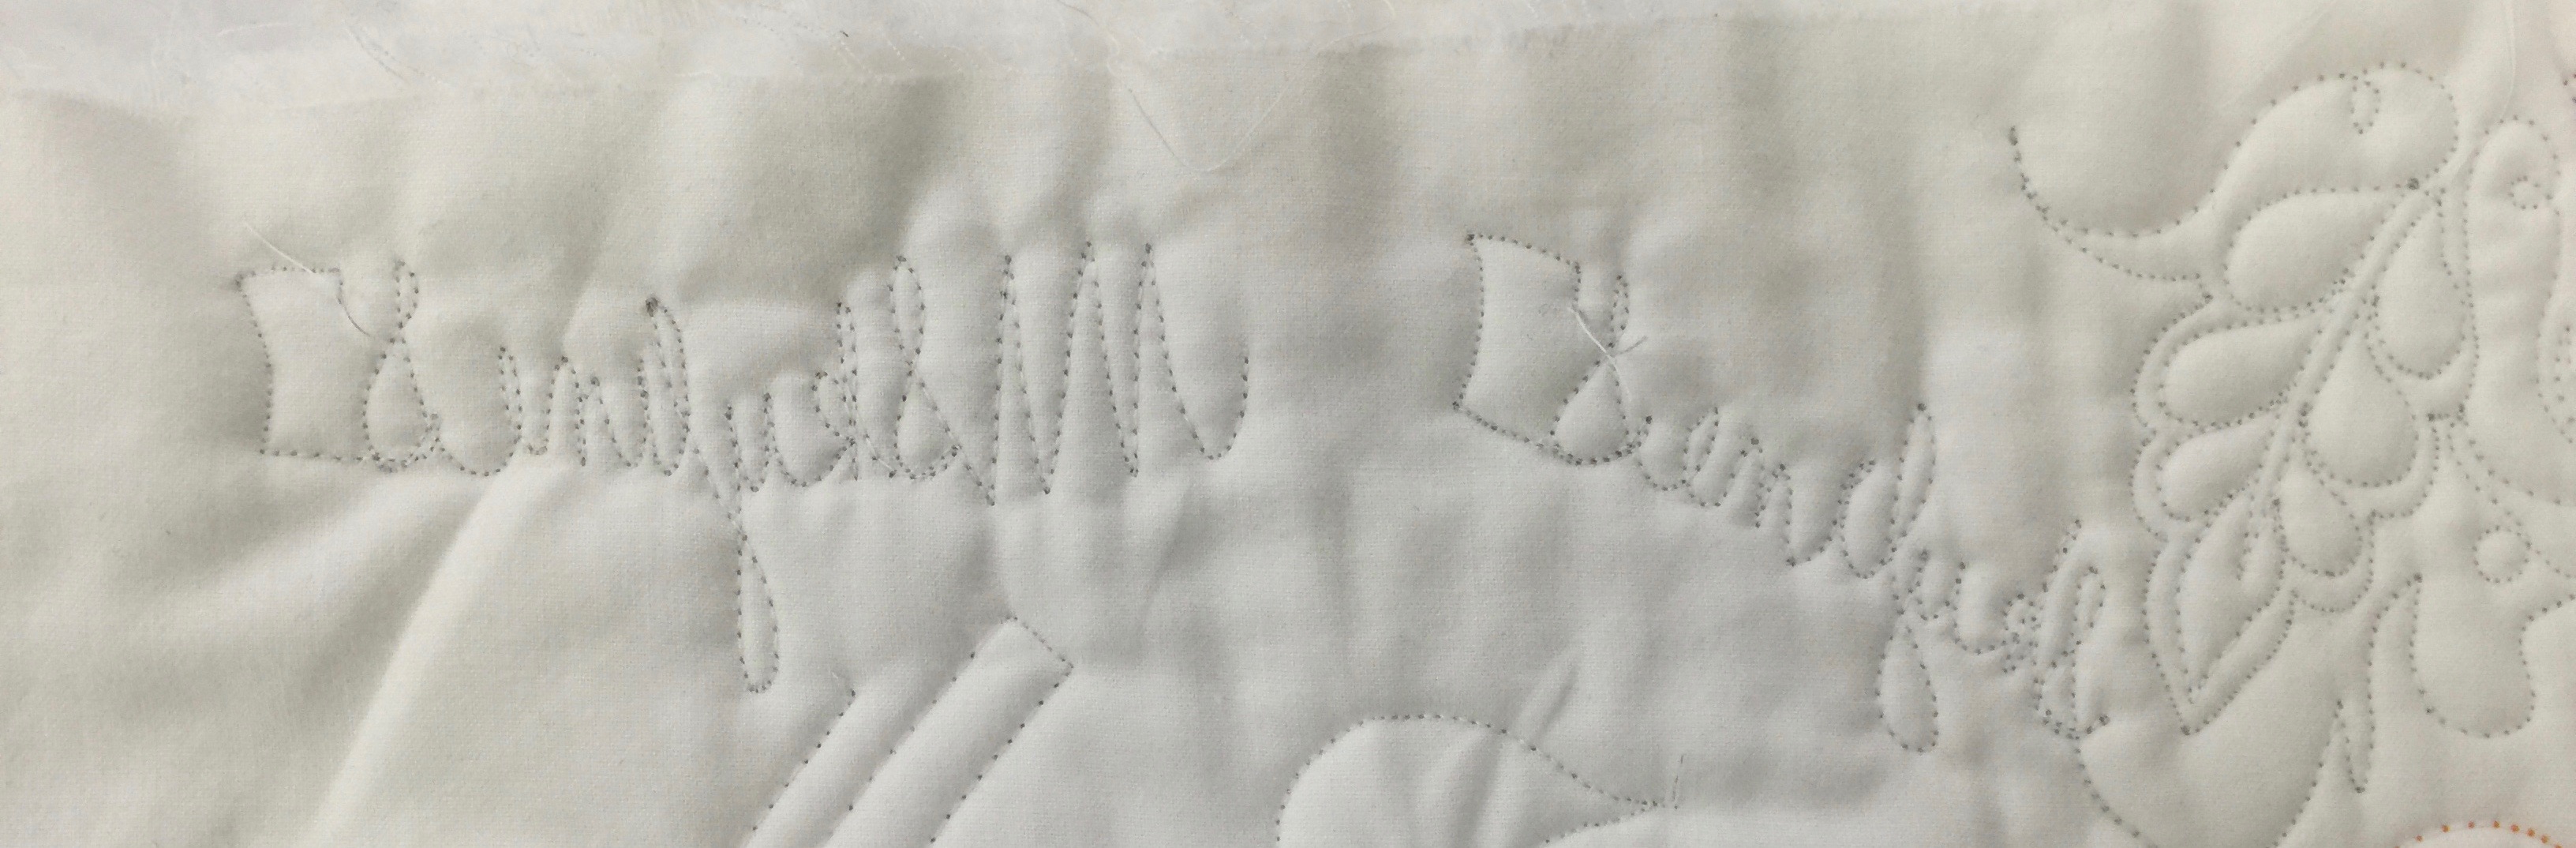
I did a quick free-motion quilting practice using the open toe foot skimming foot.  The default setting with my preferred threads, a 40-wt shiny poly in the needle and a 60-wt fine poly in the bobbin, wasn’t quite perfectly balanced for that thread combination, so I adjusted the balance by one notch and it looks excellent.  This is a common adjustment when using threads that are not identical.  Why do I use a thinner thread in the bobbin?  For art quilts, durability for wear and washing isn’t an issue.  And with the density of my stitching, the finer bobbin thread means less thread-build up, not as stiff, and more miles of thread to the bobbin!  ALWAYS test a potential new machine with the fabrics, batting and thread combinations that are your favorites–not whatever the sewing machine store has on hand!

Test free-motion stitching on the S7.

Test free-motion stitching on the S7.  You can see my note that says “Default 4.6” and “4.8.”  After looking at the back having stitched the first feather and name, I decided I wanted to have the balance adjusted slightly.  I always test for stitch balance with two contrasting colors so I can see what is happening.

Reverse of FMQ.

Reverse of FMQ.  The stitching on the right is the default setting.  I was seeing a TINY bit too much of the needle thread on the back, so I loosened the top tension one notch.  The second stitch out, on the left in the photo above, is better.  The tiny bit of dark you see is the shadow inside the needle hole.  A bit of moisture/steam or just time will close up those needle holes.  (Click for larger view)

The drawbacks to the S7 were VERY few and minor:  the harp, the space between the needle and the housing on the right, is that of a standard sewing machine.  I’ve been sewing on the machines with a longer harp area for a decade now.   However, I have also quilted a king-sized quilt (carefully) on a machine with a smaller harp than this one.   If you want to quilt king-sized quilts at home you might want to consider a longer harp, otherwise, you’ll be fine with this machine.  Also, the machine does not come with an extension table included.  These are minor quibbles:  this is a great machine for someone doing garment and home dec work, and for someone who is newer to quilting and doesn’t want to spend the bigger bucks for the larger machine.

Note:  one commenter told me “a regular sewing machine has a harp area of 6″-7″ and the S7 has a harp area of 8.25″ That makes it even more of a real winner (I hope you correct this on your S7 evaluation.)”   OK, I don’t have a measuring tape or the time to check this out (plus the machine is back at Janome), but let’s just go with “the harp area is smaller rather than larger.”  You can still quilt on it!  <grin!>

Janome makes a “Quilting Kit” to go with it that includes an extension table and my most-favorite-in-the-world convertible free-motion quilting foot.   The Skyline quilting kit part number is (according my lovely Janome contact) 003863402005, and comes with an extension table, appliqué foot, clear view quilting foot, ditch quilting foot, open toe satin stitch foot and (drum roll please!) the convertible free motion quilting foot set that is my fave!

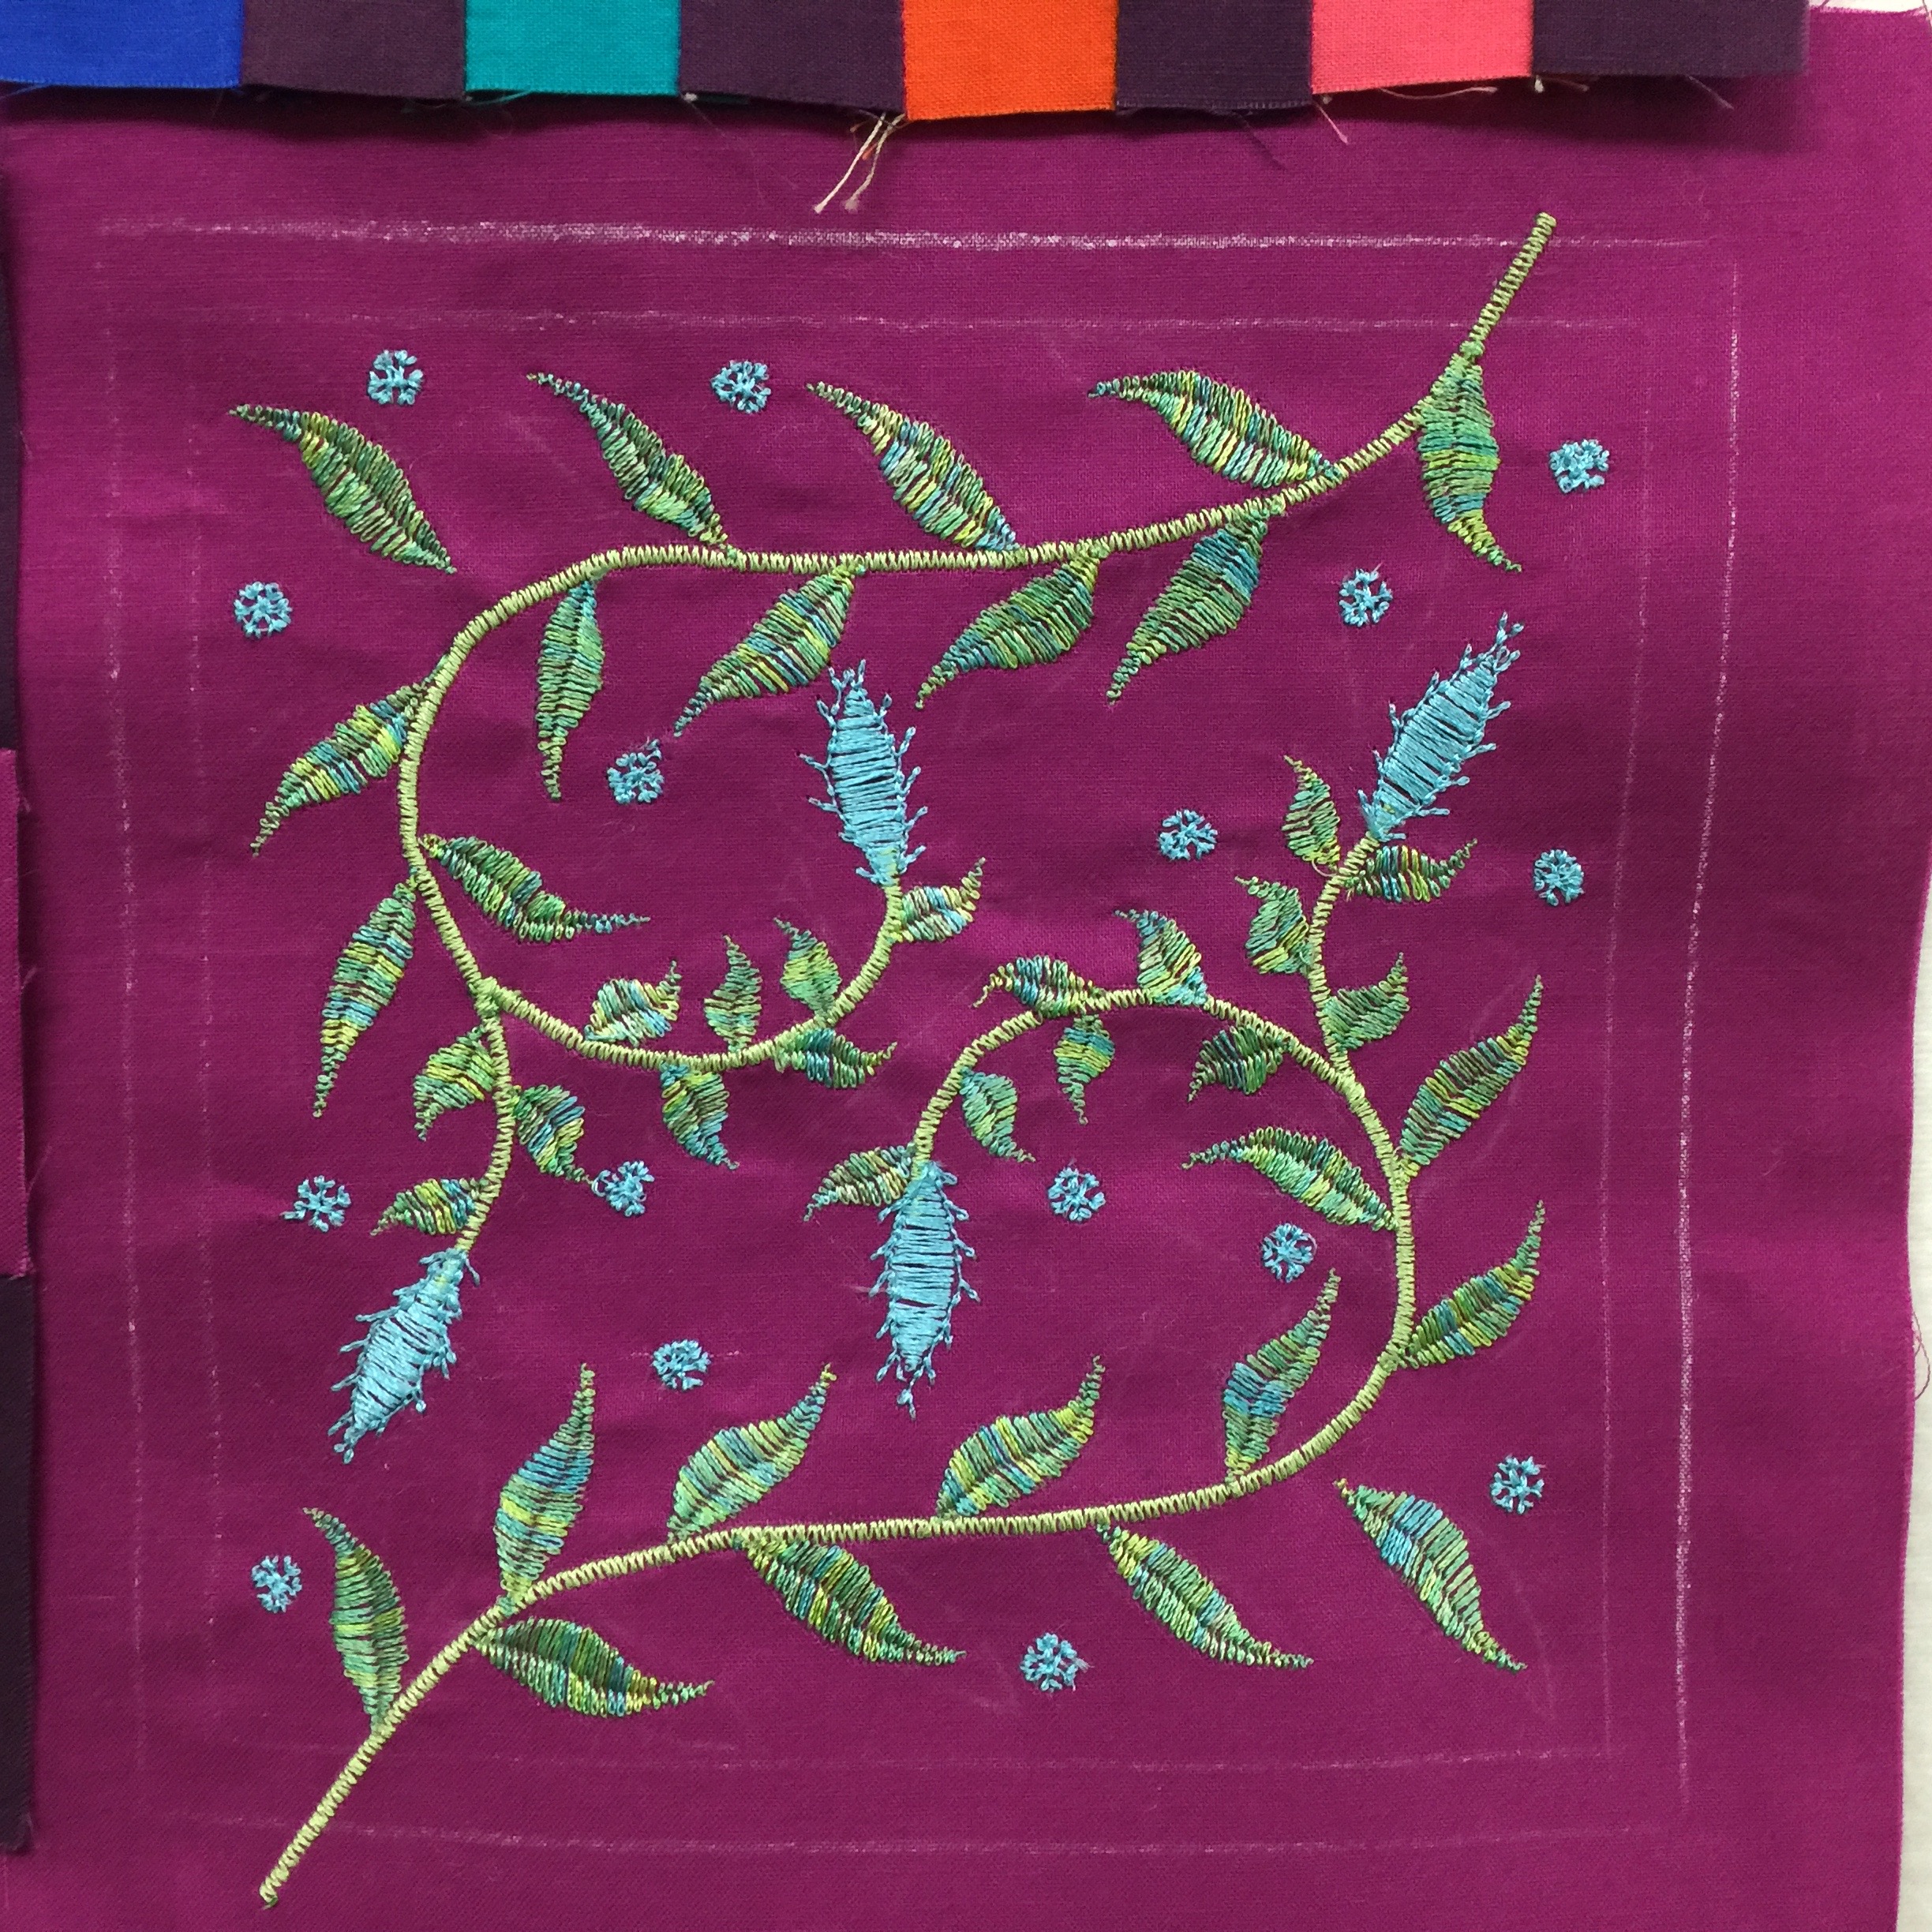
My final test was the decorative stitches.  I’ve been able to be a part of Janome’s 100 blocks in 50 days project (ongoing now, here).  I liked the Michael Miller Cotton Couture fabric SO MUCH (silky, soft, glorious) that I made extra blocks for myself, and designed this embroidered block to go with mine. Here is the PDF for my Janome Embroidered Block .  Basically, start with a 7 inch block and stabilizer suitable for the weight of your cloth; you want to cut large because stitching can shrink a block a bit.  Basically, cut it big and trim to exact size when done.  Use a satin stitch (a short length zigzag) to create two stems coming in from opposite corners of the block.  Use the Satin Stitch leaf (built in on the S7–similar stitches on other machines) and adjust the stitch length (doubled on some) following the instructions in the manual, width and stitch density (refer to the PDF) to stitch out the leaves using my block as a general guide for placement–you don’t have to be exact.   I outlined the leaves with an overcast stitch from the basic utility stitches menu.  Then use the snowflake stitch, reduced in size, to make the “dots” in the background.  When complete, trim to 6 1/2 inches to match your other “100 Blocks” project.

Notice that I chalk marked a 6 inch square and a 5 1/2 inch square inside it. I needed to know the edges of the finished block, and wanted to leave a bit of clearance around the design so none of the decorative stitching accidentally ended up in the seam allowance.

Notice that I chalk marked a 6 inch square and a 5 1/2 inch square inside it. I needed to know the edges of the finished block, and wanted to leave a bit of clearance around the design so none of the decorative stitching accidentally ended up in the seam allowance.

The Janome 15000 App by Jim and Diane Stutsman of Software Miracles

October 24th, 2015

The phrases life-saver, worth it’s weight in gold, a value at twice the price are what first come to mind:   The Janome 15000 app is simply amazing.  I have delayed blogging and reviewing it because I wanted to view ALL the videos first.  I came to realize there is simply so much content packed into this App that it would take eons for me to go through all of the videos, and I should simply go ahead and say:  if you are lucky enough to have the Janome 15000, unless you are an expert like Jim and Diane Stutsman, BUY THIS App!!!!!


IMG_6044

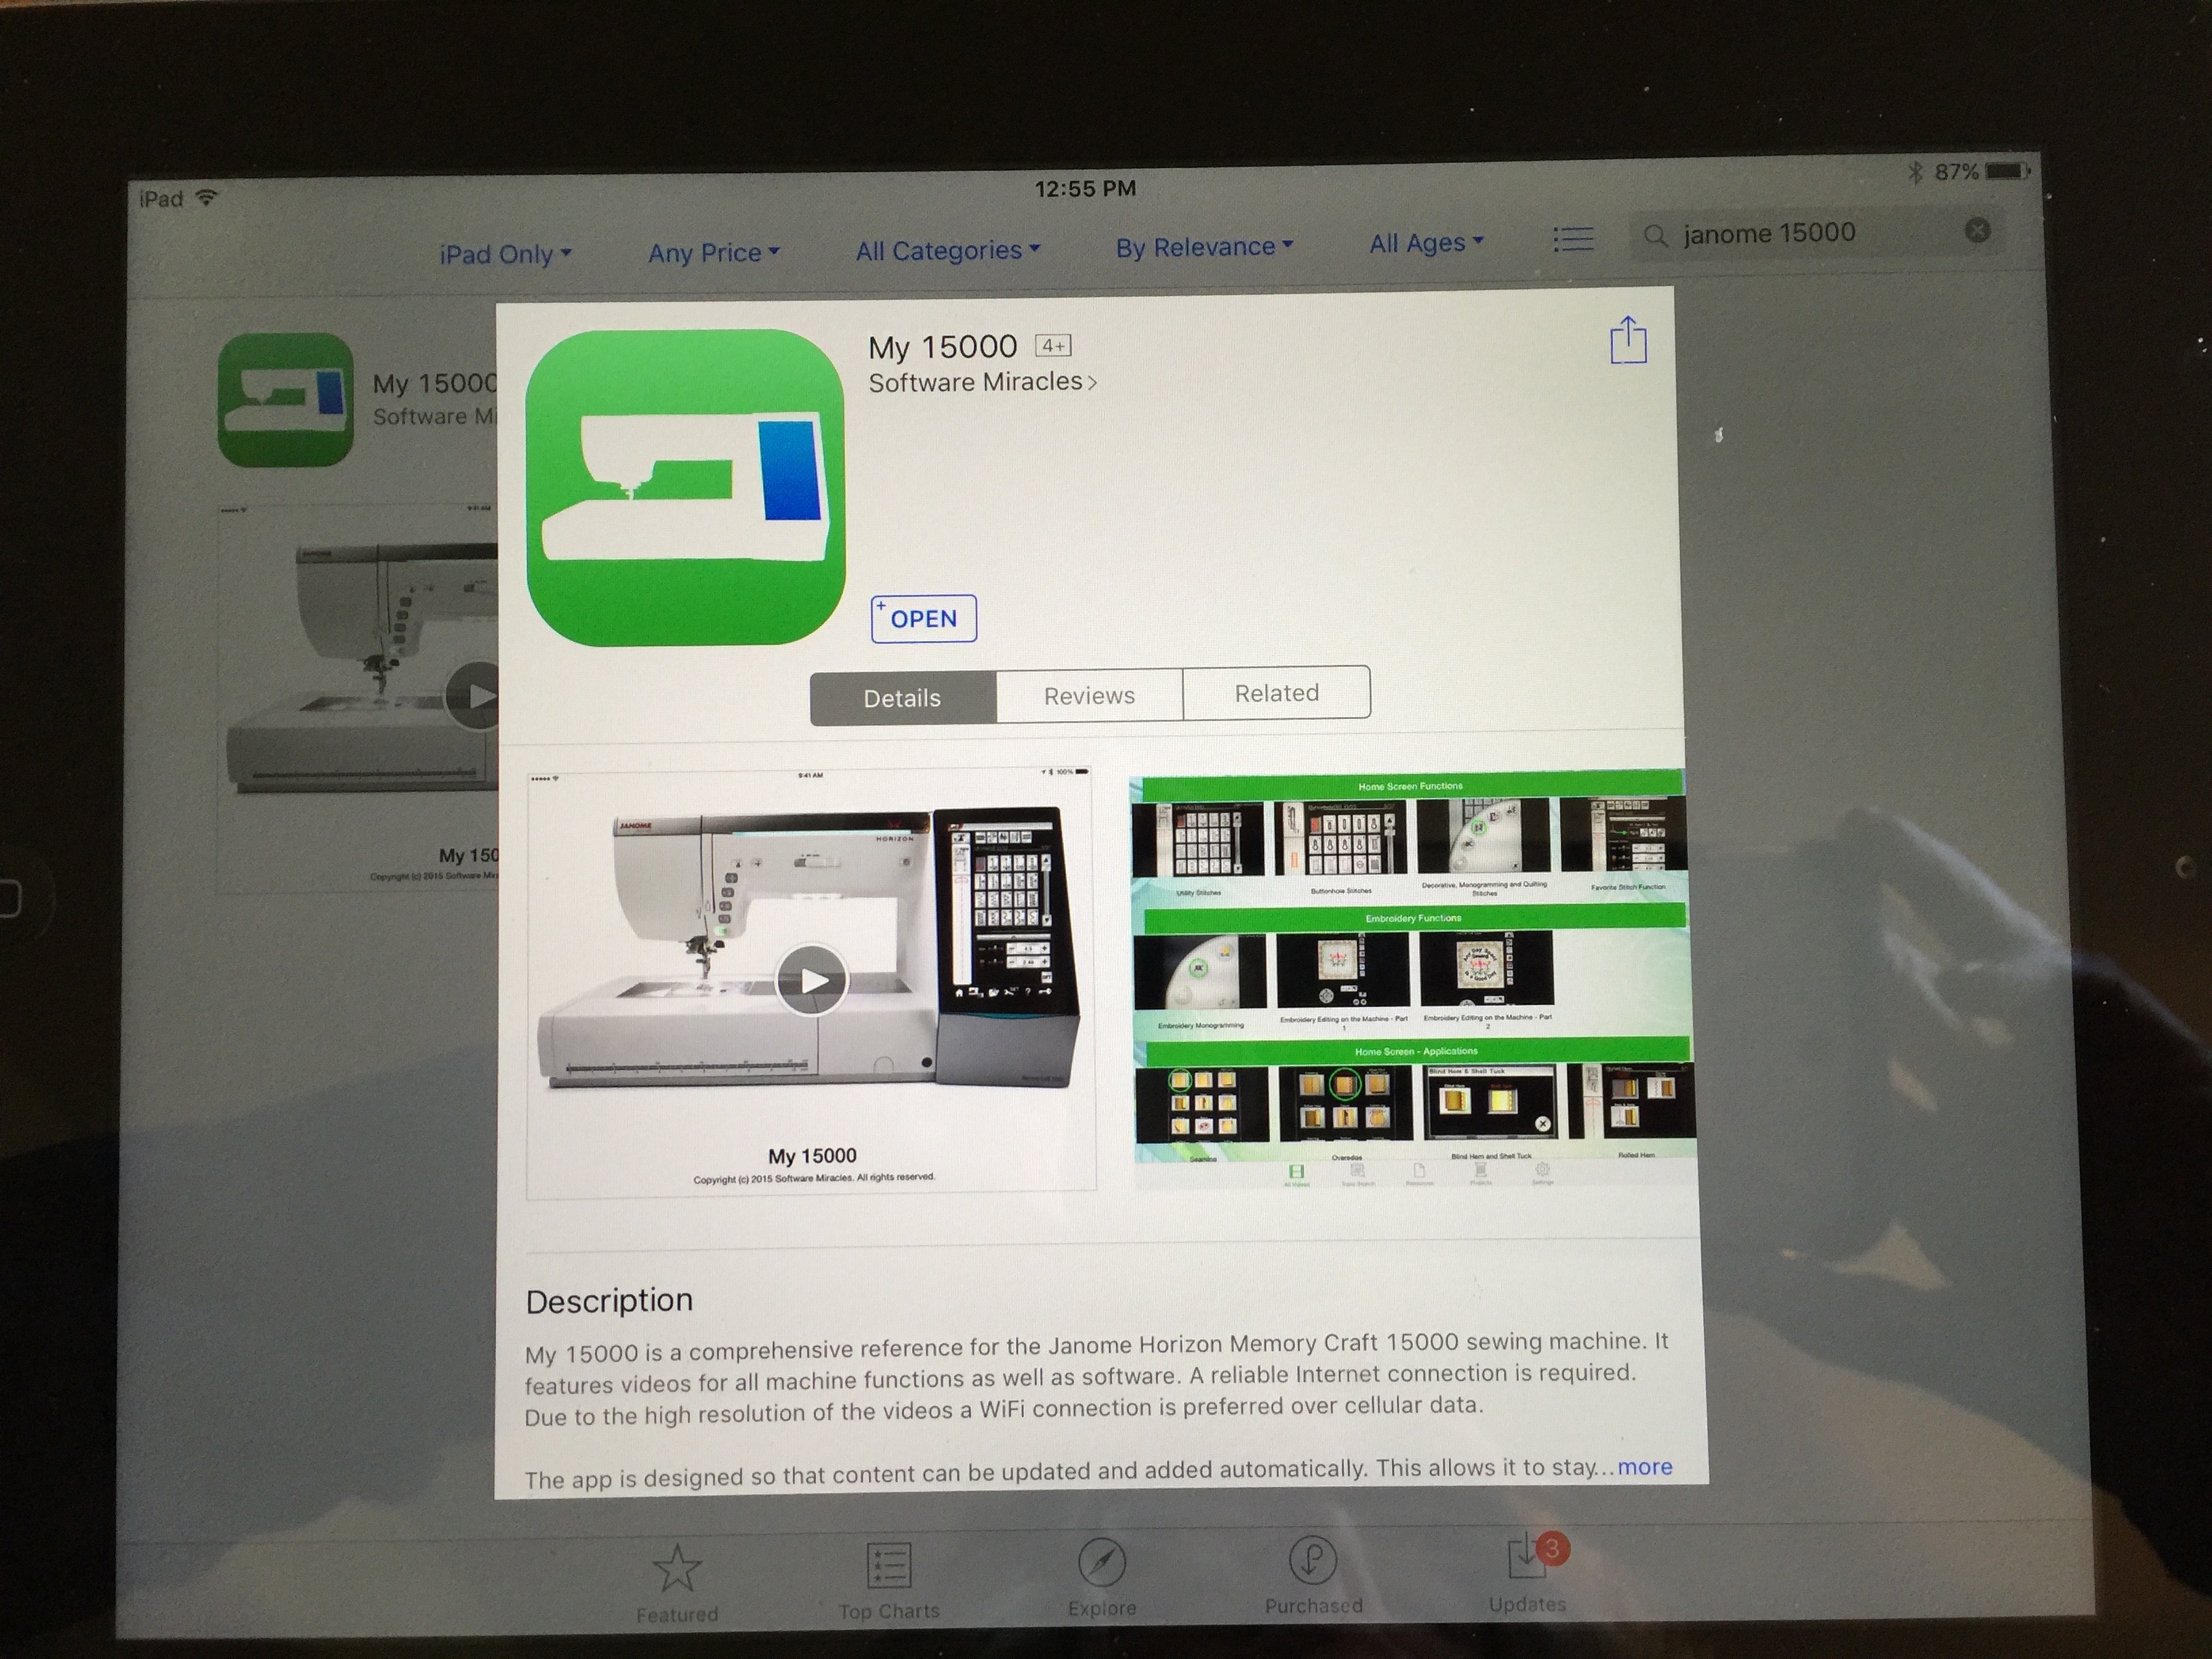
When you type Janome 15000 into the App Store search box, you’ll get this screen. You will see a “buy” and price. On mine, it has the Download box since I’ve already got it.

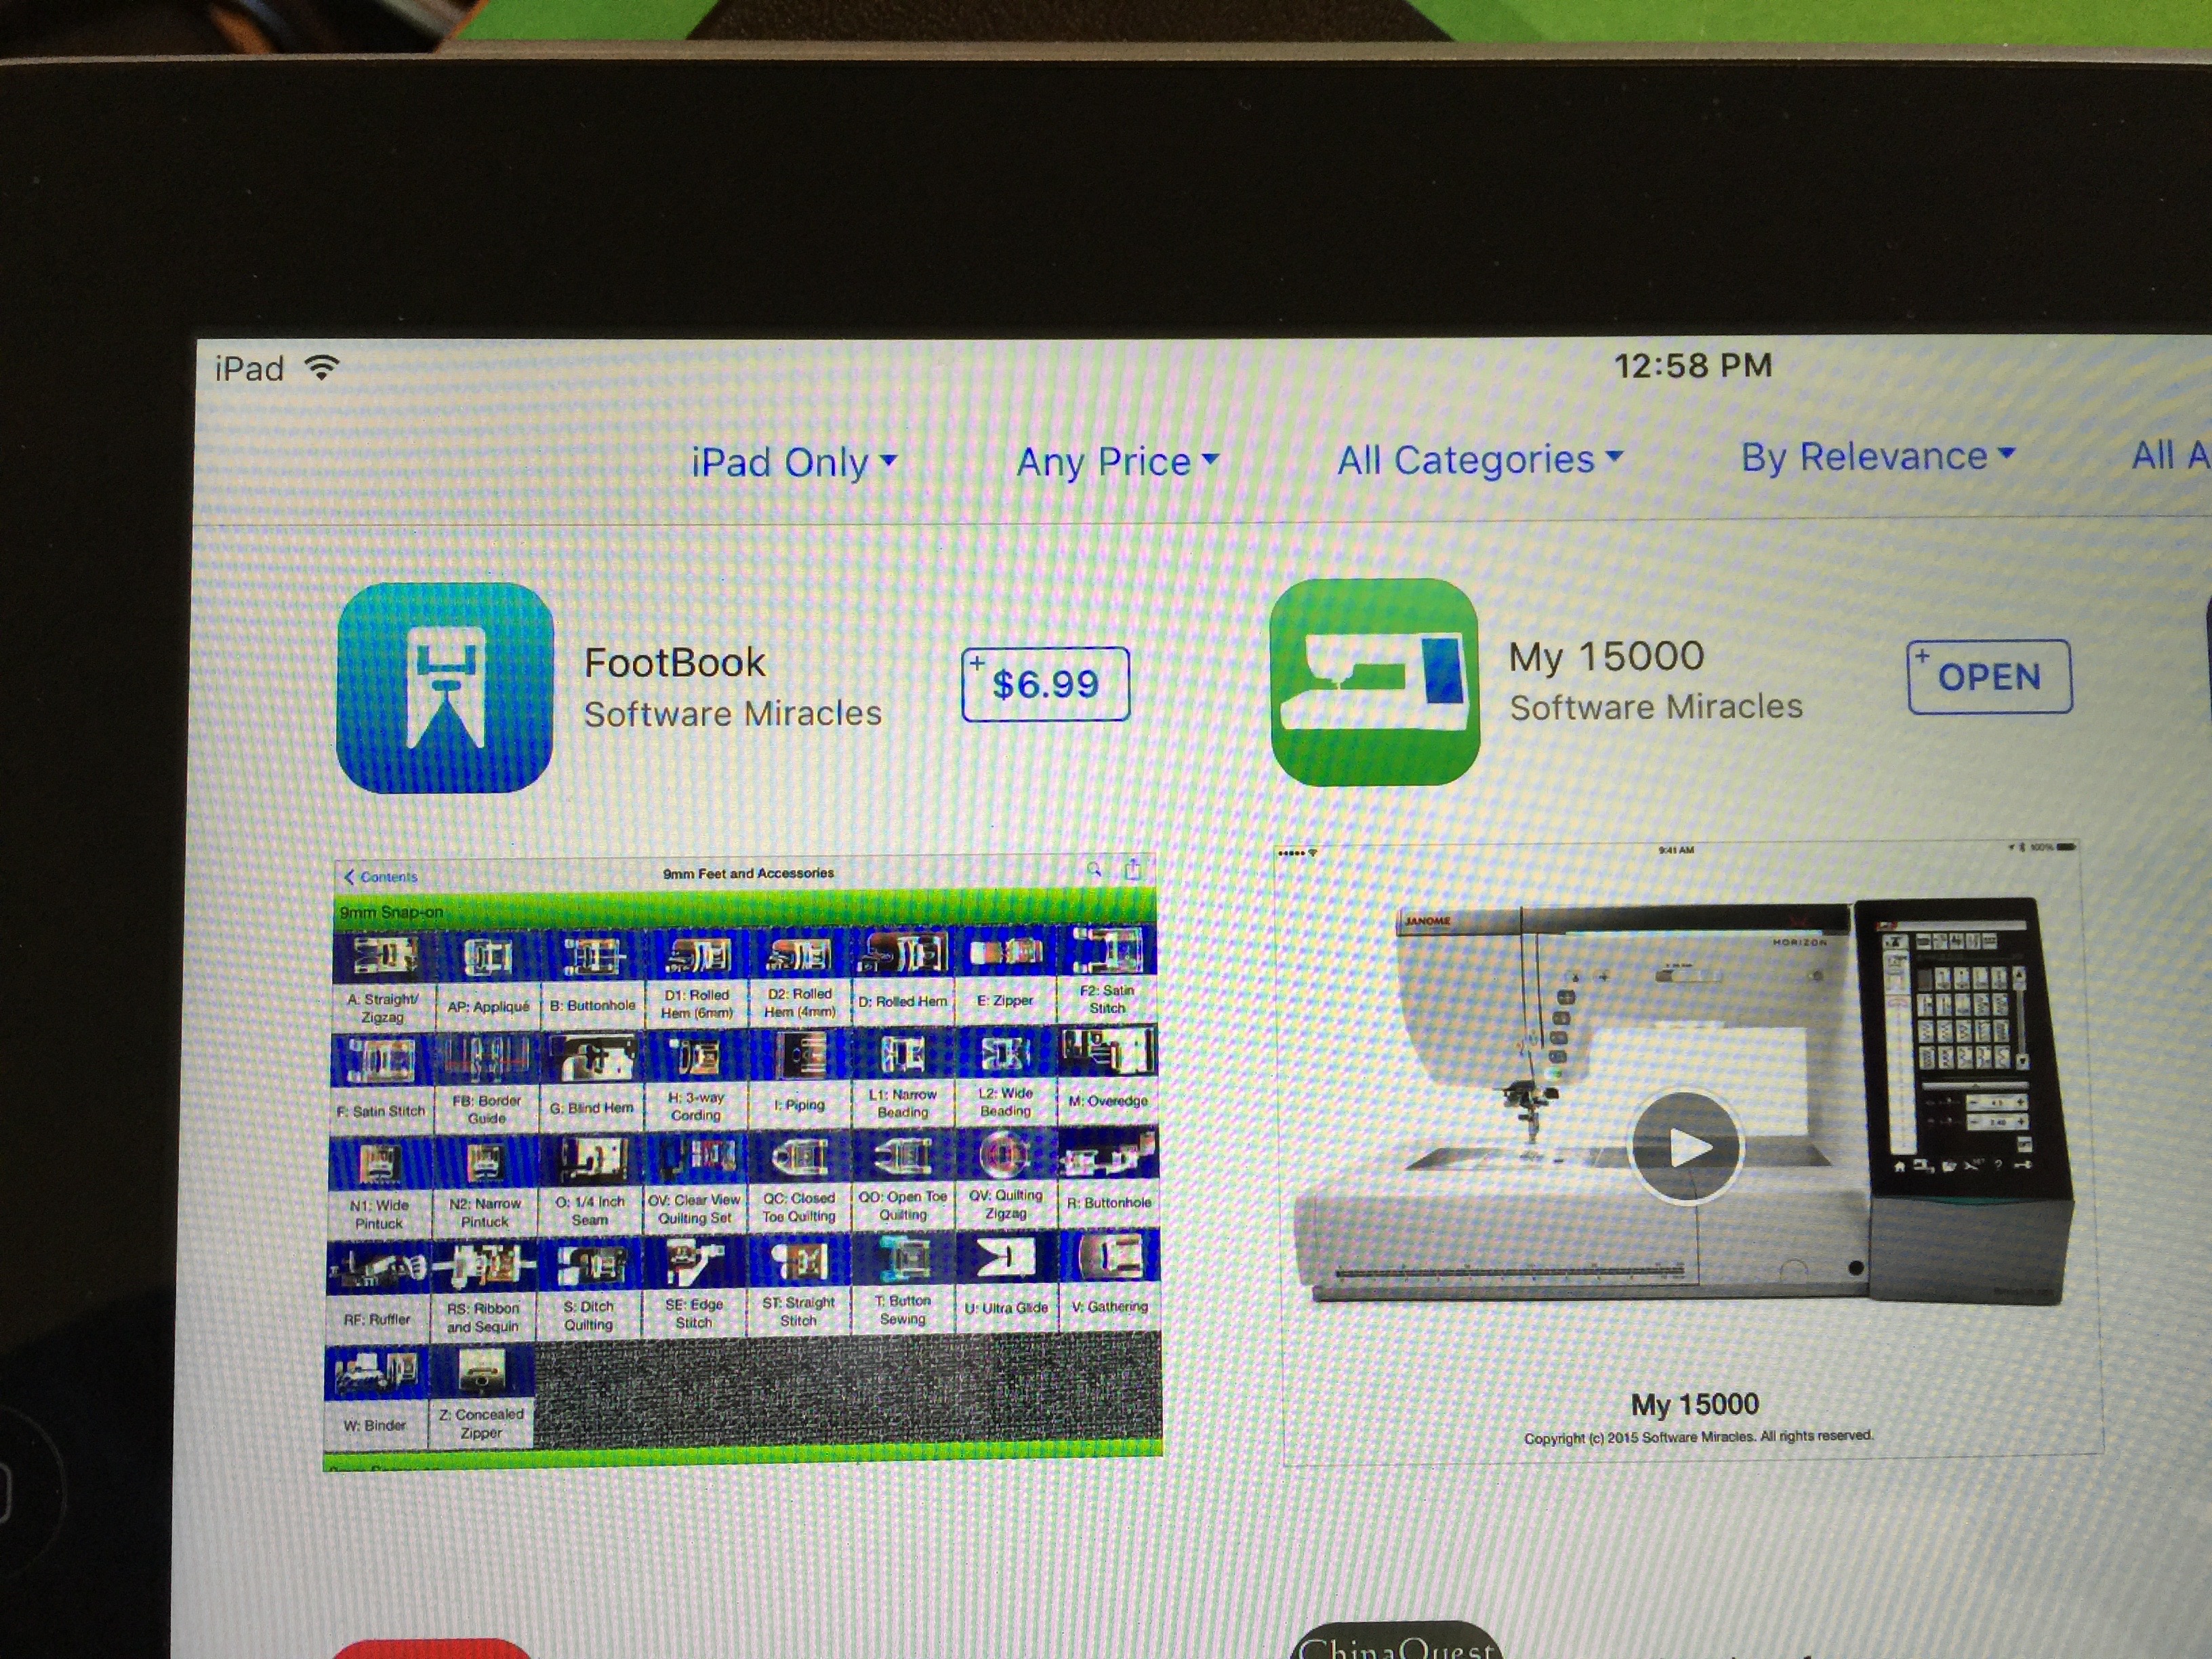
To buy it, you’ll want to use your iOS device (iPad usually but also works on iPhone, just smaller for seeing) to open the App store.  Type Janome 15000 into the search box to reach the App which sells for $59.95.  If you don’t have a Janome, you can still learn from Jim and Diane via the FootBook, their App (reviewed FootBook Review) about how to use Janome presser feet.  Don’t let that dissuade you:  this modestly priced ($6.99) app shows how to use various feet that are common to all machines.  Even though the foot name might be different from one brand to the next, how they work carries over.

When you go to the App store on your iOS device, put Software Miracles into the search box to bring up this screen.

When you go to the App store on your iOS device, put Software Miracles into the search box to bring up this screen.  The FootBook is pictured on the left.  The Janome 15000 pretty much covers all the territory on the FootBook, so you don’t need both.  However, since many of my readers aren’t lucky enough to have the 15000, I’m including this for their information.

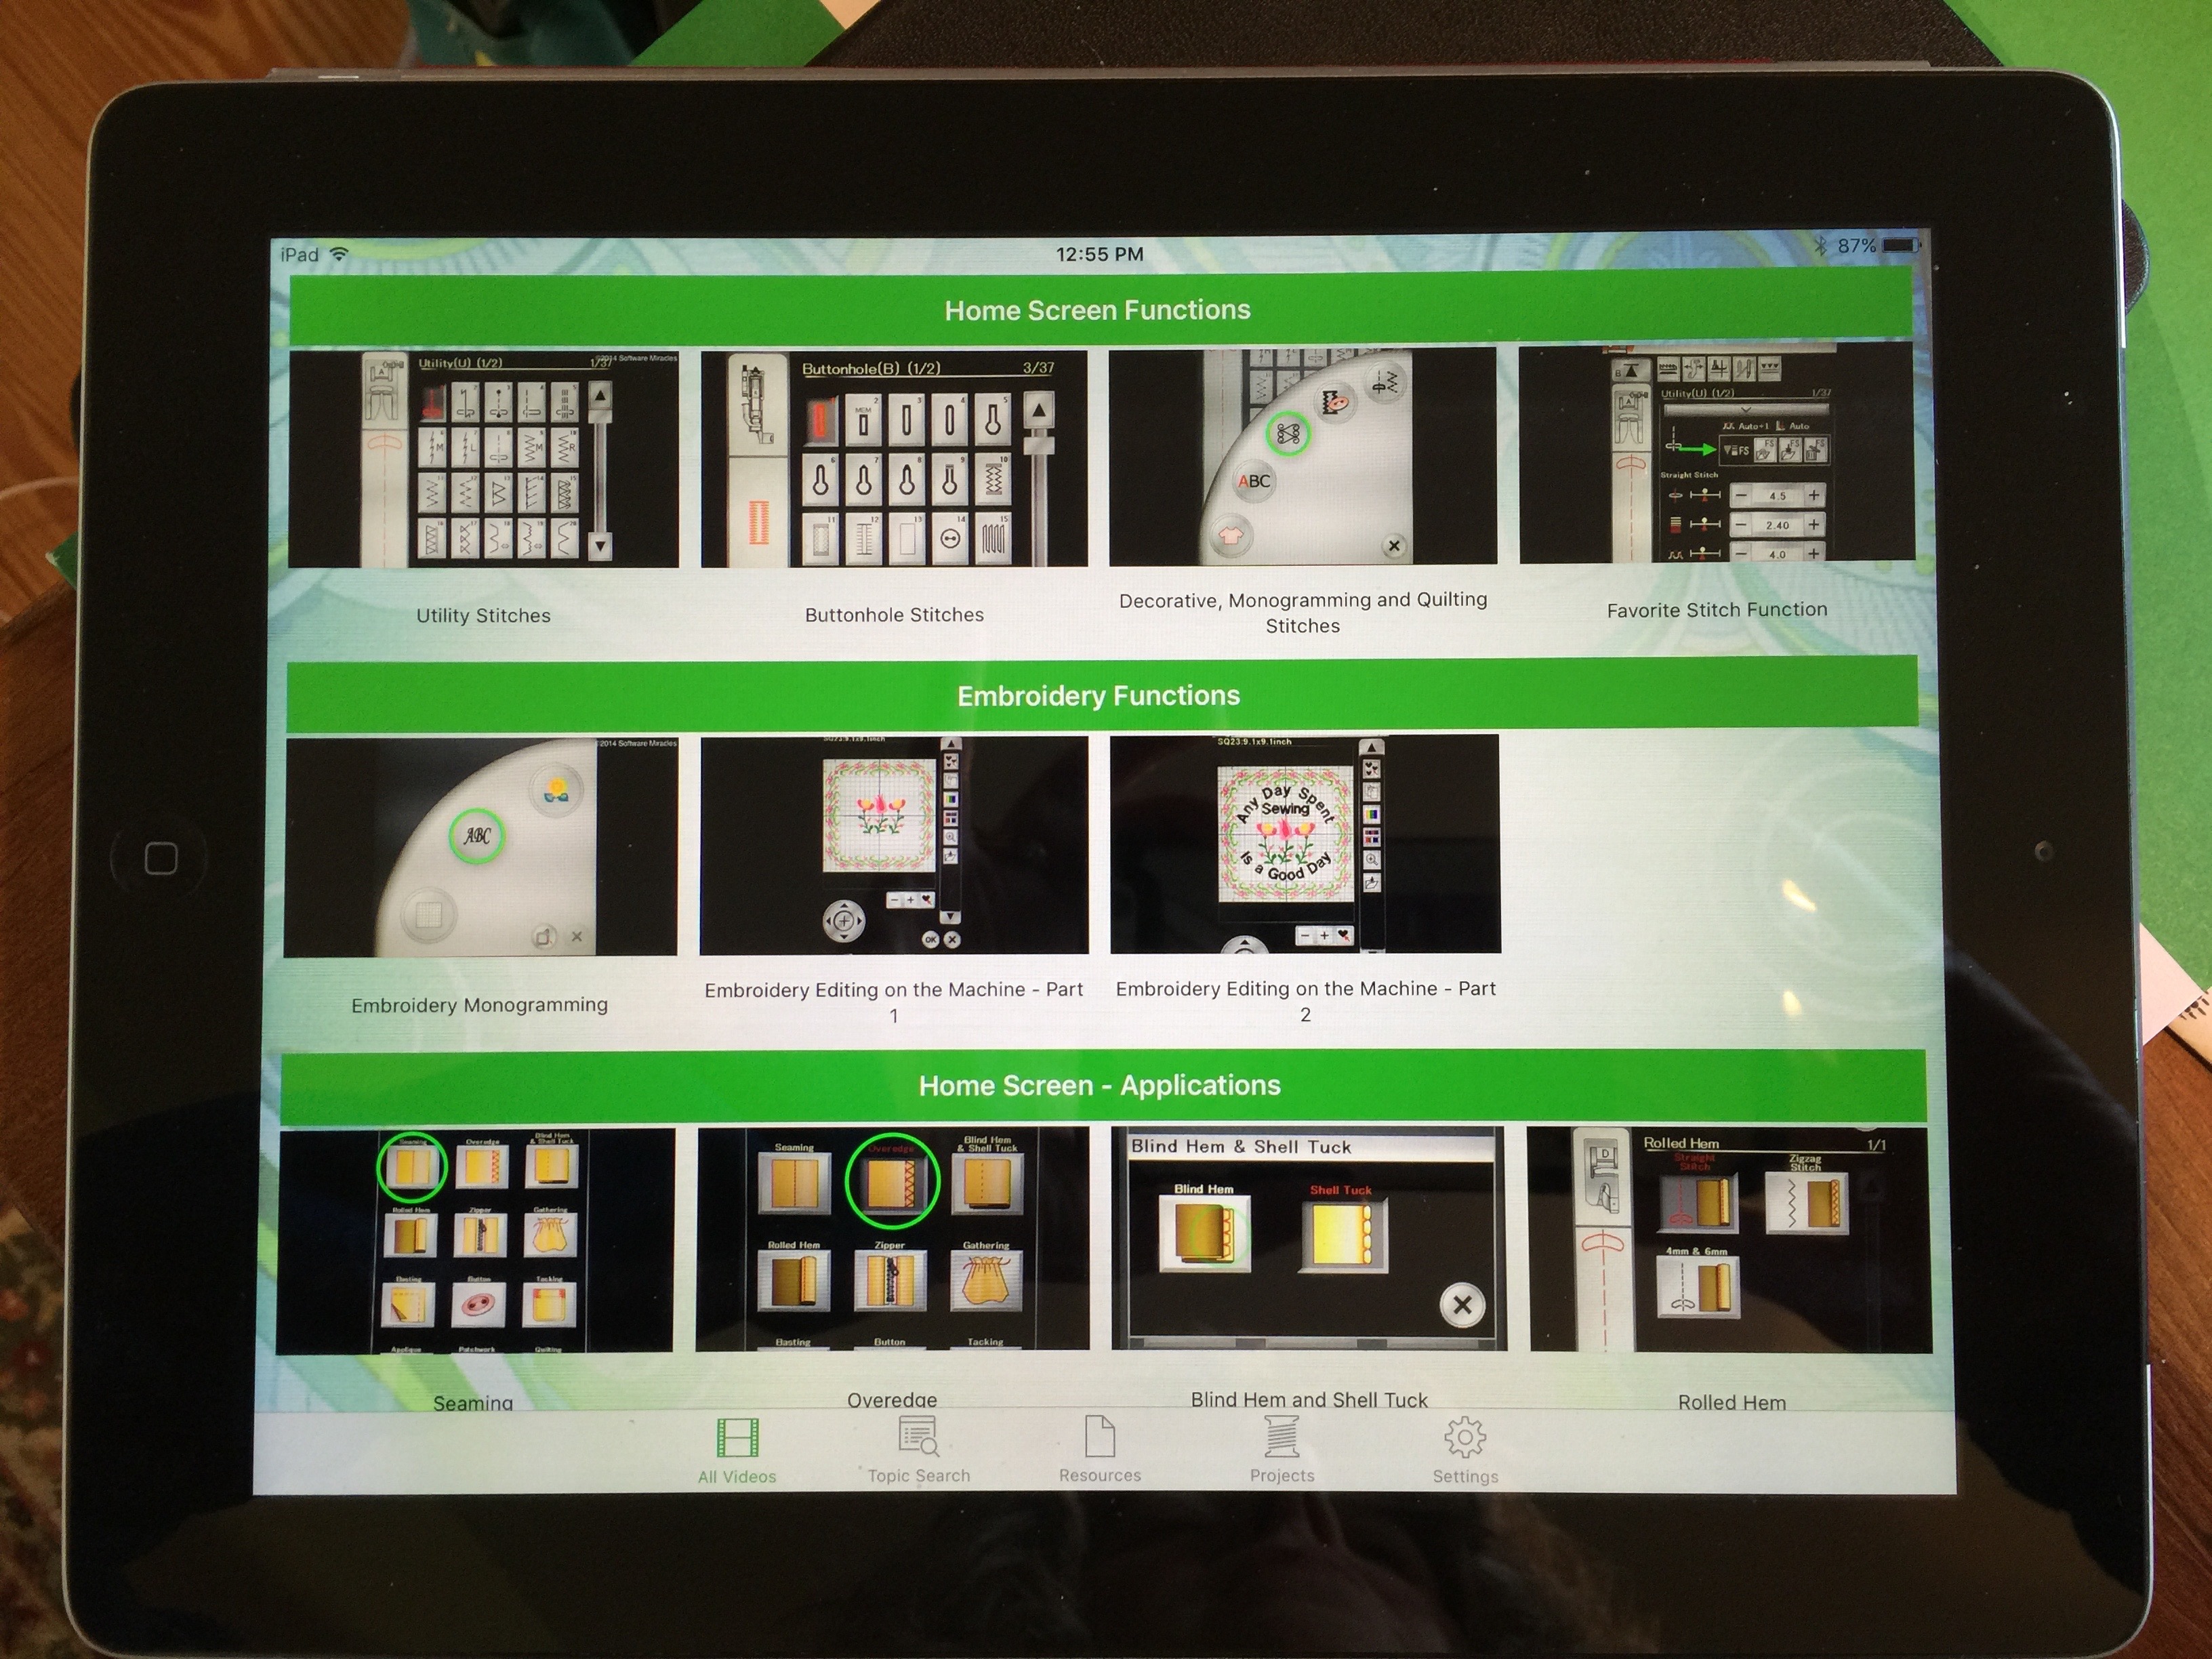
The Janome 15000 App is a “manual” for the Janome 15000 with videos, photos, and incredible and extensive detail that covers

  • Home Screen Functions
  • Embroidery Functions
  • Home Screen Applications
  • Optional Feet
  • Quick Start Videos
  • Set Screen Functions (how to customize the machine)
  • HorizonLink Suite (an optional embroidery software from Janome)
  • iPad Apps (including the included with the 15000 Acu Monitor and AcuEdit)
  • Accessories (Using the optional Clothsetter)
  • Free Motion Quilting

Here’s what you see when you open the App:

When you open the Janome 15000 App, here's what you see...don't forget to scroll down, there is a LOT more!

When you open the Janome 15000 App, here’s what you see…don’t forget to scroll down, there is a LOT more!

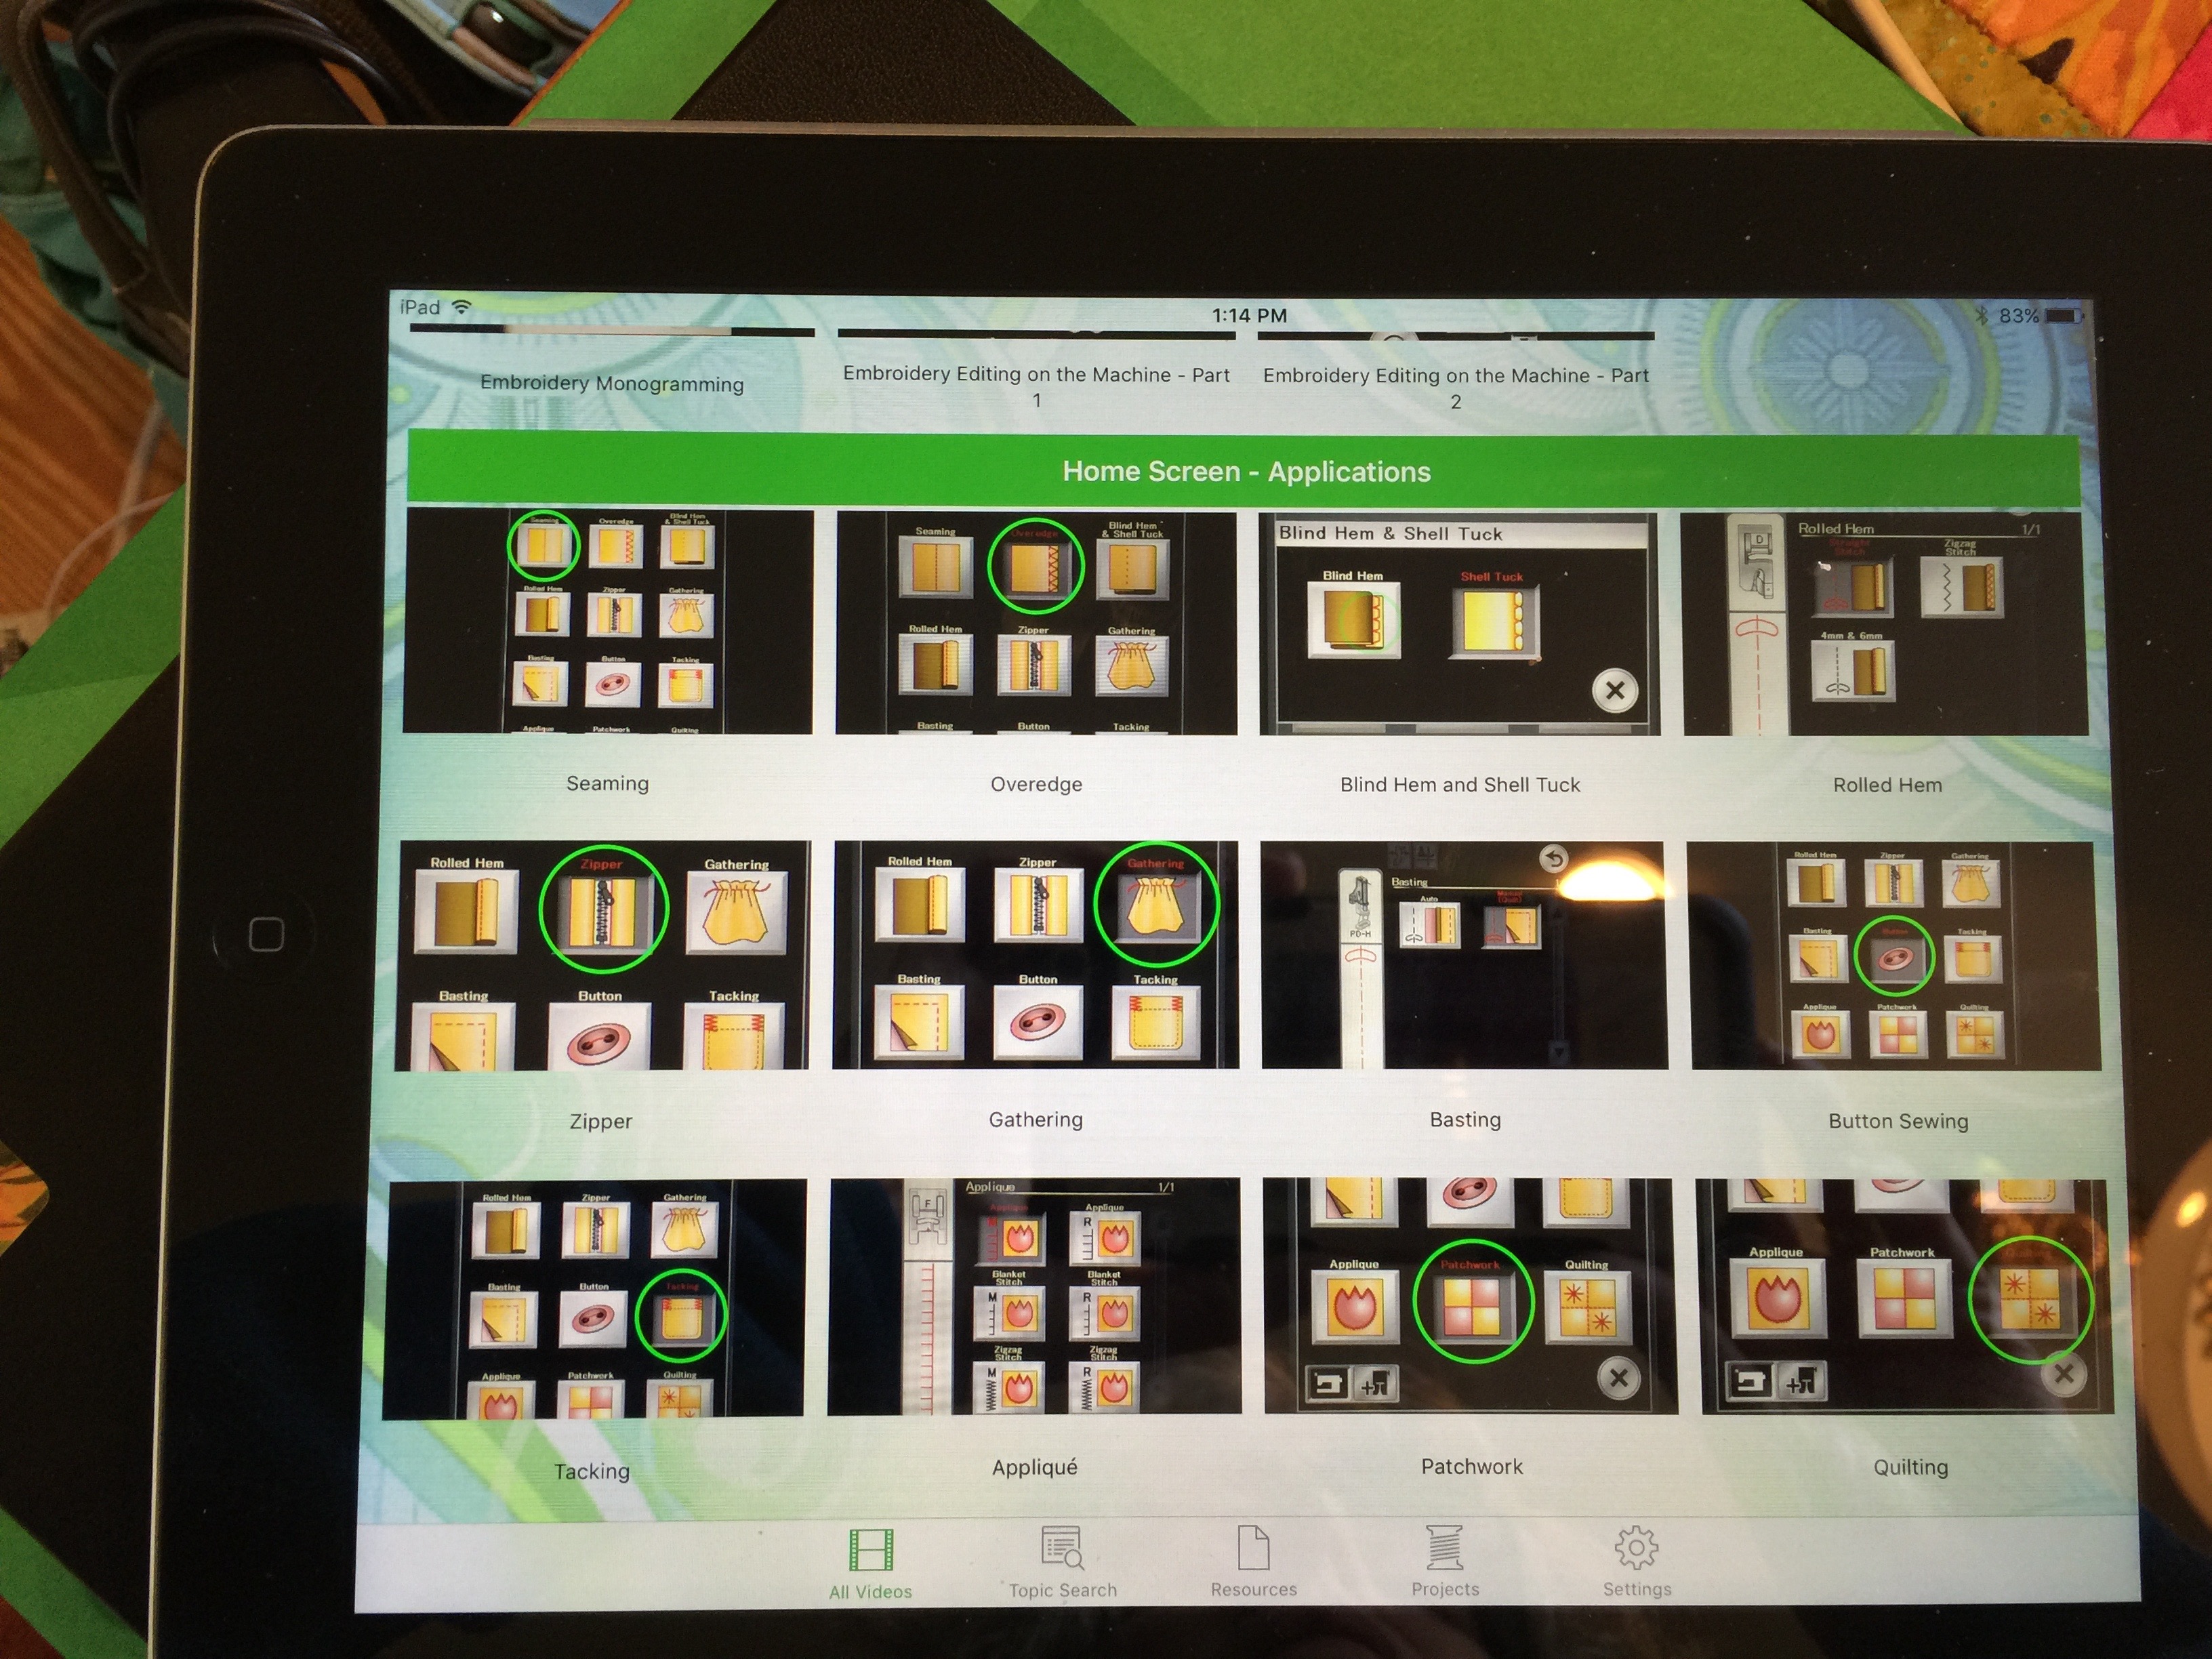
There are multiple videos and tutorials for each of the above major sections.  As with their impressive FootBook App (which is about how to use Janome feet, but frankly works for most feet/brands, blogpost here), there is a ton of information   In the Home Screen Applications section alone there are tutorials on (photo just below).

  • Seaming
  • Overedge
  • Blind Hem and Shell Tuck
  • Rolled Hem
  • Zippers
  • Gathering
  • Bating
  • Button Sewing
  • Tacking
  • Applique
  • Patchwork
  • Quilting
Here's just part of what is on this information-packed app.

Here’s just part of what is on this information-packed app.

This app is essentially a whose SERIES of sewing lessons that are useful even if you aren’t on the 15000 (though they are geared to using the screens and pre-sets on this machine).   And, because it is an App, not a disc, Jim and Diane can update the software easily.  Once there is an update, you can download the update as part of  your original purchase price, which means you get the benefit of improvements down the line.

As I said when I reviewed the FootBook, I have been hand-sewing since I was about 7, and Mother let me start to machine sew when I was about 9.  I am pretty close to expert having made garments, worked for an interior designer making high-end home dec items, and been both a traditional and art quilter (published, exhibited, yada yada).  Well, I learned stuff from this App, which means that it is crazy comprehensive.

For me, with my experience, the embroidery instructions are the most useful, and I am so grateful to have these on my iPad so I can watch them while I am working at my machine.   I don’t have the Horizon Link Suite (because I’m not wild for embroidery), but I can tell you if I did I would use these videos as my step-by-step learning process.  Another thing that is amazing, Jim has a Yahoo group for owners of the Janome 12000 and 15000.  I joined before Janome lent me one just to start learning.  Jim’s help there has also been phenomenal.   If you are interested, you can go Janome 15000 yahoo group to ask to join the group.

The Stutsmans have a website, OnLineSewing.com.  Here’s a link to the page with info on the Janome 15000 app, and another link for the FootBook. There is helpful information on what you need in terms of tablets for viewing (with generation etc).

Bottom Line and Last Word:  If you have the Janome 15000, unless you are the most expert Janome 15000 person on the planet, you will learn something from this App and be able to use and learn from it.