(1).png)
.png)
.png)



Baby blankets and burp cloths!
Yippeee! Since my last post here we learned we are to be first-time grandparents this autumn! That means I’ve been sewing and knitting like a crazy lady (which of course I proudly am). These projects are so fast and easy: two rectangles, sew together, turn, topstitch, done! The link to the free PDF is at the end, before the last two photos.
First, here’s a quick 2 minute overview of the entire project! I used Time-Lapse photography and a few stills so there is no audio; it is also stored on my itty bitty YouTube channel . I hope you enjoy and make MANY! Frankly, a grown-up version of one of these would make a perfect summer porch throw now that I think about it!
So here’s that video. Scroll down for still photos and explanatory text.
Step 1: cut both layers the same size. For the blanket, try 36 x 42 (or width of fabric)—this “landscape” size is best for non-directional prints. Or go for a square: 36 or 40/42” works well and accommodates directional designs.
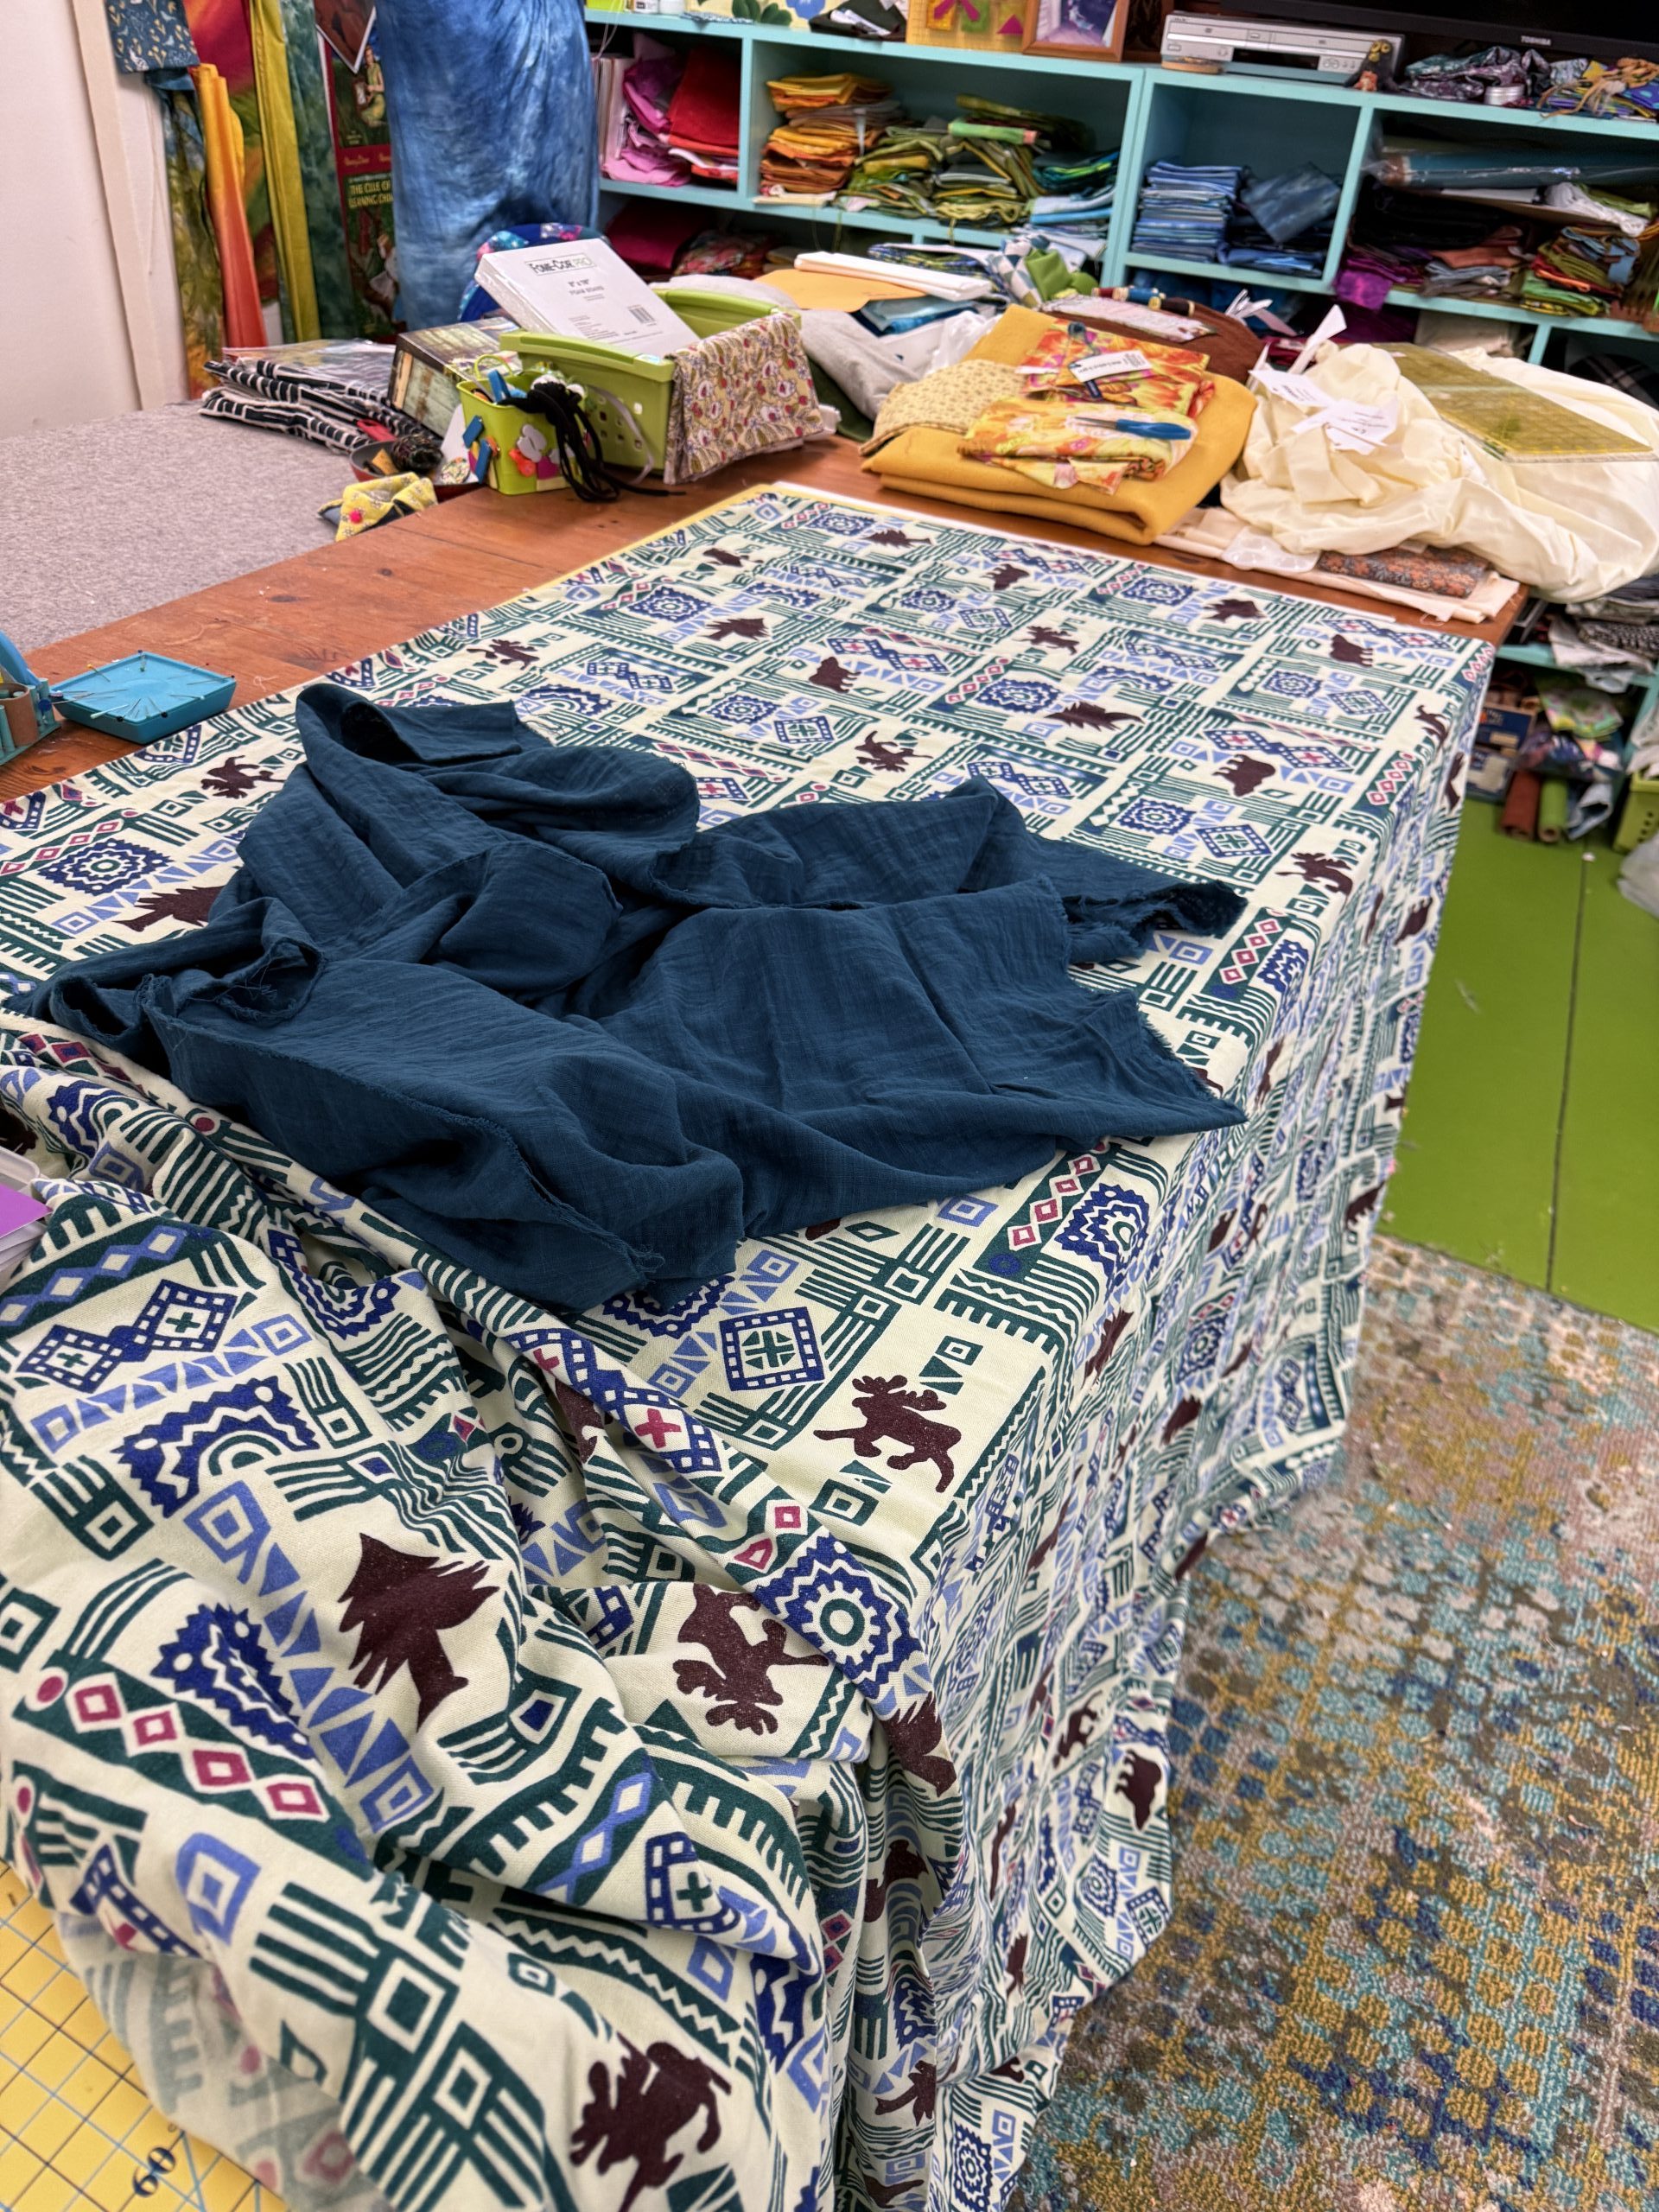
First thing is to smooth out your fabric. Both flannel (the print) and double-gauze (the blue) tend to wiggle and ripple. I used the squared up blue fabric to “measure” out how much to cut off the sheet (and discovered how off-grain the sheet was cut!).
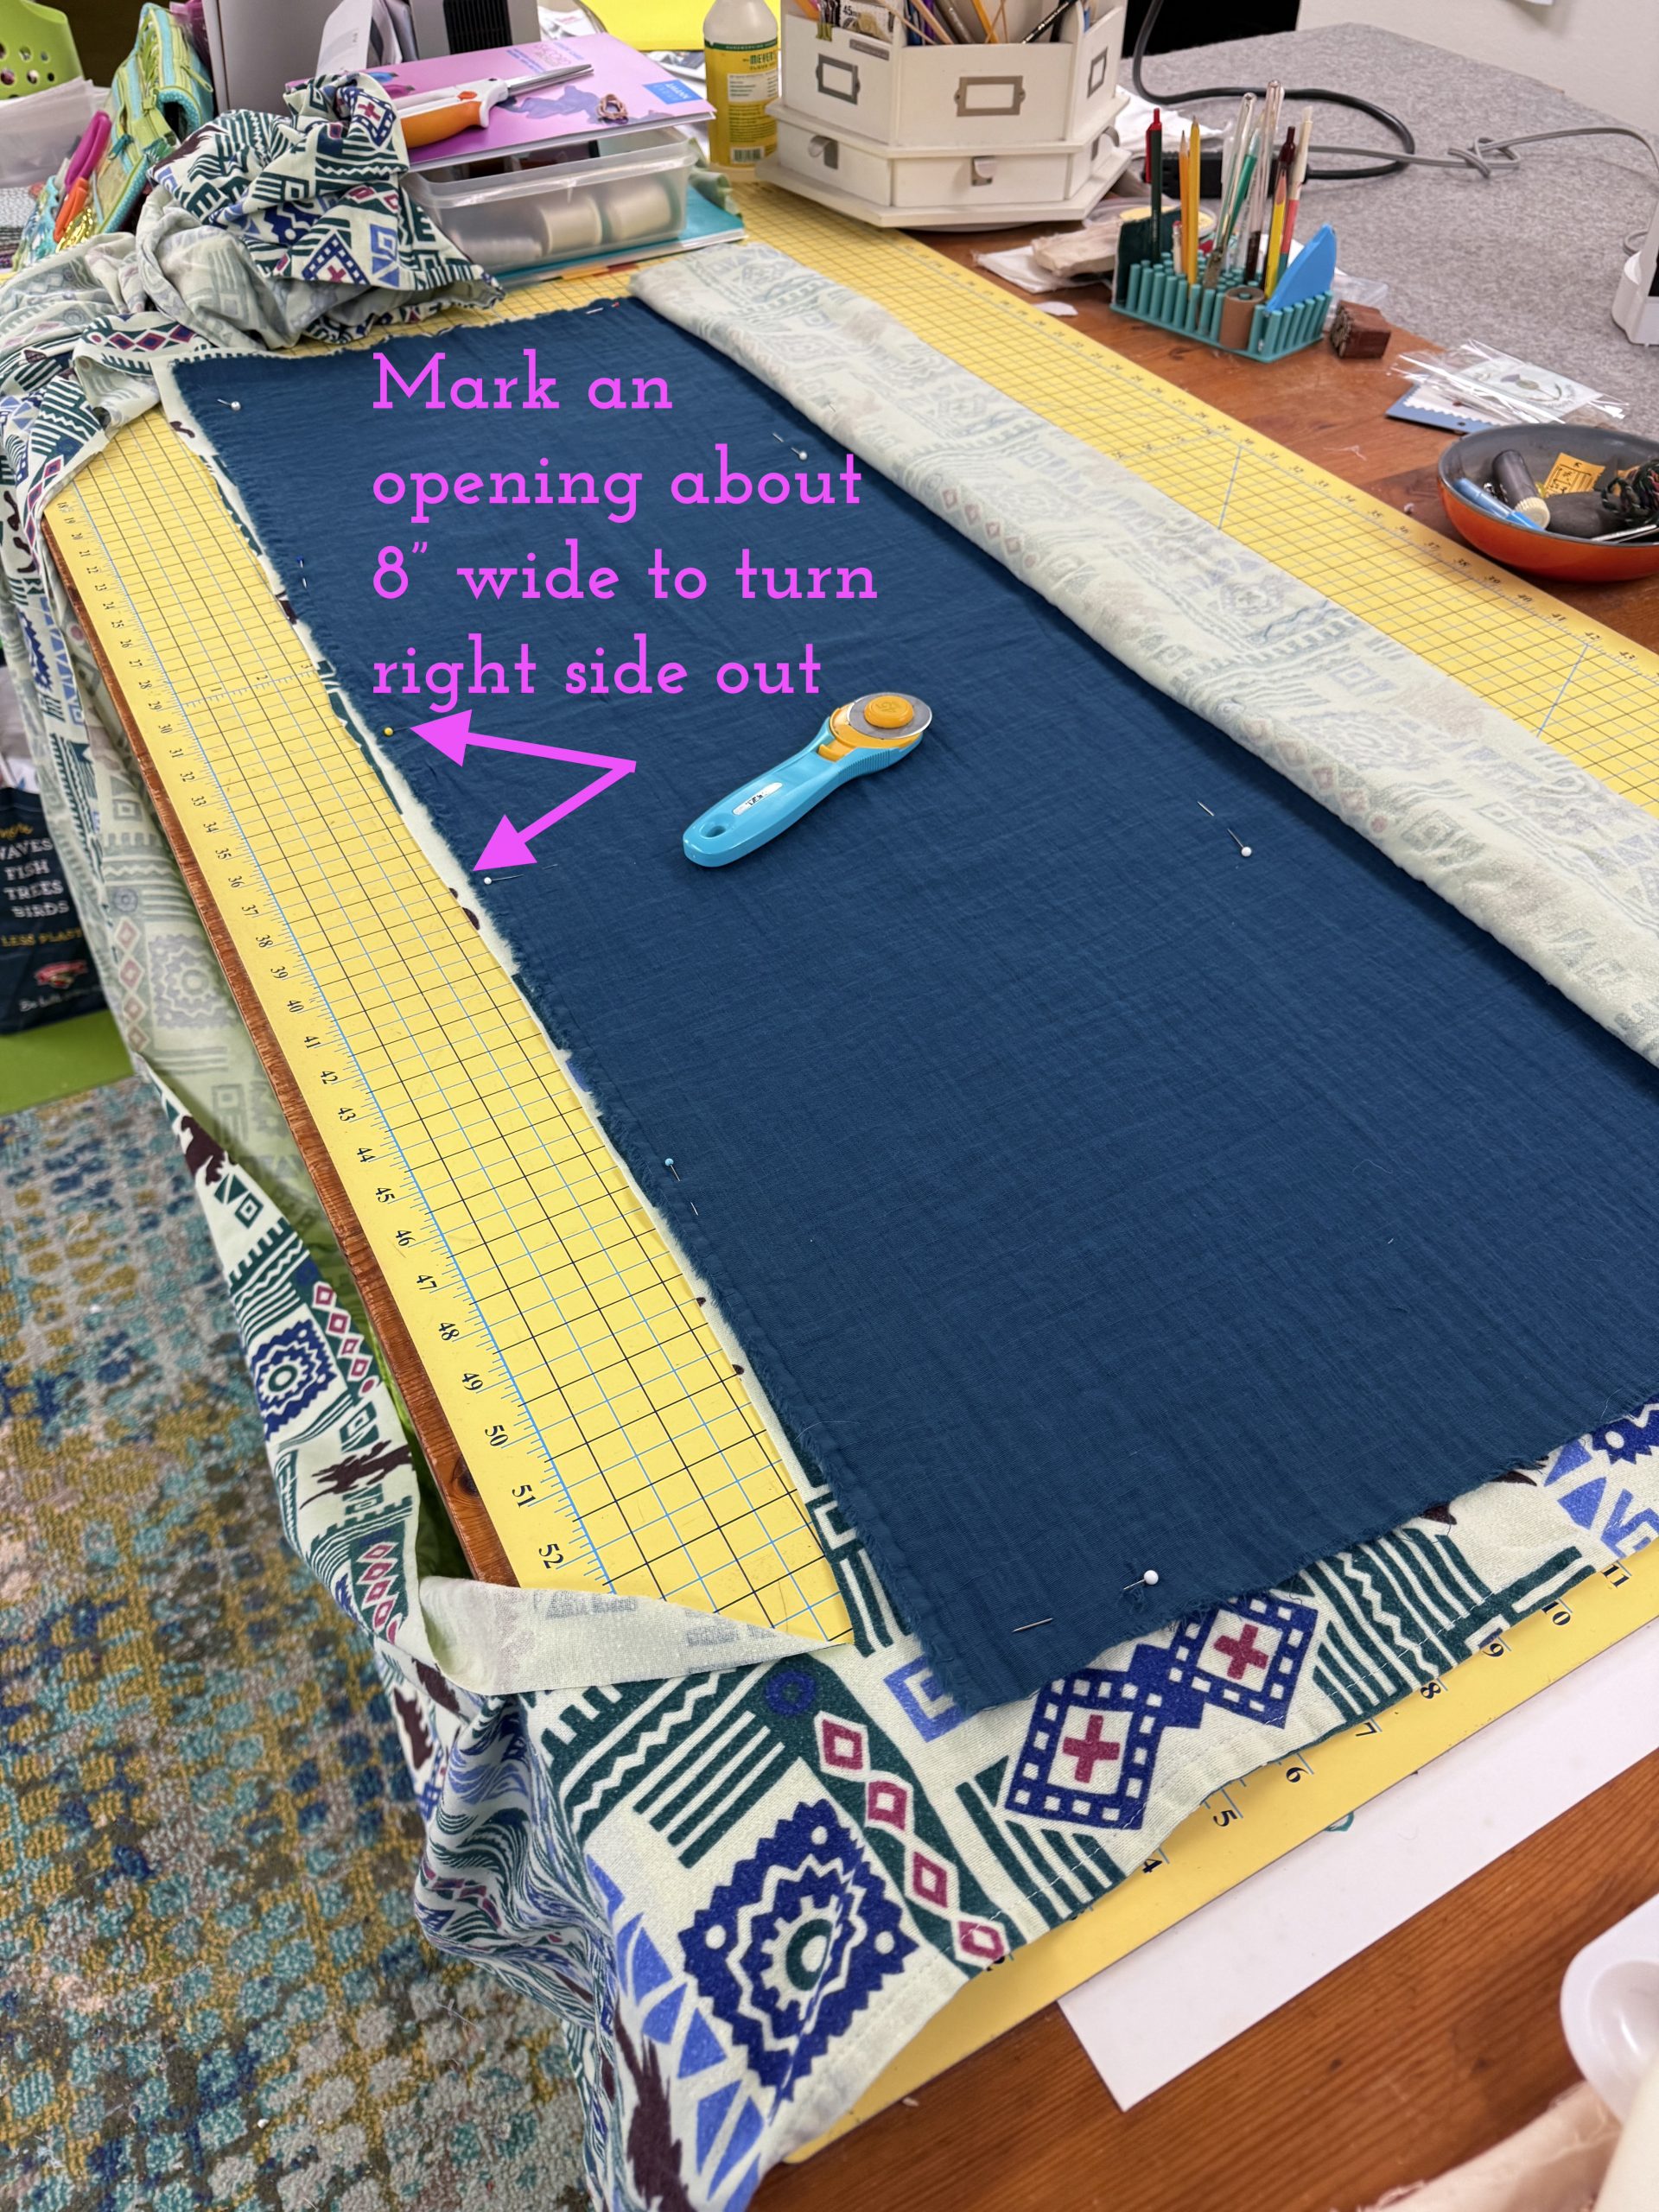
Keep everything smooth and flat as you pin. Leave an opening large enough to fit your hand and some fabric when you turn it right side out.
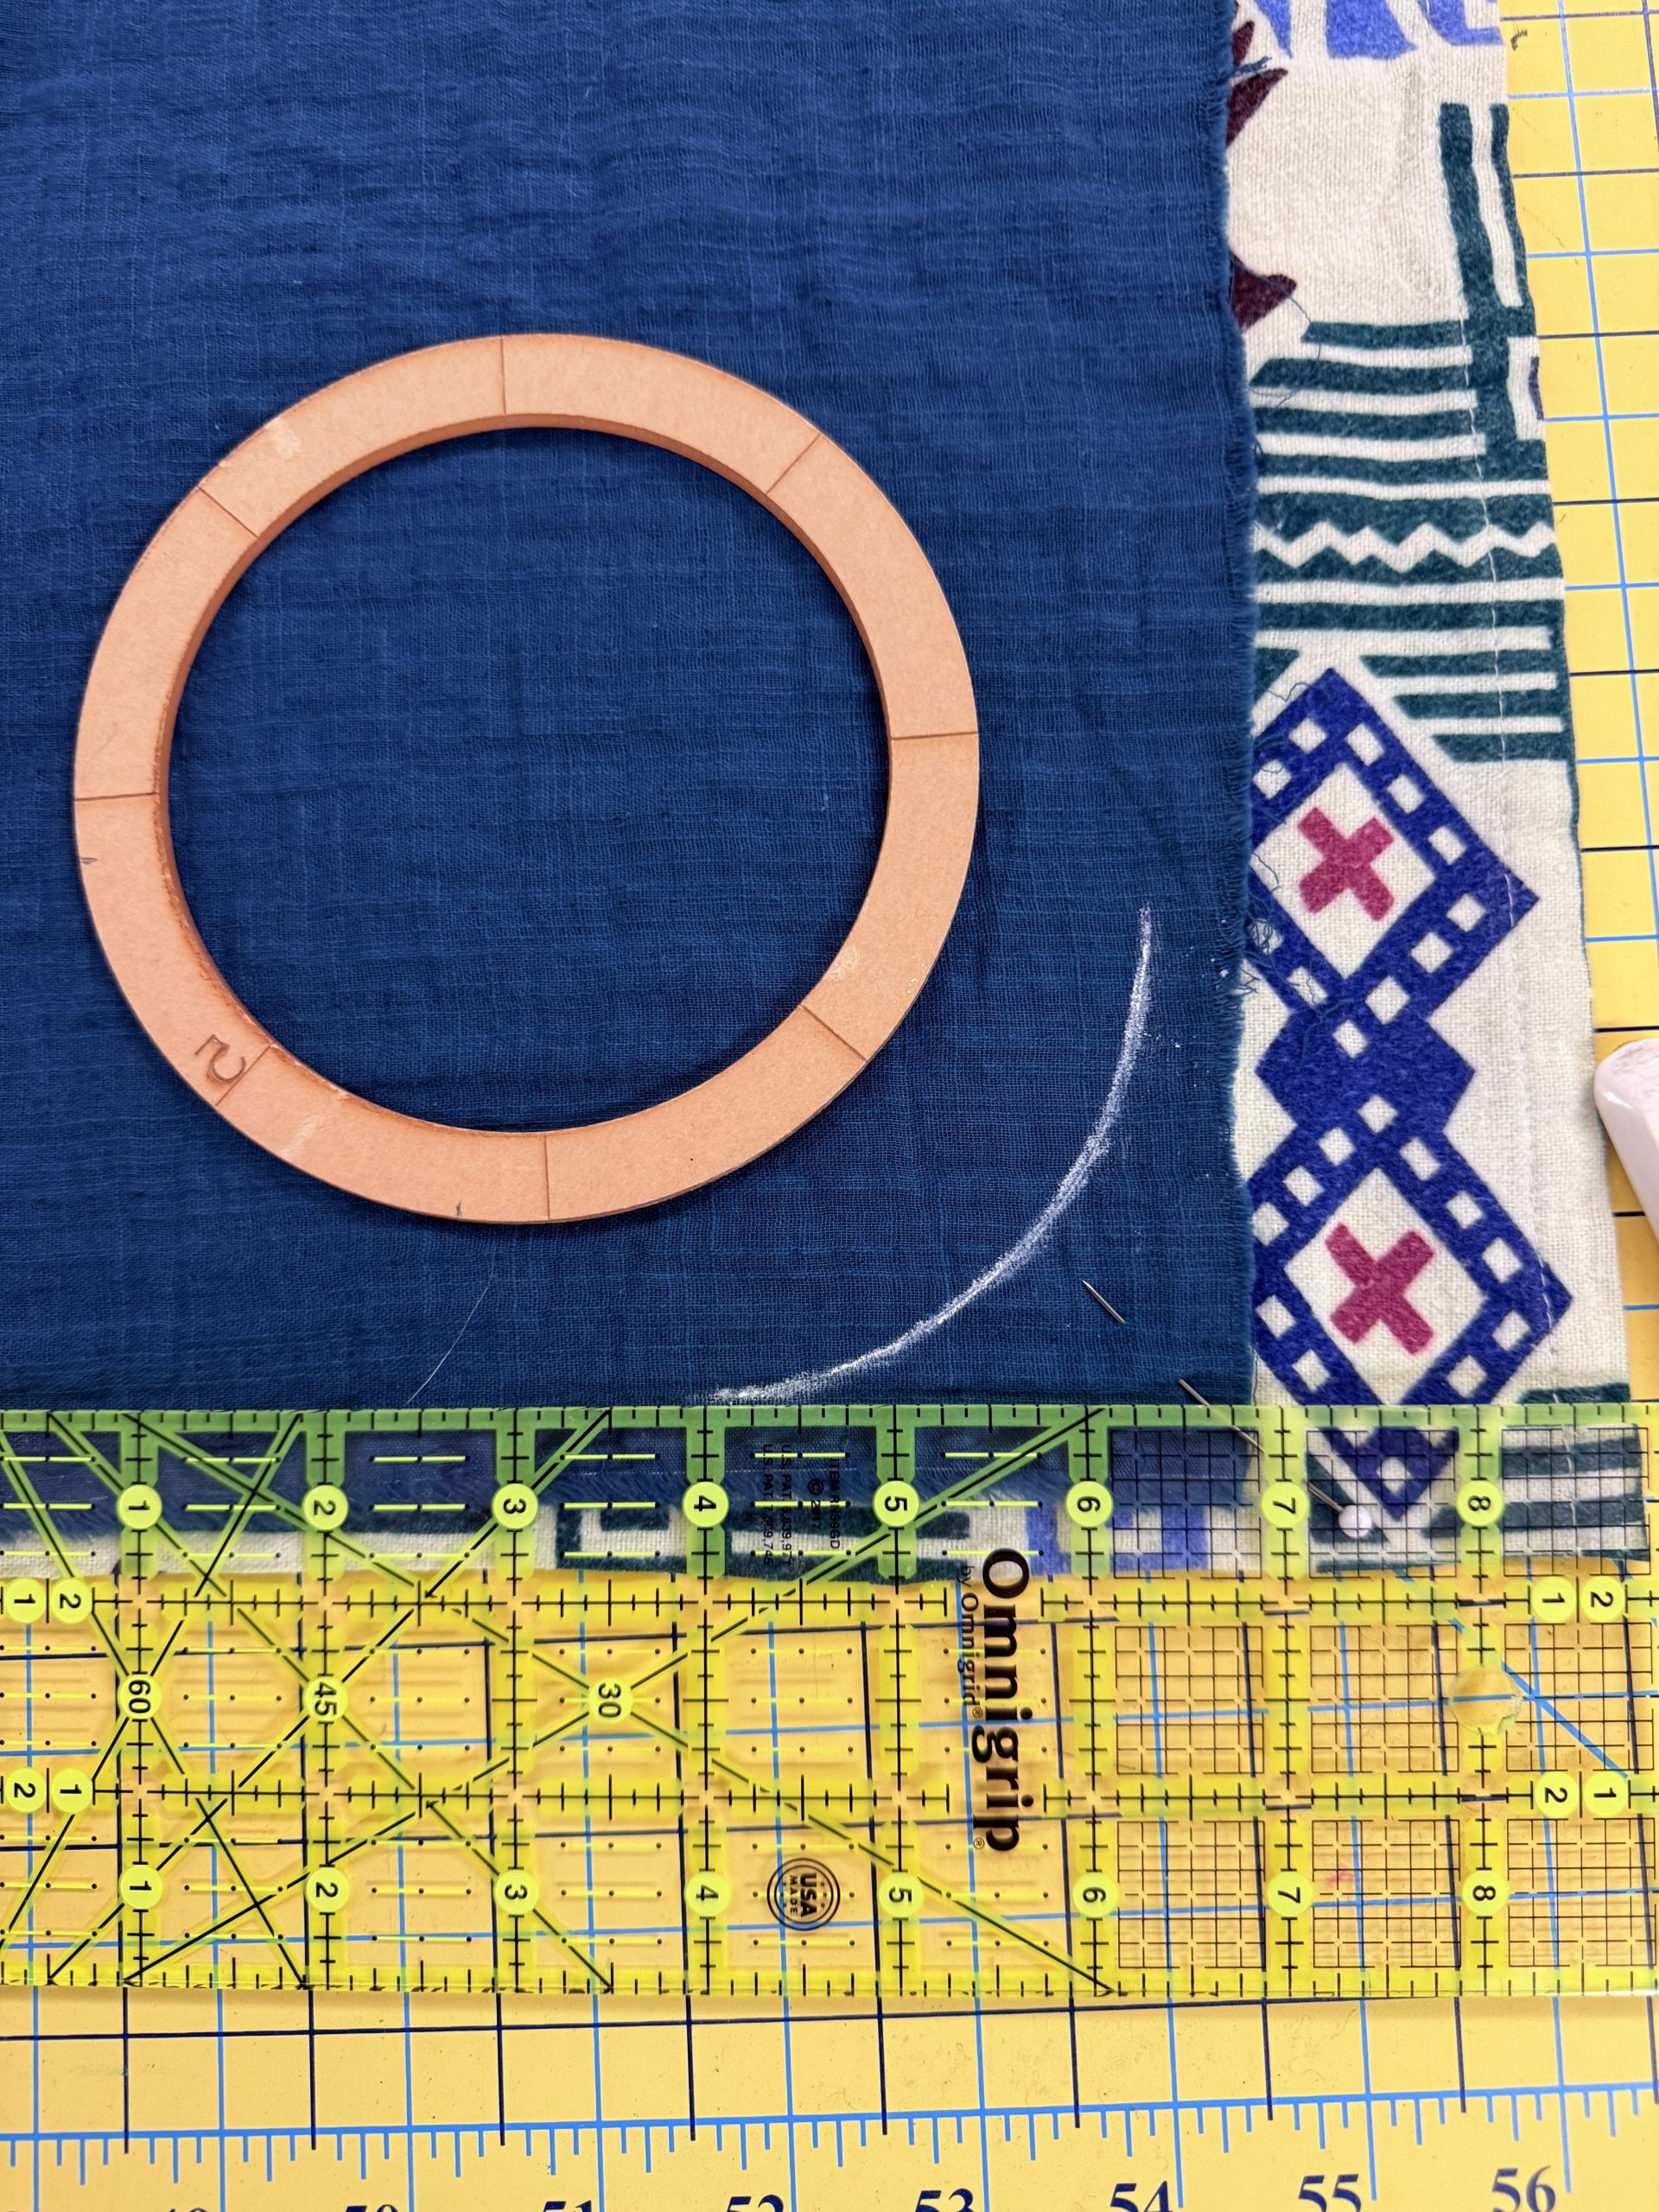
Use a template, dish or big can to mark a curve that aligns with the seamlines.
Draped over my chair to show scale, you can see the pins in the center to minimize shifting when sewing.
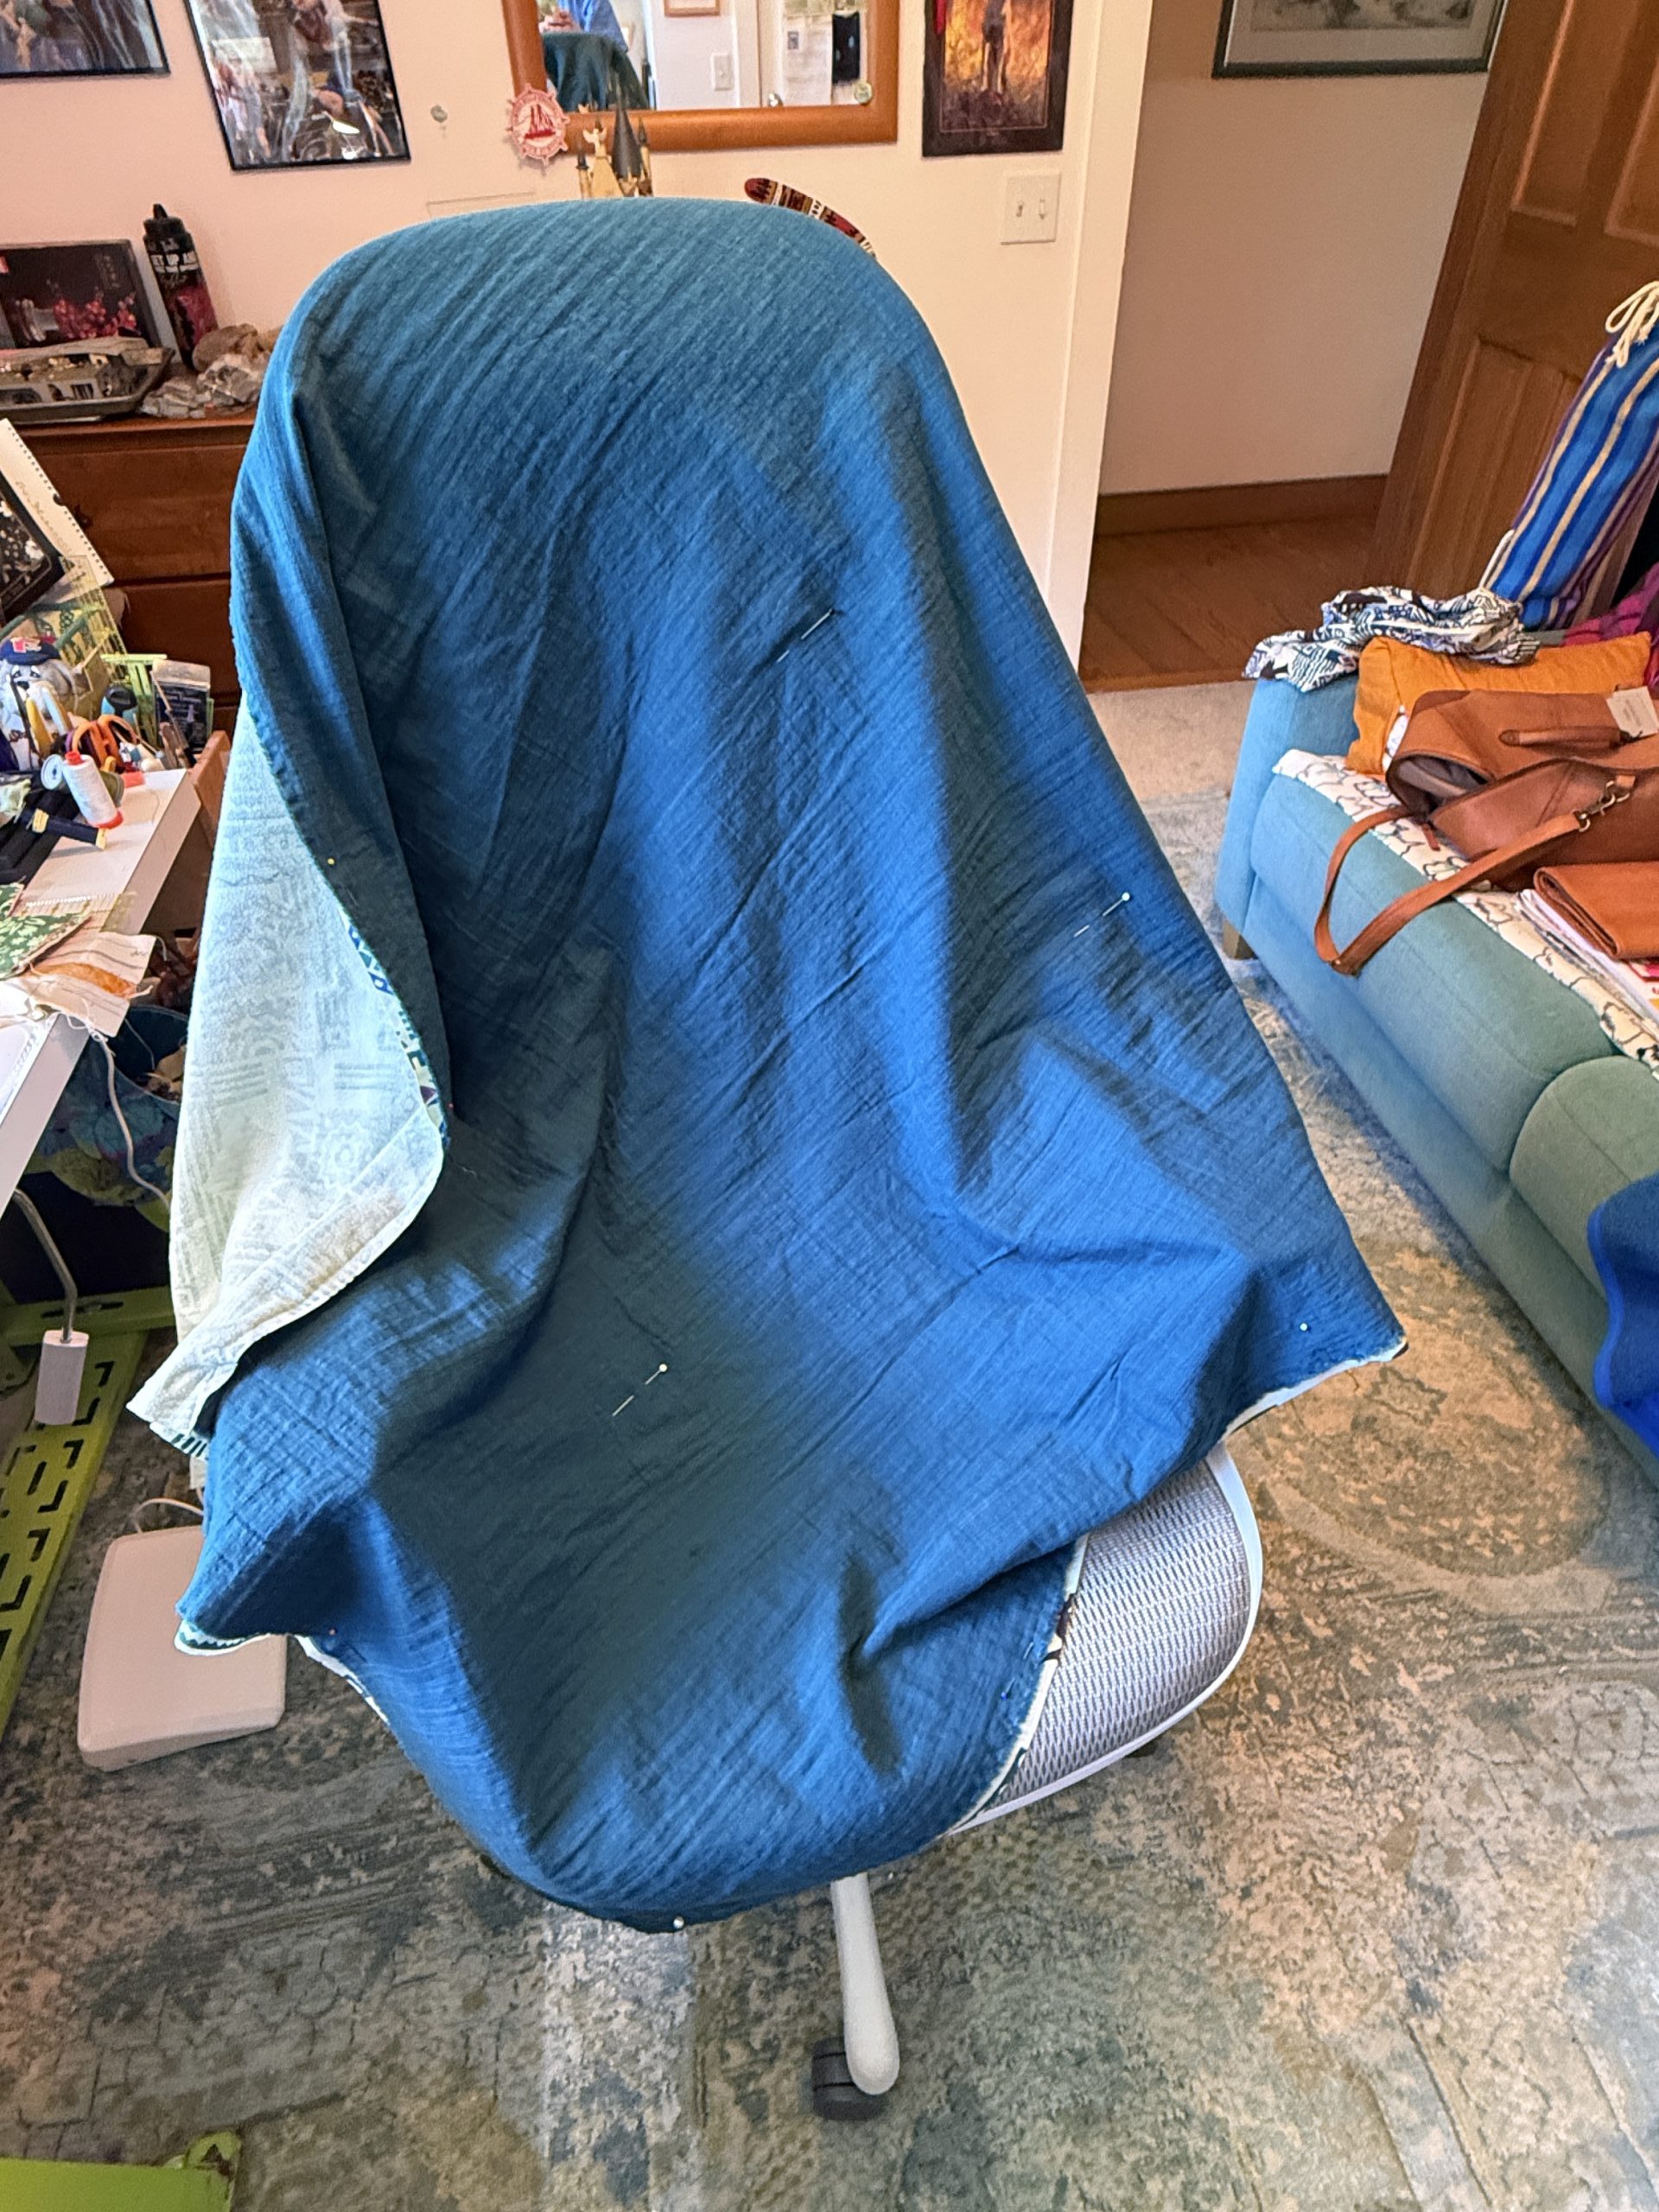
About to sew.. you can (barely) see the pins in the center. On to sewing!
Step 4: Sew all the way around the blanket.
Step 5: Trim edges if needed. Clip corners so the seam allowance won’t bunch up when turned.
Step 7: Pin the opening closed. Select a decorative stitch to secure the edges. I used a 3-step zigzag to echo the design of the flannel sheet, but often I use the serpentine stitch as I did in the items below. If you look closely at the photos at the end of the burp cloths and first two flannel blankest, you’ll see the serpentine stitch.
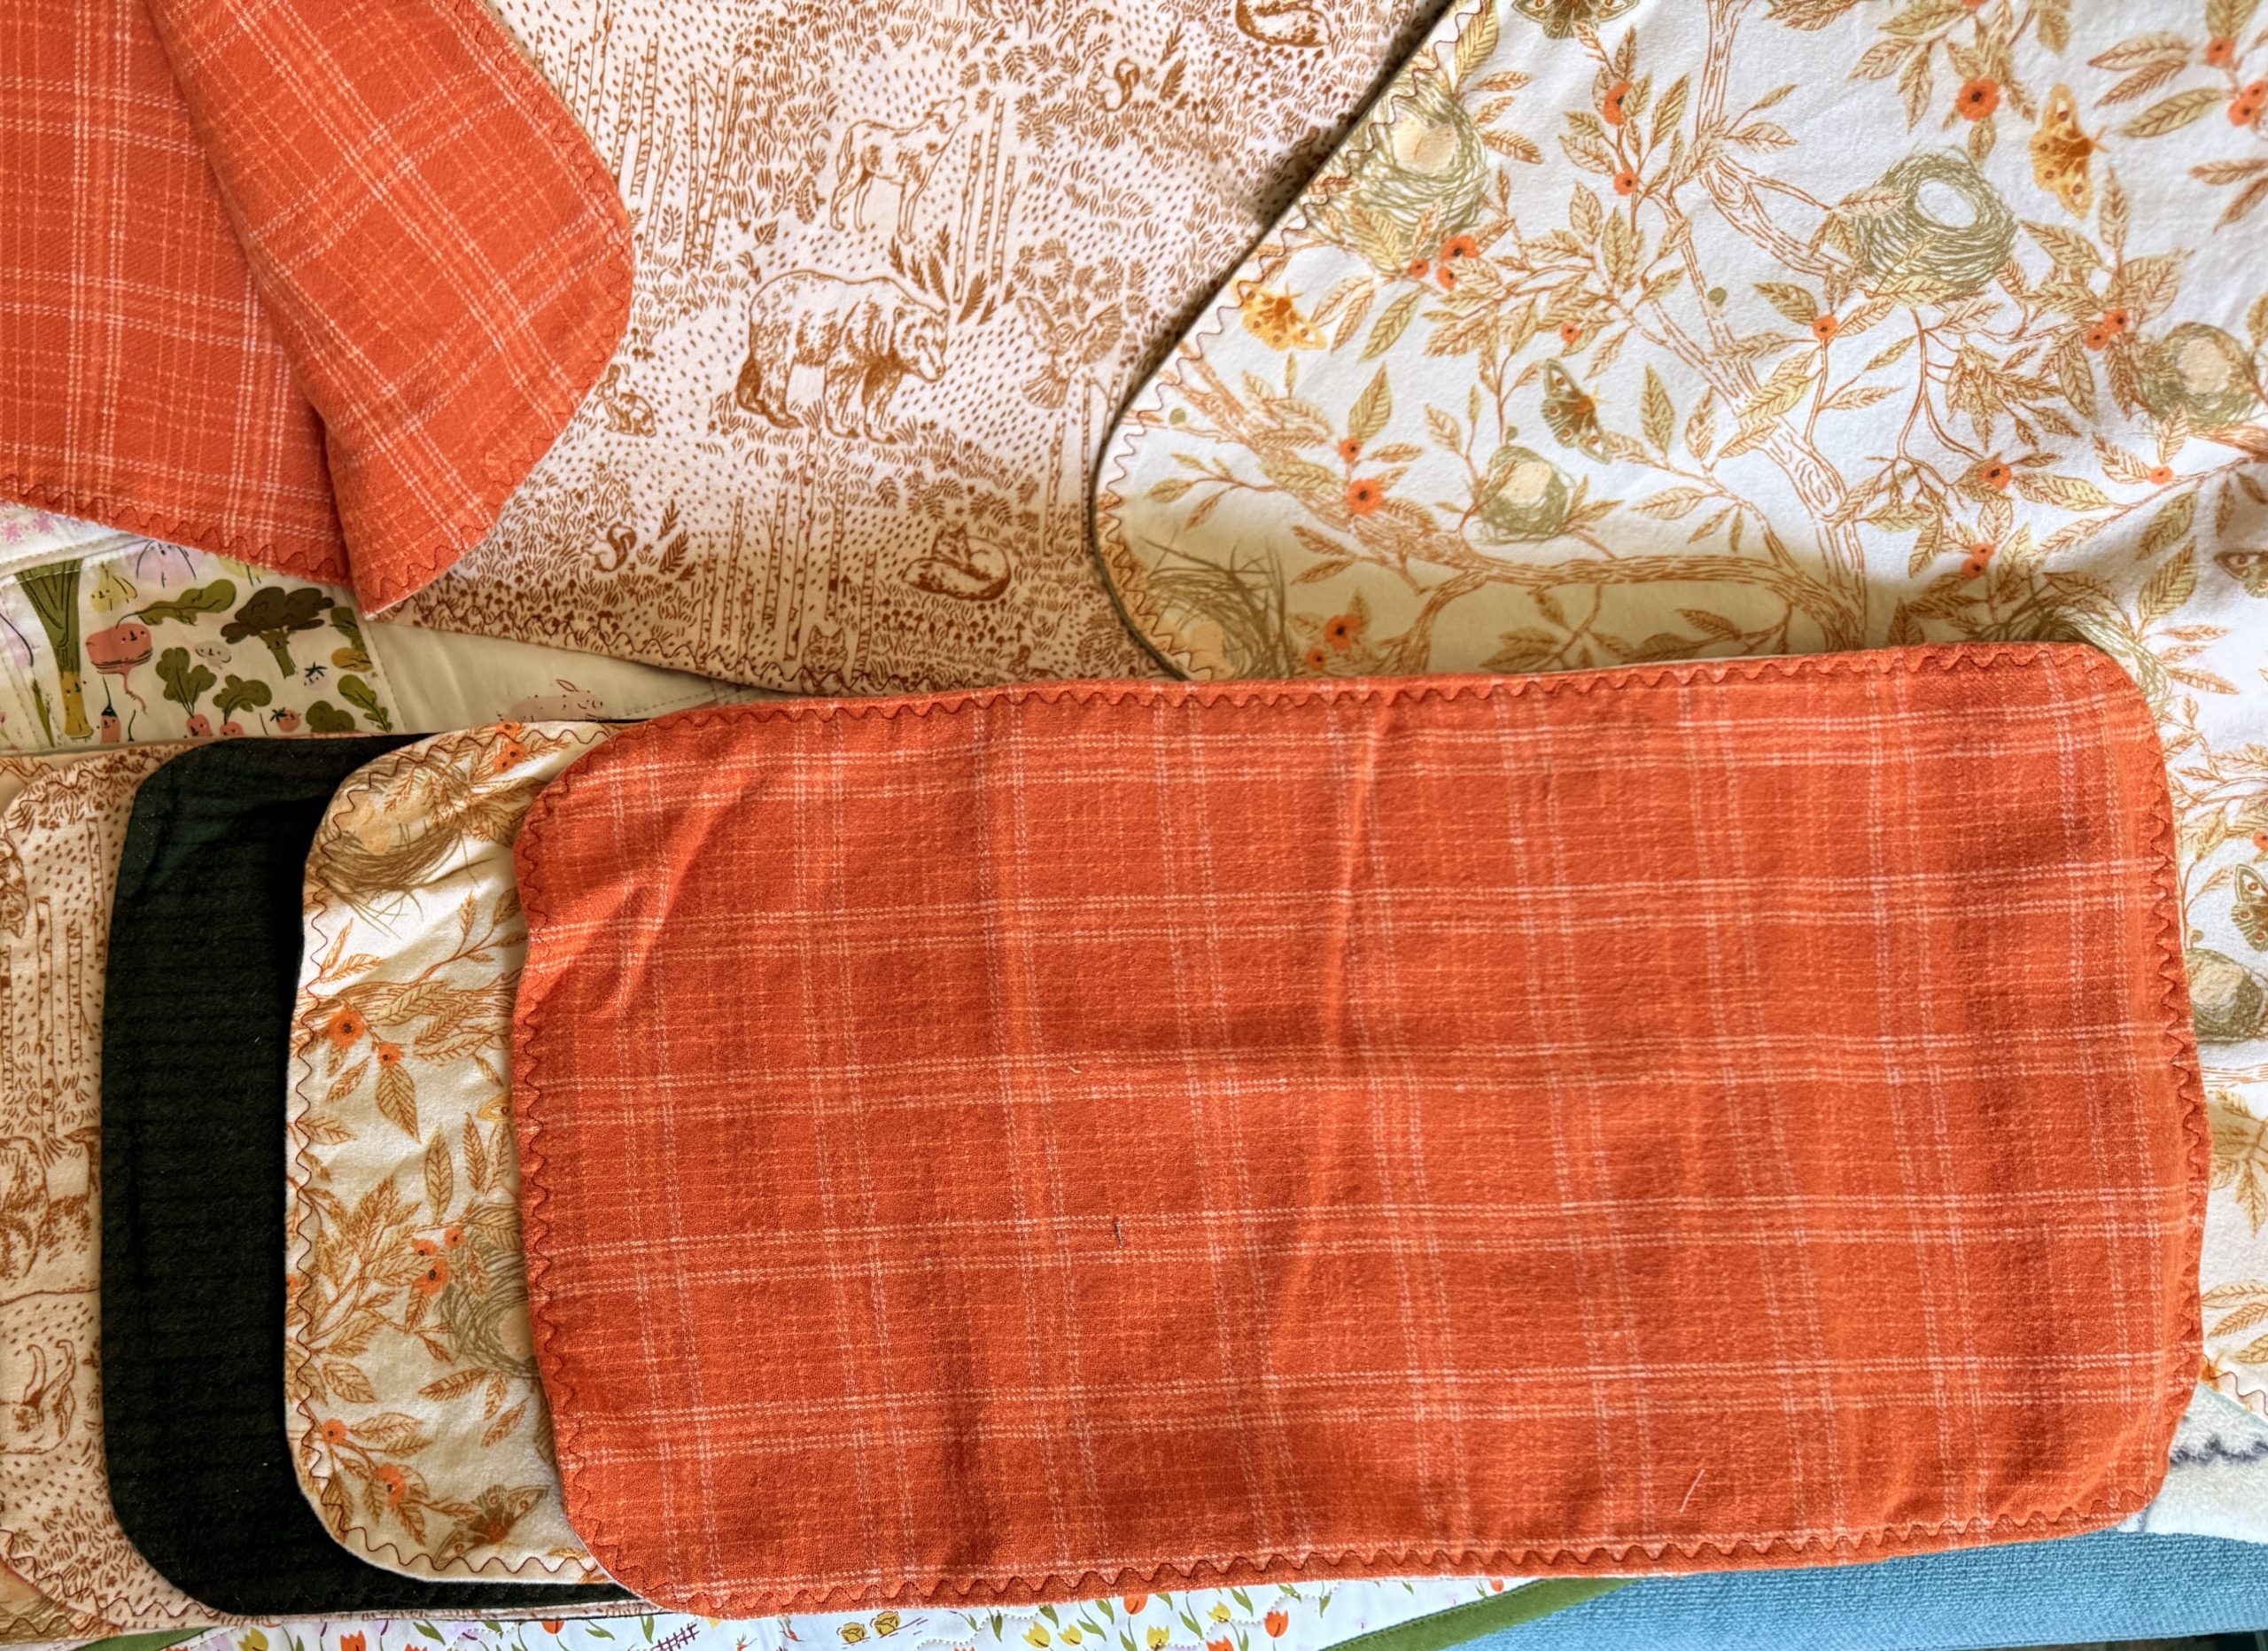
A close-up of the burp cloths
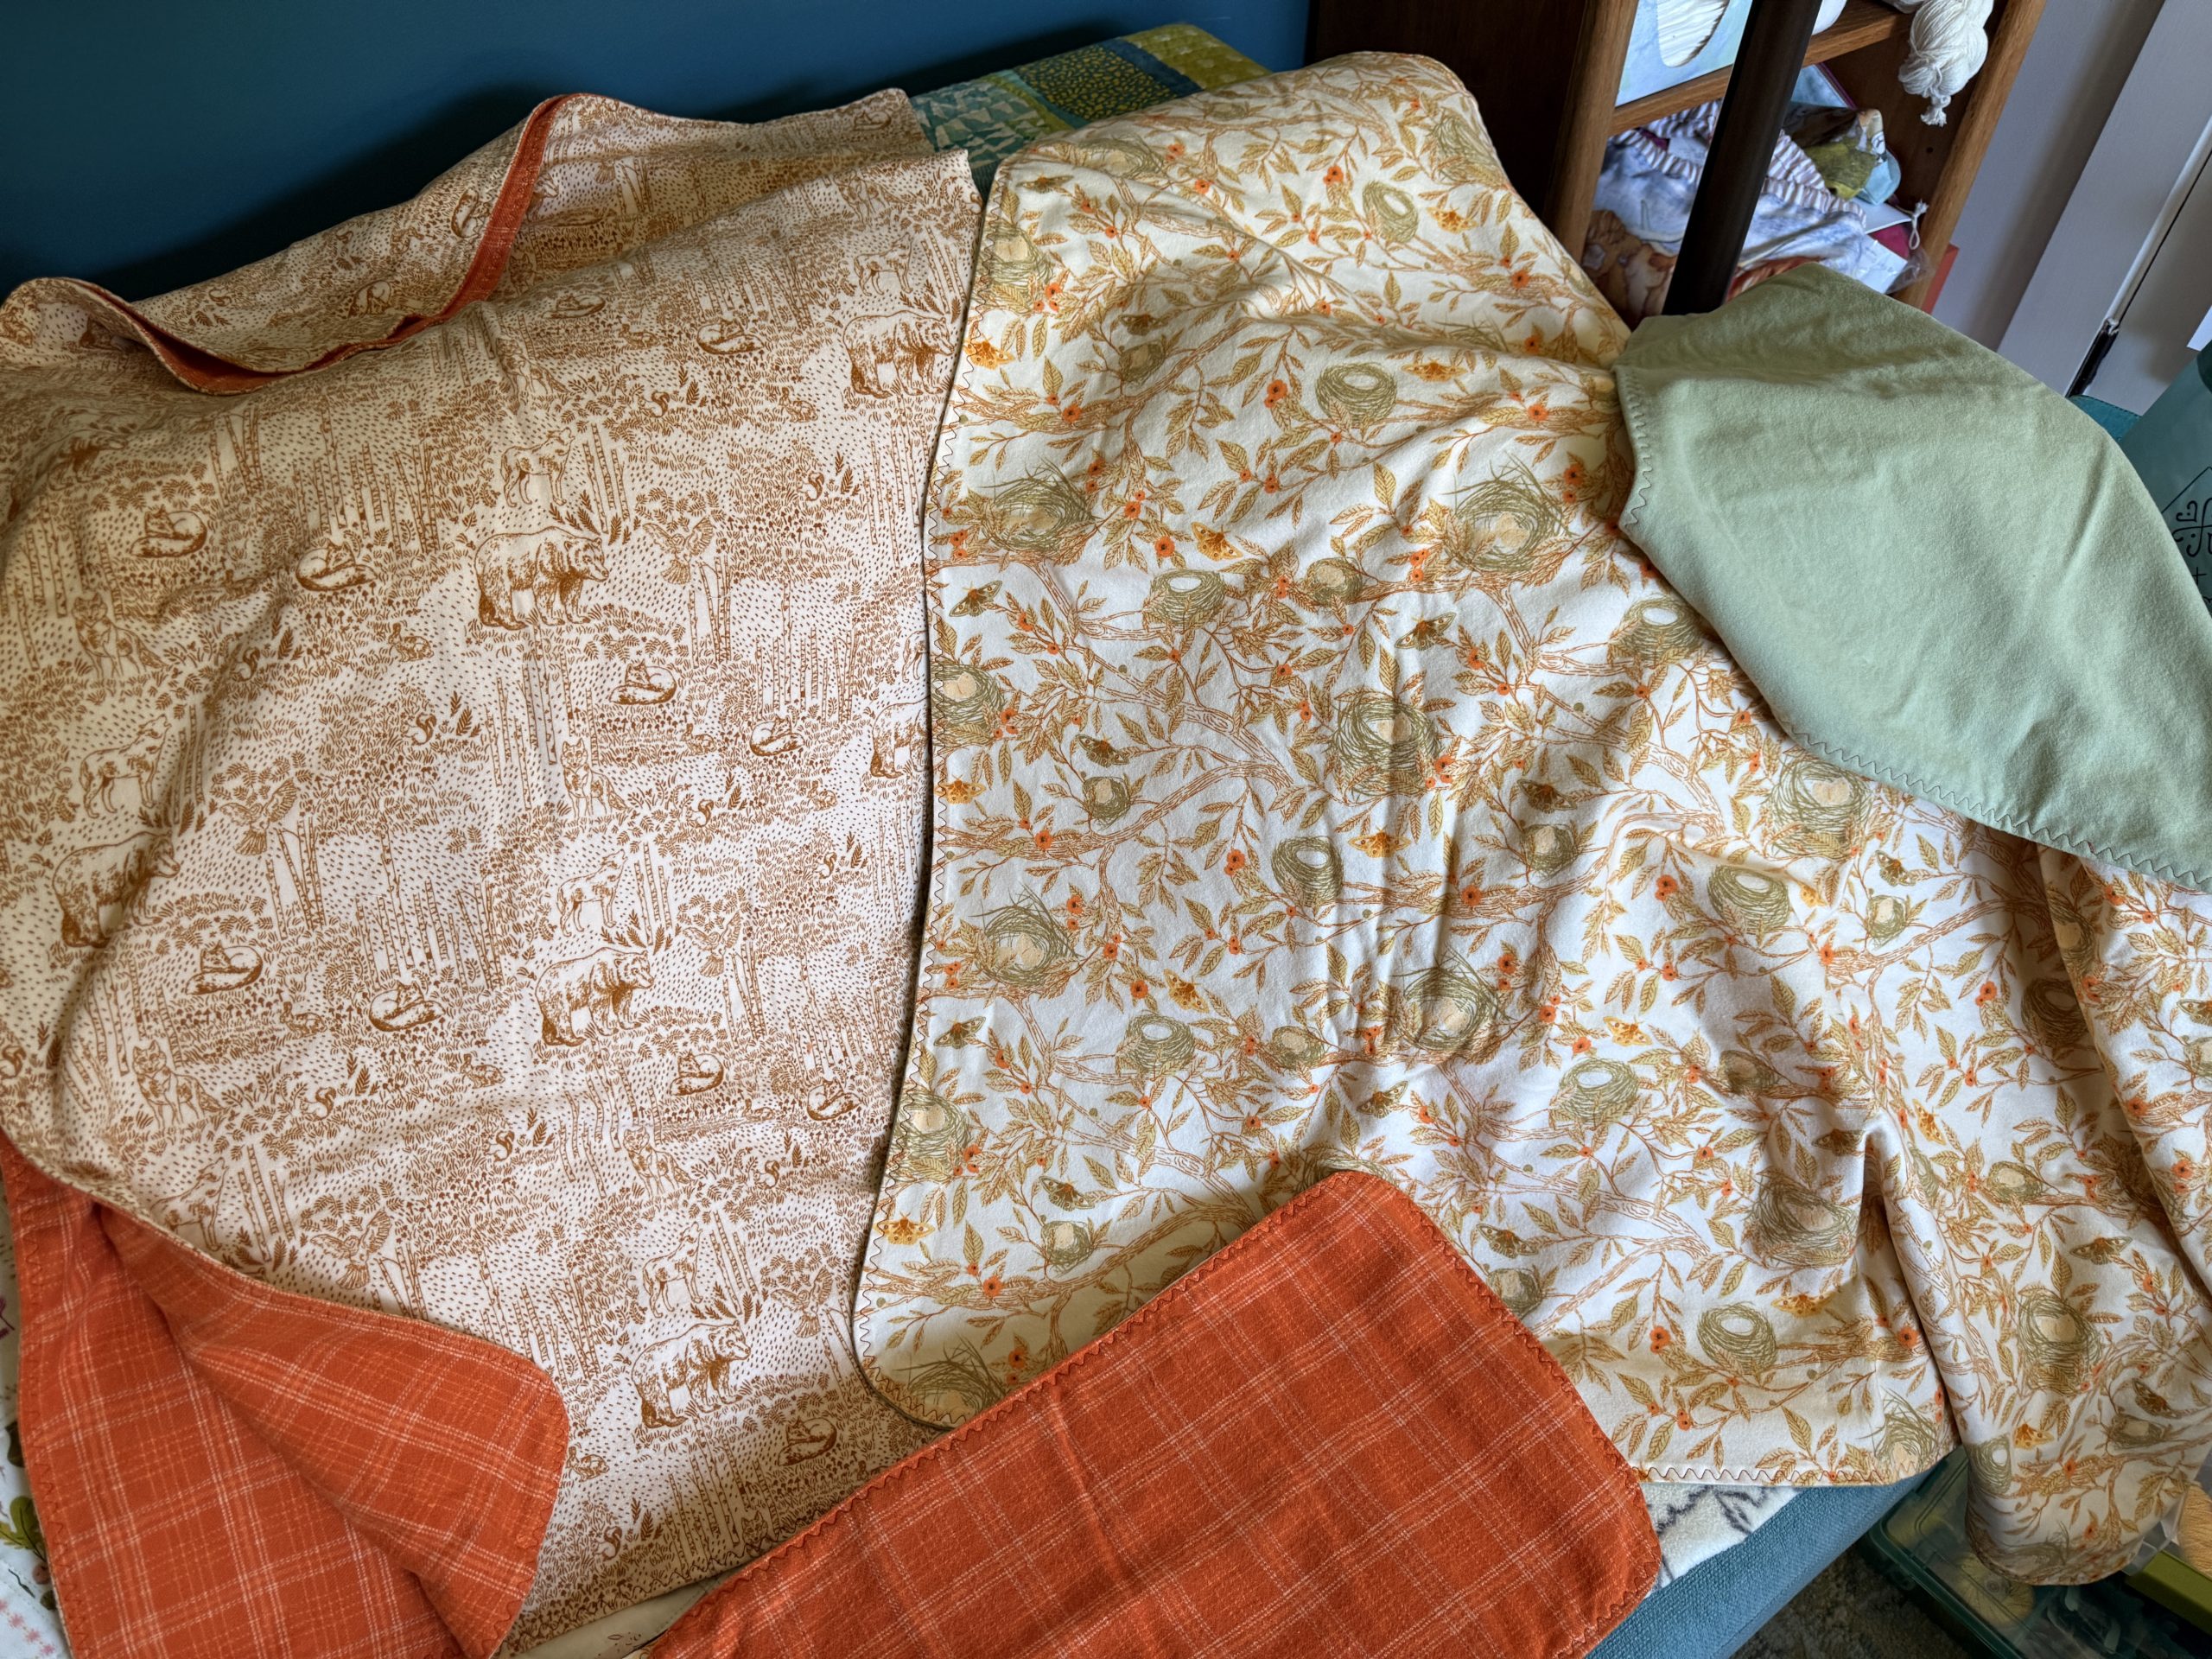
And the original two blankies and burp cloths