email Youtube

Home
Galleries
Blog
Workshops & Calendar
Store
Resources
About
Contact

Archive for February, 2009

Mounting a small quilt on a canvas

Saturday, February 28th, 2009

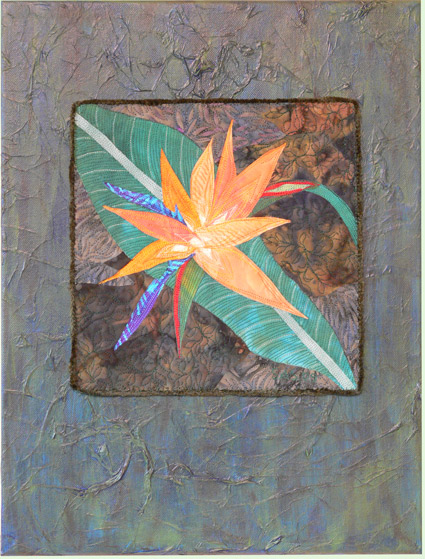
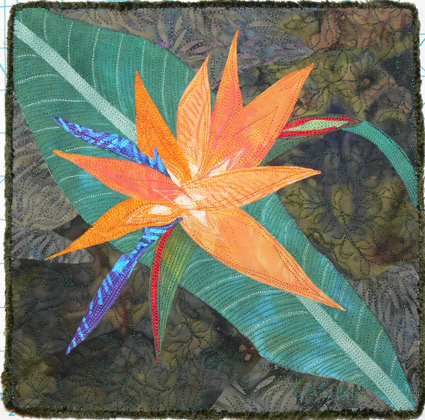
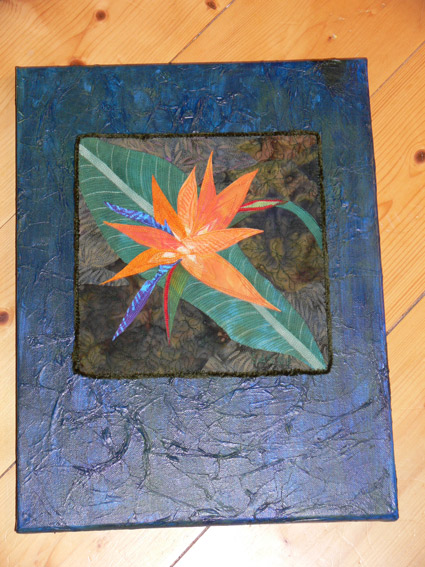
I’ve mounted a number of pieces on either painted canvas or fabric stretched over artist’s stretcher bars.  When I posted my piece for SAQA@20 recently, a friend asked if I could share how with her.  I decided it might be a good idea to share with EVERYone, so here goes.  Here is the SAQA@20 piece:

Bird of Paradise full shot

Bird of Paradise full shot

For this piece I purchased a primed canvas at my local art supply store (and how heavenly is it to LIVE near an art store…a real one, not a chain…. glorious!).

Here’s what I wrote to Debby, chatty and all:

  1. Buy canvas.  I take the finished (or nearly so) piece with me to the store to eyeball the right dimensions.  Make sure you leave enough space on edges that you can sew through canvas, not wood frame (otherwise it is E6000 glue time, and yes, I have done that too!) Canvas is usually primed (painted white).
  2. Mark the location of your work that will be mounted.  I placed mine, measured to make sure it was square/level and equidistant from the sides.  With a pencil, reach underneath the artwork and sketch a line, maybe an inch inside the edges of the piece.
  3. Find tissue paper-I actually happened to have a fairly old, tatty piece of acid-free tissue so used that, but I would just use plain old tissue paper if I had it.  Tear tissue into bits and “glue” to the surface, wrinkling and scrunching as desired.  I used Golden Mat Medium, but a Gel Medium or Mod Podge would work too as the “glue” with a sponge paintbrush.  The tissue will likely tear a bit–that’s OK.  I did NOT extend the tissue far under the location of the artwork… I went to about the pencil line.  Allow to dry–overnight if possible.
  4. Paint.  I used a blue paint first, and it was WAY too blue.  You may need a brush (not sponge) brush to get into some of the tissue crevices.  Allow to dry to the touch.  Oh yeah… I happen to have on hand Golden Fluid Acrylics (available at www.dickblick.com) so I used those.  You could also use craft acrylics, but the pigment load per   ounce (or whatever measure you want) isn’t as much…in other words, there isn’t as much pigment.  You get better coverage and durability with artist acrylics, but they aren’t necessary (my Cappuccino series that are on the square canvases…check in the For Sale tab… were painted with craft acrylics).
  5. Paint a second layer of same color if you don’t want the white of the canvas to show through.
  6. As I mentioned, mine was way too blue, so using a sponge paintbrush, I added some green, which made it too green.  By the way, I tested on the area that would be under the artwork so if it was awful and I couldn’t clean it off, I wouldn’t ruin the canvas.  Then I took a wadded up paper towel and swiped.  For this one, I kept the swiping vertical, but it could be fun to do every which way, too.  That lifted some of the green, and thinned other parts of the green, which was kinda cool.
  7. It still wasn’t quite right.  Did the same thing using Raw Umber (or was it Raw Sienna?), a dark earthy brown.  I applied less paint, almost a dry-brush technique dusting the color here and there, then paper-toweling.
  8. Oh…sewing it on.  Once everything is dry, I position the artwork, again measuring for level/equidistant.  I spear the corners with pins (and more on the sides if the piece is large).  Using a sturdy needle threaded with a double strand of thread that matches the outside edge of the quilt, I stitch about every inch or so.  Some artists may only do the corners, but I don’t trust cloth not to move.  On the bottom I’ll do maybe every two inches.  A thimble REALLY helps as the canvas is tough.  I have heard that some folks will sew felt to the back of the quilted art, then use maxi-hold glue.  I’ve done that, but don’t really like doing it.
  9. Finish the back.  Black dust-cover stuff (what is underneath upholstered chairs) works great on the backs.  I staple gun that (or whatever) to clean-finish the back, and hammer one of those picture hangers to the center top… I call them alligator hangers…straight across the top, downward facing triangles/teeth on the bottom.
  10. Turn around, admire and enjoy.  Hope for a quick sale!

Really fancy eh???

I suppose I should have applied a varnish to the top.  I KNOW I should have with the craft acrylics since they are starting to scuff a bit on the edges.  I think I shall apply Glad Press N Seal to the top of the quilted parts, then use a spray varnish (Matte or Satin) for those pieces to protect the paint.  Maybe on this one too.

Some alternatives:

Buy a canvas the same size as your piece.  Paint the edges.  Sew felt (black would be best) to the back of your quilt.  Glue it using permanent glue to the canvas.  By using felt, you can later change your mind and remove the quilt from the canvas if you feel like it.

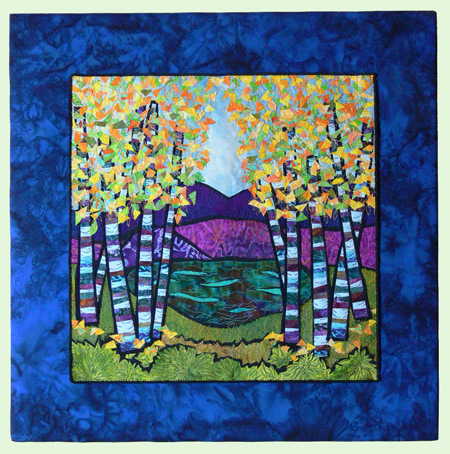
Use artists stretcher bars, cover with batting and coordinating fabric, as I did with Birch Pond and a number of other pieces (check the for sale gallery… the Cloud crane, Tree Branch Moon and maybe some others are done this way):

Birch Pond, on blue batik over stretcher bars

Birch Pond, on blue batik over stretcher bars

If there is anything that is confusing…just ask! OK…NOW it’s done.  I think…

Even MORE snow…and baking bread on top of the woodstove!

Thursday, February 26th, 2009

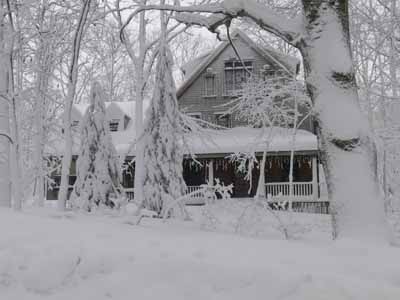
200902blogbigsnow007

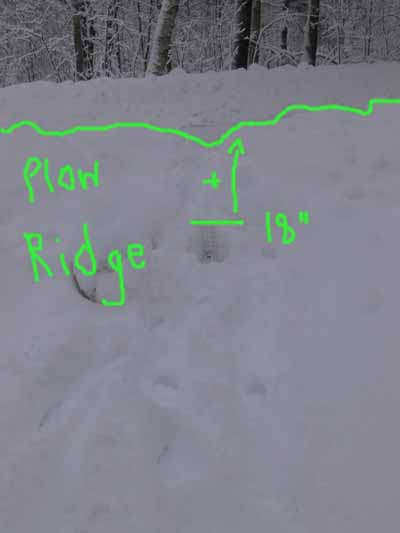
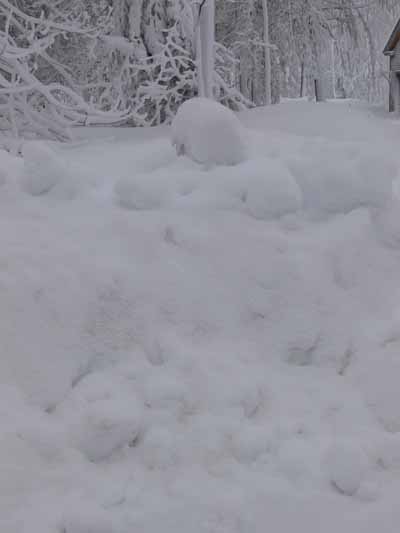
Wowie zowie…that was a snowstorm!   On Sunday it began to snow, and snow, and snow… when it finally stopped on Monday (yes school was cancelled for the day) we had 11 inches of fresh, WET powder in the driveway and a prodigious snowplow pile.  The photo above is of our house, from the street.  Here is my handy dandy quilting ruler in the snow next to the snowplow ridge…that is an 18 1/2 inch ruler, dwarfed….:

200902blogbigsnow002

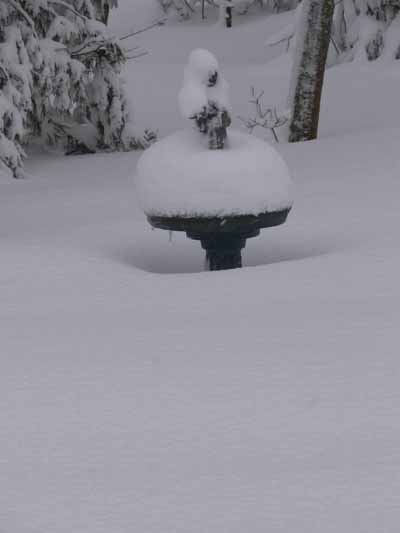
I always take pics of the St. Francis birdbath and the nearby pot.  The latter is large, and buried.  Here, you can see the snow is almost up to the basin!

200902blogbigsnow010

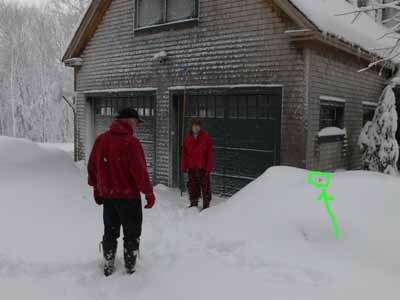
Paul and Joshua in front of the snow-crusted garage.  See that little bitty orange thing sticking out of the snow?  That’s the 3 foot post to show the plow guys the edge of the driveway…..

200902blogbigsnow006

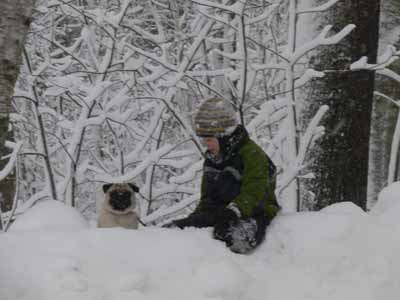
Eli took Widgeon for walkies, cross country in the little woods across the street.  Are those not the cutest two things on six feet?  Widgeon LOVES the snow and doesn’t care if his tummy and dangly bits get all cold and red! Silly sweet dog!!

200902blogbigsnow003

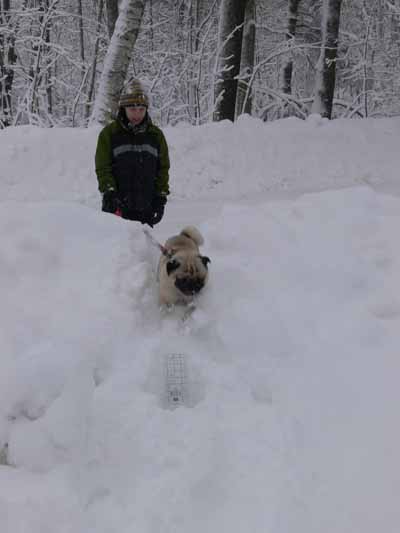
And coming over the plow ridge…if we have much more snow we’ll have to park in the driveway or have a bonfire as there is nowhere else to push the stuff:

200902blogbigsnow004

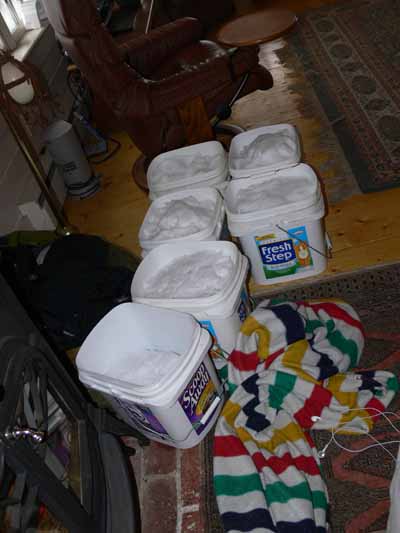
Shortly after the Oscars began, the power went out.  For 21 hours.  Since we have a woodstove and gas range, this isn’t too big a deal.  Except the water pump is electric.  That means each toilet has one flush.  Ooops.  So what to do?  Well….melt snow! All this barely made a dent in the mound on the front porch steps:200902blogbigsnow008

Then there is the mailbox…see that lump in the middle…that’s it!

200902blogbigsnow005

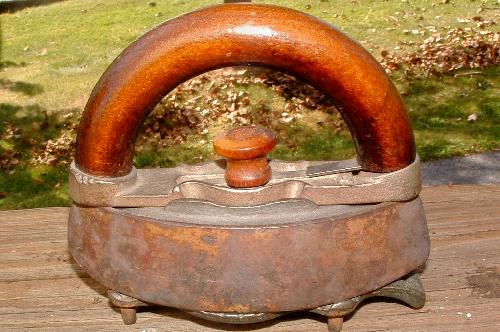
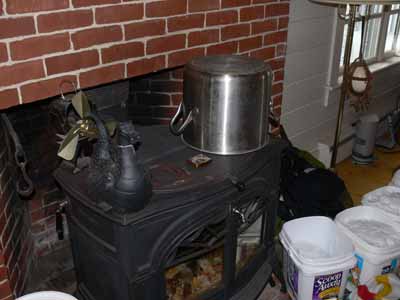
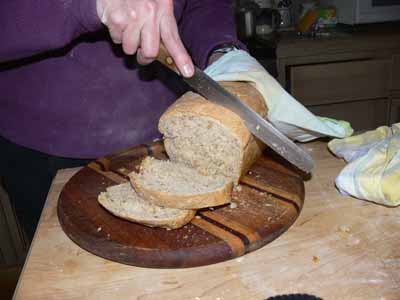
The boys were at first at a loss without iPod (battery gave out), cell phone for texting (ditto), laptop (ditto), internet….so they got out the board games and I treated myself to reading a fluff quilty novel! Paul slept or read. Then, at some point, I discovered we had a scant half-loaf of bread, so decided to bake some.  I had forgotten that while we can light the burners (they have knobs), the oven does NOT have a knob.  So I had 12 cups of flour (4 loaves) kneaded, risen, punched down, and formed into rapidly rising loaves.  What to do????  Well, I figured if I could find a metal box (yeah right) I could improvise an oven…Paul’s thermometer on the stovetop tells him when the surface is 500, where he keeps it.  I needed a 375 degree oven.  So….I thunk on it….the canning pot!   Down to the basement.  But the bread would burn on the bottom…hmmm… my sad iron trivet…kinda like this … under the pan.

sadironntrivet

And here’s the improvised oven:

200902blogbigsnow009

Guess what…It WORKED!

200902blogbigsnow011

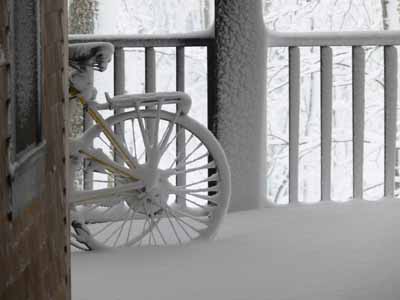
And one of my favorite pics just because….the ancient bike on the deck:

200902blogbigsnow001

The Frayed Edges, February 2009

Wednesday, February 25th, 2009

Well, two weeks have nearly evaporated since we last met, this time at Hannah’s house.  The drive down the snow peninsula toward Harpswell was beautiful… I love looking at the frozen salt water inlets, the ice heaved and shattered and piles like boulders…. We shared this and that, all of us seeming to relish a bit of a breather in our too-hectic lives.  Hannah been to a HUGE crafters and mixed media convention in California….. I think it is CHA or something like that, but check Hannah’s blog for pics… in the late January posts.

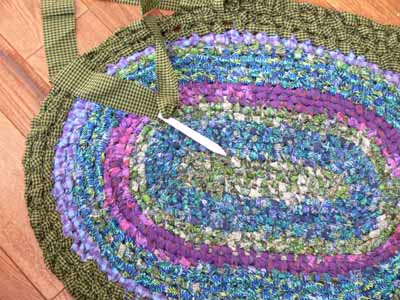
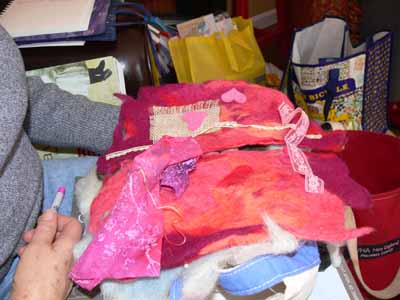
Kate has lately been seriously taken with rag rugs, including this beauty in my favorite colors….I have a feeling Kathy and Hannah are going to be following in her needlesteps…. (the needle by the way is a modified-by-kate-into-a-needle toothbrush…it has to be one of the old fashioned brushes with the hole at the end)

Kate's rag rug

Kate's rag rug

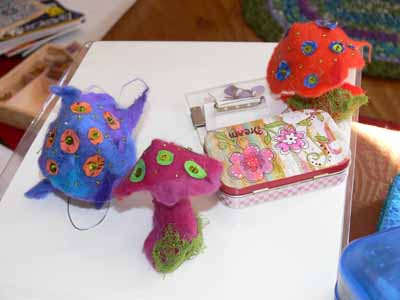
Then Kathy shared what she has been doing…making mushrooms:

Kath's mushrooms and tin

Kath's mushrooms and tin

and working on a project for our “round robin” of books.  When we first started meeting OMG four YEARS ago, we decided rather than do a round robin quilt, we’d do books, and make pages for each other.  Since Hannah joined us about two-plus years ago, we’ve kept talking about doing another round, and getting Hannah in on the act.  This is one of Kath’s pages in progress:

200902blogfrayededges003

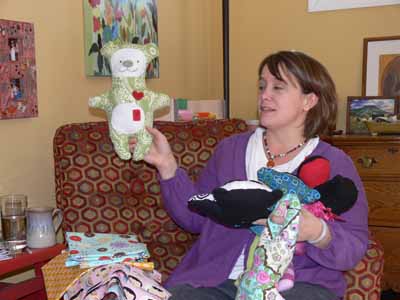
Hannah had made a ton of stuff for holiday craft sales…here she is with some of the very few items left:

Hannah and critter-friend

Hannah and critter-friend

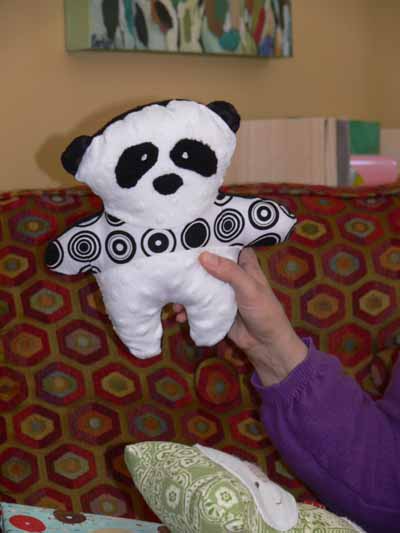
and how this panda excaped being bought is beyond me, he’s ADORABLE:

Hannah's Panda

Hannah's Panda

I had a project (at long last!) to share, but alas can’t blog about it as I have submitted it to a magazine for possible publication. DRAT!  Stay tuned….sigh….

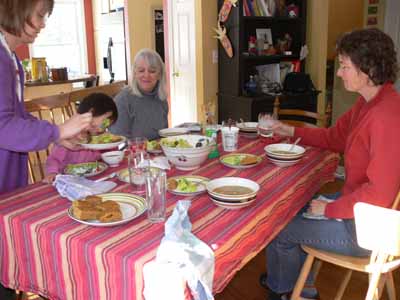
And of course there was food…thankfully, someone stood in for Deborah and reminded me to take pictures.  Deborah…we miss you!!!!!!!  Wish there were a job back here in Maine for hubby that could get you back from Texas!

200902blogfrayededges006

Finally, here is Hannah’s new kitten, about 8-9 months (?) old…what a perfect cat-cat!

Kitten

Kitten

The melting spell is over, and now it is SNOW

Sunday, February 22nd, 2009

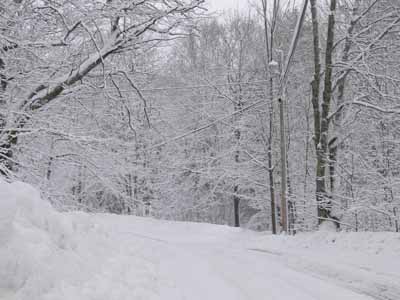
Good think I like it, because we have a LOT of it!   Here are two pictures from a snow in late January, and many more from this past week.  Won’t say much…just share the pics!  Here’s the view before I went outside to see how much we got:

200902blogsnow009

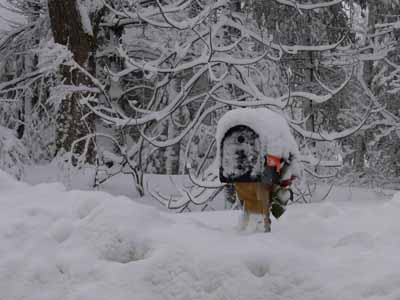
The answer:  a LOT!  Even before the street got its final plowing and sanding, the snow reached back up almost to the mailbox:

Mailbox

Mailbox

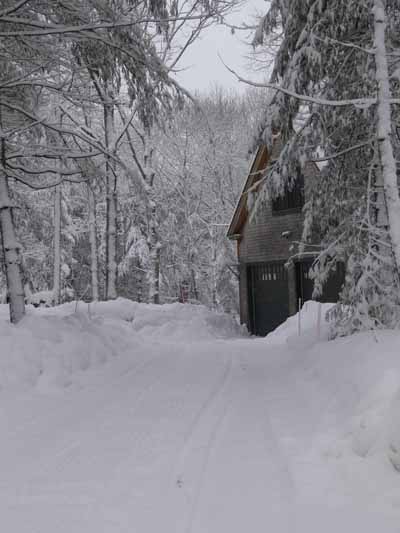
Then, looking toward the garage:

Looking down the driveway to the house

Looking down the driveway to the house

Here, looking down the street, with lotsa snow (slip slip slide) and ice underneath….

Here's what a mostly unplowed street looks like...snowy!

Here's what a mostly unplowed street looks like...snowy!

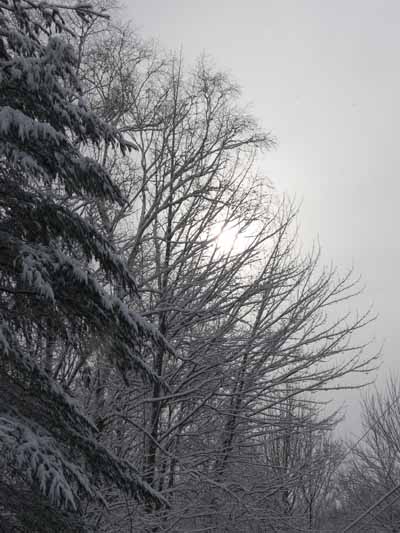
Sun Glow

Sun Glow

The sun was hidden behind high thin cloud cover, and just glowed across the landscape…

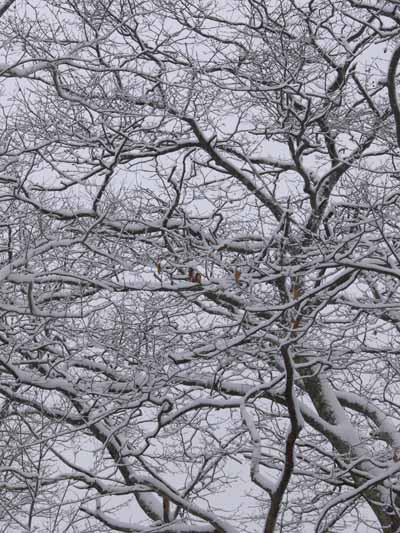
Amazingly, there was no breeze and for several days the branches were crested with snow:

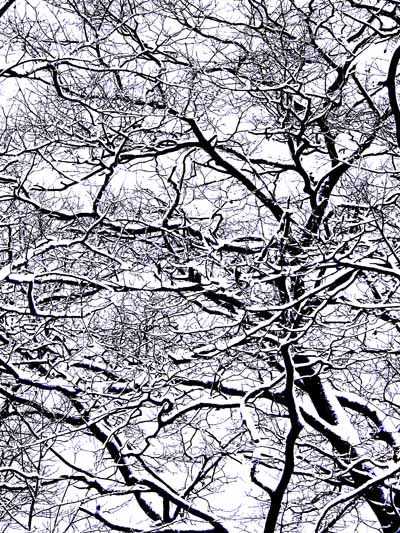
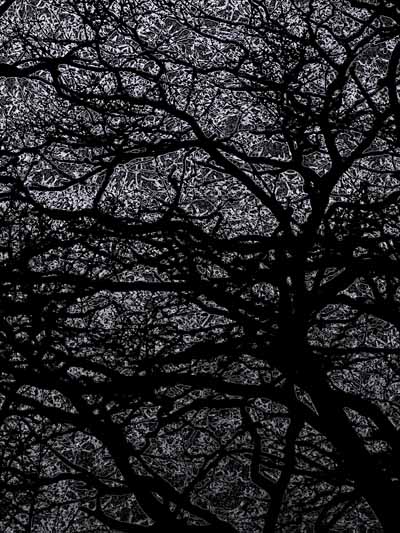
I love the tracery of the branches, and played a bit with Photoshop.  I think the two tweaked photos would make great  screens for printing…..

More branches and tracery...remember the Medieval cathedrals?

More branches and tracery...remember the Medieval cathedrals?

Photoshopped (posterized)

Photoshopped (posterized)

200902blogsnow013

SAQA at 20 – Bird of Paradise

Wednesday, February 18th, 2009

This year marks the 20th anniversary of SAQA, the Studio Art Quilt Associates.  They put out a call for entries from members a while back for small pieces for a traveling show.  They will all be matted with an 8×8 opening, so finished size had to be 9×9 or a bit larger (with the excess hidden under the mat, and used for mounting).  Since I make TONS of thread changes in a piece, even one that small, I decided to make two almost the same, send one to SAQA and prepare the other for sale.  I did take a photo of the SAQA one, but managed to delete it accidentally, but here is a photo of the 9×9 piece I kept (which is nearly identical).

Bird of Paradise block

Bird of Paradise block

It is made from my hand-dyes, commercial batiks, thread, yarn (edge-finish), and prismacolor pencil (there wasn’t enough contrast between the “spear” of the flower and the background, so light green pencil to the rescue…I hope).

I wanted to try something for this that I had done on smaller pieces…mount it on a painted/mixed media canvas.  I had some teal cloth out on the work table, tossed the piece on it, and it looked great.  So I  used mat medium to adhere acid-free tissue paper to the canvas, then painted the canvas the same teal color.  Bleah. It definitely didn’t work the same way. I added some green.

Bird on Blue canvas

Bird on Blue canvas

Still needed more, so more paint to the rescue.  After checking with Frayed Edge Kathy D., we agreed it needed way more green.   In the end, it needed green and raw umber.  I painted the colors on, then swiped with a paper towel.

Here is the finished piece.  It will be for sale directly from  my website for a few weeks, then I’ll take it over to the Ducktrap Gallery that has my work here in Camden, Maine:

Bird of Paradise full shot

Bird of Paradise full shot

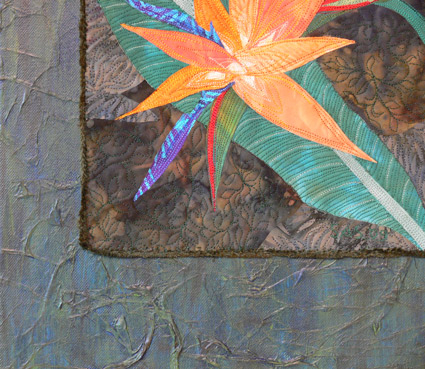
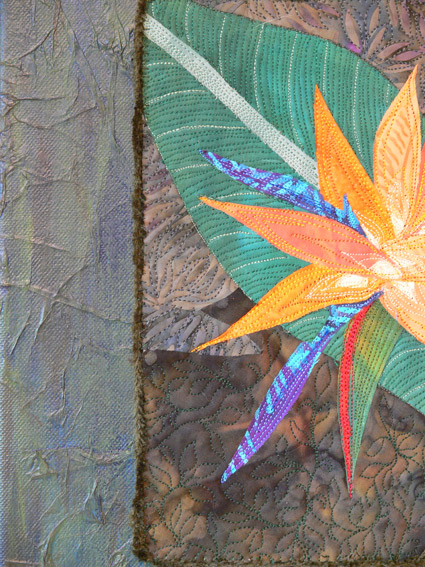
And here are two detail photos that show the texture of the canvas, which I rather like:

birdofparmixeddetail1x425and:

Bird, detail 2

Bird, detail 2

Amazing…. after two years working on the book and assorted family crises, I get to make art!  I’m looking forward to MORE!