email Youtube

Home
Galleries
Blog
Workshops & Calendar
Store
Resources
About
Contact

Author Archive

The Frayed Edges, August 2010

Thursday, September 30th, 2010

Wow….Kathy gave US a major treat for her birthday!  Summers are difficult for the three of us who still come every month (Hannah is overwhelmed with family and her burgeoning business, see her blog here, and Deborah is now in Maryland, which is blissfully closer to Maine than was Texas):  Kathy has lots of family gatherings, Kate and I have kids underfoot.  So we are now skipping meeting in July, but reconvene in August.  The end of August is Kath’s birthday, and she happens to have a deal to use a waterfront cottage down the peninsula south of Damariscotta for a week.  This was a barter for a major quilt she made for a friend…I don’t know who got the better deal!

Here are a whole bunch of photos with captions…enjoy!

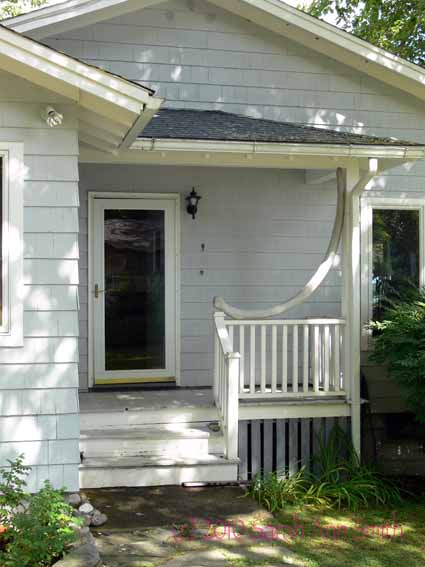
The owners found the old whale rib washed up on shore and added it to the front porch

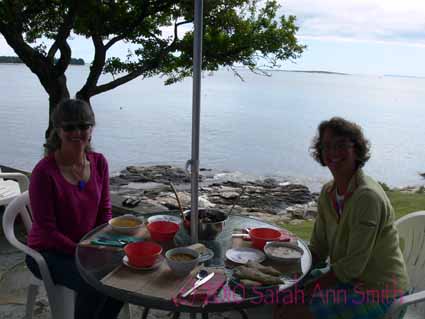
We ate on a small patio off the living area...glorious!

The birthday girl snapped this photo for me (on left) with Kate (on right)

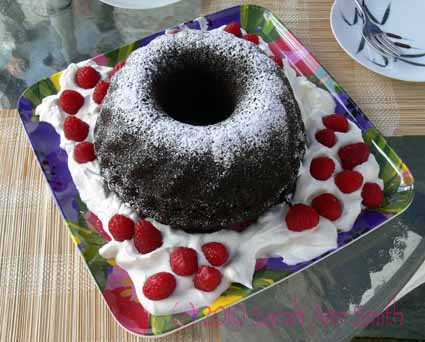
Bundt cake, berries and fresh whipped cream for dessert

the cabin, with the tail of my car on the left--Maine doesn't get any better than this!

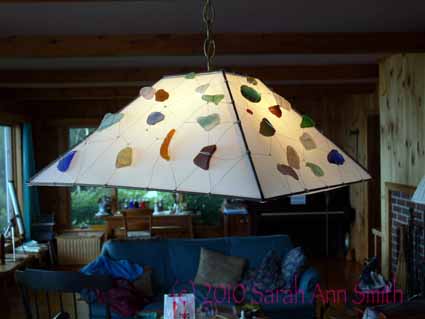
sea glass wired to the dining table lamp shade

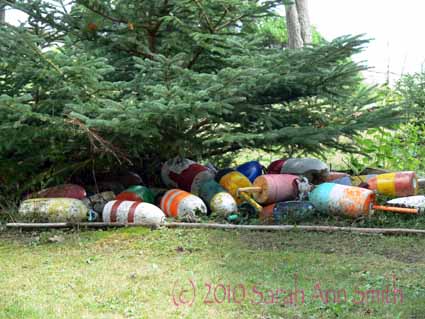
Lobster buoys that must have washed up, clustered under the pines

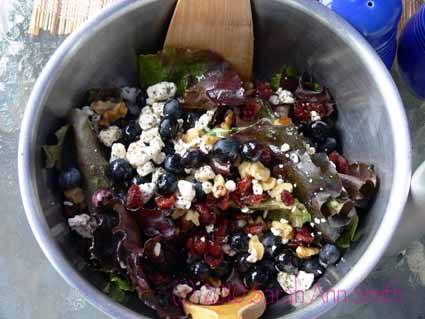
Kate’s Delectable Salad

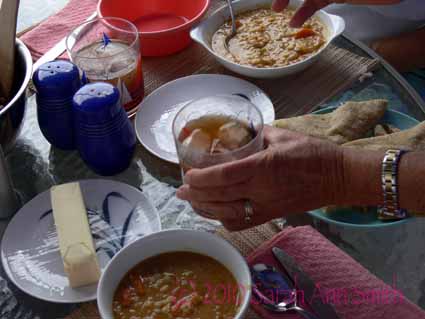
Kathy made peanut-curry soup, I think the recipe is from Mrs. Cutko (kates MIL) --either that or from Kate's mom. It is SO GOOD!

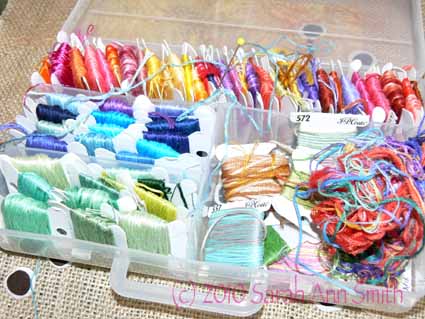
Kate and I have been sidetracked by summer and kids, but Kathy actually had work to share. Here is her floss box..beautiful colors!

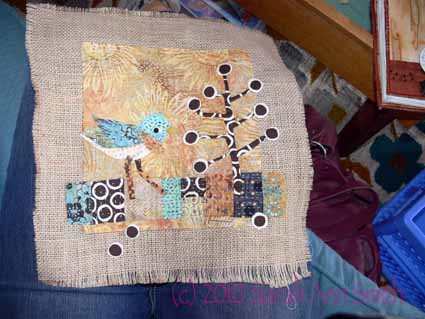
And a nearly finished bird of  from Kath:

And I have NO idea why the formatting changed.  I put the text into the same places, but clearly I am missing something!  Oh well…at least you get to share.  What a wonderful place to be:  in Maine, by the sea, with friends who make and love art and cloth and thread!  I am blessed.

Rolling over in his grave

Tuesday, September 28th, 2010

My dad was, quite literally, born in the Victorian era, in 1899.  He would NOT believe what I did this week, or what Joshua did:

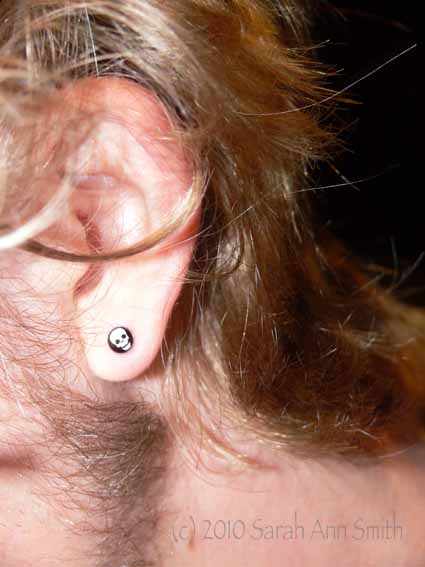
Yes, that is my  nearly 17-year-old with pirate-stud-earrings.  He actually tried to pierce his own ears (unbeknownst to us, in the bathroom, using a kit, an apple–behind the ear, and a safety pin).  OW! He has been after me for a while to allow this, and I of course stalled.  However, after having attempted it on his own, I decided it was time to just cave in.  I am weak.  So we went to WalMart.  Since he already had steel metal studs, he picked these…quite suitable for the son of a Fiber Pirate!
But still, my dear old dad would be (if he were buried instead of cremated and scattered outside the Golden Gate) spinning in his grave.  And yes, Joshua has a beard.  How do I have a son with earrings and beard who is nearly 17?   That vortex you hear is time disappearing at warp speed…….

Free-Motion Quilting and life…

Sunday, September 26th, 2010

Yes, it has been a while.  As usual, that means there has been more than the usual chaos around here.  We happened on to a house for sale ad in August, which started a ball rolling that we hadn’t anticipated.  We found a different house just a couple miles away (same school district, next town over), made an offer on it, and have been maniacally (sp?  that looks weird but not getting a spelling error notice) sprucing up our house.  That means little art and quilting have happened.  Until this week.

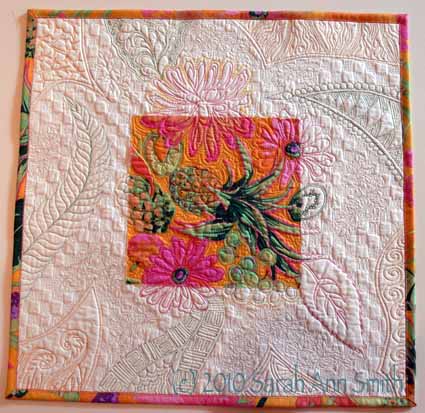
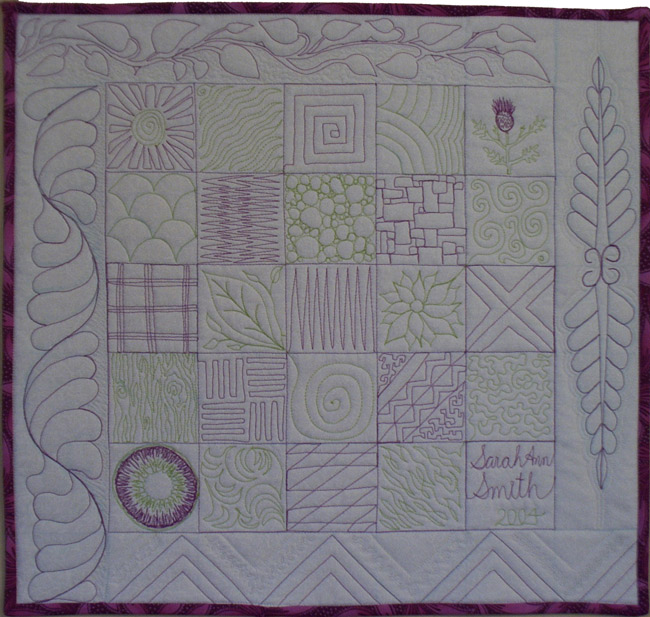
In the midst of getting the house onto MLS, I started a new sample piece for my Intro to Machine Quilting Class which I’ll be teaching again on Sunday at Maine-ly Sewing in Nobleboro.  I was prompted by two things:  this post over on Jenny Bowker’s blog and the fact that some students find free-motioning into the vastness of empty space –i.e. the 18 inch square quilt sandwich I have them bring– is intimidating.   I use this sampler as my basic teaching tool (it’s also patterned in my book–click on picture to see it larger):

Some students like to make it just as is, sewing the grid, then filling in the squares, since a small square is less intimidating that a large one!  Others feel too confined in the squares, so I tell them to just go for it on the sandwich without creating a grid framework.  I’ve also long counseled them to use a large print as a guide for learning.  You can put the print on the back of the quilt and use that as your design, or just in the borders but repeat the shapes and motifs in the center of the quilt.

If you haven’t yet visited Jenny Bowker’s blog, DO!  She is one of my all time favorite quilt artists.  Her work is always inspiring and amazing.  While you are there, be sure to click on the link to her website and view her quilts.   Jenny has combined the two methods I use into one piece…take a square of big-print fabric in the center of the sandwich.  Jenny has her students piece the top, I think, but I’ll try fusing instead…faster for a class room setting?  Then use various motifs from the print fabric plus fill patterns for the rest.  In looking at hers again, I think I need to make MORE of these little pieces; I also am thinking a bed quilt of assorted big print squares with wide, solid-fabric sashings quilted all over like this would be GORGEOUS!

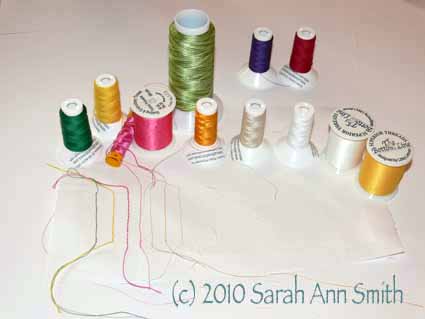
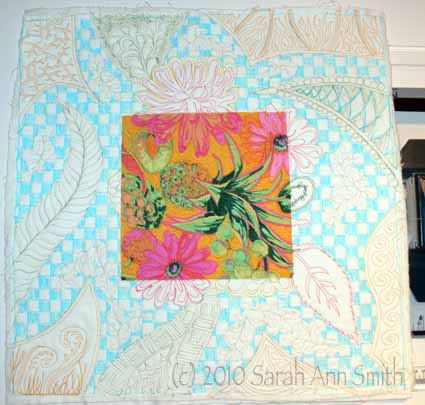
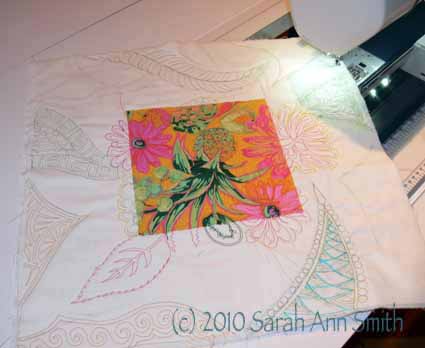
So, I decided to adapt her idea by fusing an 8 inch square into the center of an 18 inch square of white.  I also received some spools of thread from Gilbreath Threads, fairly new to the quilt thread market I think–their stuff is available here.  They found my website, asked if I’d like to try their threads (the cottons are made at the same factory in Italy as the Aurifil cotton that is so luscious Correction!!!!  Gilbreath claims the cottons are as good as Aurifil…see my clarification posting dated October 11, 2010).  I said sure, and they sent me a variety.  In the next post, I’ll share more about them, but I think I am in LOVE with the 12-wt wool and the 12-wt silk.  I am re-thinking my aversion to bobbin work…these are too wonderful NOT to use!

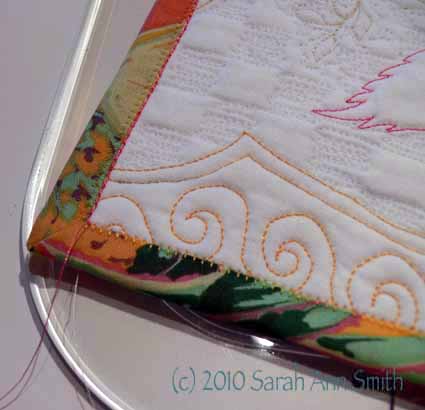
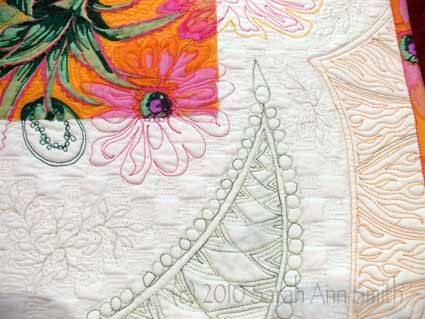
I began by quilting on the print square, then spilling over onto the white.  Next, I continued with the variegated green (a Rainbows thread from Superior Threads), with relatively easy quilting (requires less precision than many designs) for the four different “waves” coming in from the sides.  I then decided to repeat the yellow color of the heavy wool used to outline the flowers, but using Gilbreath’s 40-wt. Poly.  The latter handles and looks much like Superior’s 40-wt poly threads, which are my favorites.

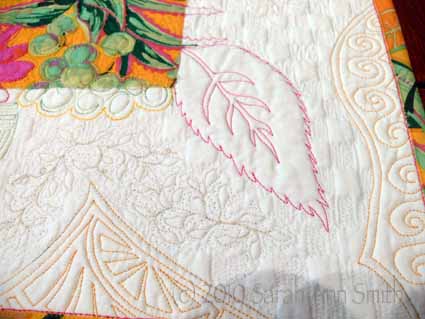
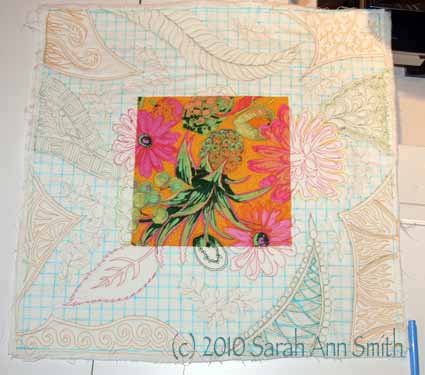
Once the colorful stitching was done, I decided to try the two cotton threads Gilbreath send:  a 40-wt ecru and a 50-wt white 2-ply.  I used the ecru to stitch a small leaf design in the center of the remaining open areas:

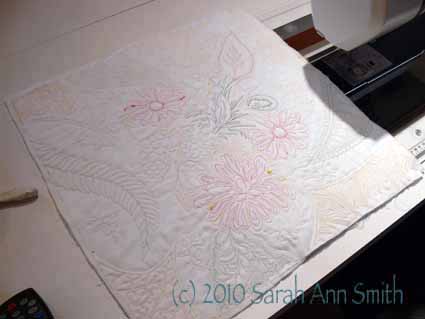
Finally, I used the fine white thread, which appears to be similar to Superior’s MasterPiece thread, for some background quilting.  I like to contrast curvy with linear in quilting, so I chose a checkerboard fill patter.  I got out my ruler (who me?) and drew a grid with wash-out blue pen (see above).  Then, because I am easily confused, I colored in the alternate squares so I wouldn’t go off-track, and stitched on top of the blue (yes, this is the picture from the top, repeated….):

Here’s the back:

You’ll notice some thread blobs…I left those on purpose since this is educational.  The point on this one is read the thread description FIRST.  I tried using the 12-wt silk and the 12-wt wool through a topstitch needle (both size 14,90 and 16/100), with limited success.  I then read that it is intended for use in the bobbin or by hand.  I simply cannot describe how heavenly that heavy silk is….. I can see doing handwork just so I can use it.  The sheen, the thickness….GLORIOUS.  I think I will take a very close up of that spool for the next post….drool!   Anyway, that’s for next time.  And you’ll see it with the blue washed out…mo bettah!

Home repairs….

Monday, September 20th, 2010

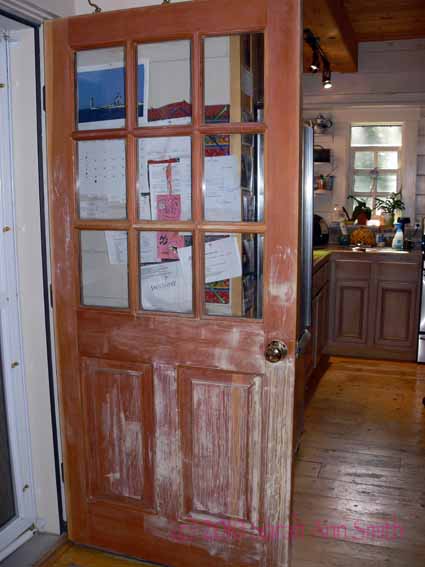
As if I didn’t have enough to do already, we are thinking of moving to a different house in the area–same school district, though.  So in addition to selling off mom’s household stuff, trying to keep up with my quilting career, raising two kids (one of whom is a teenager…’nuf said), eat, sleep, walk the dog, et cetera, we are getting the house spruced up.   The dear, departed Yeti-dogbeast (read about him here and here) left his marks on the house literally:  major scratches on the door from the garage to the house, so I needed to fix them.  Alas, there was so much to do that wood filler the color of the door wasn’t gonna do it, so I went to regular wood filler:

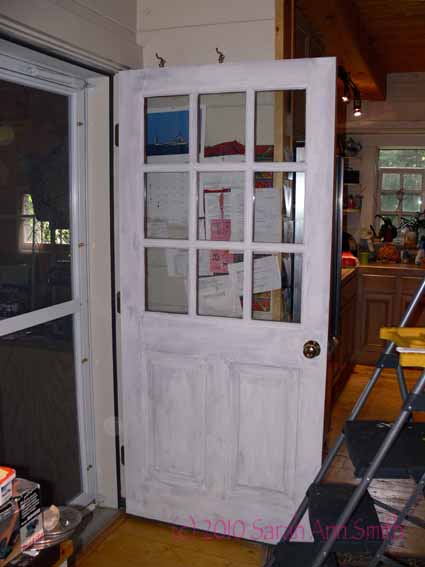
Yep.  That light stuff is ALL wood filler.  I didn’t get the molding done perfectly, but it is a whole heap better than it was.  Then primed:

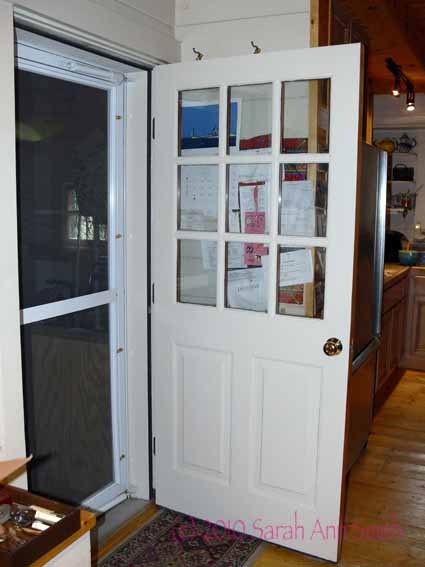
And finally painted to match the interior walls…mo bettah!

So does this mean I have time to sew?  Alas, no…. life is happening in a major way, but at least the house is looking better!  And keep your fingers crossed that we find a buyer for our house SOON!

Art Cloth Frame in Quilting Arts Gifts

Tuesday, September 14th, 2010

I am THRILLED to be able to share with you a snapshot of my article in the just-out Quilting Arts Gifts magazine!   Here’s “my” page / article:

And here is the cover of this year’s project-packed issue!


Since there are copyright issues, I won’t share more pics of the issue than that, but I can say you MUST check out Susan Brubaker Knapp’s mistletoe!  I think I shall make some for this  year!

A little background:  last year I was fortunate to win a second place ribbon at the IQA World of Beauty for my quilt of our  pug; the prizes in my category, Art Quilts-Miniature, were sponsored by none other than Quilting Arts!  So as a thank you for the sponsorship of the prize, I wanted to send publisher and editor John and Pokey Bolton a little something beyond the ordinary thank you note.  So I made them a frame (color coordinated with their pets hair colors {grin!}).  Pokey wrote to say thanks, and would I consider patterning it for the magazine?  YOU BET!

I have made two other frames using this technique of assembly, so I thought I’d share pictures with you to give you ideas for different “looks” if you decide to make one of these frames!

The first one I made as a holiday project, to go on the table or mantle over the fireplace/woodstove:

This shows the “photos” side of the accordion “book” with stencilled winter trees and stars.  The next photo is the reverse side of the “book.”  I traced each person’s hand, then reduced it to 75 percent on the copier to fit on each page, which is about 7 inches wide and 10 inches tall at the peak of the roof. I wanted to stick to the blue batiks, so I used an underlayer or “shadow” of white fabric to accentuate the shape of each hand.   I used freezer paper stencils to paint on the “paper snowflakes”:

And here are two close-ups:

The second was a gift for my friend Kate, and I blogged about it here:

There is a heart frame to hold pics of each of her children.  On the back, there are pockets to record their favorite clothes, teams, sports, books, songs, on a card.  Here is the back side:

As you can see, you can get a LOT of different looks…just go play! To order your copy of Quilting Arts Gifts, go here, or head to your nearest big box book store which will likely have it on the stands now!