email Youtube

Home
Galleries
Blog
Workshops & Calendar
Store
Resources
About
Contact

Author Archive

Storing Quilts

Friday, January 9th, 2009

Once again, I have not fallen off the face of the earth…instead, I’m FINISHING UP the manuscript.  There is a ton of tedious paperwork and such, so I’m liable to be scarce for a few more weeks, but I’m here.   So, I thought I would share what I did to store my quilts.  They used to be stored in a fabulous place:  on top of the guest bed in my studio, under the duvet.  This meant they were flat, accessible, safe (sorta) from cat hair (it migrates EVERYwhere).  But, it also meant that no one could so much as sit on the bed, let alone come hang out in my studio and rest on the bed.  And Joyce came to visit in December and needed to SLEEP in the bed.  That meant the quilts needed to move.

Umpteen years ago I took a class with Heather Waldron Tewell, co-author of one of my favorite books on quilting line and design, A Fine Line (written with Melody Crust).  She described her storage:  upstairs, under the eaves / in the kneewall…. you know on second floors how you get a sloping roof that comes down to the floor, so builders will drop a short wall that is maybe 3-5 feet tall, then there is a space behind it?  Well, she put in doors instead of drywall and made a device similar to those used to display home dec fabric, which is sold on tubes (not bolts like quilting fabrics).  She stored her quilts rolled on tubes, covered in a sleeve, then the tube slides on a rod (like a closet rod) that sets into “U” shapes cut into some 1×3’s at either end of the closet. I’ve wanted something like that ever since.

Of course, I don’t HAVE a closet to make such a lovely storage space.  So I improvised, but first I made the rolls.  I’ll share the second part of this info in the next post….  Anyway, the rolls.  About five to six years ago, I worked for an interior designer doing high-end home dec sewing.  I was able to snag about a half dozen sturdy cardboard tubes.  So I FINALLY got around to making them suitable for rolling quilts for storage.  The cardboard in the tubes is very acidic, which of course isn’t great for quilts, so you need to cover them.

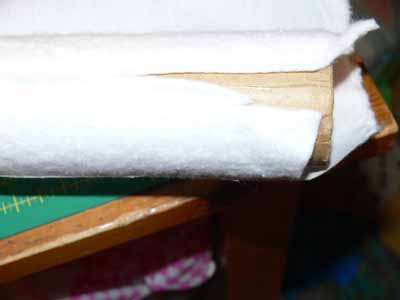
To cover the tubes, I wrapped them first in a round of batting, then used an inexpensive cream cloth (some was muslin, some was an inexpensive but nice cream cotton).  For the first few, I used hot-glue to glue the batting to the tubes, but had forgotten that hot glue leaves a hard line.  For later ones, I simply used a basic glue stick!

Addendum:  Carol Ann Sinnreich told me that she learned from others to wrap the tubes first in aluminum foil, then do the batting and muslin.  This prevents outgassing from the yucky stuff in the cardboard tubes.  I’ll do that on any future ones, and may think about peeling these apart and adding the foil at some point…just not too soon! Too much to do….

Batting on tube

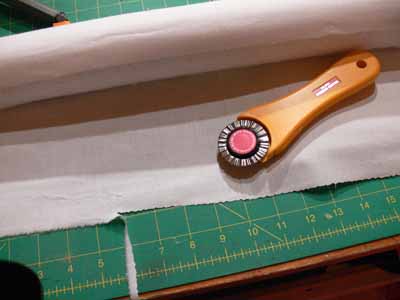
I cut the cloth about 5-6 inches longer than the tube, and the circumference of the tube plus about two inches.
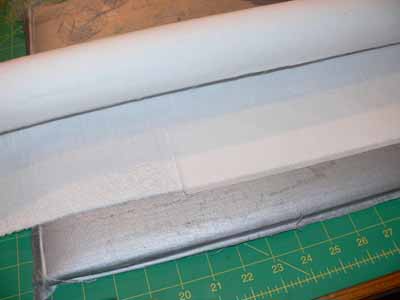
Fusing Misty Fuse to the edge of the tube-wrap-cloth

Fusing Misty Fuse to the edge of the tube-wrap-cloth

On one long edge, I applied Misty Fuse, a heat-activated fusible web (and my favorite fusing product by FAR), then trimmed the edge with a zigzag cut.

Trim the edge

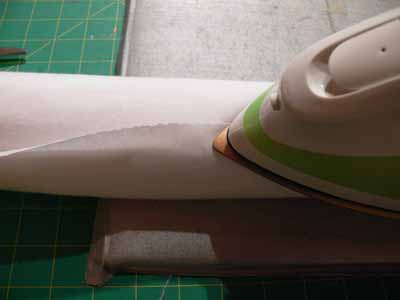
I wrapped the cloth over the batting, then fused it closed with the iron.

Iron fabric around tube

In a couple days I’ll show you the finished tube, the muslin dust-sleeve, and where I’ve got them stashed until I win the lottery and build that dream studio!

PS—please excuse any weird formatting.  My webhost has changed the WordPress software, and it isn’t cooperating very well.  The photo loading stuff is different, I can’t find instructions anywhere, and formatting is all goofed up…sorry!

Turn, Turn, Turn

Thursday, January 1st, 2009

January is named after the Roman God Janus, the god of doorways and gates who looked both forwards (into the new year) and backwards (into the last year).  I for one am glad the tumult of the past 20 months is over, both the personal “stuff” and the major worldwide economic and political nightmares.  I’m hoping that things will take a turn for the better, and am really hoping our local schools will have the kids watch Barack Obama’s swearing in ceremony.  No matter what your political persuasion, this is a historic moment for us in the U.S. and, because of our role in the world, for the world too.   It IS  a time for hope, and a time for change.
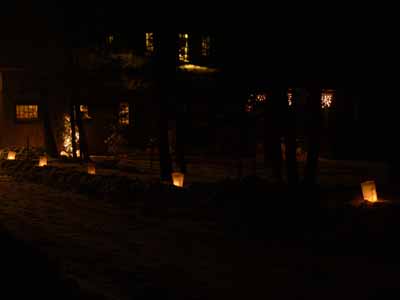
Luminaries on Christmas Eve 2008

In Camden, Maine, where I live they have an annual fundraiser called Light a Luminary.  Kids and service organizations around the town bag up sand, candles, and waxed white paper bags with a sheet of instructions that are sold for $5.  Proceeds benefit LOCAL charities.   On the instructions, they have the day to light your luminaries…Christmas Eve, with rain/snow dates in case the weather isn’t cooperative.  This year, we lit ours on Christmas eve and I managed—thanks to propping my camera next to a tree trunk—get this shot of our driveway and home.

And in closing, Pete Seeger’s lyrics based on Ecclesiastes:

To everything (turn, turn, turn)
There is a season (turn, turn, turn)
And a time for every purpose, under heaven

A time to be born, a time to die
A time to plant, a time to reap
A time to kill, a time to heal
A time to laugh, a time to weep

To everything (turn, turn, turn)
There is a season (turn, turn, turn)
And a time for every purpose, under heaven

A time to build up,a time to break down
A time to dance, a time to mourn
A time to cast away stones, a time to gather stones together

To everything (turn, turn, turn)
There is a season (turn, turn, turn)
And a time for every purpose, under heaven

A time of love, a time of hate
A time of war, a time of peace
A time you may embrace, a time to refrain from embracing

To everything (turn, turn, turn)
There is a season (turn, turn, turn)
And a time for every purpose, under heaven

A time to gain, a time to lose
A time to rend, a time to sew
A time to love, a time to hate
A time for peace, I swear its not too late

HAPPY NEW YEAR !

Taking the Tension out of Tension, MQU Winter 2008

Tuesday, December 30th, 2008

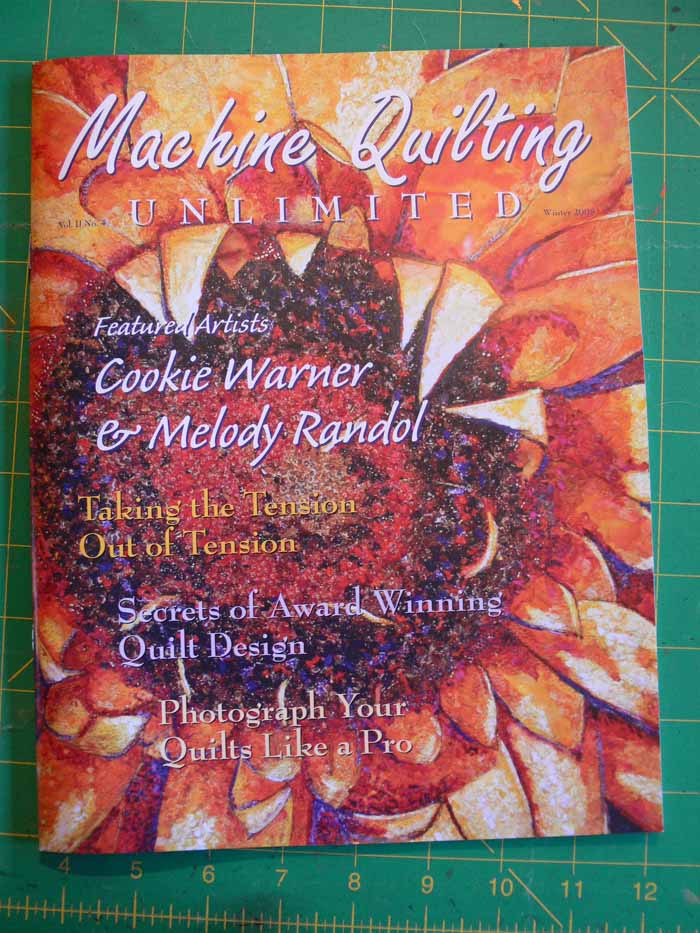
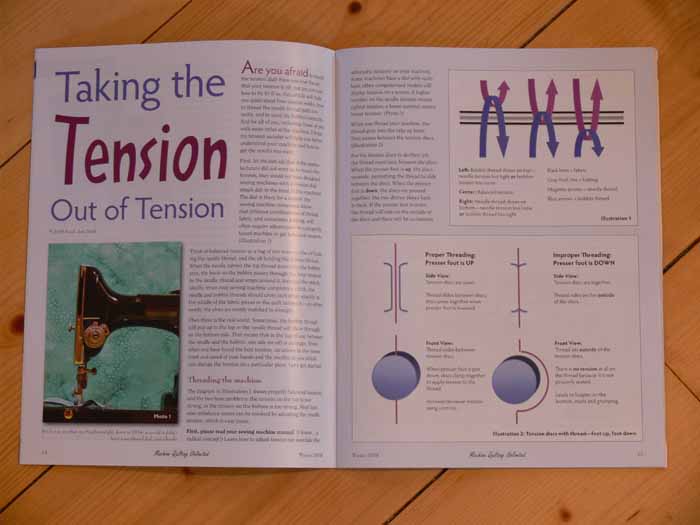
My second article for Machine Quilting Unlimited magazine is now out, and I’m really thrilled that I’ve been able to help folks.  Rayna Gillman (blog and website) was so kind in sharing on the QuiltArt list that I’d helped solve a tension problem she’d been having, and Gloria (my /designer and art quilter extraordinaire) actually said she made a copy to tuck into her sewing machine manual…Wowie Zowie!  Here’s the cover of this issue:

MQU Winter 08 cover

My article made the cover:  Taking the Tension out of Tension (I can’t take credit for the title, but I love it! thanks Kit and Vicki)

Here’s the opening pages (clickable for a larger view):

Beginning of article on tension

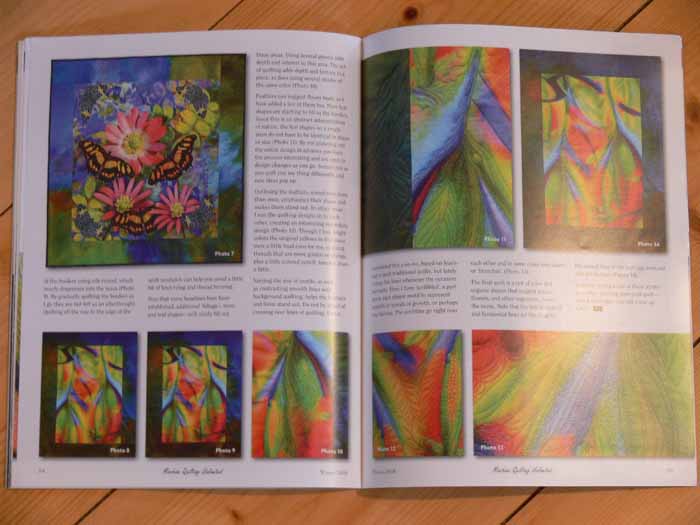
There were a number of good articles, including two on Colorado art quilters, both of whom were awesome… Here is the opening to one of those two articles:

*****oooops…I can’t share the pictures of these articles…sorry….. due to copyright laws

Oh how those quilts make me want to get into the studio and play and create!   There are lots more pics in the magazine (hint hint).

And Diane Doran from the QuiltArt list (among other places) did a great article on design, specifically how she develops a design.  I really liked the sequence of photos in her article showing how she begins with a digital image, then builds on it one step at a time:

Diane Doran

*****Photo included with Diane Doran’s permission

For subscription information go to www.mqumag.com.

I just finished the draft of my next article for them, on the use of contrast in line.  I’m going to do a series of articles on how various elements and principles of design apply to machine quilting.   I’m on a mission I think to convince folks that art isn’t impossible to learn, and that it’s really actually easy and fun to learn and apply.   So the article for the next issue talks summarizes the elements and principles, then talks about line (since of course machine quilting is about creating lines) and how contrast helps lines stand out (or not).  What fun… getting to write about quilting!  Now…kids on vacation, time for quilting evaporated…ditto for time for blogging!  Talk to ya later!

Book Review: How to Photograph Your Life

Sunday, December 28th, 2008

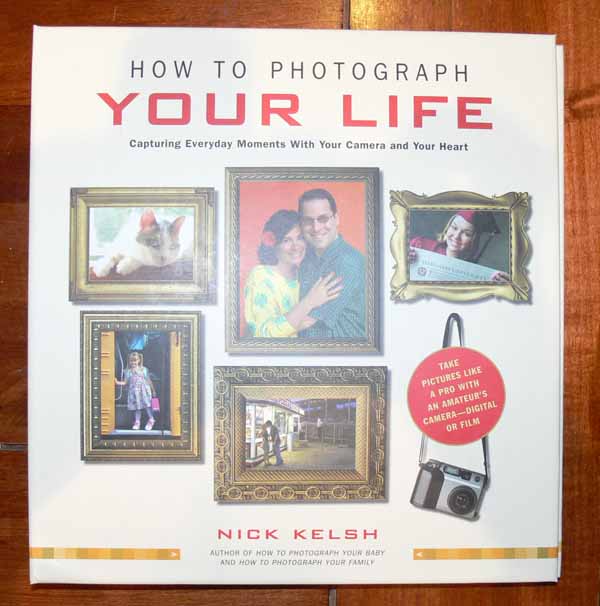
Bk cover

Quilting teacher extraordinaire Jan Krentz recommended this book to me back in April; I bought it not too long after that, and re-sized the photos for blogging back in September… give you an idea how swamped I’ve been? Anyway, Nick Kelsh has written numerous books; after getting how to Photograph your Family from interlibrary loan (this book wasn’t available), I decided to order this one from Amazon since the price was modest (and it’s a business expense!  self-education for teaching composition and design!; alas, I just checked and something crazy has happened to the price…like over $50 each!  Look for it in a library or used book store, or give it a wait and see if they re-print it and it is once again about $16.

Well, the book applies to quilting as well as photography, and in a nutshell his recommendations are:

–don’t use the flash if you can possibly avoid it, and

–crop!

The latter, of course, is the part that best applies to quilting, but the book in itself is about composition and design, albeit in an oblique way.  Kelsh is a professional photographer, but he set himself a challenge:  to use his wife’s pocket digital camera to shoot ALL the photos in this book, thereby proving that even with a decent but not exorbitantly expensive camera one can, with a trained eye (including self-taught) and practice, take great pictures.

Note:  all photos are clickable for a larger view!

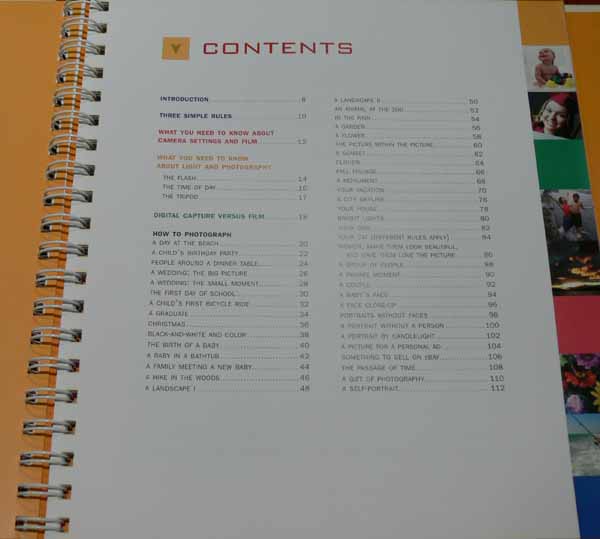
Table of contents page, Kelsh

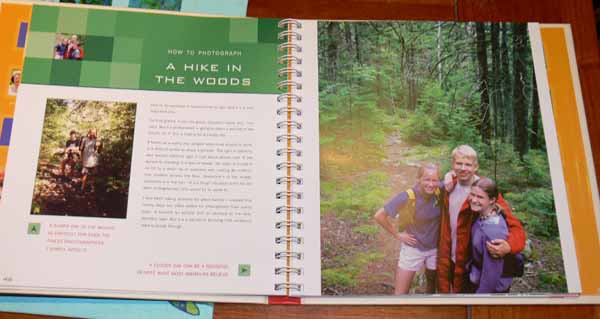
Kelsh shows a wide range of typical sorts of photos, using what the average Jane might snap, and then how to improve the photo (remember the mantra:  CROP!):

example 1, kelsh

In this picture, on the left you have the typical shot taken from just up the path, with the subjects hard to see due to the dappled light from the shadows.  In the photo at right, Kelsh moved the subjects to where they are all in the same light (not dappled) and radically changed his position (up a rock or a tree I think) so he is shooting down on them.  Better!

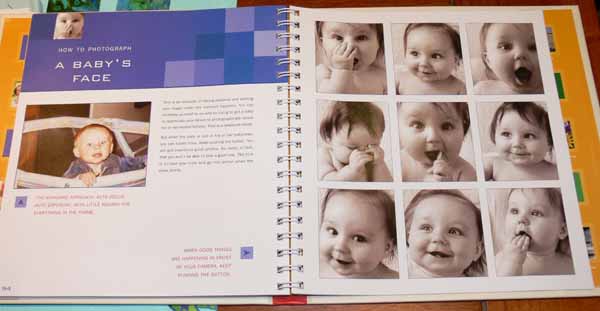
example 2, kelsh baby

This page shows another lesson I learned at least 25 years ago:  take LOTS of pictures, and you’ll end up with a gem or two (or nine).  In this example, the photo on the left has a small bit of sweet baby’s face, and lots of playpen and wall.  In the many photos on the right, you have almost ALL face… and a wide range of a sweet baby being a sweet baby in all their goofiness.  With digitals, we are blessed… it used to be financial agony deciding whether or not to snap the shutter, using up expensive film and more expensive developing.  Now if the shot is lousy, just delete!  So get yourself a large capacity card, and snap at will!

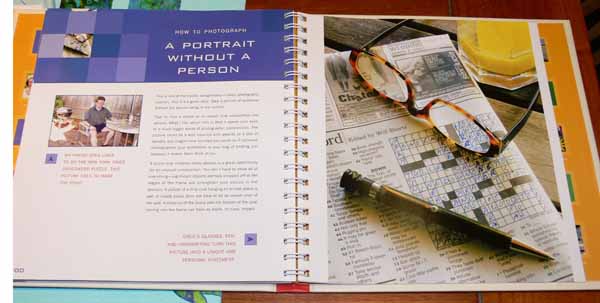
example 3, kelsh portain minus the person

In this example, he shows us how to take someone’s portrait…without them in it.  If you changed the glasses on this one, and the pen, it could have been my dad!

The book is easy to read, and it doesn’t delve into serious discussions of design, composition and whatnot, but it still manages to convey the essentials of composition and design.   If you can get a hold of a copy for a reasonable price, it is worth it, or check your library or interlibrary loan options.

Painted Buoys at Marriner’s

Friday, December 26th, 2008

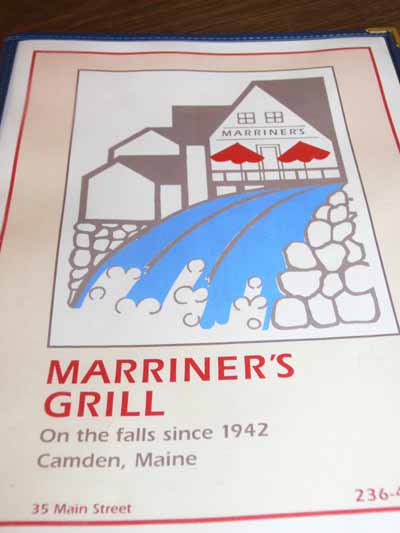
I was mulling over what to do as a giftie for my Frayed Edges friends, when Mom and I ended up at my favorite diner for lunch:  Marriner’s.  It has been a fixture on Main Street in downtown Camden (all two blocks of downtown) since 1942 (isn’t that cool!).  Here’s the menu:

Marriners menu

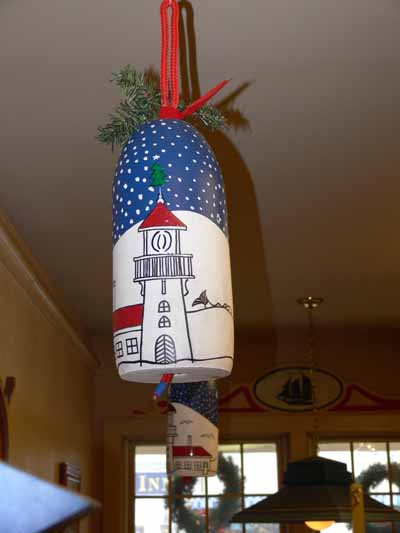
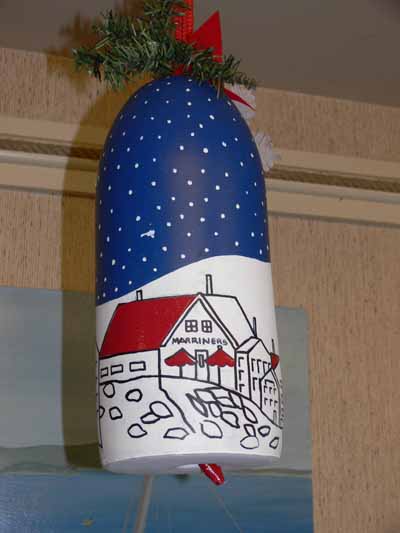
If the waitress and I guessed the spelling correctly, the artist who did the artwork inside and outside the restaurant and responsible for some of the cool design elements is Jens Johansen (alas I have no further info).  That includes the graphics on the menu (which also appear on the staff’s shirts).  Well, he did the coolest thing… painted buoys (as in the things that are attached to the rope that is attached to the lobster trap)!  Here is one from the front part of the restaurant:

Buoy–up front

And here are some photos of other cool things… from old photos, to paintings by Jens based on old photos, starting with the Galley (kitchen) sign:

The galley

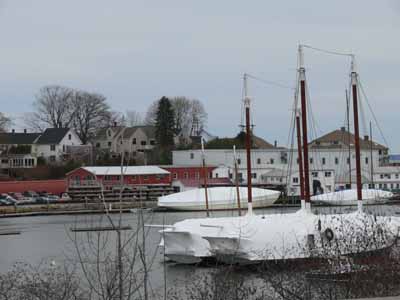
Here’s a shot of the harbor from the back of the restaurant; before the fire in the kitchen a few years back, the kitchen was across the back of the building.  When they renovated after the fire (the restaurant was closed for the first time in 40 years!  for several months as they rebuilt), they moved the kitchen and opened up booths toward the back and added a deck (heavenly in summer) with a view of the harbor:

Harbor view

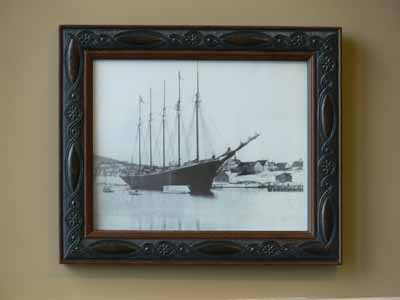
Here’s a photo from the days of yore when the schooners actually carried merchandise, not just tourists in summer:

Old schooner in the harbor

Here’s another view of the harbor, back towards where the library now stands (well, I think that’s what it is):

Another old photo

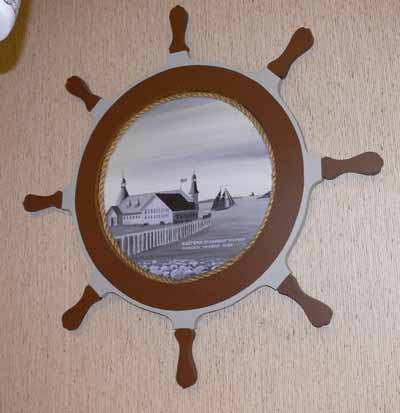
And a painting by Jens based on an old photo.  Loved how he made the plywood ship’s wheel “frame” for it!

Jens’ painting

Here is another of Jens’ buoys:

Buoy over back benches

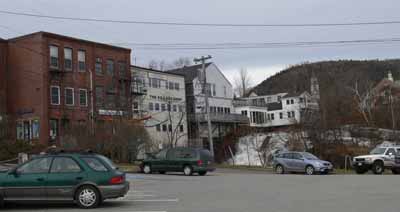
And this view of the back side of the Main St. Buildings and the falls will give you an idea of what he was painting–the one in the center with the peaked roof is Marriner’s, the one with the outside narrow deck:

Back view of Main St. bldgs, falls

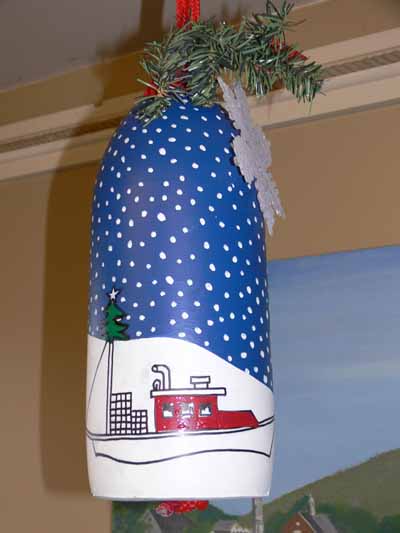
And more of the buoys over the booths at the rear of the restaurant (can you tell I LOVED them?!)–this one with lobster boat:

Buoy with lobster boat

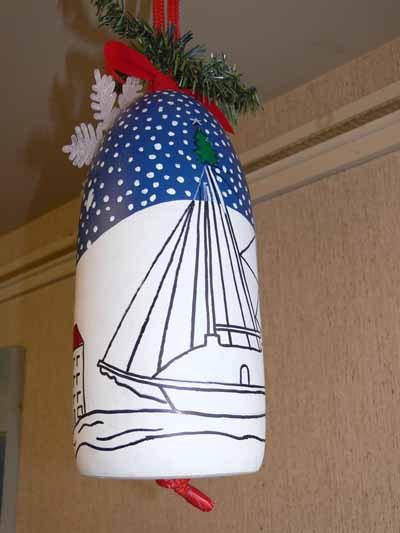
And yet another, with a rigged sailing ship:

Buoy with sailboat

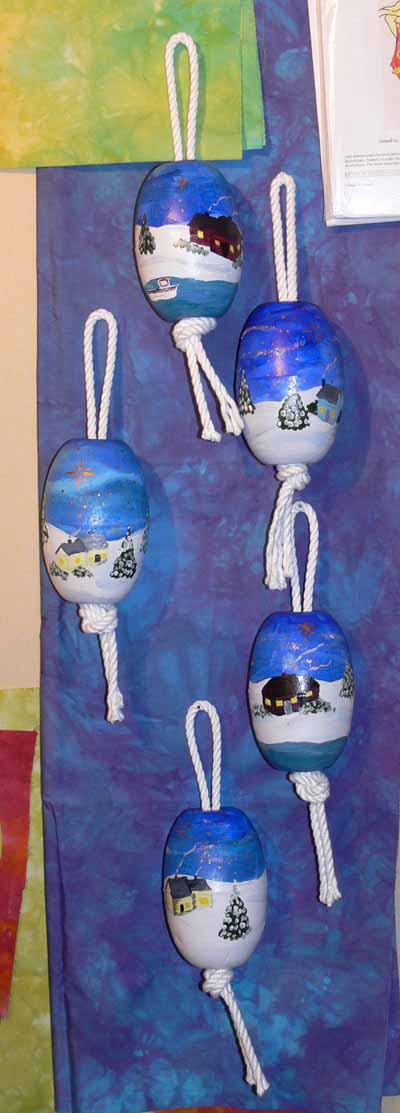
SO…… my painting skills aren’t equal to his.  And I was plumb out of fresh ideas, so I swiped from a triptych I painted on canvas-covered boards last year or the year before and went for snowy valley and snug houses…..here’s the five I showed you before (in the post about the Frayed Edges, Dec. 2008)–since I was short on time, I used floats instead of buoys, and didn’t have time to buy fake greens to decorate….

Sarah’s buoys

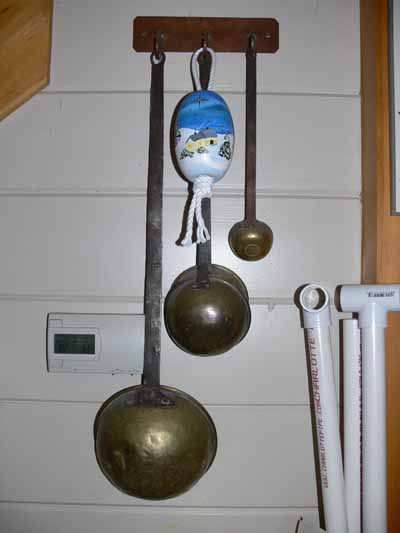
And here’s mine, which is hanging  on the antique brass ladels my dad bought in Spain in the late 50s (when I was a toddler!):

My float with ladels

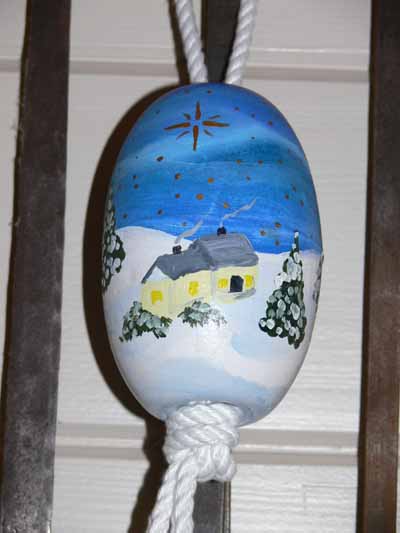
And a close-up (yes…my painting is…ummm….rudimentary?):

Sarah’s float

I’d like to buy some mistletoe next year to tuck in the knot at the bottom and use it as a kissing ball!  And,  I need to add a ribbon or something at the top… if you’re not careful the rope can come out the bottom and it’s a bear to get the folded end through the middle…. I also bought two buoys proper, and Eli and I will paint them for next year…..

Happy mistletoe everyone!