email Youtube

Home
Galleries
Blog
Workshops & Calendar
Store
Resources
About
Contact

Archive for the ‘Janome’ Category

Teaching at IQF Houston 2016!

Tuesday, February 2nd, 2016

As you might guess by the deafening silence here on the blog, I’ve been rather busy but I have various bits of good news to share, and I’ll start with the most recent:  I will once again be on the Faculty for International Quilt Festival in Houston in October/November 2016!   And, drum roll, I’ll be teaching a few new things….yippeee!   Here’s my schedule, which stretches from the Monday of Quilt Market (a closed trade show for industry professionals) through Saturday of Quilt Festival.   On Sunday I get to PLAY—provided I can put one foot in front of the other and still see!   For details about each of the classes, please visit my Classes page which has descriptions of all the classes, class supply lists and, when available, hotlines to blogposts from previous versions of these classes so you can get a feel for what to bring.

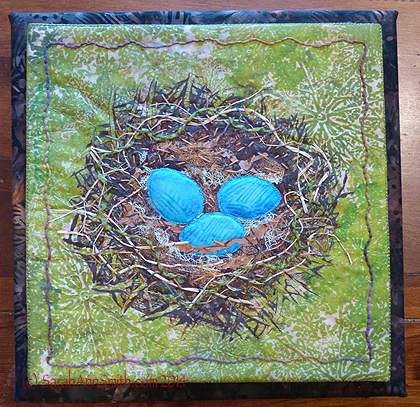
Learn to make the painted fabrics in this project in my mini-Whimsy class at IQF-International Quilt Festival Fall 2014.

Learn to make the painted fabrics in this project in my new class The Nest–Surface Design Exploration for Beginners at IQF-International Quilt Festival Fall 2016.


  • Monday, October 31:  Decorative Stitch Appliqué, in the Janome classroom, All-Day class
  • Tuesday:  a day off–I’ll probably be IN a class!
  • Wednesday, November 2:  Fine Finishes–An Album of Techniques (bindings and more), in the Janome Classroom, All-Day class
  • Thursday, November 3, morning:  Machine Quilting Forum–Fun and Fancy Thread, 9-Noon
  • Thursday, November 3, afternoon:  The Nest–Surface Design Exploration for Beginners, 2-5, kit fee
  • Friday, November 4:  Tame Fussy, Fiddly Threads for Machine Quilting, in the Janome Classroom, All-day, kit fee for a range of threads etc
  • Saturday, November 5, morning:  Saturday Sampler–Screen-Paint the Perfect Fabric, 10-Noon
  • Saturday, November 5, afternoon:  Easy-Peasy Inside-Out Bag, 2-5, in the Janome Classroom
  • Sunday:  PLAYTIME–to see the exhibits and shop and collapse, in that order!

I’m totally good with having stayed home this past year as it was our younger son’s senior year in high school, but I so missed seeing folks.  I’m thrilled to be back in Houston and on the faculty. Thank you IQF and students!


Merry Mistletoe, a new free project

Wednesday, December 16th, 2015

Hi all!   At long last the new laptop has arrived, the nearly-deceased one is retired, and I’m scrambling to catch up.  So first things first!  Janome has published my freebie table runner pattern on their website and blog as part of the holiday celebrations. As always, thanks to Janome America for having me in their Artist and Teacher program for lo these many happy and productive years.

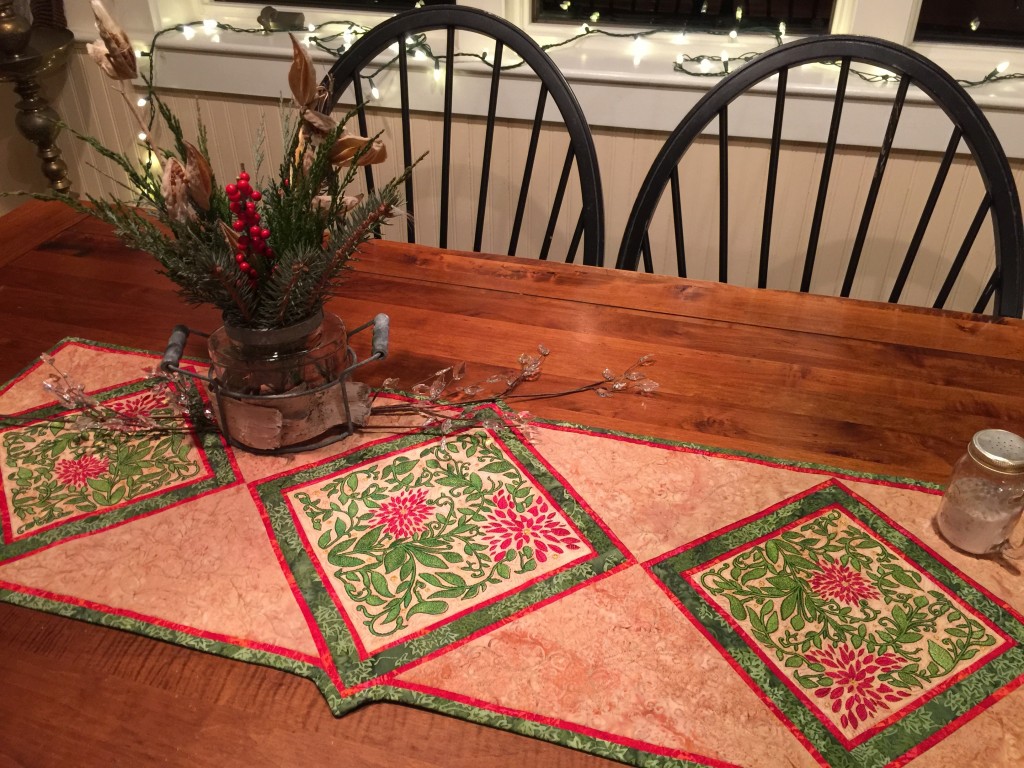
A table runner I made to feature the Janome 15000's beautiful embroidery

A table runner I made to feature the Janome 15000’s beautiful embroidery.  And no, my table is NEVER this tidy.  My laptop lives where the lower left corner is and there is always a pile of “to do” stuff!

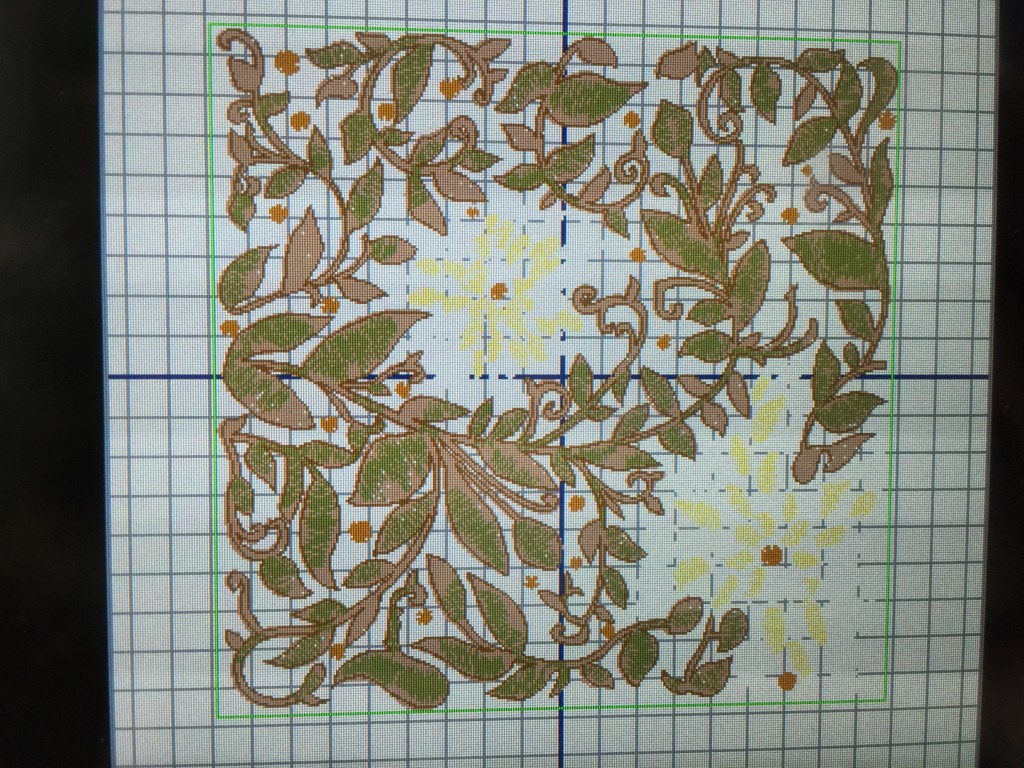
I used a Lonni Rossi embroidery design built in on the Janome 15000 I am currently using.  I altered the colors of the built-in design to a wintry, holiday palette of red, green and golden tan.  Honestly, I never thought I’d like machine embroidery (the wanting to do my own thing stuff), but this design is so gorgeous and even *I*, a soul who doesn’t like uber-computerized machines, was able to stitch this out nearly perfectly the first try!

To see the project on the Janome site, go here and scroll down to December 14, 2015 or go here.   To download a PDF including full color photos with some neat tips for getting those skinny red strips to be perfect, go here.

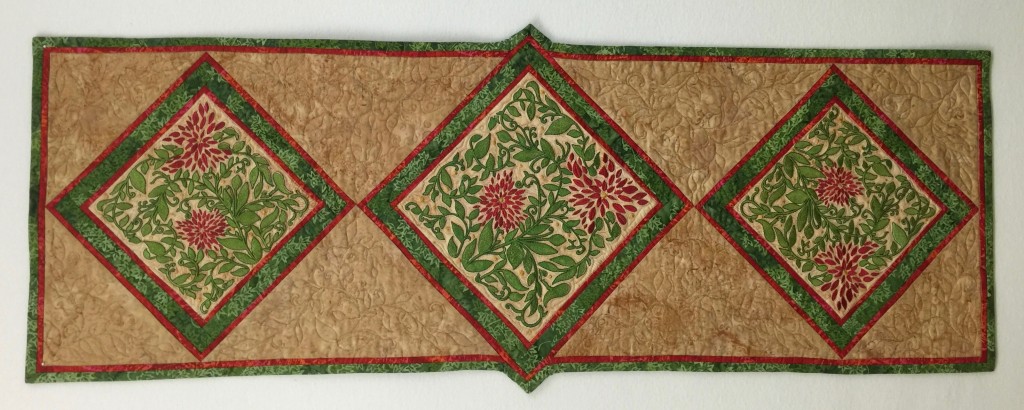
The plain old vanilla photo of the table runner.

The plain old vanilla photo of the table runner.

Here’s what the project looks like in the original color selection on my 15000.  Quite a difference, eh?  And here is the boring, straight-on view of the table runner.

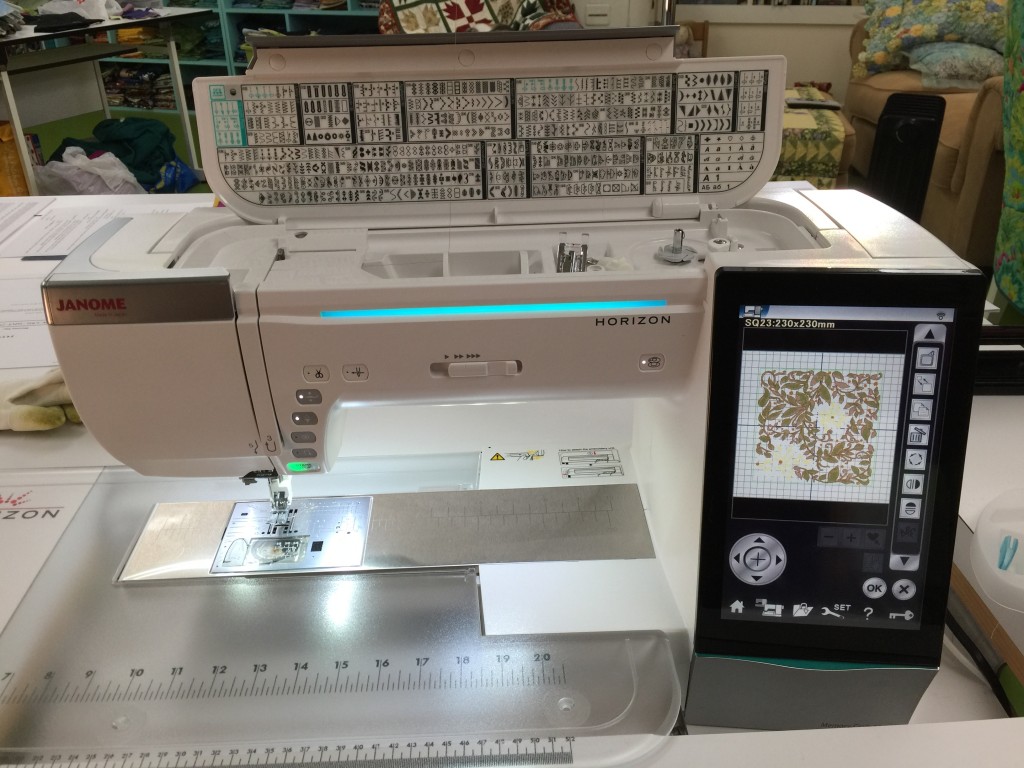
The Janome 15000 open to the Lonni Rossi block in the original colors.

The Janome 15000 open to the Lonni Rossi block in the original colors.

Close up of the original color way on the machine.

Close up of the original color way on the machine.

I’ve got one more version/colorway, but it is a gift (as yet unfinished) for Christmas, so I’ll just have to share it and add it in here later!

If you don’t have this machine, never fear–you can just insert your favorite embroidery or fabric instead of doing this beautiful design.


Janome’s 100 Blocks project, Nine Squares

Friday, November 13th, 2015

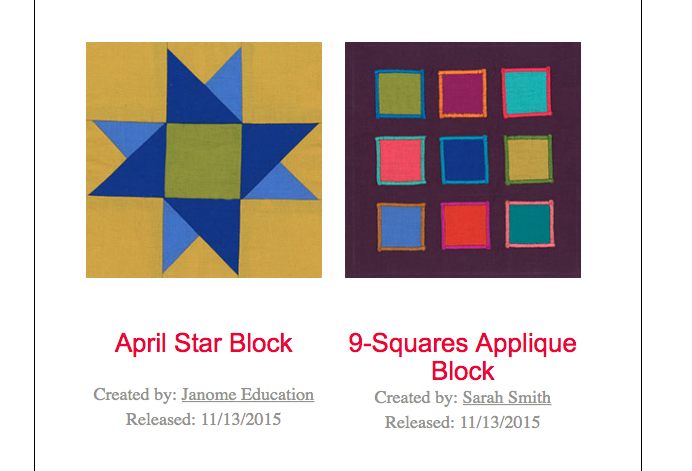
Hi all!  Janome’s 100 blocks project is bubbling along, and today they are featuring my second block as one of today’s two blocks:

Screen Shot 2015-11-13 at 9.40.48 AM

9-Squares Applique block by Sarah Ann Smith

To get a PDF download with the instructions for my 9-squares blocks, click Sarah’s 9-squares block.

I am really enjoying seeing the blocks come to my inbox every day.  Just click on the hotlink in the first sentence and follow the links/instructions to sign up for notifications (optional) or just get to the PDF instructions.

100QuiltBlock

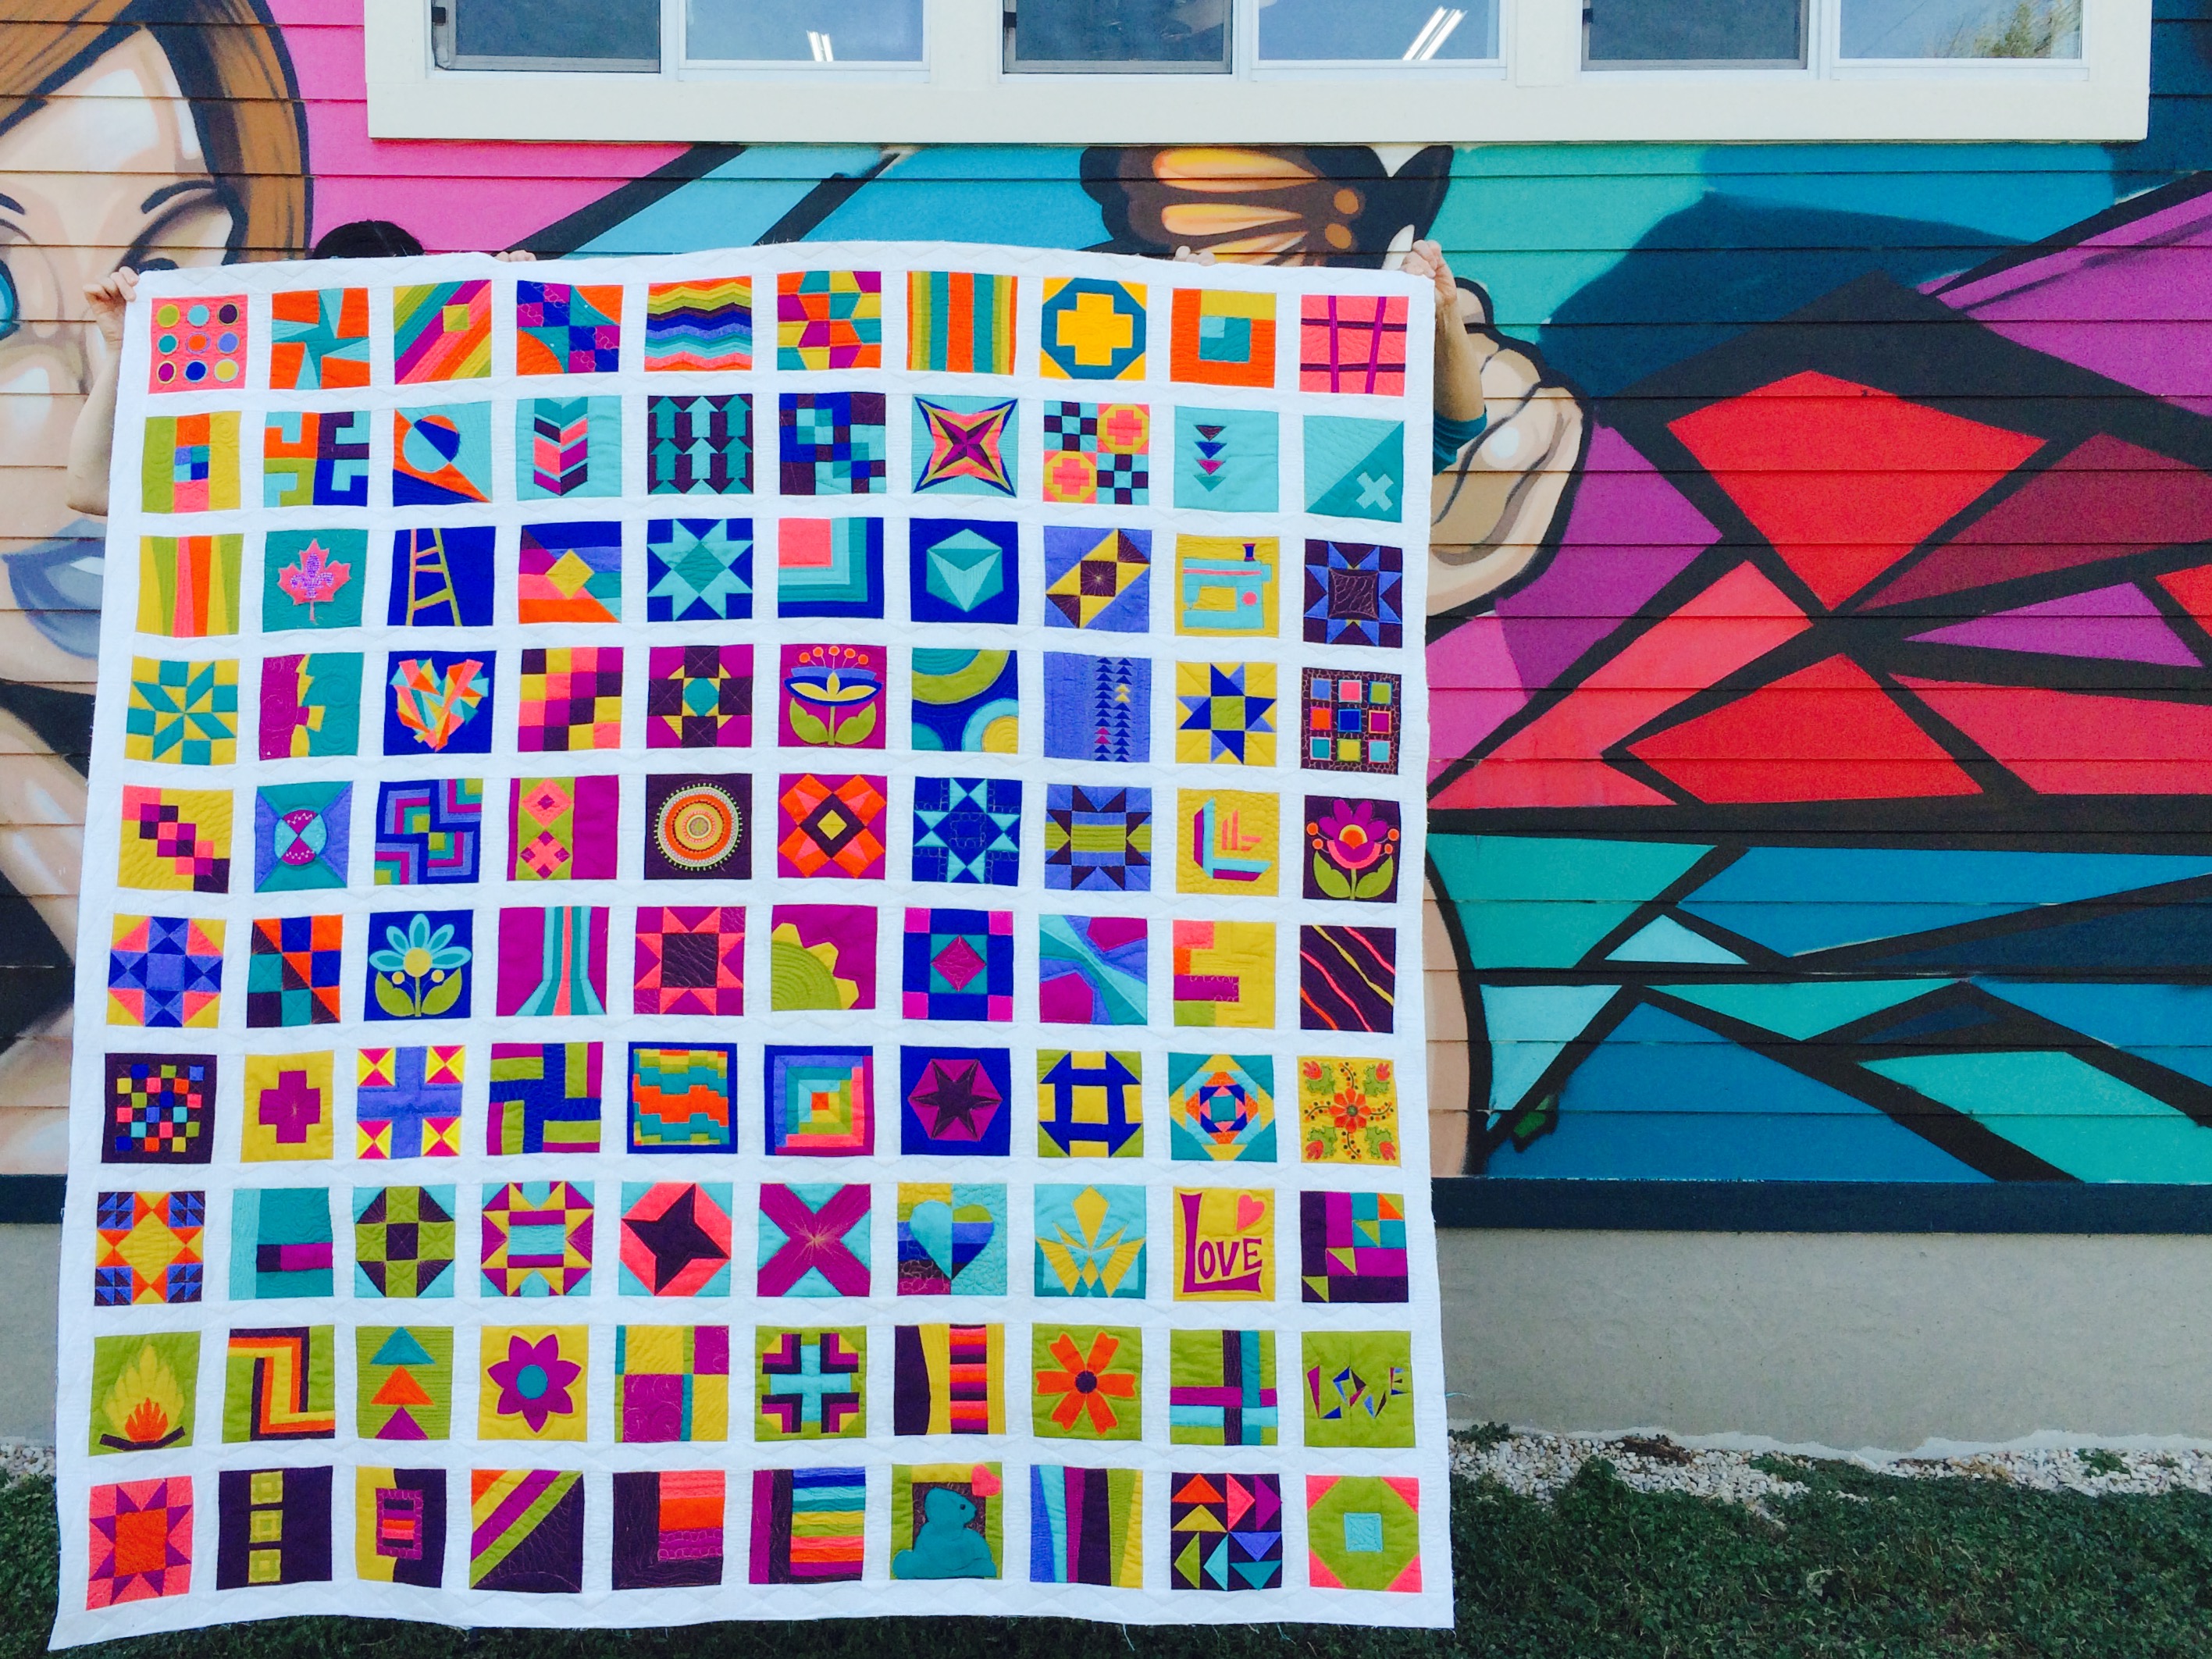
Doesn’t this quilt look fabulous photographed against that colorful wall? My blocks are the first one ( nine circles, Row 1, top left), Row 4 last block (the nine squares), Row 5 (bulls-eye with decorative stitching in the center…will publish next week), Row 6 (last block, wavy inserted skinny strips), Row 7 first block (mini checkerboard) and Row 7 rainbow log cabin in center). I’ll announce each time my patterns post.  Right click to view larger.


Janome’s 100 Blocks in 50 Days project!

Saturday, October 31st, 2015

Oh what fun!  Janome teamed up with Michael Miller and asked the folks in their Artists/Teachers loaner program as well as staff and educators to make 100 Blocks in 50 Days for a free online quilt project that debuted this past week.  You can sign up for free daily reminders from Janome so you can download PDFs of all the patterns (or just the ones you want).  I had so much fun,  asked if I could make extra blocks (ended up making six), then made doubles of each so I could have my own set, and as you may have read in my lengthy Skyline S7 review (here), made yet another block that will fit with these projects.  I’m sharing that block below (again) since it was at the end of such a long post.  I’ll have five more blocks which I will share as Janome publishes the links to them.  Some are easy peasy, some involve a lot of fun stuff with thread!

Michael Miller and Janome selected a set range of colors from Moda’s unbelievably silky-soft-delectable-heavenly Cotton Couture solids line.   Each participant got fat quarters in each of the colors.  I am planning to make even more blocks, then quilt them up into a wall hanging to use when teaching decorative stitching.   Or just to be pretty and colorful on the wall!

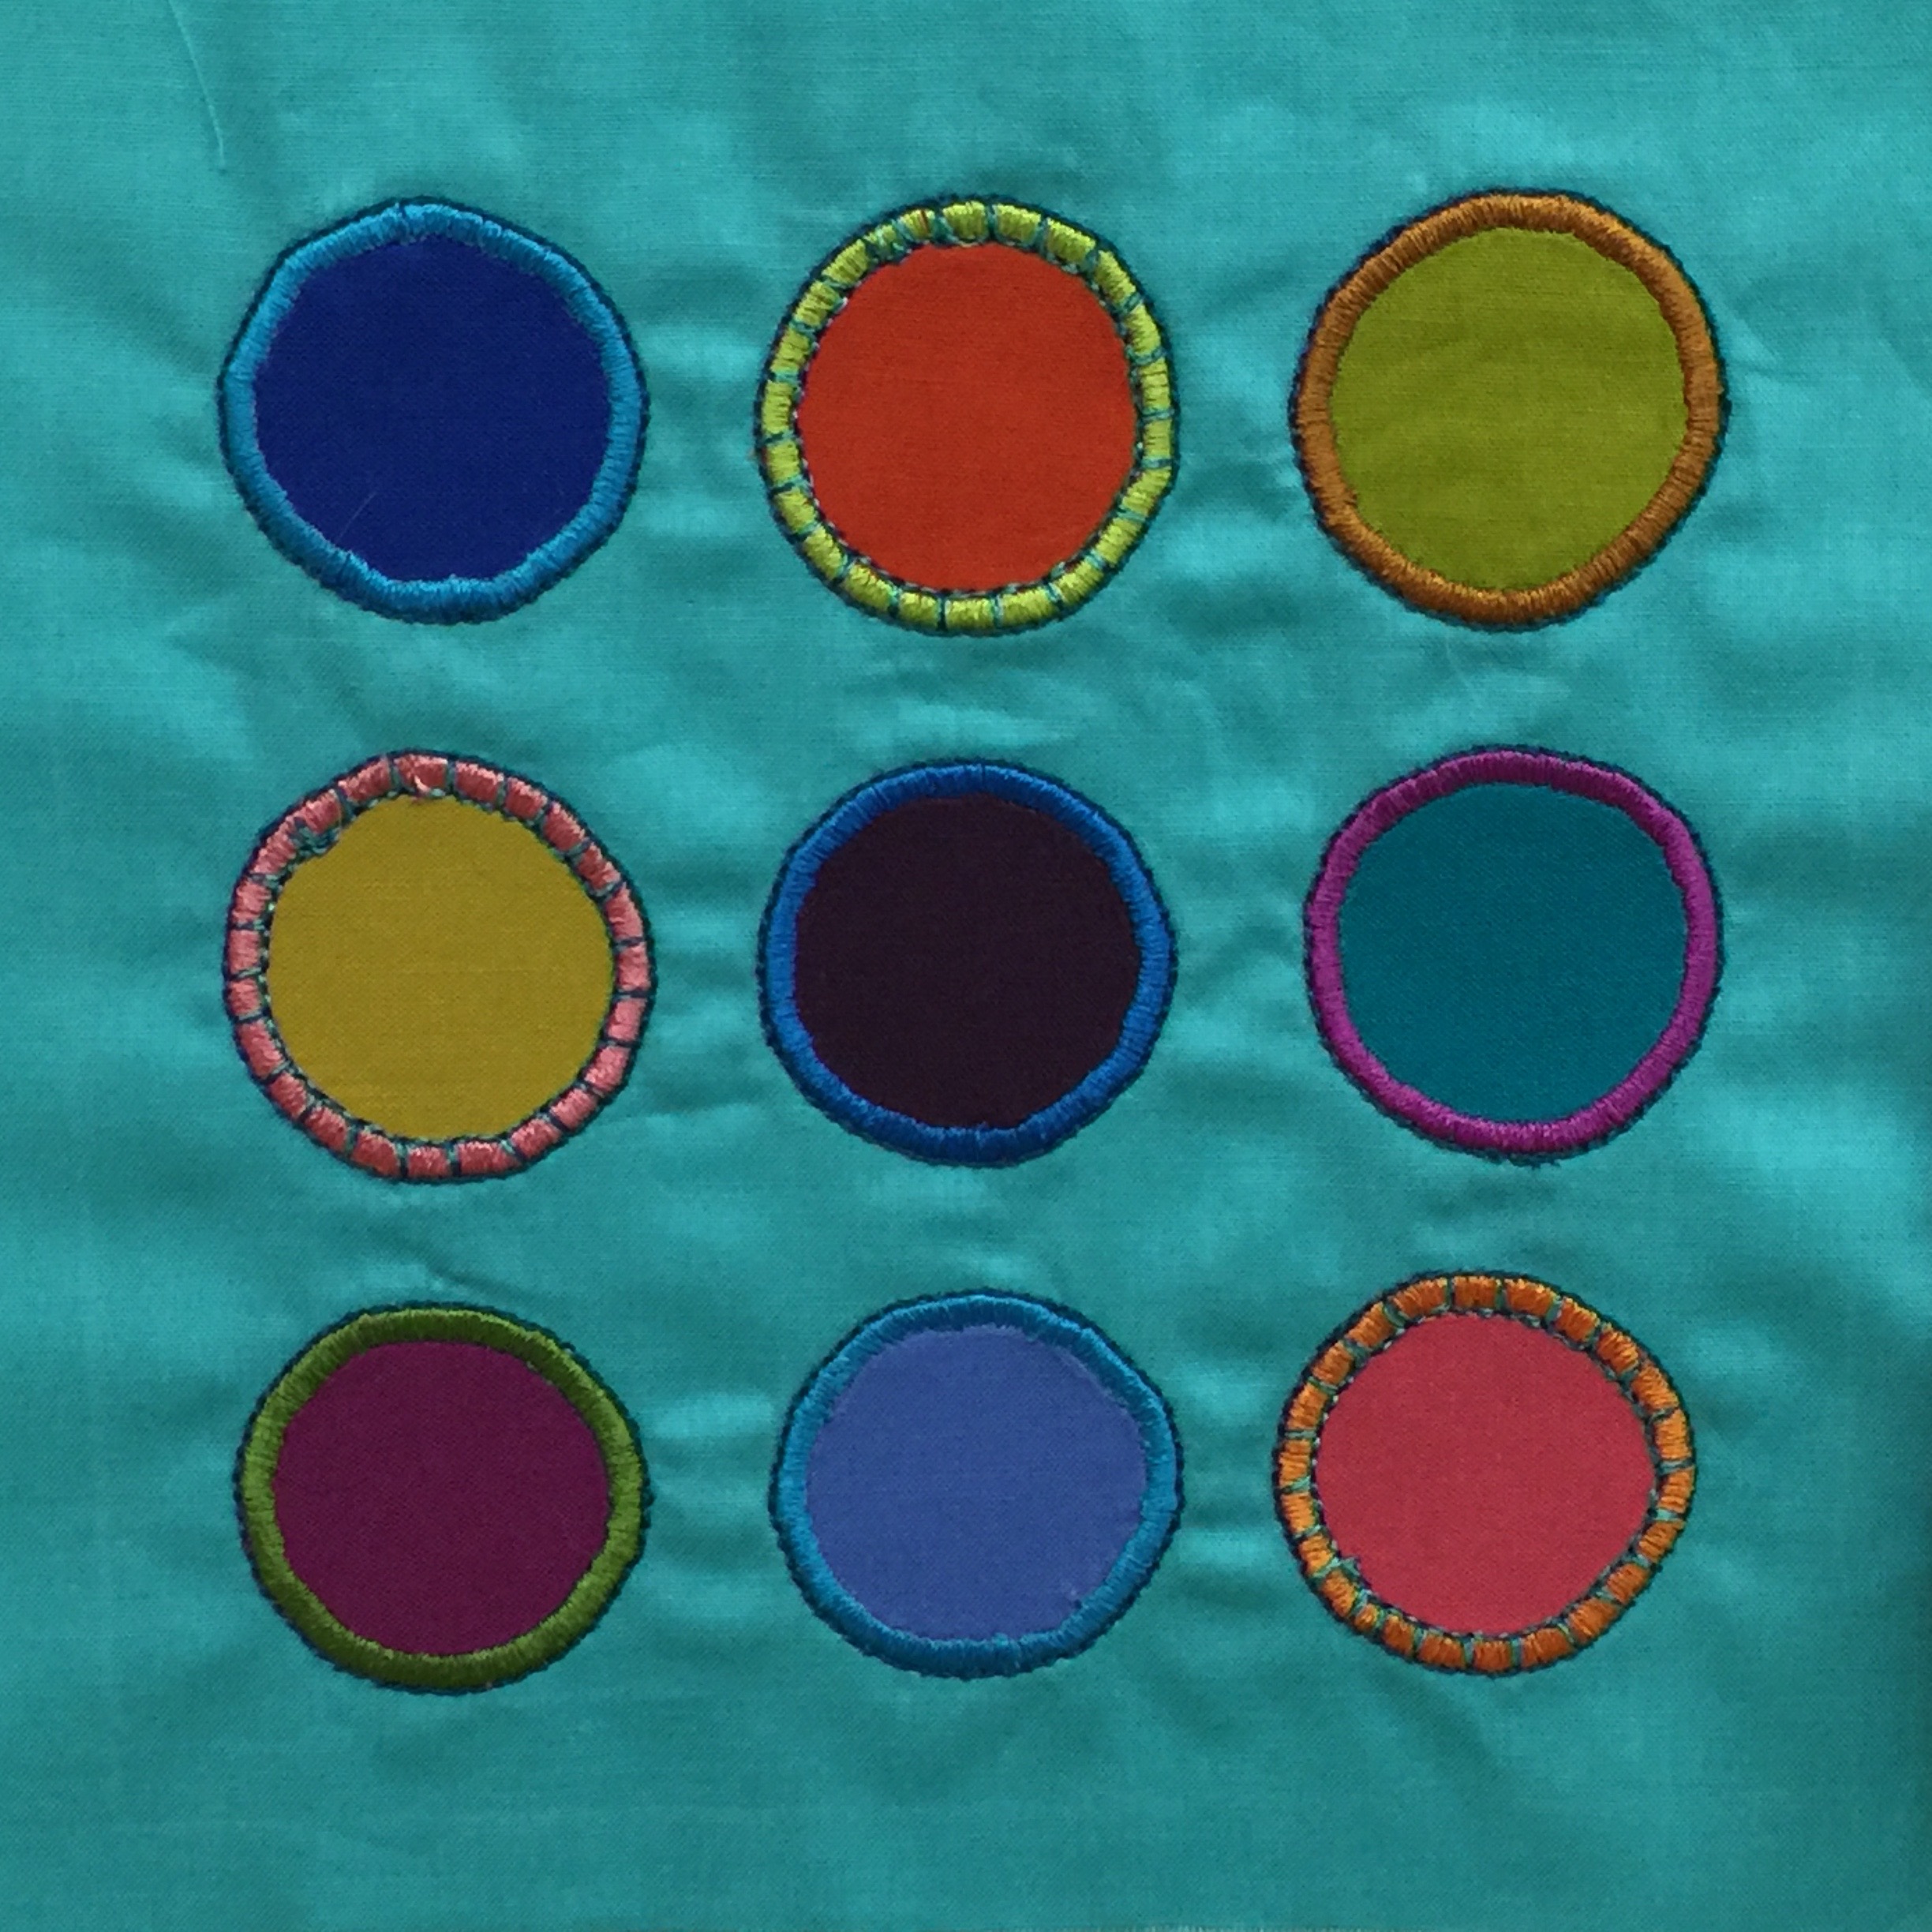
I was thrilled when my embroidered circles was one of the first two blocks featured!    Here’s a picture and a hotlink for the circles block which has the PDF (from Janome’s website):

IMG_6185

Circles block (c) Sarah Ann Smith

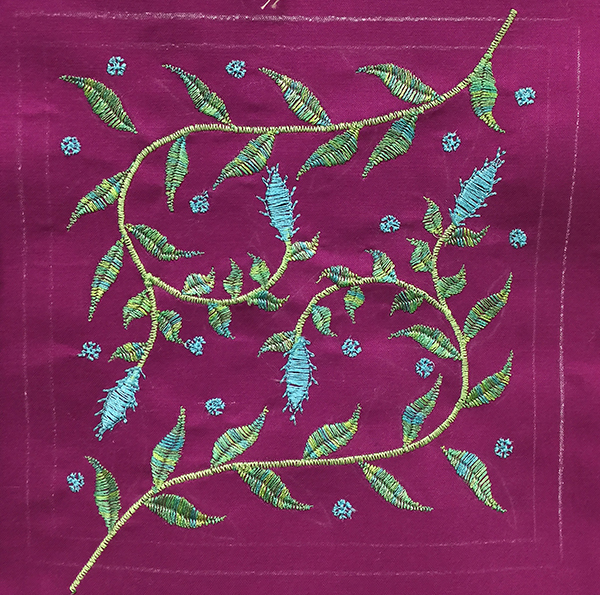
The second block I will share with you is an “extra” which came from the Skyline S7 test-drive.  I’m calling it Embroidered Leaves (guess why…duh Sarah!):

Using the built in stitches on the Skyline S7, I made this block.

Using the built in stitches on the Skyline S7, I made this block.

You can find a PDF by clicking on this link or visiting my Resources page (here or use the link on the menu bar above).  Once on the resources page, scroll down to Tutorials and find Embroidered Leaves in alphabetical order.  There’s lots of other fun free stuff there, so browse around!


Janome’s new Skyline S7 Sewing Machine

Monday, October 26th, 2015

Janome never ceases to amaze me with the quality of its machines.  The Janome Skyline S7 is a more modestly priced machine than what I have used for the past decade, but it has features straight from the top of the line 15000 (click on the link to open a new tab to Janome’s page with all the features).   If your budget or preferences don’t run to expensive machines, this machine may have all the versatility and dependability that you need with the right sticker price.  I am, quite bluntly, surprised and pleased at the wide array of features and outstanding performance of the S7.

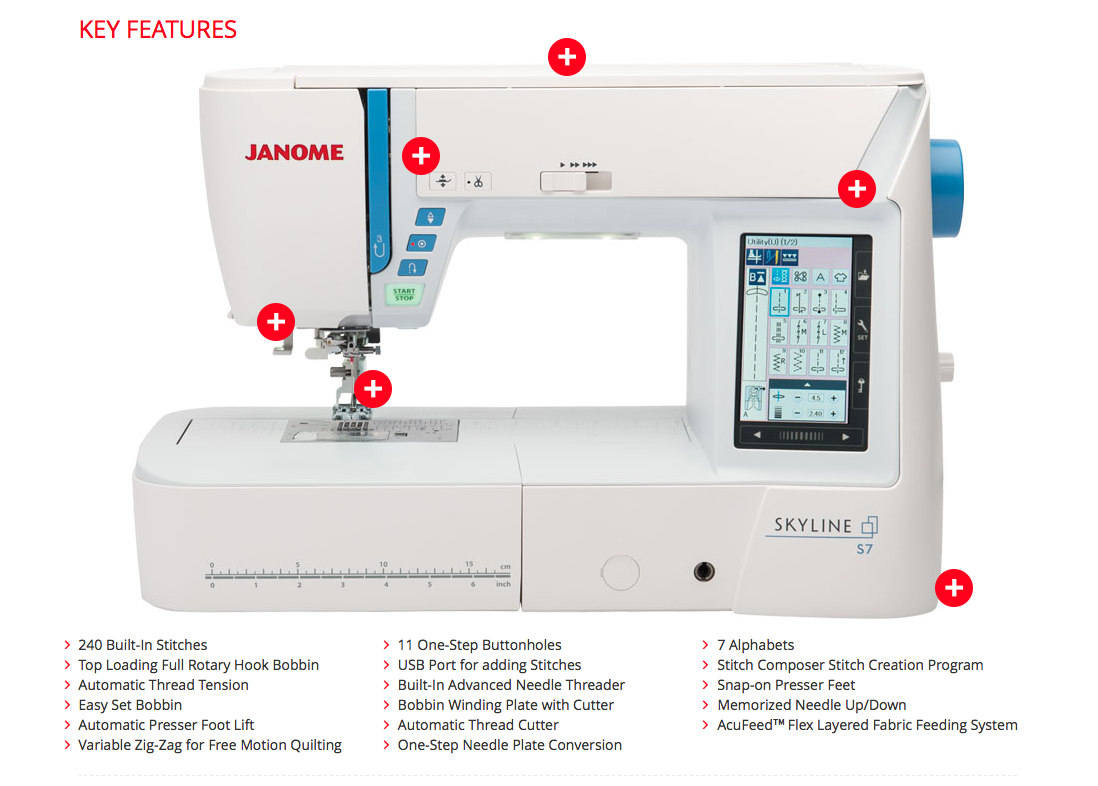
Here’s the nice photo of the S7 from Janome’s site (NOTE:  photos are mostly clickable to view larger):
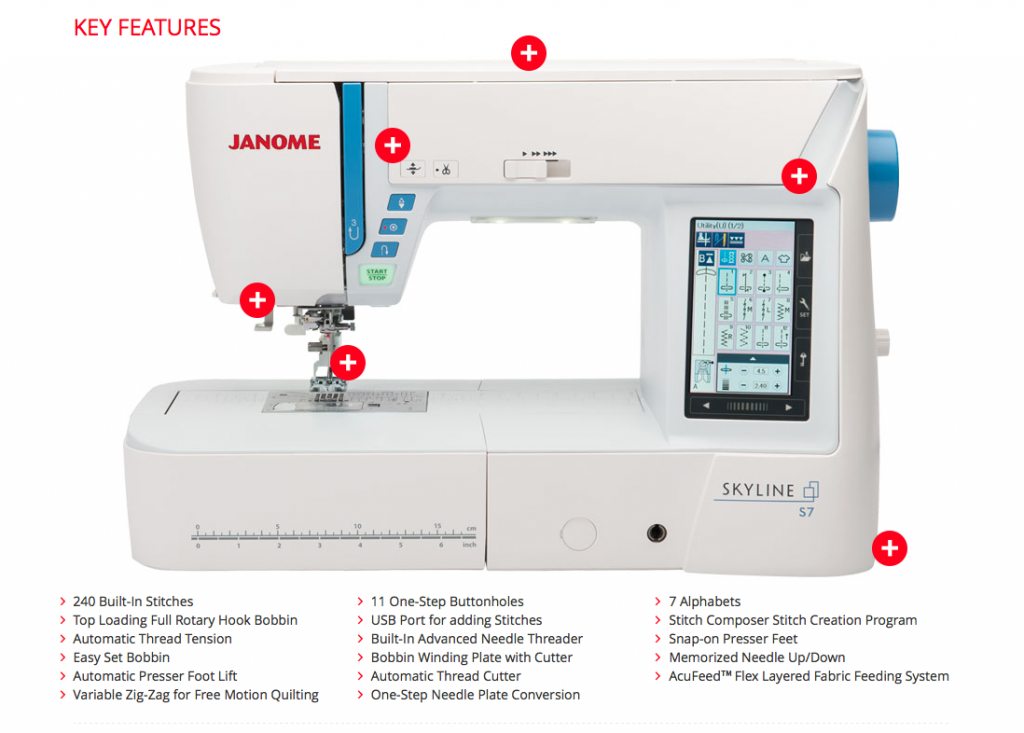
A screen capture from the Janome America website. To link to the site, go here.

A screen capture from the Janome America website. To link to the site, go S7 and scroll down.

Also from the Janome site, the included parts. Pretty much everything you need for routine sewing.

Also from the Janome site, the included parts. Pretty much everything you need for routine sewing.

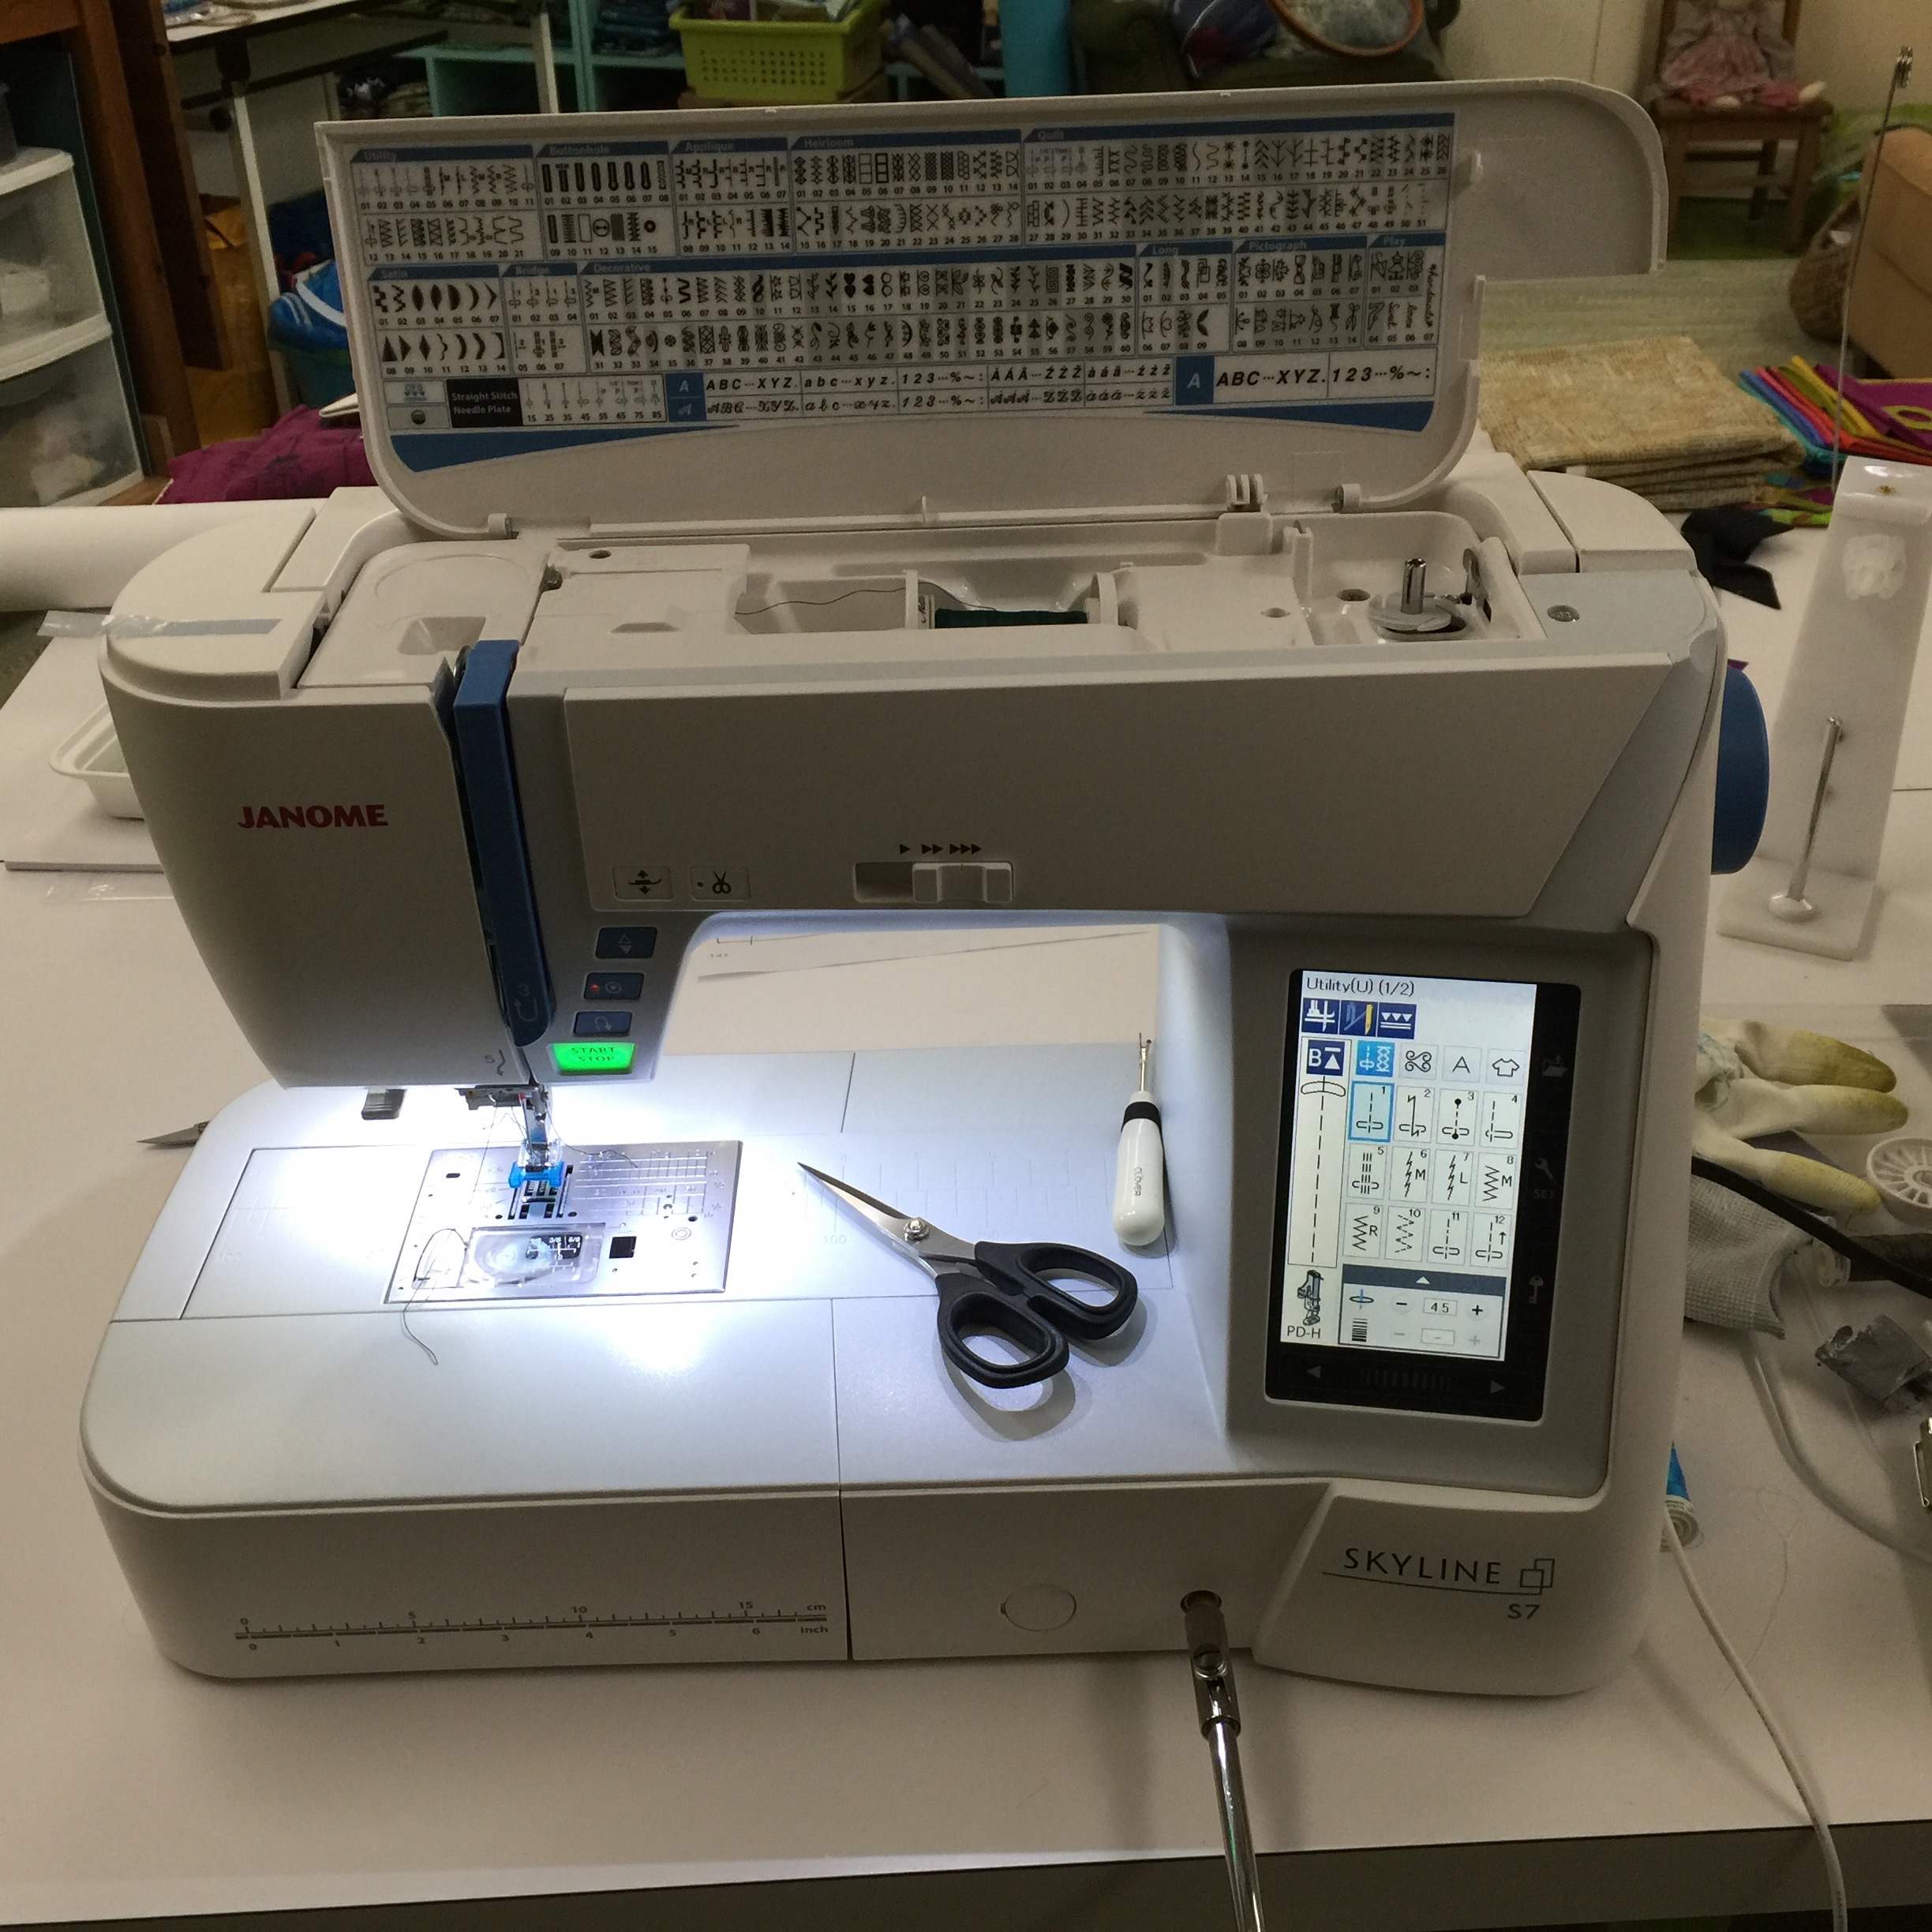
And much less fancy shot of the S7 in my studio:
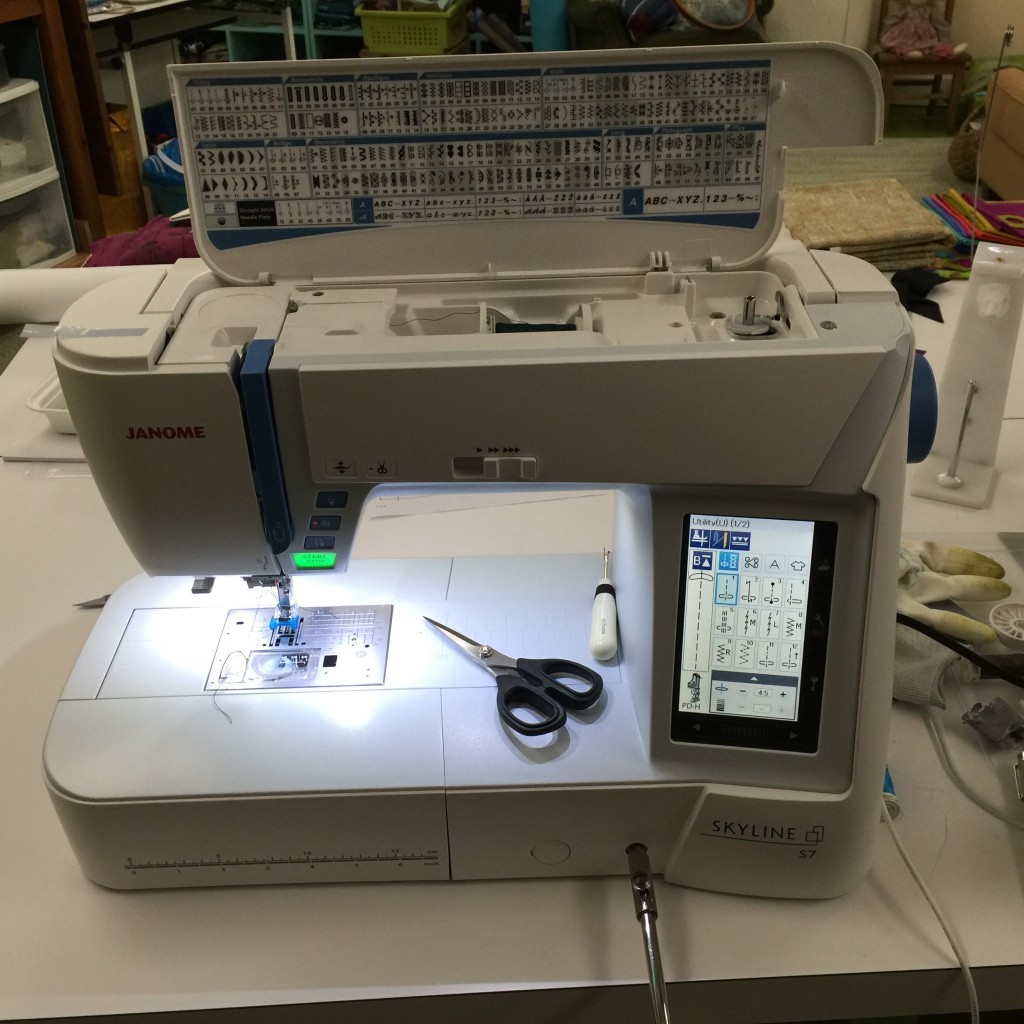
The Janome Skyline S7 in my studio.

The Janome Skyline S7 in my studio.  Notice the wonderful knee-lift in place!

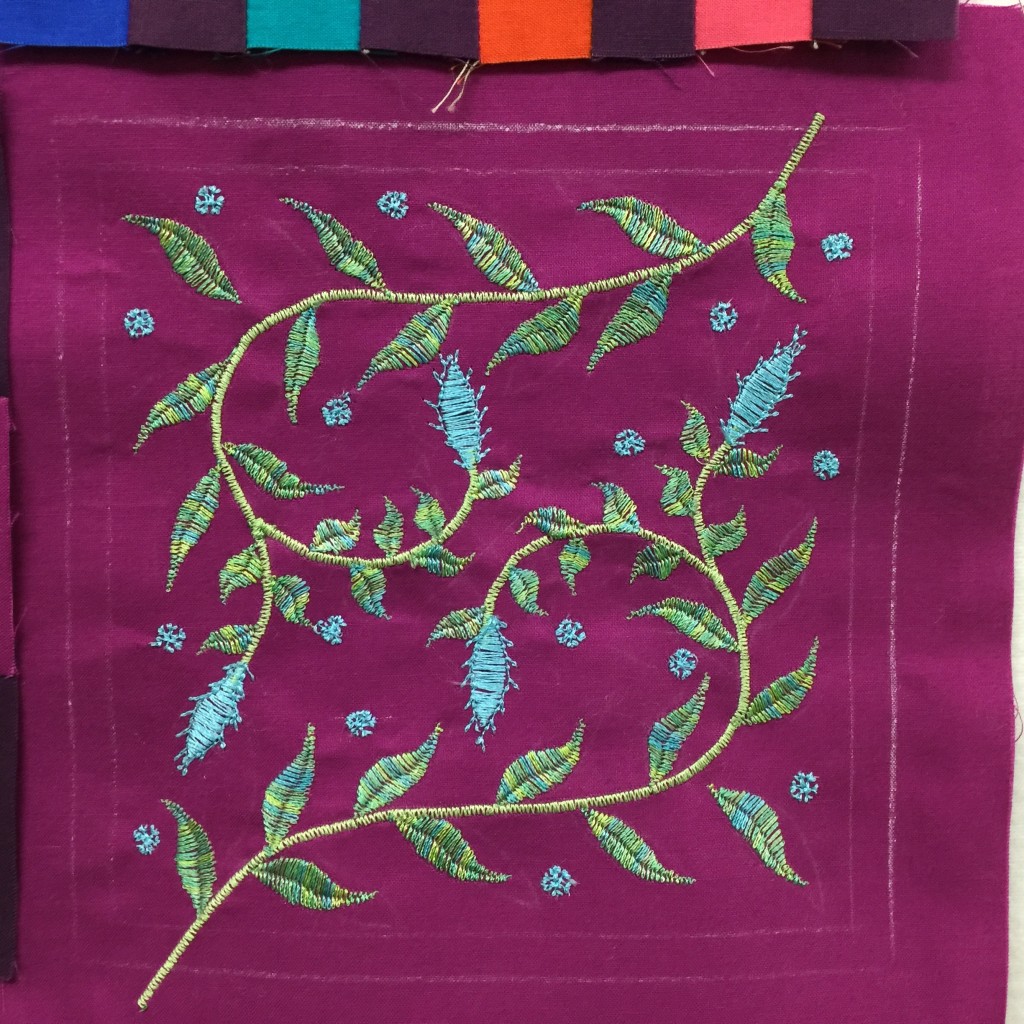
I prepared a variety of projects to work on during my brief loan period for the Skyline S7, which Janome introduced/debuted at Janome Institute late this August and is now arriving at Janome dealers.   I had piecing for quilting, mending and repairs, sewing a new top, free-motion quilting, and decorative stitching.  The machine handled every task like a champ.  Here’s a teaser…keep reading to find out more about this block:
IMG_6042

For free instructions on how to use the built-in stitches to create this block, see below. This block will work with Janome’s ongoing 100 blocks in 50 days project; read more about the 100-Blocks Janome 100 Blocks.

Now…back to the regular review (I just wanted to tuck the pretty block up top!)
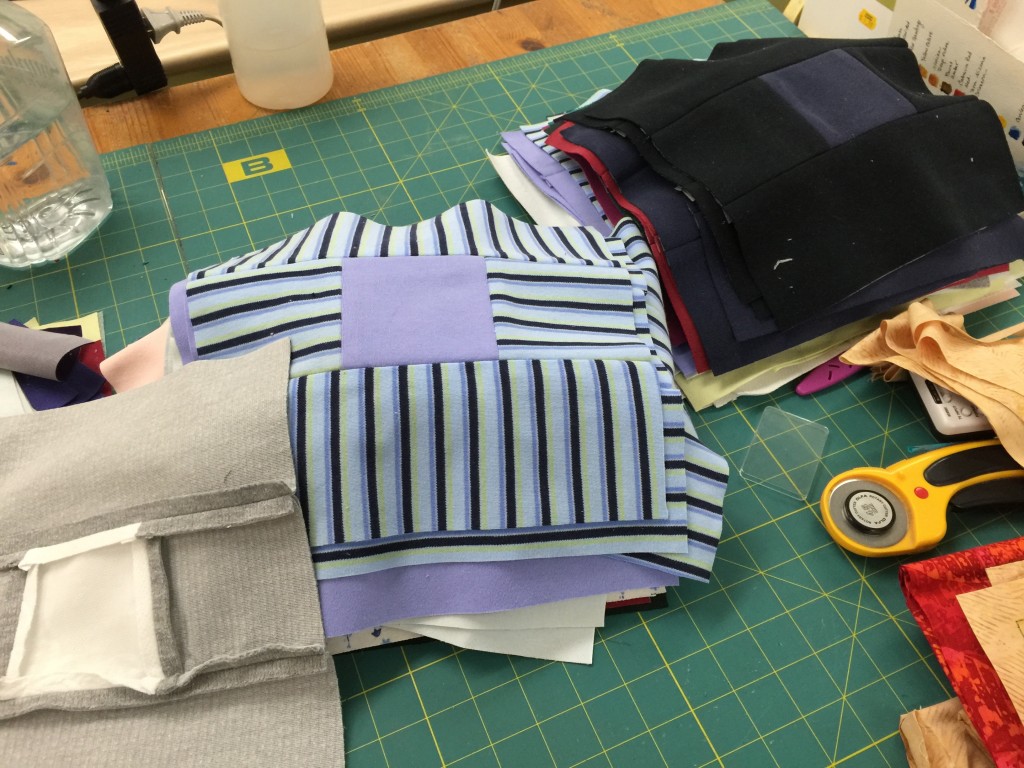
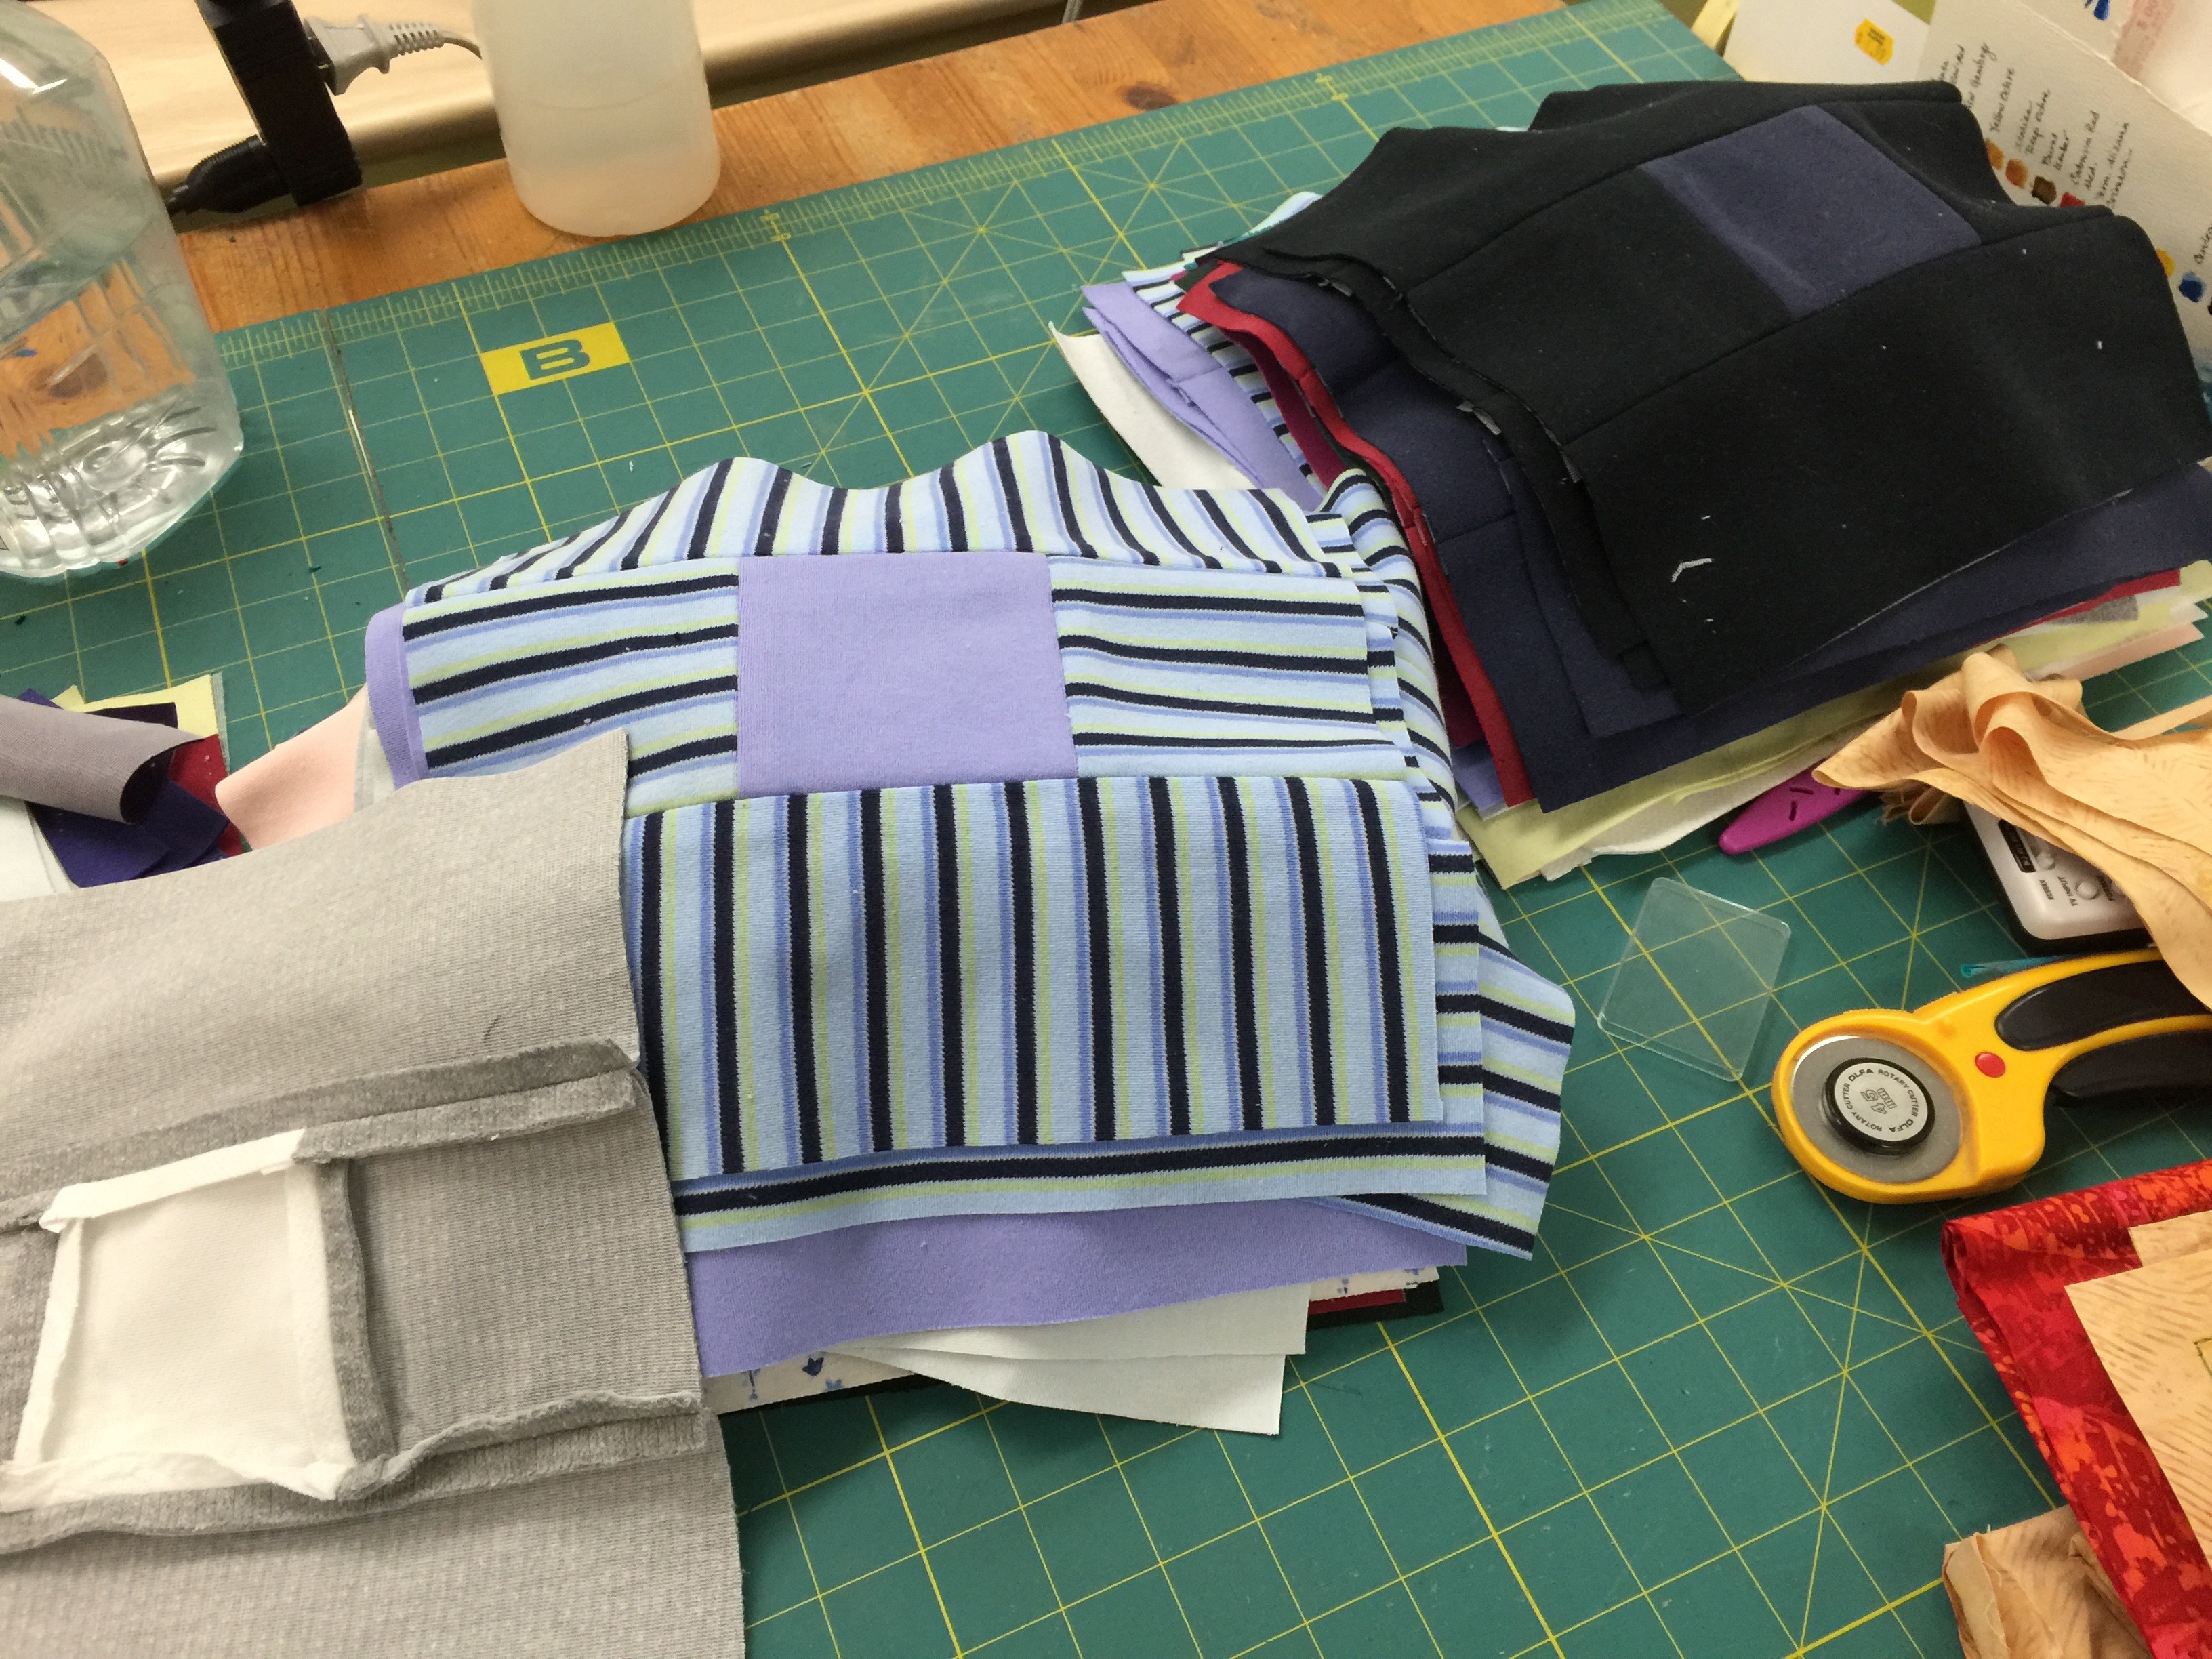
I've been piecing some blocks (who me?): made of turtleneck shirts. Eek! I had to stabilize all of them with interfacing (gray one in lower left corner). As expected, the machine breezed through without nary a burp.

I’ve been piecing some blocks (who me?): made of turtleneck shirts. Eek! I had to stabilize all of them with interfacing (gray one in lower left corner). As expected, the machine breezed through without nary a burp.  Because of the thickness of the fabric, I did find using a leader/ender so the stretchy fabric didn’t get pushed into the opening was a good thing.  Of course, I could have (and should have) used the straight stitch plate instead!

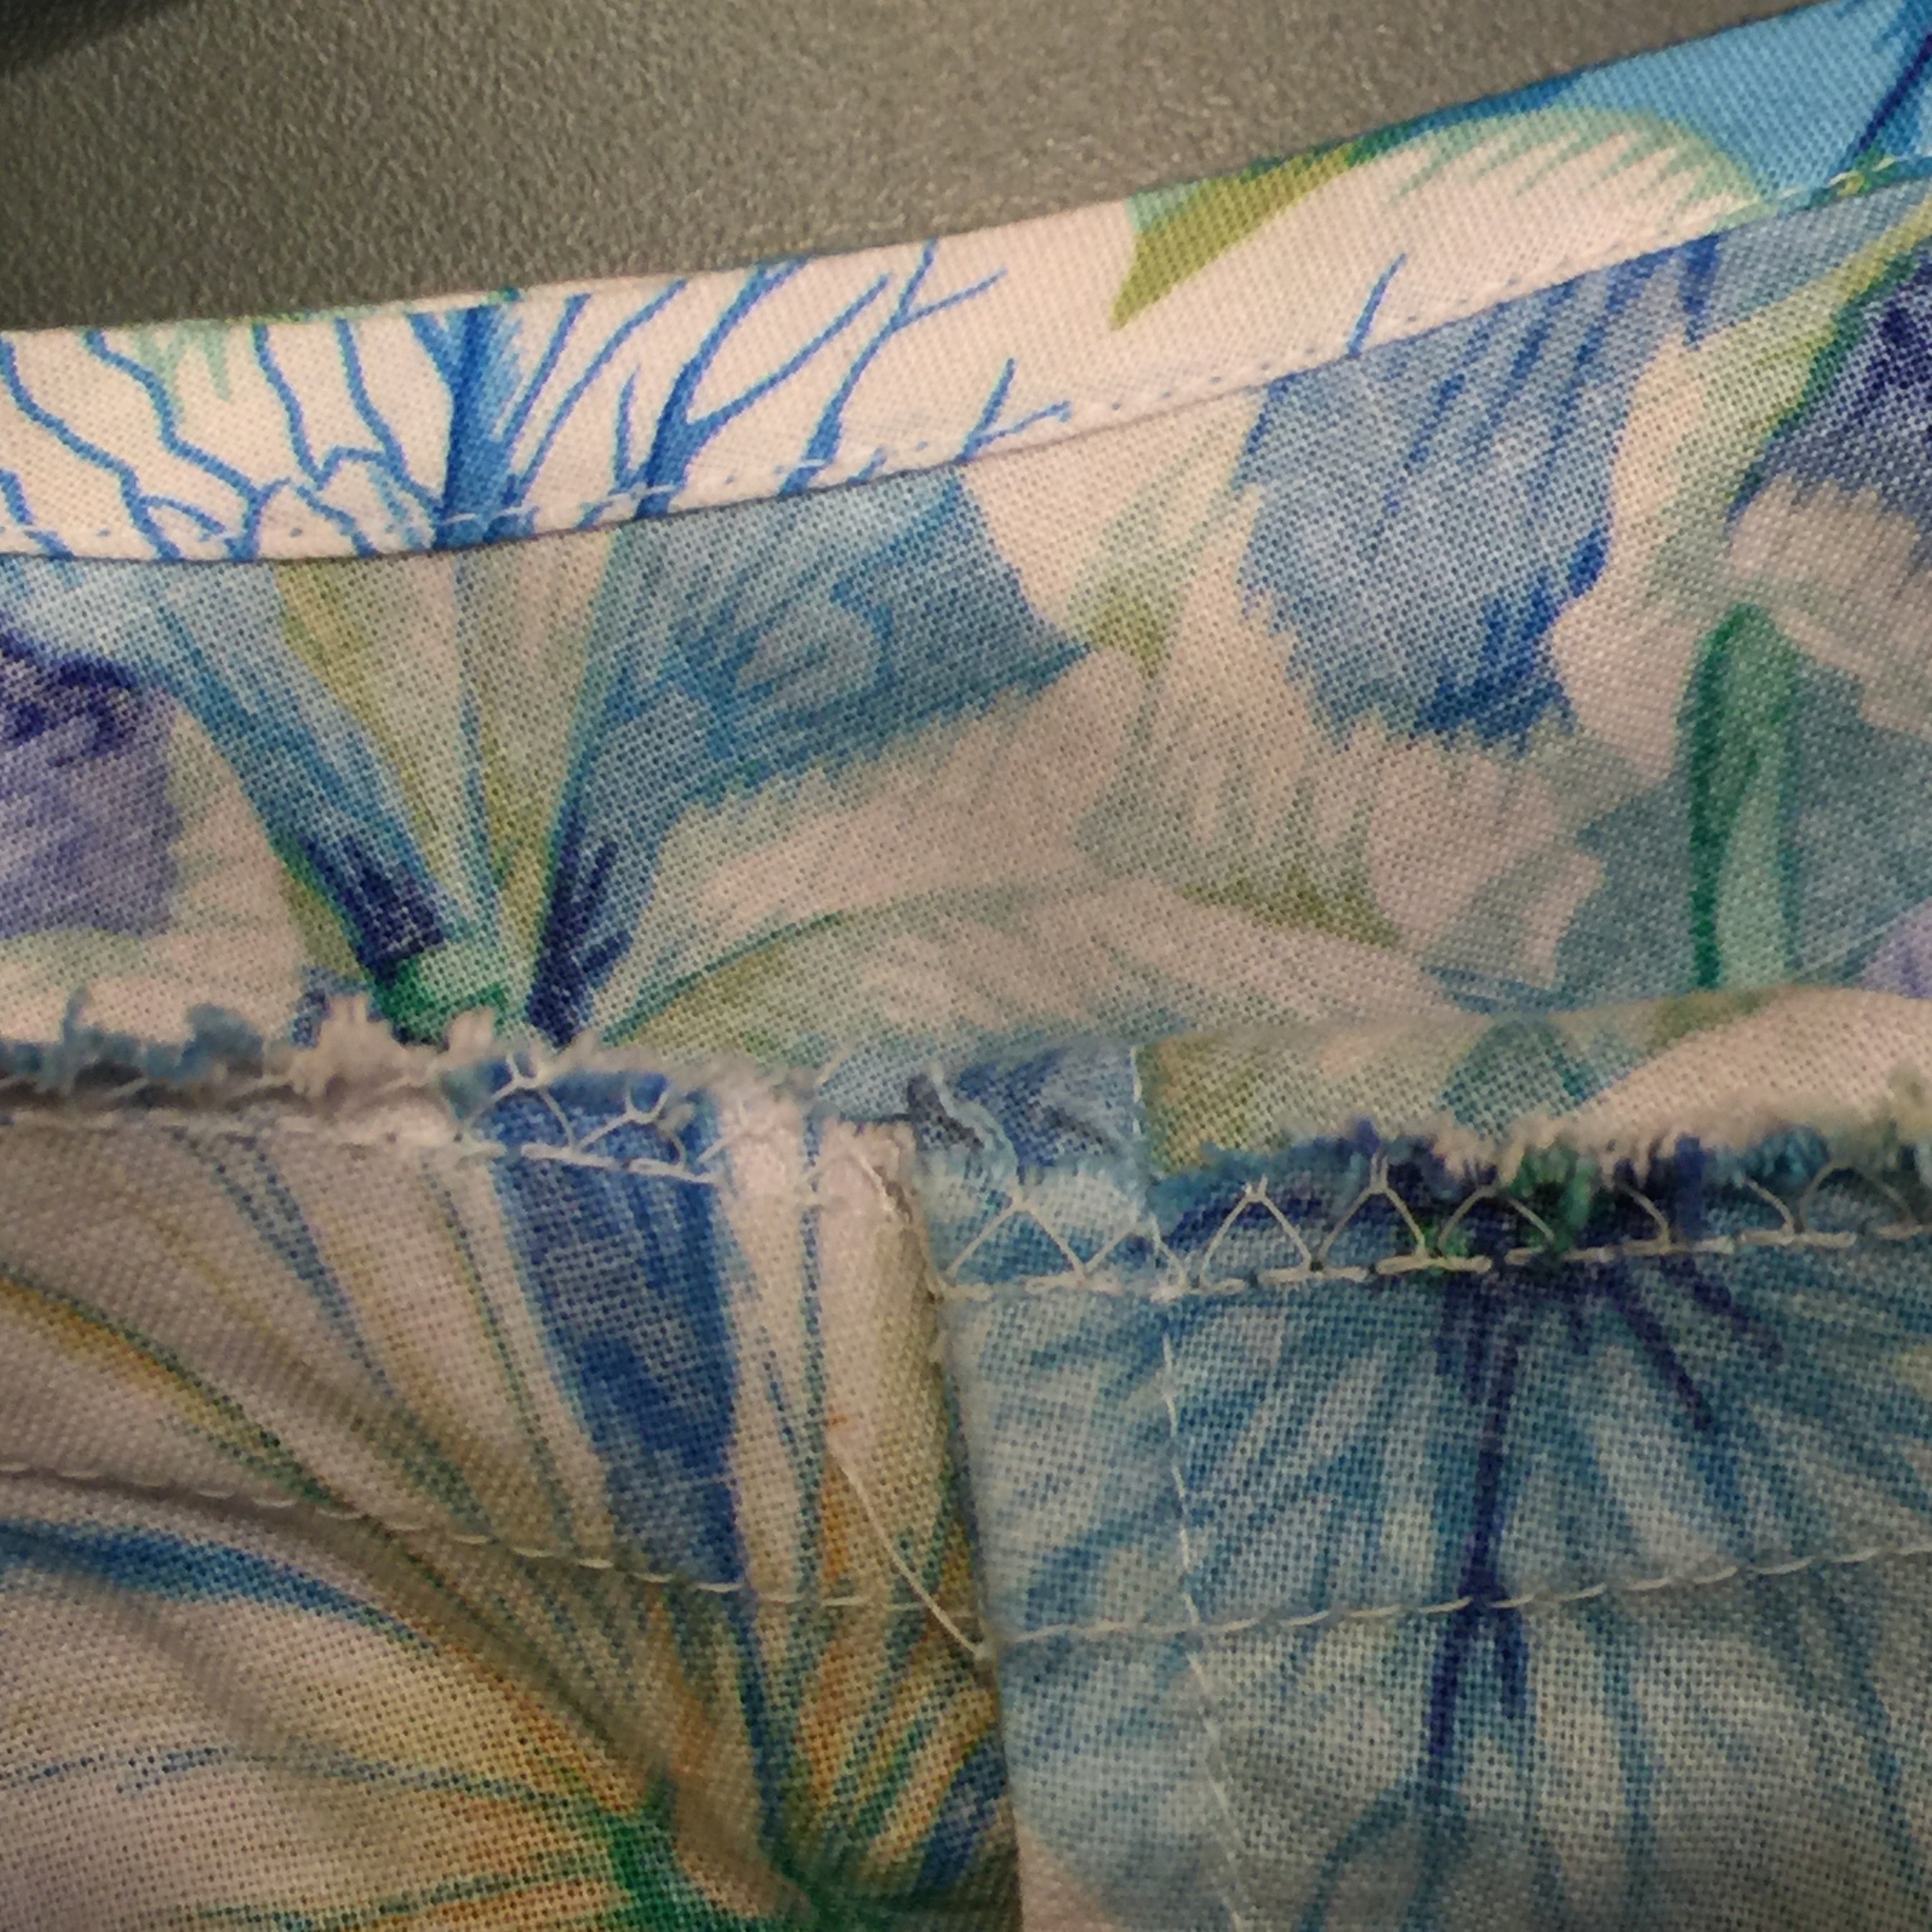
I had a tunic top cut out to make on this machine (see blogpost here or just scroll down two posts–and take a look at the review of the Janome15000 App while on your way).  I like a nice, clean finish.  So I used French seams (center vertical), overcast (using one of the utility stitches), and a bias edge as you can see in the next photo.
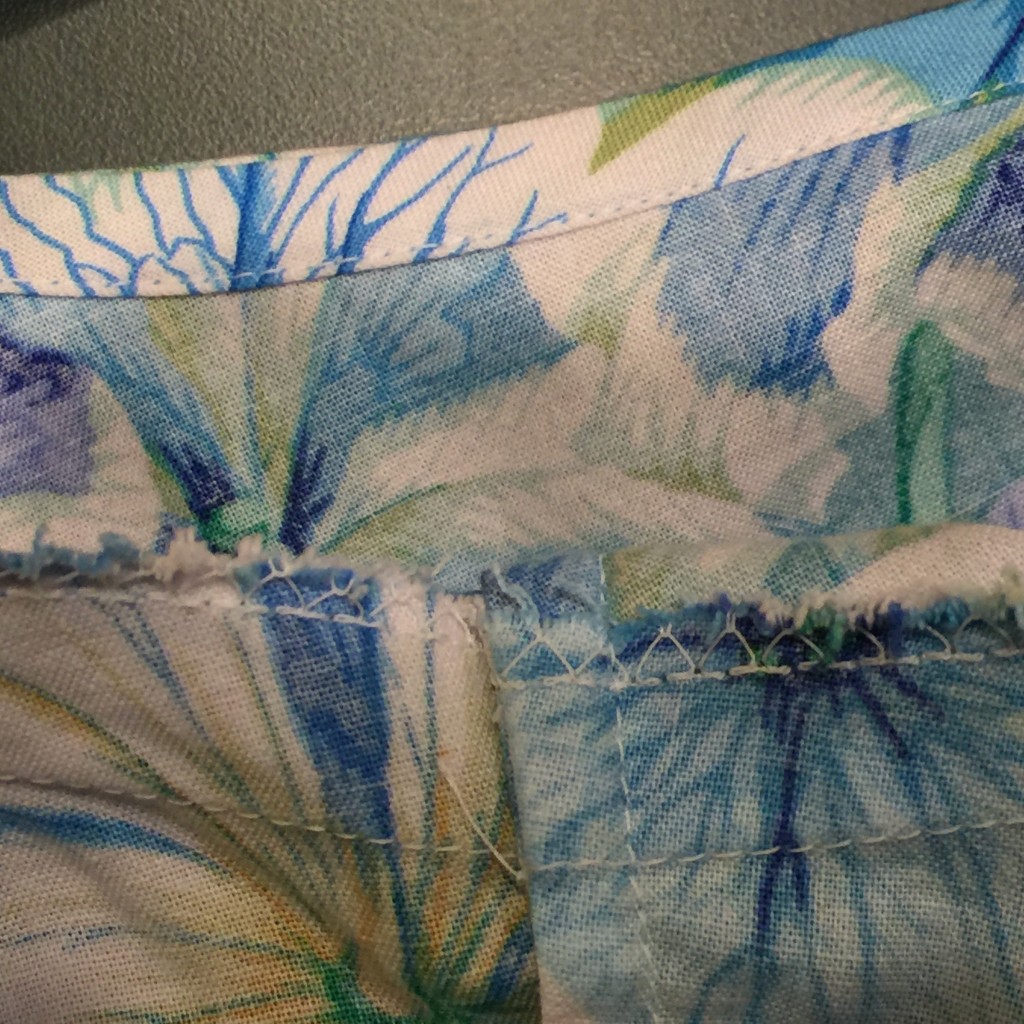
Seam finishes in my tunic: bias facing, on the top, overcast edge at the armscye (set in sleeve seam) and French seam (enclosed raw edges) on the side seam.

Seam finishes in my tunic: bias facing, on the top, overcast edge at the armscye (set in sleeve seam) and French seam (enclosed raw edges) on the side seam.

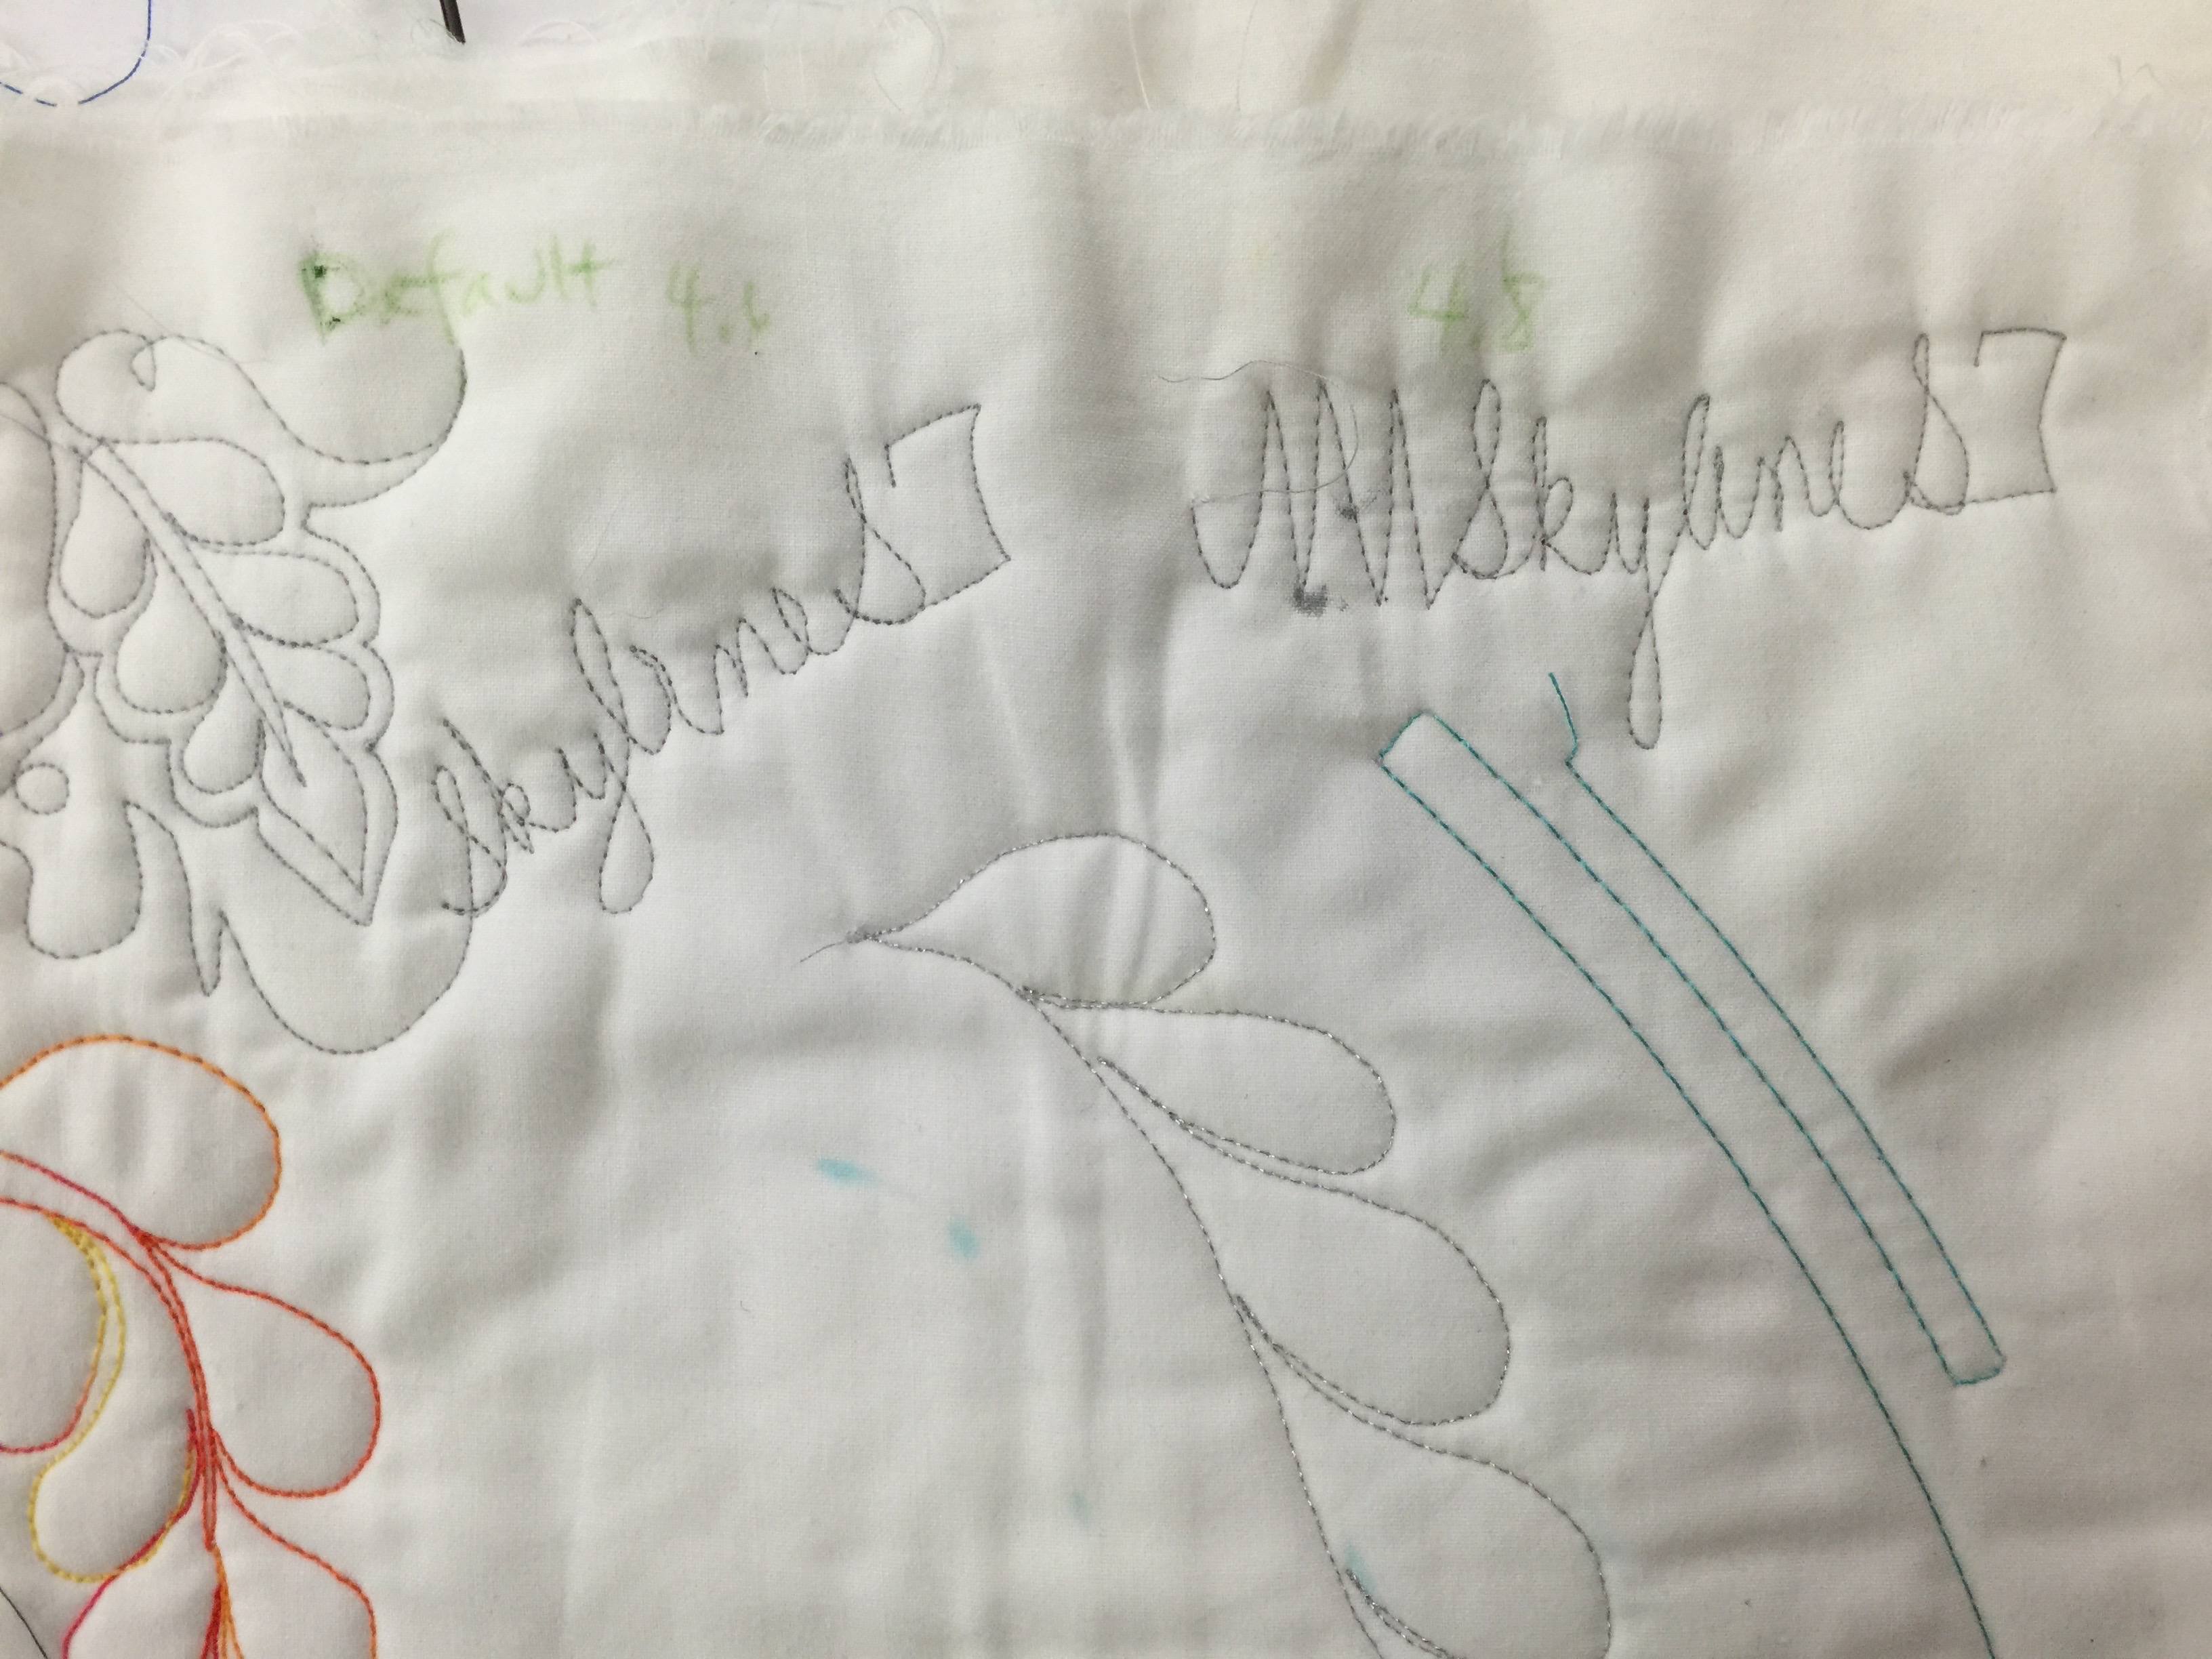
I did a quick free-motion quilting practice using the open toe foot skimming foot.  The default setting with my preferred threads, a 40-wt shiny poly in the needle and a 60-wt fine poly in the bobbin, wasn’t quite perfectly balanced for that thread combination, so I adjusted the balance by one notch and it looks excellent.  This is a common adjustment when using threads that are not identical.  Why do I use a thinner thread in the bobbin?  For art quilts, durability for wear and washing isn’t an issue.  And with the density of my stitching, the finer bobbin thread means less thread-build up, not as stiff, and more miles of thread to the bobbin!  ALWAYS test a potential new machine with the fabrics, batting and thread combinations that are your favorites–not whatever the sewing machine store has on hand!
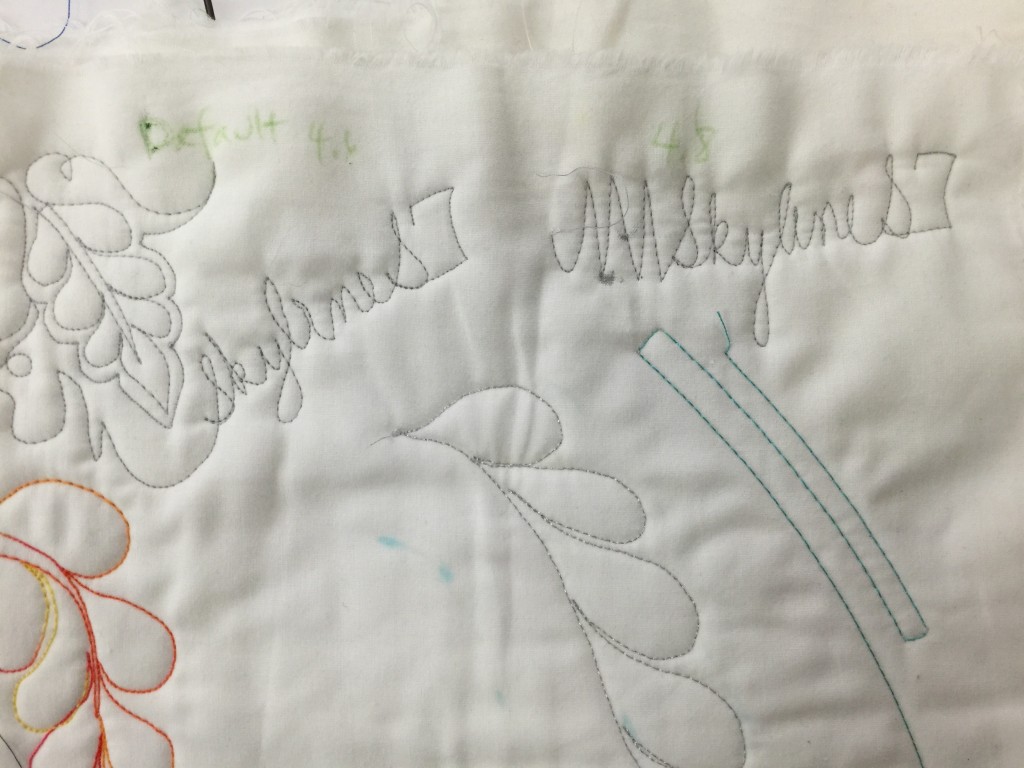
Test free-motion stitching on the S7.

Test free-motion stitching on the S7.  You can see my note that says “Default 4.6” and “4.8.”  After looking at the back having stitched the first feather and name, I decided I wanted to have the balance adjusted slightly.  I always test for stitch balance with two contrasting colors so I can see what is happening.
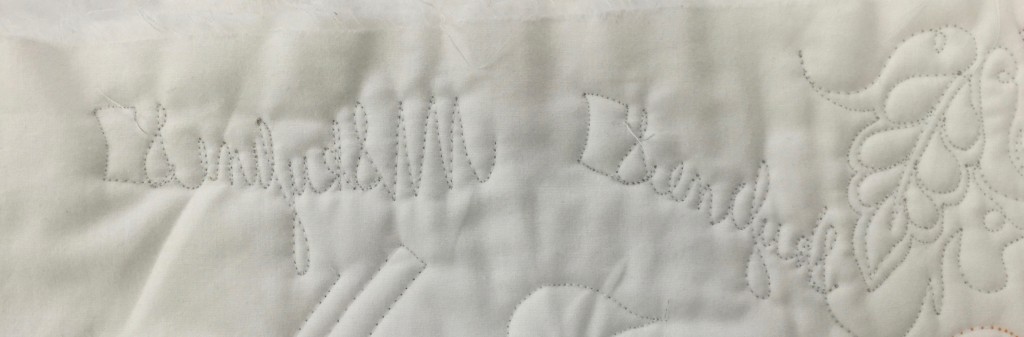
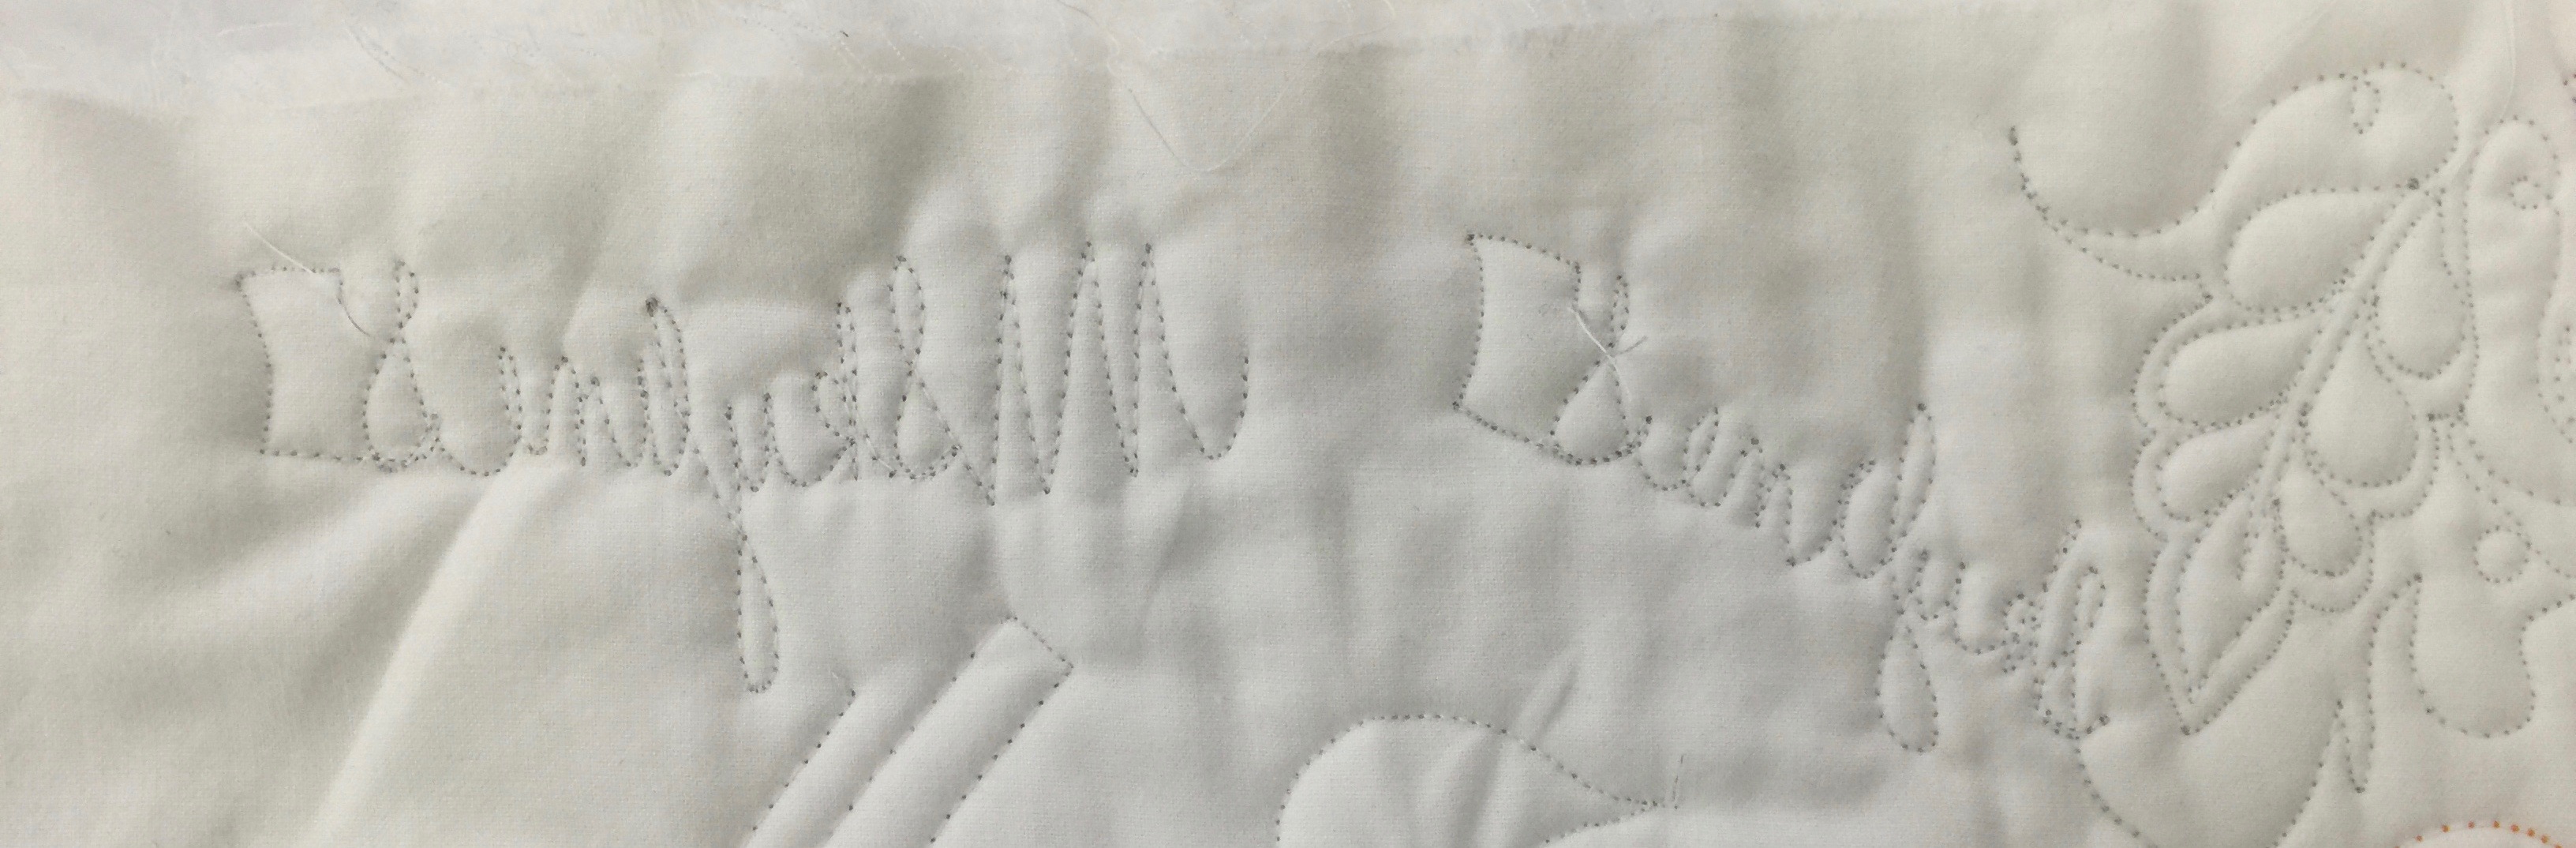
Reverse of FMQ.

Reverse of FMQ.  The stitching on the right is the default setting.  I was seeing a TINY bit too much of the needle thread on the back, so I loosened the top tension one notch.  The second stitch out, on the left in the photo above, is better.  The tiny bit of dark you see is the shadow inside the needle hole.  A bit of moisture/steam or just time will close up those needle holes.  (Click for larger view)

The drawbacks to the S7 were VERY few and minor:  the harp, the space between the needle and the housing on the right, is that of a standard sewing machine.  I’ve been sewing on the machines with a longer harp area for a decade now.   However, I have also quilted a king-sized quilt (carefully) on a machine with a smaller harp than this one.   If you want to quilt king-sized quilts at home you might want to consider a longer harp, otherwise, you’ll be fine with this machine.  Also, the machine does not come with an extension table included.  These are minor quibbles:  this is a great machine for someone doing garment and home dec work, and for someone who is newer to quilting and doesn’t want to spend the bigger bucks for the larger machine.

Note:  one commenter told me “a regular sewing machine has a harp area of 6″-7″ and the S7 has a harp area of 8.25″ That makes it even more of a real winner (I hope you correct this on your S7 evaluation.)”   OK, I don’t have a measuring tape or the time to check this out (plus the machine is back at Janome), but let’s just go with “the harp area is smaller rather than larger.”  You can still quilt on it!  <grin!>

Janome makes a “Quilting Kit” to go with it that includes an extension table and my most-favorite-in-the-world convertible free-motion quilting foot.   The Skyline quilting kit part number is (according my lovely Janome contact) 003863402005, and comes with an extension table, appliqué foot, clear view quilting foot, ditch quilting foot, open toe satin stitch foot and (drum roll please!) the convertible free motion quilting foot set that is my fave!

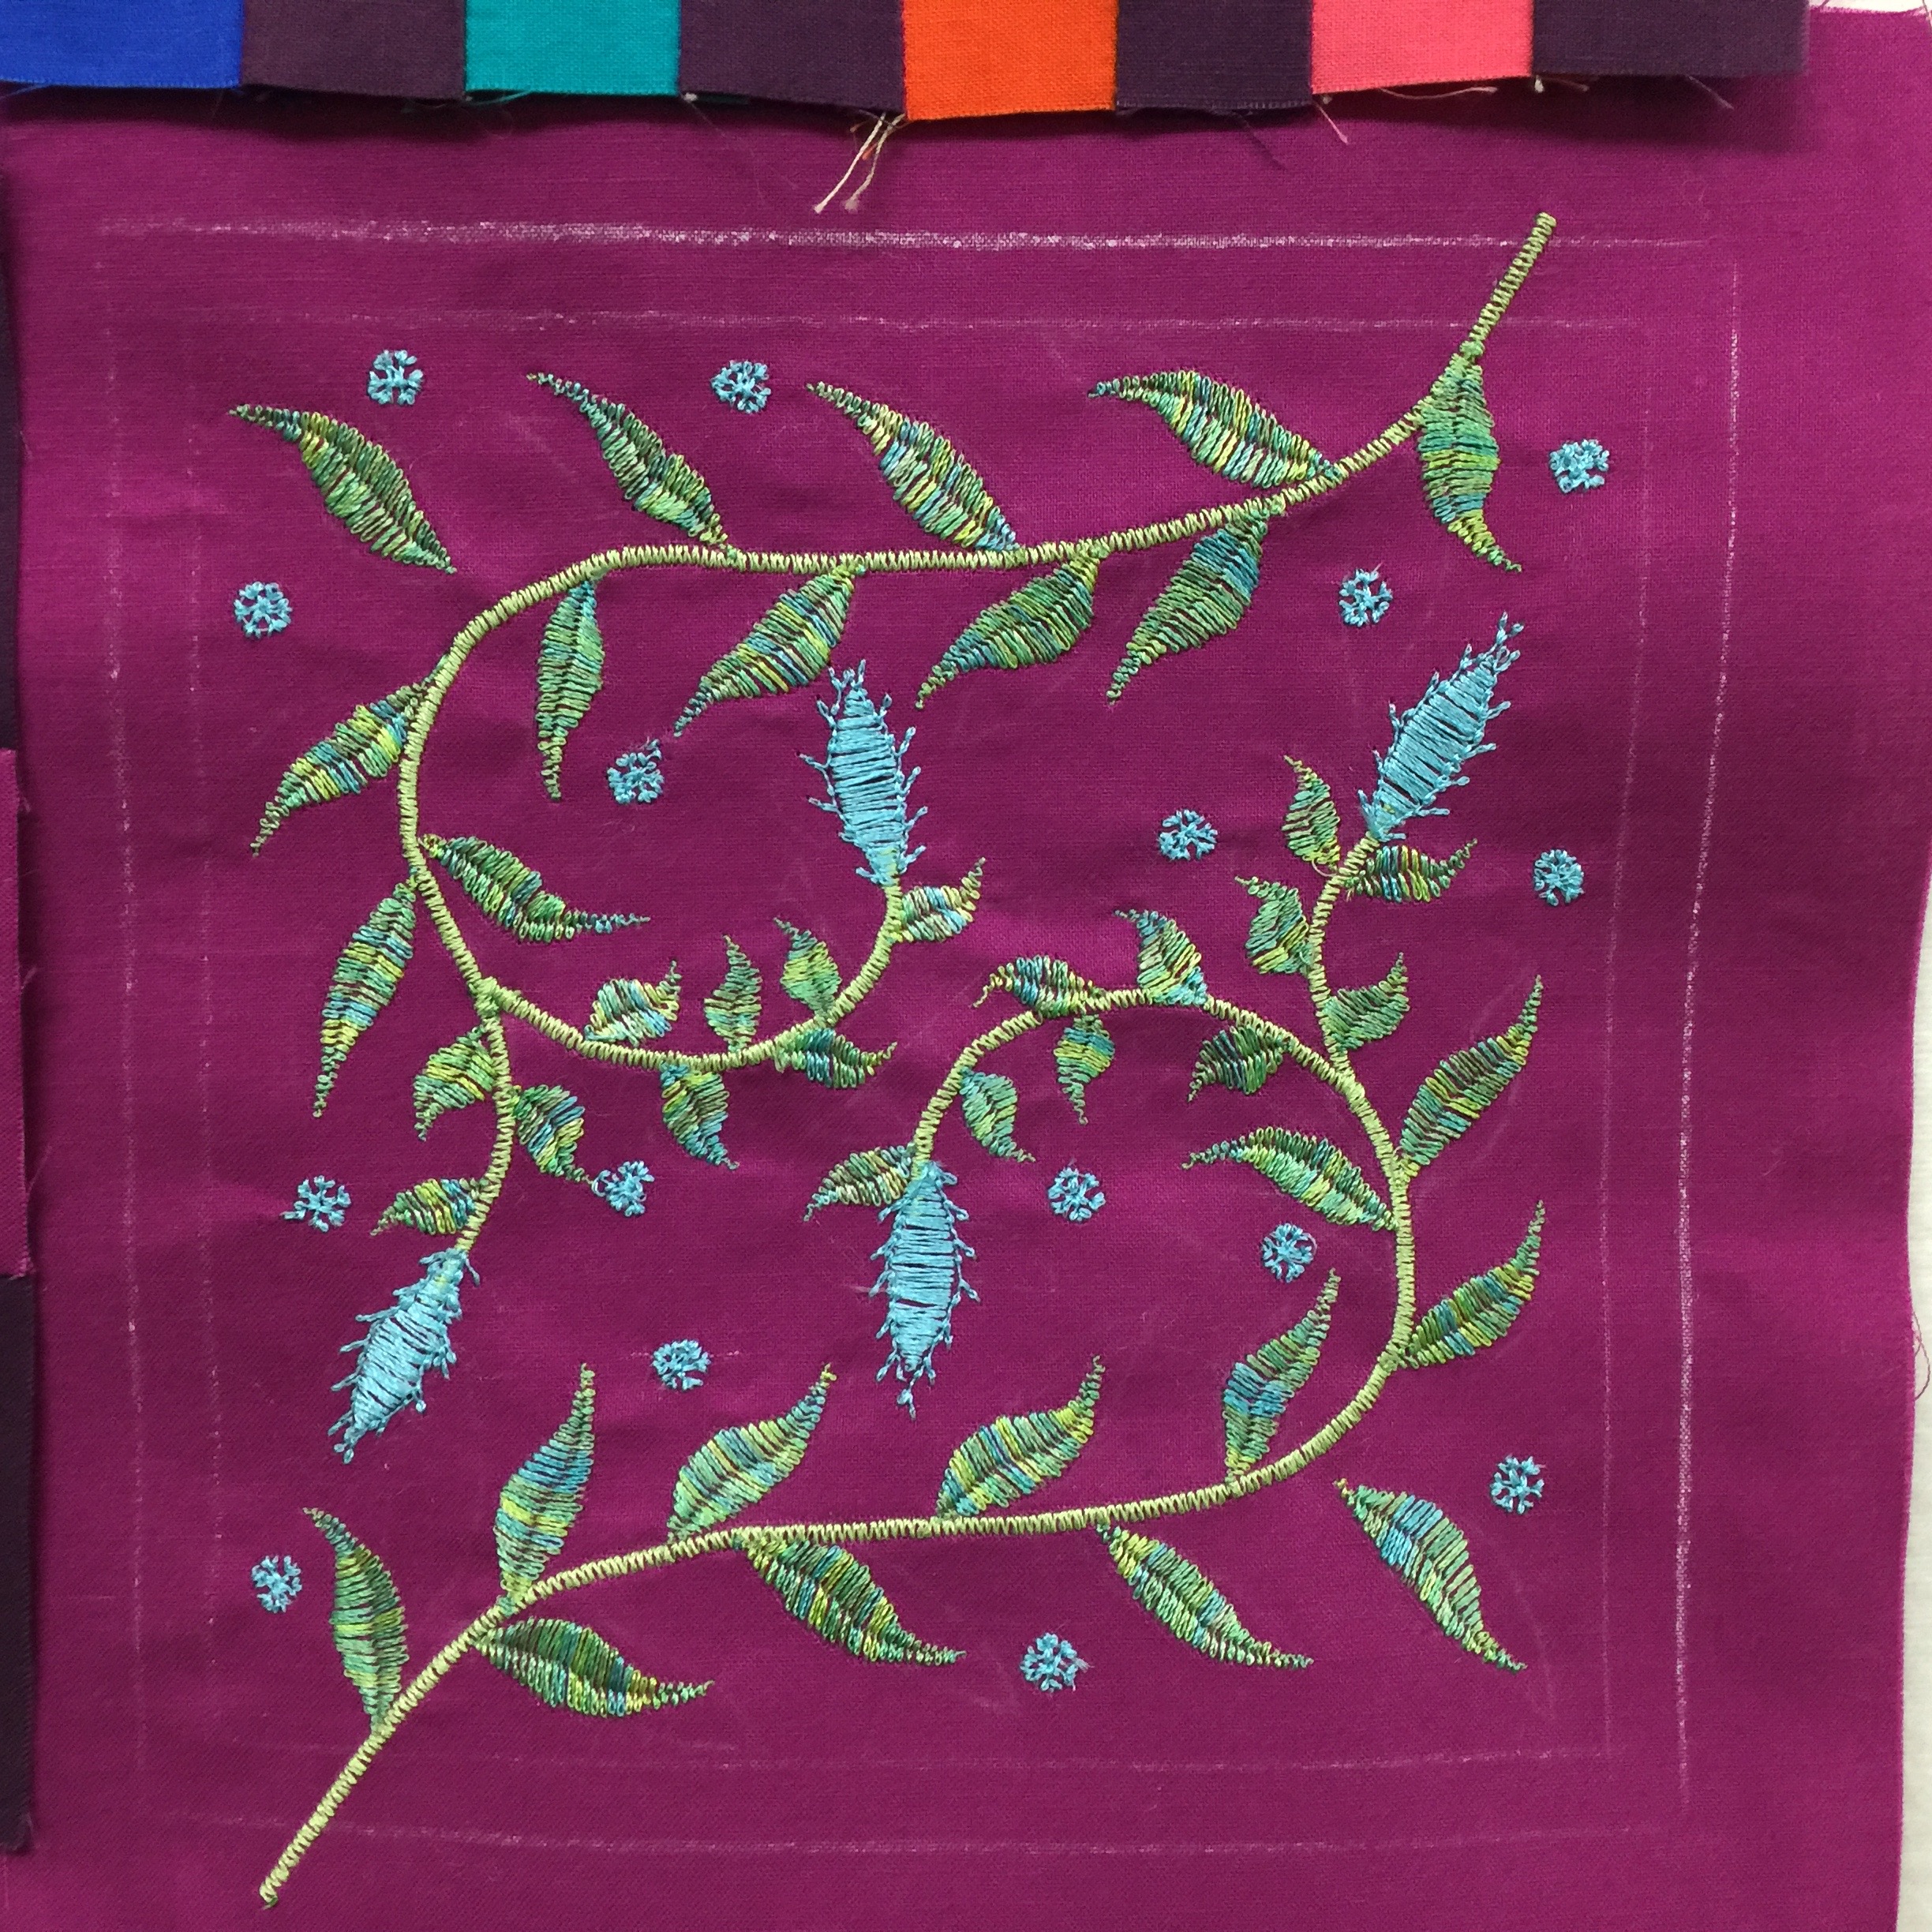
My final test was the decorative stitches.  I’ve been able to be a part of Janome’s 100 blocks in 50 days project (ongoing now, here).  I liked the Michael Miller Cotton Couture fabric SO MUCH (silky, soft, glorious) that I made extra blocks for myself, and designed this embroidered block to go with mine. Here is the PDF for my Janome Embroidered Block .  Basically, start with a 7 inch block and stabilizer suitable for the weight of your cloth; you want to cut large because stitching can shrink a block a bit.  Basically, cut it big and trim to exact size when done.  Use a satin stitch (a short length zigzag) to create two stems coming in from opposite corners of the block.  Use the Satin Stitch leaf (built in on the S7–similar stitches on other machines) and adjust the stitch length (doubled on some) following the instructions in the manual, width and stitch density (refer to the PDF) to stitch out the leaves using my block as a general guide for placement–you don’t have to be exact.   I outlined the leaves with an overcast stitch from the basic utility stitches menu.  Then use the snowflake stitch, reduced in size, to make the “dots” in the background.  When complete, trim to 6 1/2 inches to match your other “100 Blocks” project.

Notice that I chalk marked a 6 inch square and a 5 1/2 inch square inside it. I needed to know the edges of the finished block, and wanted to leave a bit of clearance around the design so none of the decorative stitching accidentally ended up in the seam allowance.

Notice that I chalk marked a 6 inch square and a 5 1/2 inch square inside it. I needed to know the edges of the finished block, and wanted to leave a bit of clearance around the design so none of the decorative stitching accidentally ended up in the seam allowance.