email Youtube

Home
Galleries
Blog
Workshops & Calendar
Store
Resources
About
Contact

Joshua, the quilt in progress #4

April 23rd, 2010

Once the torso was complete, PHEW!, it was time to tackle the guitar.  With the shirt and pants a medium-light value in cool colors, I wanted the guitar to be a medium-light warm, especially since both of Joshua’s guitars are red (he has this cool idea that he will keep all his guitars and have a gallery of them, and hopefully all red!).  I didn’t have quite the right colors–I tested out a couple of options.  Here you can see me “color-blocking” early on:
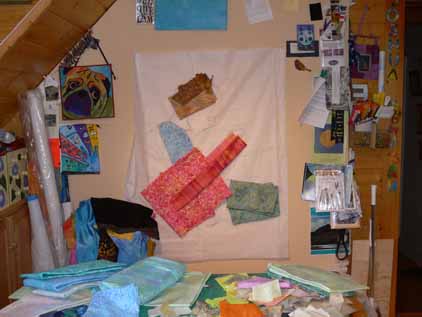
I found a couple fabrics that were close, but not quite.  A hand-dyed-look batik fabric was too pale, and a batik was too contrasty.  Solution?  Pull out the textile paints and fix them!
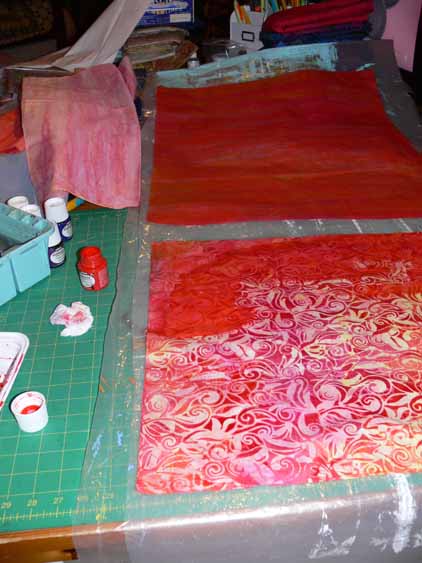
The fabric in the upper left corner is the “before”, the piece on the upper right is the “after” that became the main body of the guitar.  The contrasty swirly lovely batik on the bottom became the lower edge of the guitar.

The neck of the guitar proved to be one of the coolest moments of the construction process.  Initially I pulled some stripey batiks, thinking to use the stripes to simulate the frets on the guitar, but I just didn’t like how they looked.   Then I found this awesome batik (another one that I wish I had yards of…), a lime green with weedy flowers (or flowery weeds) in coral and pink.   I was a bit nervous about the color choices, but the neck was SO COOL in this fabric with a single stem running up the center!
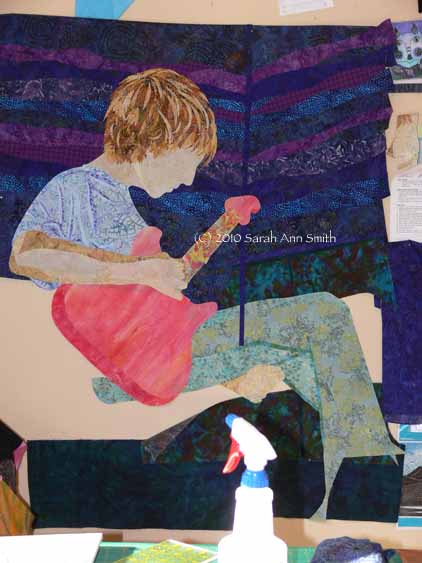
The night I got the guitar fused, I showed Joshua the progress, more than a bit nervously.  His reaction: “that is SO COOL… if I could find a guitar like that I’d BUY it!”  WOW!   It doesn’t get any better than that!  And if I win the lottery (better buy a ticket, eh?), maybe I’ll just get him one custom made.

You can also see the wall in progress.  In real life the walls are a lovely celery green, but I needed a deep dark, so I raided my stash of blues and purples.  Although the walls are shiplap siding (wood, painted), I decided to be a bit more freeform and cut wavy-edged strips.  I like the sense of motion it gives to the entire piece…like the room is rockin’ with him!

Here is the quilted guitar, with the sounding board (or whatever that stuff is on the bottom) fused on, but the strings weren’t stitched until the very last.
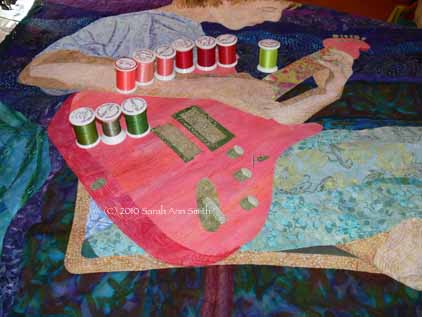
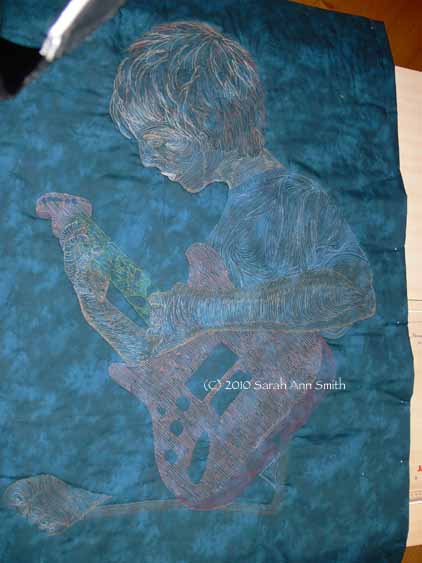
And of course, I have to share the back side with you.  I think the guitar is the most densely quilted part of the entire piece… about 1/16″ apart over the entire surface!  In the photo above, again you can see the colors of thread used for quilting.
Hope you’re enjoying the journey as much as I enjoyed making this piece,

Cheers, Sarah
Joshua, the quilt in process, #3–hair!

April 20th, 2010

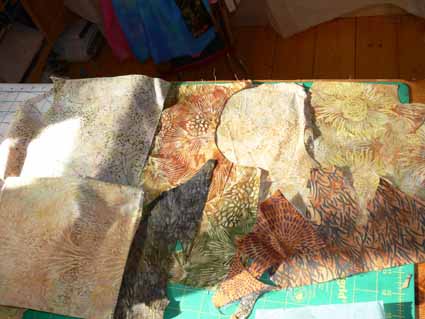
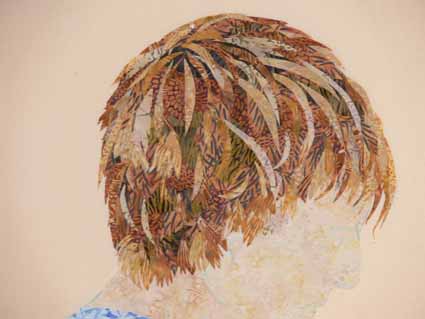
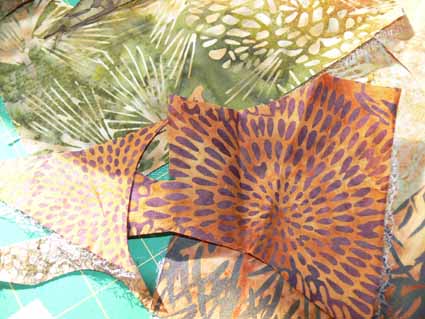
The feature that gets the most comments on this quilt is the hair.  Would you believe it is made from batik fabrics that are trees, shrubs, thickets, flowers and whatnot! Astonishingly, I actually remembered to take in progress photos, including of the fabrics (before I used them up)!  Here is some/most of the cloth:

And here is a bit more:

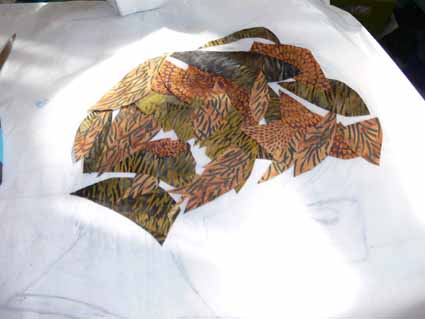
Then I started creating the base of the hair.  I slipped a pattern under an applique press cloth as a guide.  I cut larger chunks to begin:

Then I cut slivers, collaging them on to the surface–notice on some how I feathered the ends:

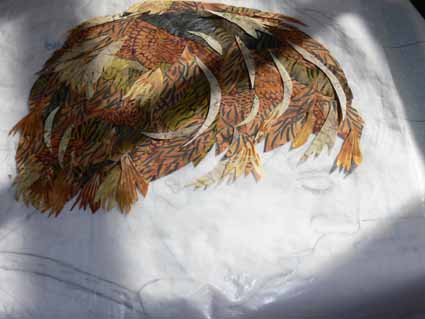
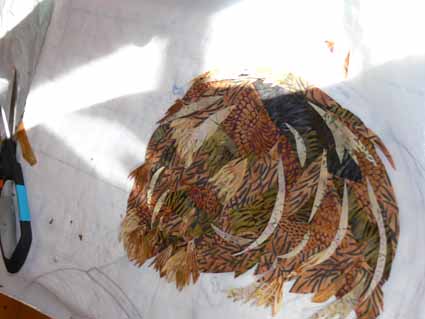
I kept adding:

And adding, until it was Joshua’s hair, and I fused the hair to the face:

I use one of those itty-bitty 18mm rotary cutters.  For years I delayed buying one…after all, why did I need another?  I had my trusty 45mm!  OH BOY do I love the little ones.  The jumbo that some folks use, the 60mm, is like a school bus:  large, does a lot, but cumbersome.  The 45 mm I use most of the time is the all-purpose mini-van.  The 18mm is the Mazda Miata, that nifty little sports car that corners and twists and turns in tiny spaces.  It pivots on a dime… it is great for freeform cutting (not so great with a ruler though).  So I set out a chunk of pre-fused (with MistyFuse of course) fabric, and slice up curves and slivers.  Even with the layering, this hair stayed pliable–not stiff at all!

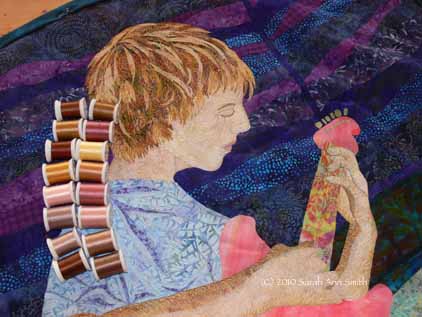
Finally, I quilted it.  The 16 threads on the surface are the ones used in his face, arms, foot (not seen in this shot) andhair:

In the first attempt picture, Joshua has a dark patch under his right eye and a too-pale bulb on his temple.  Those stitches got picked out and re-done alternating two colors of thread since of course, even with hundreds of spools and probably two dozen browns I still didn’t have enough of a smooth color range! But as you can tell, it turned out right in the end.

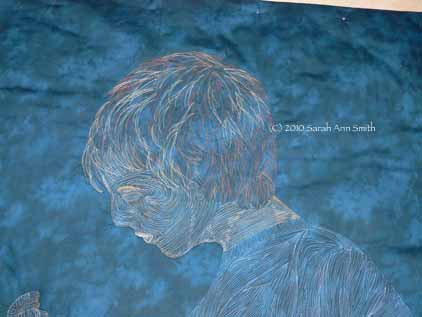
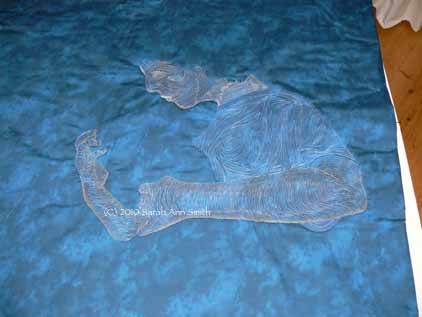
I always love the back side of my quilts, so I have to share this picture, also in progress:

And a bit more of the back:

I’ll have more soon…the guitar,the background, the furniture…..stay tuned!

Teacher makes a new vest

April 17th, 2010

As this post goes live, I will be finishing up teaching for the Arizona Quilt Guild.  It’s pretty neat:  I fly in to Phoenix on Tuesday and teach at a shop in the greater Phoenix area on Wednesday.  On Thursday, my host/program chair drives me to San Manuel (north of Phoenix, south of Flagstaff) for teaching, then on to Flagstaff that night.  I discovered that our hotel there is literally right on the old Route 66!  I’ll be teaching there on Friday, and giving a lecture on Saturday.

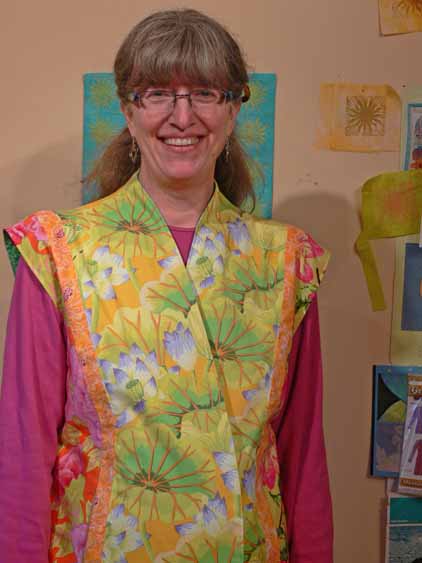
As a traveling quilt teacher, you need several things…above all compact, lightweight clothes because most of one’s suitcase is filled with teaching stuff!   And it helps if the clothing is bright so folks can see you if you are lecturing in a large hall or teaching in a crowded classroom:

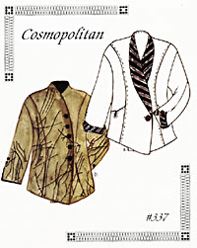
I hadn’t made a new vest in years, and needed something.  Because I am on my feet going around the classroom all day, I need something not-hot.  I picked this pattern, Cosmopolitan 337, from Lois Ericson of Design and Sew.  The pattern  also has instructions for making a vest:

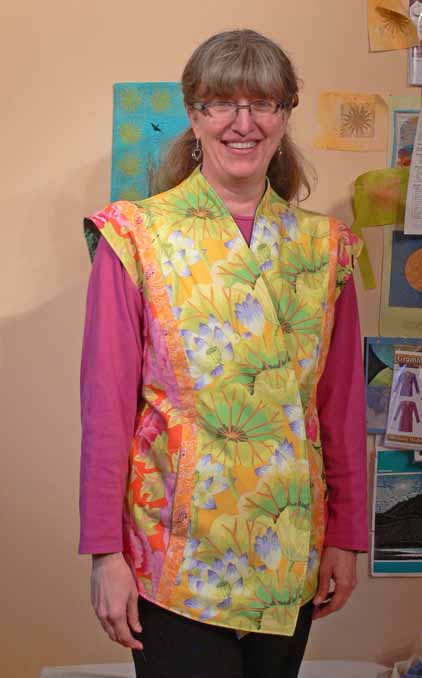
I found the pattern online here…I’ve never shopped there, but at least they have it!  I bought mine at Quilt Festival last year….it says Lois has retired, so I guess I’d better stock up on her patterns that I love and don’t have yet!  Here’s a full shot of the front (please ignore the chin that is succumbing to age and gravity):

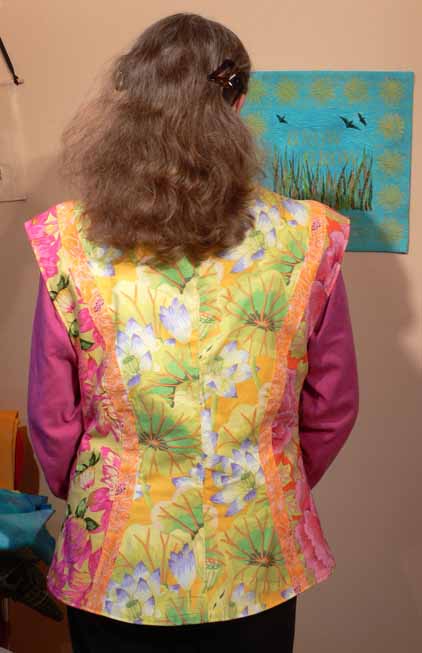
The vest, it turns out, was a bit large—which makes sense since jackets are supposed to be roomy.  So I did quite a bit of down-sizing (yeah!), and reduced the drop shoulder by nearly two inches.  I added the coral inserted stripes (love the effect), but next time  rather than try to reduce the panels on both sides of the princess seam, I would take the stripe out of the center pieces, which are a bit wide to my eye–definitely OK and wearable (and don’t you LOVE that print … wish I had even more of it…sounds like a trip to Alewives Fabrics is in order).  I opted for in-seam pockets (yeah!  Pockets!), but there are also some really cool patch pockets… next one!  Here’s the back, with my hair only slightly frowzy:

I used a nice batik for the lining and was careful, sorry I didn’t take a picture, and can use it reversed, too!  I also like that it covers the tuckus (aka posterior).  I still haven’t done a closing…not enough time before getting on the plane.  That can happen later!

Joshua, the quilt in progress, #2

April 14th, 2010

So last post on this topic, I said I’d share how I began the quilt itself:  the hardest part first.  That, of course, would be Joshua!  The face, head, hands, then body.  When I first thought about this quilt, I had thought I would do something like I did with the quilt of our pug, Pigwidgeon, and it would be in totally NOT realistic colors.  If I wanted to stick to light values for the skin tones, that meant I had the following not-realistic options:  pale pink (nope), pale yellow (nope, sallow), pale green (the Green Giant?), pale blue (nope, sickly), pale purple (BLEAH! NO!).  So I revised my plans and decided to use real skin tones and tweak all the other colors.

I found a batik that was pale beige and golden scrolls, and decided that would be my base for his face and neck, selecting a darker part of the fabric for his neck.  I underlined it (fused it to) a solid white to prevent the dark walls (which would go behind his head) from shadowing through on the “seam” allowance.  By the way… I should add that this entire quilt top is fused applique, using my favorite fusible,  MistyFuse.  Even when you have multiple build up layers, like his hair, it stays supple and fabric-like…unlike some brands the feel and sound more like cardboard once you get two layers or more!

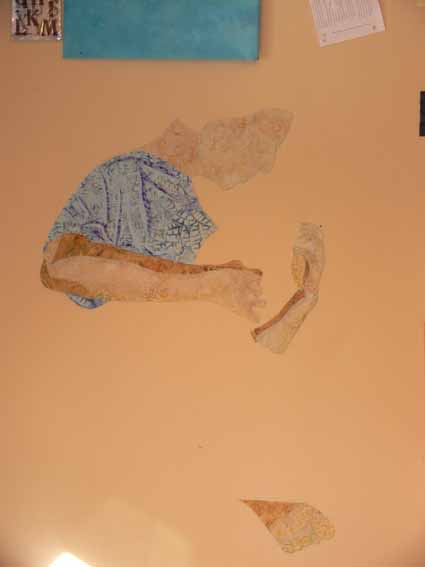
For his arms, I used five values of cream to dark tan for the shadowy side of his arms.  The rest of the shading was done with thread.  Note the bottom of his foot, down low on the wall.  For the clothing, I used three values:  I picked the main fabric for the t-shirt, then found a lighter blue and a darker one for the highlights and shadows of the folds.

Next, the hair!

Not that there was any doubt….

April 12th, 2010

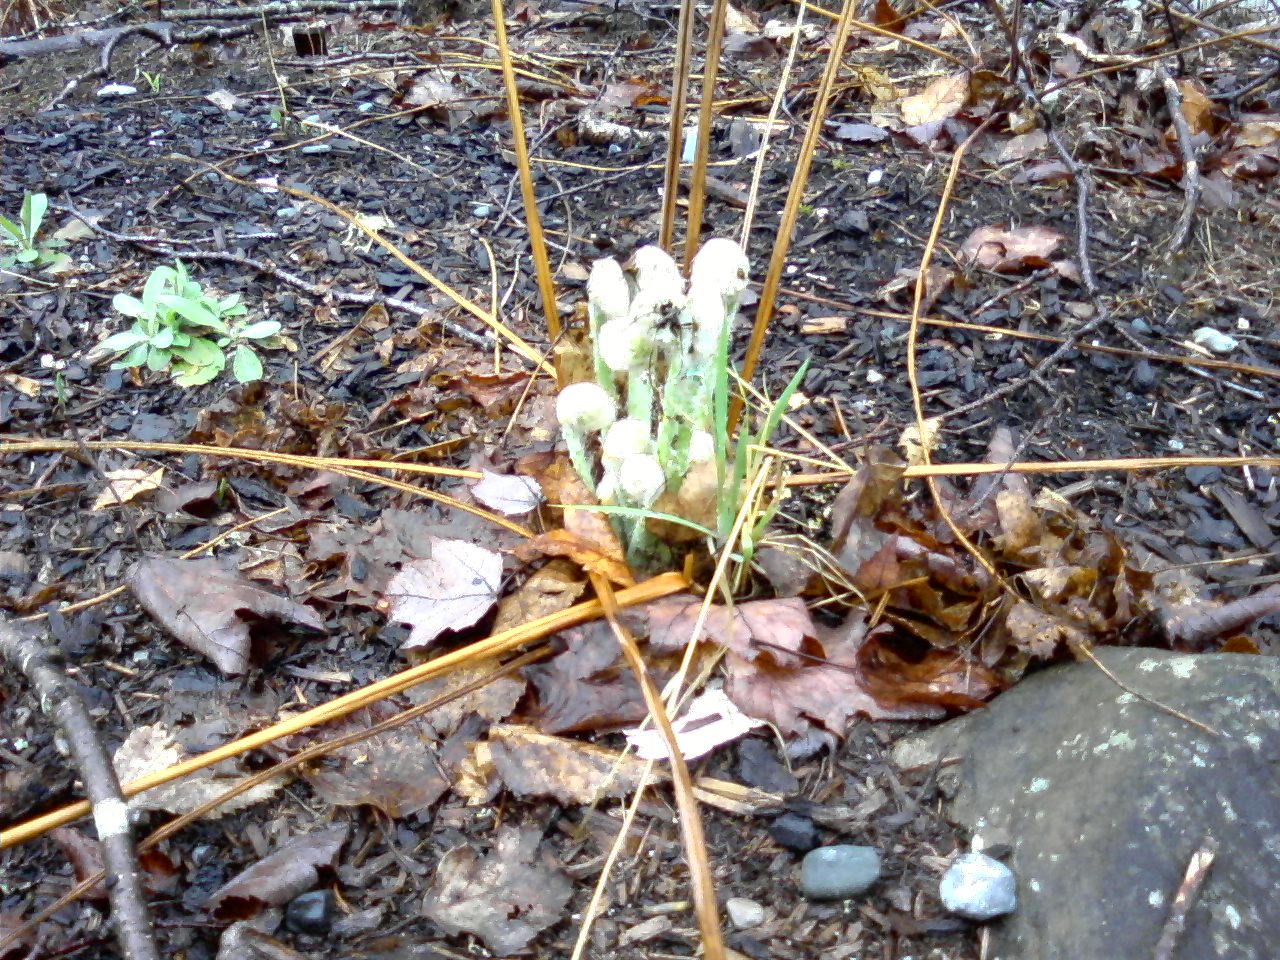
But spring is truly here.  Proof?   Go on a dog-walkies midday and spot the FIRST FIDDLEHEAD of the season!