email Youtube

Home
Galleries
Blog
Workshops & Calendar
Store
Resources
About
Contact

Archive for the ‘Techniques’ Category

Postcards in Farmington Valley, CT

Sunday, March 22nd, 2009

This past week I was invited to lecture and teach in Simsbury and Avon, Connecticut, for the Farmington Valley Quilt Guild.  It was so much fun, and quite a large guild, too!  On Wednesday evening I presented a lecture, The Decorated Quilt: Beads, Embellishments and other Treasures, at the Eno Memorial Hall in Simsbury.  There were easily over a hundred women there in the HUGE hall. I was lodged at the Simsbury 1820 house (guess when it was built):
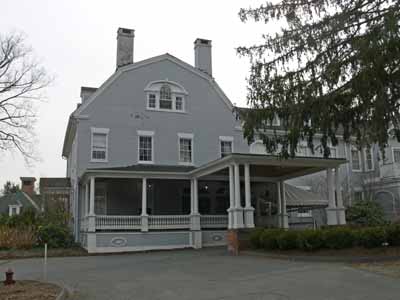
The Simsbury 1820 House

The Simsbury 1820 House

I’ll do a couple more posts about the trip, including pictures of the town, windows, and other cool fodder for quilts and design ideas!

I had sent down some of my postcards (made by me and received by me) and ATCs to help advertise the class:
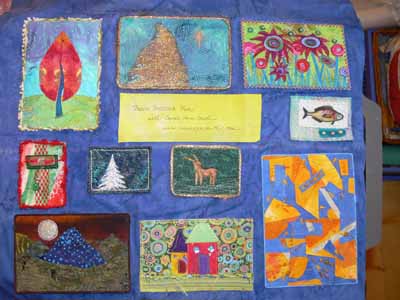
200903blogctpostcards011

The next day, at the beautiful, modern public library in Avon, CT, about twenty women joined my class on Fabric Postcards, which is a non-threatening introduction to art quilt techniques and making fabric postcards.
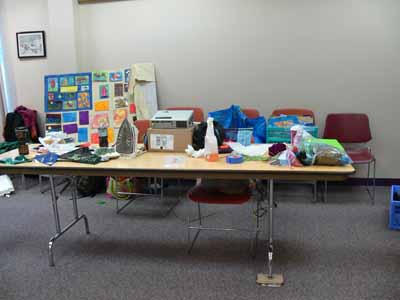
200903blogctpostcards009

I set up next to the only flat, blank wall so I could do something new to me:  using the videocamera and digital projector to project what I was de monstrating onto the wall behind me.  This way, EVERYone in the class had a view as if they were sitting next to me (or on my lap!).  It took some getting used to… I’d forget to make sure my hands were in the range of the lens, so they got good at reminding me LOL…thanks ladies!  I think this will work, and I definitely got better as the class went along.

Each student had a spot at their own table, but we set up a workstation area for paint and another two for ironing.  The class included my “chunk and jigsaw” fusible applique method and using angelina, so that took place at the ironing stations.  I also taught painting techniques using textile paints (Jacquard opaque, Setacolor transparent, and Lumiere metallics) using direct application, stencils, and printing (with mats, bubble wrap, stamps) and Shiva paintsticks  in both direct application and rubbings.
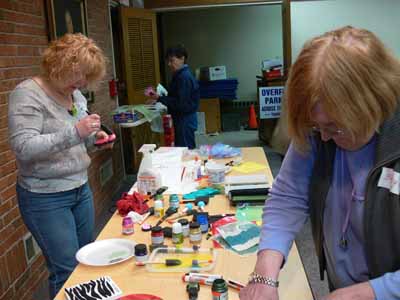
200903blogctpostcards007

The ladies were grand, I got to meet folks I’d only met before on line (hi Judy!  hi Vivika!), and learned from them…something that always happens when you teach!

Here’s a view of the program room where our class took place:
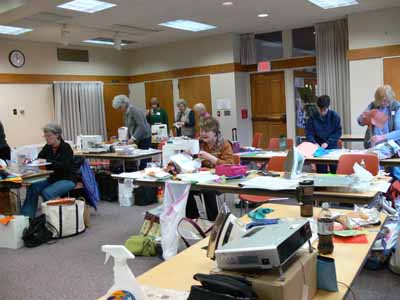
200903blogctpostcards008

And here are a range of postcards–if yours is among them, drop me a comment and I’ll add your name to your card!
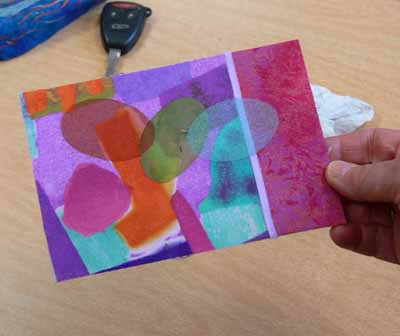
Easter eggs using sheer, fused fabrics

Easter eggs using sheer, fused fabrics--By Marie

and
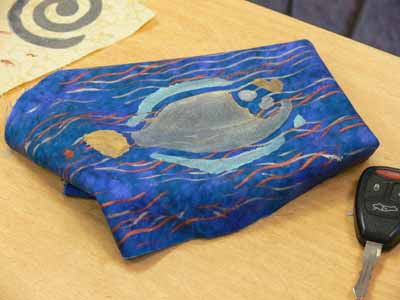
Textile paints and Shiva Paintstiks

Textile paints and Shiva Paintstiks--by Diane

and
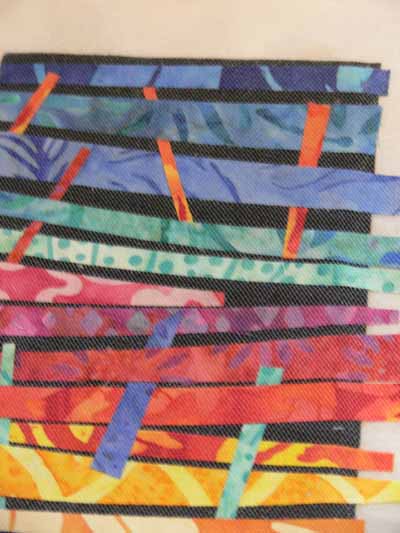
colorwash abstract under tulle

colorwash abstract under tulle--also by Karen

and
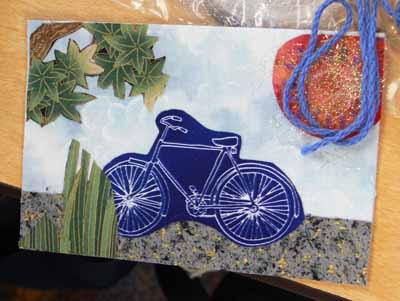
Her licence plate is "Outdoor"

Karin's license plate is "Outdoors"

and
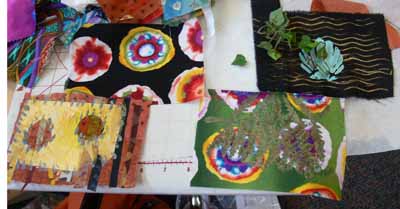
An array by Betty

An array by Betty

and

I thoroughly enjoyed the trip, and hope the students learned and enjoyed too!  Thanks to Judy R., co-program chair, for finding and inviting me and doing all the work her position with the guild entails, and thanks to all the ladies who took their time and talent to come to my class.

Thanks Betty for filling me in on who did what!
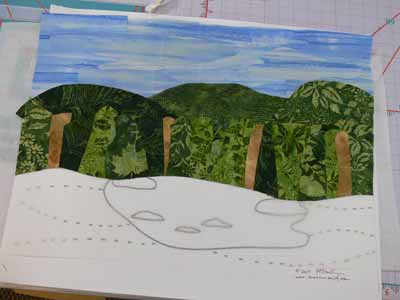
Birch Pond Class

Monday, March 16th, 2009

200903blogbirchtreesclass001

Today’s post is about a new pattern I’ve designed to help folks who want to start art quilting or for folks who are experienced art quilters but want an appealing yet fairly easy pattern.  The class to teach Birch Pond Seasons (when I get winter and spring made, I’ll have four views of the same pond across the four seasons) for the first time went swimmingly well as you’ll see by the photos!  The pattern itself will be available in about two months (guessing…have to send it away for printing the large sheet this time).

As you might guess by that rather extended absence from the blog, I’ve been busy! Between the first draft of my next article for Machine Quilting Unlimited magazine, getting together the stuff for taxes (not only ours but mom’s, too…bleah), attepting to get some sleep, going to wrestling meets, the usual family and household stuff, making a new small quilt for the article, and teaching, I’ve been rather behind the curve.  A while back, I got to teach my Birch Pond landscapes pattern for the first time at Maine-ly Sewing, and it was a gas!  I will definitely be polishing up the instructions, sending the pattern off for printing (it’s oversized, and copies at Staples are about 6 times more expensive than shipping it away and getting it professionally printed).

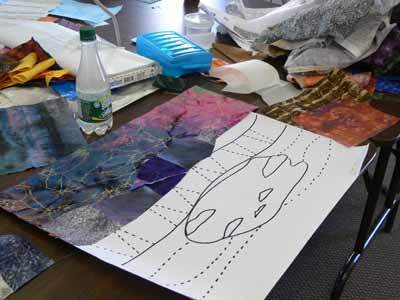
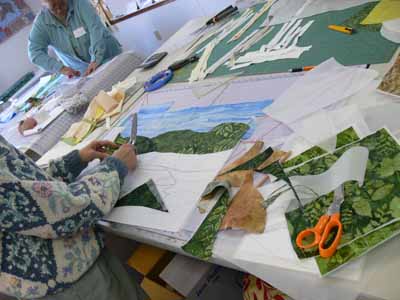
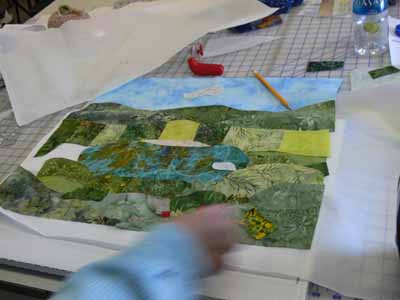
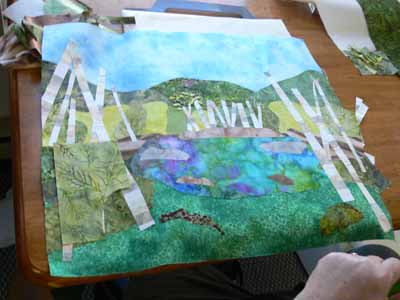
After showing the students how to fuse up fabric (both large chunks and smaller bits) they began composing their quilts.  The easiest way proved to be setting out the large pattern (the piece of paper is about 18×22), placing parchment paper on top of the pattern, then the pre-fused fabrics on top of the parchment.  Here you can see the pattern through the parchment on the lower half of this quilt.  This student did a fabulous job with her sky; she had one piece of fabric that was perfect, but WAY too narrow, so we cut, spliced and overlapped for it to look like a summer’s cloud-dotted sky.

Another student chose a dramatic lightning-streaked sky and dark mountains for her quilt:

200903blogbirchtreesclass009

200903blogbirchtreesclass012

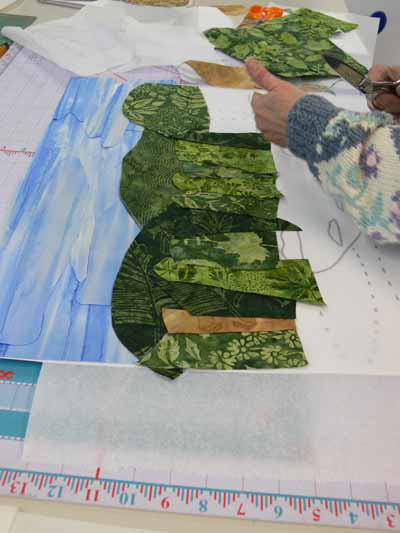
Working from farthest away (sky) to the front (foreground), we began with the sky, then the distant hills, then what I have called “the woods behind the pond.” You could cut a single swath of fabric to go across the entire quilt, but I think by cutting chunks and “piecing/fusing” a band, you get greater depth in the piece:

Creating the woods behind the pond

Creating the woods behind the pond

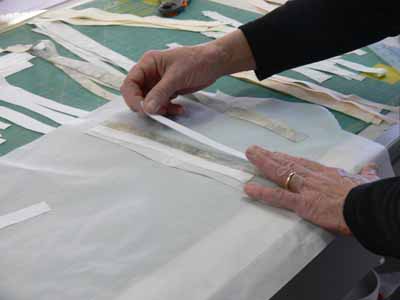
To make the tree trunks, we created “new fabric” by cutting strips of white, cream and gray, then cross-cutting into tree trunks:

Using strips to create new "fabric"

Using strips to create new "fabric"

One student decided to go for wild and funky colors… I’d love to see how this one turns out after she adds the birch trees, foreground plants and quilting.  Here is her quilt at the adding the pond stage:

Adding the foreground in the wild and funky one

Adding the foreground in the wild and funky one

After the pond, we added the foreground and rocks:

Adding the foreground and rocks

Adding the foreground and rocks

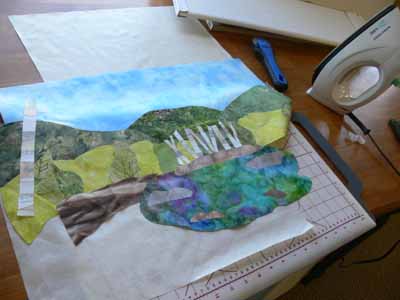
Or, you could add the birch trees behind the pond first:

Adding the birch trees behind the pond

Adding the birch trees behind the pond

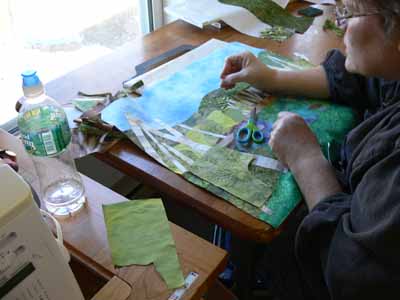
Two sisters took the class together, and decided to combine forces.  Rather than both of them working separately, they decided by late morning to create one quilt together and get it to nearly-done stage, then make another at home.  Here is one of them “building” the scene and adding the birch tree trunks first:

Building the scene

Building the scene

Finally, a nearly complete top (minus borders):

Birch trunks added...next, foliage!

Birch trunks added...next, foliage!

At the end of the day we discussed border selection, quilting designs (the ones on my quilts, which you can see here, are designed to be do-able by newbie machine quilters), and  using a facing to finish the edges.

And thanks to one student who went home and finished up, a finished student quilt…hoooray!  I REALLY like how she added red flowers going back to the sides of the pond…really helps lead the eye to the pond and the birch trees behind it:

Finished student quilt (thanks Martha!)

Finished student quilt (thanks Martha!)

Beaded Notebook Cover Class

Monday, March 2nd, 2009

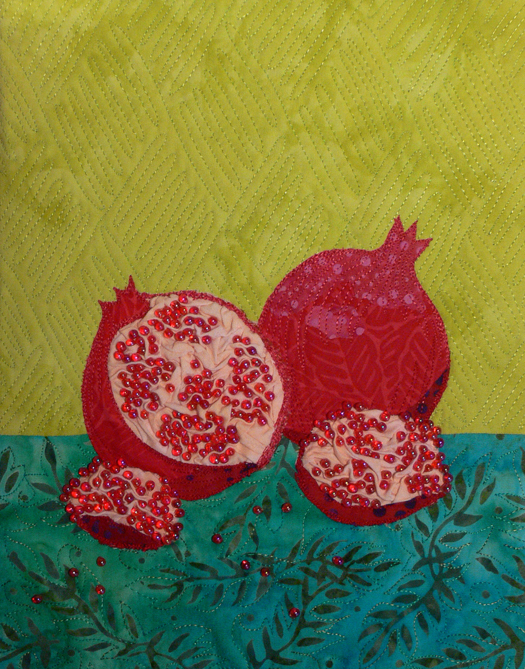
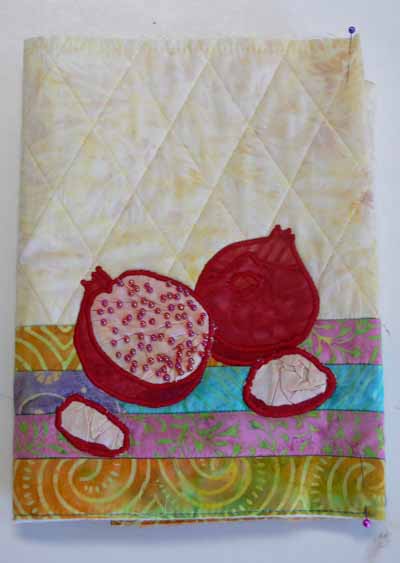
I had fun on two Fridays not long ago… I got to teach a very small class (of 3 students) at Quilt Divas in Rockland, Maine.  LONG time readers may remember that I was elated about this time last year to learn that my pomegranate notebook cover project, selected for a book by Lark Books, was on the cover of Creative Quilting With Beads. (by the way, only two copies left at my little store, but I have plenty of the beads available….they are hard to find so I bought a kilo!).

pomaquabrochuresize

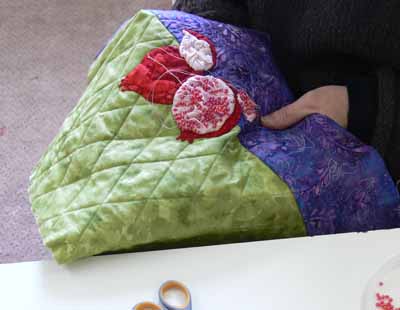
I hope the students had as much fun as I did.  Pam loves jewel tones and hand applique, so instead of doing the fusible applique thing, she did hers by hand.  Can you believe she had NEVER machine quilted before????  I can tell she’s gonna go gangbusters now!

Pam's cover, as she is beading

Pam's cover, as she is beading

Judy also likes bright jewel tones, and had brought a range of batiks.  I think if this brown batik had been in stock (Judy bought it at least a year ago which, SOB, means it is likely not around anywhere) each of us would have bought a couple yards….

Judy's cover

Judy's cover

I had a new idea, to piece the “table” area below the pomegranates, so Karen pieced up her bottom section. I love the summery colors (and we certainly need color…keep reading):

200902blogclass004

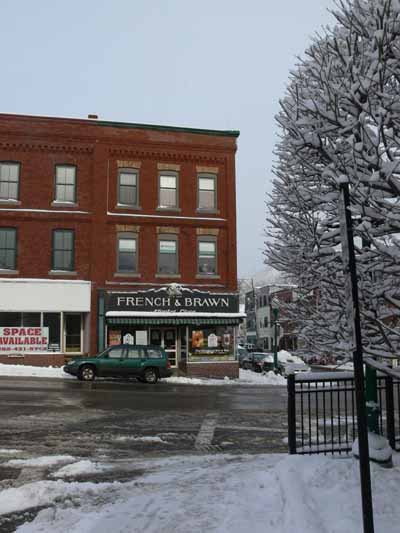
On the way to the final class, it had snowed yet again, so here is my little, old and bonked by reliable Subaru in front of the French and Brawn grocery that has been on the corner for over a century:

My green subaru on the corner

My green subaru on the corner

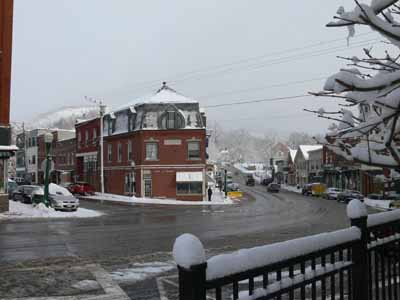
And the view down Main Street (PS…isn’t the building with the big round window in the roof cool?!):

Beautiful downtown Camden, Maine, Feb. 2009

Beautiful downtown Camden, Maine, Feb. 2009

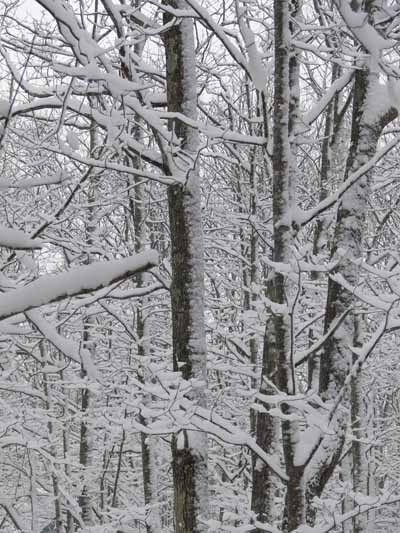
On the way home, there was more beautiful snow on trees:

Even more trees and snow

Even more trees and snow

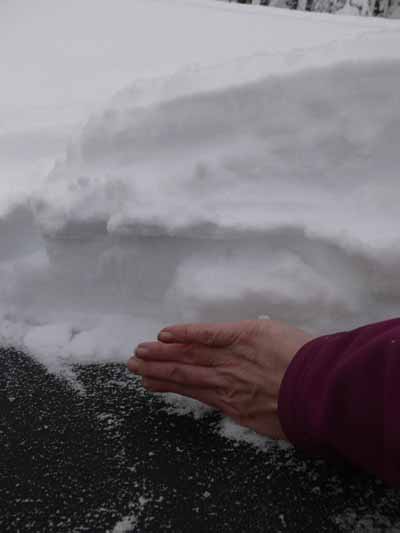
Then I decided I had best dig out the trampoline.  Here is how much snow we got in the Wednesday/Thursday storm….that is my hand, and I wear ladies’ large gloves….that’s a lot of snow!

Lotsa snow...about four hand widths...on the trampoline

Lotsa snow...about four hand widths...on the trampoline

Birch Pond Landscapes class

Saturday, February 14th, 2009

After years of hinting to me that her customers would love a landscape class, I finally agreed to teach one at Maine-ly Sewing (www.mainelysewing.com) in Nobleboro, Maine.  (Contact the store to sign up, etc.)   The class will be Saturday, Feb. 28th, from 10-4 !

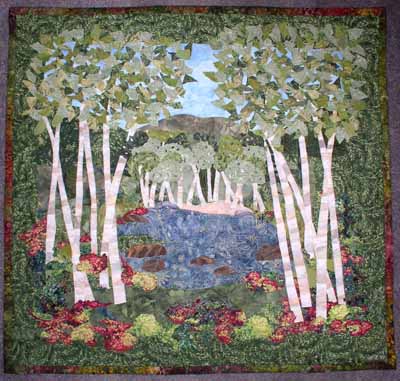
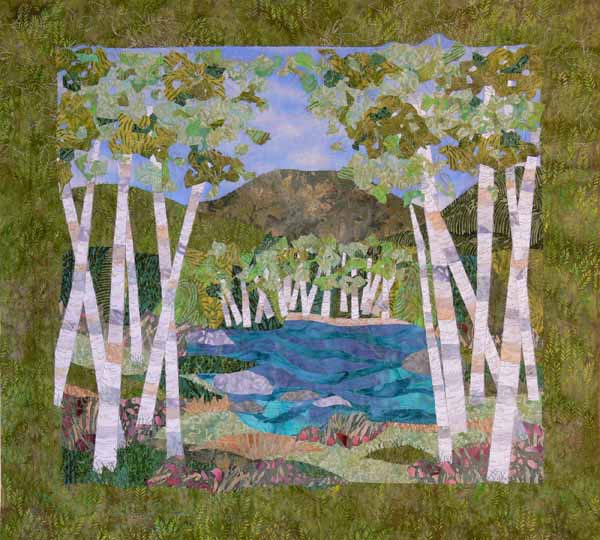
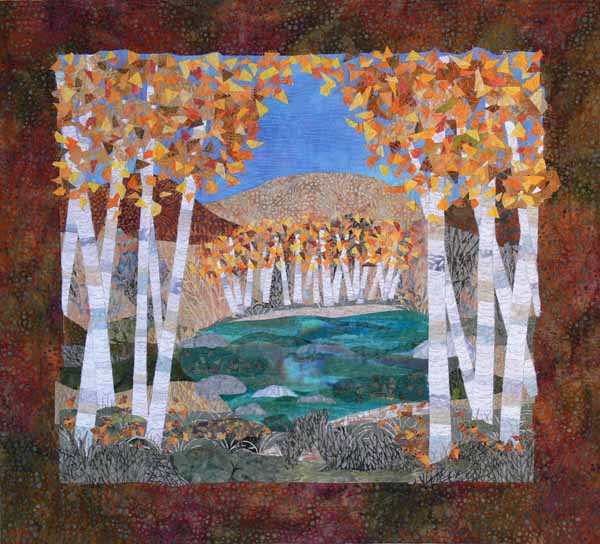
Birch Pond, Summer

Birch Pond, Summer

As usual, I figured why make one quilt when you can make two…. So I made the fusible applique quilt two ways, autumn and summer.  I am so pleased with the results that I think I’ll do the four seasons, write it up as a pattern and sell it…let me know what you think?   The pattern is actually quite easy, finishes about 22×25 inches (depending on your border and your final composition of the scene…there is definitely fudge-room here!).  PS–photos are clickable for a slightly larger view.

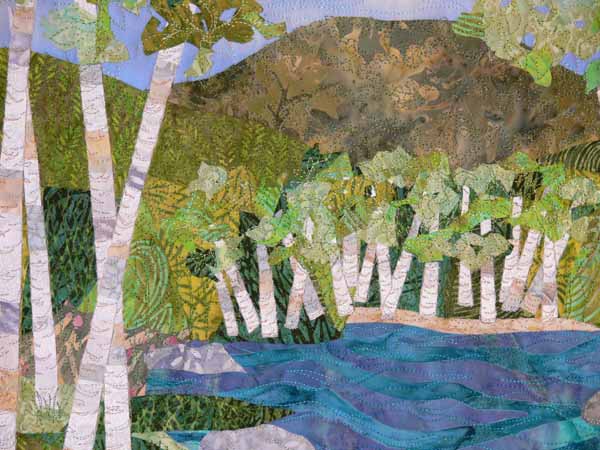
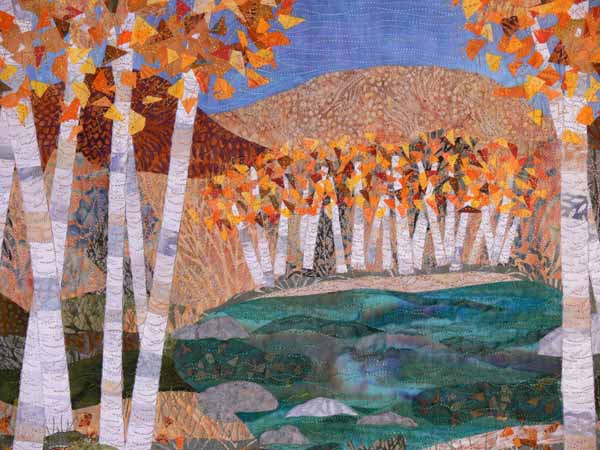
I did easy quilting so that beginning quilters and machine quilters won’t feel intimidated…I PROMISE, it really is easy to do the quilting on these patterns even when you are new to it!  Here is a detail photo:

Birch Pond, Summer, Detail

Birch Pond, Summer, Detail

Initially I did the autumn version… I just love the glorious colors of Maine in Fall.  However, given that Fall is behind us, and it has been winter for quite a while, Marge and I decided to use the Summer version (hope is eternal!  It WILL come again!) to advertise the class.  But, I wanted students to see that they can make the quilt in many ways.  Frankly, I kinda think it would be fun to do it another time in totally wild colors, like plum and turquoise and mango and lime…. wouldn’t that be a hoot?  Anyway, here is a more realistic, autumnal version:

birchpondclass004

And a detail of the Autumn version; note that I did the leaf canopy two different ways… in summer I used the twist-and-chop way to cut chunks, for autumn I used the slice it into confetti method!

Hope you like the quilts, and hope to see some of you in class!

Birch Pond, Autumn, detail

Birch Pond, Autumn, detail

Journal Quilts and Journals for Quilters, a lecture

Sunday, February 1st, 2009

Yesterday I had a grand time!  It was my first chance to get to Augusta (Maine) for the quarterly statewide meeting of the Pine Tree Quilt Guild.  Better yet, I was the featured speaker, and debuted my lecture on Journal Quilts and Journals for Quilters.  The lady who invited me to speak said I should plan on 100-150 attendees, so I brought 150 handouts… and we ran out!   So I am going to post the contents of my handout here, at the end of this message.  Feel free to select and copy that section to print out at home!

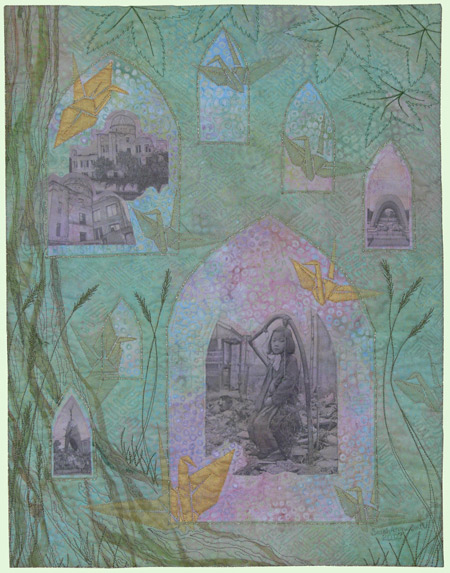
Also, I realized I have never added my 2007 and 2008 journal quilts to my website, so I have done that today, too.  I have shared these journal quilts on the blog before, but here they are again.  The first quilt is Windows of Hope, picturing a little girl in the rubble of bombed out Tokyo circa 1946:

windowsofhope450

I’ll add the detail photos to the galleries along with technique information, otherwise this blogpost will be miles too long! (addendum:  I realized I never blogged about my 2008 journal quilts…eeek!  So I’ll do that in the next week or two….)  The next journal is Ancient Earth, which didn’t make it in to the juried 2008 Journal quilt exhibit, but I love it nonetheless.

And finally, Aslan’s Song, also made for (but didn’t get in) to the 2008 Journal quilt exhibit.  Details about the title and techniques are in the gallery section.   Click on the title for the link.

Last but not least, here is the handout from the Journal Quilts lecture:

The Journal Quilts and Journaling for Quilters
with Sarah Ann Smith

Websites:

www.quiltart.com
www.sarahansmith.com
www.quiltingarts.com
www.dickblick.com
www.mariaelkins.com
www.beadjournalproject.com

Books:
•    Creative Quilting: The Journal Quilt Project, Karey Patterson Bresenhan
•    Art Quilt Workbook, Jane Davila and Elin Waterston
•    The Decorated Page, and The Decorated Journal, Gwen Diehn
•    Journal Revolution, Rise up and Create, Woods and Dinino
•    Quilters Playtime, Dianne Hire
•    Thinking Outside the Box, Sandi Cummings
•    Quilting Arts magazine
•    Cloth Paper Scissors magazine

Ideas for journal quilts and journals:

•    Beautiful things
•    What have you collected?
•    Things that make me mad!
•    Places you’d like to go / see / visit
•    Good smells
•    Favorite foods
•    Quilts I’d make if I had the skills and time
•    Song titles/lines/phrases
•    Quotations
•    Make 100 stamps
•    Flowers
•    Groceries
•    If I looked in your closet, what colors would I see?
•    Favorite clothes/shoes you had
•    Who inspires you?
•    Tell me something good that happened to you today!
•    Cut  fabric swatches and write why you like them
•    Pictures from a  magazine ..why do you like them?

•    Focus on….

Line Circles Numbers Letters Leaves Colors…..
Bugs you love/hate (or animals, or birds)
Maps…your home, your town, your mind, an imaginary planet….
Favorite books
Hubcaps, or how to fill a circle….
Artists you admire (Matisse!  Van Gogh!)
Your friends’ best qualities

What you need to journal:      a notebook, a pen or pencil, and an eraser!  Awake helps, too…
Optional:  glue stick, camera, pens, watercolors, waterbrush

Be Inspired!  Journal, quilt, and make art!!!!