email Youtube

Home
Galleries
Blog
Workshops & Calendar
Store
Resources
About
Contact

Archive for the ‘Techniques’ Category

Storing Quilts

Friday, January 9th, 2009

Once again, I have not fallen off the face of the earth…instead, I’m FINISHING UP the manuscript.  There is a ton of tedious paperwork and such, so I’m liable to be scarce for a few more weeks, but I’m here.   So, I thought I would share what I did to store my quilts.  They used to be stored in a fabulous place:  on top of the guest bed in my studio, under the duvet.  This meant they were flat, accessible, safe (sorta) from cat hair (it migrates EVERYwhere).  But, it also meant that no one could so much as sit on the bed, let alone come hang out in my studio and rest on the bed.  And Joyce came to visit in December and needed to SLEEP in the bed.  That meant the quilts needed to move.

Umpteen years ago I took a class with Heather Waldron Tewell, co-author of one of my favorite books on quilting line and design, A Fine Line (written with Melody Crust).  She described her storage:  upstairs, under the eaves / in the kneewall…. you know on second floors how you get a sloping roof that comes down to the floor, so builders will drop a short wall that is maybe 3-5 feet tall, then there is a space behind it?  Well, she put in doors instead of drywall and made a device similar to those used to display home dec fabric, which is sold on tubes (not bolts like quilting fabrics).  She stored her quilts rolled on tubes, covered in a sleeve, then the tube slides on a rod (like a closet rod) that sets into “U” shapes cut into some 1×3’s at either end of the closet. I’ve wanted something like that ever since.

Of course, I don’t HAVE a closet to make such a lovely storage space.  So I improvised, but first I made the rolls.  I’ll share the second part of this info in the next post….  Anyway, the rolls.  About five to six years ago, I worked for an interior designer doing high-end home dec sewing.  I was able to snag about a half dozen sturdy cardboard tubes.  So I FINALLY got around to making them suitable for rolling quilts for storage.  The cardboard in the tubes is very acidic, which of course isn’t great for quilts, so you need to cover them.

To cover the tubes, I wrapped them first in a round of batting, then used an inexpensive cream cloth (some was muslin, some was an inexpensive but nice cream cotton).  For the first few, I used hot-glue to glue the batting to the tubes, but had forgotten that hot glue leaves a hard line.  For later ones, I simply used a basic glue stick!

Addendum:  Carol Ann Sinnreich told me that she learned from others to wrap the tubes first in aluminum foil, then do the batting and muslin.  This prevents outgassing from the yucky stuff in the cardboard tubes.  I’ll do that on any future ones, and may think about peeling these apart and adding the foil at some point…just not too soon! Too much to do….
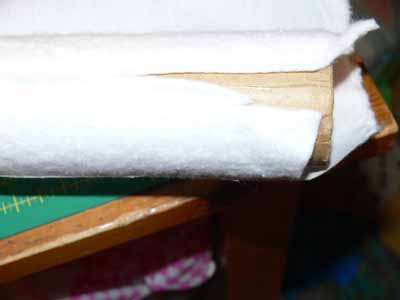
Batting on tube

I cut the cloth about 5-6 inches longer than the tube, and the circumference of the tube plus about two inches.
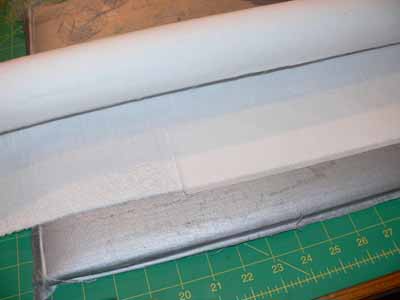
Fusing Misty Fuse to the edge of the tube-wrap-cloth

Fusing Misty Fuse to the edge of the tube-wrap-cloth

On one long edge, I applied Misty Fuse, a heat-activated fusible web (and my favorite fusing product by FAR), then trimmed the edge with a zigzag cut.
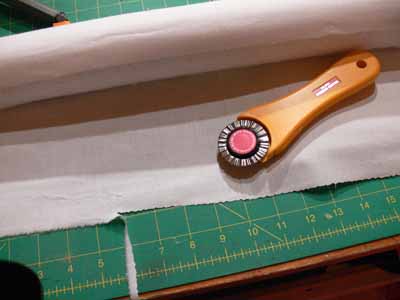
Trim the edge

I wrapped the cloth over the batting, then fused it closed with the iron.
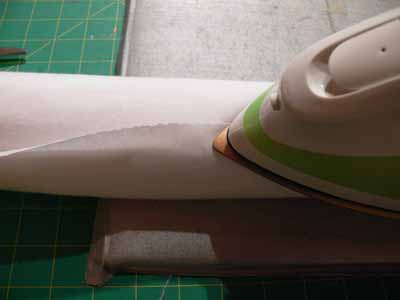
Iron fabric around tube

In a couple days I’ll show you the finished tube, the muslin dust-sleeve, and where I’ve got them stashed until I win the lottery and build that dream studio!

PS—please excuse any weird formatting.  My webhost has changed the WordPress software, and it isn’t cooperating very well.  The photo loading stuff is different, I can’t find instructions anywhere, and formatting is all goofed up…sorry!
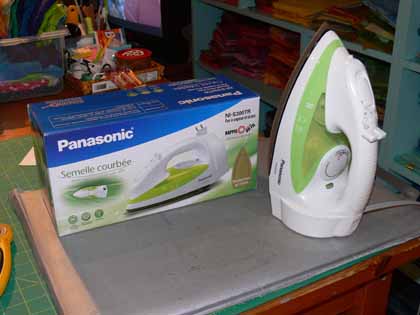
How do you spell Joy? T-I-T-A-N-I-U-M

Thursday, November 6th, 2008

Yes, I am waxing rhapsodic about an IRON!  And the cherry on the sundae…it is lime green!

Panasonic Titanium soleplate iron

I had an iron by Panasonic with the Titanium soleplate for about 3 1/2 years before it died… I think the thermostat went haywire.  Alas, calls to Panasonic said they couldn’t repair it…it was “too old.”  Talk about a use-and-toss wasteful society!  Snarl… anyway, I couldn’t figure out a way to open it up without breaking the plastic housing, meaning even if I could find a handyman and the parts, or figure it out myself, I wouldn’t be able to re-assemble it.  Internet searches turned up the iron I wanted… In MALAYSIA!  Well, that wouldn’t work…

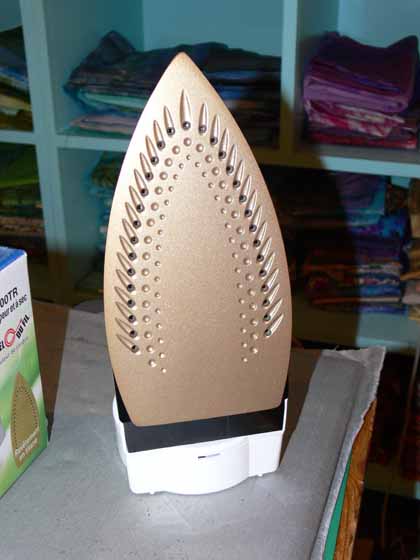
See, the problem is that MY definition of non-stick is different from most people, and different from iron manufacturers. To the companies that make irons, “non-stick” means doesn’t stick to fabric (well DUH) or to starch or spray sizing.   To ME, non-stick means you can get fusible adhesive web (Misty Fuse being my favorite, order here, or Wonder Under in a pinch) on the iron and wipe it off.  Other “non-stick” irons just didn’t cut it…only the golden-colored titanium soleplate seemed to make the critical difference.  The specifics:

Panasonic NI-S300 TR 1200-Watt Steam Iron with Curved Titanium-Coated Soleplate, white/green

Titanium soleplate iron

YES… it is TRUE!  You can put this iron down on top of fusible web, melt it all over the place onto the iron, then WIPE IT OFF with a paper towel!   No gunky mess, no “Iron-Off” brand hot iron cleaner with its seemingly-toxic fumes (that set off the smoke alarms!), no smelly dryer sheets to try to clean the iron, no scratchy salt-on-washcloth to try to clean the stuff off…. just wipe and go!

And where can you get this lime green beauty… AMAZON.com of course!  Here’s the link:

LINK TO Fuser’s Joy IRON by Panasonic

I can share this link now that I have mine…and my back-up iron is on order!  Yes, I have ordered a second, brand new iron as a back up for when this one dies…that’s how much I love these irons.

The only caveats I would add is that the soleplate can get scratched from pins, and after being dropped several times mine died after 3 1/2 years.  For $30, I can live with that.  I used to spend that much just on Iron Off or Faultless Hot Iron cleaner, and now I don’t have to breathe those nasty fumes from the cleaning products.

OK, I will now STOP raving about this wonderful iron…..

Printing with Leaves

Friday, October 31st, 2008

A while back, I blogged about preserving leaves with glycerin and freezing for later printing (as in during winter when there are no leaves on the trees), here.  I was fortunate to be able to demonstrate leaf printing at Open Studios, part of the Make It University section of the International Quilt Festival in Houston, on Wednesday evening.  I’d like to share here what I did, and include some written directions for those who were able to stop by my table and who surf in to my blog.

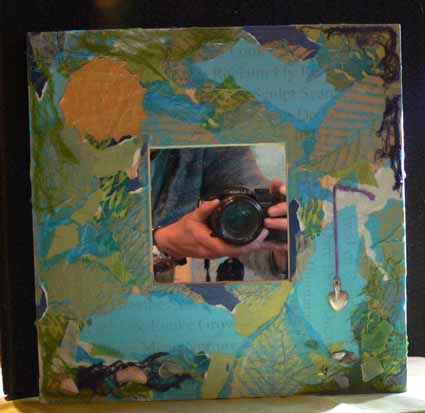
Mixed Media Mirror with leaf print tissue

Since the MIU is about mixed media, I decided I had best do something mixed media, even though that is SO not me….   When Deborah flew up to Maine and we all got together (see the post here), Hannah gave us all Ikea mirrors–the cool square ones with the wide wooden frames.  I decided I’d do a mixed media thing, since that is what Hannah loves, and do some leaf printing on paper as well as cloth.  I then used some papers from a journal kit Deborah made and gave us all one Christmas, then added a milagro Kate brought back from a trip to the southwest a couple of years ago.  Finally, I asked Kathy for some of her dyed cheesecloth–I wanted to add something that was from each of the five of us. The result is above! I LOVE IT!

Late note:  after writing this post but before taking the picture, I remembered the sea glass and shells we collected this summer with Hannah down at a beach / cove not too far from her house.  I decided to add some to the bottom of the mirror and love the addition (I used K6000 glue…the stuff that I think could hold up a roof).  I also like the reflection of my camera and hands!

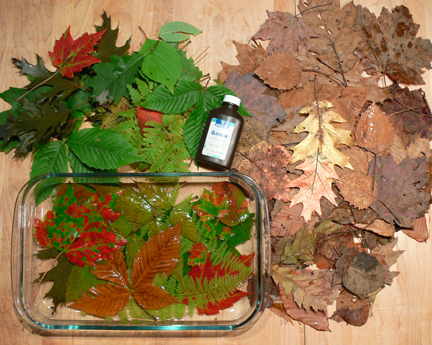
Here is what the leaves look like soaking in glycerin… I use about a one part glycerin to four parts water solution, but I’m really slapdash about it… I pour the glycerin into the lasagna pan,  add enough water that I’ll fit all the leaves.  If the water feels watery and not slippery like glycerin, I add more of the latter.  Very scientific.  Ahem.  The green leaves are fresh; the brown ones were collected brown about 4 years ago…they’ve been in the freezer all this time and still work for printing!

Glycerin leaves

To do your own leaf printing, first you need your supplies:

•    Textile paints
•    Fabric or paper for printing
•    Sponge roller
•    Soft rubber brayer
•    8×10 glass, edges taped or plastic page protector as a palette
•    Sponge paintbrush
•    Leaves, clean and dry
•    Paper towels, parchment or other paper
•    Plastic to cover surface
•    Lightly padded surface/worktable

The last time I dyed fabric, I used paper towels to mop up some of the mess.  They were so lovely I couldn’t toss them.  Then it occured to me to use them in my leaf printing and get a two-fer!

How-to:
•    Squeeze or pour paint onto glass

roll the paint onto the leaf

•    Roll sponge roller to create an even coating
•    Place leaf bottom-side-up on clean / dry plastic and coat with paint; use sponge roller or paintbrush (as you can see, I didn’t do that…I just squished everything onto the glass)
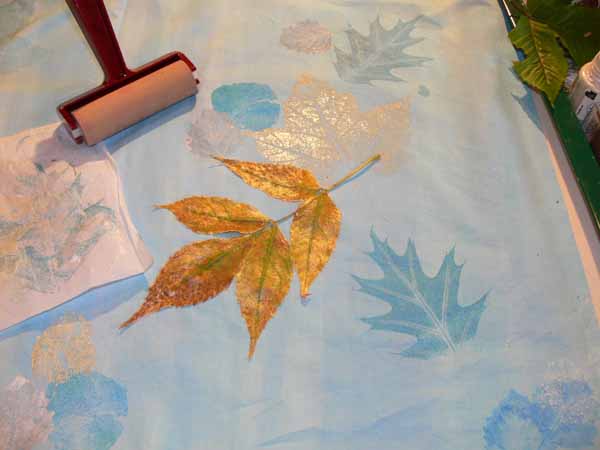
•    Lift leaf and place paint-side-down onto cloth or paper

leaf on cloth

•    Cover with parchment or other paper–I used the dye-soaked paper towels!
•    Roll over leaf with soft rubber brayer (seen at left in photo above) OR press with hands
•    Remove cover sheet and carefully lift up leaf (the gold thing is the leaf with paint on it)
•    Allow paint to dry and heat-set or cure according to paint manufacturer’s instructionsThe amount of pressure applied with a roller versus your hands differs.  A brayer will produce a finer, lighter print.  If the contrast between paint and cloth/paper is too subtle, add more paint or try pressing the leaf onto the surface with your hands.

Hope you like!  Thanks to Barbara Delaney and Pokey Bolton at Quilting Arts for  the opportunity to participate in Open Studios, and to Cate Prato for inviting me to submit some ideas for the Embellishments newsletter. Click here to sign up for the free newsletter.

Demonstrating at Make It University’s Open Studios!

Wednesday, October 1st, 2008

I’m thrilled to be able to share that I will be demo-ing leaf printing at in the Open Studios part of the Make It University area( — more info is at Make It University (MIU)) at the International Quilt Festival in Houston, currently scheduled for 8-10 pm Wednesday on sneak preview evening!  MIU is sponsored by Quilting Arts, LLC, and is part of their mixed media branch of things (along with the magazine Cloth Paper Scissors which also has a cool article on sketching / journals in the issue featured on the current webpage).

leaf on cloth

For my I-hope-to-finish-it-in-this-lifetime-manuscript my last project to make is for a small quilt I’m calling First Frost.  It will be either a table runner, a wall-hanging or both.  Finished dimensions will be about 15×60 inches.  I wanted to offer a project that would entice folks to play with all the glorious metallic and holographic threads currently available….   so I dyed two-plus a bit-yards of cotton in these beautiful clear, light blues and lavender.   Then I collected leaves …..

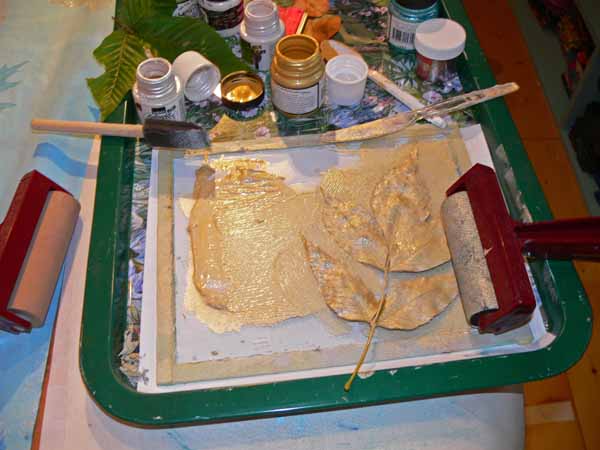
The first time I did leaf printing I simply used a sponge paintbrush, daubed on the paint, then pressed the leaf with my fingers.  This time I have better supplies and technique (I hope).  I wanted a smooth, clear print.  To get that, it works a lot better if you pour paint on a piece of glass, roll a sponge brayer, then  roll the paint onto the leaf.

roll the paint onto the leaf

Notice there are TWO brayers in this picture…the one on the right is actually a black sponge brayer with gold paint on it.  The one to the left is a “soft” rubber roller.  In the top photo, you can see a piece of parchment paper on the side.  Place the leaf on the cloth, paint side down.  Cover with the parchment paper, then roll with the soft rubber brayer to get a smooth even print.  It is important (ahem) that you not have wrinkles in the plastic underneath and not be on the crack in the table, else they will show up in the leaf print.  Guess how I remembered that one.  A couple of times.  Ahem. (grin!)

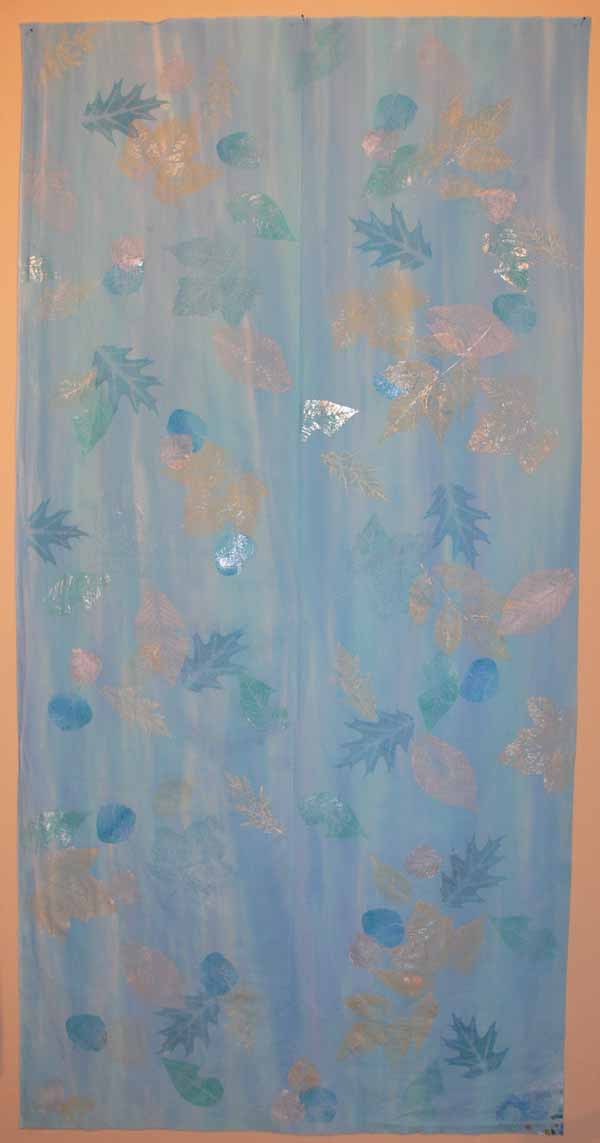
Here’s the 30×60 inch piece of cloth…I will split it down the center to have a two-sided runner/hanging:

Full length of cloth

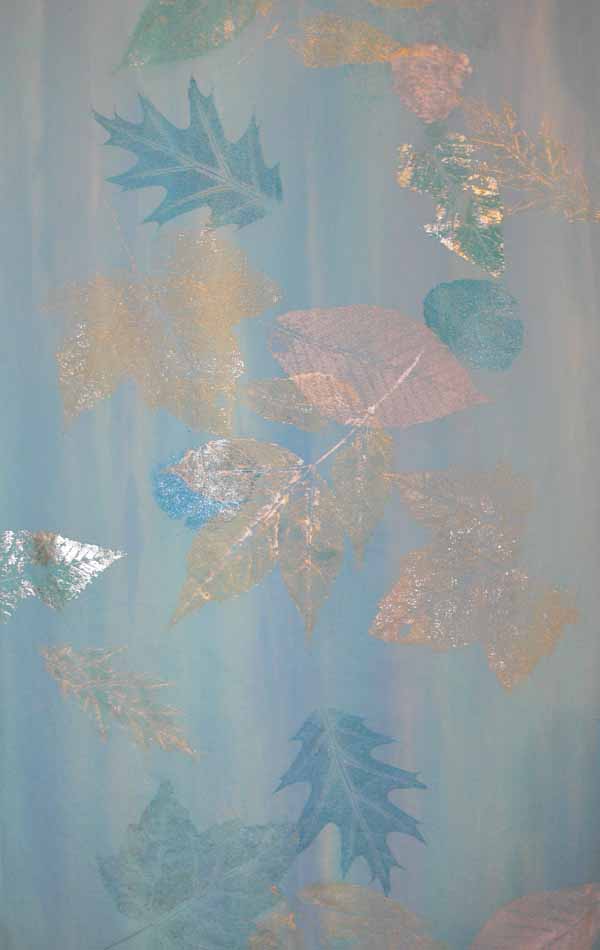
The paints are all metallic…blues, silver and gold (mixed with pearl).  Then I plan to quilt from both sides…with metallic in the needle and a matching heavy poly in the bobbin… then when I outline the leaves on one side, it will make a skeleton “print” on the other side…. Can’t wait to see how (if?) this works!)

Here’s a detail:

detail

I’ll be demonstrating how to do this, how to preserve leaves for leaf-printing in winter when the trees are bare (I have just harvested leaves for this coming season!) and maybe some Shiva paintstik techniques as well.  Evening is not exactly my best time of day (think snooze) so I’ll bring some chocolate…please come and help me stay lively and say hello!

Hawaiian-style quilting at Lowell Quilt Festival

Sunday, August 31st, 2008

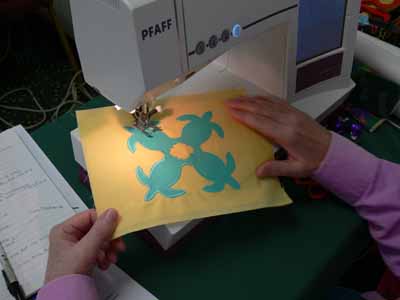
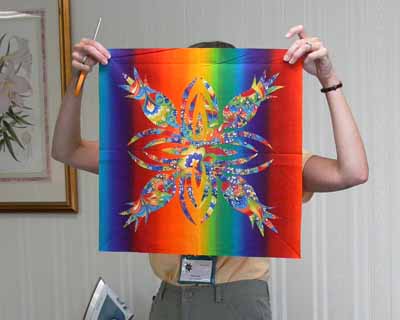
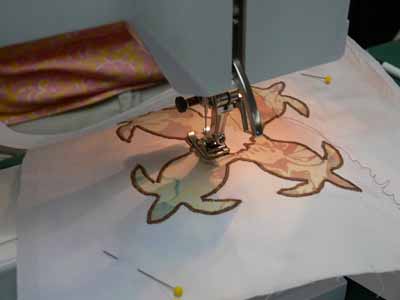
One of the most fun classes I taught was Hawaiian style applique by machine.  Normally, this applique is done by hand using the needle-turn method.  It is beautiful, meticulous, and time-consuming.  Some years ago I saw a quilt made by a New Zealand quilter, Donna Ward, that was stunning… similar to Hawaiian quilts in style, and satin stitched!  The stitching became a whole new design element, and I was hooked.  And I must repeat… I love google!  Here  is a link to Donna’s quilt Jewel of the Pacific–scroll down a bit to the blue quilt.

Sally I.’s block, reverse applique

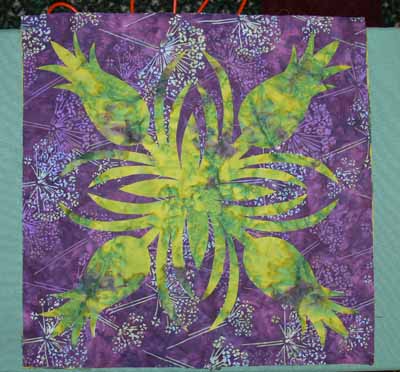
For my book, Unraveling Threadwork, (hopefully due out Fall 2009) I’ve designed a quilt with nine 18 inch blocks using five different designs, as one of the main pieces.  I’ve also designed two smaller “practice” blocks, one of the taro leaf, another of the turtle.  This class was the first time I offered the smaller practice blocks as an option, and it seems to have been a good decision.  Sally was the one person in the class who opted to start with the large block, in her case the pineapple.  Her combination of deep purple and mottled green (above and below) was wonderful. I also recognized her name from the quiltart list…way fun to meet someone you’ve “seen” on line!

A couple tricks to Hawaiian applique:  high contrast in your fabrics works well!  Variegated threads don’t always look so good…opt for a solid color. THEN you absolutely must:

MAKE VISUAL DECISIONS VISUALLY!

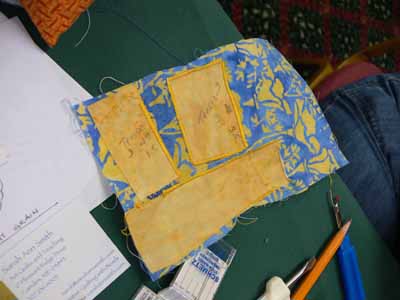
That means make a test, and try your threads to see how the look when stitched out.  Try adjusting width and length to see what looks best.  And if necessary (it probably will be) use a stabilizer under the background fabric to prevent unsightly puckers and uneven stitching.  Here is one student’s thread stitch-out sample.

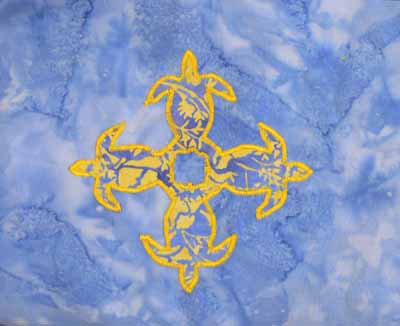
Stitchout yellow on blue

Her print fabric actually didn’t contrast a lot from the background–UNTIL she used the bright yellow thread to outline the design, at which point the subtle change in fabrics became awesome.

Yellow on turtles

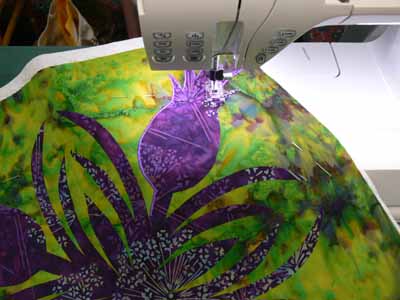
Sally had brought a variegated that was PERFECT for quilting her pineapple, but when satin-stitched out, it really didn’t look so great, so a classmate lent her a perfect purple.

Sally’s pineapple

Another student opted for the traditional solid colors in very tropical aqua and yellow.  This simple choice is smashing!

Solids turtle

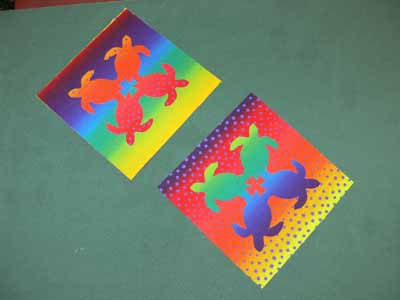
One student brought some VERY bright fabrics which had a stripe, but they worked!  Here are her turtles (before stitching)

Bright turtles with stripe fabric

Since she hadn’t brought a varied enough thread selection, she opted to work on prepping a large block, also…talk about vibrant…wow!

really bright pineapple!

When she uses a starkly contrasting thread, like a tangerine or orange-y yellow or turquoise, the bright line of satin stitching will help pop the busy fabric inside the pineapple motif…trust me, this one will work amazingly well!

Other students preferred softer colors.  We were all surprised that this taupe-cocoa brown thread was such a good choice on the soft colors of the applique–sometimes the least expected selection works best:

Turtles with brown thread

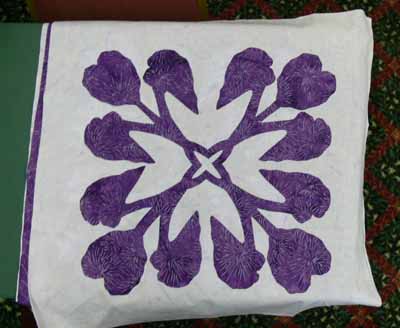
And here are her Taro blocks, in purple and soft lavender (which alas looks more white in these photos):

Taro…purple on white

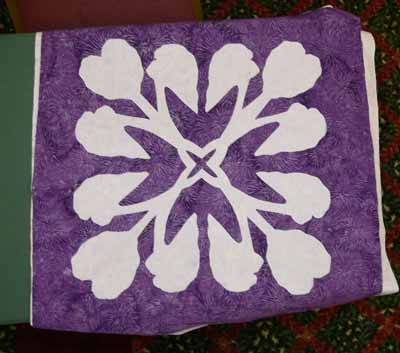
and the reverse applique:

Taro–reverse applique

Here’s what I learned from teaching my class:

  • the small shapes on the turtles are a bit fiddly for beginners.  I need to make another, simply-shaped design, and have both turtles and taro leaf (or whatever) stitched out for students to see.
  • I should say on the supply list that variegated threads generally don’t work so well for satin stitching—be sure to bring plenty of solid colors
  • Also on the supply list, I should say to bring at least twice as many colors of thread as you think you will need!
  • Using the black Misty Fuse (adhesive web…a heat-activated glue for fusing fabrics) for demonstrating is perfect, since it is easy to see the bits that get left behind on the fusing sheets or baking parchment
  • I need to bring more Misty Fuse to sell….I ran out!

So it’s off to update my class supply lists!  Hope you enjoyed this vicarious tour around the classroom.  I sure had fun seeing my blocks interpreted in so many wonderful ways.  I hope the students had as much fun as I did…imagine, I get paid to do this!  WOOHOO!

PS:  I wanted to post a public thanks to the show organizers for the Lowell Quilt Festival.  The teachers were treated like royalty…. we had rooms to ourselves (weren’t required to share with another teacher), were presented with lovely welcome boxes with some snacks, little bottled waters, an a Lowell Quilt Festival badge holder in a color just for teachers…..   the hotel rooms were huge and comfortable, too.   It was a particularly nice experience, so thanks to all who were involved!