email Youtube

Home
Galleries
Blog
Workshops & Calendar
Store
Resources
About
Contact

Archive for the ‘Machine applique’ Category

You can order ThreadWork Unraveled now!

Saturday, October 3rd, 2009

Cover95My book is now available for order, with shipping to begin about October 26.  It’s all about thread, how to use it, how to make it work with you not against you, and having a whole ton of fun with lots of color!

Click here to order and
click here for more information.

Chunk and Jigsaw Fusible Applique, Houston 2009

Friday, October 2nd, 2009

Hi all!   In just one week (GASP, Shriek!) I leave for Houston to help launch my book AND teach AND have a ball at Festival.  My Wednesday class on thread is (hoooray and thanks to those who signed up) FULL!  But I still have spaces in my other classes.  I’ll blog about each of them separately in hopes that a more extensive description might encourage a few more folks to join the fun.2009.10.blog.chunkJigsaw014
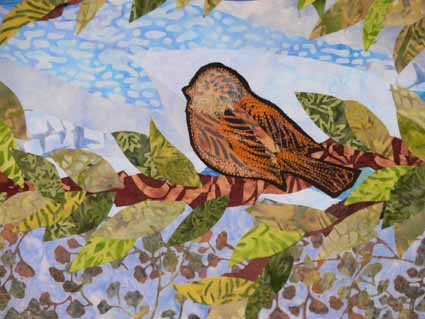
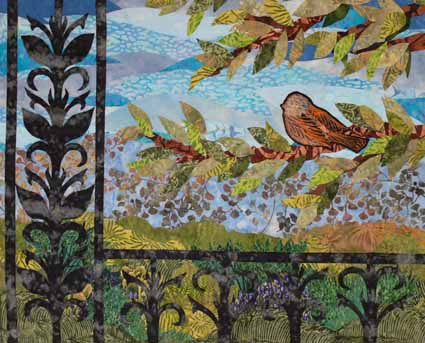
Chunk and Jigsaw Fusible Applique is really a fabric postcards class that sneaks in a few art quilting techniques such as stencilling with textile paint, rubbings with Shiva Painsticks, stamping, using Angelina, and creative edge finishes.  Also I’m debuting what will become my next pattern:  Little Brown Bird.  Students can use the bird on a postcard OR make a larger piece.  My LBB quilts (the wholecloth and the in-progress fused applique seen here) are about 16 x 20 inches:

LBB Fused 16x20, in progress

LBB Fused 16x20, in progress

I’ll start the day with my technique that I call chunk and Jigsaw which uses up all those leftover bits to create a “stash” of pre-fused fabric.  Then when you want to dash off a quick thank you postcard to someone, it’s easy peasy…just pull out the pre-fused stash and start collaging!

LBB Postcard w/poptart edges

LBB Postcard w/poptart edges

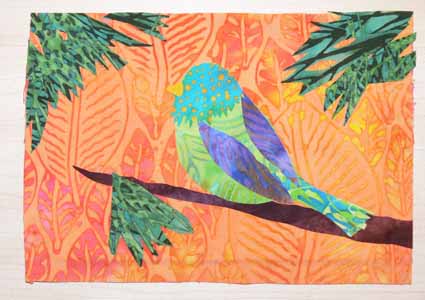
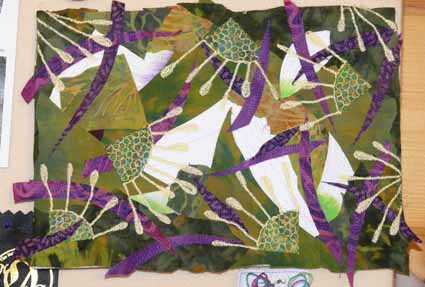
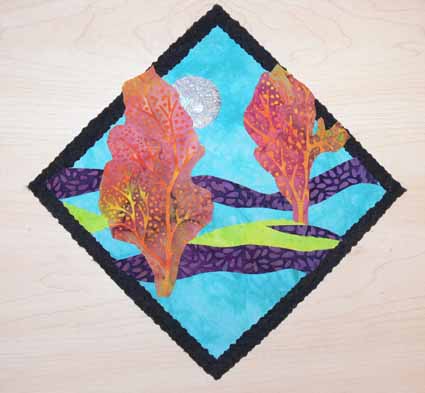
Here are some other samples of postcards I’ve done that may get you inspired to give it a try:

Hannah's Flower

Hannah's Flower

Trees on Point

Trees on Point

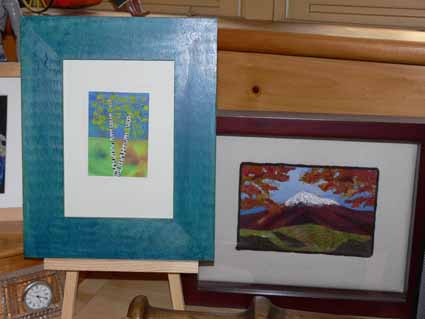
Kathy Daniels' birches card framed and Sarah's Mt. Fuji in a shadow box

Kathy Daniels' birches card framed and Sarah's Mt. Fuji in a shadow box

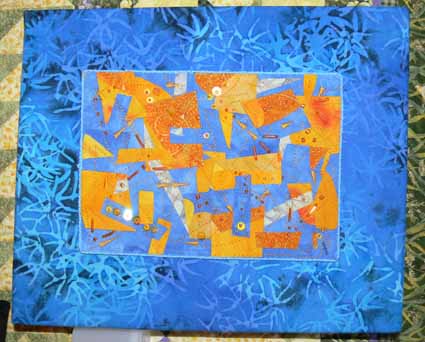
Umbrella Abstracted, mounted onto batik on stretcher bars

Umbrella Abstracted, mounted onto batik on stretcher bars

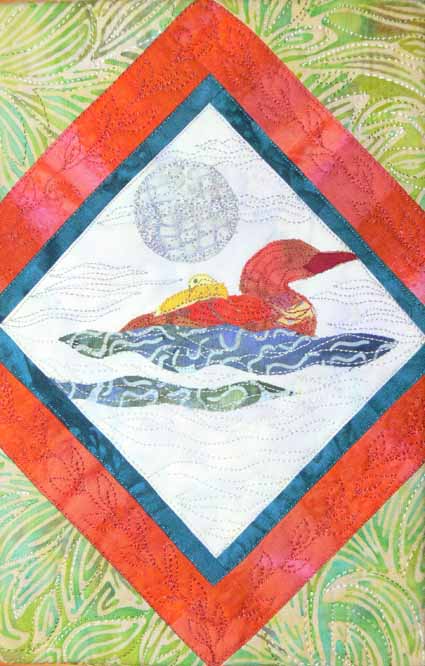
Loons in Maine notebook cover

Loons in Maine notebook cover

Hope you can make it to the class!  Just head to the second floor of the convention center to the education desk to sign up.  Cheers, Sarah

Be Inspired! Part 2…Martin Luther King (1)

Monday, July 13th, 2009

2009.07.Blog.Be Inspired007

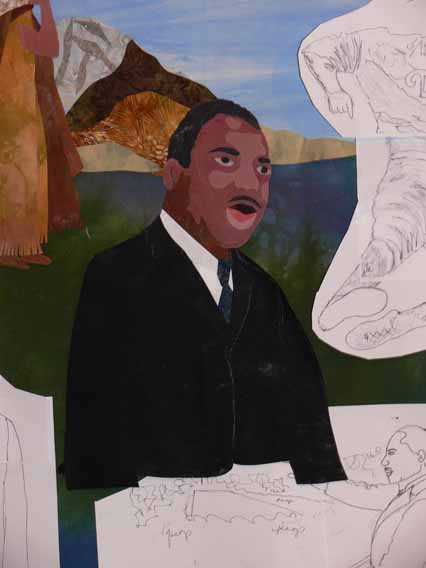
The second figure I tackled for Be Inspired (see original post dated July 11th) is Martin Luther King.  In polling of the four grades (5 through 8 ) King handily topped the list of inspiring figures from history, so he became the central figure on the first (of a projected three) “Americas” panels.

When dyeing the fabric for the earth/sea and sky backgrounds, I also did 2 1/2 yards of fabric in skin tones.  The patchy look on King’s face will smooth out once quilting in shades of browns and reds and some black is applied.  nyway, I’m thrilled that this actually LOOKS like King!

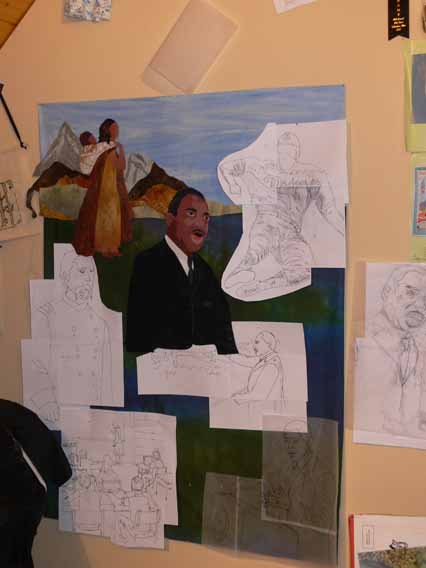
Here’s a picture of the full panel with Sacajawea and MLK:

2009.07.Blog.Be Inspired009

Now back to tracing, transferring, cutting, fusing and making people.   I do wonder WHAT possessed me to volunteer to do a quilt with 39 or more people……….  (reminder to self:  next time smack self upside head and run the other way!).  Of course, the fact that things are working out has me happily amazed….

Birch Pond Class

Monday, March 16th, 2009

200903blogbirchtreesclass001

Today’s post is about a new pattern I’ve designed to help folks who want to start art quilting or for folks who are experienced art quilters but want an appealing yet fairly easy pattern.  The class to teach Birch Pond Seasons (when I get winter and spring made, I’ll have four views of the same pond across the four seasons) for the first time went swimmingly well as you’ll see by the photos!  The pattern itself will be available in about two months (guessing…have to send it away for printing the large sheet this time).

As you might guess by that rather extended absence from the blog, I’ve been busy! Between the first draft of my next article for Machine Quilting Unlimited magazine, getting together the stuff for taxes (not only ours but mom’s, too…bleah), attepting to get some sleep, going to wrestling meets, the usual family and household stuff, making a new small quilt for the article, and teaching, I’ve been rather behind the curve.  A while back, I got to teach my Birch Pond landscapes pattern for the first time at Maine-ly Sewing, and it was a gas!  I will definitely be polishing up the instructions, sending the pattern off for printing (it’s oversized, and copies at Staples are about 6 times more expensive than shipping it away and getting it professionally printed).

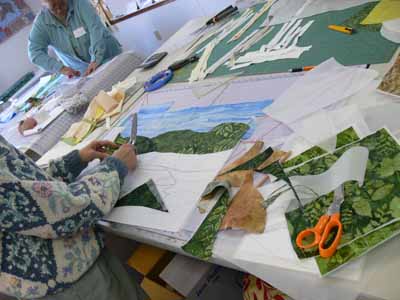
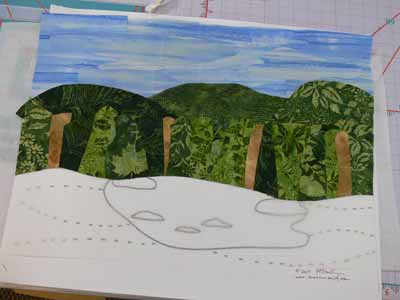
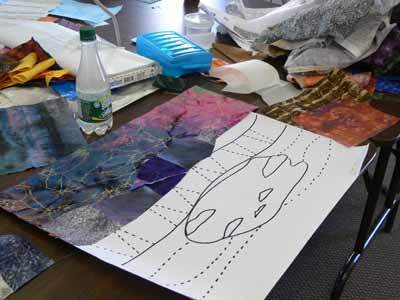
After showing the students how to fuse up fabric (both large chunks and smaller bits) they began composing their quilts.  The easiest way proved to be setting out the large pattern (the piece of paper is about 18×22), placing parchment paper on top of the pattern, then the pre-fused fabrics on top of the parchment.  Here you can see the pattern through the parchment on the lower half of this quilt.  This student did a fabulous job with her sky; she had one piece of fabric that was perfect, but WAY too narrow, so we cut, spliced and overlapped for it to look like a summer’s cloud-dotted sky.

Another student chose a dramatic lightning-streaked sky and dark mountains for her quilt:
200903blogbirchtreesclass009

200903blogbirchtreesclass012

Working from farthest away (sky) to the front (foreground), we began with the sky, then the distant hills, then what I have called “the woods behind the pond.” You could cut a single swath of fabric to go across the entire quilt, but I think by cutting chunks and “piecing/fusing” a band, you get greater depth in the piece:
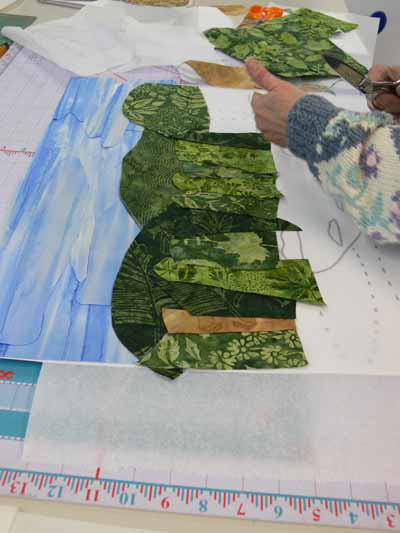
Creating the woods behind the pond

Creating the woods behind the pond

To make the tree trunks, we created “new fabric” by cutting strips of white, cream and gray, then cross-cutting into tree trunks:
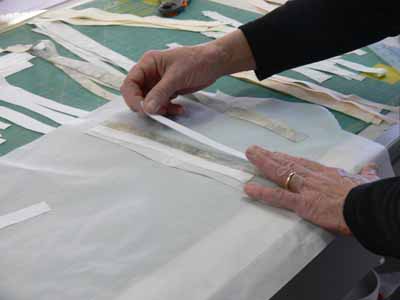
Using strips to create new "fabric"

Using strips to create new "fabric"

One student decided to go for wild and funky colors… I’d love to see how this one turns out after she adds the birch trees, foreground plants and quilting.  Here is her quilt at the adding the pond stage:
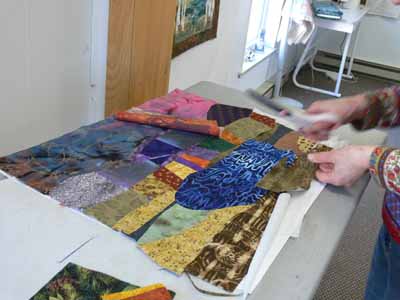
Adding the foreground in the wild and funky one

Adding the foreground in the wild and funky one

After the pond, we added the foreground and rocks:
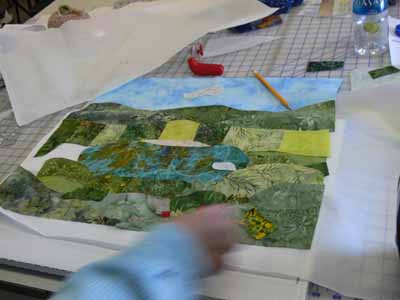
Adding the foreground and rocks

Adding the foreground and rocks

Or, you could add the birch trees behind the pond first:
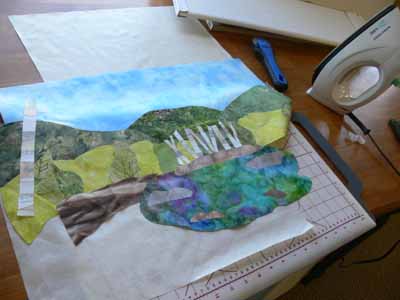
Adding the birch trees behind the pond

Adding the birch trees behind the pond

Two sisters took the class together, and decided to combine forces.  Rather than both of them working separately, they decided by late morning to create one quilt together and get it to nearly-done stage, then make another at home.  Here is one of them “building” the scene and adding the birch tree trunks first:
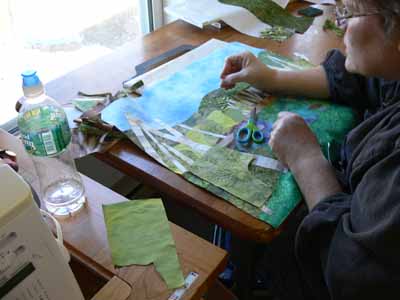
Building the scene

Building the scene

Finally, a nearly complete top (minus borders):
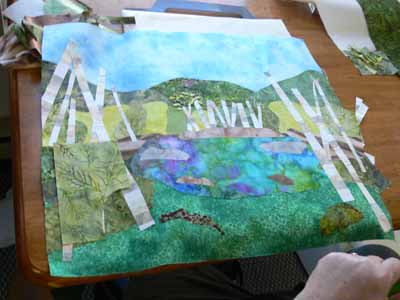
Birch trunks added...next, foliage!

Birch trunks added...next, foliage!

At the end of the day we discussed border selection, quilting designs (the ones on my quilts, which you can see here, are designed to be do-able by newbie machine quilters), and  using a facing to finish the edges.

And thanks to one student who went home and finished up, a finished student quilt…hoooray!  I REALLY like how she added red flowers going back to the sides of the pond…really helps lead the eye to the pond and the birch trees behind it:
Finished student quilt (thanks Martha!)

Finished student quilt (thanks Martha!)

Birch Pond Landscapes class

Saturday, February 14th, 2009

After years of hinting to me that her customers would love a landscape class, I finally agreed to teach one at Maine-ly Sewing (www.mainelysewing.com) in Nobleboro, Maine.  (Contact the store to sign up, etc.)   The class will be Saturday, Feb. 28th, from 10-4 !

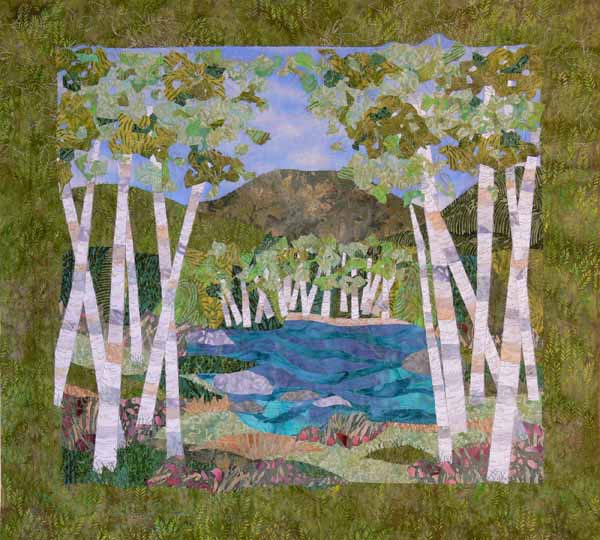
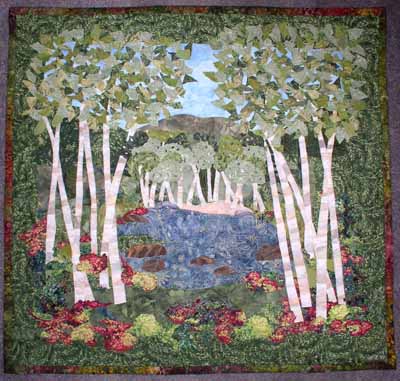
Birch Pond, Summer

Birch Pond, Summer

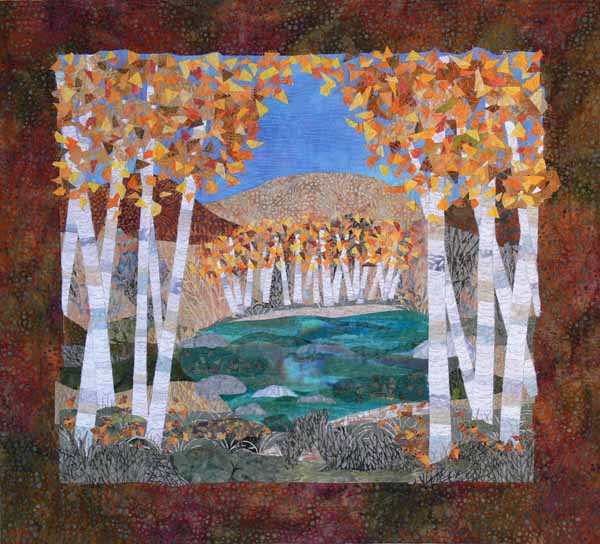
As usual, I figured why make one quilt when you can make two…. So I made the fusible applique quilt two ways, autumn and summer.  I am so pleased with the results that I think I’ll do the four seasons, write it up as a pattern and sell it…let me know what you think?   The pattern is actually quite easy, finishes about 22×25 inches (depending on your border and your final composition of the scene…there is definitely fudge-room here!).  PS–photos are clickable for a slightly larger view.

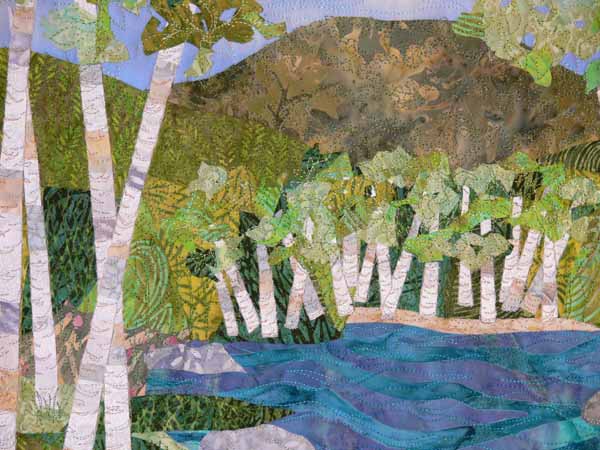
I did easy quilting so that beginning quilters and machine quilters won’t feel intimidated…I PROMISE, it really is easy to do the quilting on these patterns even when you are new to it!  Here is a detail photo:

Birch Pond, Summer, Detail

Birch Pond, Summer, Detail

Initially I did the autumn version… I just love the glorious colors of Maine in Fall.  However, given that Fall is behind us, and it has been winter for quite a while, Marge and I decided to use the Summer version (hope is eternal!  It WILL come again!) to advertise the class.  But, I wanted students to see that they can make the quilt in many ways.  Frankly, I kinda think it would be fun to do it another time in totally wild colors, like plum and turquoise and mango and lime…. wouldn’t that be a hoot?  Anyway, here is a more realistic, autumnal version:

birchpondclass004

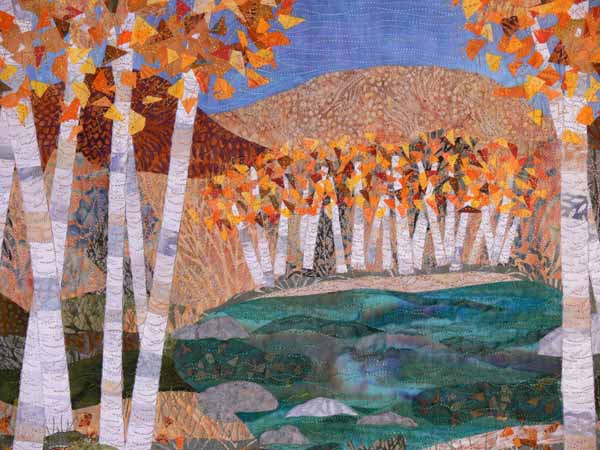
And a detail of the Autumn version; note that I did the leaf canopy two different ways… in summer I used the twist-and-chop way to cut chunks, for autumn I used the slice it into confetti method!

Hope you like the quilts, and hope to see some of you in class!

Birch Pond, Autumn, detail

Birch Pond, Autumn, detail