email Youtube

Home
Galleries
Blog
Workshops & Calendar
Store
Resources
About
Contact

Archive for the ‘Home’ Category

Lamps, Before and After

Friday, August 30th, 2019
From old to fabulous! Look what a little spray paint, thermofax screens and textile paint, linen and ingenuity can do! Yes, those are the SAME fixtures!

The sconces in our house have made me crazy for years. The shades were made to fit on the old rounded incandescent bulbs…the ones you can’t find any more. The wires didn’t fit well on any of the smaller bulbs that suited the size of the shades and the fixtures–they were always tilting and crooked. And the “old West” look was SO not me! It was Candy Glendenning of Candied Fabrics who got me on the right track. Last year, Candy posted some lamps and shades she made using her wonderful indigo shibori fabric and blogged about them here and here. So I plotted and thought about it. I knew I wanted white, green paint mixed to my favorite shade, my own thermofax screens, and NOT black.

Here are the final shades, then I’ll share the process:

Left to right: Queen Anne’s Lace, Birches, Grasses, and Milkweed

First thing I needed to do was see if I could spray paint the fixtures. Before we moved into the house, one had been damaged and removed (but kept in the basement). I bought some Rustoleum in Satin Nickel and it worked! I didn’t even have to sand!

I was delighted at how good the fixtures looked as Not Black. Once they were on the ground, I also realized I could turn the fixtures upside down and that fluted frill on the bottom looked sort of like a Japanese temple roof line. Sort of. But at least better than as a candle holder!

I had planned on using a cotton-linen blend for the shades, but when I went to Fiddlehead Artisan Supply (quilt and art shop to die for and only a half hour away!) they were temporarily out of the blend, so I bought some coarser weave pure linen to try. Then I started searching out stuff to make new shades, starting with Candy’s source, I Like That Lamp website. I ordered the styrene–the rigid stuff to which you adhere the fabric–and glue from that site, but her rings only go down to 8″, and I wanted a 6″ for my sconces in the hallways. I found some 6″ size here, on Etsy.

Next, I needed to see how the linen would print. Using my existing printing board, the prints were blobby–the surface had too much squish in it for the somewhat more open weave of the linen (as compared to quilting cottons). So I made a new printing board with less padding, and learned that using paper towels under the linen did not affect the quality of the print and prevented less of the ink from soaking in to my new board.

Mess-making in process. I used ProChemical and Dye Opaque and Transparent textile paints. I sell some sets in my store (just scroll down) plus you can buy larger quantities and more colors directly from ProChem.
The screen/design for grasses is new and I can tell I will use it often. I cut my linen into lengths from selvage to selvage, then marked how long I needed with a pin. If I goofed, I could keep printing and avoid an oops spot.
The Milkweed thermofax screens used in the upper left piece I had already made, but the others are new. All are drawn, not a manipulated photo (which is another process I use). So far I am only selling the milkweed screens (here), but if anyone is interested in the others let me know.
At least in my universe, printing always involves an oops and some “letting it go”, but I did end up re-doing the grasses because I had printed them too high on the strip–the bottom of the blades of grass needed to be at the bottom edge of the lamp. I also made some real mistakes on the Queen Anne’s lace, so re-did them, too. But I will use the not-bad parts of those for something else!
I Like That Lamp website has some excellent tutorials. Instead of using binder clips, I used Wonder Clips the same way and they worked beautifully. I did have some fuss and bother getting the glue to hold as I wrapped the edges around the wire rings, probably because the glue oozed out between the weave. However, once set, you’d never know. They look well done if I do say so myself.
Because my fixtures are OLD, and I didn’t want to have them as candles with the ring sliding down around the tube to rest on the metal, I needed to get creative with how I would suspend the shades. Wire!
It’s not the prettiest solution, but it works. And it doesn’t show, best of all. Because the wire fitter is recessed down below the top of the shade, the wires that hold the shade to the fixture are hidden (unless you are really, really tall). Those tails were wrapped around the spider-legs of the ring.
The Queen Anne’s Lace is in our bedroom.
The birch trees are in the back part of the hallway, in the “Rogue’s Gallery” (aka family photo wall)
The milkweed is in the front portion of the hallway, with Eli’s middle school art project underneath and a pour painting by my friend Deidre Murphy on the right.
The simplest is perhaps my favorite and is the sconce we see from the living room, the waving grasses. When we first moved into the house there were shrubs that grew up and blocked the view out the windows at the far end–not great. But in the afternoon light they cast lovely shadows on that wall, which inspired me to make this shade.

Some good news: in August 2020 I will be teaching a 3-day surface design workshop at ProChemical and Dye in Fall River, Mass. (about an hour or 90 minutes south of Boston, minutes from Rhode Island) and we will cover the thermofax and paint technique.

The whole thing worked SO WELL that I am thinking I would like to make a set of seasonal shades for the floor lamp in the living room…one for Christmas/Winter, another for Spring, Summer and Autumn. I need to do some patterning as this lamp looks best with an angled shade, not a drum shade, and they are harder to make. I need to learn if I can do it with standard 44″ wide fabric given the flare on the shade. Stay tuned for more house fix-ups! Hope you’ve enjoyed this detour from the usual art quilts and family life.

Visions Online Spring Exhibit

Thursday, April 4th, 2019

I’m delighted to share that my Lilies of the Valley quilt has been juried in to the Visions Art Museum online exhibit “Spring.”

Lilies of the Valley, 36 x 36 inches. As always, there is dense quilting to bring the quilt to life. This work is has been juried into the SAQA Connecting Our Natural Worlds exhibit, and is available for sale. However, the quilt cannot be delivered to the purchaser until the end of the SAQA exhibit in 2022.

I love the delicate fluted cups of the tiny flowers near our front porch, the shades of green as the leaves curve around the delicate stalks. And later in autumn the flowers become vibrant red and orange berries to add little glints of surprising color to the fading landscape.

Sarah Ann Smith's Lilies of the Valley art quilt features small white flowers against a field of green
Detail, Lilies of the Valley

The quilt uses my own hand-dyed fabrics extensively along with commercial batiks and cotton sateen.
I encourage you to visit the online exhibit and enjoy!

Jiminy Christmas!

Sunday, December 16th, 2018

Happy winter folks!  Egads….time whizzing by, change in the behind the scenes stuff on my website so trying to write a blogpost is totally unlike what it has been for 14 years…. I’m lost!   Don’t even know how to add a photo.  Well, it has been busy as usual what with massive house cleaning, getting ready for the holidays and all that.  I’m also starting a newsletter, so there is a new sign  up button on my home page and, if I can figure out how, I’ll put it in here, too. 

 Here is a snapshot of the house so far..Eli came home from college last night so we can finally finish trimming the tree this weekend.  We are due to get snow tonight and tomorrow, but after a cold and wintry November it is warming up in December so I don’t think we’ll have a White Christmas (but I’ve already watched the movie for the season!).

So it looks like I added a photo, now what…gosh I hate when things change so radically!   Trying to decipher MailChimp has been hard enough for the morning.  So here’s a quick peek at what I’m doing in the studio:

The start of a rose hip……

What are some of your favorite holiday traditions?  When I grew up we made candy and delivered it as gifts, but haven’t done that in decades.  In the interest of fitting into my clothes, I am restraining myself.  But I love remembering who gave me various ornaments or where we went that year.

Here’s an ornament made by my friend Deborah Boschert, an angel that was on a gift from my cousin Anne sometime in the mid 60s (for anyone from southern California, probably it came from Pic N Save!), a spider web in glass from my first tour in the Foreign Service in Toronto (and miraculously not broken despite traveling around the world for umpteen years) and my two beautiful Lalique discs, at the top of the tree out of pet danger.

and here is an attempt at a pop-up sign up for my monthly (or maybe every other month) newsletter…I’ll fine tune formatting another day, ahem. now, I need to figure out a logo!  Give me suggestions LOL! PS–scroll down, I can’t figure out why so much blank space.

Subscribe to my newsletter

* indicates required
Email Format

Call me a Shannon Cuddle fan!

Sunday, October 14th, 2018

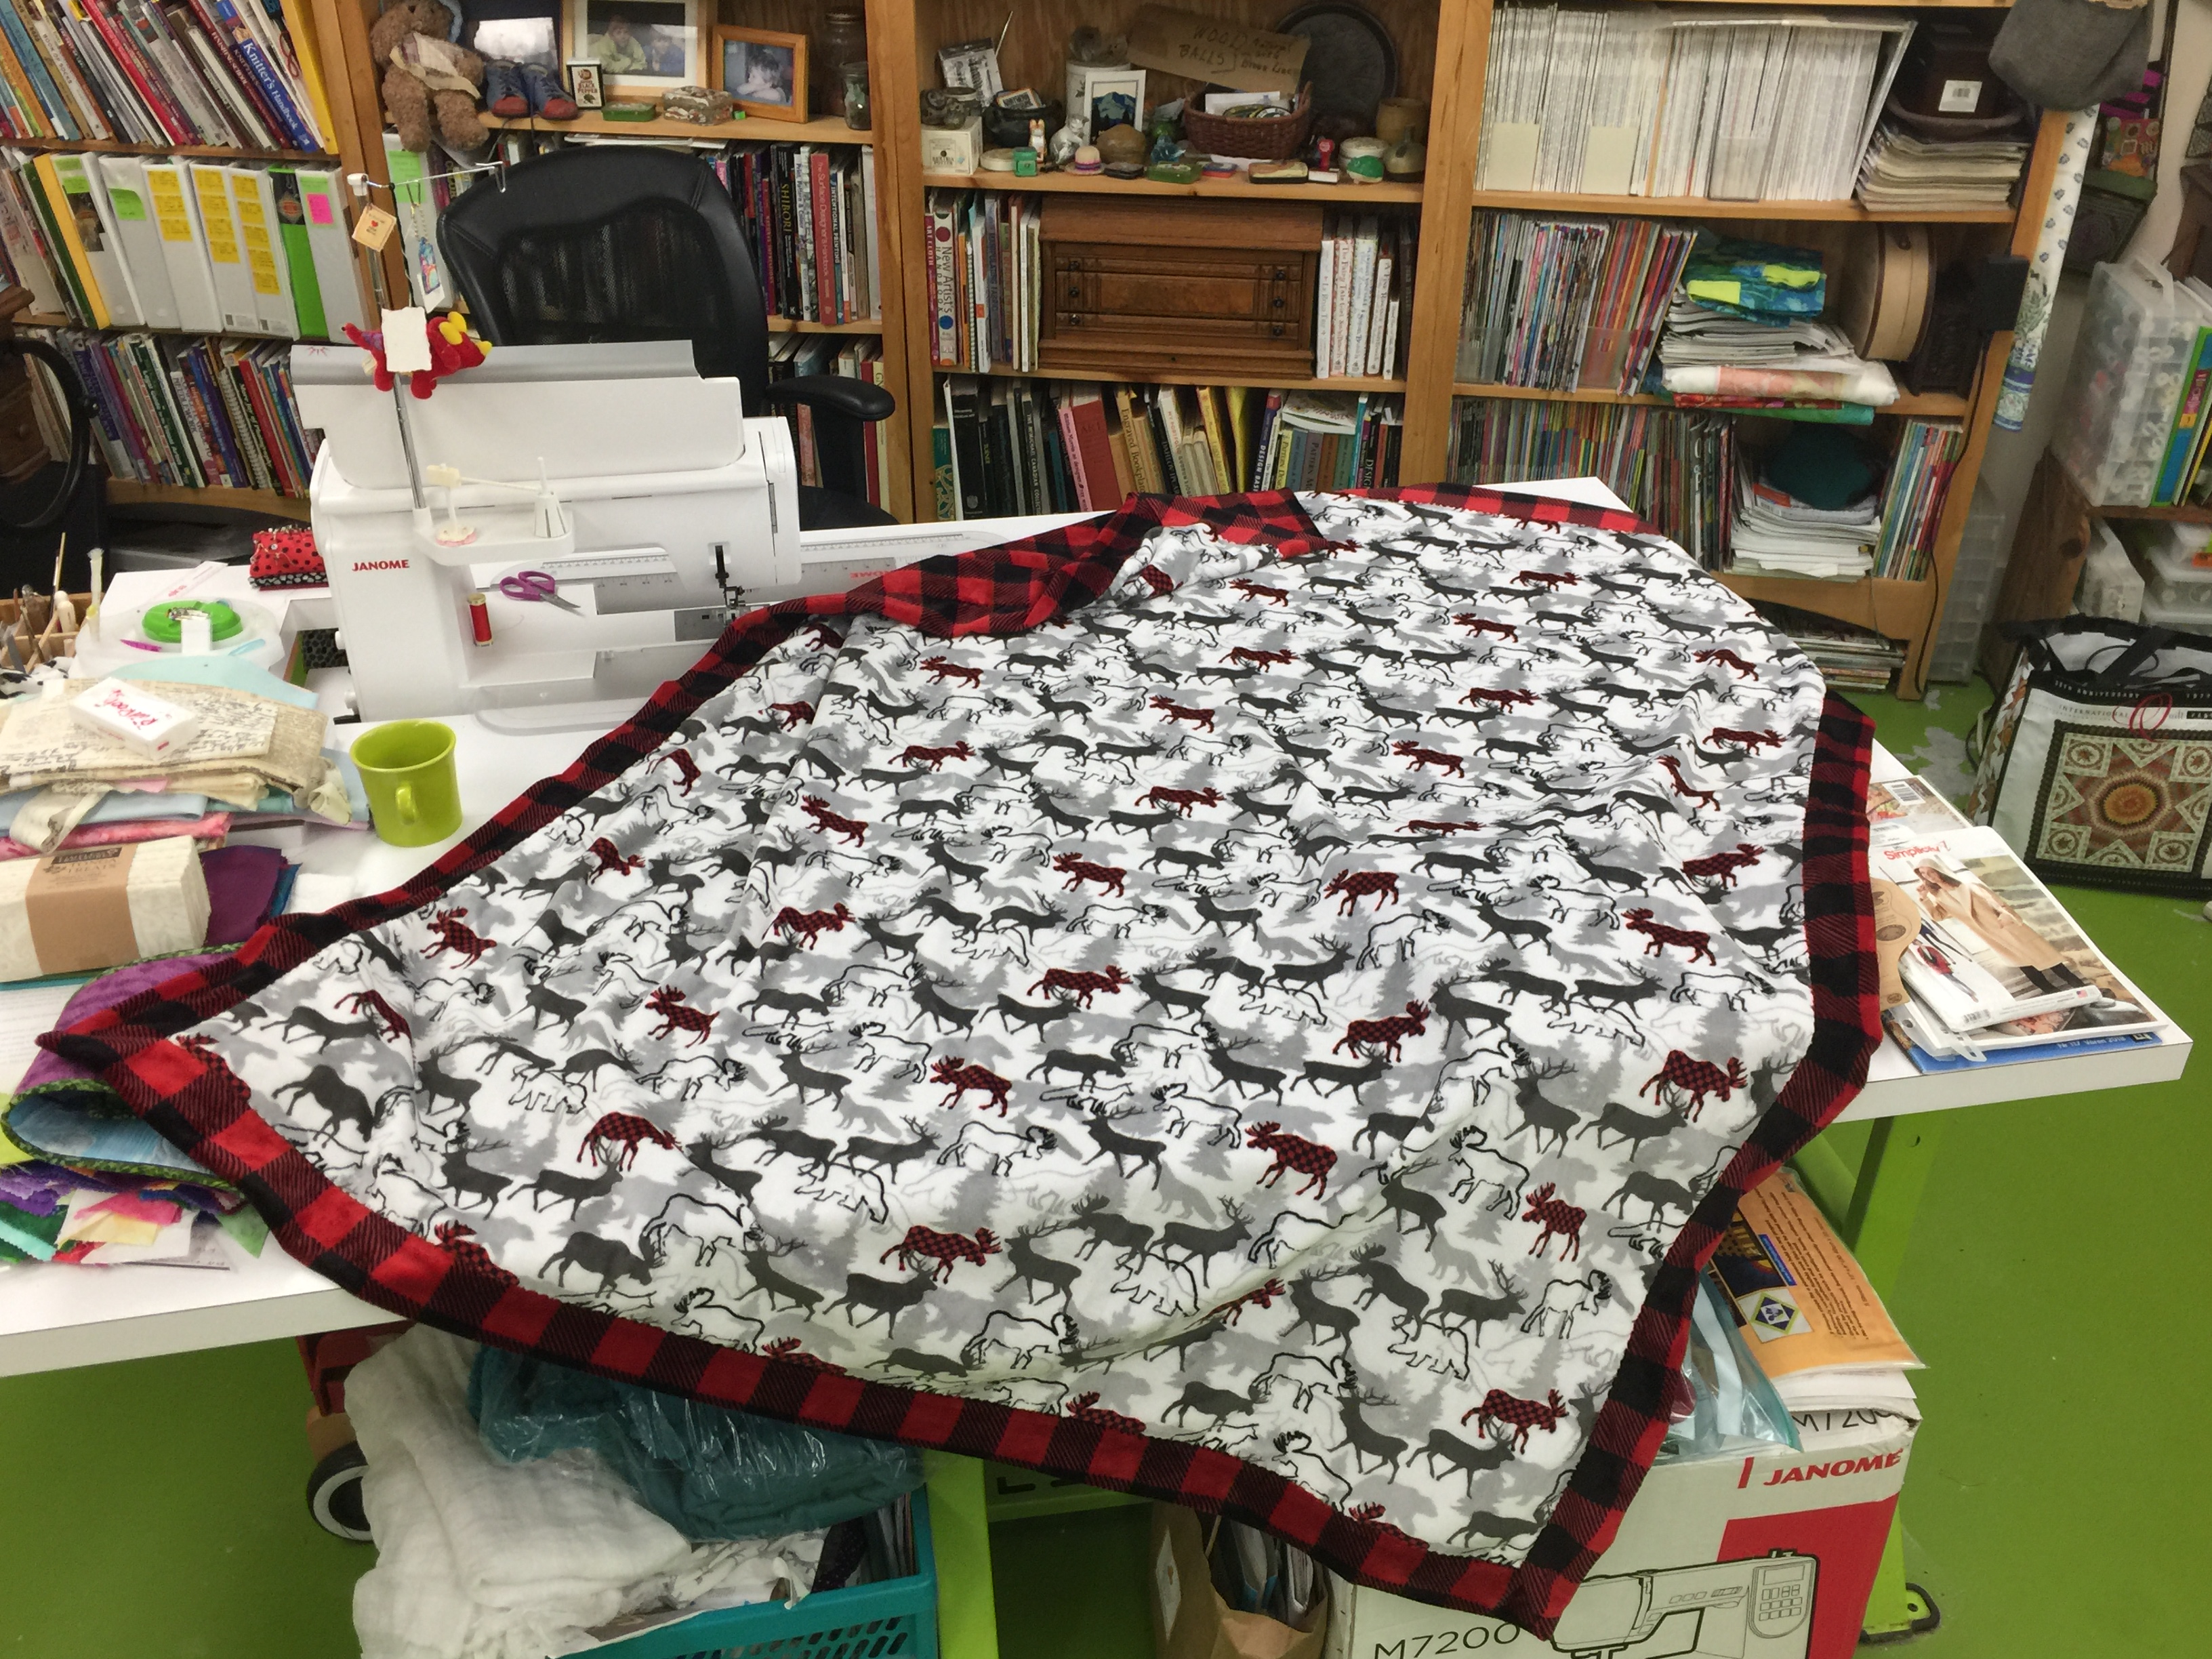
A heavenly combination: my studio, my Janome 9400 and Shannon Fabrics cuddle fabric–I’m ready for winter!  This fabric is so soft you just want to pet it, snuggle under it, and not give it away as a gift!

Last May, Janome America had its first ever Janome Education Summit, and one of the presenters was Shannon Fabrics.  From the kit they provided, I made the lovely summery top in this blogpost.  But they also shared samples of their fabrics, including these two.  True confession:  I have this Elmer Fudd-esque love affair with red and black buffalo check.  When I got home from the Janome event, I searched for the cuddle buffalo check on the internet wanting to buy multiple yards of it it but couldn’t find it anywhere, so contacted the presenter from Shannon Fabrics, who told me it wasn’t available until summer for the new fall season.  I ordered some other Shannon Cuddle and Luxe Fur from Fabric.com (still waiting to make that up, stay tuned in December).  Mid summer I still couldn’t find it, so I wrote to her again, and she SENT ME a big box to make not one but TWO projects.   This throw is SO fast and easy and it would make an awesome holiday gift. Literally, I made it in a short afternoon!

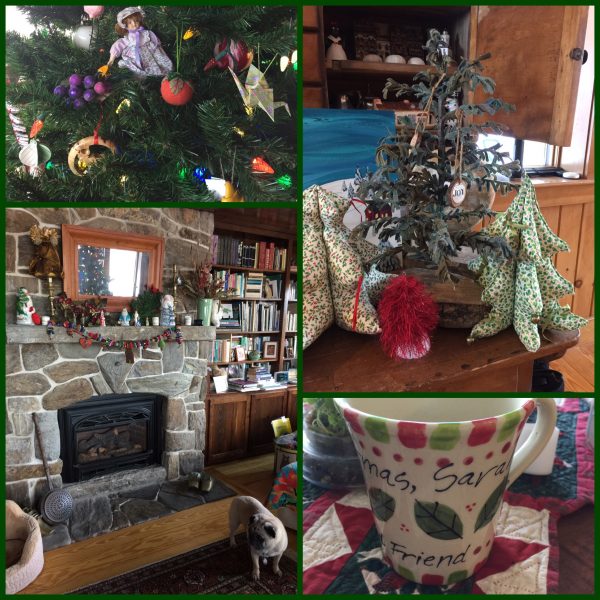
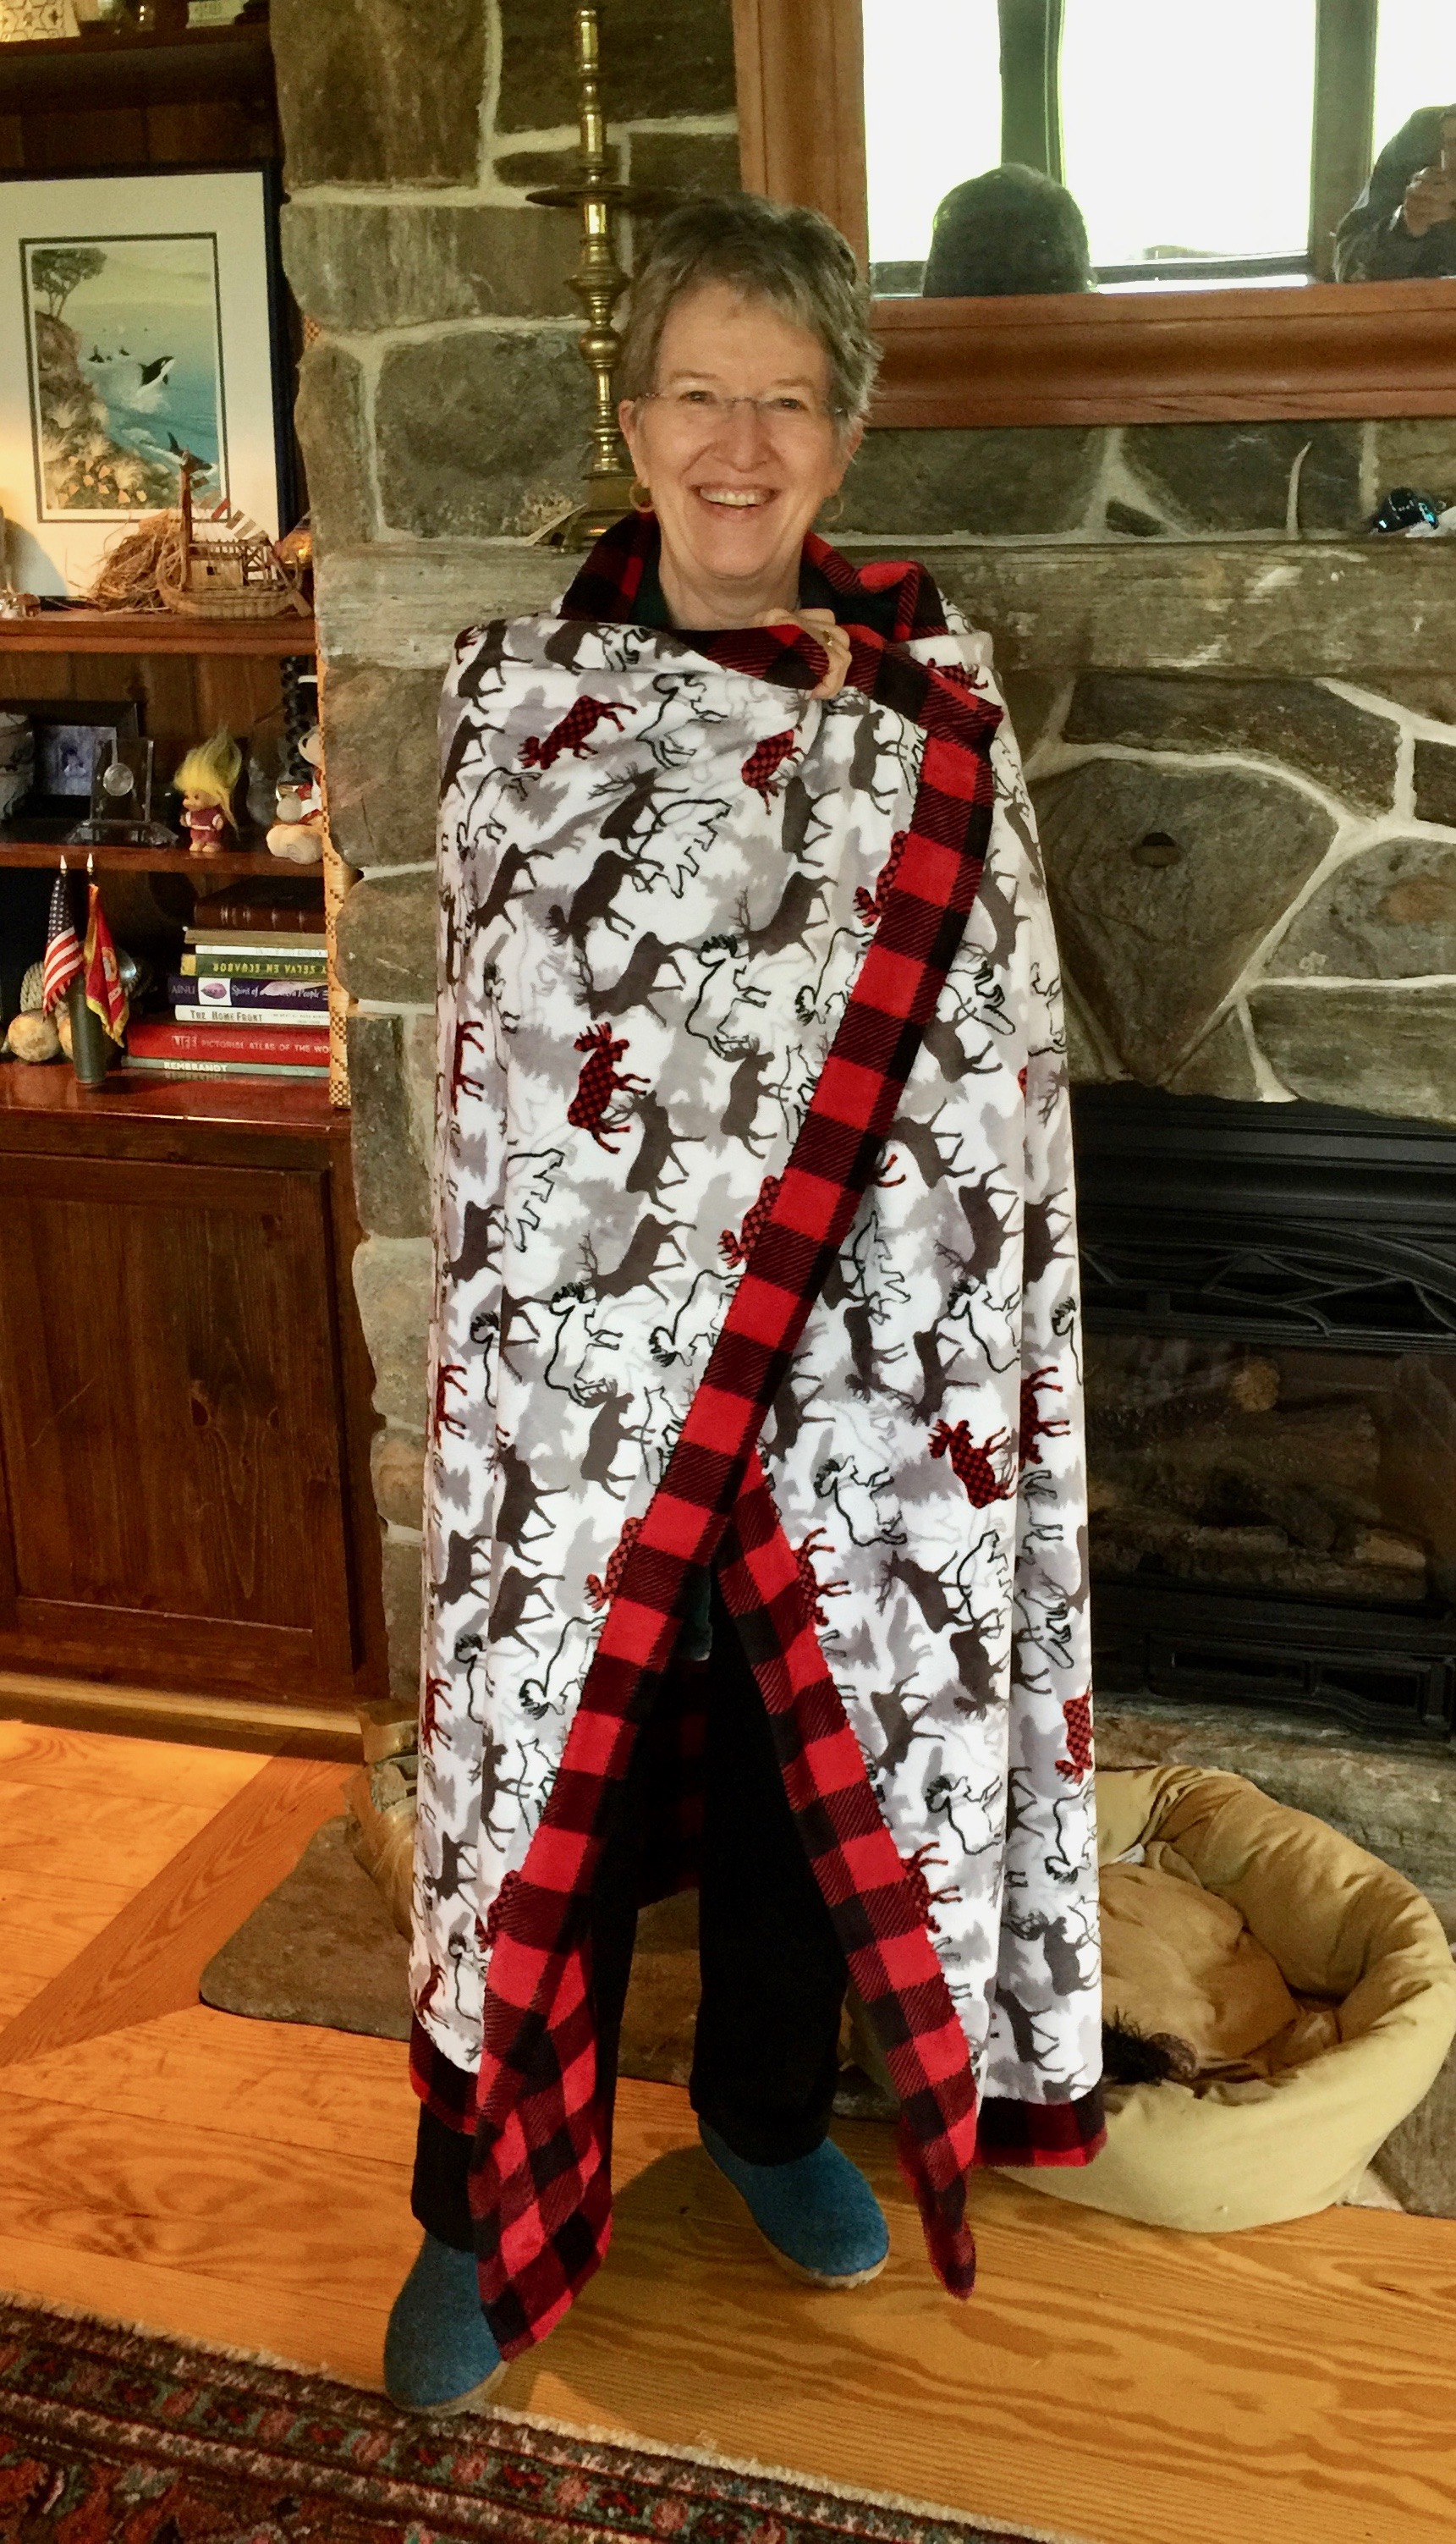
Me by the fireplace, wrapped in my jumbo throw. This is big enough for two people on a sofa. Or one person a cat and a pug in a chair. Ahem (photo below).

 Here’s what and how:

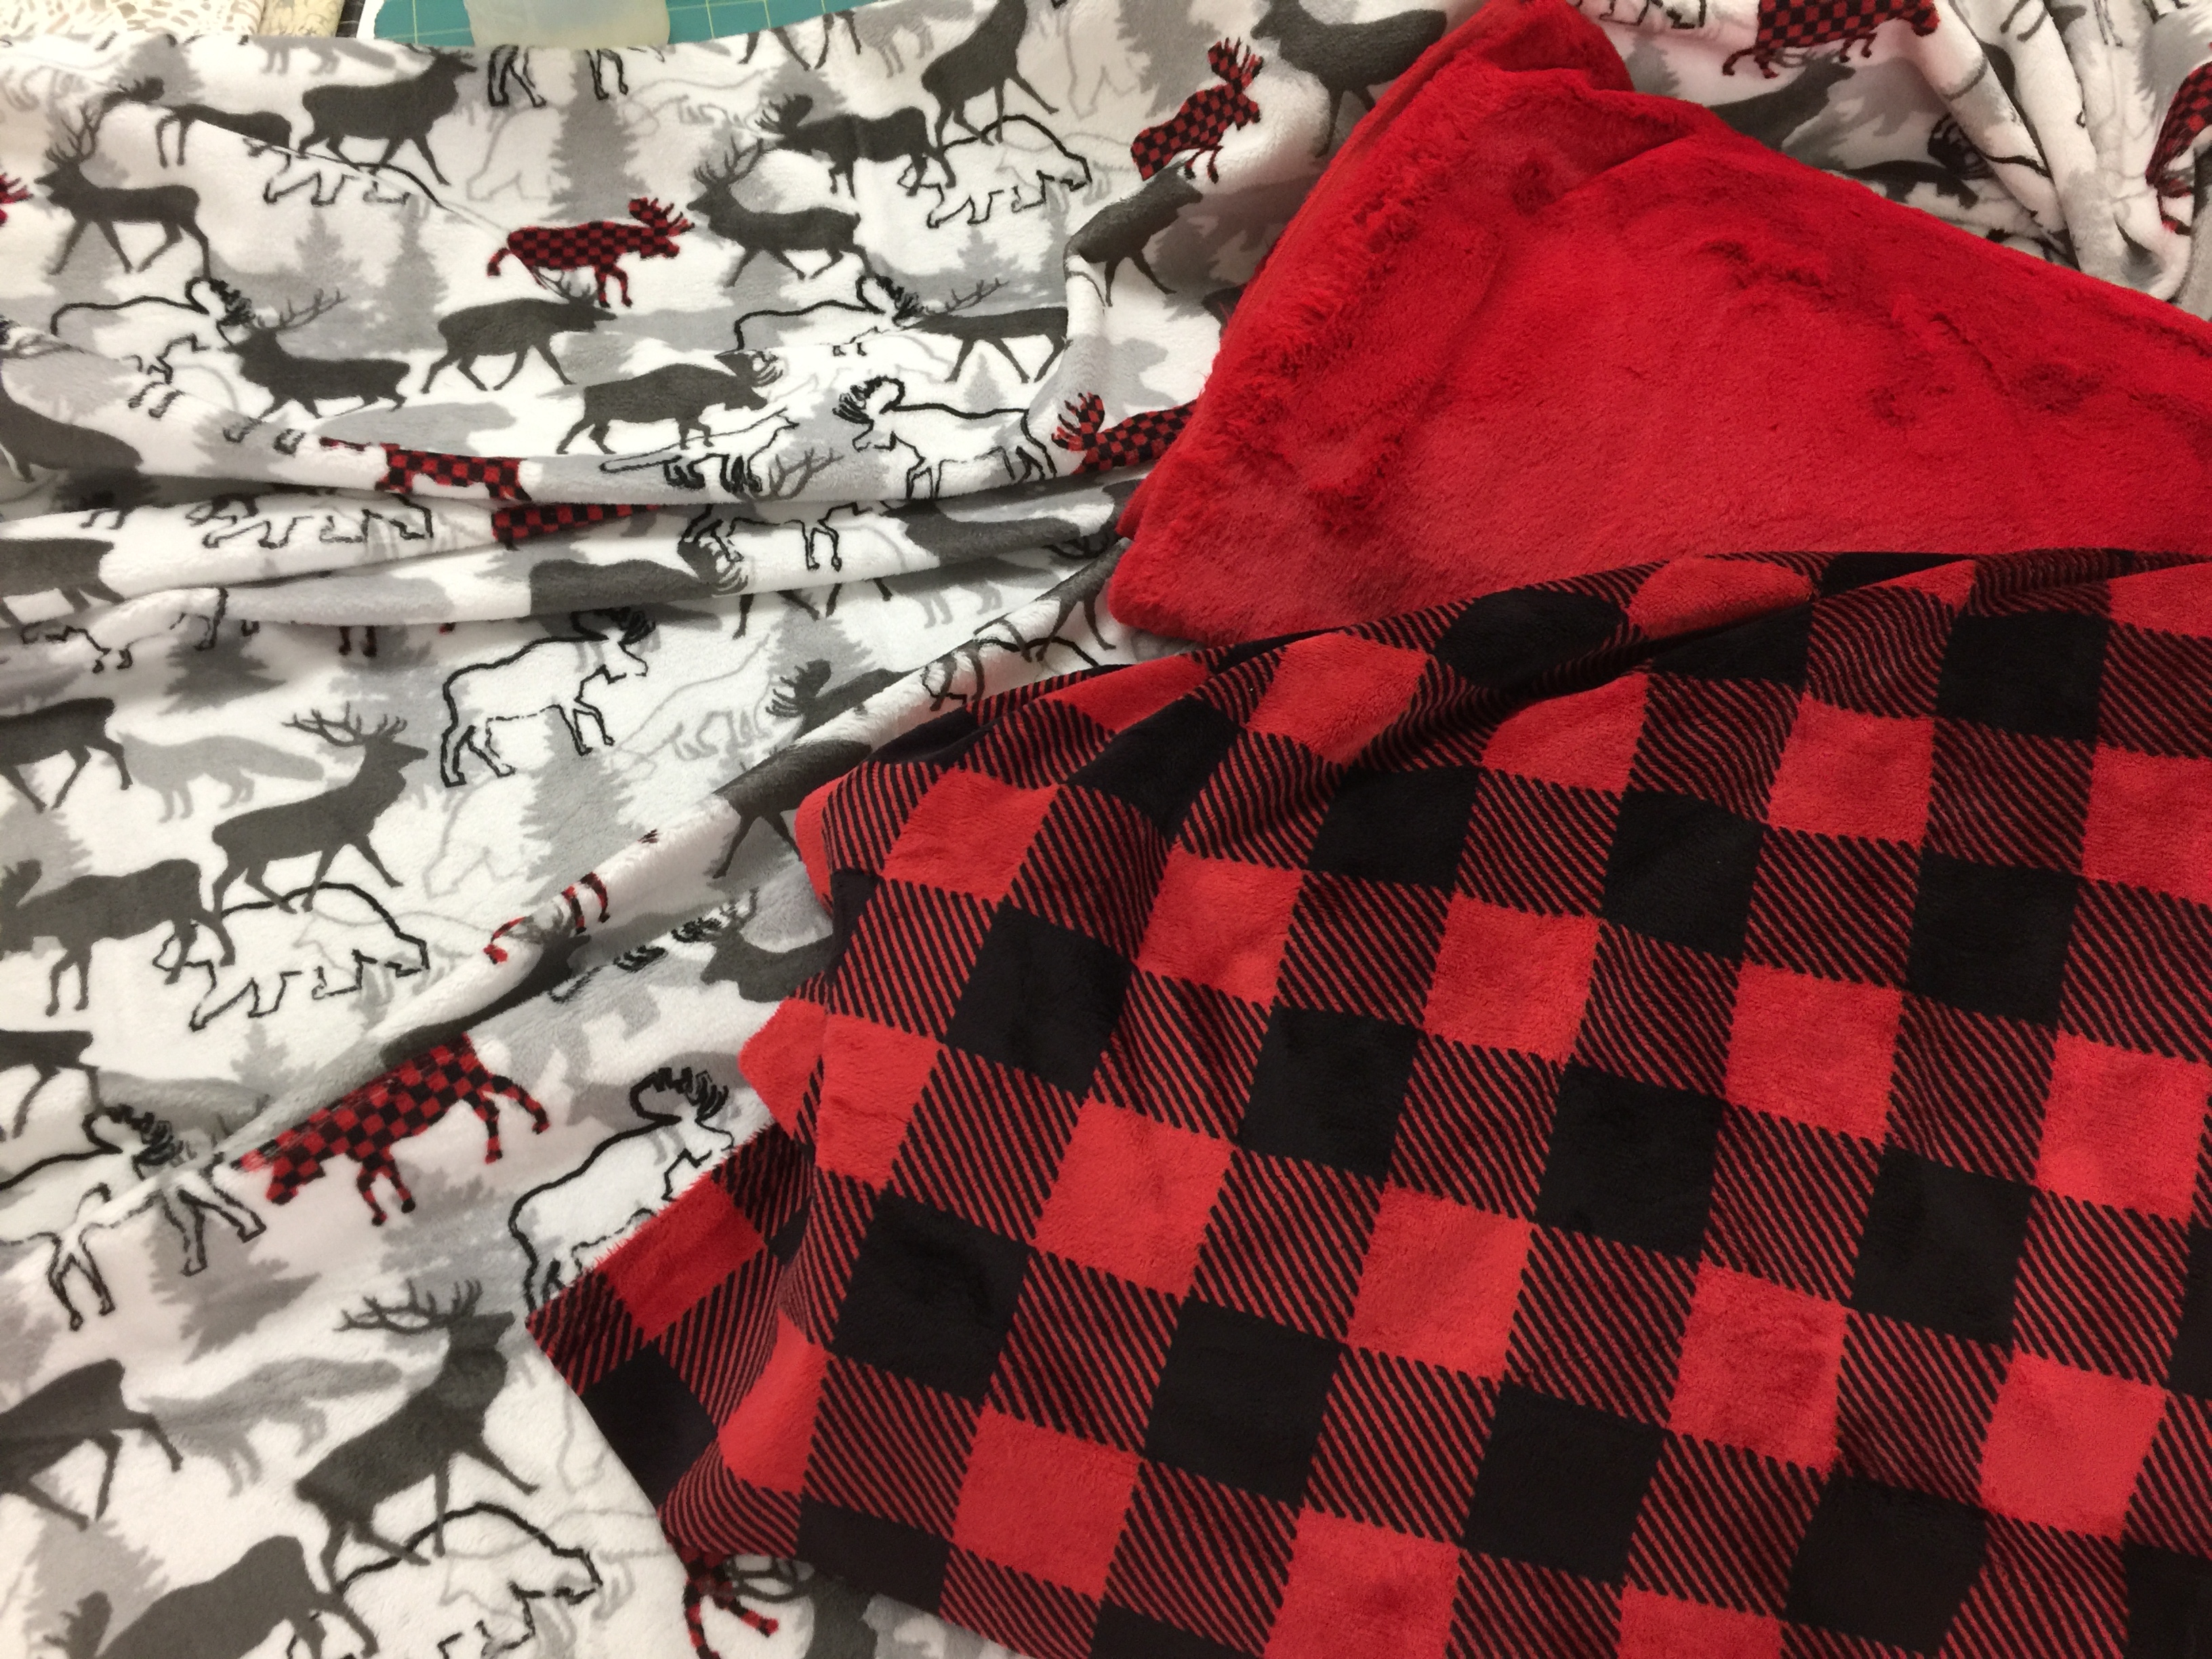
The two fabrics pictured are available at Fabric.com here/minky buffalo check and here/Studio minky forest park, both in the scarlet color way.  It is also available in a blue version, and there is a lovely silvery gray and white buffalo check too.  I used two yards of each, but had a little of the print leftover–gonna make a hat out of that!  You’ll also need some thread–color doesn’t really matter as it disappears into the pile, but I did use red. If I had found the Shannon free pattern and video (keep reading) I would have ordered 2 1/3 yards of the check since you need a little extra to wrap.  Instead, I trimmed down my white print to work.

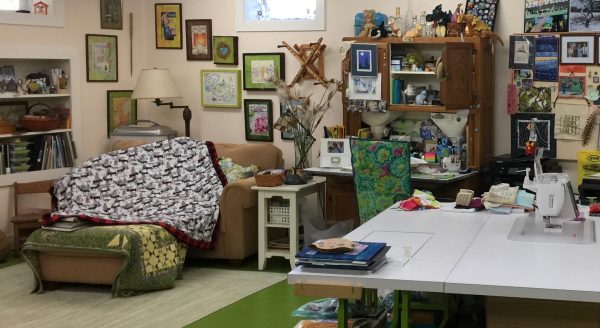
A blogpost with lots of pictures is better. Here is the throw on the love seat / reading zone in my basement studio. You can see how large it is!

TIPS and HINTS for working with Cuddle, Minky and Luxe Fur:

  1.  The BEST tip for minimizing lint came from Ellen of Shannon Fabrics in May:  you know you when you cut Minky and similar fabrics you end up with little bits of fluff EVERYwhere forever?  Not any more!   First, especially with the long fur-like fabrics (in my upcoming December project), cut your fleece from the back cutting only through the knit backing.  This minimizes the snipped bits of fluff.  You can also do as I did with the regular pile cuddle (what I used here) and use a rotary cutter.  Then scoop up ALL the pieces (including leftovers if you keep them for small projects later), perhaps into a basket or large plastic bag, and take them to your DRYER.  Yes, the clothes dryer.  Tumble on no-heat for about ten minutes, then CLEAN THE LINT FILTER. About 80+ percent of that fluff will end up in the lint filter and not all over your sewing space and house.  OMG it really worked!
  2. There is no stretch on the lengthwise grain.  At all.  If you make a garment (my next project) make sure you keep grainline in mind when fitting the garment.
  3. The fabric DOES NOT RAVEL.  At ALL.  That means you don’t have to turn under edges!!!!!!  That means these projects are FAST!
  4. Stitch length:  The fleece will hide your stitches.  That means it will be challenging if you decide you need to remove any of the stitches, so pin carefully to avoid ripping out!   Also, it is good to use a slightly longer stitch length.  I used a 3.0.
  5. Best stitch for seams on knits: For garments, using a zigzag or “lightning” zigzag will at a 1.0 width will look like a straight stitch seam from the outside, but adds a little bit of flexibility and therefore helps avoid popping stitches in the seam.

Shannon Fabrics has many free patterns available.  I used this one for my throw, a youTube video called Cuddle Self-Binding Blanket from Shannon and FleeceFun.com.  I hadn’t found this video when I requested my fabric.  If I had, I would have ordered 2 1/3 yard of the buffalo check and 2 yards of the forest park print and had a slightly larger (better!) throw.  WATCH the video before you order fabric…it is only 7 minutes long and will help you.

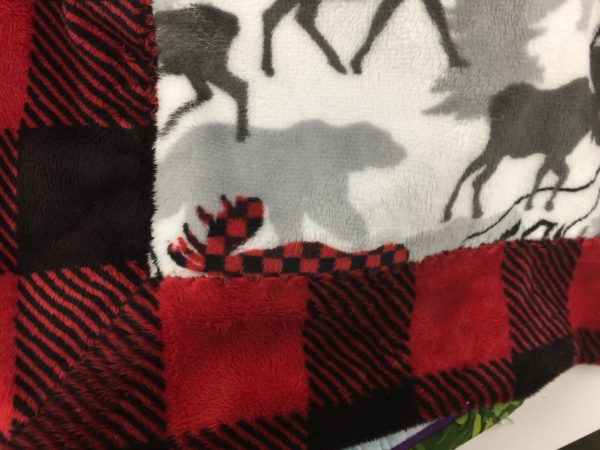
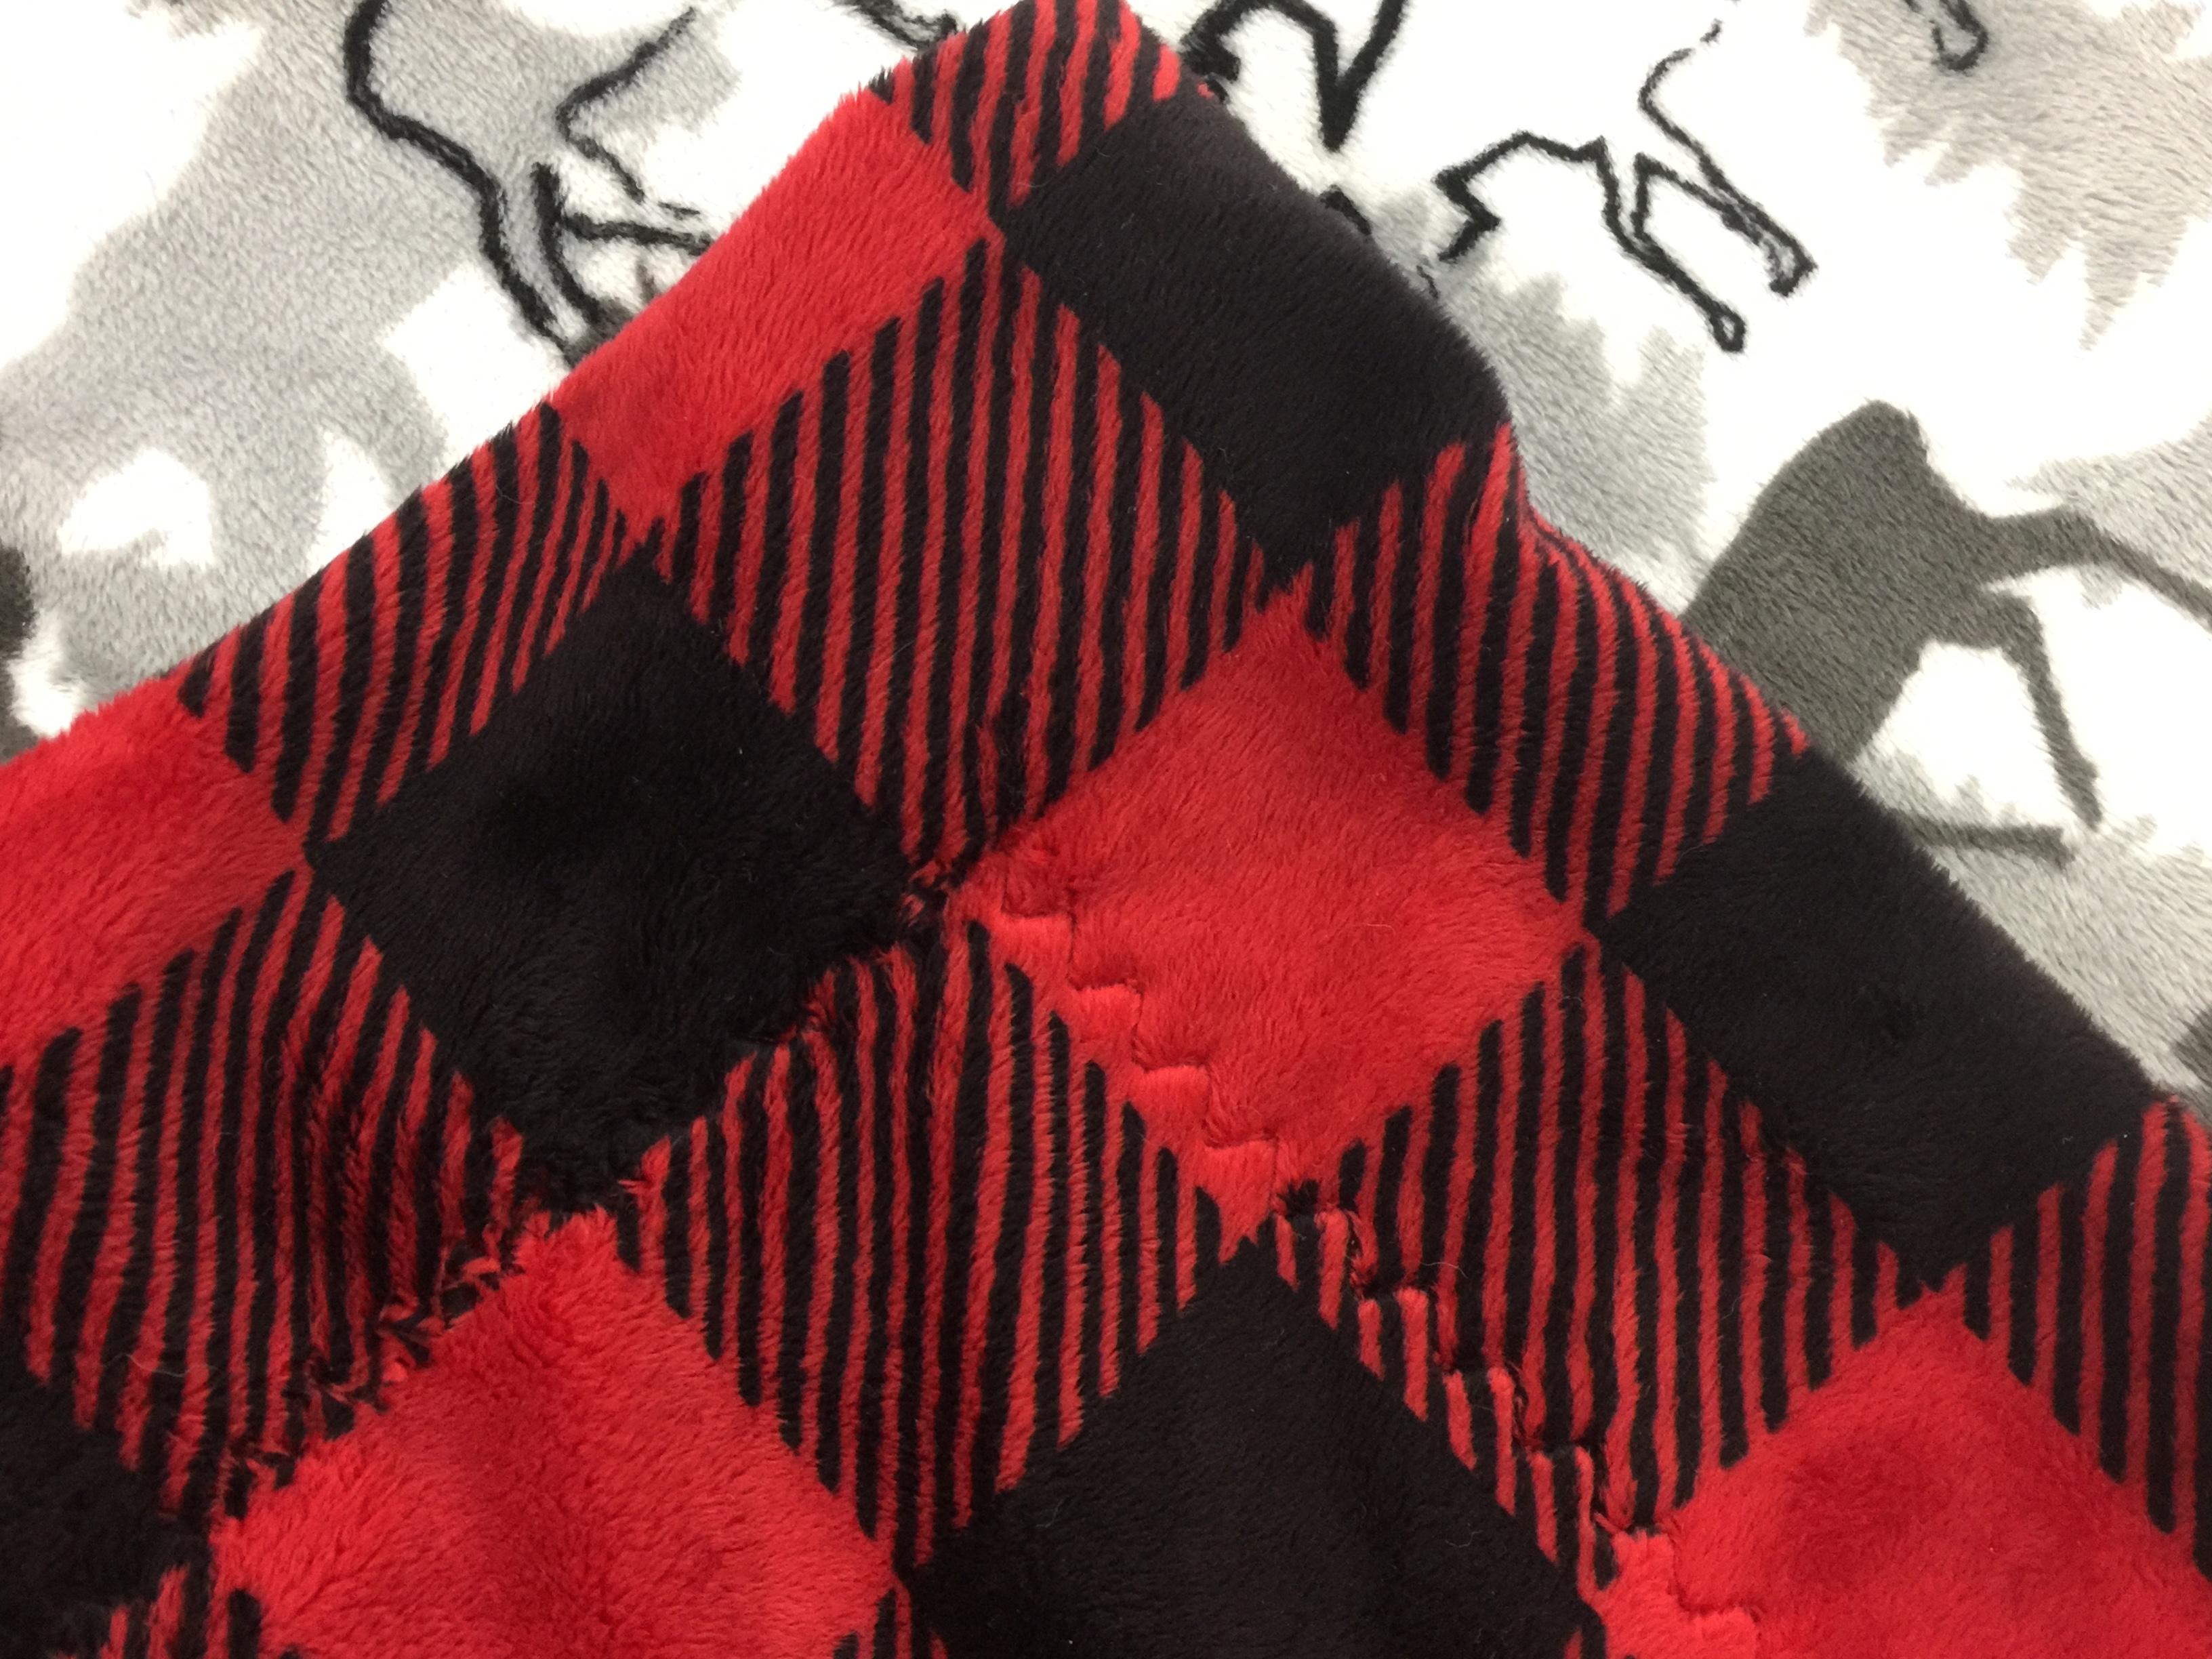
I used a serpentine stitch on my Janome 9400, an “S” shaped stitch to sew down the edges. You could also use a blanket stitch or a 3-step zigzag (the one that takes three stitches in one direction, then three stitches the other way).  I mean, you can’t even SEE the stitches.

Here’s what the serpentine stitch looks like from the back. I used red thread and you can’t even SEE the red on the black square!

I have been a Janome Fan-Girl for 15+years now.  I am now a Shannon Fan-Girl too! I’m finishing up a winter jacket with more of the buffalo check and a cream cuddle fleece lining, and will share something else that will be a gift for Christmas–perhaps in late November which is plenty of time for you to whip up a few of them in time for holiday giving.  Or keeping.  Ahem!

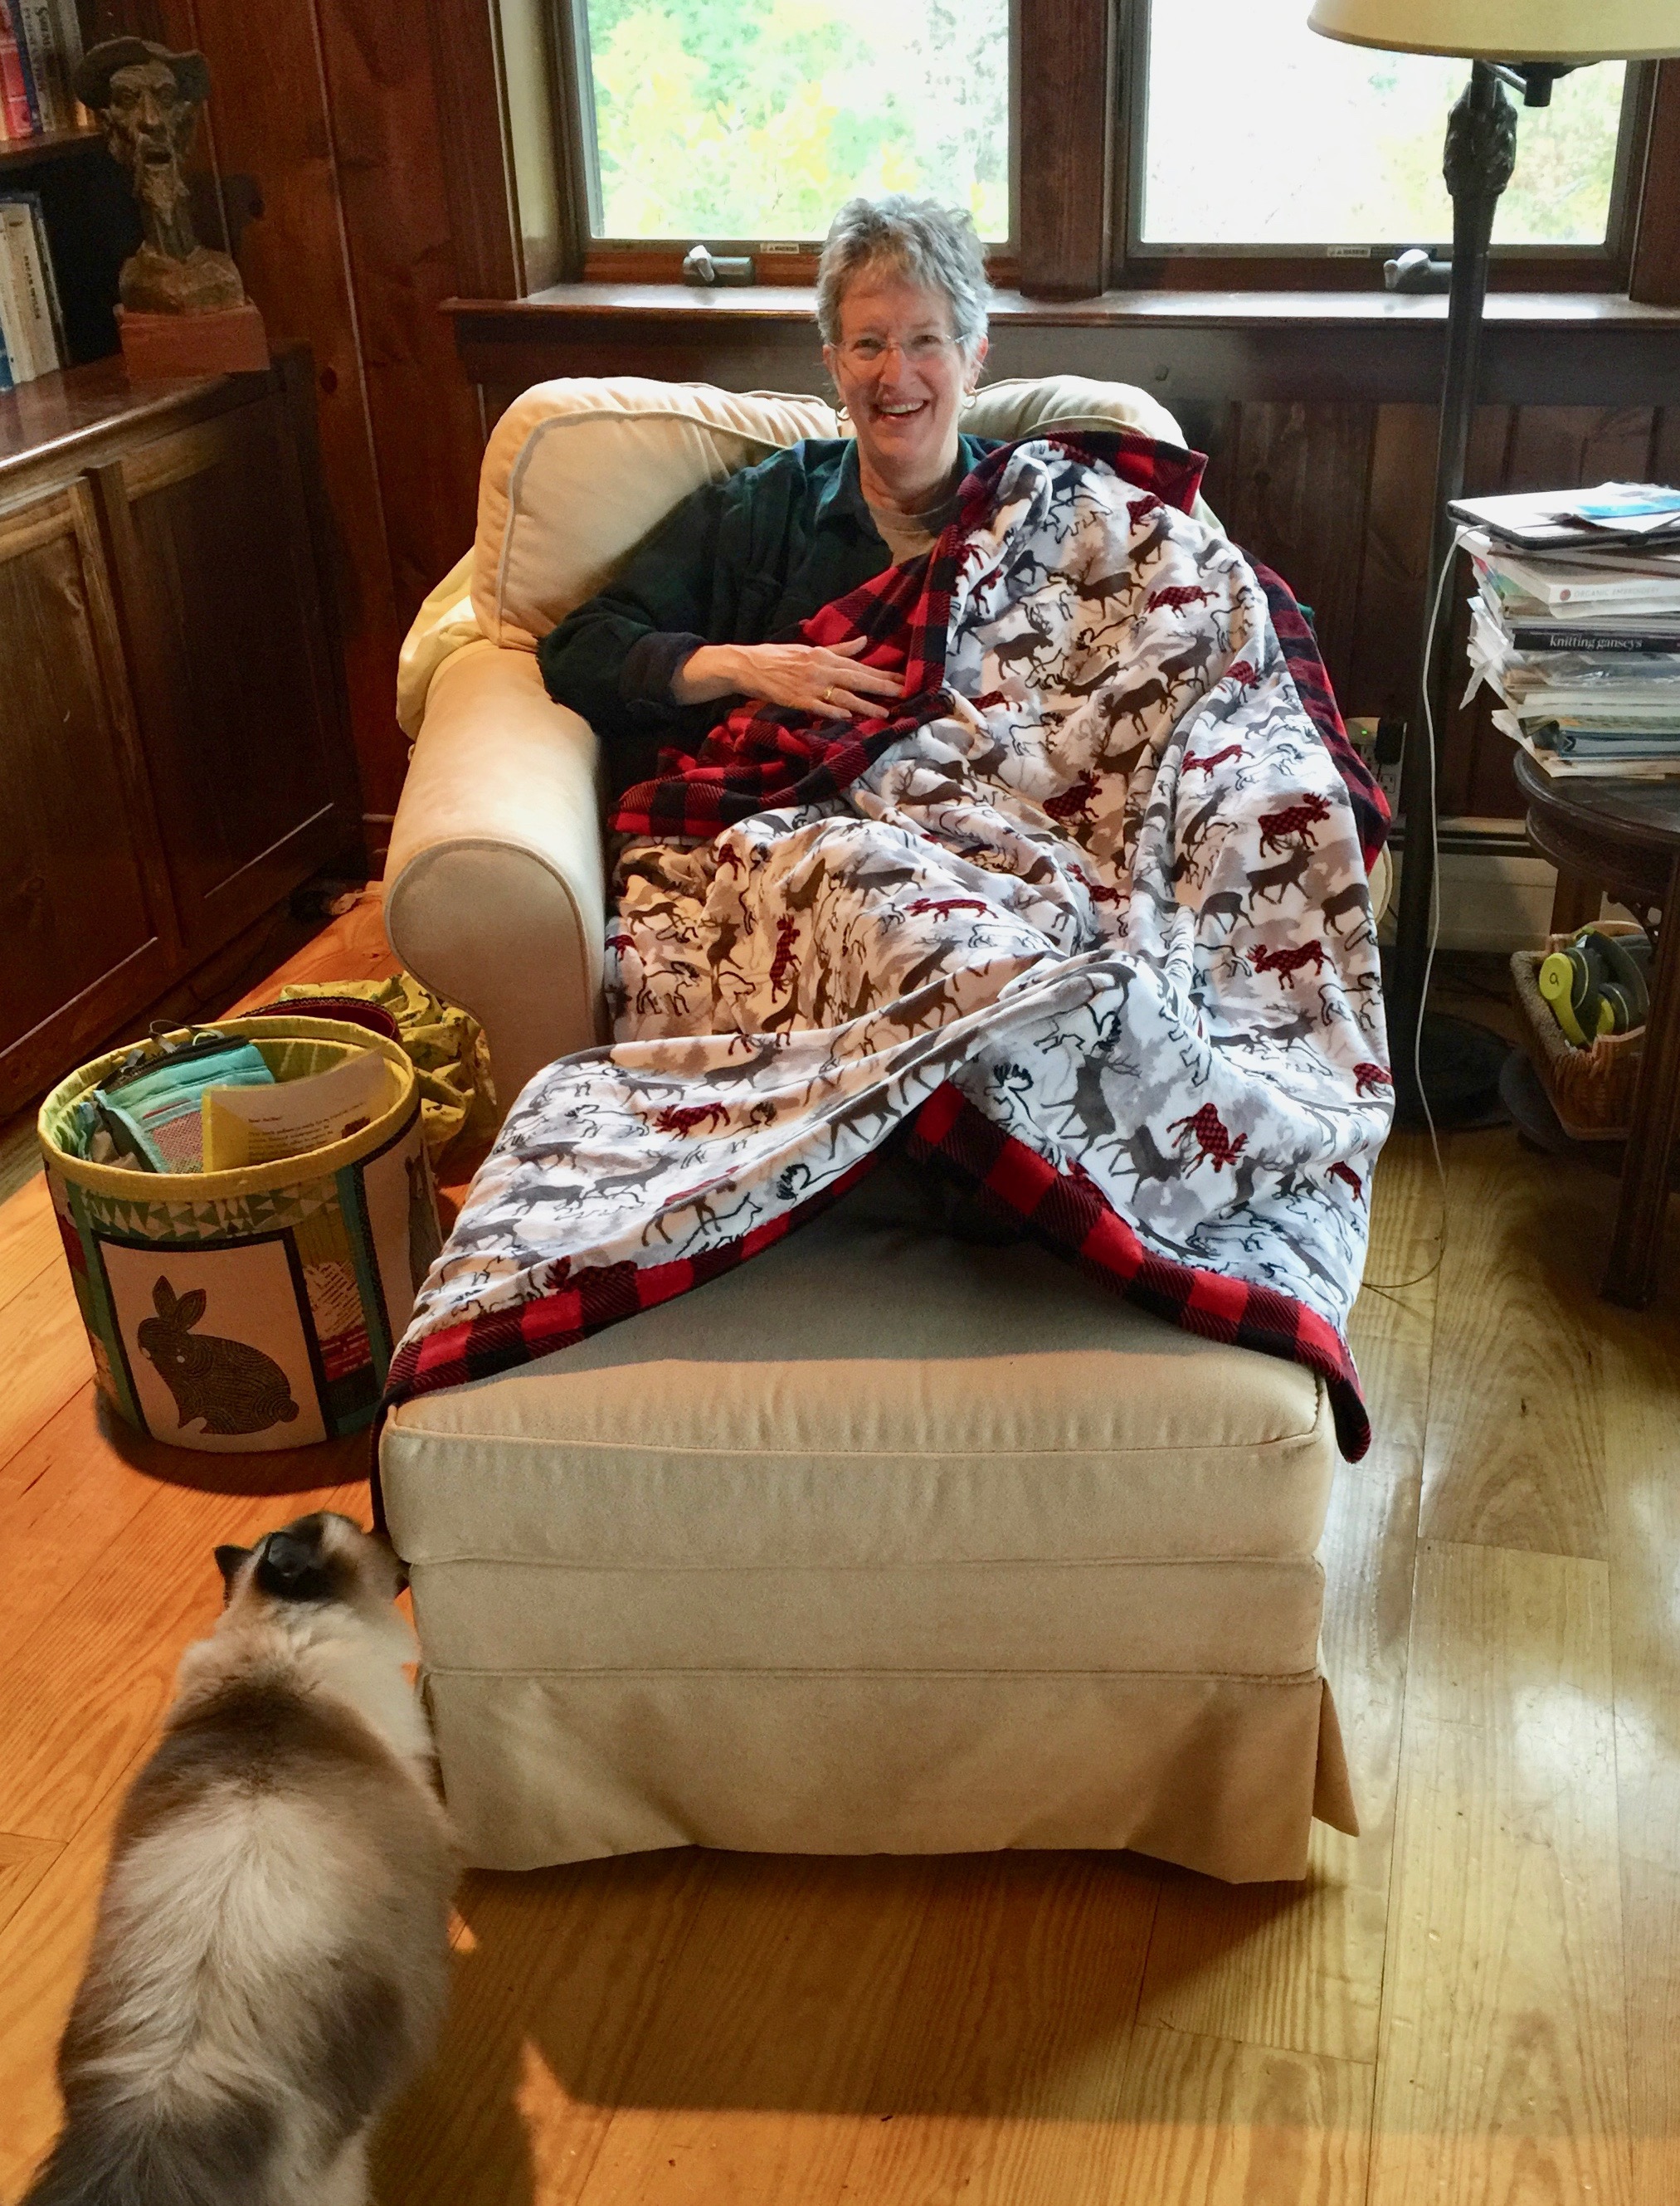
This is what I expect to look like most evenings in winter: in my chair in the living room, me and pug under the throw, cat checking things out, ready to make a dent in my pile of reading!

And because it is boring, this photo is last, but it shows the throw out flat.

THANK YOU SHANNON FABRICS for this fabric which I was totally prepared to order!   I have purchased more of their fabrics own my own and know I will be using it again.  If they ever make their “Spa” line in some bold colors (not pastel, not purple) I am so gonna make a bathrobe…..in the meantime, I have more snuggle quilts and gifts to make to keep me plenty busy.  And as always, Thank You Janome America for making the best machines EVER!

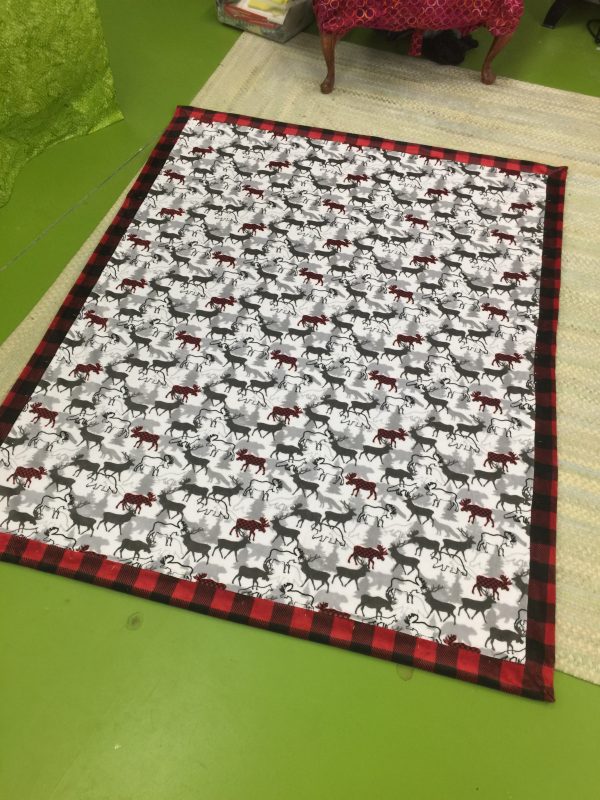
laid out flat on my studio floor (cement painted green!)…big, warm, SOFT. And did I mention, SOFT!


Looks what came in the mail from Shannon Fabrics! Soft and pettable!

Thursday, September 27th, 2018

Luxe print cuddle and velvet cuddle (the solid red) from ShannonFabrics.com

Oh I can’t WAIT to start sewing this.  At the Janome Education Summit in May we had a program from Shannon Fabrics using their double gauze and Cuddle (minkee).   I saw these three fabrics in swatches and NOW I have some!  They are part of the Fall line, and I can’t wait!  SQUEE…just checked and these are now available at Fabric.com–go here.

The white with buffalo-plaid moose will be backed/edged with the big buffalo-check (each square is about 2 inches) for a ginormous throw, almost twin sized (I think it will be about 54×66 inches when done.  The red will line the buffalo check for a new winter coat or wrap to snuggle in.  This stuff is SO SOFT!

Learned a fantabulous trick from the ladies at Shannon Fabrics at the Education Summit:  when cutting Cuddle and other hairy fabrics (like minkee and similar), cut the pieces, then carefully roll them up and put them in the drier on air/no heat for a while.  About 80 percent of those stray hairs will gather in the lint filter (remember to EMPTY IT), leading to a billion times less clean-up in the studio.

Stay tuned–I should have the throw done by early next week.  The coat will take longer!  THANK YOU Janome America for that fabulous summit and Shannon Fabrics for these snuggly fabrics.  For all of you, I had already ordered some blue for a different throw, and some other fabric for Christmas gifts which obviously I can’t tell you about—yet!