Out of the Blue at the Whistler House Museum of Art
Friday, July 17th, 2015Well that was FUN! Got home yesterday from errands, gathered up the mail from the box, and found this in the pile!
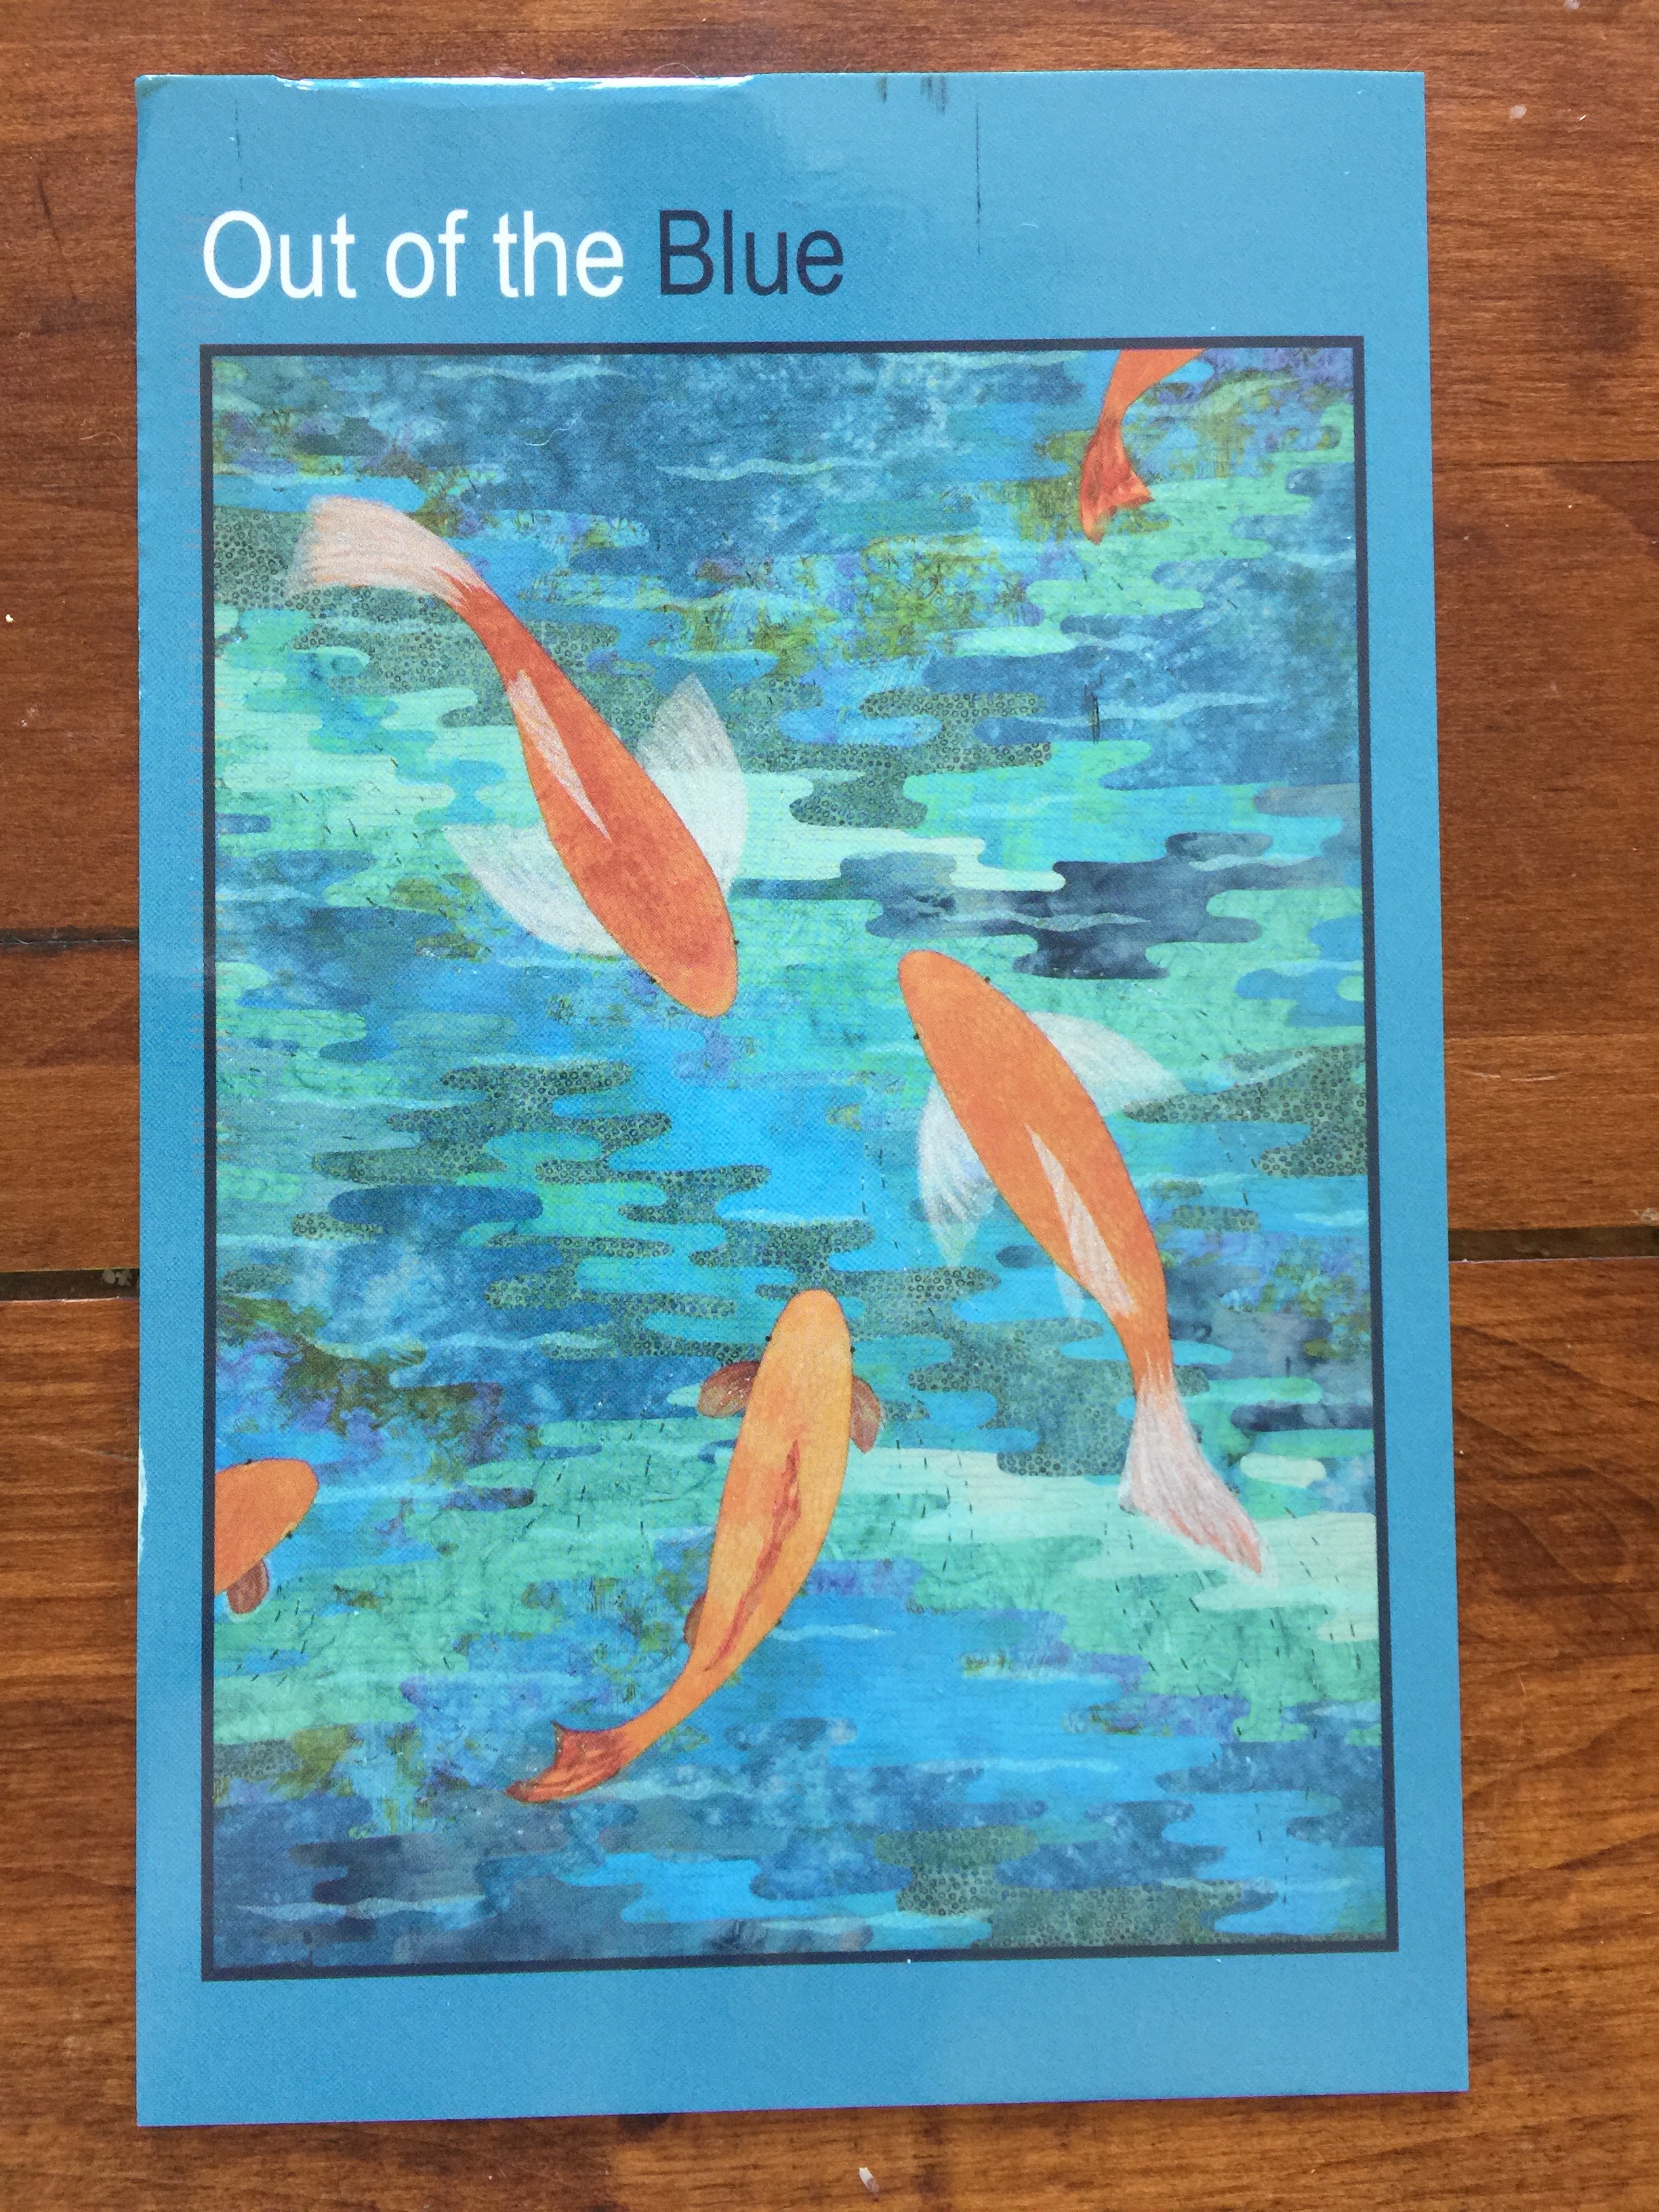
Publicity card for the Out of the Blue exhibit at the Whistler House Museum of Art in Lowell, Mass. Yep, that’s MY quilt! SQUEEE!
I just checked, and apparently I forgot to announce here (as opposed to over on Facebook) that TWO of my works have been accepted into the Out of the Blue art quilt exhibit this summer at the Whistler House Museum of Art. (If you click on that link you’ll see a thumbnail of my quilt; click on that for more information.) Yes, that Whistler, James McNeill Whistler, the one who painted Arrangement in Gray and Black, No. 1, better known as “Whistler’s Mother.” Can you say GIDDY! When I first moved to Maine, I learned about the Lowell Quilt Festival and the exhibits in town at the Whistler and the Brush Gallery. So I went and thought: I’ll know I’m making it if I can ever get in there. Well, early this summer (I had signed up eons ago to be on the email list) I received a call for entry. I thought: why not! All I can do is send the entry fee, and it will support art quilts no matter what. Imagine my delight when I got in!
Yep, my art quilt Koi is the publicity image for a museum show! My self-portrait “Clothed in Color” is also in the exhibit. Here’s the back side of the card (minus my home address because this is the internet):

The exhibit will be open Aug. 12 to Sept. 19th of this year. The Reception is Saturday, Aug. 15th from 2-4. I love that they included the materials, including MistyFuse!
And here is Clothed in Color:
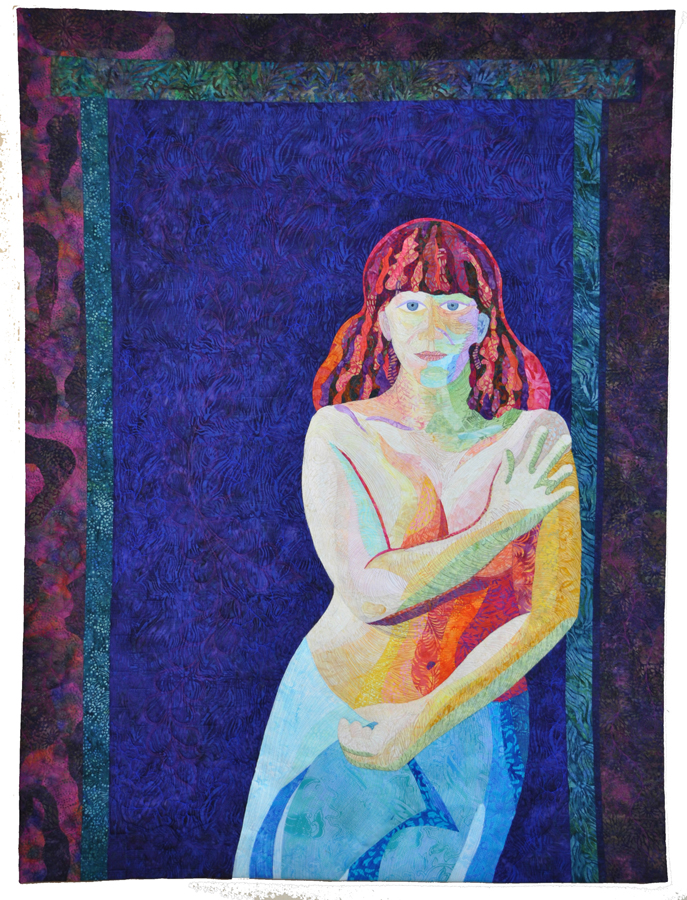
A self-portrait –hmm…. just occurs to me there is some symmetry of a sort here, as Whistler is famous for his portraits– anyway, a self-portrait in no natural colors (well, other than the blue of my eyes, but my eyes are a bit more blue gray than blue….)
That weekend is also the Mancuso show in Manchester, NH. It will be a VERY LONG day, but I’m thinking I will try to drive to Manchester (several hours away), spend a couple hours at the Mancuso show, then about 1 pm get on the road to Lowell to arrive shortly after 2 for the reception, then begin the trek home (about 4 1/2 – 5 hours).
Congratulations to the other artists in the ehxibit–I hope to see some of you there! And thank you to the jurors for accepting my works and to all those involved in the decision to select the publicity image!
And to round things up, here is the back side of Koi!
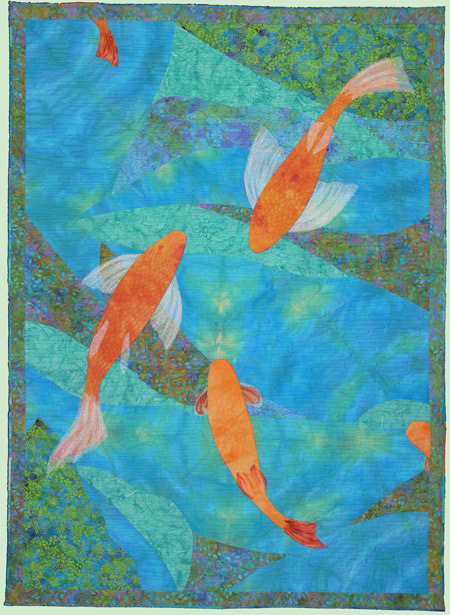
Koi is actually a two-sided quilt. This photo was taken before adding the hanging sleeve to the top of the back (imagine lying on the bottom of the koi pond looking up at the fish bellies and the trees above). I made the top facing so that if anyone were to purchase it and wanted to hang it so you could see both sides, you can insert a metal slat and have it hidden. Then I had to add the requisite 4″ hanging sleeve for standard display.