email Youtube

Home
Galleries
Blog
Workshops & Calendar
Store
Resources
About
Contact

Archive for the ‘Home’ Category

16 years! Home, Maine, HOME!
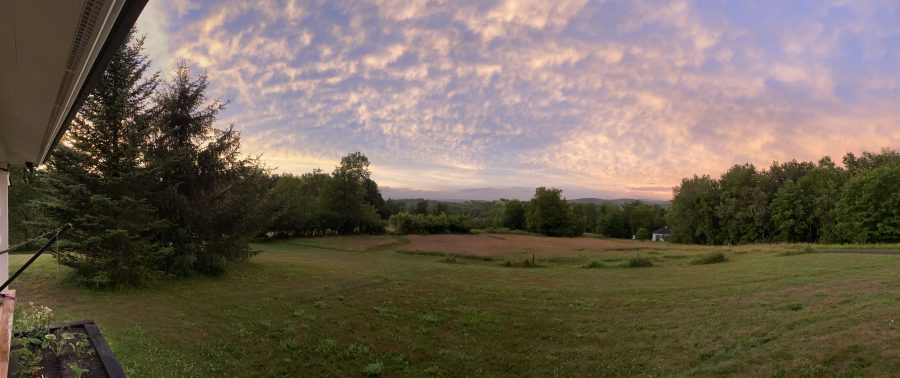
Saturday, July 11th, 2020

When I arrived in Maine 16 years ago today, to move into our house in Camden (we moved from there to neighboring hope in 2011), I did not know that after 46 years of wandering the globe and living on four continents, I had finally found what I always wanted: HOME!

After the storm, just a couple of days ago, from our front porch

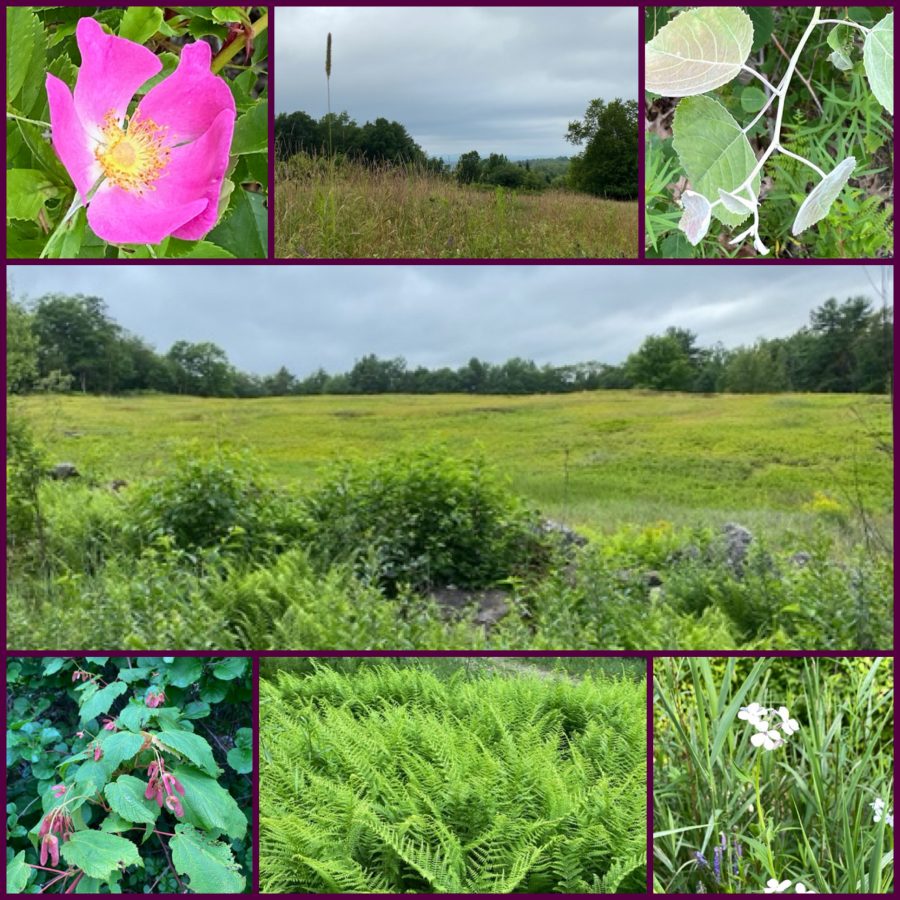
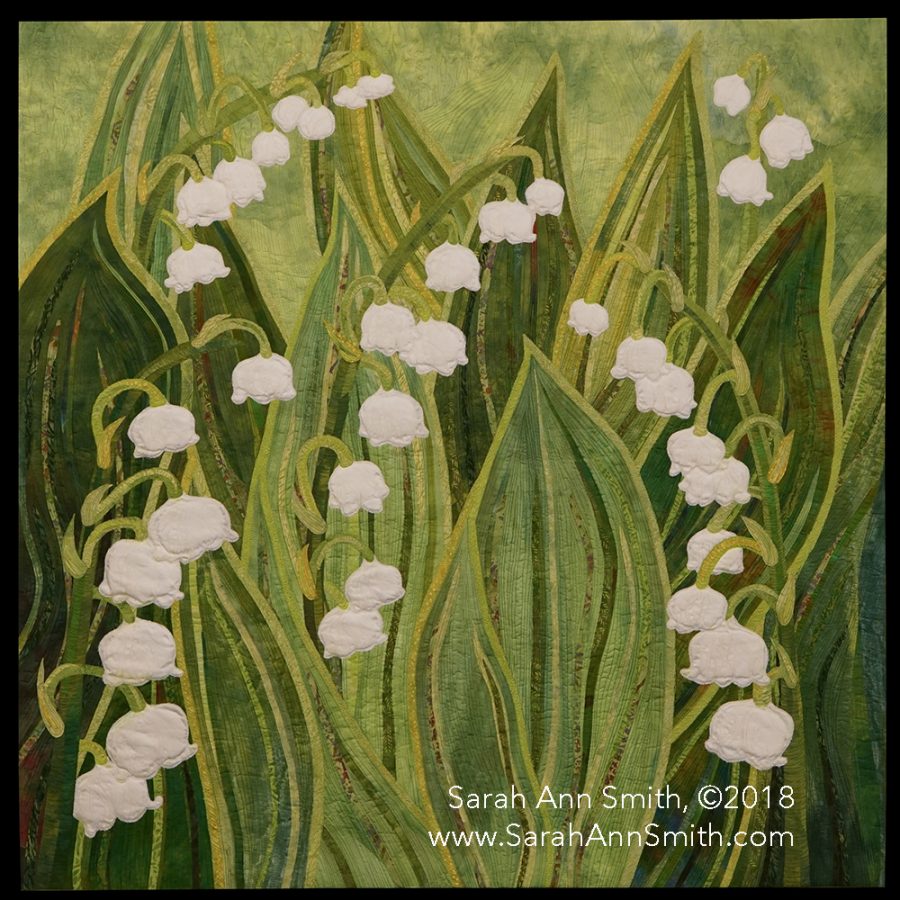
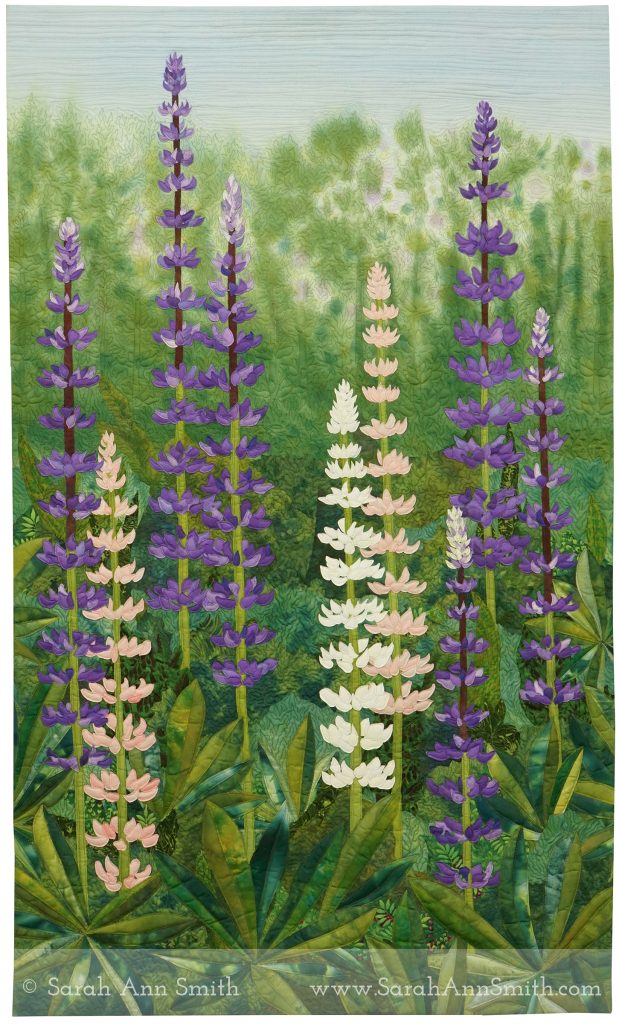
Maine has become my muse and my soul’s home. Within two years, I made this quilt which flowed out of me effortlessly. In such a short time, I had become Maine’s and Maine had become my heart’s true home.

A Sense of Place: The Wall

When I grew up on the West Coast, everyone said that the West Coast was friendly, open, welcoming, made up of newcomers. Yet as a 6 year old arriving from Argentina, it wasn’t. The leader of the Brownie troupe wouldn’t let me join because we hadn’t lived in California long enough. Children told me I wasn’t a Californian and never would be because I wasn’t born there. Quests for better schooling let my mother to move me from school to school: Bayside, Central, Grenada, Del Mar and finally San Domenico all in the time from January of First grade to the start of 7th grade. I didn’t belong and never did. From College until age 46, I moved. And moved. And moved. All work, but still. No place to feel HOME.

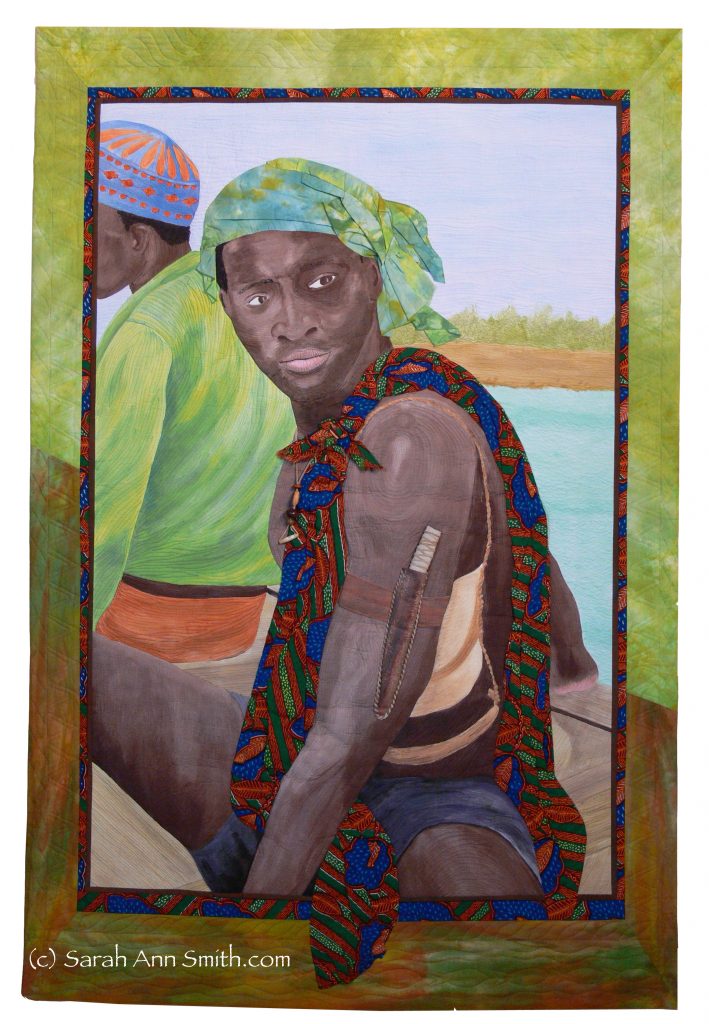
Yet when I moved to Maine, where there was supposedly the vaunted “Yankee reserve,” I was welcomed with open arms even though I am indeed “from away.” Long time Mainers and others from away welcomed me equally. Quilters welcomed me and gave me a home. I began my quilt art and teaching career here. And this year, I was honored, humbled and thrilled to learn that one of my quilts will hang at the Bicentennial Exhibit to celebrate Maine’s 200th anniversary of Statehood at the Maine State Museum in August as one of Maine’s contemporary quilts. Everything has, of course, been delayed by COVID, but there will also be a book and I’m in it, with thanks to Laurie LaBar, head of Textiles (and other things) at the Museum. Did you know where I live was part of two states (sort of)? The District Of Maine was part of the Massachusetts Bay Colony when the colonies became the first 13 states in the Union in 1776. In 1820, as part of the Missouri Compromise, Maine became a separate state.

Over the past few years I have been making work inspired by the world around me, including Lupines.
Rose Hip, by Sarah Ann Smith (c) 2019. 36″ square. One of my favorite quilts, in part because it is of my beloved Maine, but also because I’ve been able to meld my personal hand dyes, a hand dye by Lisa Walton, fabrics printed and over-painted by me, to create a cohesive image.
My beloved apple tree, on the lower part of our driveway. This WILL become a quilt! A big one.

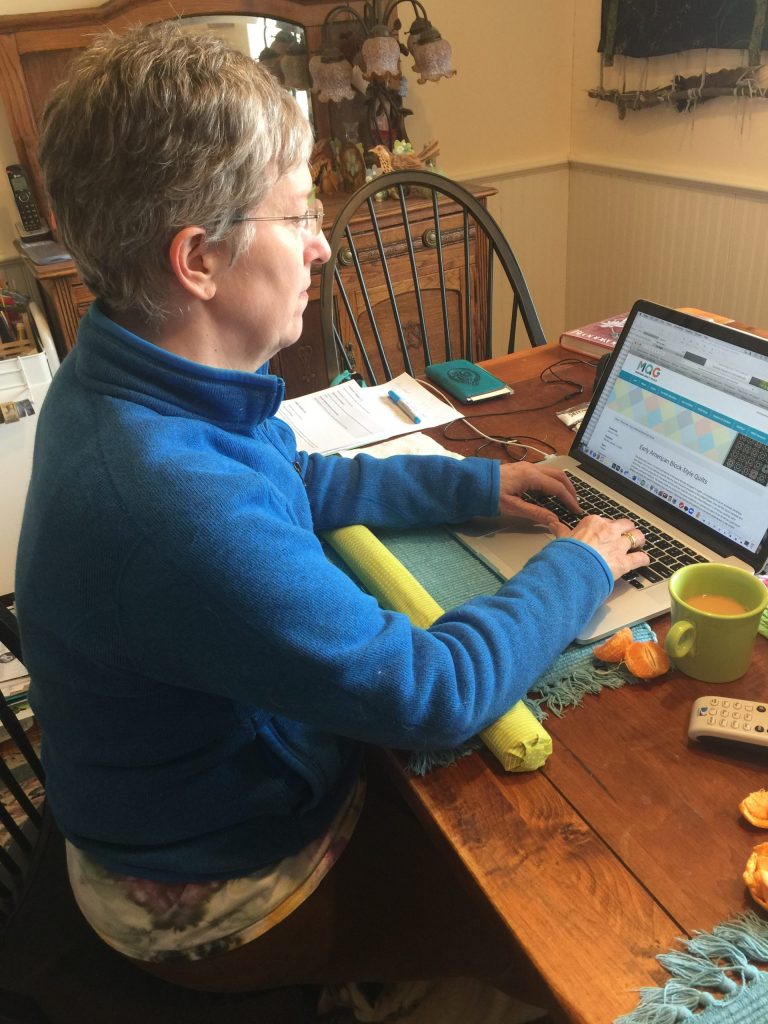
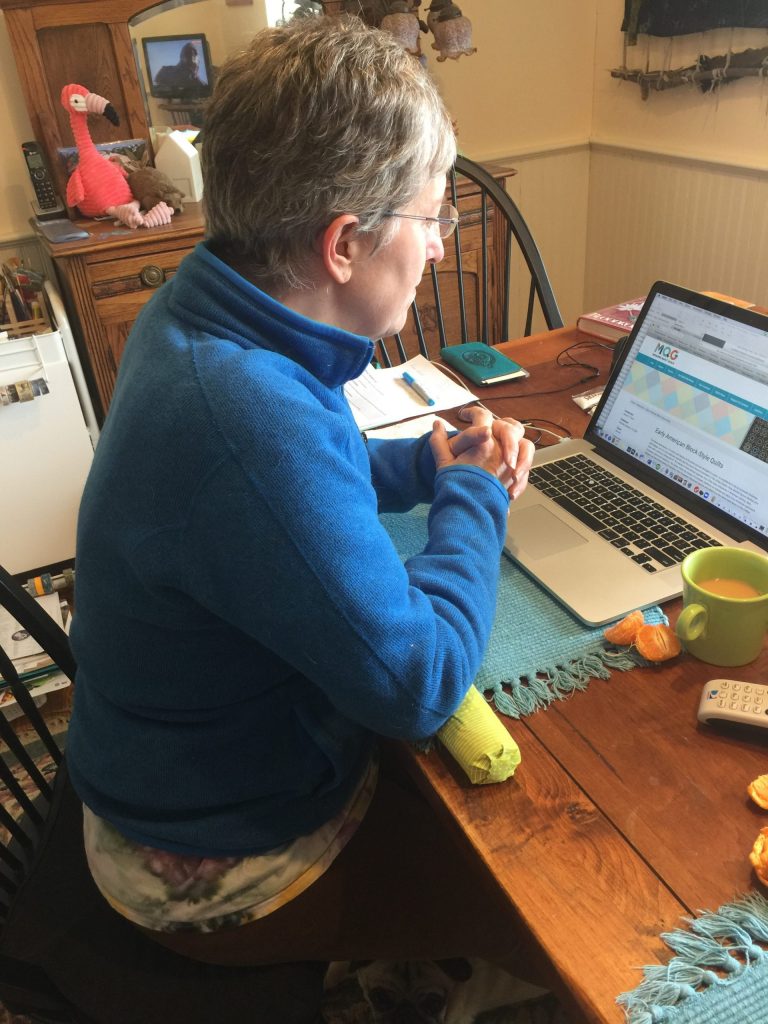
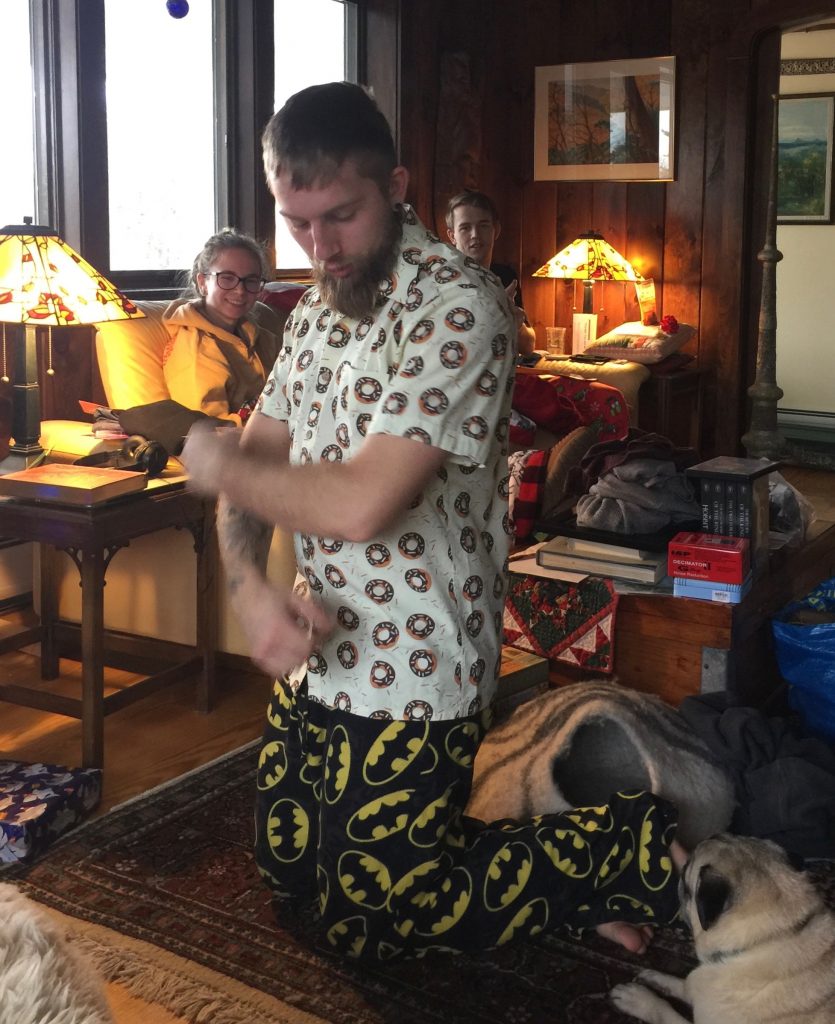
My goal is to make an exhibit’s worth of quilts celebrating the world around me. Guess I’d better stop blogging and get back to the studio. I am forever grateful to be here with my husband, two sons Joshua and Eli, my third-child-by-another-mother DIL Ashley, and all the various critters past and present and future that share our lives.

From dog walkies this week. Always the world changes and is the same. It inspires me, it fills me with joy and awe and hope.

Dealing with the achy parts…a quick project

Friday, March 20th, 2020
Sarah Ann Smith's easy peasy arm support

How to deal with aches, be thrifty and creative

So in January I was diagnosed with bursitis in my right elbow. Seemingly overnight a big bubble popped up on the outside of the elbow–like half a golf ball big. ( I hear my father saying Keep your elbows off the table! Remember that?) It didn’t really hurt, but if I leaned on the table it was annoying. For a long while I used an empty squeeze bottle (one I use for dyeing). I had first brought it up to support my wrists at the computer instead of buying an expensive do-dad for such purpose. I realized I could use the bottle to elevate my forearm so I could sit at the table as I always do, lean on my arms, but not aggravate the bubble (by the way, two months later it is pretty much finally gone). But the cat kept stealing the bottle as a toy.

I remembered those wrist supports they sell and thought “I’ll bet I could make something.” So, I did. For a whopping $1.99 for a length of foam pipe insulation (I used the kind for 1/2″ diameter copper pipe, the one with the smallest hole in the center) and scraps of cloth, fusible and batting. Here’s what and how I did it, and what I’d do differently.

I measured how long I wanted the foam support to be, then cut a batting scrap (ya know those long skinny ones you can’t quite toss?) to fit around plus 1-1 1/2″ extra on the circumference, plus an extra 1 1/2″ on either end. Next, open up the sliced bit. Then, I used some, um…., “vintage” Aleene’s tacky glue, which meant I needed to spread it since it wouldn’t pour. Ahem.

I tucked the batting inside the slot, then filled in the hole in the center with remnants trimmed for extra pipe insulation. If I leaned on the tube, it sorta collapsed, so I just stuffed it. Do NOT glue this bit! You may opt to tuck things in.

THIS IS WHERE I’D DO IT DIFFERENT:
Next time, I think I would fuse the fabric to the batting first rather than later because the outside isn’t quite as smooth as I could like.

I refused my fabric (cheerful!) and fused it to the roll. If I were to make another, I’d fuse it to the batting first. I added the batting because I thought trying to fuse directly to the foam would not be successful–melted foam? No thanks.

I used a wave/pinking blade to trim the exposed edge of the fabric, overlapped the edges and fused together. Next time (if there is one), I would tuck the ends into the slice, then glue it shut.

For the ends, I snipped the excess at the ends to 1/4″ away from the foam pipe. I worked my way around from the underneath edge to the overlap edge of the fabric, fusing as I went. By not cutting to the outside edge I got a neat fold that won’t ravel.

Just place your iron on the end and fuse as you work your way around. When it’s all down, hold the iron on the end for a bit extra to get it to really stick.

PS: Best fusible in the world: MISTYFUSE. Hands down. The Best!

And here’s my end.

Using the roll as a support for my forearms, which keeps my wrists straight and not bent (since the arthritis in the wrists acts up when bent).

How I spend way too much of my life…at the laptop! Business and friends and internet happen!

Hope this mini tutorial will help you or someone you know. Thanks for reading!

A donut shirt for Joshua, the M7 Continental dream

Tuesday, January 14th, 2020
As soon as it came out of the box it went on…fit perfectly (thanks to borrowing one of his existing shirts!)

The first thing I made on the splendid new M7 Continental from Janome was something I haven’t made in decades: a button down tailored shirt! Anyone who knows Joshua knows that he is all about good food, perhaps starting with donuts. In fact, Joshua and Ashley’s wedding cake was a tower Joshua made of donut holes from Willow Bakery in Rockport! He also loves shirts with a sense of humor: sushi rolls, watermelon, lobsters. So I decided I wanted to make him a shirt for Christmas. And I succeeded beyond my wildest expectations in part due to the excellent sewing of the M7. There’s even a video below of making a buttonhole!

In the box ready for going under the tree, and looking professionally made if I do say so myself! The label was purchased at Fancy Tiger Crafts in Denver–when I was taping for The Quilt Show I had a day to play and met friend Sandra Wheeler (hullo SandyAngel!) who took me out and about. The label reads “made with love {and swear words},” which I figured correctly would make Joshua laugh.

I used the Men’s All Day Shirt Pattern from Liesl + Co patterns. It was my first time using a downloadable pattern where you print and then tape together the pieces. If you download the free Adobe Acrobat software (not just your built in PDF reader) you can turn off the “all sizes” so it prints ONLY the size or sizes you want so you don’t have to navigate all those lines that end up nearly on top of each other. By measuring Joshua’s existing shirt, I was able to figure out which size would be best (Medium) but with the Large collar/neck stand. My only issue was when I combined the sizes. I should have printed the neck line of both patterns SEPARATELY (instead of on the same sheet), then traced the size large and lined it up properly. It took a while, with astounding and much appreciated personal replies from both Liesl and her husband Todd with troubleshooting suggestions, before I figured out what I was doing wrong. Kudos for the service as well as the pattern!

Sewing down the underneath side of the front, where the buttons will go
Needle moved to the far left.
the stitched fold-back, the buttons will go on the other side.
Look at how perfect that stitching is! It sure helps to have a machine that is so precise.

Using the included edge stitch foot, I was able to get absopositively perfect stitching. The first of the four photos above shows the underneath side of the shirt opening, using the edge stitch foot to sew down the turn-under. The second image shows the Janome M7 Continental screen (other Janome machines work similarly) with the needle set to the left. Because of the tiny increments in needle placement, I could get the stitches to form the exact distance I wanted from the edge. Third photo (top right) is a detail of that stitching. And the large image is the button band, stitched. I can’t believe it looks so good! There’s a video just below these still photos.

There are a couple screens of buttonhole options, but I used the basic one. Note the QR code in the bottom left corner (more info below).
The manual explains the different purposes of the many buttonholes.
First, you can select from a wide variety of buttonholes. I went for the standard (after all, I hadn’t sewn a buttonhole in over two decades!). Using the AcuSpark app (free on the App store, works with the M7 and a few other Janome’s), you open the app on your phone/device, scan the QR code in the bottom right of the machine’s screen (photo on left). This takes you to a tutorial within the app.
As you can see from the screen shots, the tutorial walks you through the process step by step. Easy peasy…my kind of sewing!
Here’s the app telling you how to make a buttonhole!
This is what that buttonhole foot looks like in real life. You slide the button into the back, attach the foot to the machine, and it makes the perfect sized hole every time. I kid you not, I make SEVEN buttonholes, perfectly, in seven minutes, and most of that was repositioning to the next spot!
More instructions on attaching and using the special buttonholer foot.
And how to finish the buttonhole.
This Nancy Zieman (oh how I miss her!) tool from Clover is an improvement over the old-school metal one. Although I have a fondness for the metal one, this version allows you to center the ruler exactly on the button band and mark your buttonholes. The darker green slider notches into the grooves so it doesn’t slide up and down the center as you work. I wondered when I bought it why I thought I needed a newer (plastic, yuck) version. Now I know. Once again, smarter sewing.

(Alert: even geekier pattern and garment sewing paragraph!) From the pattern, I also learned a new process for sequence of sewing and attaching the collar and collar stand. Instead of sewing the stand to the neckline, inserting the collar, and closing it up where the collar meets the neck band, the pattern has you sew collar and stand together, then sew the inside of the stand to the inside of the shirt and topstitch the collar to the shirt body. Ended up with absolute precision and perfection!!!!!!

LOOKIT how perfect that turned out! The only thing I would change on the next one (and yes there will be more for both sons) is to use a slightly less crisp interfacing so the collar stand holds up but isn’t quite so stiff.

So, with 50 years of sewing experience (albeit minimal garment making in the past three decades), an excellent pattern that taught this greying sew-ist a couple new things, and the incredible precision of the Janome M7 Continental machine, I am a seriously happy camper. Even better, Joshua loves his shirt!

Christmas Bag tutorial and fine finishing tips

Sunday, December 22nd, 2019
A quick Gift Bag Tutorial–took about half an hour even *with* being fussy! Used leftover flannel, and a trimmed off bit of fabric from a quilt back or edge as the ribbon! Read on….

Sometimes it is possible to whip up a quick something just before Christmas…I’ll have to back-to-back posts (I hope) about sewing for the holidays that include this tutorial on zipping up a quick gift bag and, next, the wonderful York Pinafore pattern from Helen’s Closet patterns.

Last year Shannon Fabrics sent me a number of different fabrics including Cuddle and Luxe, fleece and faux fur type of fabrics. They sent a vast amount of this soft and silky red (available at Fabrics.com). I’m not positive which color way it was, but it was similar to this one. I finally purchased a flannel sheet, queen size, to make a throw that is big enough for two to snuggle or to use as a cover on a twin bed! It is more than a tad wrinkled here because it has been in recent use…it’s winter in Maine! Thank you Shannon Fabrics!

I needed the Queen Sized sheet so it would be long enough for the red Luxe that is so silky soft. That meant I had quite a bit leftover…so I thought I’d make a garment (next post). Once that was made, I still had leftovers so I whipped up two gift bags and thought I’d share it as a tutorial.

Tutorial:

  1. Cut two rectangles of fabric or one very wide rectangle. Place right sides together.
  2. Clean finish edges. You can use an overcast stitch as I did (photo below) or use a french seam (google it, or I’ll do a tutorial eventually of some basic things every sewist should know). Using the Janome’s “M” overcast foot gave results as good as a serger.
Janome America sent me the amazing new M7 Continental sewing machine (several blogposts in the new year…phenomenal machine!). I used the zigzag overcast stitch and the M foot which comes with the machine to clean finish the edges of the bag.

3. Sew a simple straight seam just inside the overcast edges. Sometimes the contents of gift bags can be heavy, and especially with soft and stretchy flannel, I felt a little extra stitching was a Good Thing.

I’d never used the Lock-a-Matic stitch before because I learned to sew when we were lucky to have a simple zigzag on a machine and not all the bells and whistles.
Janome has designed the AcuSpark software. In the previous photo that QR code I pointed out: use your phone to scan and it will pull up a screen with helpful information. Here, I’ve got the one for the Lock-a-Matic Stitch!

Having started sewing when dinosaurs roamed the earth and you were lucky if your machine did anything besides a straight stitch forward and back, I am so used to just doing the lockstitch or backstitch myself that I likely will keep doing that, but this stitch automatically does a securing backstitch at the start of a seam and, when you press the back arrow, at the end. I had been concerned that it might sew a lockstitch when you pause in the middle of a long seam to re-position your hands, but it doesn’t, which is good!

4. Turn your bag right side out.

Once your seams are finished, turn the bag right side out. I like to fold the corners so that both seam allowances are to one side. My hand is inside and I’m pinching the corner together. Then keeping hold of the seam allowances, turn.

Pretty good corner, and I haven’t even eased it out yet!

5. At the ironing board, use a point turner to coax the corners out to perfect.

I have several point turners. This is one I bought just this year. Make by Clover, it is beautifully smooth, and has a Hera Marker (sharp edge for marking lines on cloth) on the other end. It is longer than most point turners, curved to fit the hand nicely, and I like it better than any others I have tried.

Lookit how perfect that corner is! Square as can be! I created this method for corners when doing custom home dec work for an interior designer. Some of the upholstery fabrics were so thick that I was afraid if I clipped the corner, the old school way to deal with bulk, the fabric would unravel and ruin the project, and the fabric was crazy expensive. This is secure and gets even better results.

6. Hem the open end. The interior designer I worked for taught me about using poster board (or tag board or an old manila folder) to make templates for turning hems. When making curtains, the extra weight of a doubled hem helped them hang well. I called it the turn-turn hem, since you turn up two full hem-depths.

This is the first turn. I’m showing the poster board 1″ wide strip I have used –I am not exaggerating same piece of paper– for over 17 years. Place your fabric right side down on the ironing surface. Fold the hem up over the poster board, lightly snugging the board into the fold with your fingers. Press. Steam is fine–use it all the time and the poster board is still in great shape. You can also use the Dritz EzyHem tool, available everywhere. The metal is nice because it gets hot which helps set the crease, but it is short, maybe 6-7 inches. The poster board is fabulous for things like curtains and custom sheets because you can get a really long run done all at once without wobbles.
Then you turn the hem up again. Usually I keep the poster board inside the first turn and just roll it up, but for photo purposes I wanted to show you that it is the same idea.

7. Press your seams to one side. Using a seam roll –in this case a piece of cheap stair handle from the big box DIY store. Dressmaking suppliers sell beautiful hardwood (maple usually) seam rolls for Lotsa Bucks. This pine stair rail handle was a few dollars for 24 inches. Sits flat on the ironing surface and does the trick.

You can see the flat end of the stair-rail-as-pressing-dowel. I’ve got the seam centered on the top and have pressed the first part of it. This set up is perfect when you don’t want the edges of the seam allowance to show through to the front of your fabric.

8. Give your bag a final press, tuck the goodies inside, and tie shut. I think, having found that strip of green, that instead of buying ribbon I might “make” some from leftover bias bindings (unfinished on the edges) or making some straps (turn seam allowances under, sew folded edges together) to use as ties for future years. Here’s that original photo again:

Someone has a special surprise inside!

Last free viewing day on The Quilt Show and puzzles of my quilts

Sunday, October 20th, 2019

Today is the LAST DAY you can see my episode on The Quilt Show for free…and you can also do what may be the most challenging of the puzzles, Pink Oyster Mushrooms. I’d really like to thank Alex Anderson, Ricky Tims, Shelly Heesacker​, Lilo Bowman, Adele Merrell​, Mary Kay Davis​ and all the gang at TQS for a phenomenal experience. I hope to do it again some day! If you’d like to see my interview with Alex scroll to the bottom of this post and click play! Here is the link for the last day of free viewing of my episode: http://thequiltshow.com/watch/show-list/video/latest/show-2508-sarah-ann-smith?artist_coupon=25081013

Here’s the link….you can select how may pieces, rotating or not, or automatic!
Descended From the Stars as a puzzle is Here.
Lilies of the Valley puzzle is here.
And the puzzle for Bijagos Warrior is here.

Again, HUGE thanks to everyone at The Quilt Show for the opportunity to be on the show. One last little bit of fun…a Skype interview with Alex! https://www.youtube.com/watch?v=d_4zjksQZ5w