International Quilt Festival 2013, Houston, #6, Decorative Stitching!
Friday, January 31st, 2014Time for another catch-up post, about my Decorative Stitch Applique class on Friday at Quilt Festival. I’m on a yahoo group for Janome 6600-7700-8900 owners, and a discussion cropped up about using the decorative stitches and I realized I had yet to post this information, so here goes!
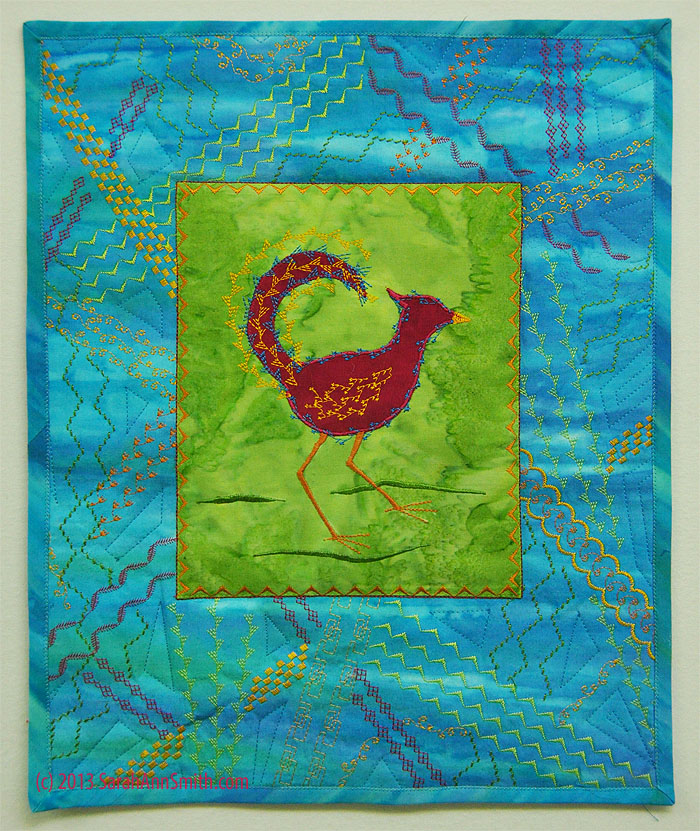
The Funky Chicken, from Sarah’s Decorative Stitch Applique class in Houston. Right click to enlarge image. I’ve stacked (grouped) stitches on this one. For example, the checkerboard (in yellow upper left) is two passes of a satin stitch that has two columns of small alternating squares. To the lower right of the green square, a scroll stitch is bracketed with scallops. The center square is appliqued, stitched with the “V” stapes, then outlined with a bold straight stitch. Done on a Janome 8900.
Ya know how we all have these fancy machines that do a bazillion things, and pretty much 98 percent of the time (or more) all we do is use the straight stitch and sometimes the zigzag? Well, when I wrote my book, Threadwork Unraveled, I included a section to teach folks how to play with their fancy stitches. This is the project in the book and the regular class project.
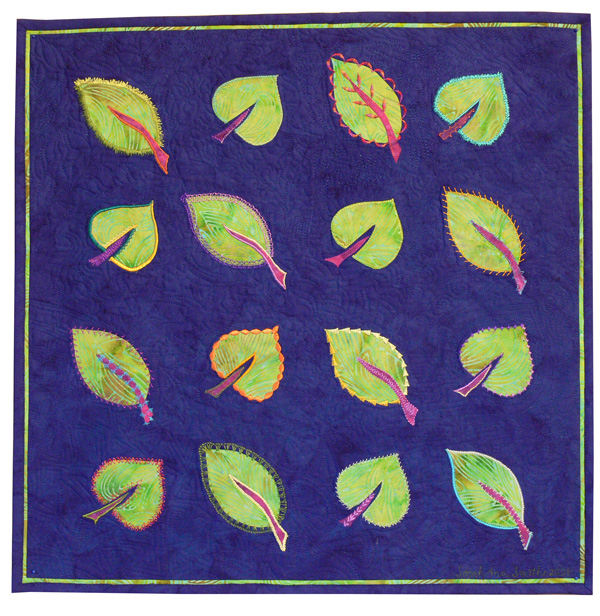
Decorative Stitch sampler for my Decorative Stitch Class.
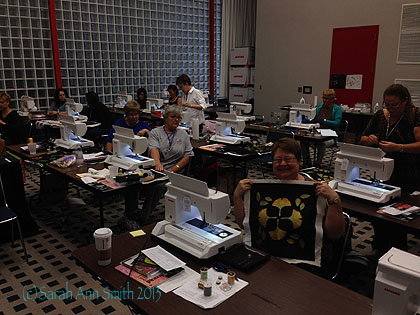
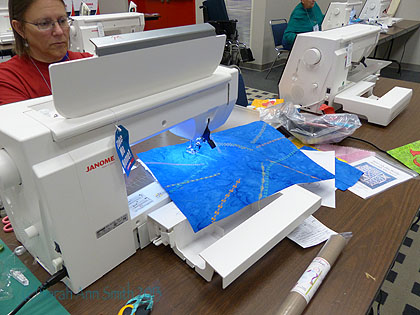
I teach that section as a class which was offered this year at Quilt Festival. This year I came up with a couple new projects as class options for students. Most of the students did the usual tossed leaves project for this class, but one loved my Funky Chicken. Here she is early in the day, filling the background with fun stitch combinations in fun colors:
This student used the same colors as my sample. We were luckily in the Janome classroom with the FABULOUS 15000 machines. I’ve never been a fan of computer-screen sewing machine models, as I prefer visual knobs and buttons. Well, let me tell that has changed! I have severe sewing machine lust for one of these babies! And they have even more (!!!) stitches than the already fabulous 8900!
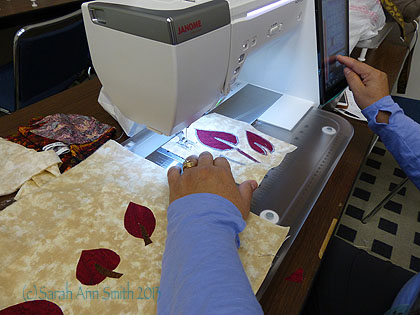
Other students put their own spin on the leaves:
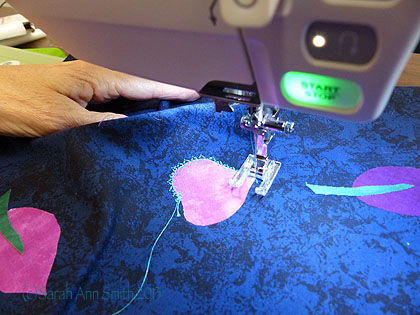
A student is making sample blocks with decorative stitches. This is a great way to test out pattern combinations–here she has a practice square to toss out and her “real” piece on the left. If you have a practice square, that means you don’t have to pick out the stitches if you don’t like them!
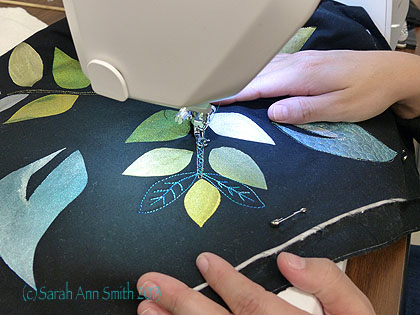
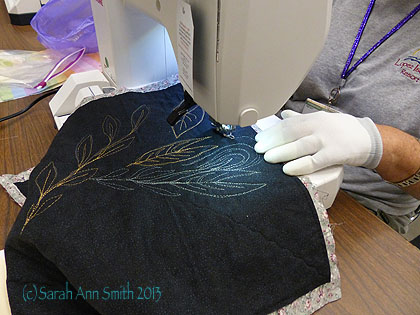
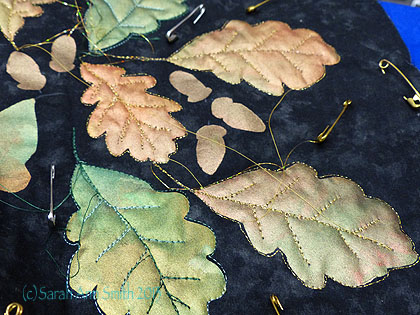
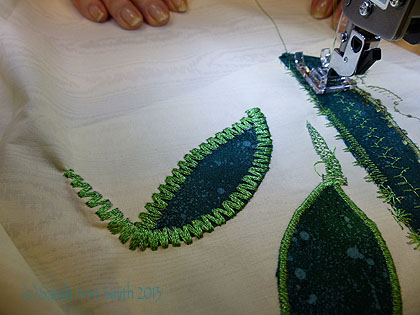
Close up of decorative stitching on an aspen leaf.
This student tried a very bold, wide multi-stitch zigzag. You can see this is her practice bit–see how she has tested the appearance of various stitches in the strip on the right?
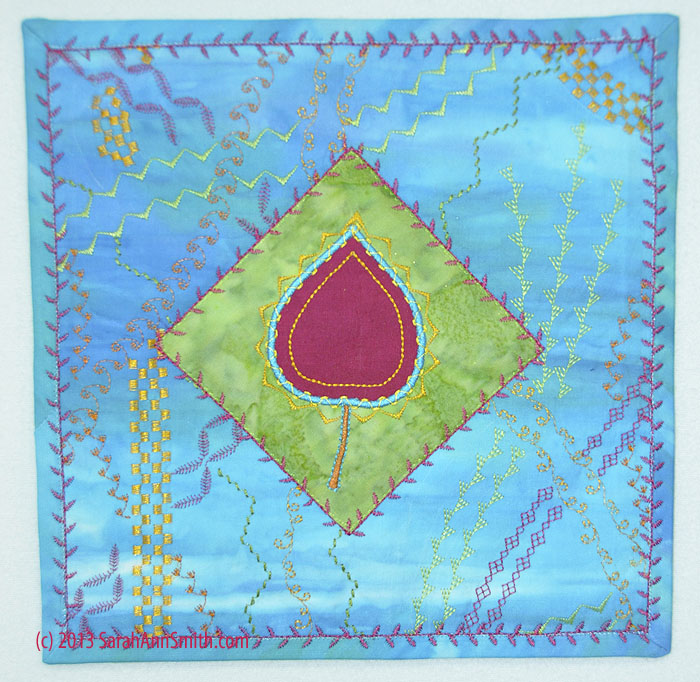
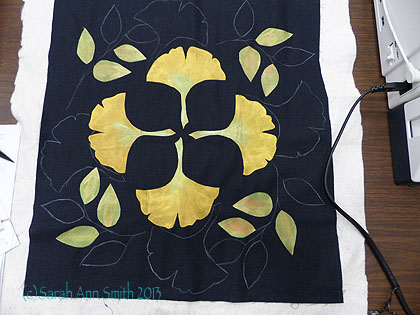
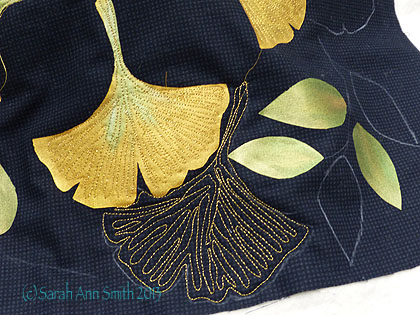
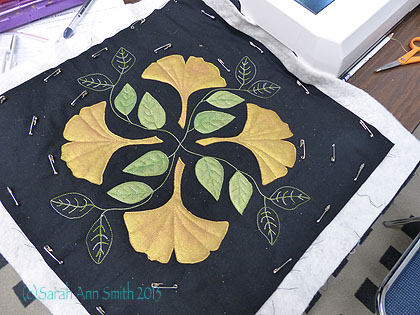
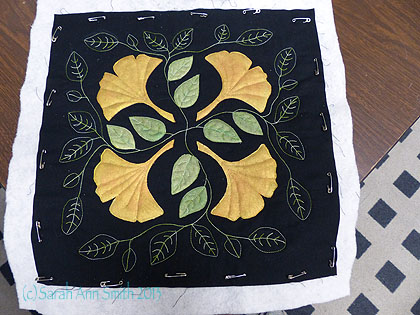
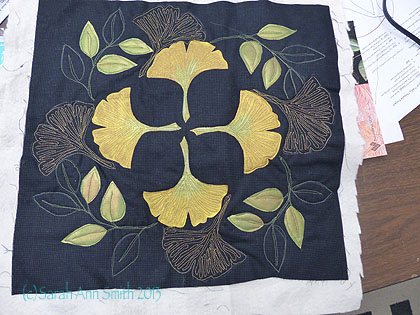
I made a smaller (about 9 inches square) quiltlet with the sampler leaf and the background stitching. If you right click on this image, you can see more detail. Notice how I layered up stitches to applique the green patch and how I used a decorative stitch on the binding. On the latter, I used matching thread to machine stitch down the binding, then went over that with a decorative stitch.
And a happy student with her nearly-done funky chicken:
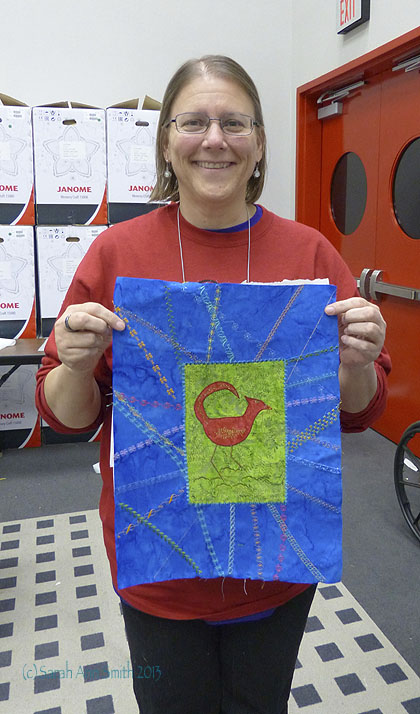
Thank you, Barb Brown of Colorado, for taking my class! I love your chicken!
The day ended with one of my favorite things at Festival: FRIENDS! This evening was the Dinner@8 artists. Jamie Fingal and Leslie Tucker Jenison curate an exhibit each year for several years now, and I am thrilled to have been both invited to submit pieces and accepted in the exhibit! My orca quilt, seen in earlier blogposts on Festival 2013, was in this year’s Exquisite Moment exhibit. Here a bunch of us who were at Festival enjoy dinner and friendship and art!
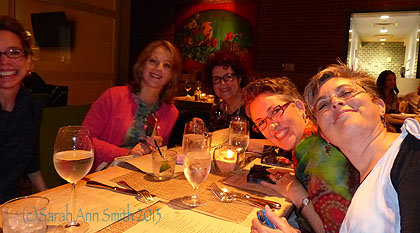
One of the two tables of folks in the Dinner@8 exhibit. Leslie is at the head of the table, next to Diane Rusin Doran (in pink), Susan Brubaker Knapp (glasses) and Lyric Kinard
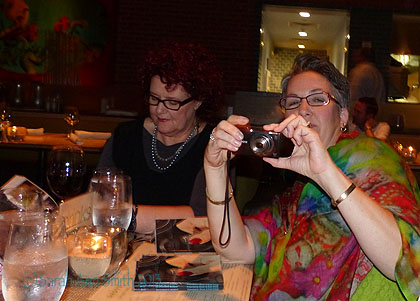
And too much fun not to include, Susan and I taking pictures of each other taking pictures!