email Youtube

Home
Galleries
Blog
Workshops & Calendar
Store
Resources
About
Contact

Archive for the ‘Machine applique’ Category

Clothed in Color: how I did it….

Thursday, March 24th, 2011

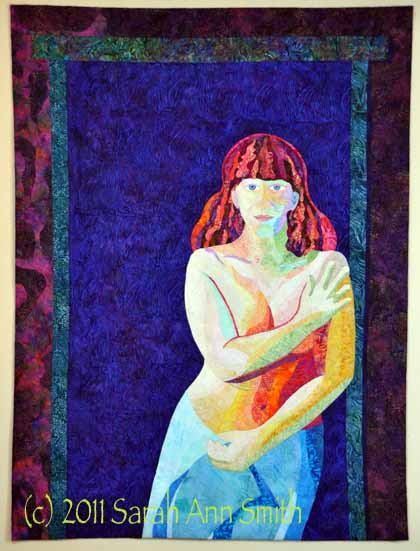
I’m always fascinated by the creative process, especially seeing how someone else did something.  So I figure I’m not the only one with these voyeuristic traits and thought I’d share a bit of “how I did that.”  That, in this case, is my quilt Clothed in Color, which is an entry for “The Space Between” juried exhibit.  I wrote about it here.

Clothed in Color; 36x48 inches (not quite one metre wide). Made with batiks, hand-dyes and thread.

Over the past few years I’ve been teaching myself about and playing with color, both in the dyepots and commercial cloth.  When I decided to do a portrait of our older son, I wanted to work with value only, the relative lightness or darkness of color, ignoring the actual hue (color).  As I mentioned before, though, I wasn’t too sure he would appreciate his skin being green, blue, pink, whatever.  As a test-run, I tried the process in the portrait of our pug, and it worked, so I set to work on the Joshua quilt (put Joshua quilt in the search box and it will take you to posts from mid 2010 with the process on that one) except that I used realistic skin tones.  Not so for this quilt!

For this quilt, I began by selecting pale batiks and dark batiks in anything other than a tan-brown-skin tone.  OK, an honesty moment.  I began by depositing a large sum of money (with glee, abandon and NO regrets) at Batiks Etcetera last summer.  As I drove to my teaching job at the AQS Knoxville show, I made certain to stop at Batiks, Etc. in Wytheville, Virginia. The shop is even more wonderful than their booths at shows and the service just as wonderful.  It is hard to find the light-light and dark-dark fabrics, so I went hog wild.  True confession:  I have never, EVER spent this much for fabric in one place at one time in my life.  It pretty much used up my fabric budget for the last 7 months of the year.  And it was worth every penny!  (PS…I blogged about it earlier, too, here.)   And I’m planning on doing it again this coming June when I drive past that shop on the way to teaching this year (WHEEEE!  Get ready Carol, make the bag a big one!).  Now here’s the photo of lights and darks:
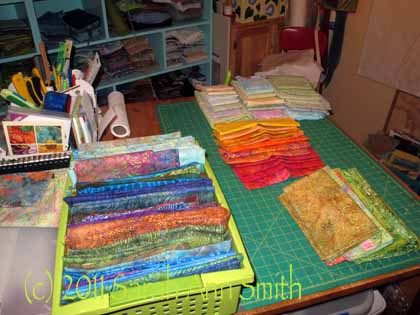
Sorting fabrics by value...light to medium on the table, darker ones and some extra lights in the green bin.

To get the correct pose, I set up my camera on the tripod and used the timer to trip the shutter (and cover myself strategically before anything too revealing got on digital memory card!).  I took a lot of photos until I had the right tilt of the head, expression, curve to my side, placement of arms and hands.  Then I set up the digital projector (which I bought to use in lectures and classes, and now have this use for it, too!) to project the photo onto paper folded/cut to 36×48.
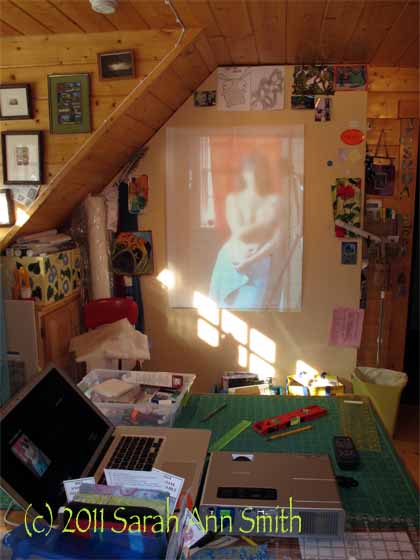
Me, in blurry living color, on the design wall in the old house; you can see the laptop and projector on the work table. PS--notice in the photo I am in our bathroom with a cloth covering the window behind me, not in a doorway at all. That's the camera and tripod on the right reflected in the mirror (which I was using to see how things looked).

Somehow, a photo is much more “revealing” than the same thing in batiks, so while I’m not too uncomfortable with a semi-nude quilt of myself, I decided I had best blur the photo.  Ahem.  And I’m glad I lost that 25 pounds a couple summers ago!   Having carted the weight around since my last pregnancy (the kid is now 13) it was time for it to go!

Anyway, back to quilting.  Or drawing.  Rather than use photoshop to define shapes, contours, etc. I prefer to take a drawing pencil and outline the edges and make my own decisions about where I want shapes and colors to merge and blend and overlap.  I will draw these “interior” lines, too, and often add notes like “medium-dark” on the drawing.

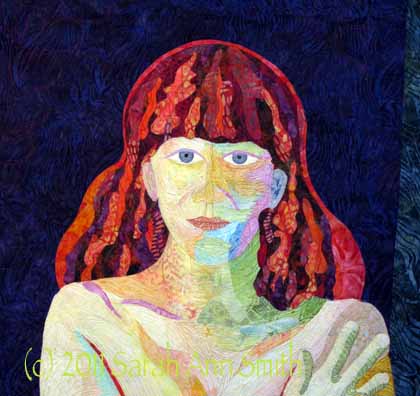
I decided to tackle the hardest part first:  my face.  In the end, the eyes ended up about 1/4″ too close together, and I may be able to adjust that, and they are a smidge too large.  Other than that, things turned out OK.  Once the face was done, I could move to the torso (using larger chunks of fabric), the towel, and the hair.
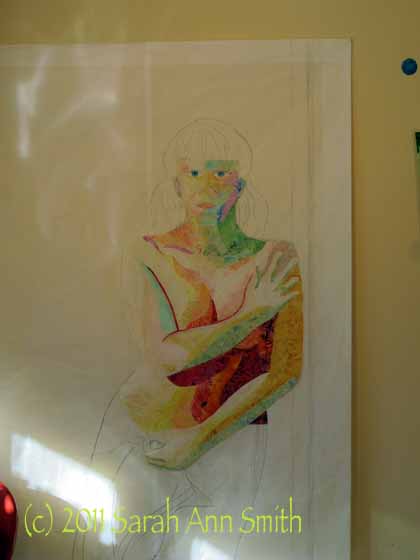
I began with the most difficult parts (face and torso). I ended up removing much of the dark fabric for the strong shadow under my arm..tho the photo was that dark, it just looked weird in cloth, so I reduced the fabric and later added lots of dark thread to create the shadow.

Thelma Smith made some awesome quilts of the Sonoran Desert, and in them used a technique she learned from a painter and then shared with me.  The painter used Cadmium Red Light paint to outline / highlight some figures.  It really makes them pop out from the background, especially when values are similar.  It doesn’t shriek at  you like black would, and despite being a color totally not there in real life, the technique works.  I’ve wanted to try it for quite some time, so I did for the hair, and used a deeper red for the shadows to the right and top of my right arm.  I decided since I selected a deep-dark fabric for the background, there was plenty of “pop” on the body, and didn’t continue the “red halo”, but think I’ll have to do another portrait of someone and give it a try on the entire figure.

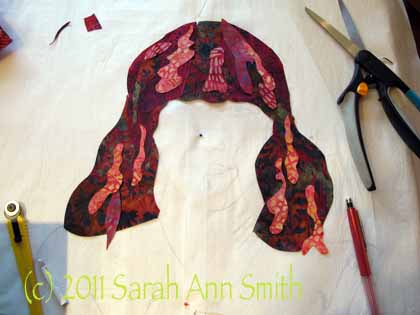
Anyway, here is the hair in progress:

Hair, in progress (early stages)

In this photo, I decided to work on the table, not the wall.  I placed my sketch UNDER some parchment paper; I can still see the lines, and can cut and MistyFuse directly onto the parchment.  As with Joshua’s hair, I cut large, darker chunks to create the overall shape of the hair.  Then I cut highlights (magenta, orange, rust, green!) in wobbles and waves and wiggles, adding until it was “just right.”  Here’s a closer view of the hair when done:

Detail showing finished hair

When I first envisioned the quilt, I thought I would fuse assorted bits of dark fabrics to make the background, as I really liked how the stark, dark contrast worked in the quilt of Joshua.  To get an idea of how it would look, I took one large chunk of blue batik and put it up on the wall, then pinned the fused “me” to it.  I liked it…a lot!  And decided that if I made the background into “boards” like our walls in that house, it would actually detract from the quilt.   So I made my life easier and used one single dark blue batik for the “wall behind the doorway,”  a doorway that doesn’t actually exist.  Then I used other bits to create the door frame and wall around it, preserving the angle of the light / shadows—the light was strongly coming in from windows on the left (and lamps set up to cast strong shadows to make getting the planes and shapes of my body easier in the drawing phase).

I’ll add that the entire quilt is done ONLY with thread, cloth and MistyFuse (my totally favorite fusible web).  There is no paint.  No pens or pencils.  Just cloth and thread.

So that’s how I did it!  Hope you’ve enjoyed the view,

Cheers, Sarah


NQA-Decorative Stitch Applique

Thursday, July 22nd, 2010

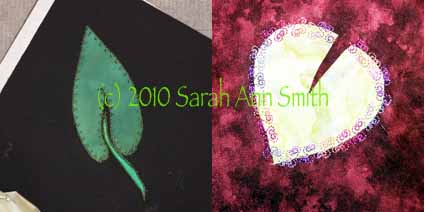
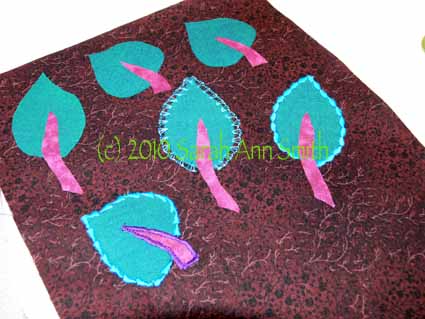
A student's class sample... compare this to the unstitched version in the top-left of the four-squares (below)

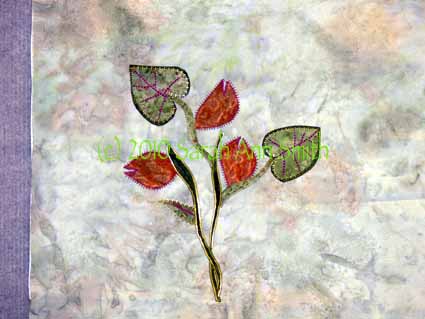
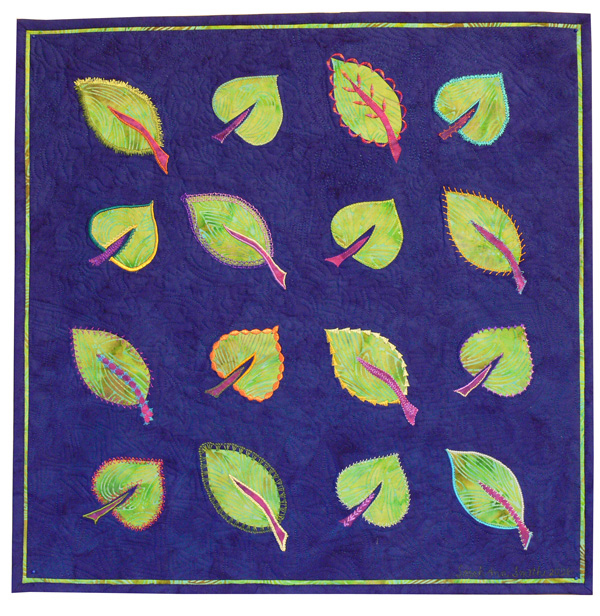
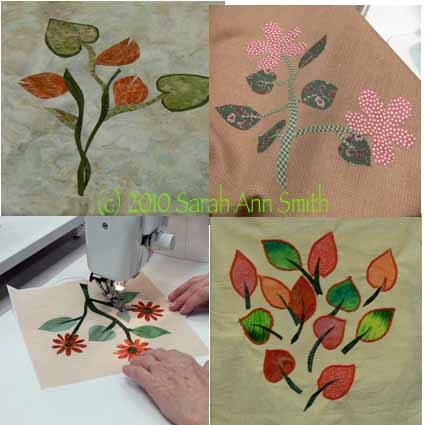
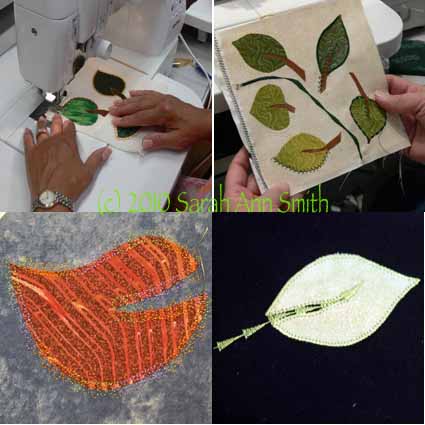
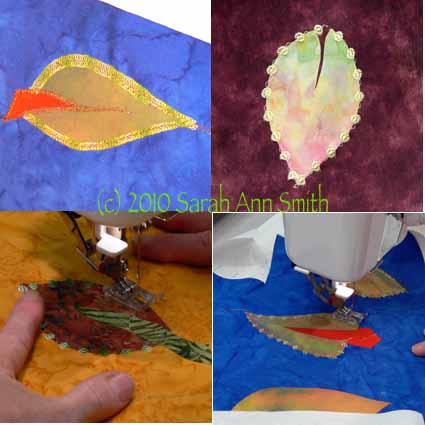
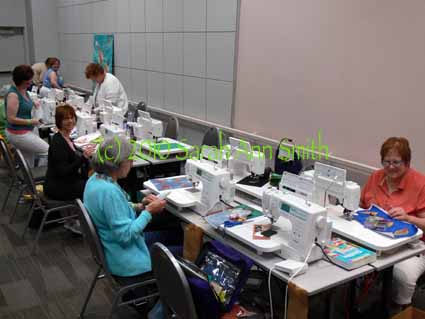
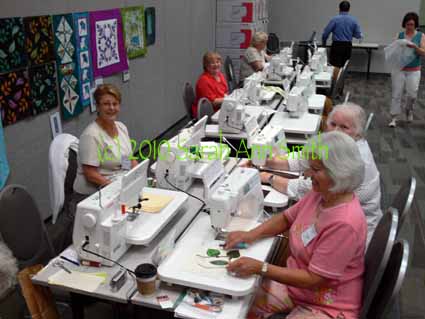
We had an absolute GAS in this class!  I was so thrilled at how the students took my basic design and simply took off with it, experimenting and discovering, and the wide range of results….  Because I actually took a TON of photos, I’ve made some “four-patch” photos to squeeze them all in!   This is the sampler that I share with the students (it’s also in my book–click the photo to view larger):

Sarah's Tossed Leaves Sampler

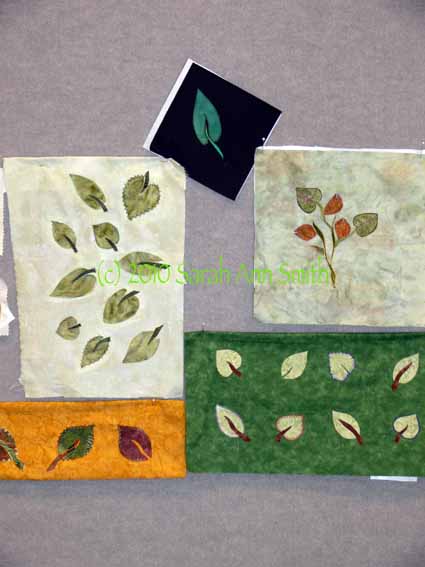
Well….here are some samplings of leaves the students made.  They were given the choice to make a larger composition or smaller blocks (which is what I used in my blue vest…I promise that post will be up before too long!):

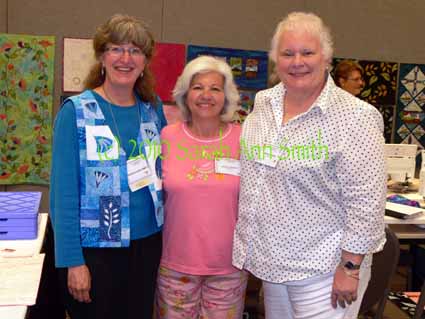
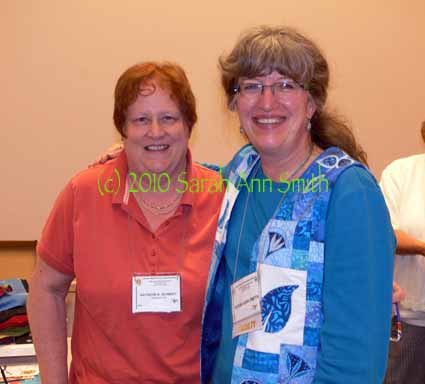
I knew that Deb in KY from the Janome 6500/6600/7700 yahoo group would be in the class, and was pretty sure that Kathy Schmidt (author of Rule-Breaking Quilts from AQS and also in the group, and her blog is here) would be there, but so was Marie!  What an unexpected surprise and fun!!!!!  Kathy and I have been writing to each other for about a year and half or more as she worked on her book proposal, then manuscript, now marketing the book, and it was such a joy to finally meet her!  She is teaching at NQA next year, so sign up, folks!  And I PROMISE, a review of her book is coming, too!

L to R: Sarah, Deb in KY and Marie from the Janome 6600 yahoo group

Kathryn Schmidt, author of the fun Rule-Breaking Quilts, and me (Sarah!)

I think we all look a bit WARM!  After class, Kathy and I then went to a local brew pub and had a wonderful dinner…it felt SO GOOD to (a) get off my feet and (b) have such fun company for supper before she drove the several hour drive home.  I’m thrilled they could all attend my class—THANK YOU!

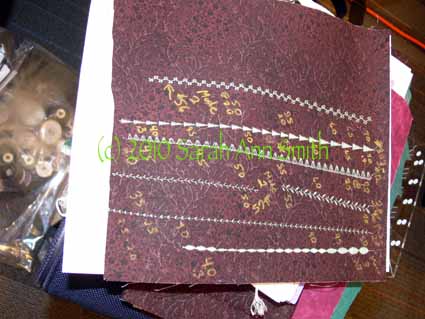
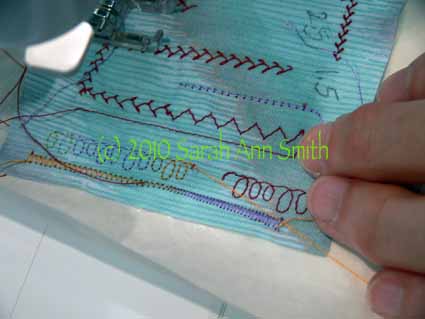
I encourage students to do stitch-outs. Here is her test-sample

And some stitched leaves. She wanted to control the variables to just one thread, so it gives a really good comparison of what the different stitches can do for your applique.

Then


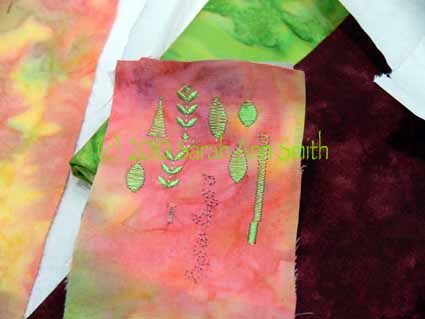
Another stitch out, again with notes made on the sample; that green thread is great on this peach!

Another good stitch sample, with notes on stitch length and width

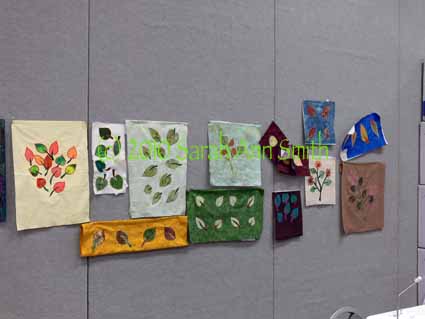
At the end of the class, we pinned the samples up on the wall and all took photos so we could go home and be inspired by everyone’s work and try out more:

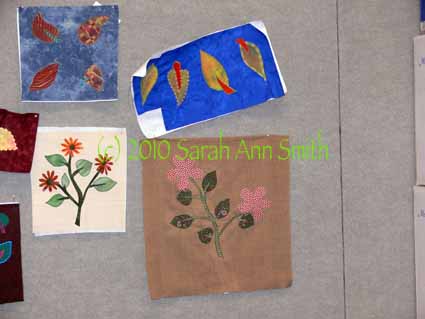
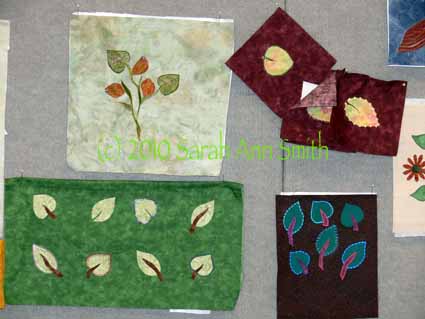
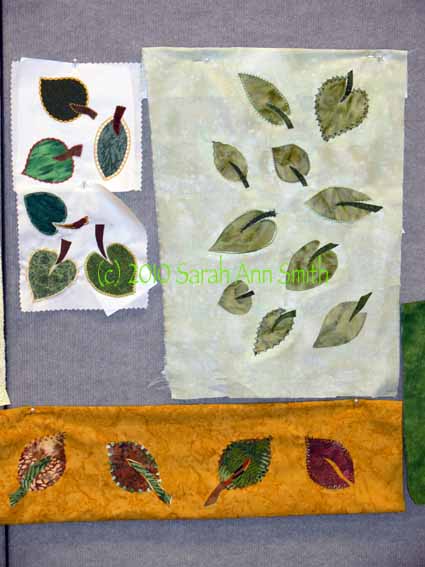
Student samplers and compositions

More student samplers

and more

even more tossed leaves

and the last one....

Thanks to the ladies of the class….. I had a ball, and I think they did, too!   Here’s to hoping I get to return to teach at NQA again!

A new art quilt: Joshua

Tuesday, March 23rd, 2010

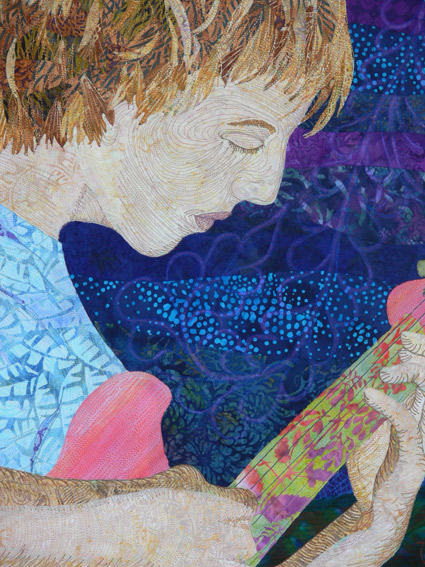
At long last!  There has been precious little time for making art quilts over the past few years.  What with family chaos, the hurly burly of every-day-life, writing a book and making all the samples, marketing the book, travel-teaching and whatnot, I’ve can scarcely recall the last large art quilt I made just for the sake of making it. Here’s a detail (you’ll have to keep reading to see the rest!  yes, I’m evil <GRIN>):

Last autumn, Jamie Fingal and Leslie Tucker Jenison of Dinner at Eight Artists invited me to submit a quilt for consideration in a juried invitational show called “Beneath the Surface.”  (Note:  a list of accepted artists is on their blogpost dated March 22…what fine company!) That means you make a quilt to theme and size (36 wide by 48 tall), and it still might not get in.  My first thought was…I have too much on my plate.  Then I realized the due-date (which always gets me in gear) was early enough in the year that I might actually have time to do it!

My first thoughts were underground waterways, roots, rocks, critters that burrow.  Then, thanks to the influence of my friend Kathy who loves the sea, I thought about under the sea.   But then I thought, no, everyone will do that…. I want to do a portrait!  Then I realized, it could fit the theme:  What is under the surface of a teenage American male?

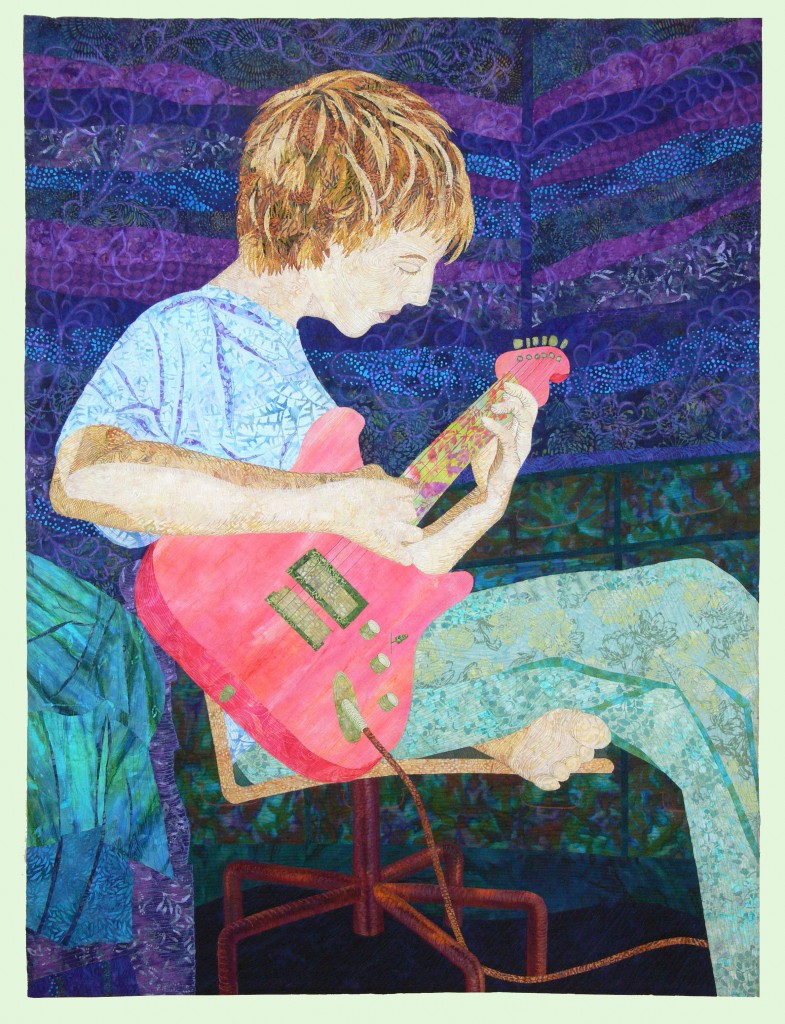
I took about 65 photos one evening of my older son playing guitar, which is such an elemental part of who he is.  I selected two:  one for the overall body position, another for the face (angle of head, mouth closed, eyes looking down).  I ended up using a third picture because the proportions of the first two didn’t give me enough of the room for the measurements of the quilt.   Luckily, I finished on time and got in!!!

I’ll share the construction process (I’m always fascinated by how a quilt comes to life, but decided I’d show the results here, THEN show the process because, well, I’m impatient and want to share!) in future blogposts. So, here it is!

I think this may be one of the best quilts I’ve ever done; best of all, Joshua likes it too.  I was worried about the funky batik I used for the guitar neck, but when he saw it he said “If I could find a guitar like that in real life I’d BUY IT!” How cool is that?

My original statement for the quilt was (big surprise) a bit too long, so I’ll repeat all of it here:

What is beneath the surface of a 16 year-old male?  Some things are obvious:  music, food, girls, friends, food, school, guitar, food, video games, movies, girls, friends, food. Others are not so obvious.  There is the man he is becoming:  kind, compassionate, interesting, funny, breathing music in his soul, argumentative, loyal, passionate, tolerant, stubborn, smart, gregarious, curious, honest, loving and loved.   “Mom?  Can you fix me something to eat?”

Thanks to Moore’s Sewing Center (in southern California and online) and Brother International, who are sponsoring the exhibit at the IQA show in Long Beach, California; we are hoping the exhibit will continue on to the big IQA show in Houston in Fall 2010.  Thanks also from me to Iris Karp of MistyFuse for her generous support.  This entire quilt top was made with fused applique…MistyFuse ROCKS!

So far I know these artists have blogged about their quilts in the exhibit:

Those of you who can, I hope you can take pics at Long Beach!  Enjoy, and again thanks to Jamie, Leslie and our sponsors!

Two Winners: Carolyn W. and Jane E.

Thursday, December 17th, 2009

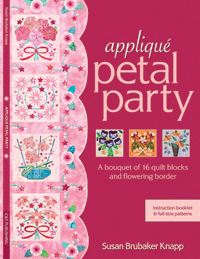
Yippeee!  It’s time for the winners of the Double-Giveaway here and over at Susan Brubaker Knapp’s Blue Moon River blog and website.  Yesterday, Paul’s minor surgery  (the reason for the delay) went well, we got home last night, he’s doing great, and this morning I asked both him and our younger son to pick to a number between 1 and 64 (the number of comments by deadline time yesterday).  Eli was first, and he picked the number for Carolyn who therefore wins Applique Petal Party

AppliquePetalPartyCarolyn wrote:

“I have been crazy in love with her bohemain bouquet for a long time. I may just have to take the plunge and go for it! Love the new petal party as well. I would be thrilled to win any of the great give aways! Keep up the good work!”

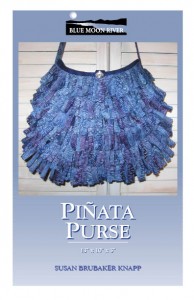
Paul came downstairs next, and he picked the number for Jane who will win Susan’s Pinata Purse pattern patterncover, who wrote:

quiltsmiles.blogspot.com

“Love her Bohemian Bouquet pattern, and I thank both of you for your generousity. Love your blog and I do enjoy stopping by to see what you’re up to. Thanks for sharing.

Jane”

I agree with them both…Bohemian Bouquet is one of my favorites of Susan’s, along with Round Red Barn and Glasgow Rose… I love more traditional quilts that combine circular designs with geometric/squared.  I also LOVE LOVE LOVE that quilt she is wrapped up in for her photo on her home page…great photo, great quilt!

Susan has picked the winners over on her blog, and I truly hope the winners enjoy ThreadWork Unraveled and my Nourish the Body, Nourish the Soul pattern.  The prizes will be in the mail post haste!

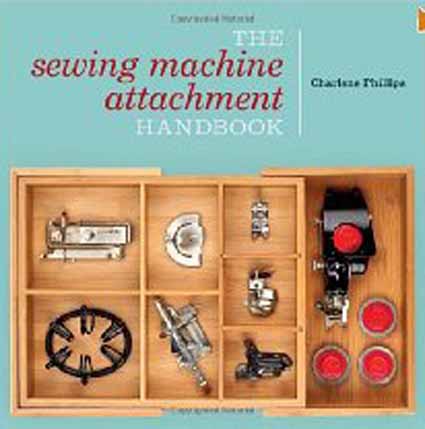
Book Reviews: The Sewing Machine Attachment Handbook by Charlene Phillips

Monday, December 14th, 2009

What a FUN little book!   This is definitely not for everyone, but if you love to sew, and wonder what all those weird gadgets do that came with the old sewing machine you inherited or found at a jumble, this is the book for you!

2009.12.Blog.BkRviews.011

The book has mostly illustrations from what would be dubbed “vintage” sewing machines:  from the 1960s and before, or more basic current models.  This book does NOT teach you basic sewing, but it does show you various iterations of a wide array of funky feet and attachments including:

  • Seam Guide
  • Bias Cutting Gauge
  • Binder
  • Bias-Tape Maker
  • Tucker
  • Ruffler
  • Hemmer
  • Edge Stitcher
  • Gathering foot
  • Shirring foot
  • Adjustable zipper/cording foot
  • Felling foot
  • Darning/free-motion foot
  • Walking foot
  • Seqiun foot
  • Buttnholer
  • Underbraider (I’ve been sewing and studying sewing for 46 years, since I was 6, and I’d never heard of or seen that one!)
  • Zigzagger
  • and a few more

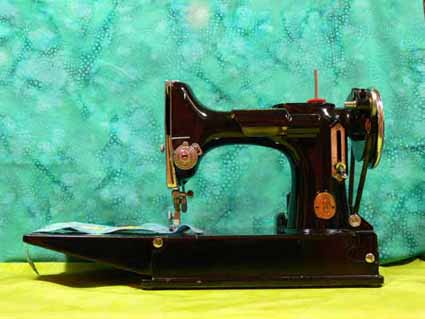
WOW…now, I like all this cool old-timey stuff.  And the price of the book on Amazon can’t be beat–a whopping US dollars $ 11.55!  Special issues of magazines cost more than that!  Some of the reviews at Amazon weren’t happy that the book description didn’t explain clearly that the illustrations and attachments were just that…attachments and not the snap-on presser feet found on machines today.  I do agree that a few extra words would have been useful!  BUT, that said, a zipper foot works the same way now as it did when my beloved Singer 221 Featherweight was made in 1934!  The vast majority of the information in this book can be applied to most current machines without having to stretch one’s brain very far at all.  Ahem.  Yes, I DO expect people to think <grin>!2009.12.Blog.BkRviews.010 Ditto for rufflers, binding attachments and many other goodies.  There are instructions on how to use these things, but for the most part you will need to grab some scraps, follow the outlines provided, and figure out the adjustments for your own machine.  It’s kinda like a car engine…they all work on more or less the same design, but the fan belts may not all be in the same place, made from the same materials or in the same size.  You can’t expect one slim book to cover the myriad possibilities for each and every one, but it DOES give you a great start!
In sum:  a fun book at a very modest price, and worth having if you love old sewing machines, or want to have a clue what those odd presser feet are in the drawer or tool kit that came with the machine.  If you want a hold-you-hand guide to the exact presser feet that came with your every-bell-and-whistle-computerized (does everything but pick up pins off the floor) sewing machine, then you’d best move to a different sort of book.  Personally, I think it is a gas of a book!