As many of you know, I’ve been fortunate to be affiliated with Janome America for many years and sew on their great machines. They’ve come out with a new top-of-the-line NON-embroidery machine, the 9400. And as I have come to expect, they take something that is already really good and make it even better. We’re getting close to perfect! To see the machine on the Janome site, go here.
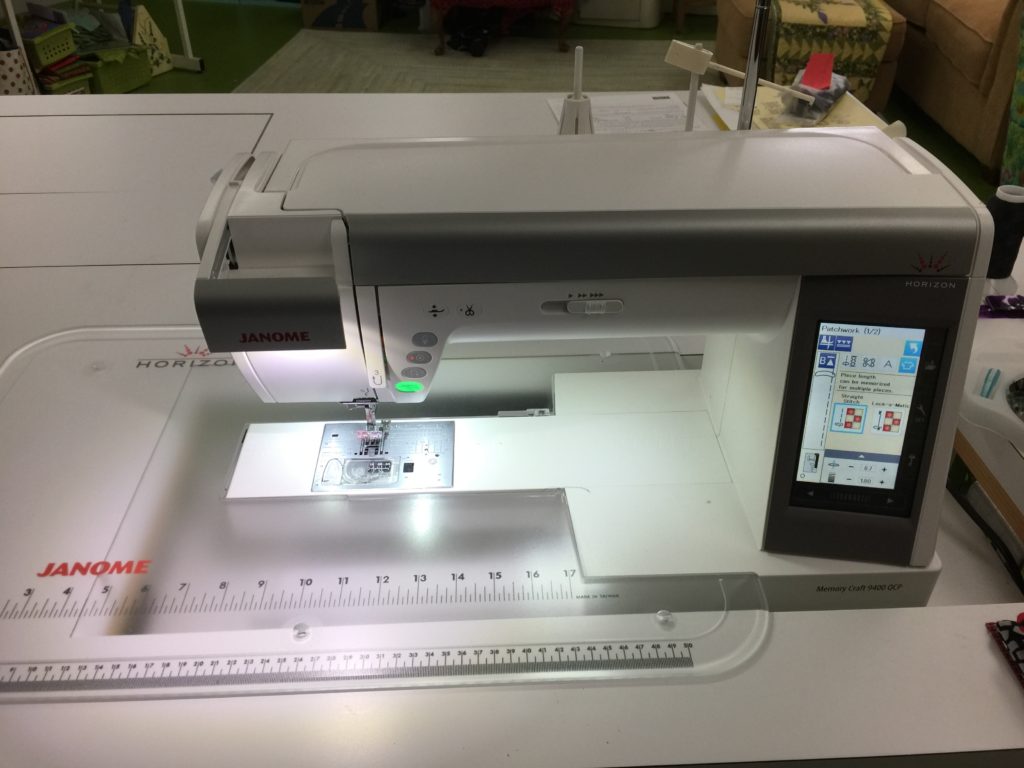
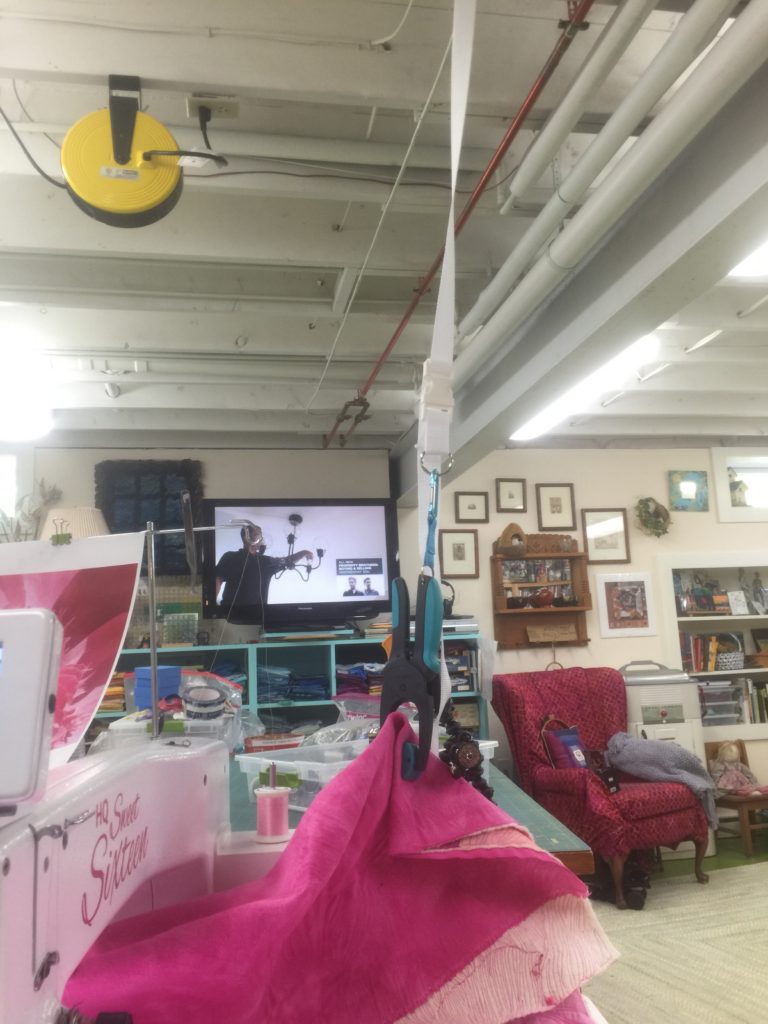
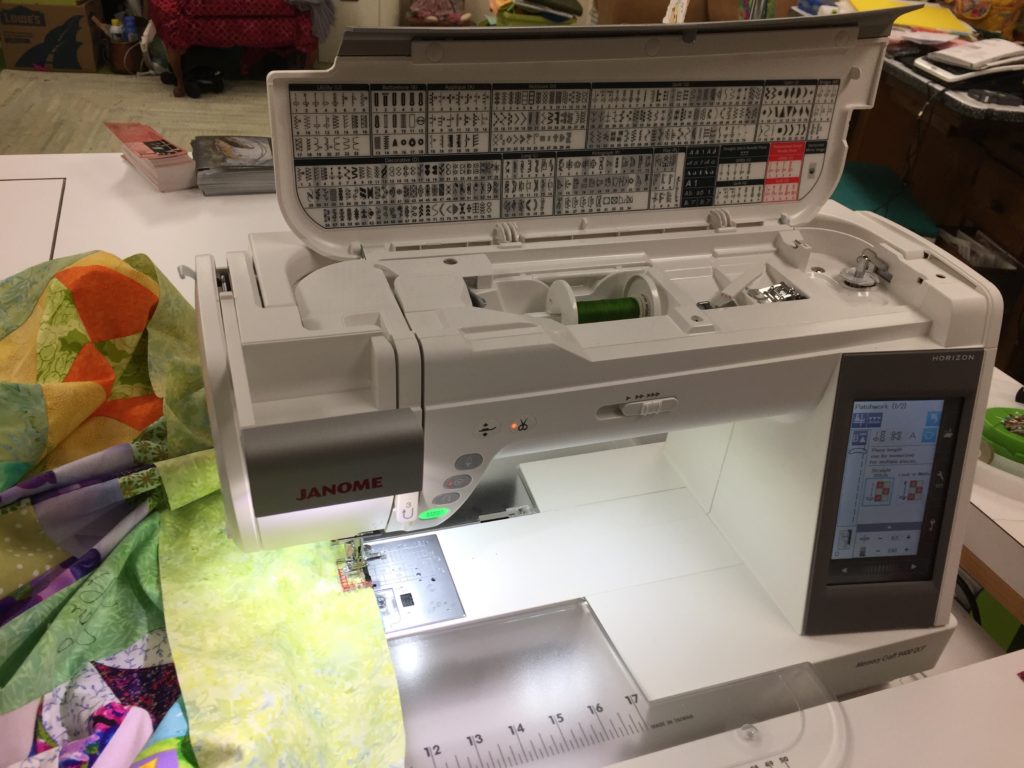
My newest sewing love, the Janome 9400! Notice the FABULOUS lighting? I love the pull-out light, too!
Over the past few months I’ve been able to put the machine through its paces, making a knit top, finishing a set of quilted placemats, finishing a small bag with zipper, and (who me?) piecing several quilt tops. The machine excelled at everything I threw at it! The 9400 has taken many features from the top of the line embroidery and sewing 15000 machine, including that awesome light on the top left that slides out. I think the design of it on the 9400 is even better than on the 15000, as it curves a bit.
One of the first things I did was some class samples for my Easy-Peasy Inside-Out Bag….including installing a zipper.
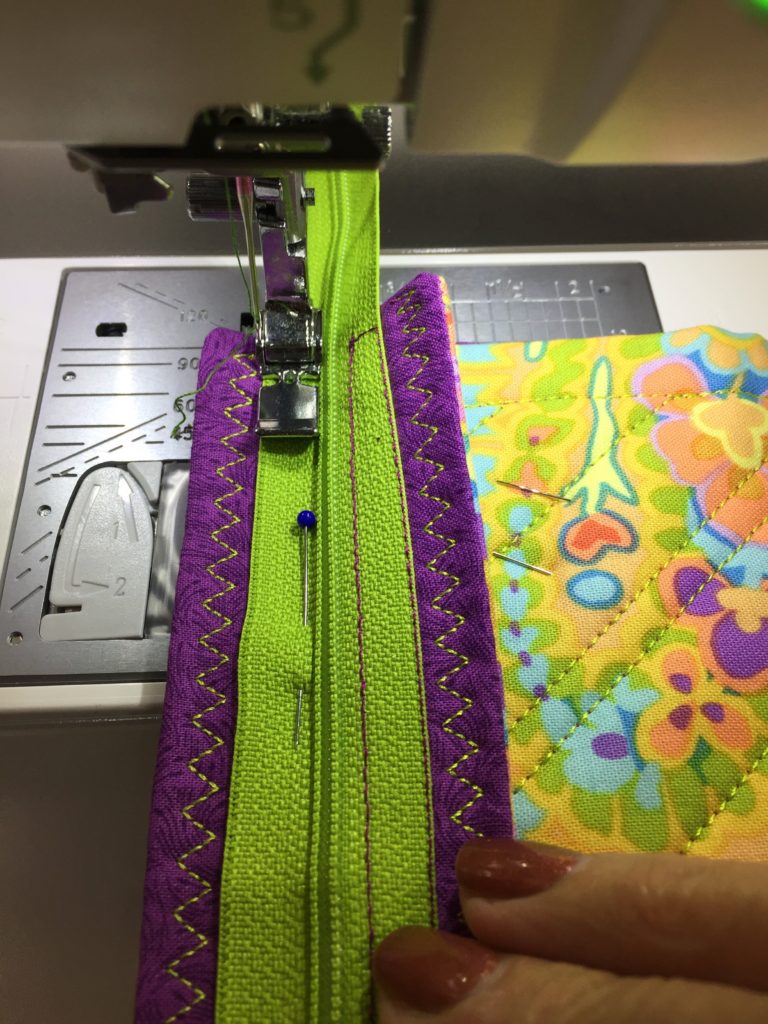
Zipper insertion for my Easy-Peasy Inside-Out Bag class sample. Notice how the zipper foot fits PERFECTLY, allowing me to use the zipper coil as a guide and getting the stitching **perfect** ? I used plum stitching as a decorative accent on the right side of the zipper, and am now stitching the second side of the zipper.
A bigger challenge, for both me and the machine, was to make a new top. I fell in love with the plum knit and bought it a year or so ago. I also love the aqua top, which is showing its age. I did a “rub off” which is where you make your own pattern using an existing garment. You can trace (with garment on top of paper) or rub (with garment under paper) to feel the edges and create pattern pieces. I extended the sleeves from 3/4 to full length, and am delighted at the machine and the results.
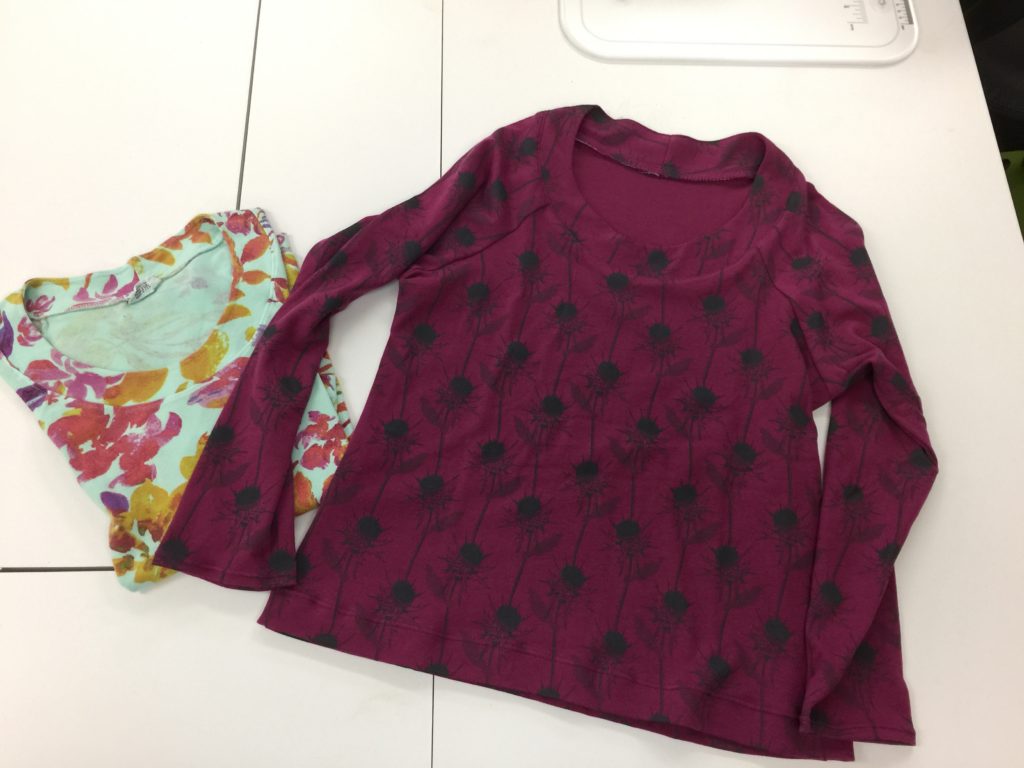
Success! I actually made a KNIT garment. The original shirt (purchased) is on the left. After making the pattern from that shirt, I made the plum one on the right. I’ll do a separate blogpost later this week with more info on how I did it and which stitches used.
I also have done quite a lot of piecing. I used the P foot which comes with the machine for my quarter inch seams, but decided to use the optional Clearview foot which I prefer. In a second project (which I can’t share yet because it is a Christmas surprise) I was astounded at how accurate my results were; I am NOT a piecer, and the feed on the machine worked very well (until my attention wandered, at which point I simply cut the threads, went back to my oops and fixed it).
Using the ClearView foot for piecing. I really like the red 1/8 and 1/4″ markings. This foot is available for both Janome’s 7mm and 9mm machines (the 7 and 9 refer to the maximum stitch width–you need to be sure you get the correct one to fit the “ankle” for your machine). Have I said how much I love it?
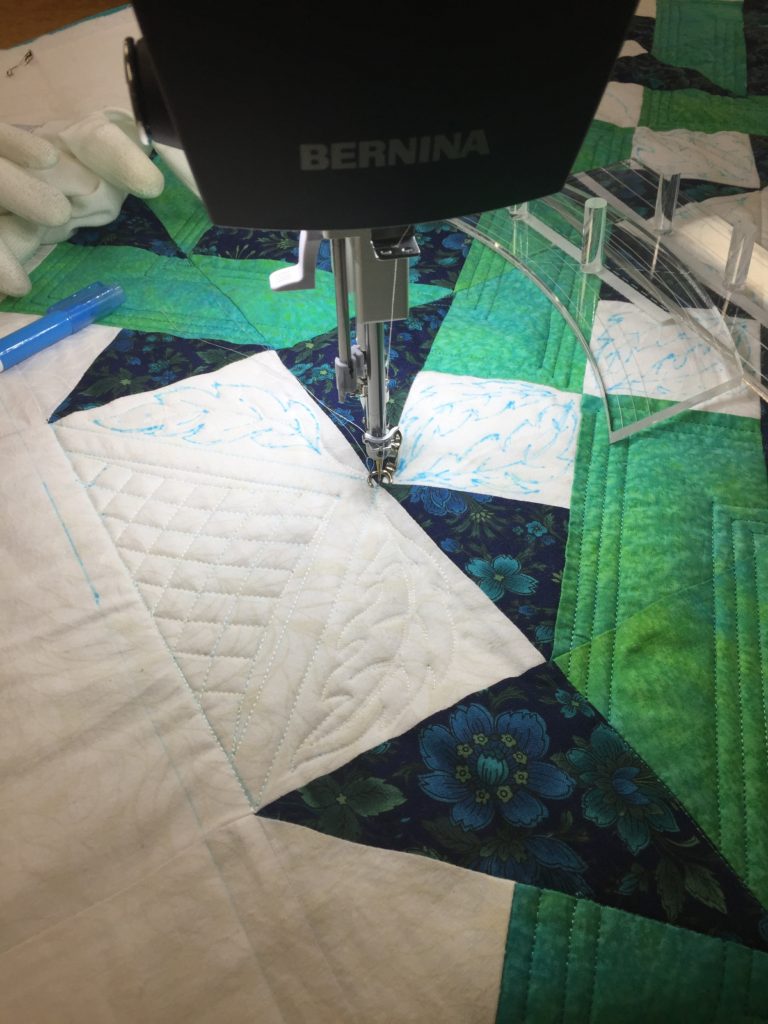
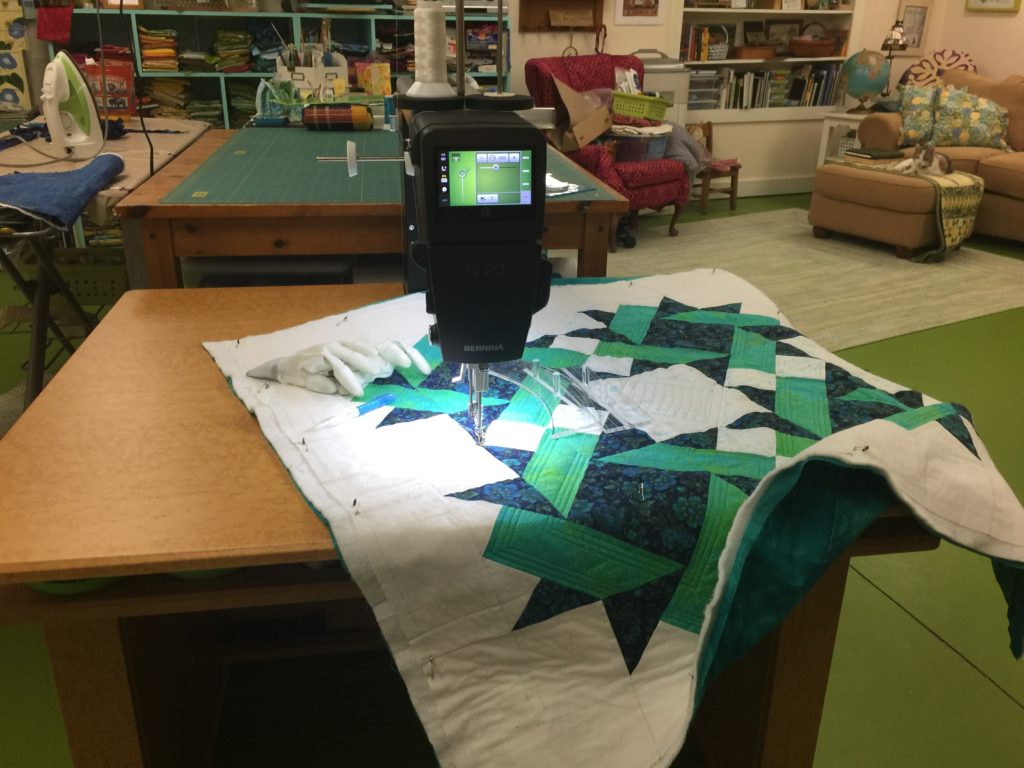
I also have been able to do both free-motion and walking foot quilting, though not as much yet as I would have liked. I finished a set of placemats and table runner called Modern Winter, which I prepared for Janome’s blog. You can find the pattern and information here.
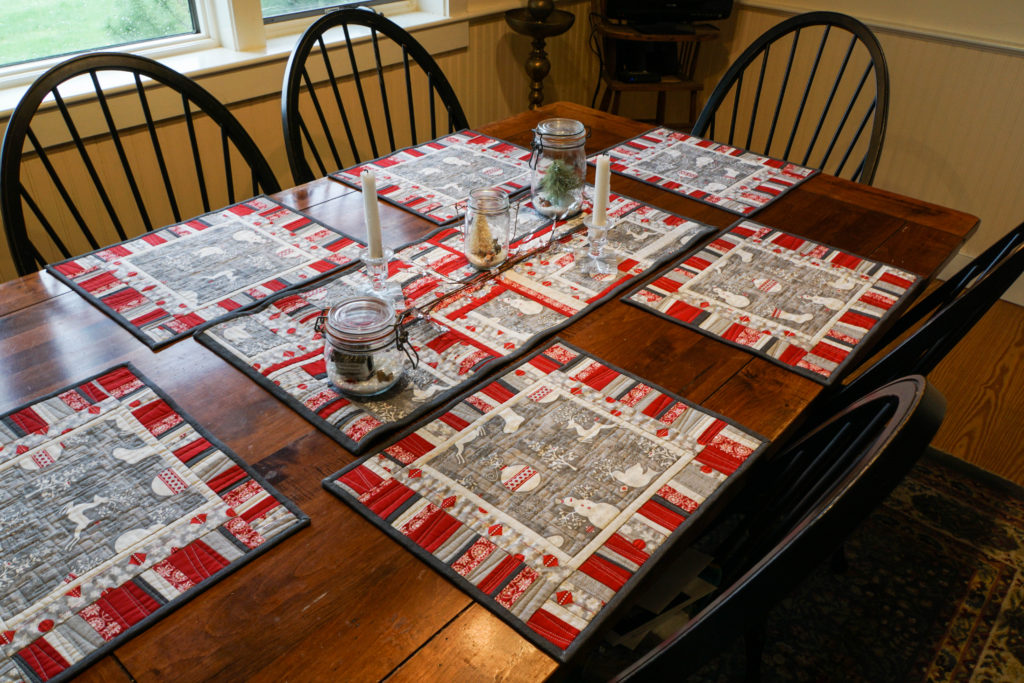
Modern Winter placemats and table runner. Instructions/pattern on the Janome site at the link.
The one thing I keep trying to convince Janome to do is to create feet for the top of the line machines that is similar to the convertible FMQ (free motion quilting) feet for the Janome 8900/8200 and similar which I think are the best quilting feet Janome makes. In addition to the traditional “hopping” or darning foot used for free-motion quilting, the 9400, 15000, 12000 all have the QO and QC skimming FMQ feet which snap on to the ankle (which is really quick and easy). However, these feet are clear plastic and not round. They work great for most people’s purposes, but if you look at pretty much ALL quilting machines, the preferred and nearly universally available feet are metal CIRCLES. The metal is stronger and can, therefore, be thinner, which affords greater visibility. And by being a circle, you can echo quilt around (for example) an appliqué, then continue with free motion without having to change feet. This is a small quibble but one that is important to me.
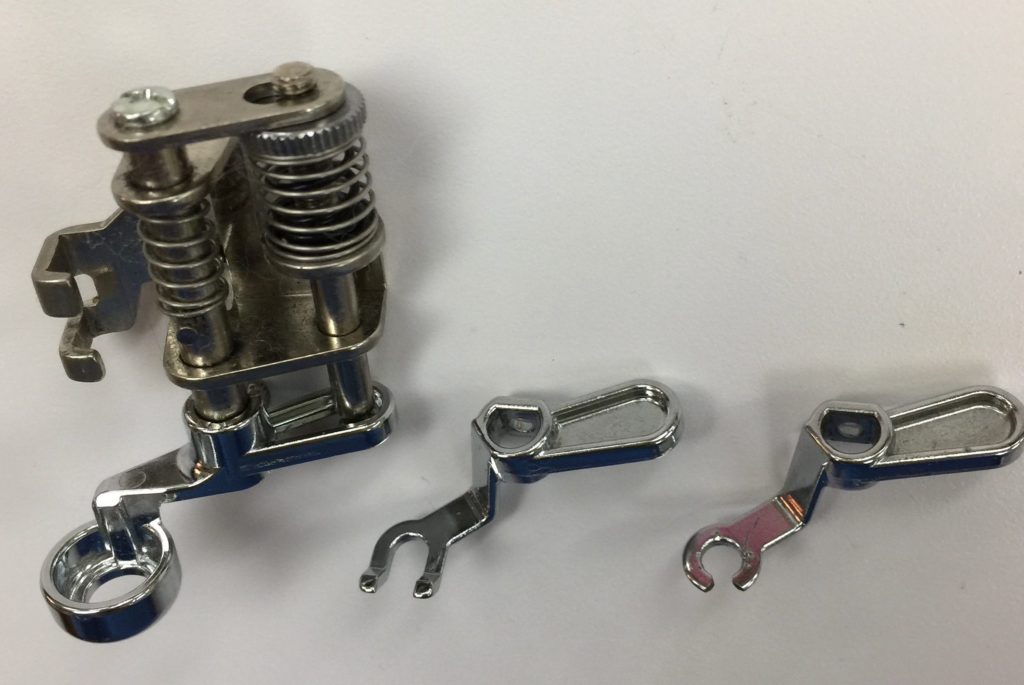
The foot on the left is the Ruler Foot for the 8900, and the two bits on the right are the optional bottoms for FMQ, the open U (as Janome made it) and the circle (which Janome made closed, but I used my Dremel to open up a tiny bit). I would LOVE these options for the top of the line Janome machines (9400, 12000 and 15000).
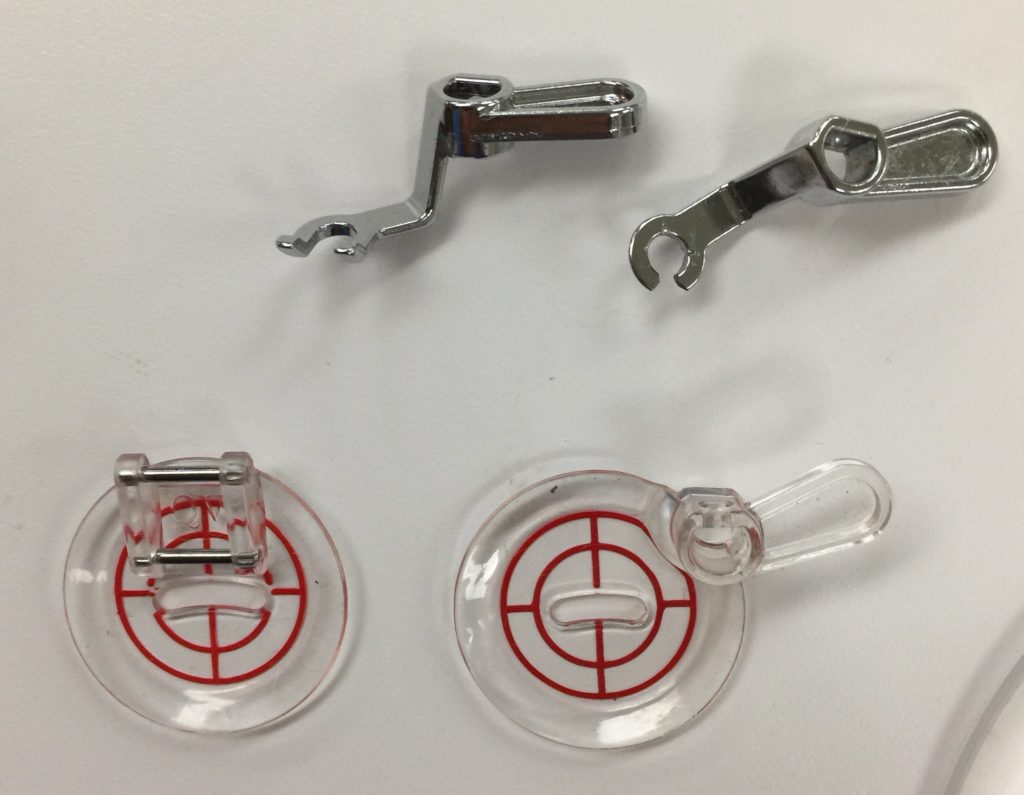
One of the really cool things about the 9400 (which came down to it from the 15000) is the snap on feature for some of the quilting feet. In this image, you can see the echo quilting foot, the clear disc with red circles/lines, for the 9400 on the lower left. It just pops on and off the ankle like regular feet–fast, easy and effective. The other three in this image are from the bottom of the convertible FMQ foot for the 8900; you have to screw them on to the holder which is a small fuss.
I was MOST impressed at International Quilt Festival, Houston, this year. I introduced myself to the president of Janome America to say thank you for Janome’s continued support for the past decade-plus, and to ask about developing these feet for the 9400 and 15000 (and 12000). He whipped out a notebook and took notes! So as soon as I finish this post, I’m going to follow up with him with details I’ve been mulling over on how best to meet ALL needs for quilting–both hopping and skimming. Love Janome’s responsiveness! He said he’d send the info to headquarters in Japan–can’t do more than that!
Although you can read it on Janome’s site, I’m adding some info about the features and accessories included on this machine. Best of all, a lot of stores are offering “Holiday Incentives” on the price!
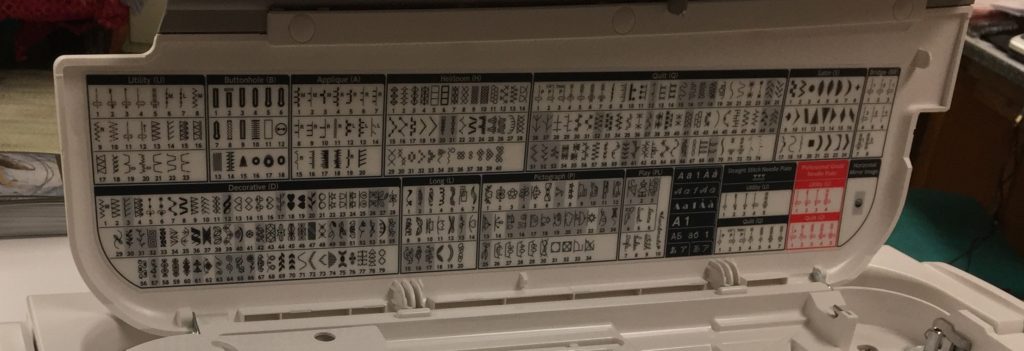
Janome 9400 Stitch Chart…hooray, my favorite stitches are still here!
Key Features:
- Top Loading Full Rotary Hook Bobbin System
- 350 Built-In Stitches and 4 Alphabets
- Superior Needle Threader
- Cloth Guide Included
- One-Step Needle Plate Conversion with 3 Included Plates
- Detachable AcuFeed Flex Layered Fabric Feeding System
- USB Port and Direct PC Connection
- Stitch Composer Stitch Creation Software
- Variable Zig Zag for Free Motion Quilting
- Straight Stitch Needle Plate with Left Needle Position for 1/4″ Seam Foot
- Professional HP Needle Plate and Foot
- Advanced Plate Markings
- Full Color LCD Touchscreen (4.4″ x 2.5″)
- Sewing Applications On-Screen Support
- Maximum Sewing Speed: 1,060 SPM
- Full Intensity Lighting System with 9 White LED Lamps in 4 Locations
- 11″ to the Right of the Needle
- Retractable High Light
Included Accessories:
- 1/4 Inch Seam Foot O
- AcuFeed Flex™ Dual Feed Holder with AD Foot
- Automatic Buttonhole Foot
- Blind Hem Foot G
- Button Sewing Foot
- Cloth Guide
- Darning Foot
- Extra Large Foot Controller
- Free Motion Quilting Closed Toe Foot
- HP Plate and Foot Set
- Open Toe Satin Stitch Foot
- Overedge Foot M
- Remote Thread Cutter Switch
- Rolled Hem Foot
- Satin Stitch Foot
- Seam Ripper
- Straight Stitch Needle Plate
- Zig-Zag Foot
- Zipper Foot E
So that’s my recap! I’ll do a couple follow-up posts on the placemats and shirt projects. Stay tuned!